So a while back when I first gained access to the Hasselblad Flextight X1 I wrote a review about the enhanced image quality over my Epson flatbed scanner. Well now that my time with the X1 is coming to an end (for now) and I’ve been able to use it a bit more I want to comment on it again. Mostly in the context of color slide film and why I’m a bit worried about the 5 rolls of Provia 100f in the freezer now that I may be losing access to the X1. As always the best way to show you what I mean is to share some images scanned on both machines, I’ll make sure to share the film type as well so you can get a better idea of how everything comes out.
For the sliders below the “before” image is the Flextight X1 scan and the “after” image is the Epson v550 scan. For me there is a clear winner.
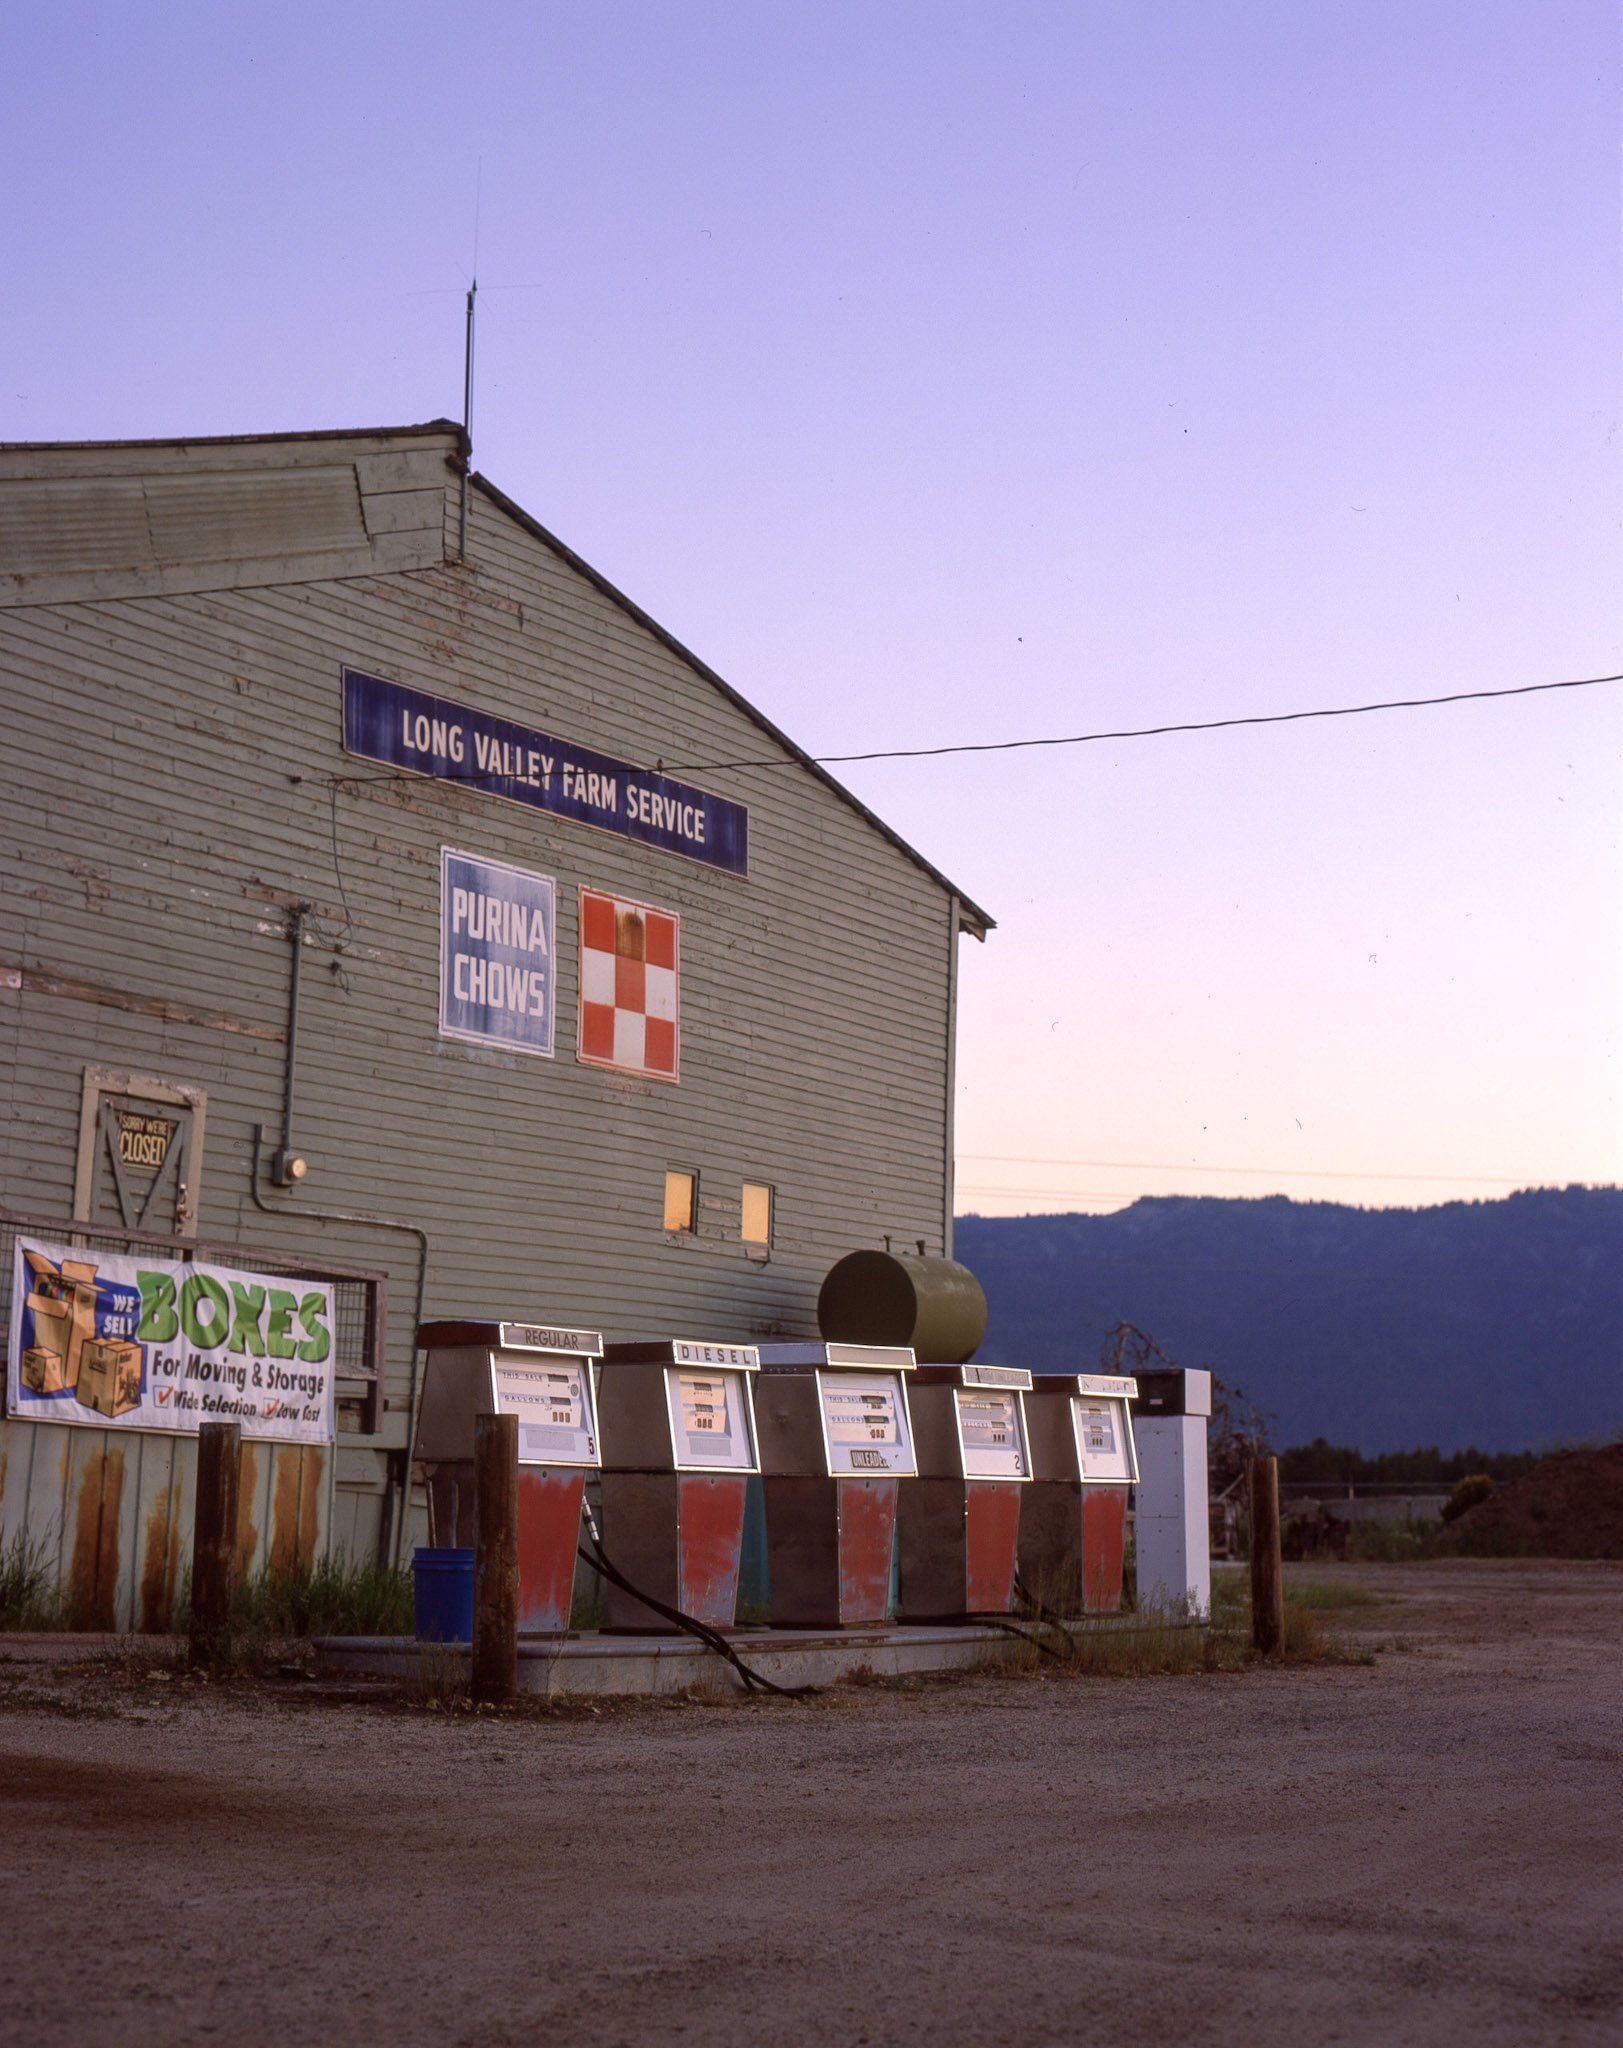
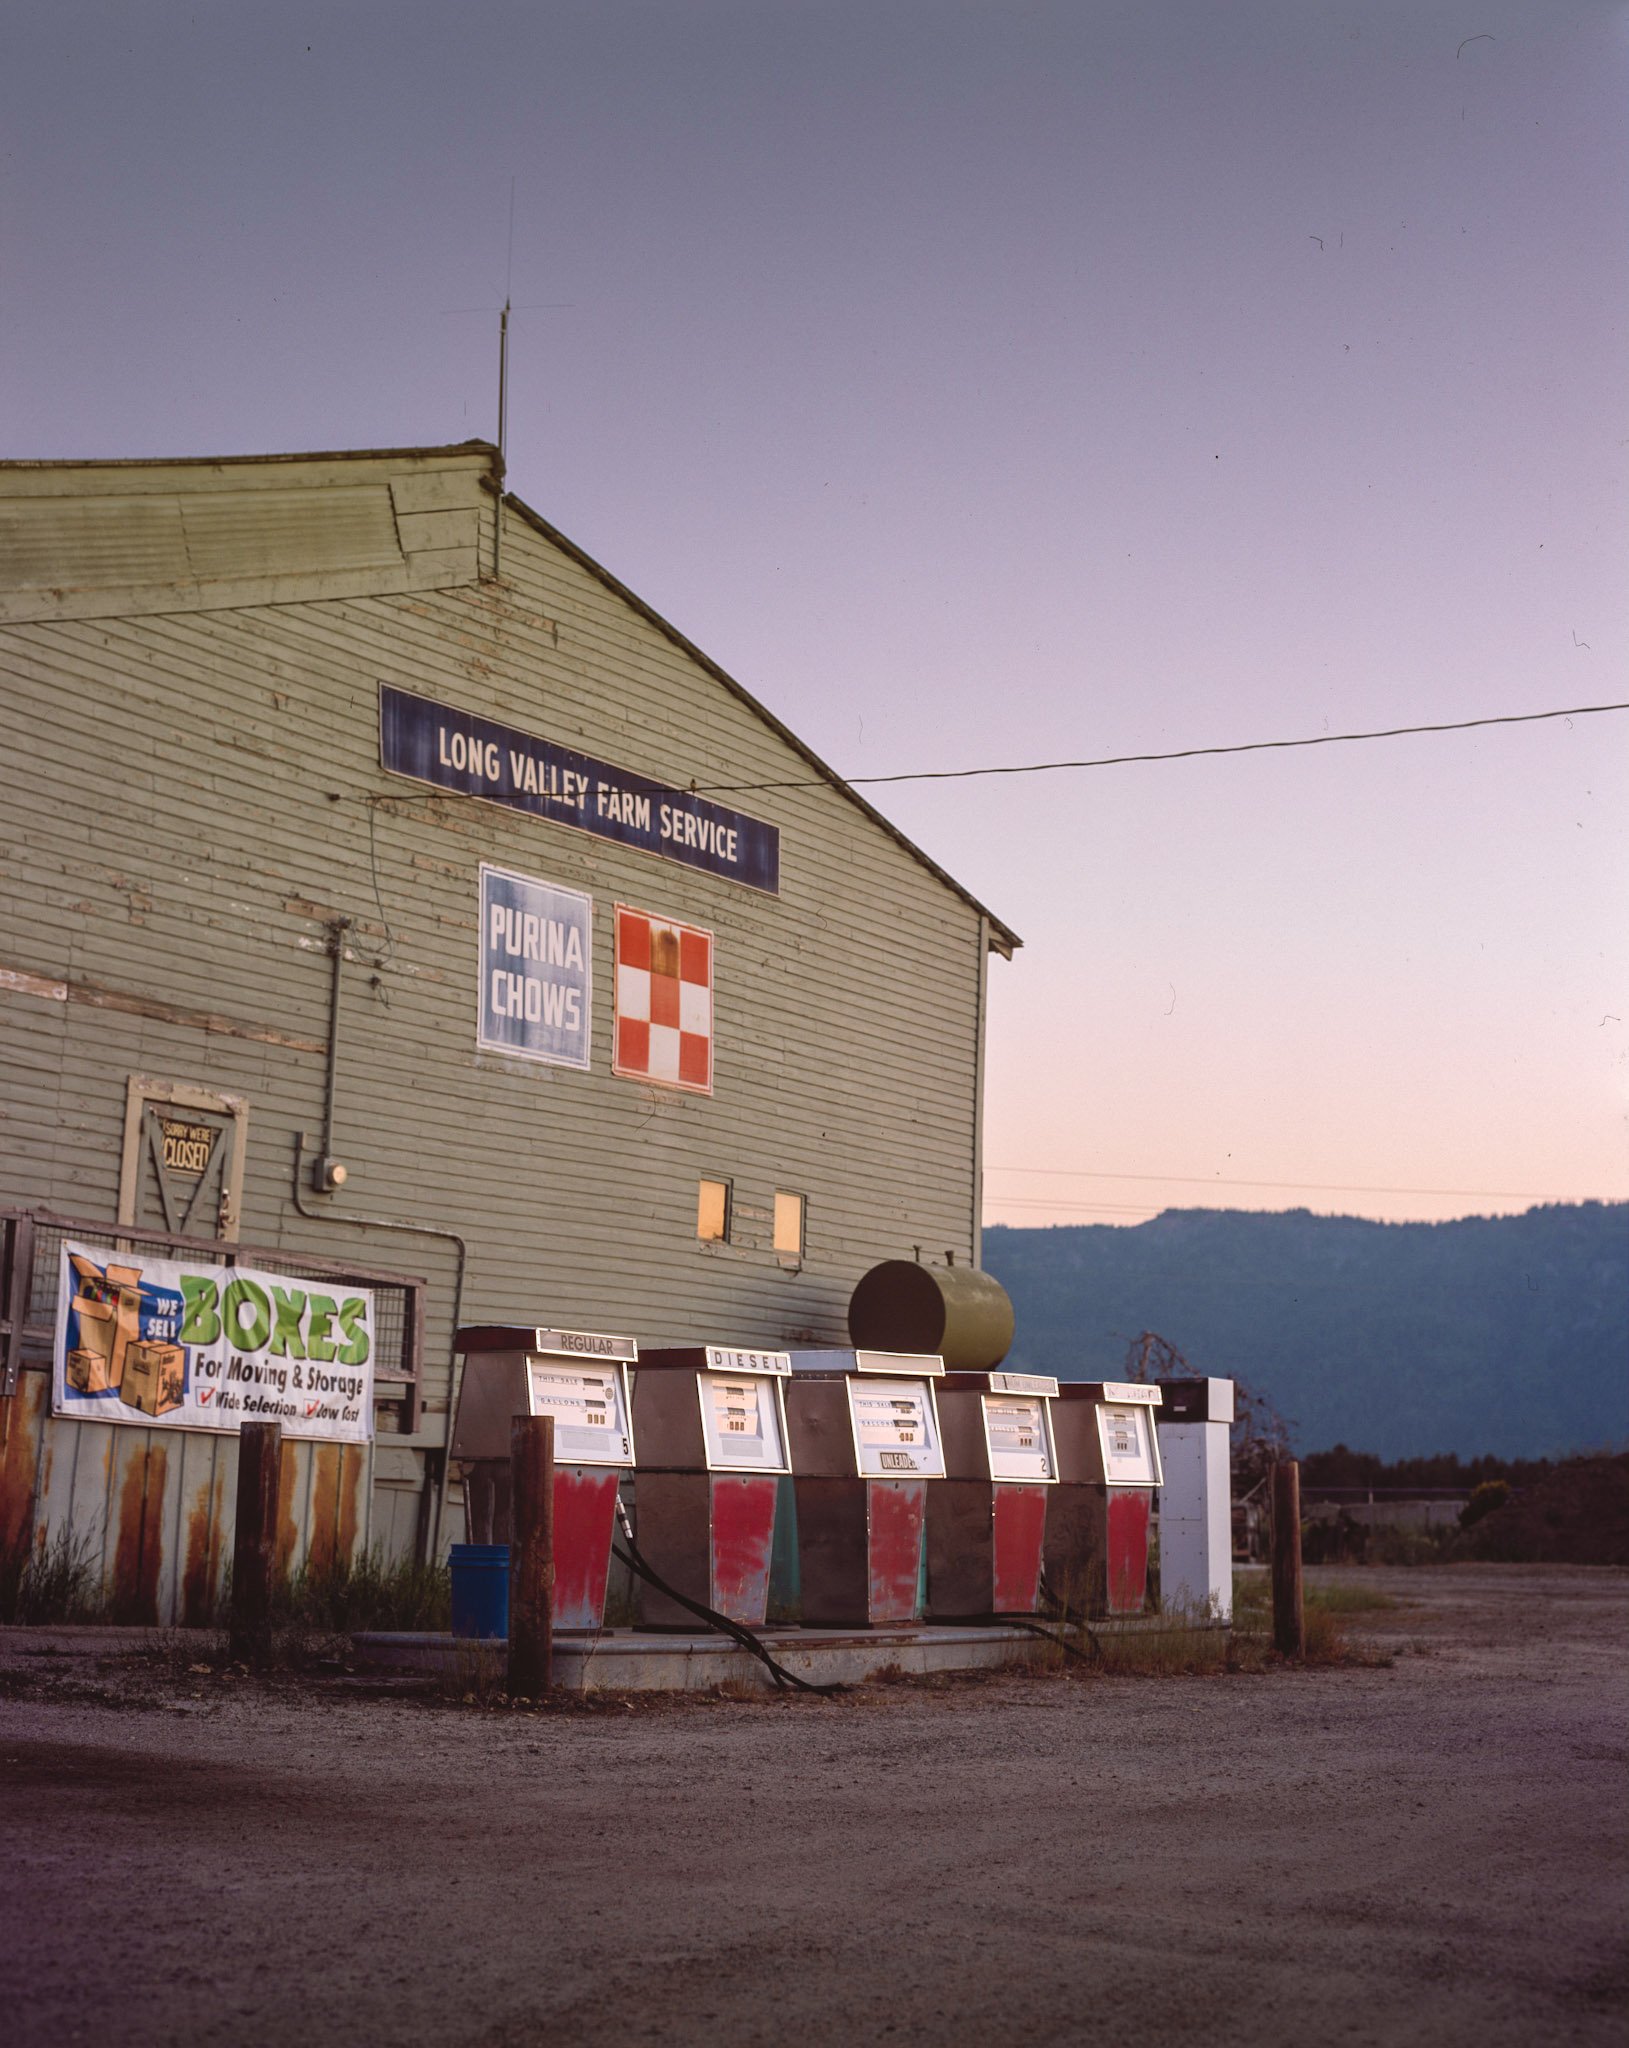


Both images seen above were shot this summer on my Pentax 67 and the Takumar 105mm F2.4 lens on expired Fuji Velvia 50 film. This film is known as some of the finest grained film on the market and has high color saturation. The reason why I picked 120 film for this comparison is that both scanners are actually scanning at the same resolution (3200 dpi) which should highlight differences unrelated to resolution alone. This is by no means a scientific experiment but purely a usability one, put the film in and try to get the most I can get out with what I know.
For me the X1 scan is absolutely wonderful with definite higher sharpness and much better color rendition (even though it’s 32 not 48 bit color). I also want to point out, like in the other review, the dynamic range is also leaps and bounds better. If you look in the sky for the gas station image or the slightly soft telephone pole (RIP depth of field on a 6x7 negative, this was even shot at F11) above you’ll see the brights falling off in the Epson scan. The most important difference for me however is the sharpness. Remember that the resolution is exactly the same so the sharpness comes down completely to the mechanics of the two machines. This is where you see the true difference between a flatbed and the “virtual drum scan” not only does the X1 have auto focus but it also flexes the film so the plane of focus stays constant throughout the scan This is huge and why I’m desperately trying to figure out how to purchase or find a space to use one of these in the future.
Just for fun I think I will compare a 35mm frame shot through the Nikon FM with the 50mm F1.8 Ais lense on Provia 100f. This was the format I used in the first blog comparison so if you are interested in seeing more examples then the one below click this link. Again the “before” image is from the Flextight X1 and the “after” image is the Epson V550.


It’s again easy to see a striking difference between the two images and why I can say that I really don’t like slide film that’s not scanned with the X1. Not only is the Epson scan much less sharp but the colors where off from the real life images, both what I envisioned in my head and what you’d see on a light table. The final thing I can say is the X1 has way more information meaning the files are way more editable then the one that come from the Epson. Now, people can argue all they want about not editing film photos but even if I did everything with a dark room process I’d be dodging/burning, changing contrasts, and tweaking the colors there too. So these people can use their lightroom presets and Iphones and get angry at someone else. Anyways the X1 just gives me a more information to create accurate adjustments.
The final comparison I want to make is with cheap color negative 35mm film, specifically a frame shot on Fujifilm C200. Again everything is the same (X1 before and Epson After) but the differences are much less apparent. Another important note is both .tif files from both machines were scanned as positives then converted using Negative Lab Pro. This again decreases the number of variables making the raw scan responsible for most of the difference in the image. I will most likely make a post about Negative Lab Pro and why I think it is necessary if you are scanning lots of color film in the near future because it really changes the game!


While the difference in color negative film may seem just as drastic as before I’d argue the results are much closer even though the resolution on the X1 file is twice as high. Here the sharpness is much more similar and this is because the grain size must be large enough for both machines to pick up well enough (also must have lucked out with the film being flat on the Epson). The blue of the skys is also different between the files, though this is a simple correction. What I like about this comparison, at least for cheap 35mm film, I have a workflow that creates images and quality that I’m happy with using the Epson Scanner which is faster and available to me. Using finer grain professional film may widen the gap between the machines but for now I think I’m really happy with my color negative results. I’ll hopefully be getting some 35mm Portra back soon!
The biggest thing that I have realized after getting these rolls back and continuing to test and play is that the way film is digitized dictates the look, feel, and quality of the final image. While I have not had success with positive film in the Epson I have locked down color negative. All this means I’ll need to keep playing around and exploring, which is the fun thing with film. I think this year I will try DSLR scanning my film, personally this is the weirdest way to go about it as the point of shooting film is to shoot film not digital. That being said the sensor in the X1 is the same CCD used in the older Hasselblad medium format backs, so while it’s weird I’ve seen great results.