Hot Take: My 2015 Ricoh GR II is Better Than My 2024 Fujifilm X100VI

If you’ve talked to me recently you would know I’ve moved away from the large DSLR and multiple lenses for smaller every day carry cameras. Specifically the ‘large sensor’ non-interchangeable cameras like the Fuji X100 and the Ricoh GR series. These days there are plenty even more premium options out there like the Sony RX1 or the holy grail, in my opinion, the Leica Q series. Fujifilm is so invested in these types of cameras they made a pretty niche 100MP medium format ‘compact’ non-interchangeable lense camera. I’ve been lucky enough to have owned a couple of these cameras over the years both old and new models even before they were ‘popular’. What got me hooked initially was my trusty X100s that just blew my mind at the time. Small, fit in the pocket sized camera with just as good - if not better - image quality then my Canon 7D Mark II DSLR.

However these days there is one camera that stands out among the rest as the most popular. Whether it’s tik tok that made it famous or people are finally catching onto these cameras being great every day options - I had to wait 9 months for mine to come after pre-ordering it 2 hours after launch. This is of course the Fujifilm X100VI which had all the features I wished my X100s had. Unfortunately my X100s died before the new one came and I wasn’t about to go without a camera. With even the X100s going for >$600 to replace (bought mine used for $350 before it was ‘cool’) I knew I needed to look elsewhere and ended up with the Fuji’s printer company cousin, the Ricoh GRII.

If you aren’t desperately searching the web for the best compact cameras in a feverish withdraw after the premature demise of your x100s then you may not have heard of the Ricoh GR series. Or at least haven’t shot one. If you are much older than me you might remember Ricoh as one of the digital camera leaders for many years. They even had a premium 35mm film GR series which are sought after even to this day. But if you’re unfamiliar with Ricoh as a brand I highly recommend you look into them. While it may look like your mom’s Canon SureShot from back in the day (but in black) it has an APS-C sensor without an anti-aliasing filter and a super sharp 28MM 2.8 lens in a formfactor that the fuji can only dream of.

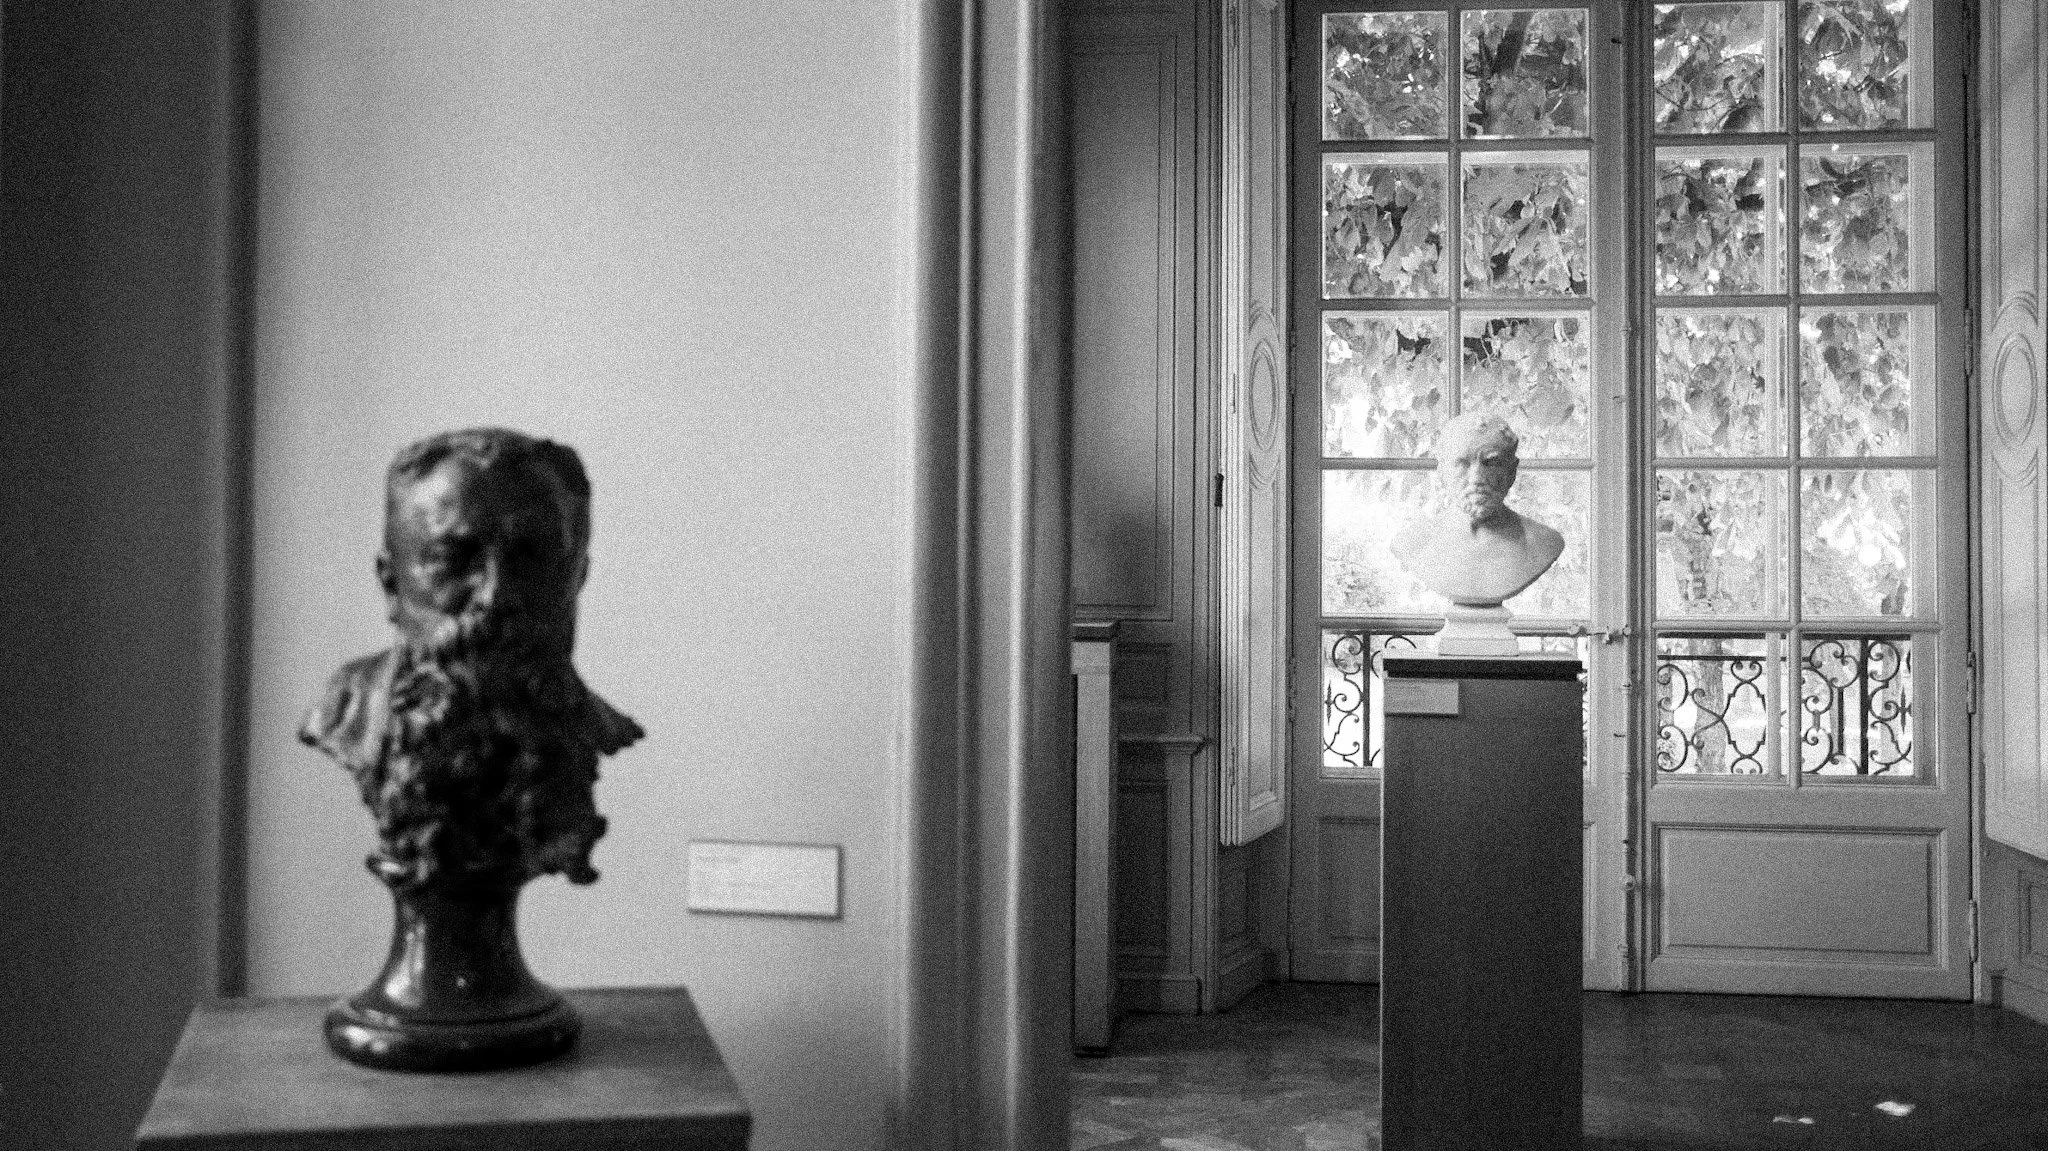
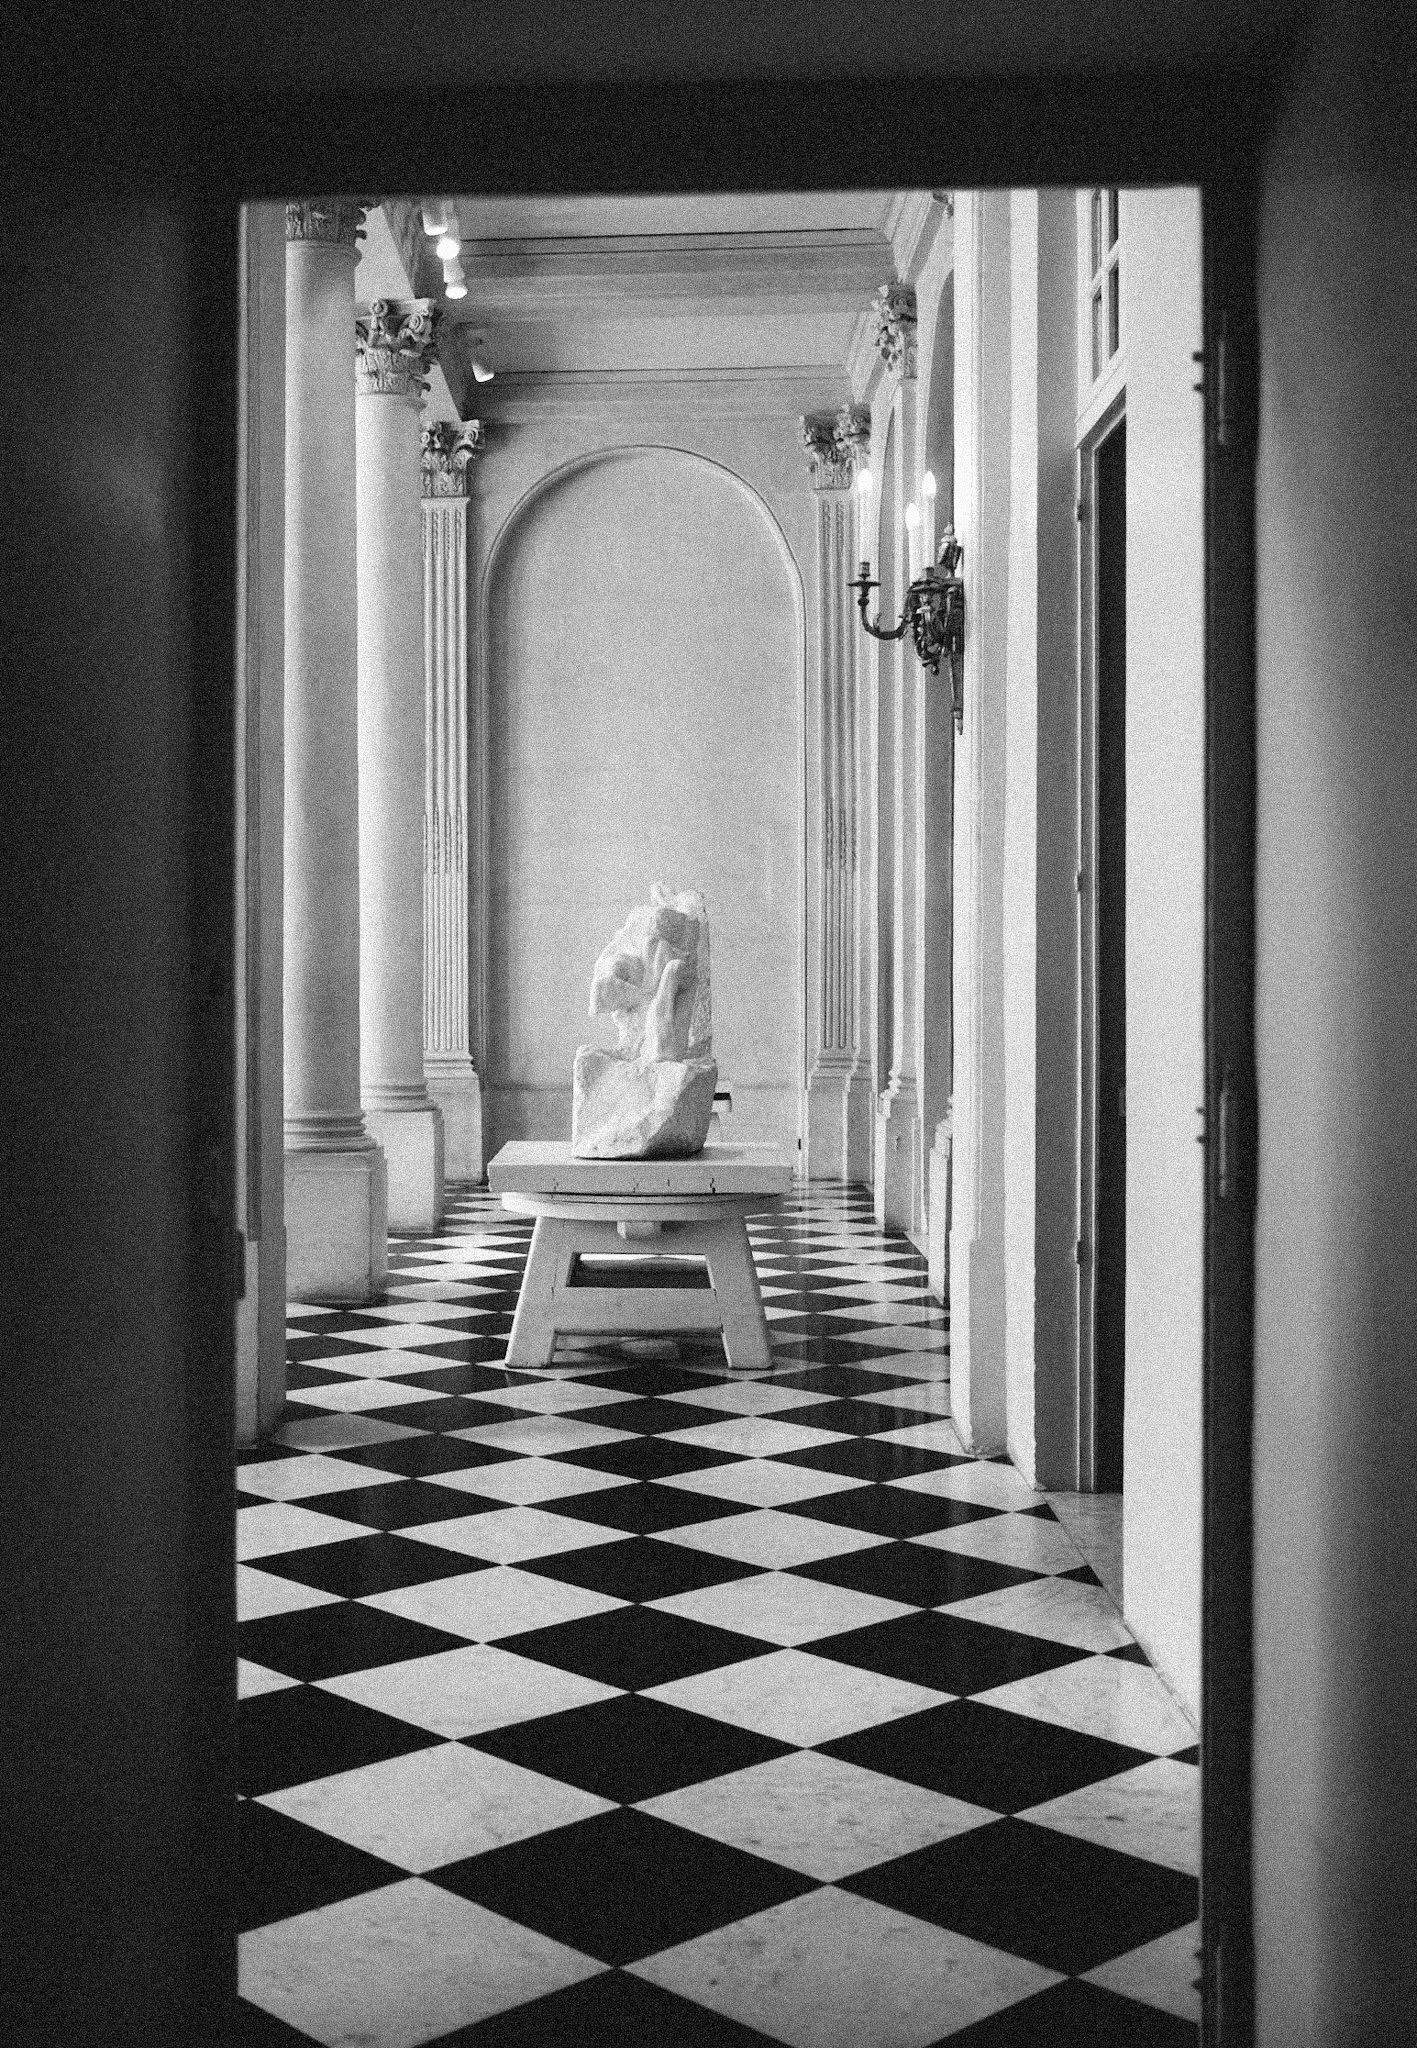
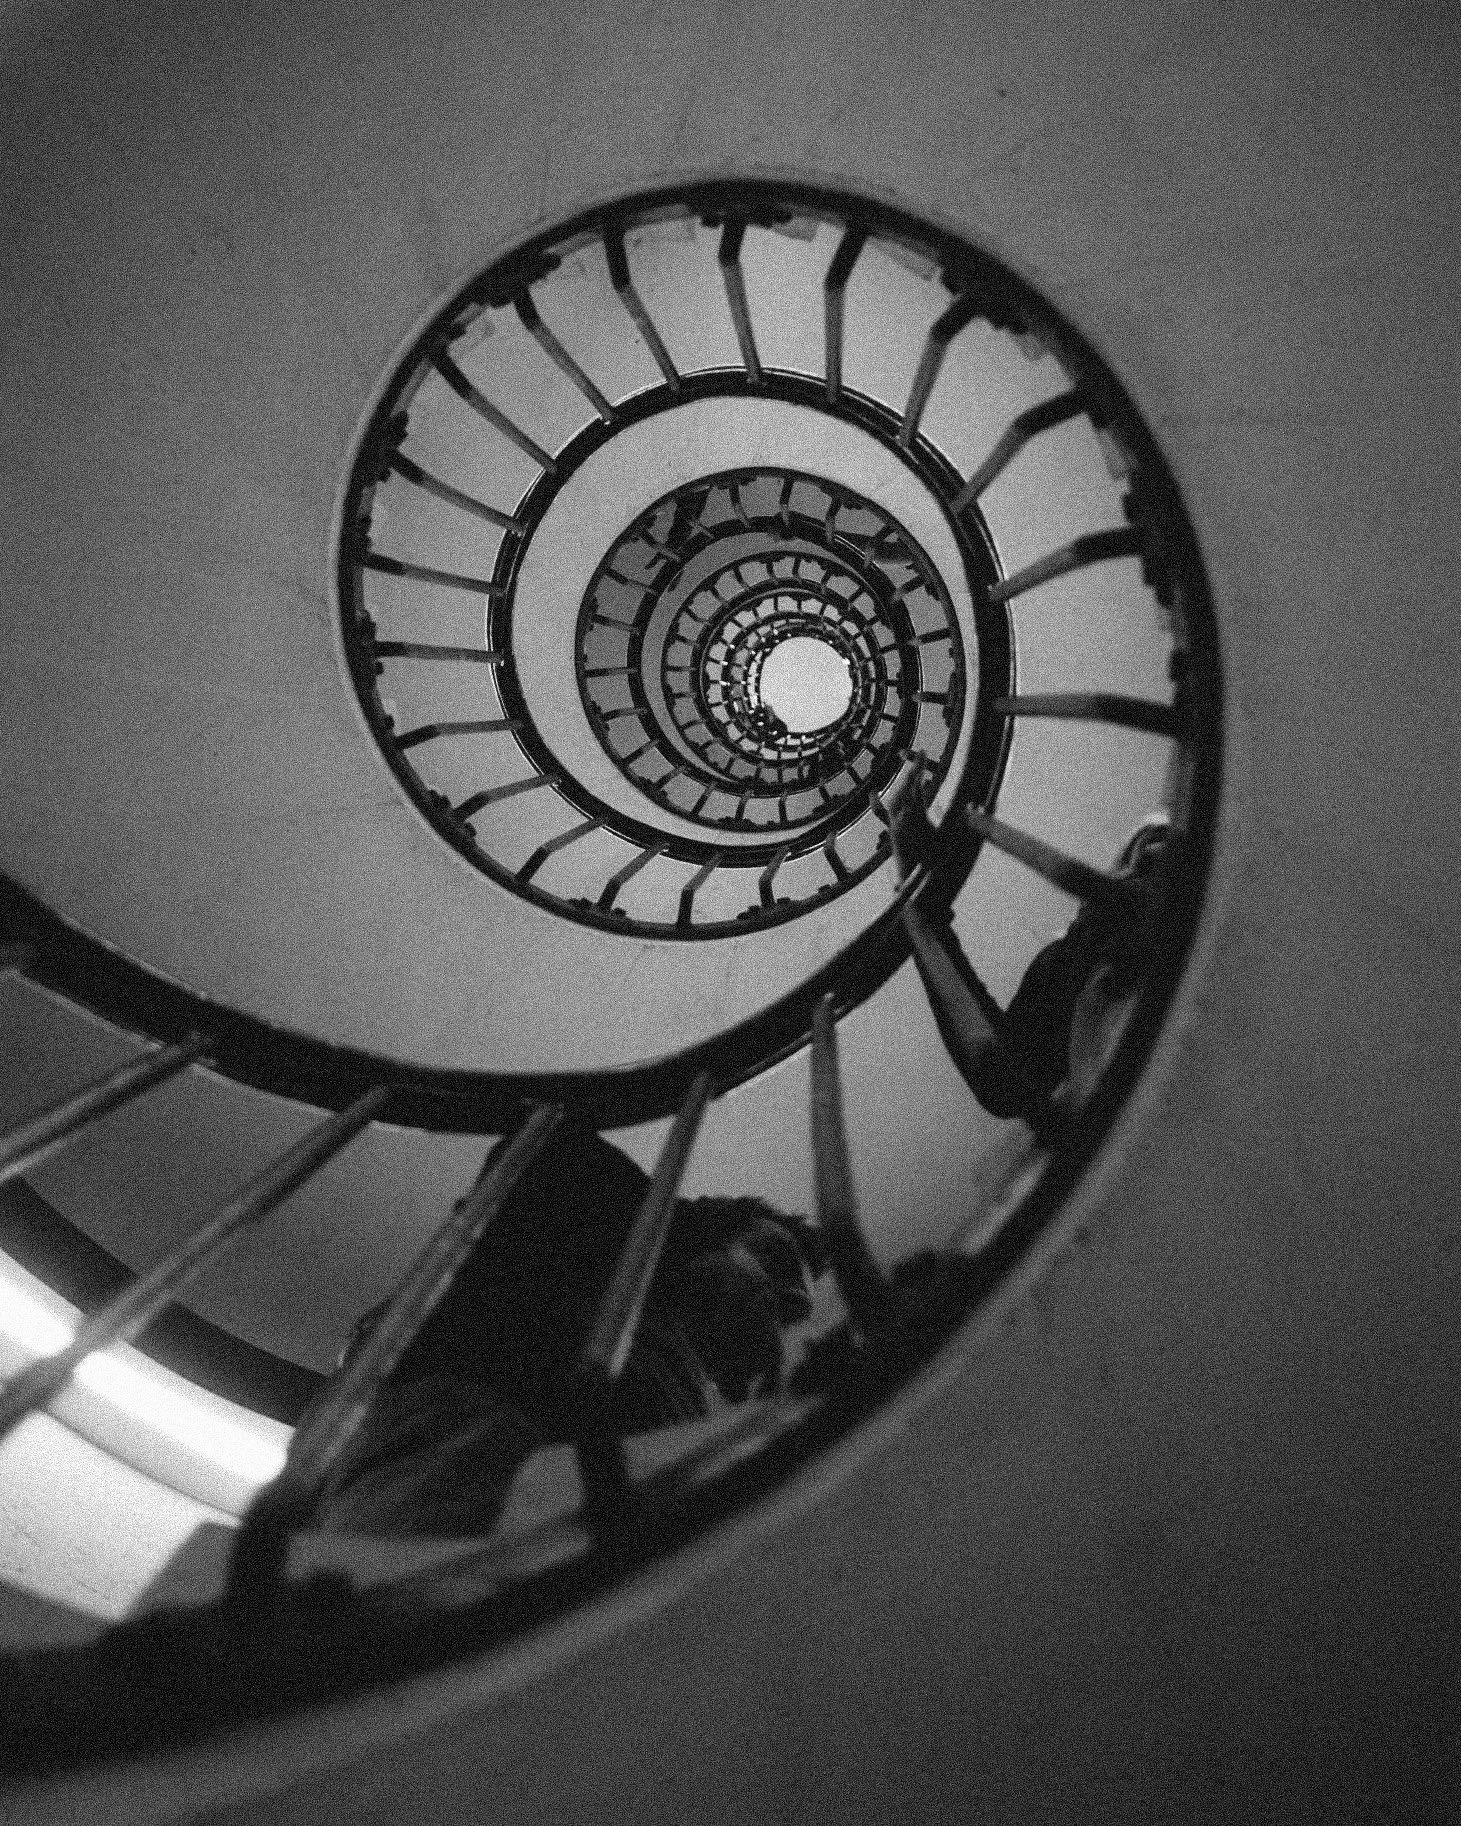
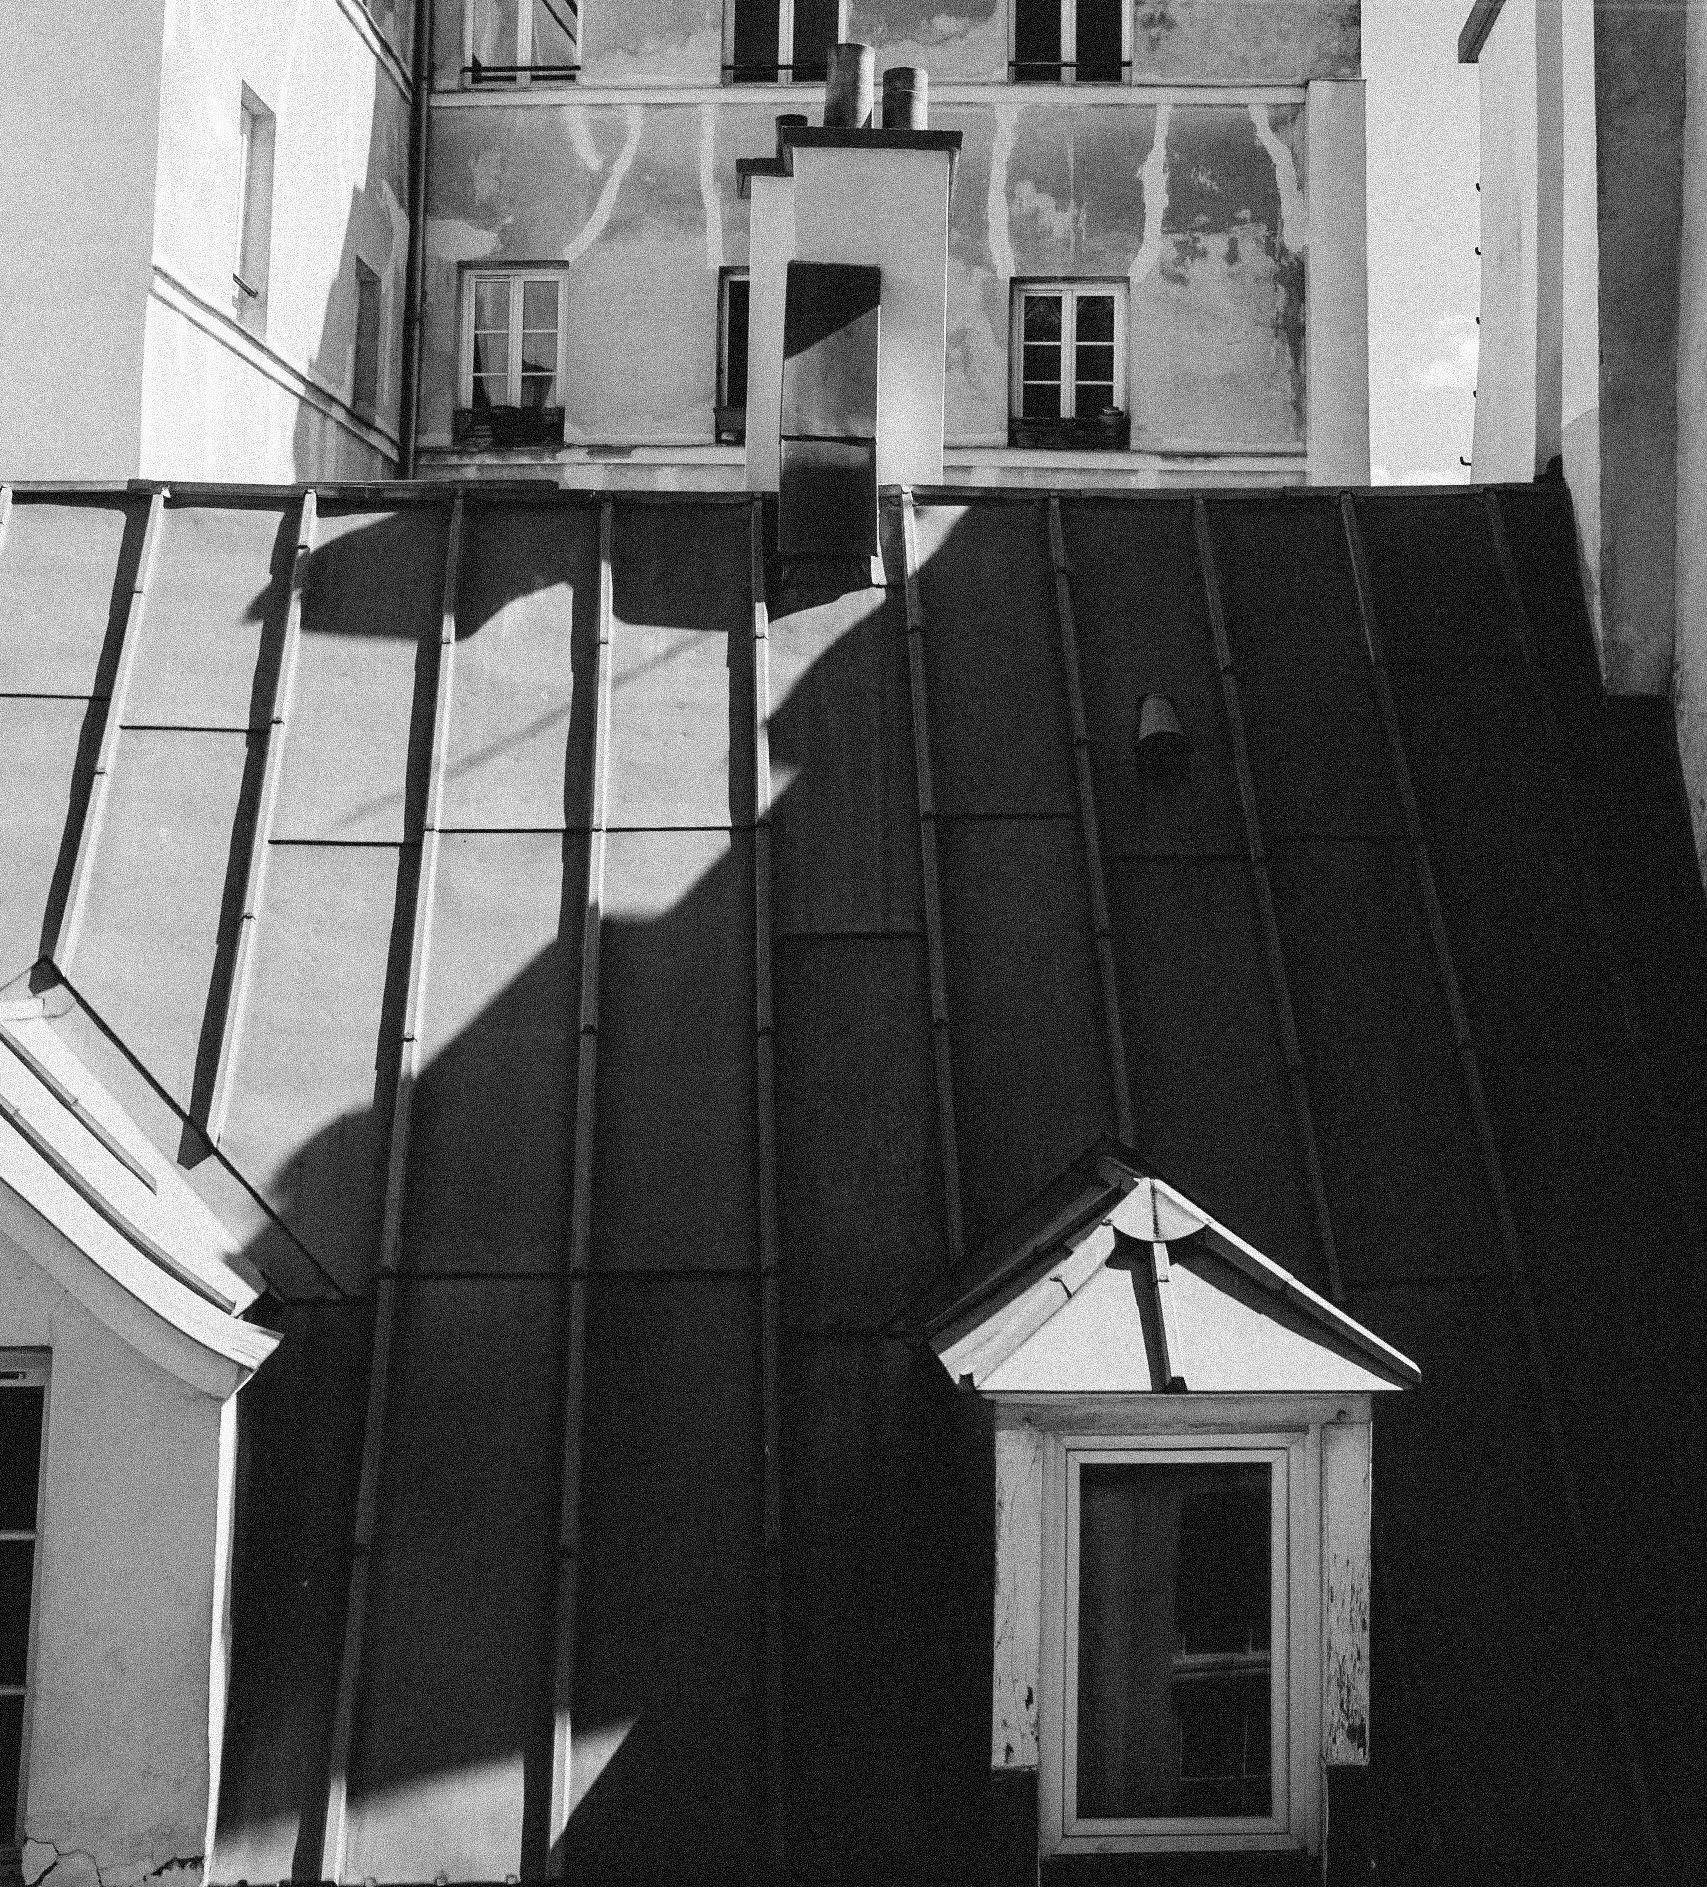
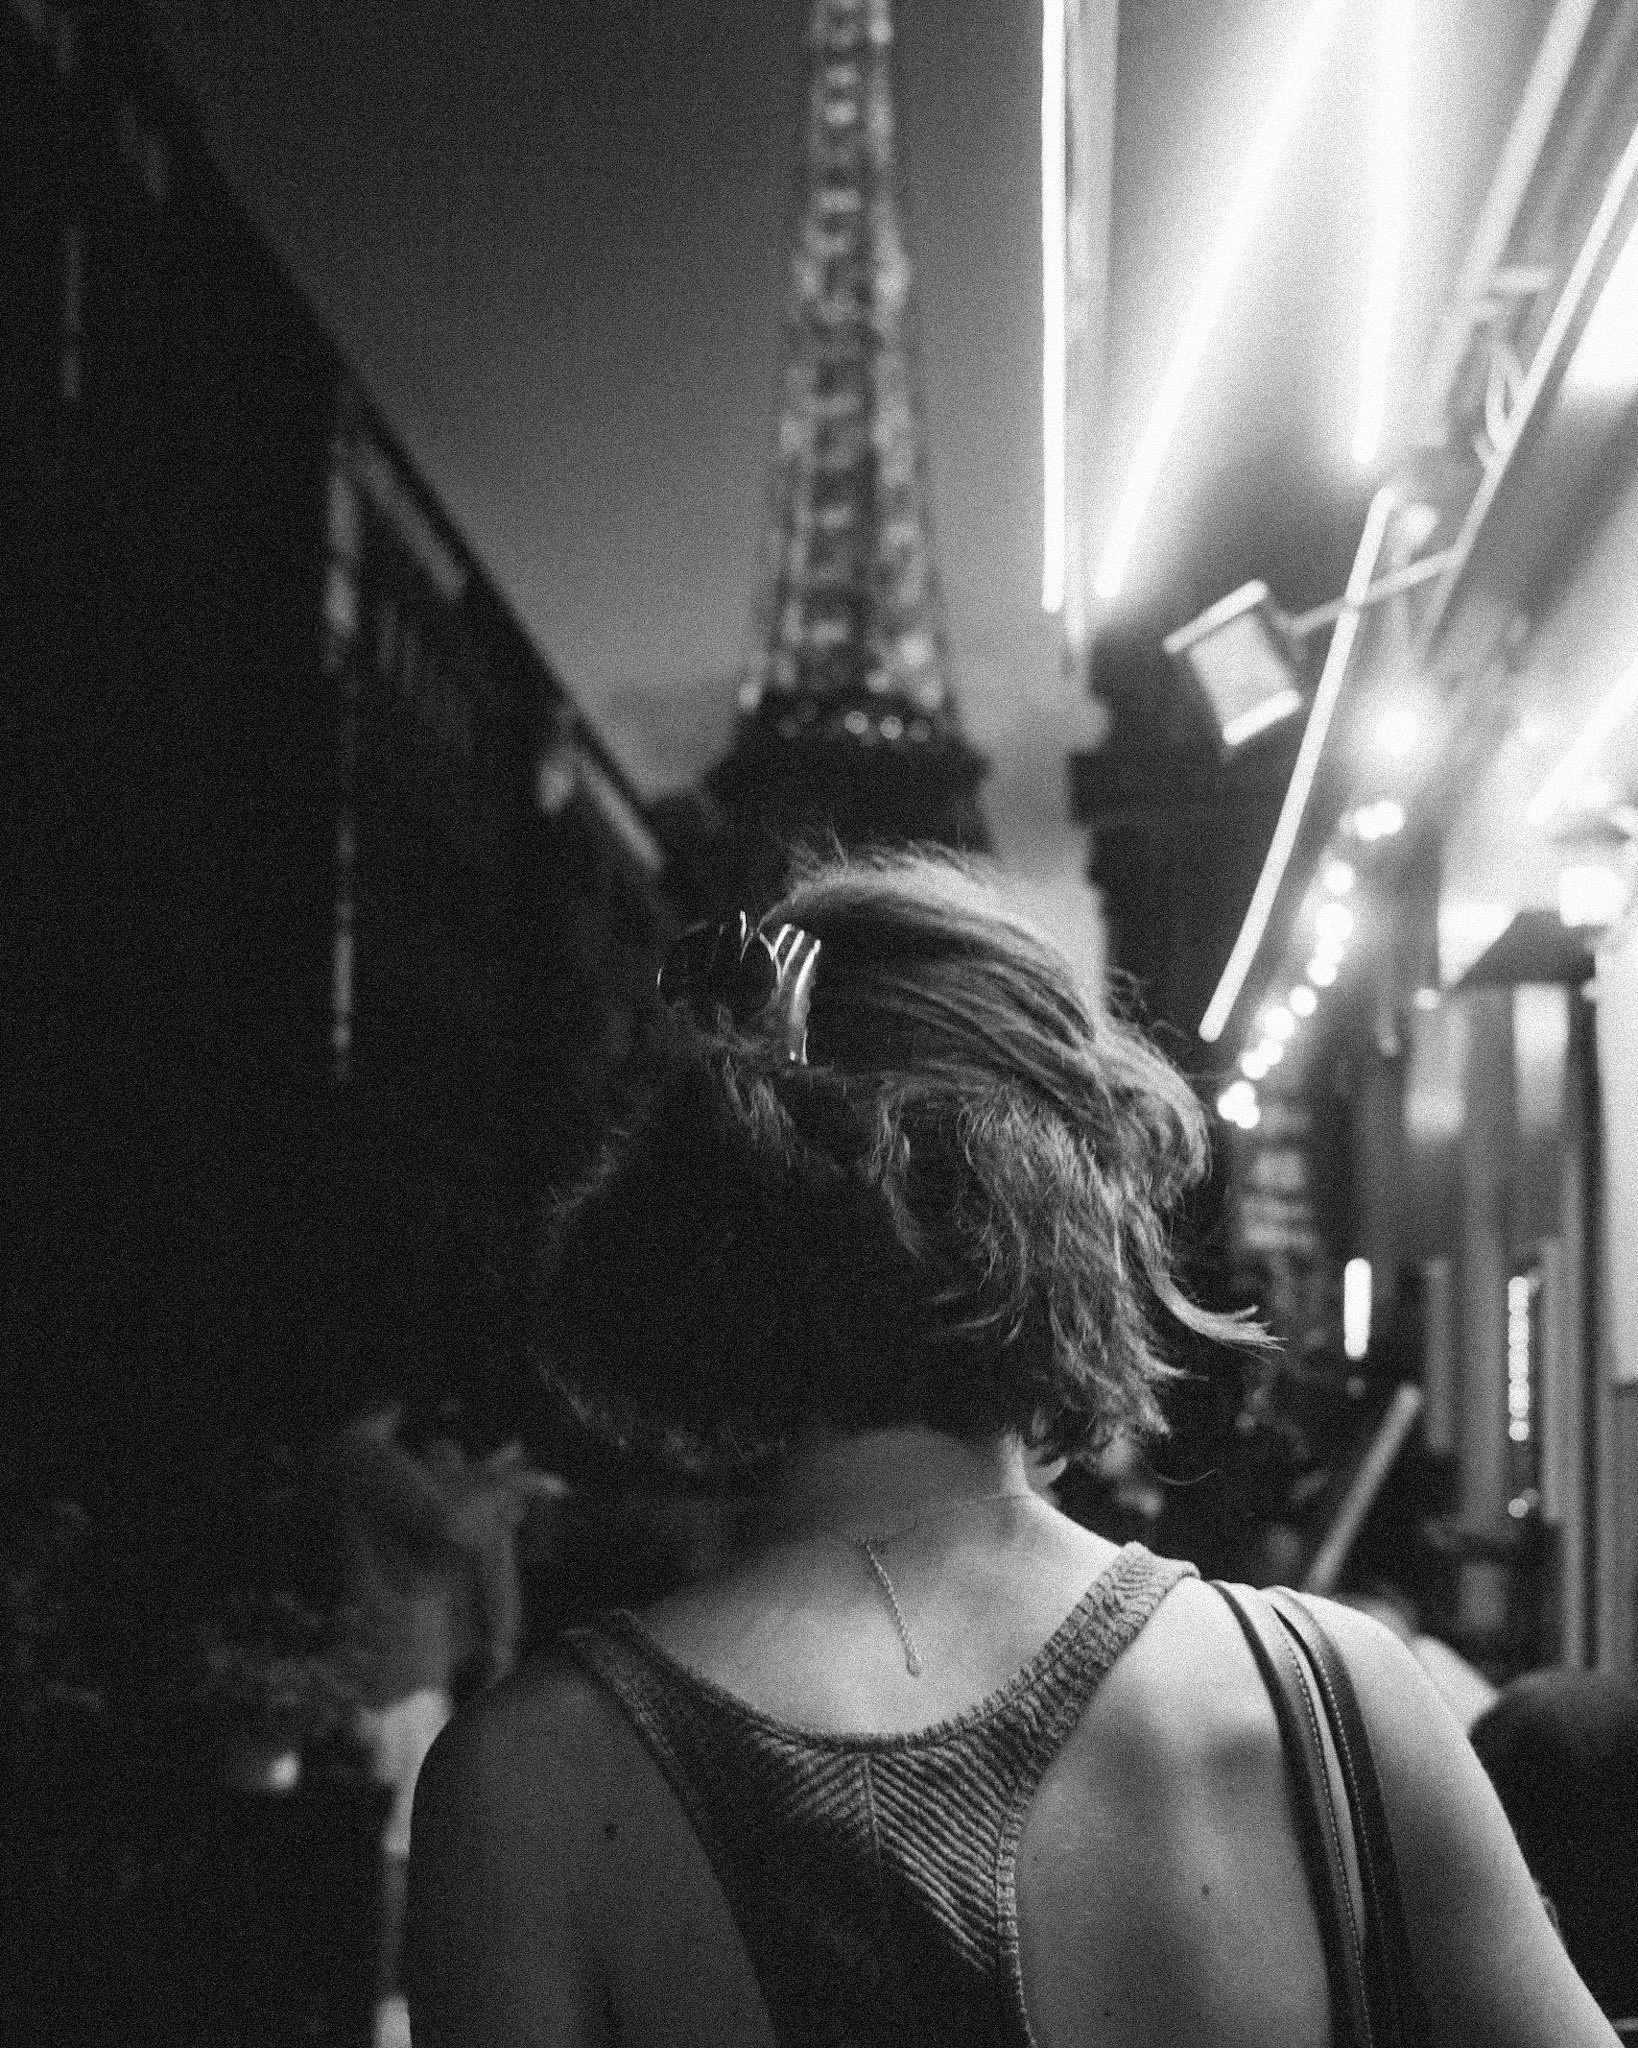
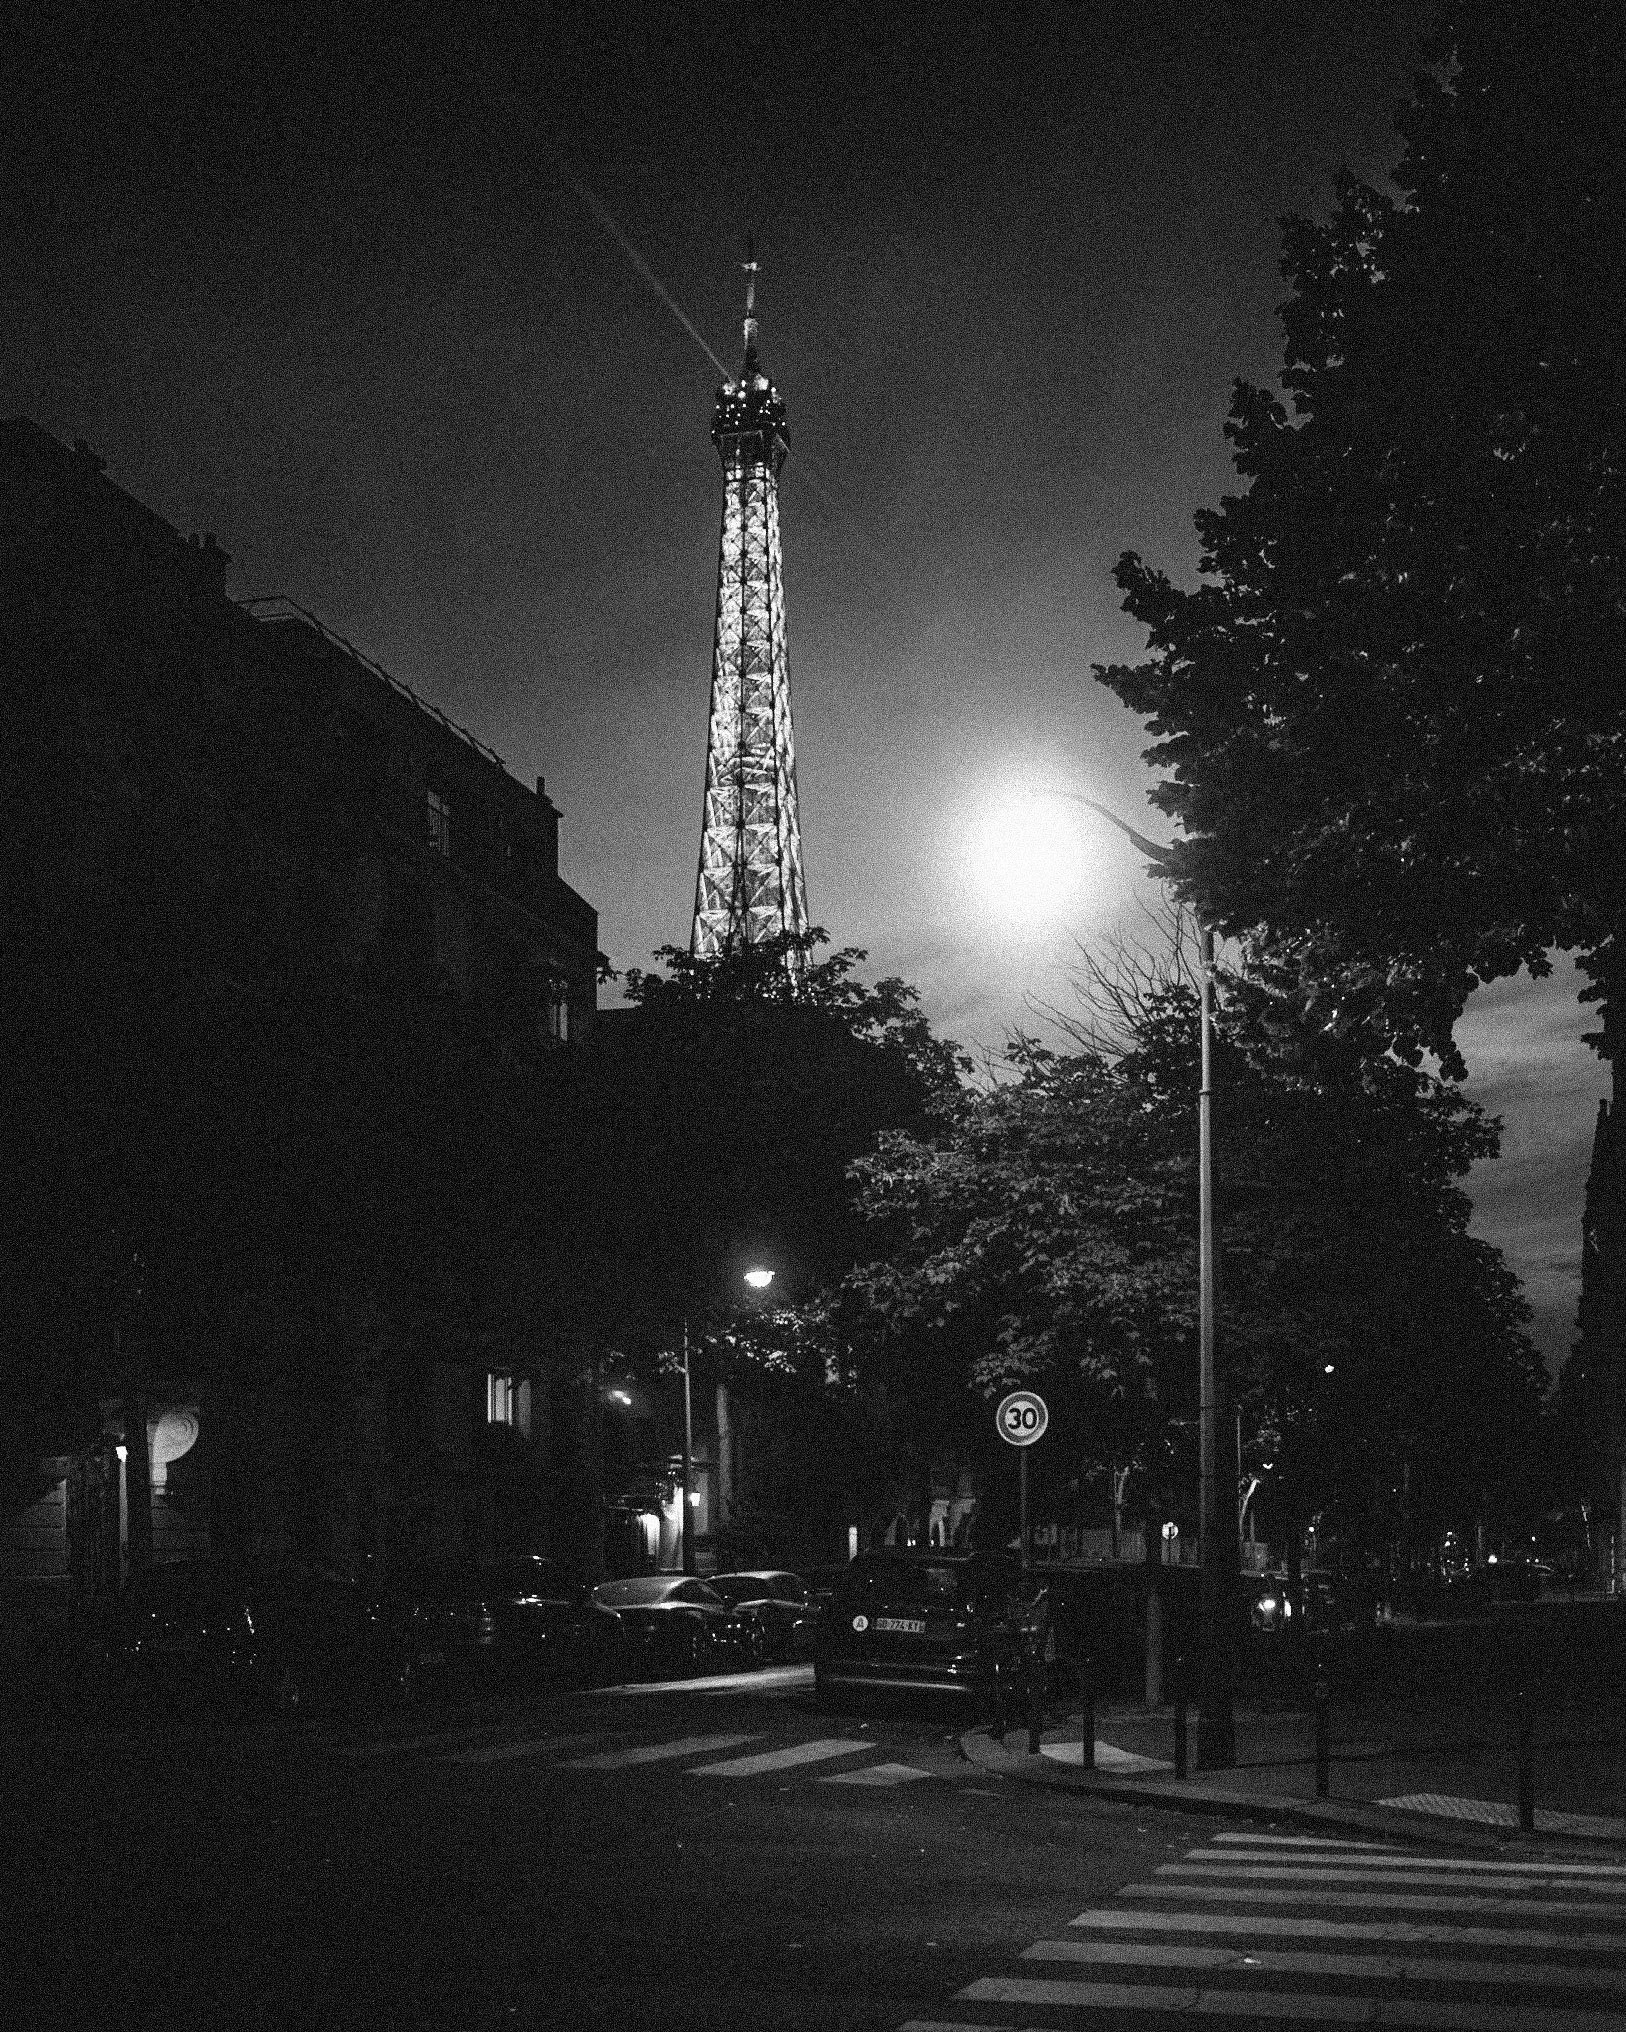
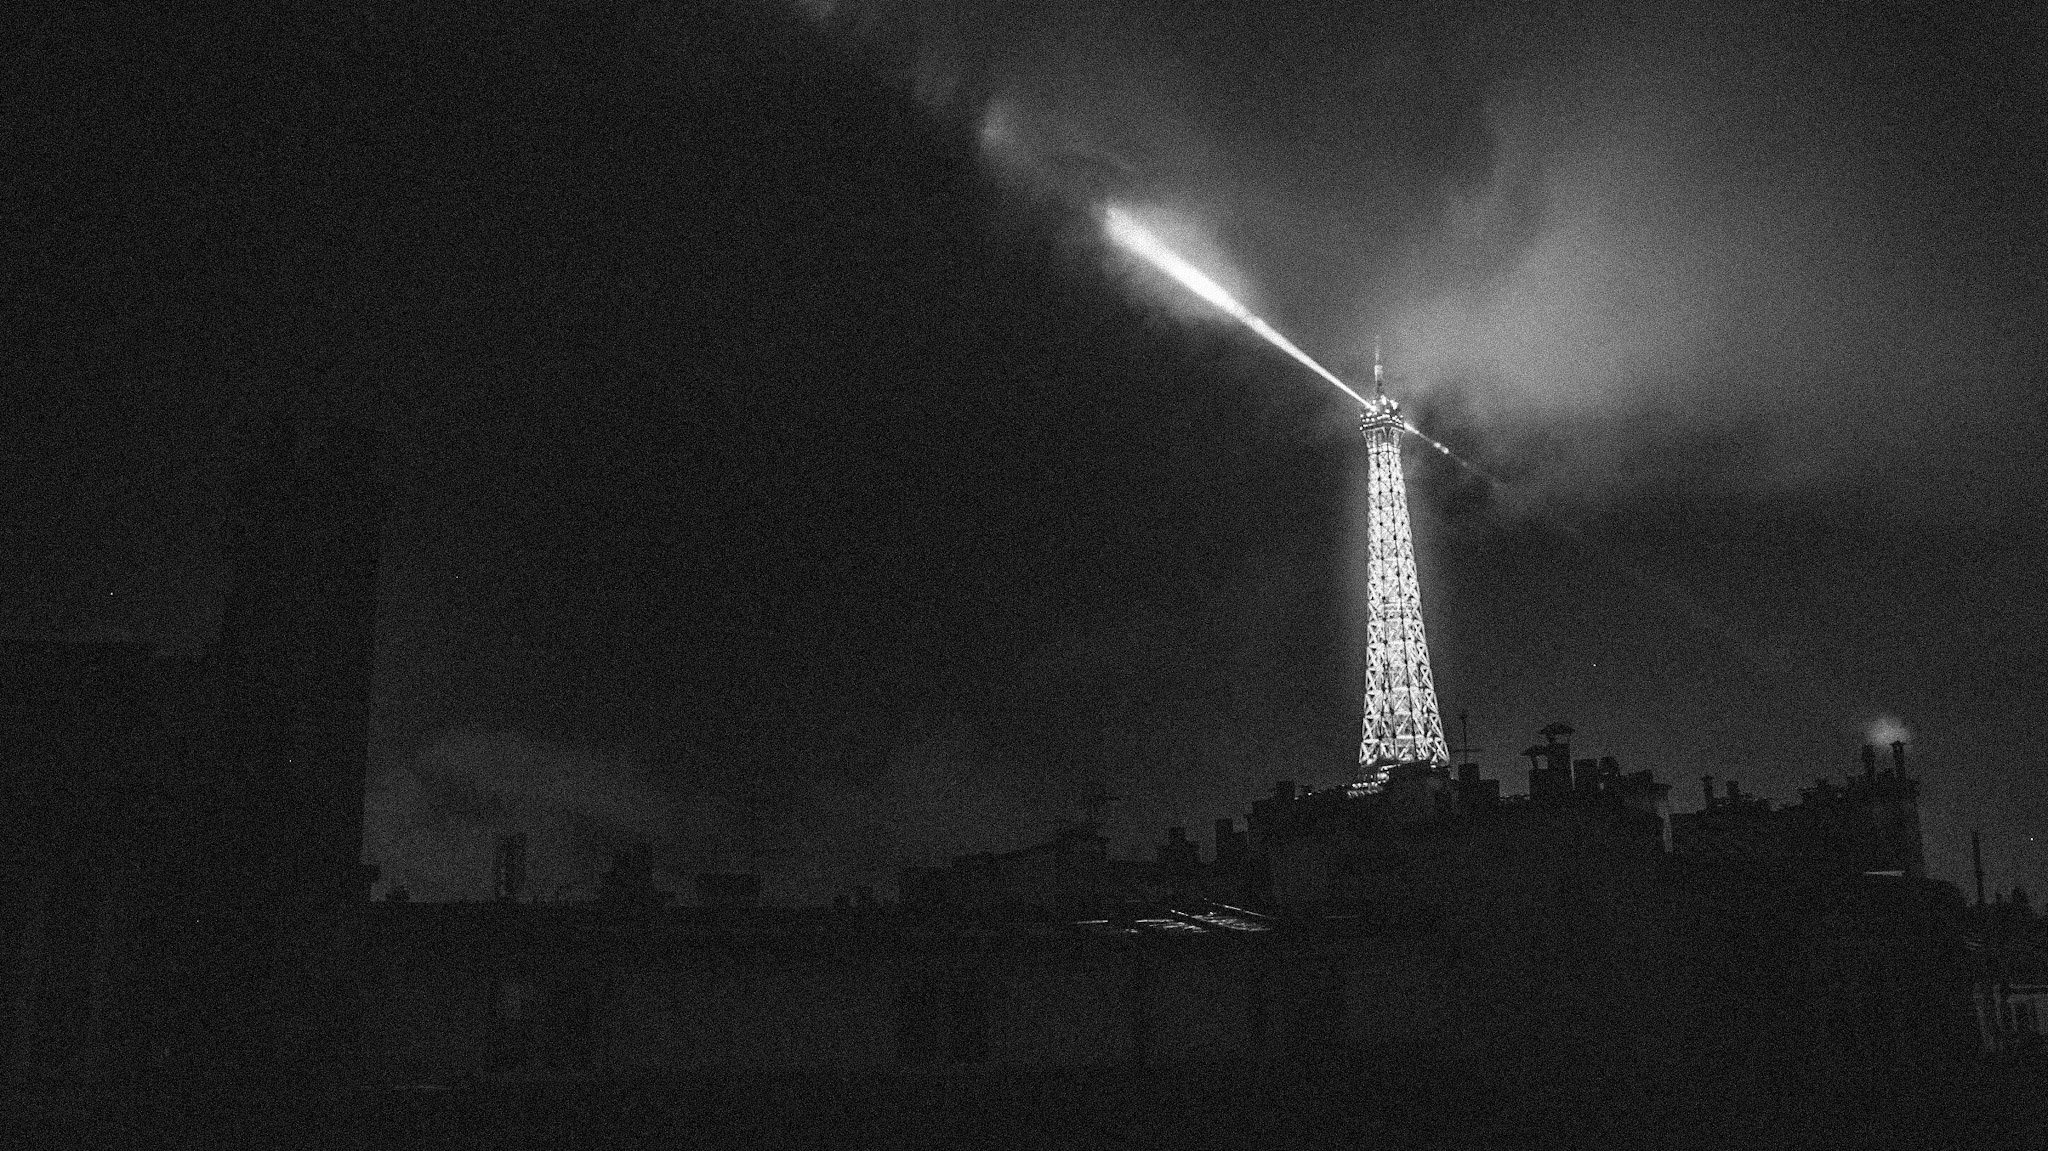
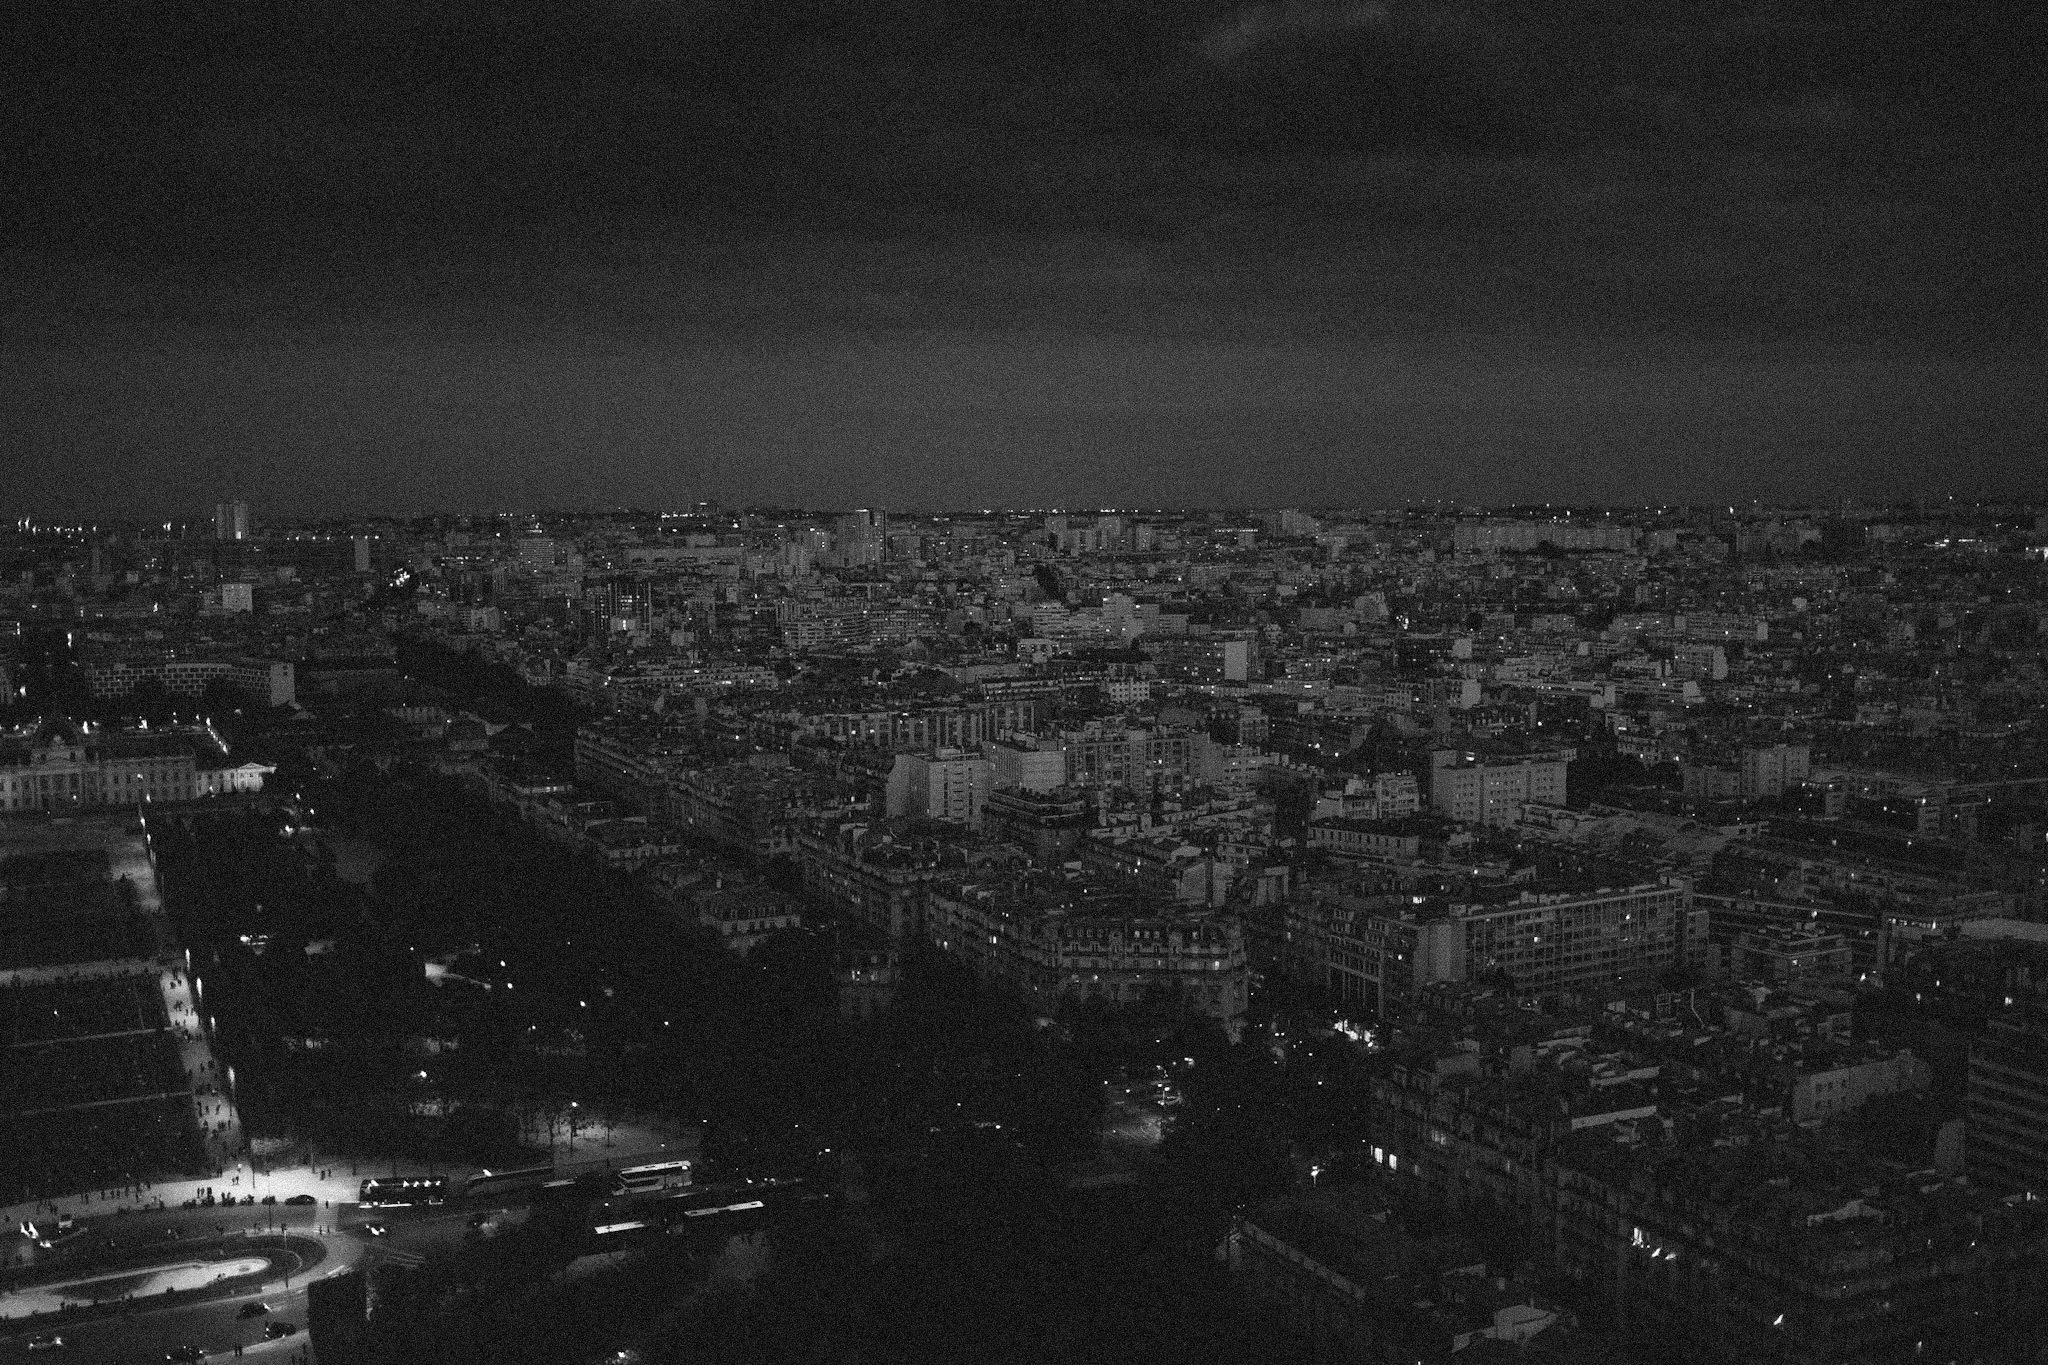
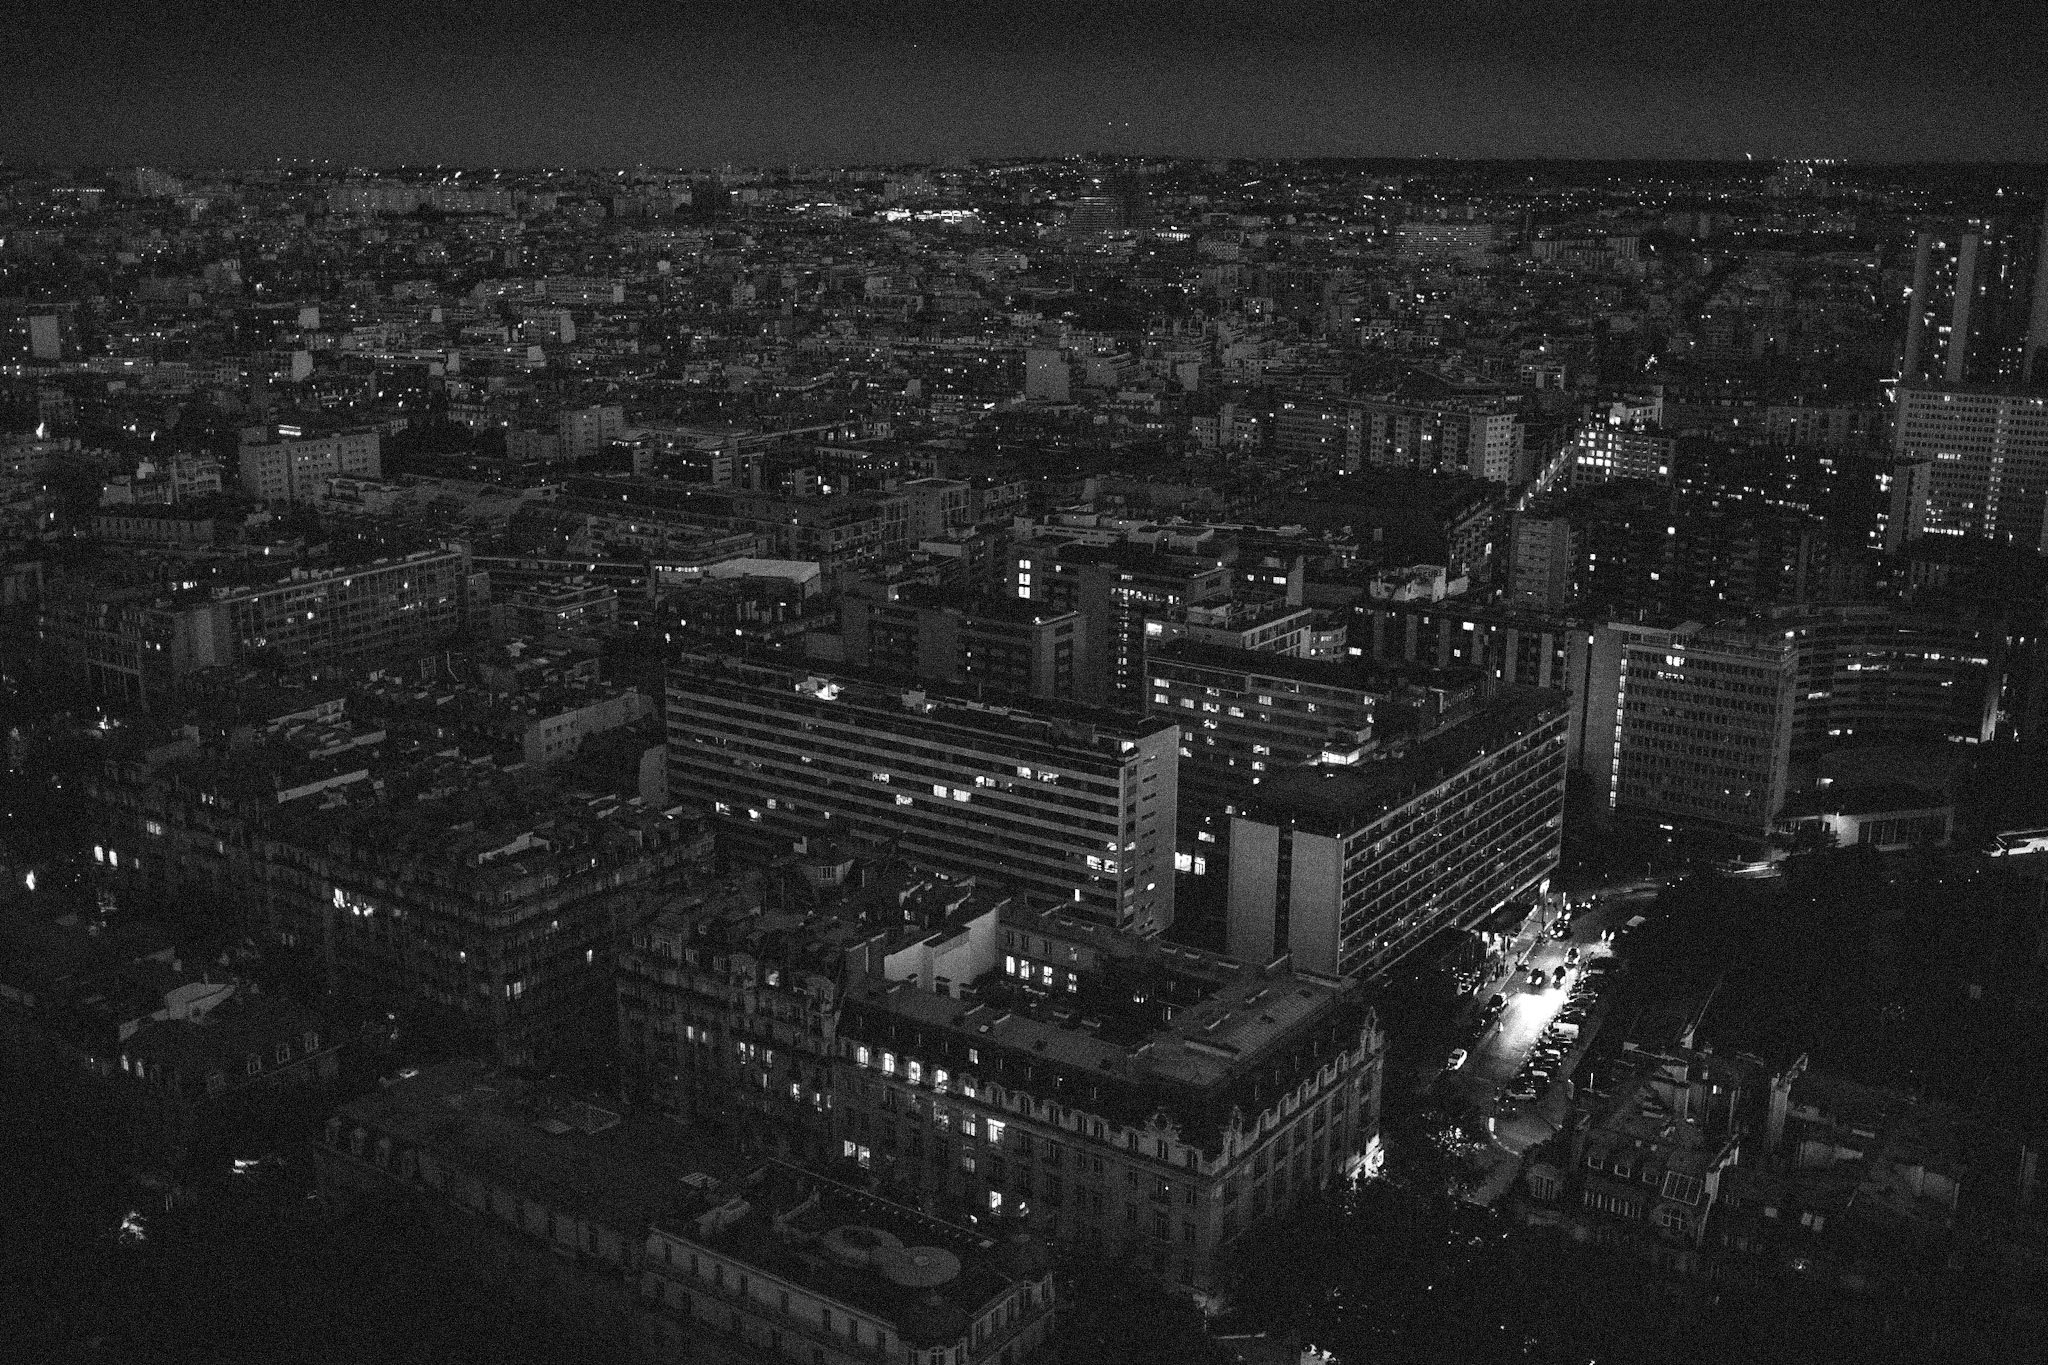
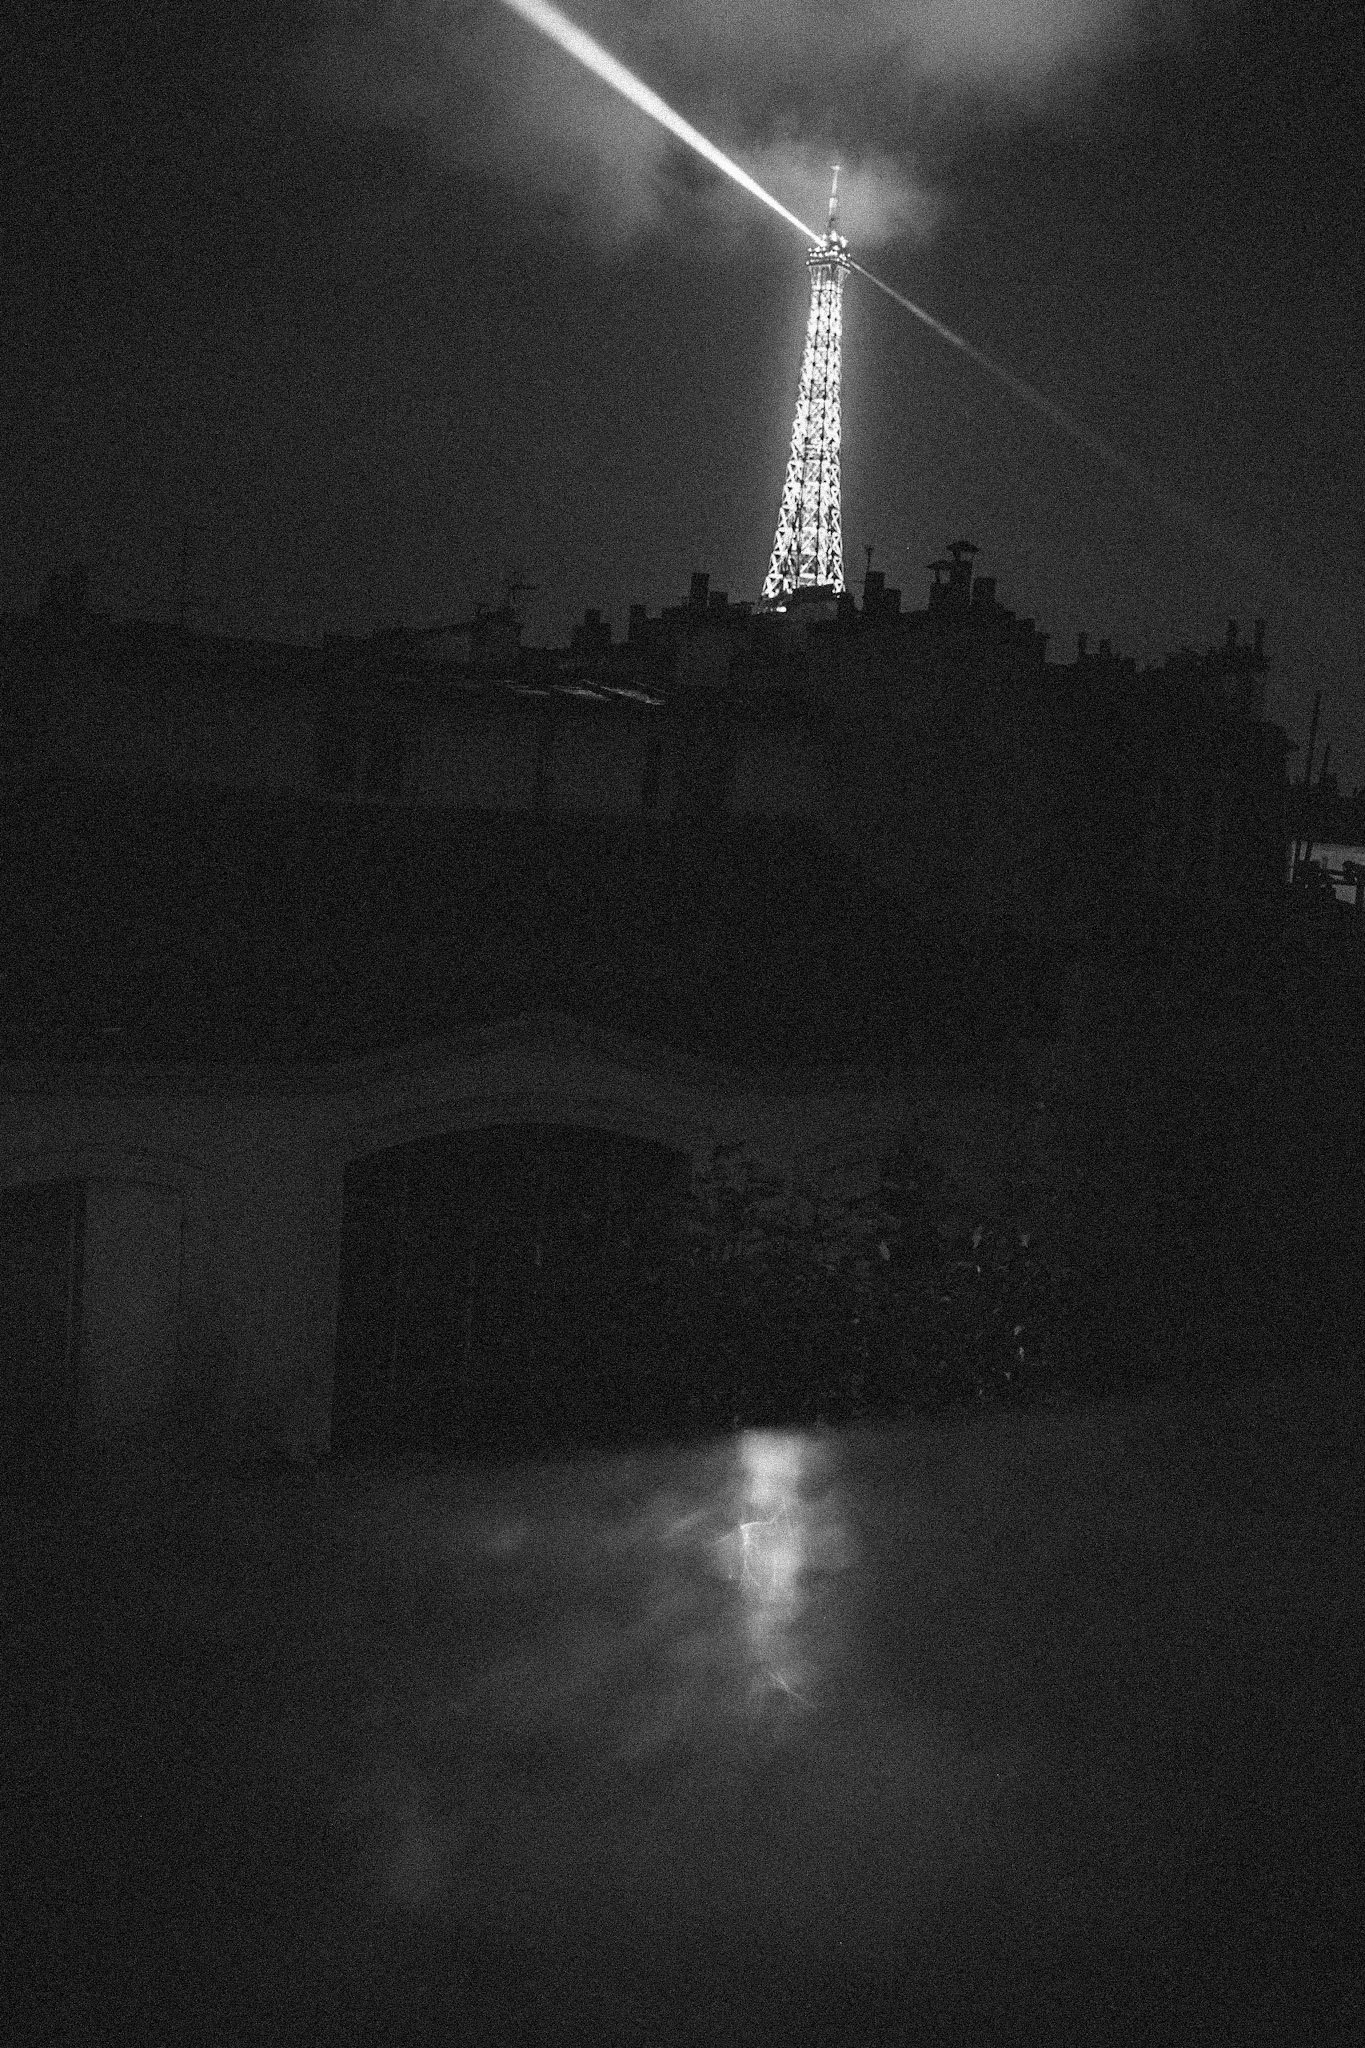
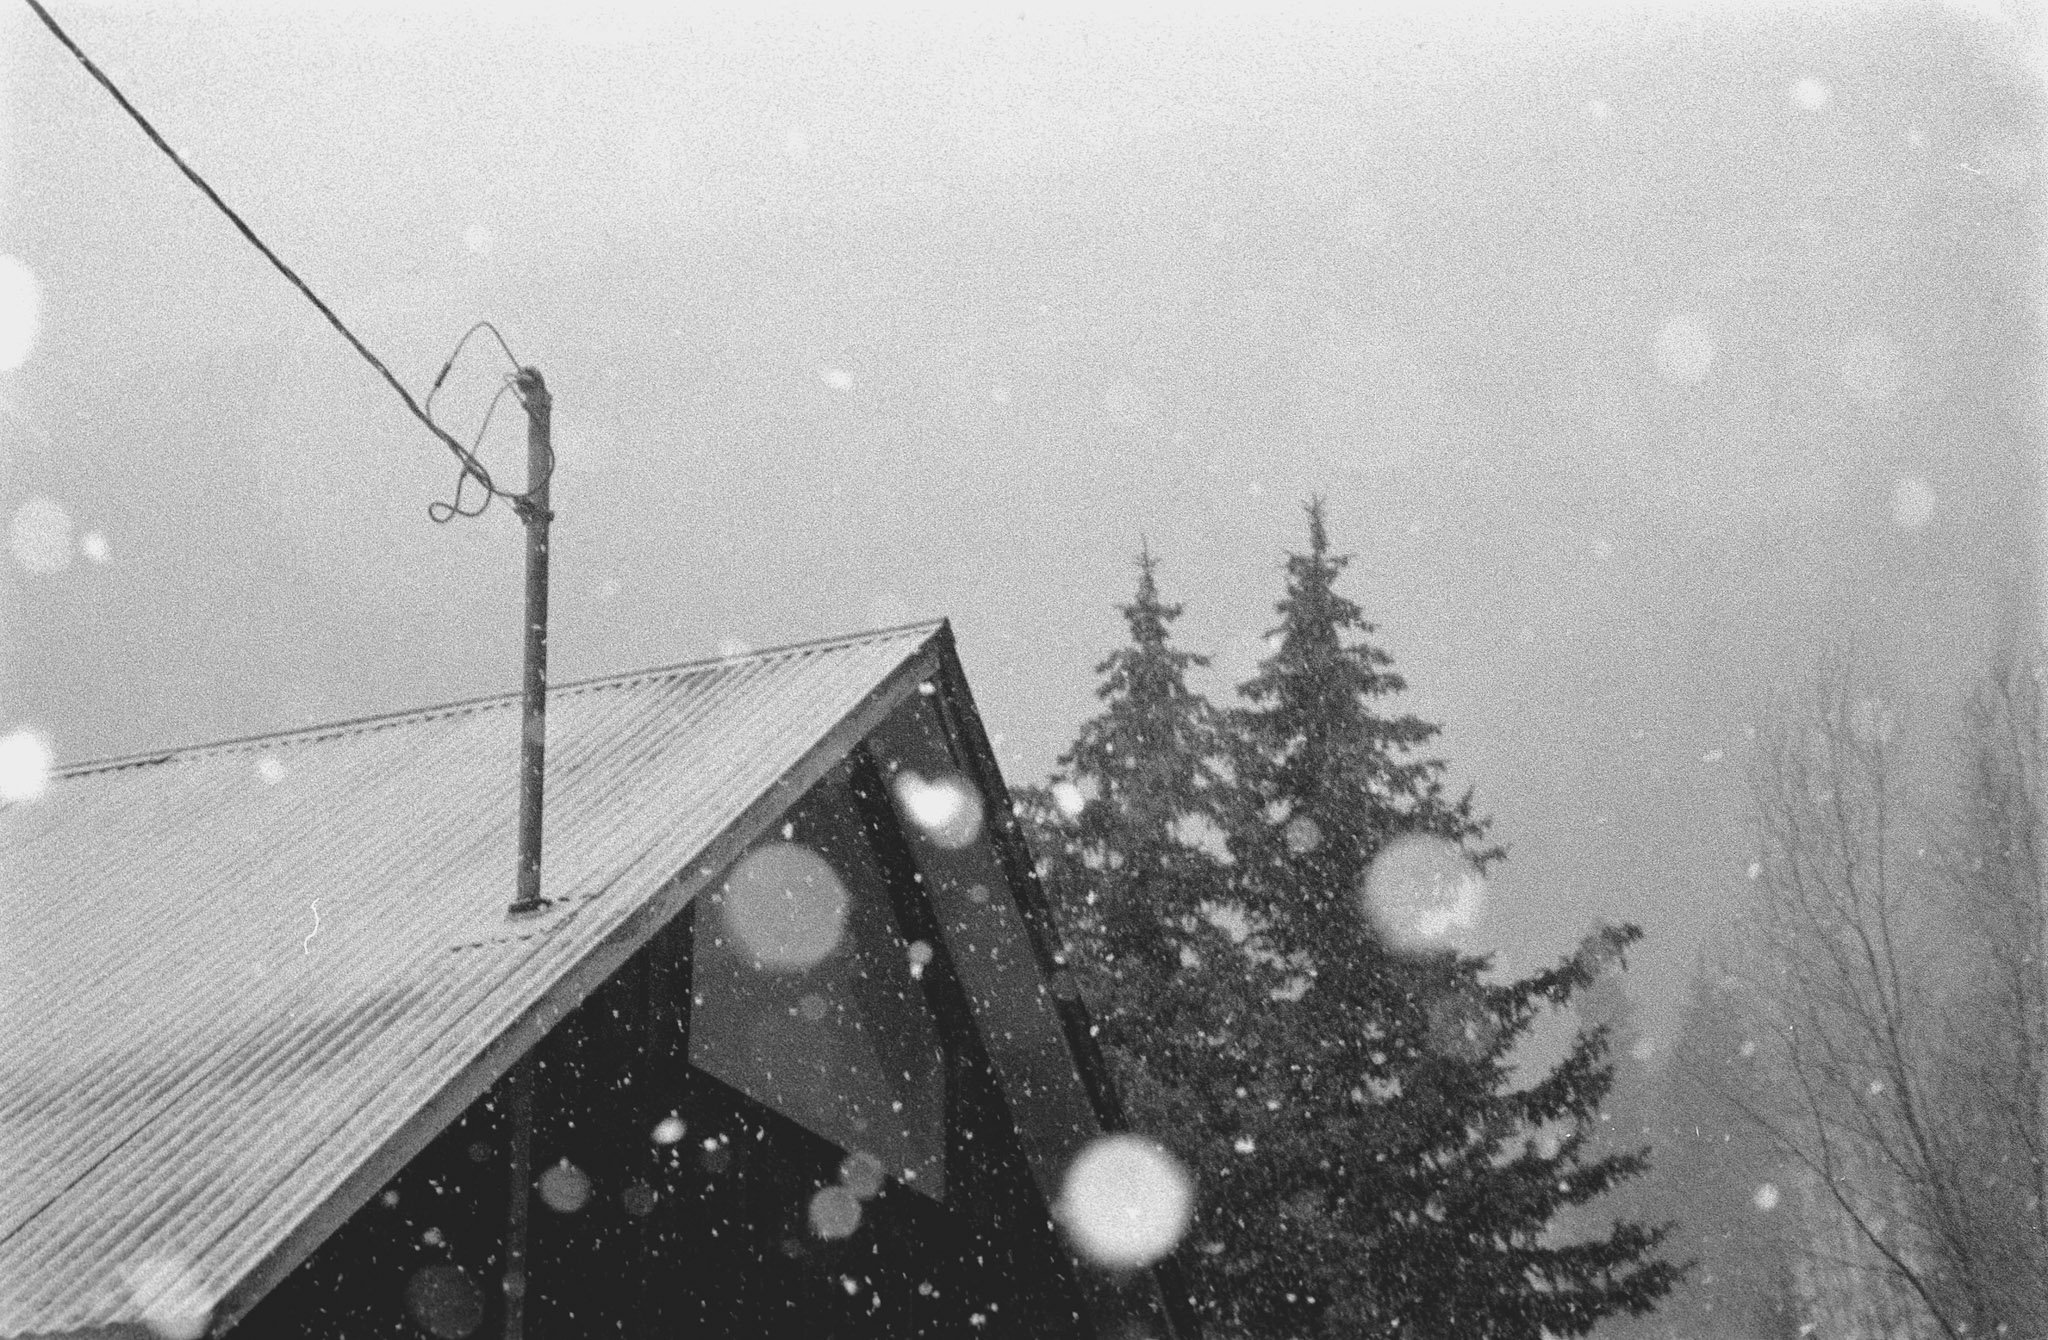
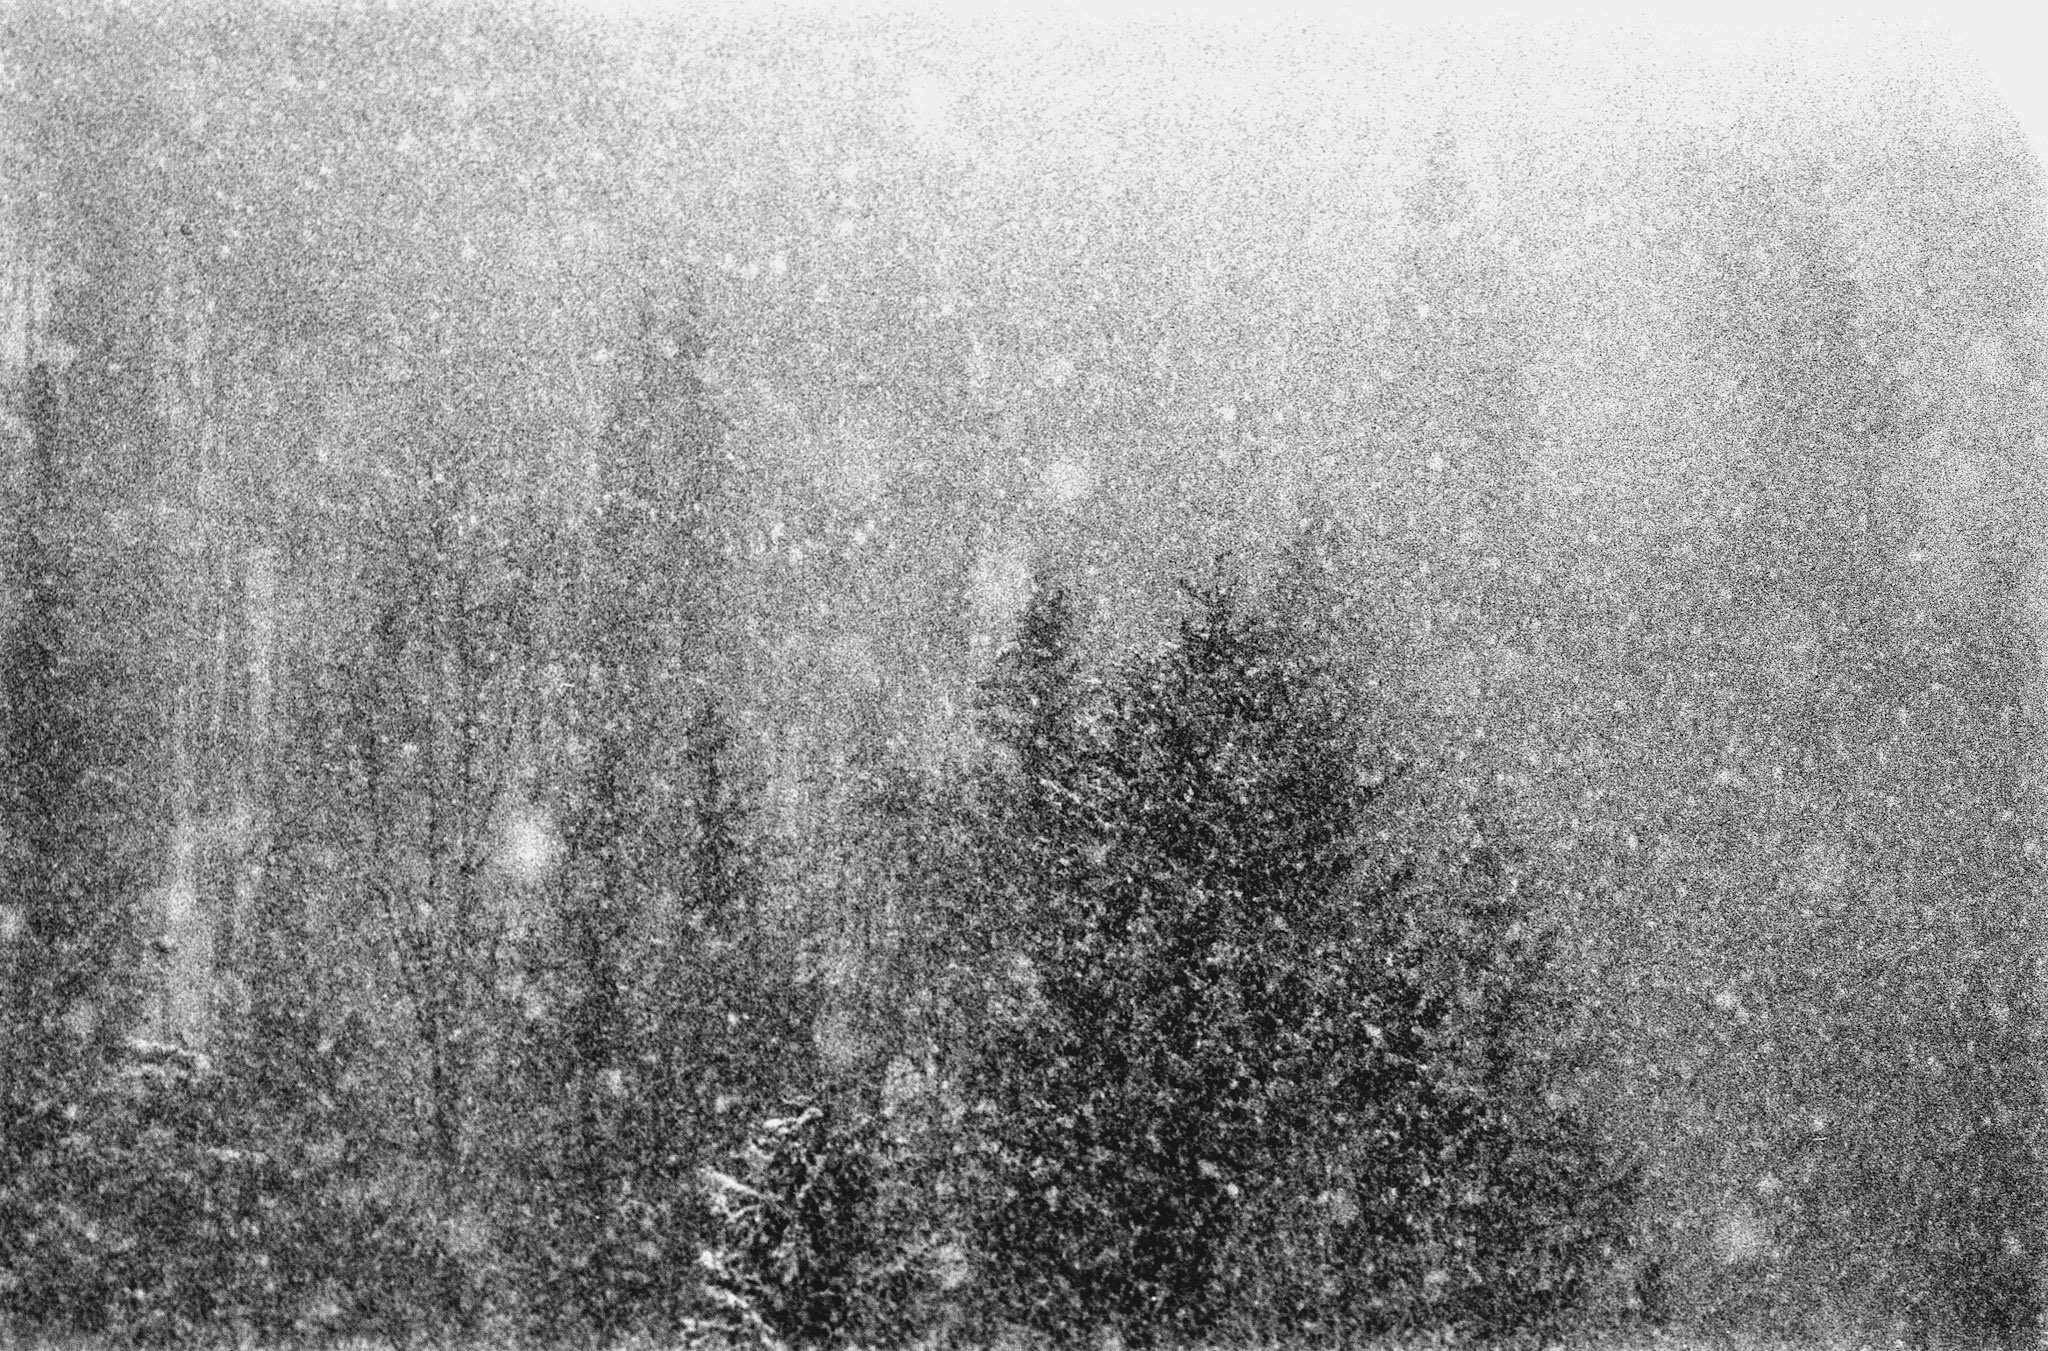
Before I start my comparison I will say comparing Fuji’s flag ship compact camera to a 20 year old Ricoh may sound unfair, and it is, but I can tell you right now the only camera I dearly missed in Paris was my old Ricoh.

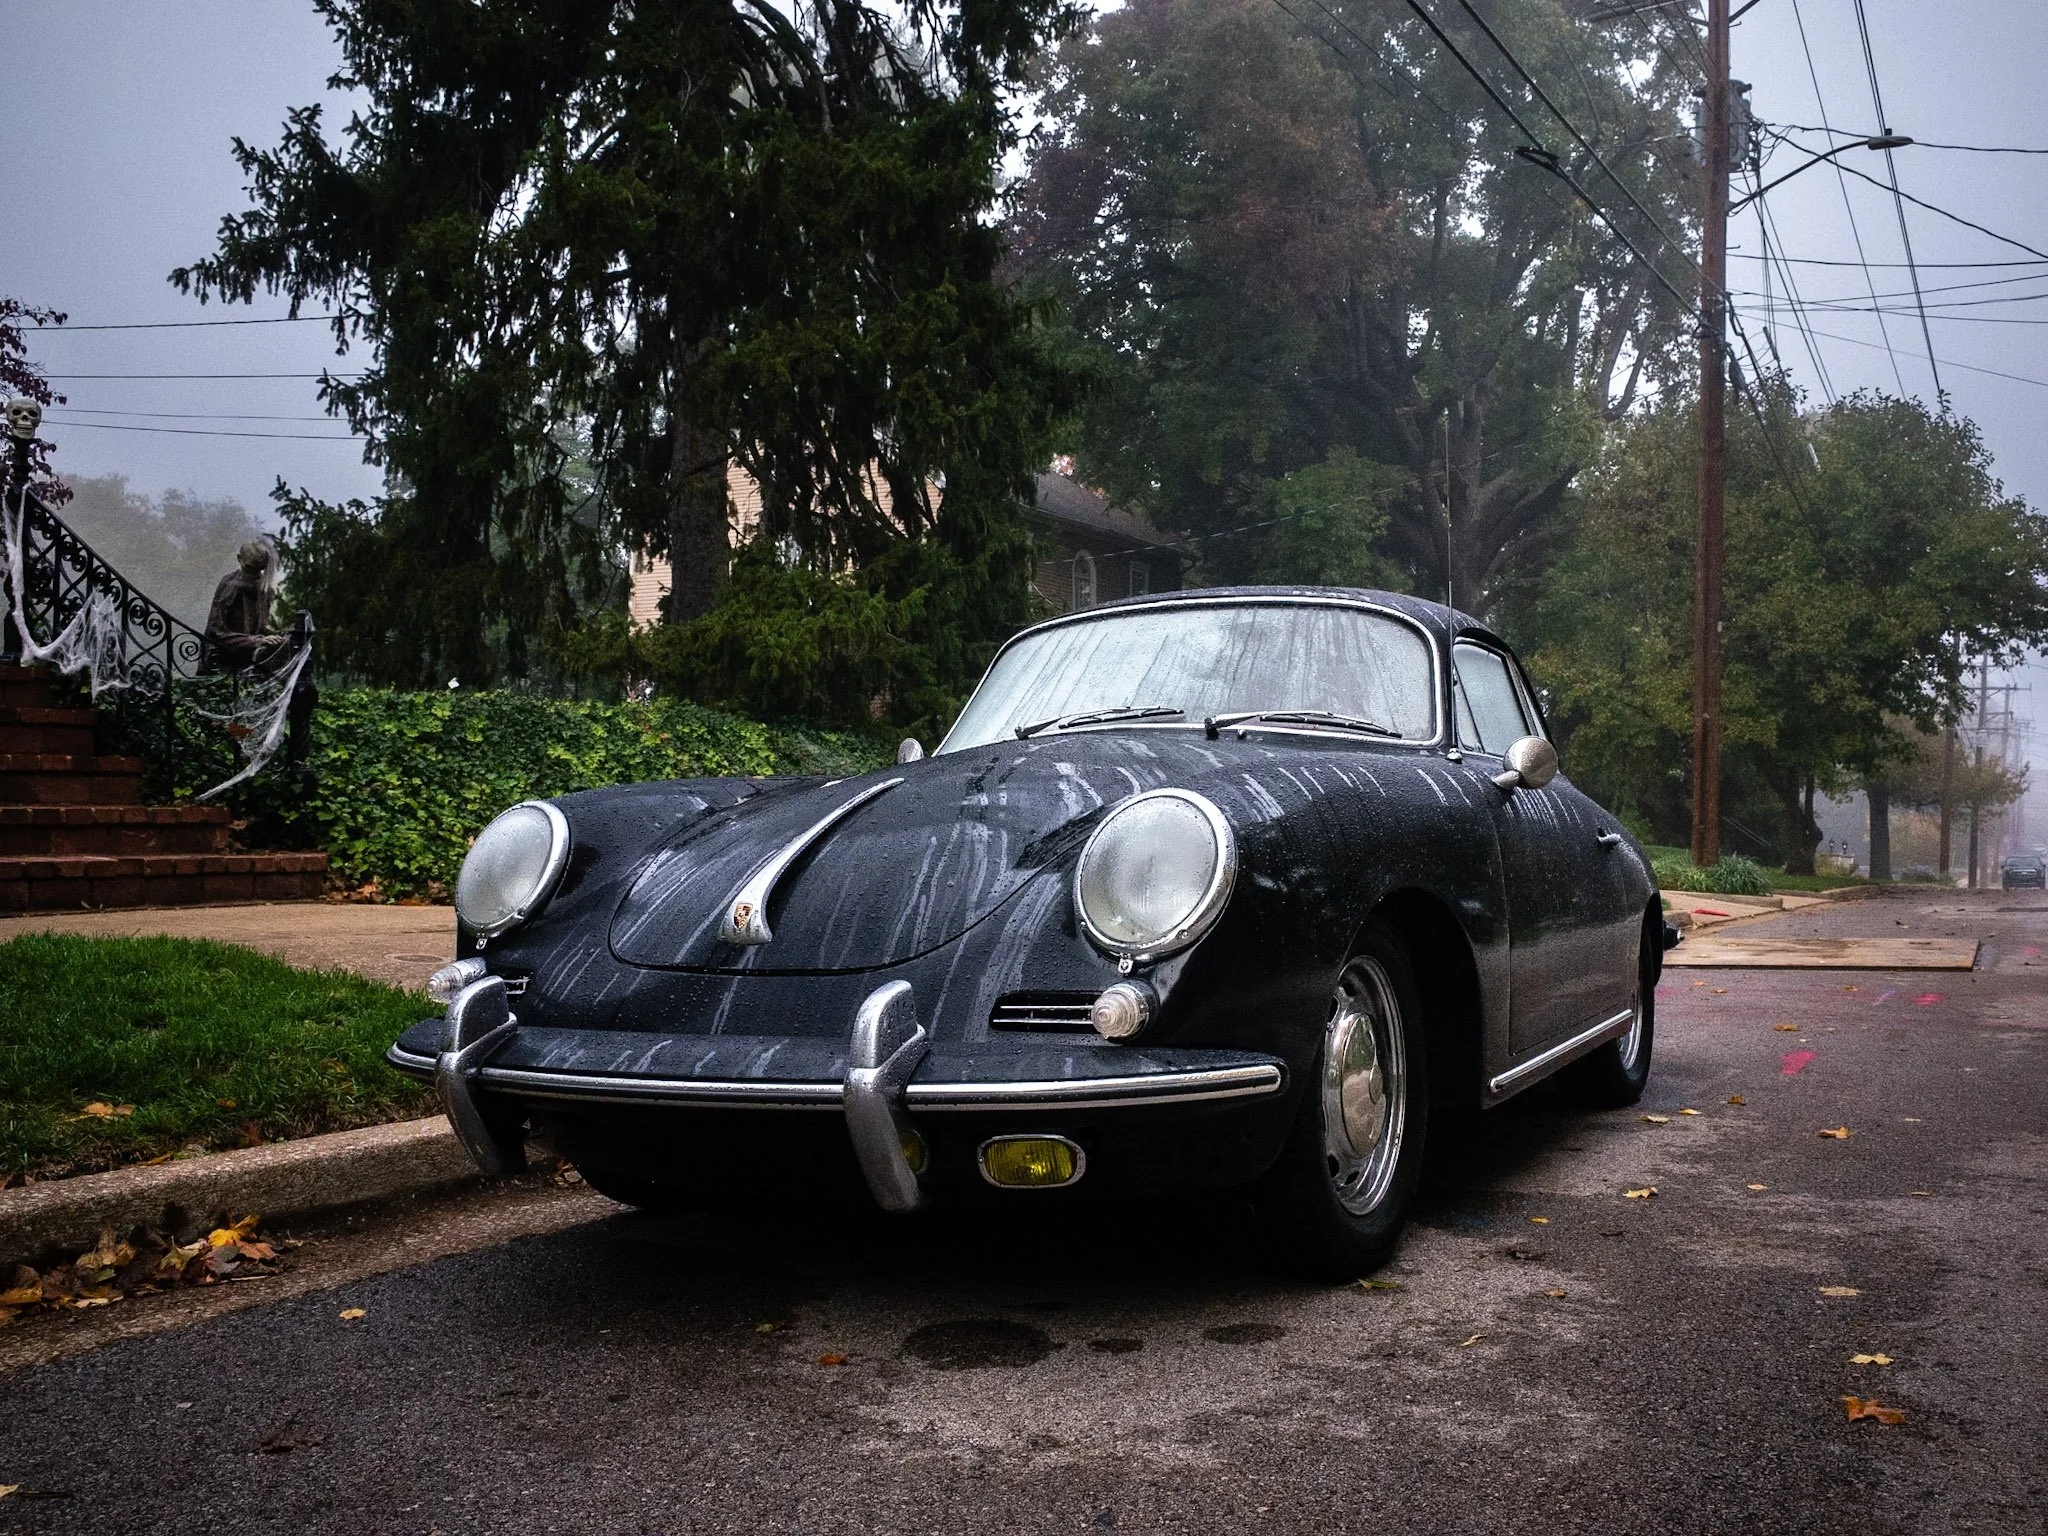
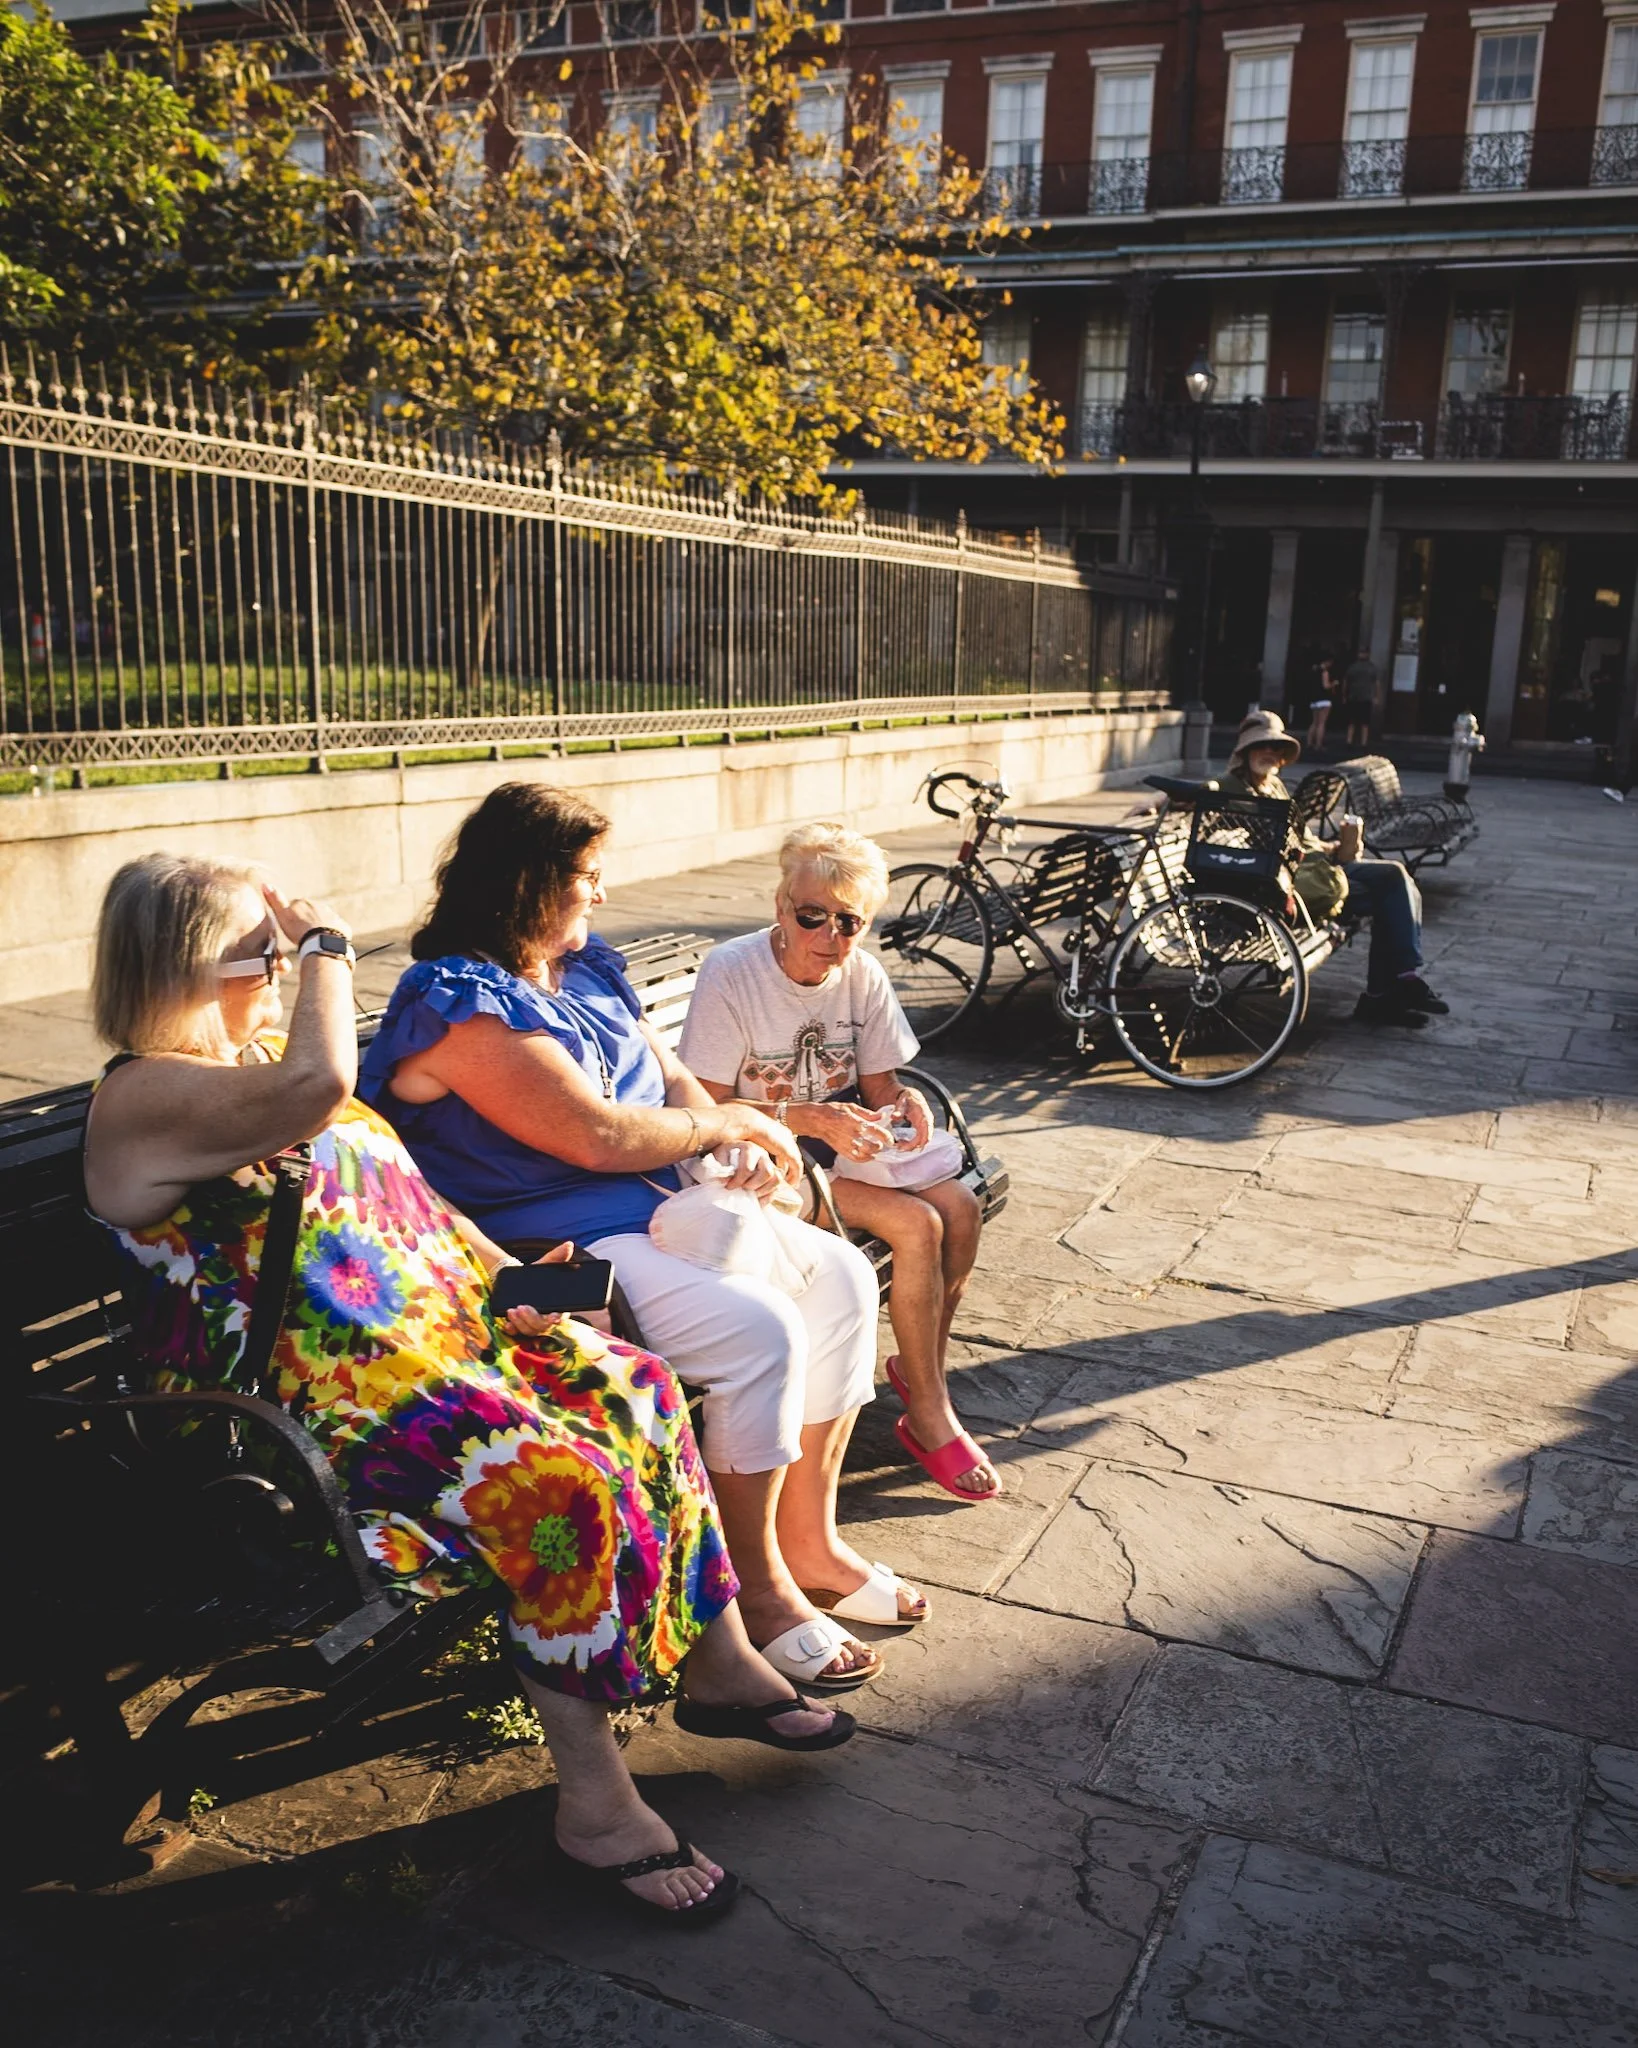
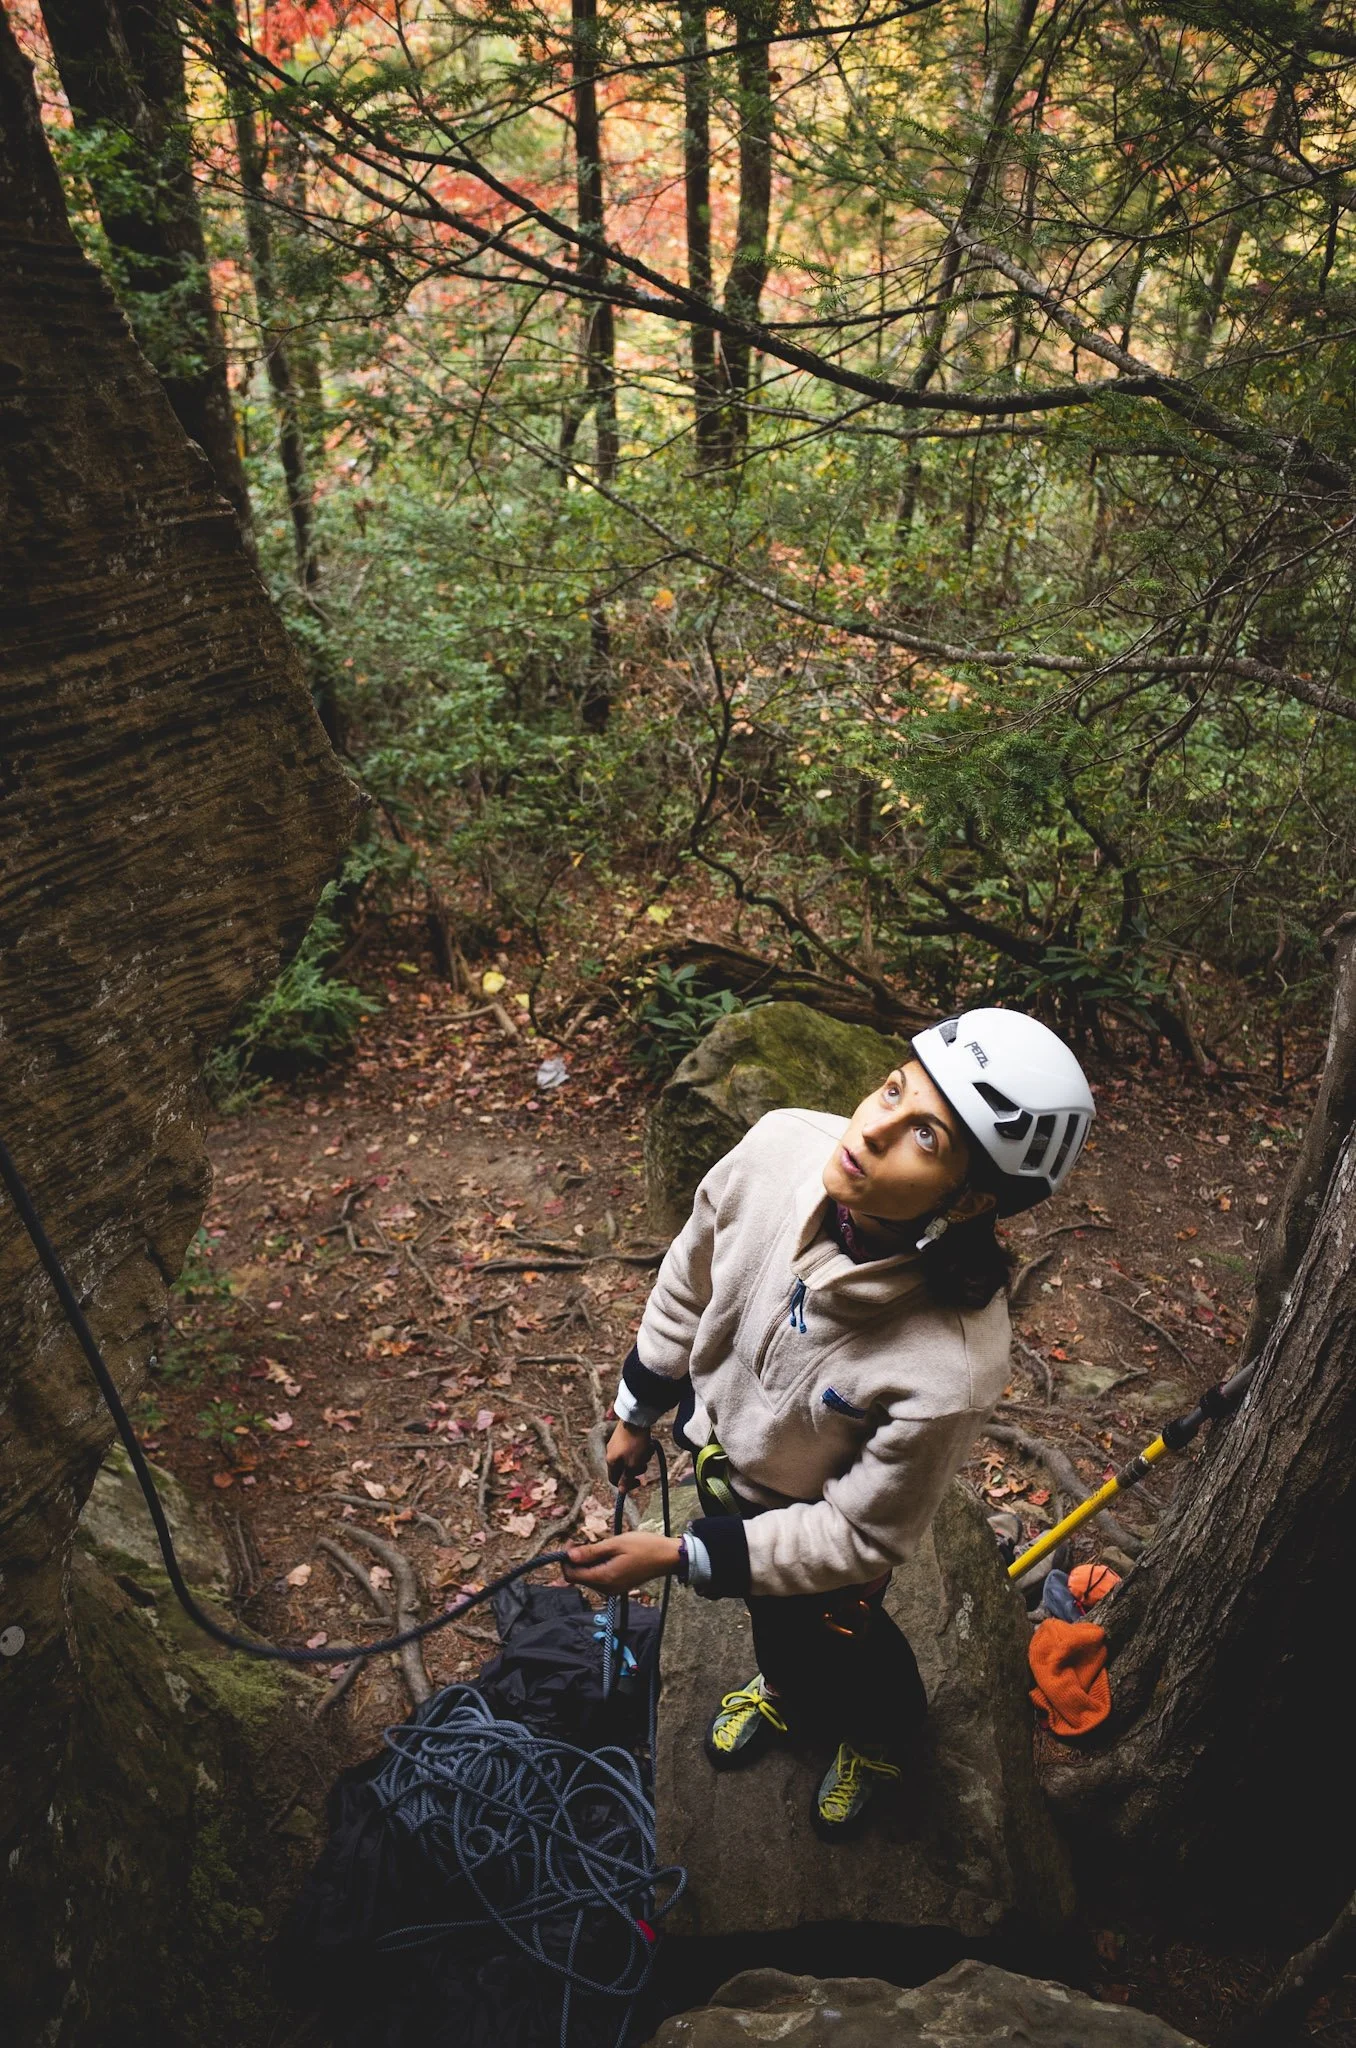
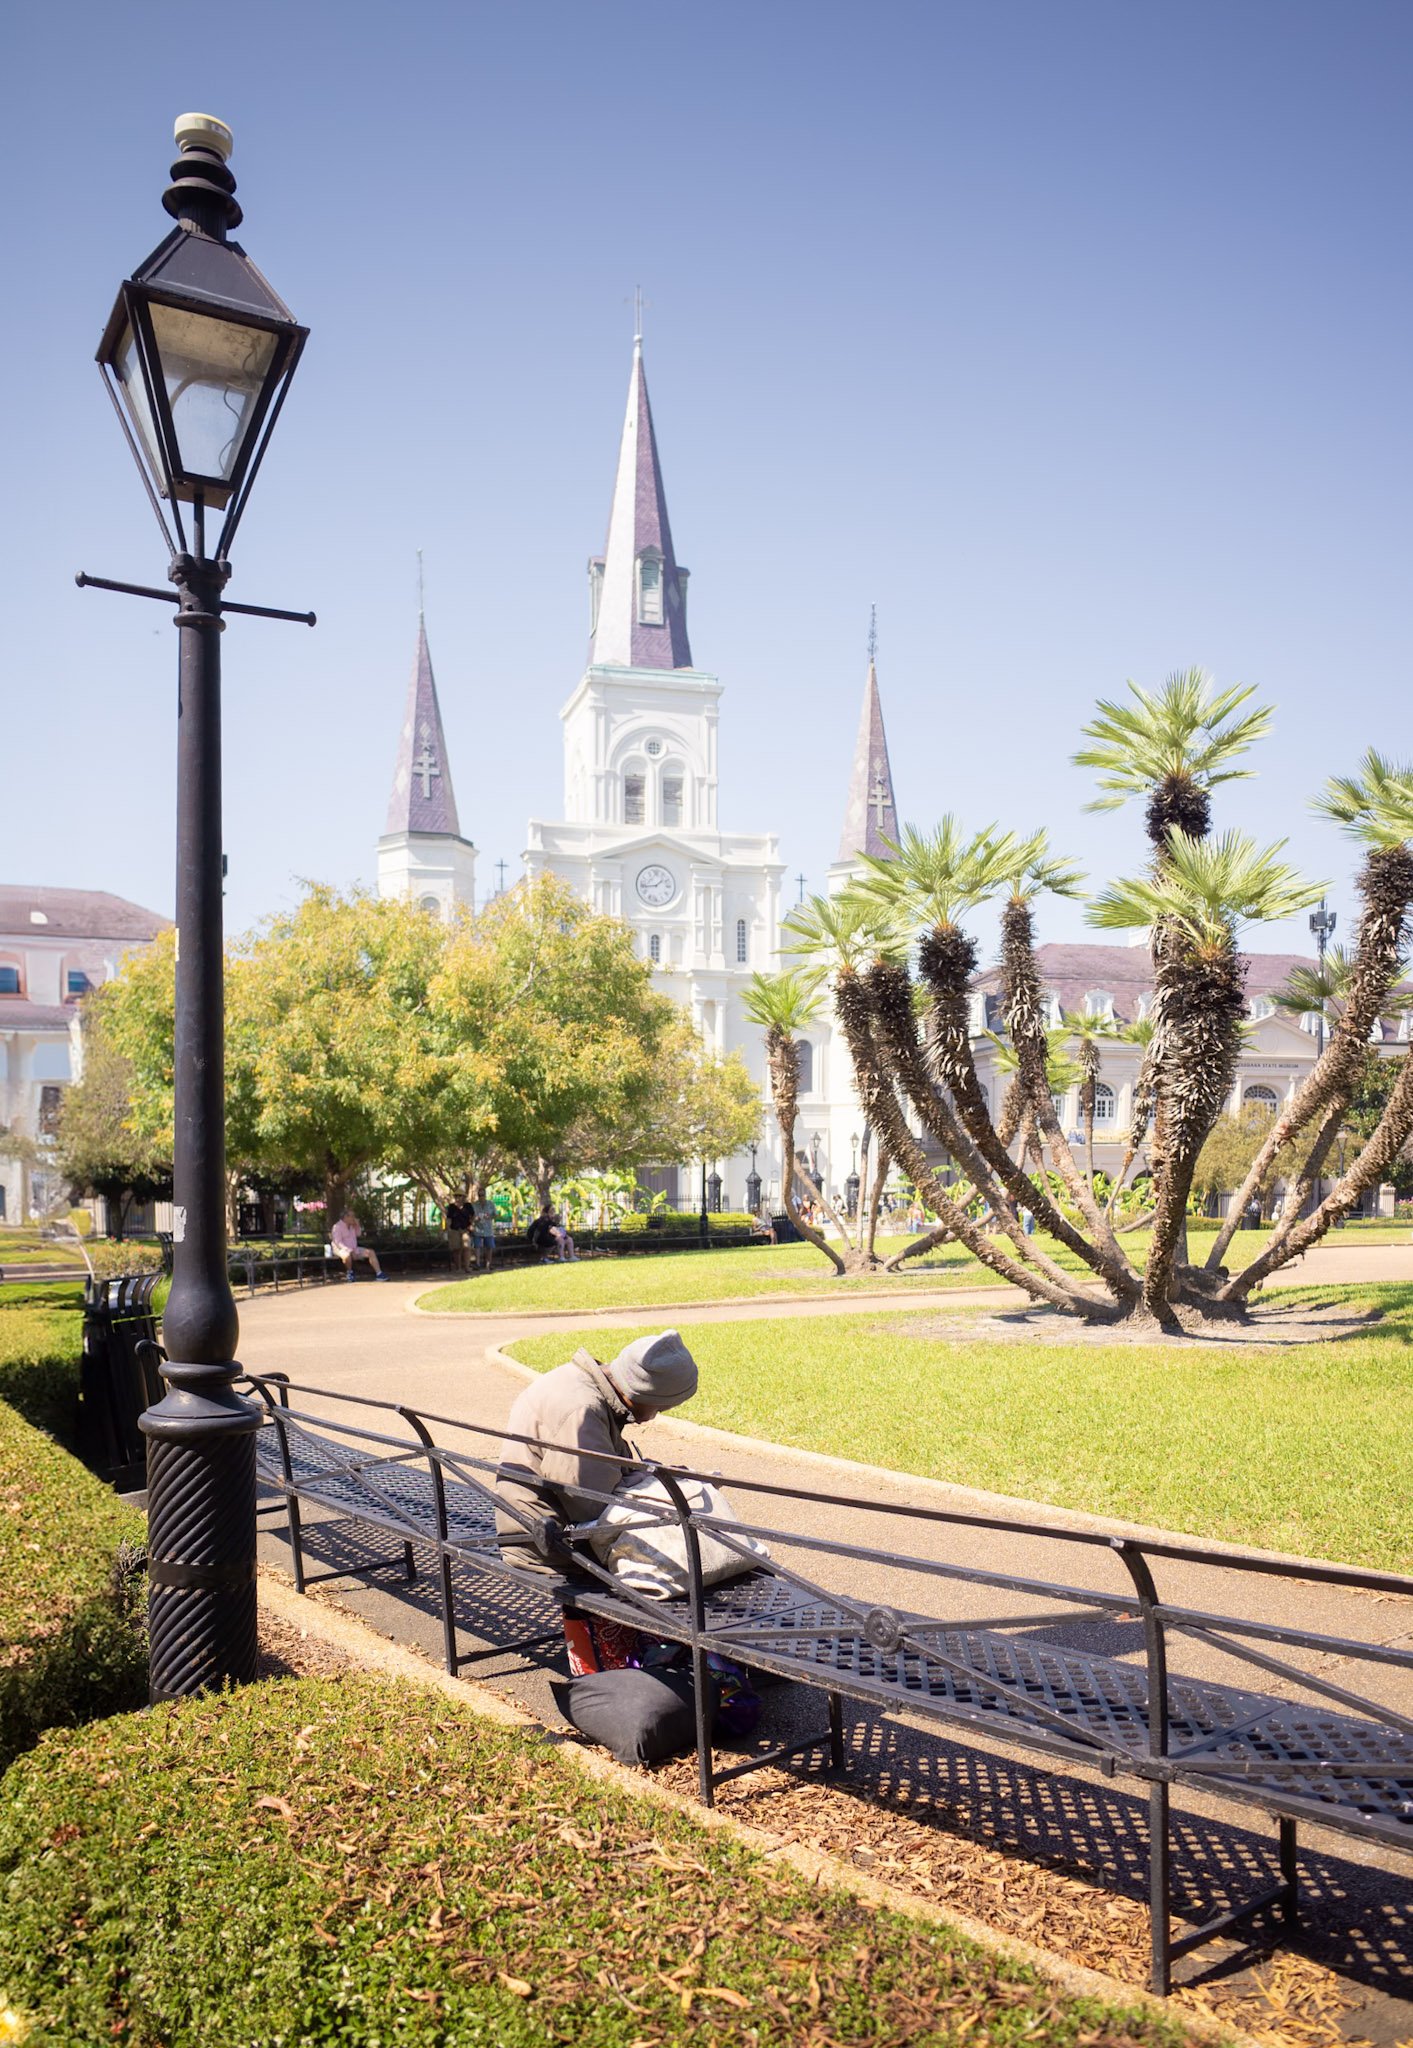
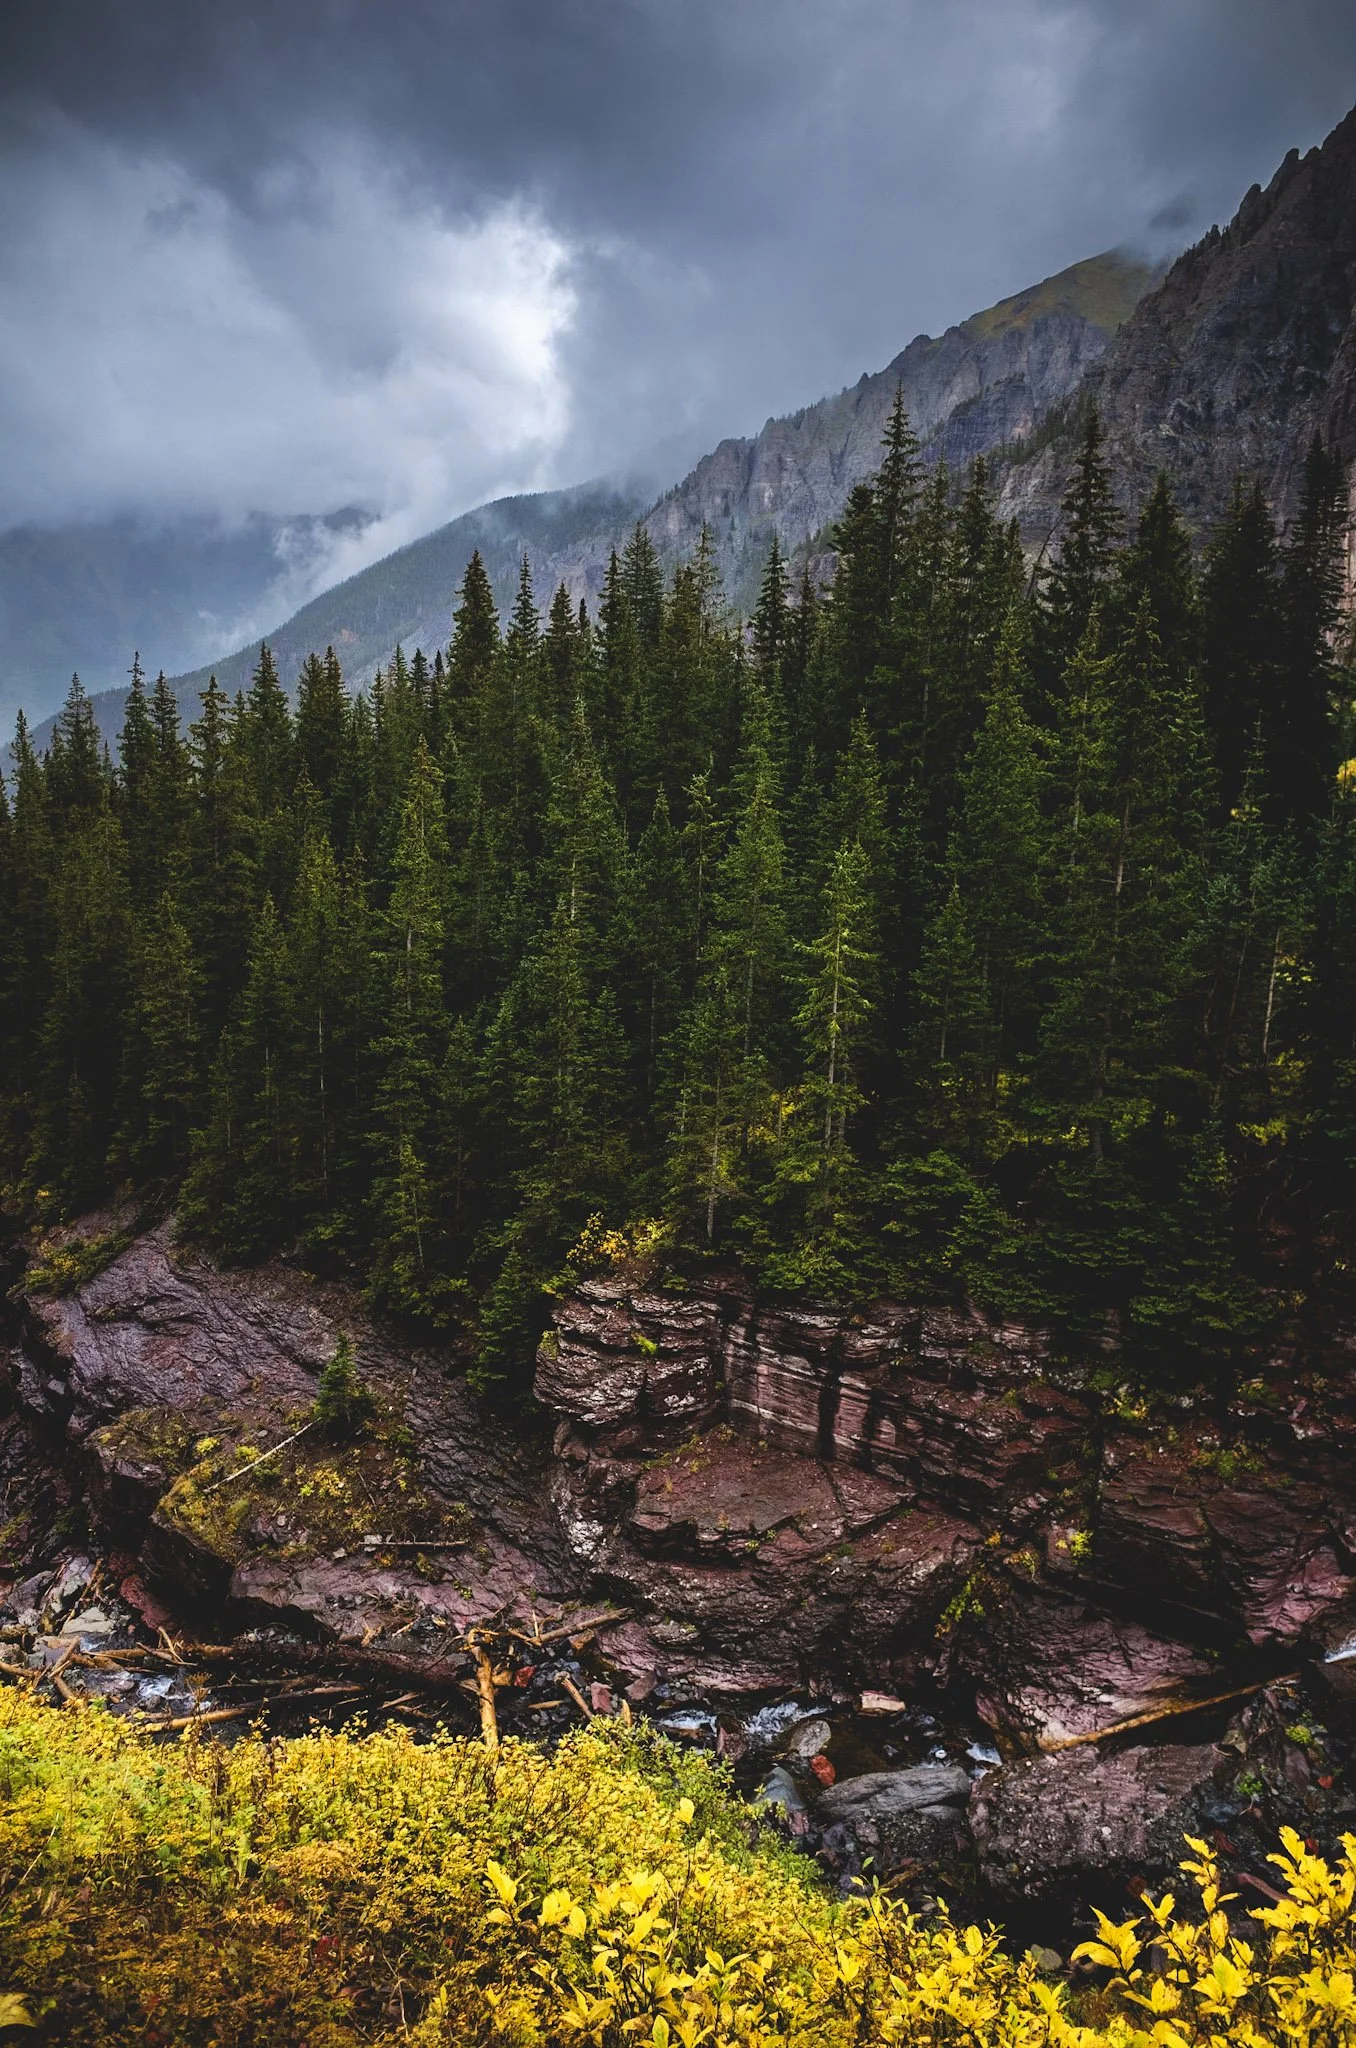
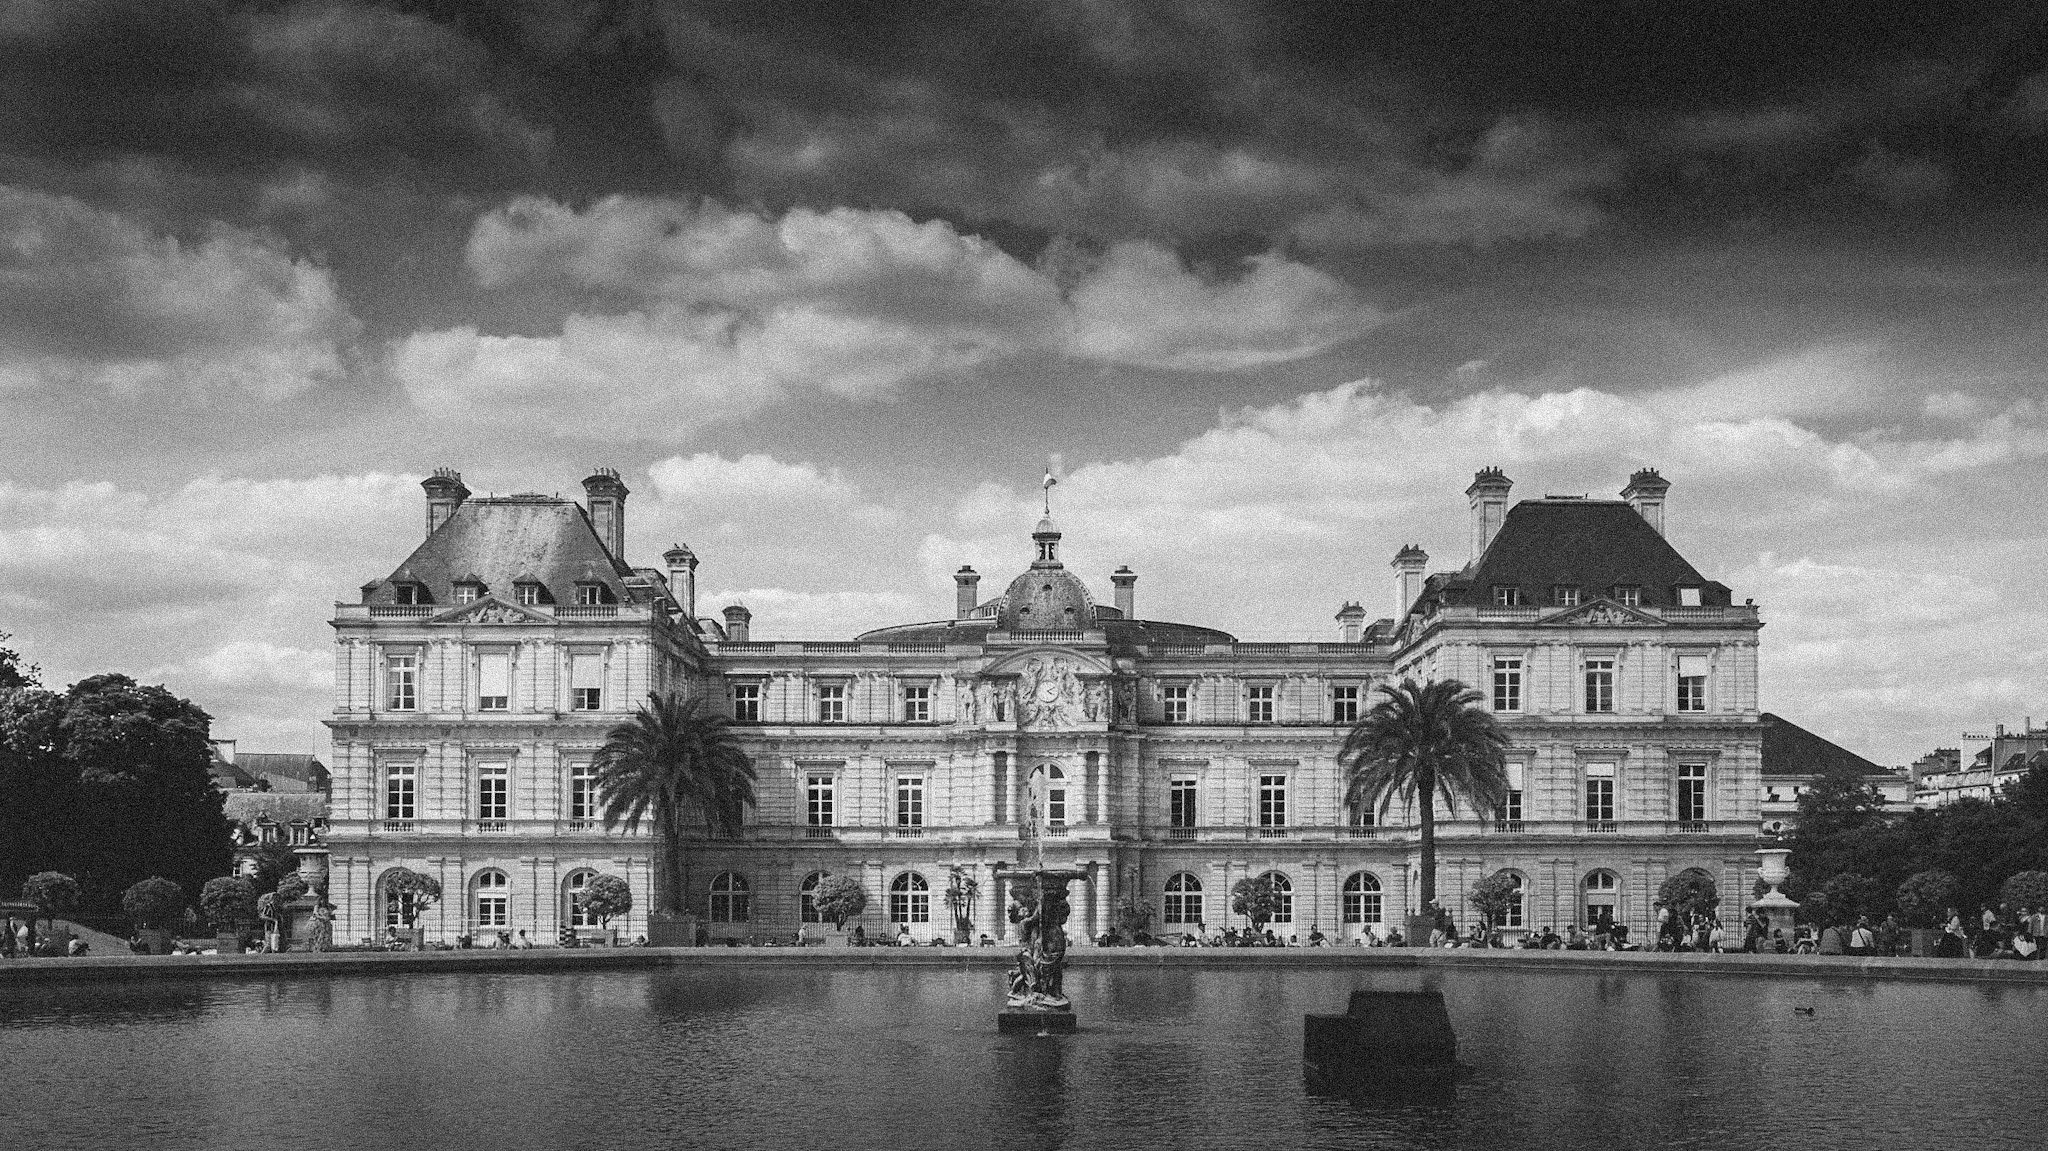
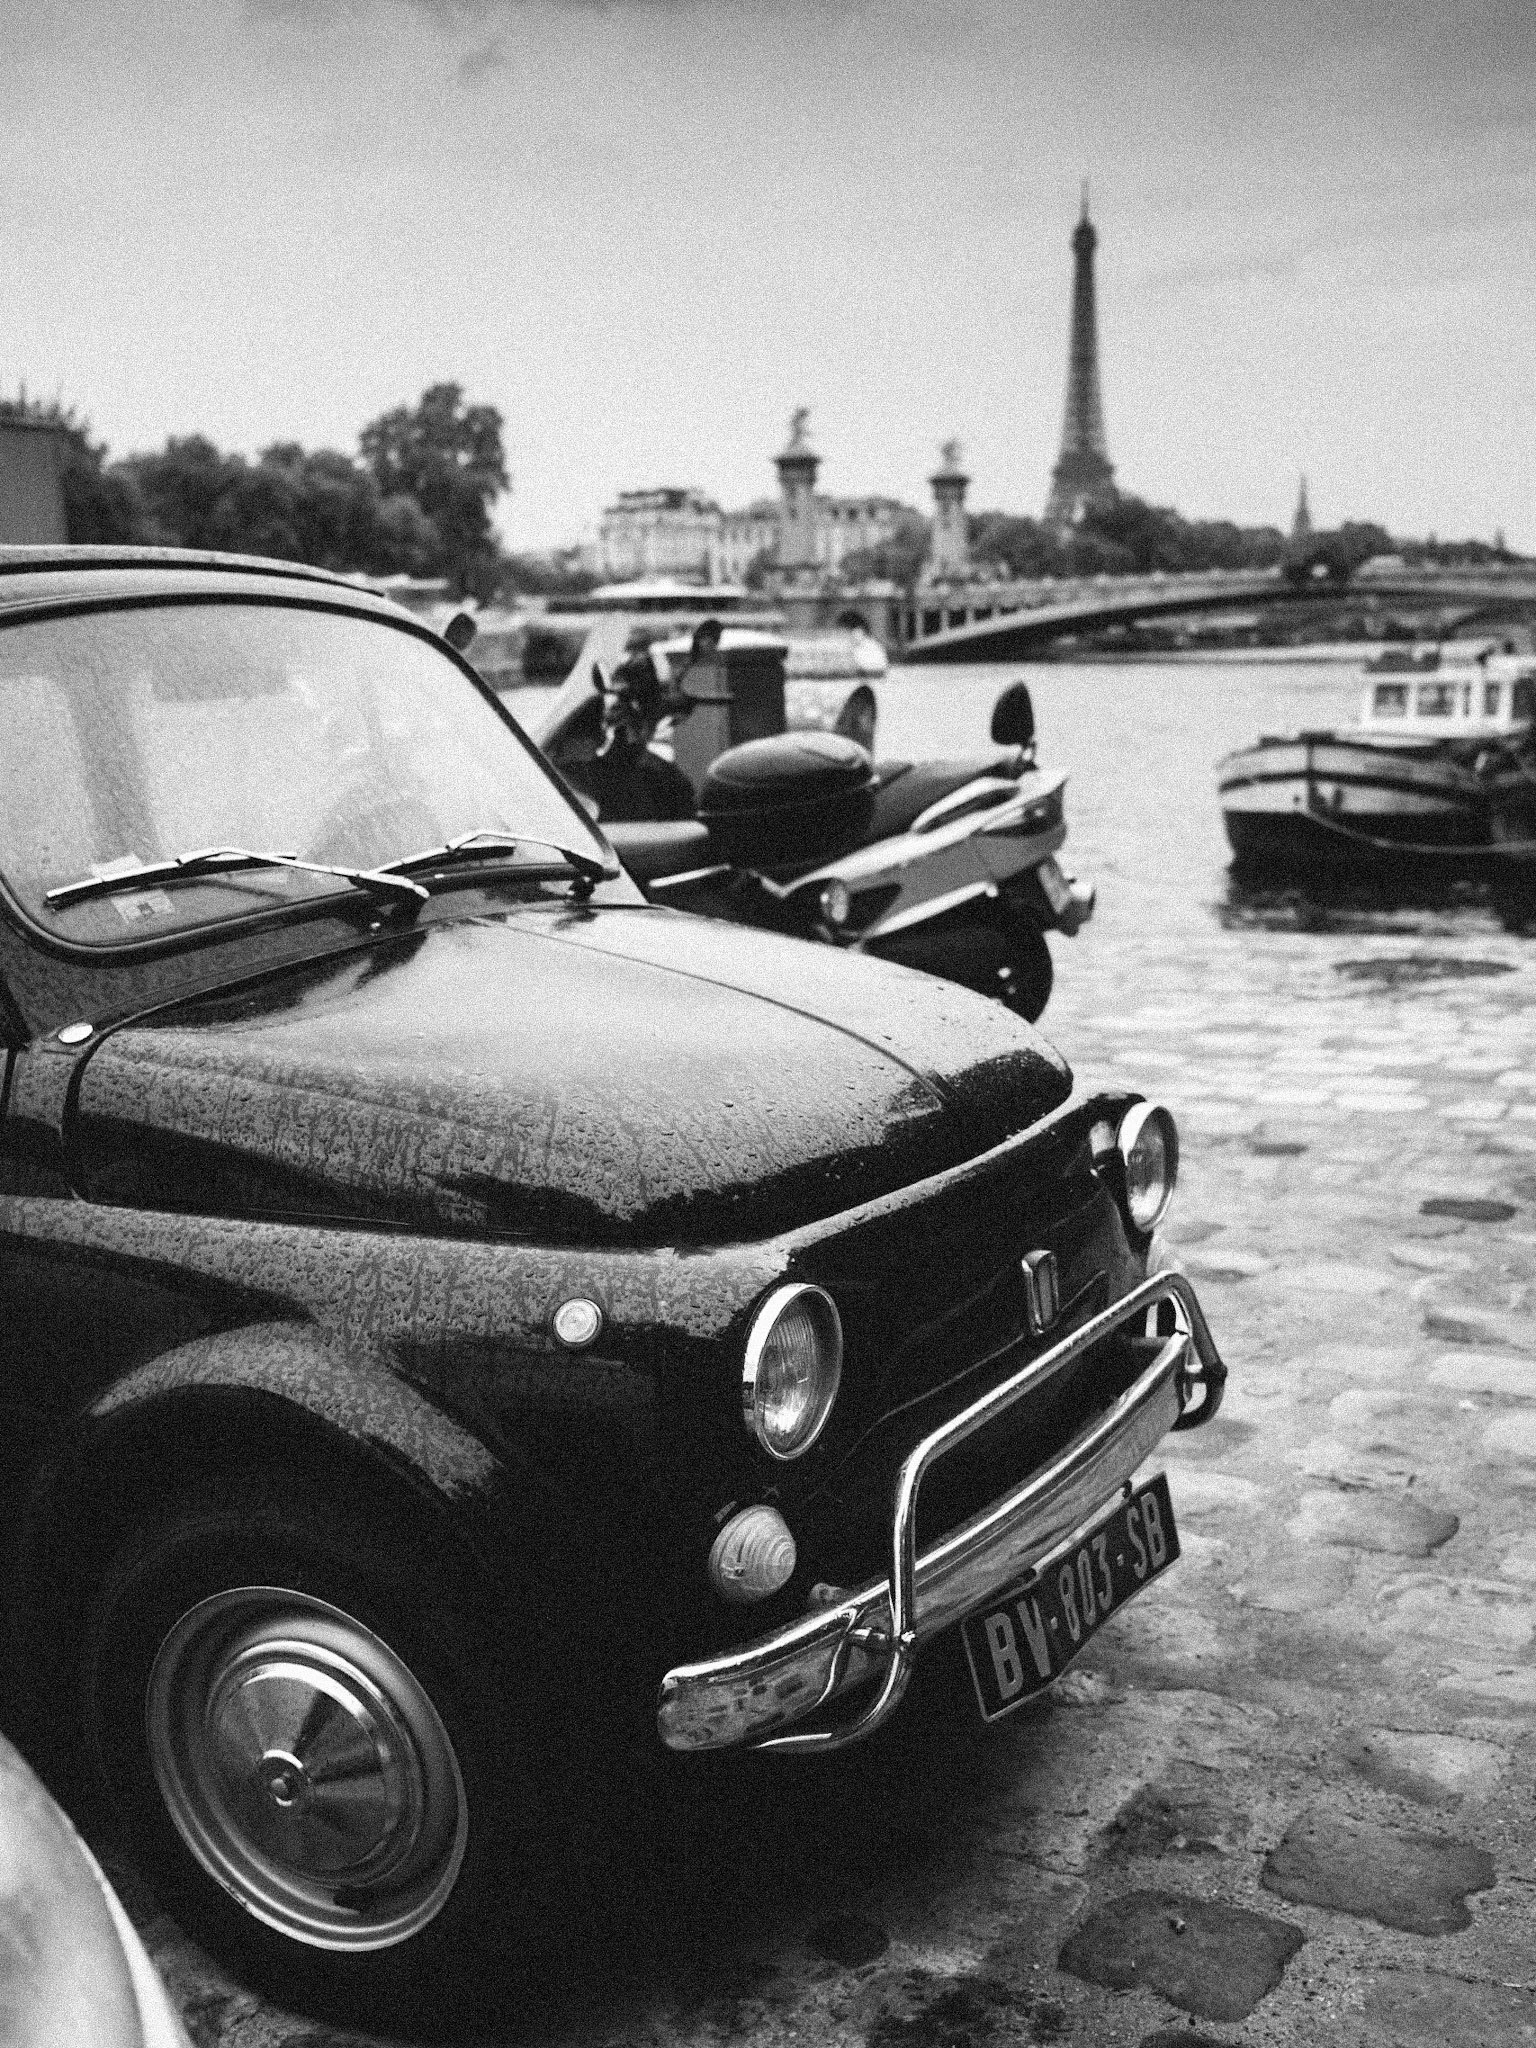
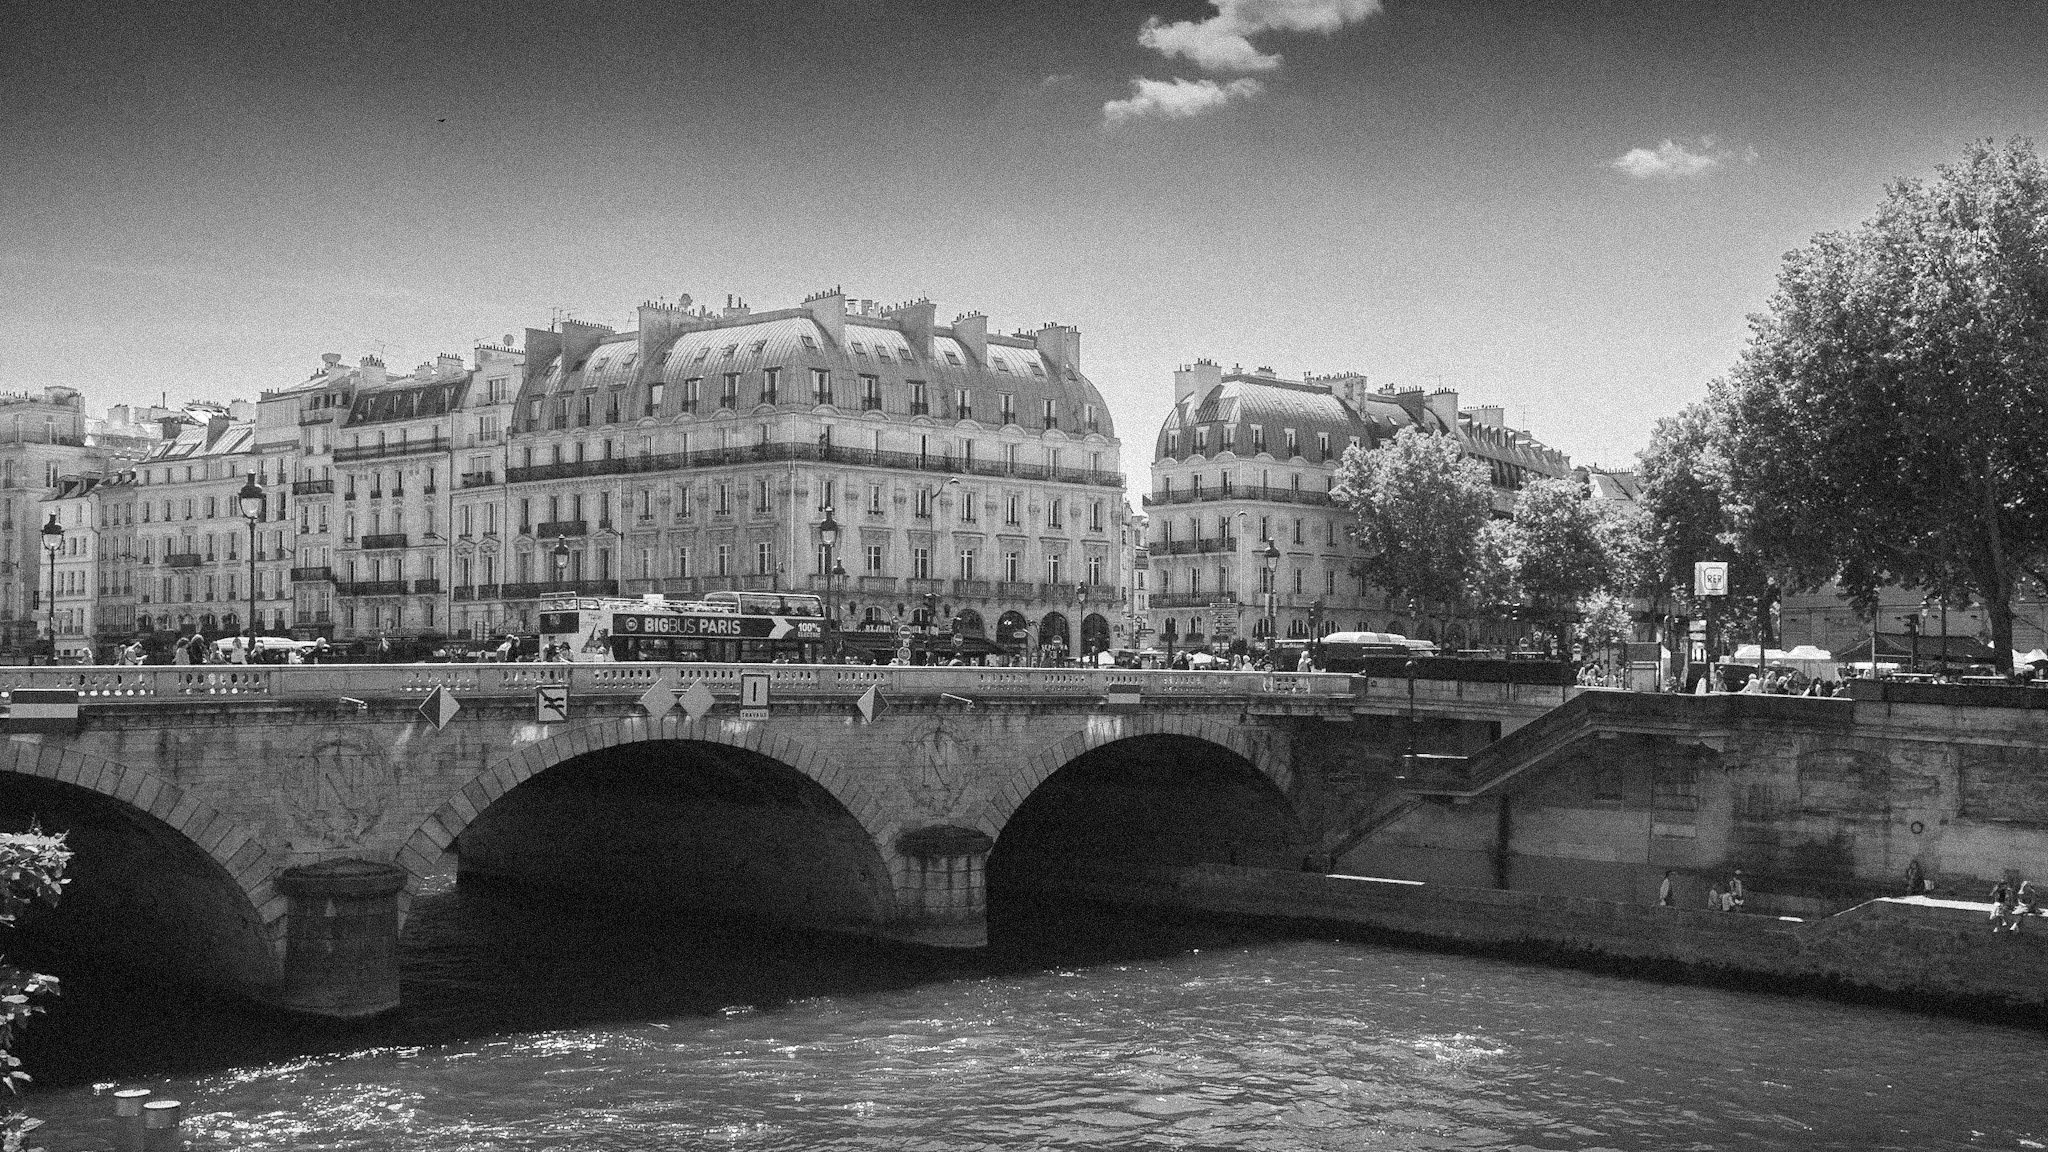
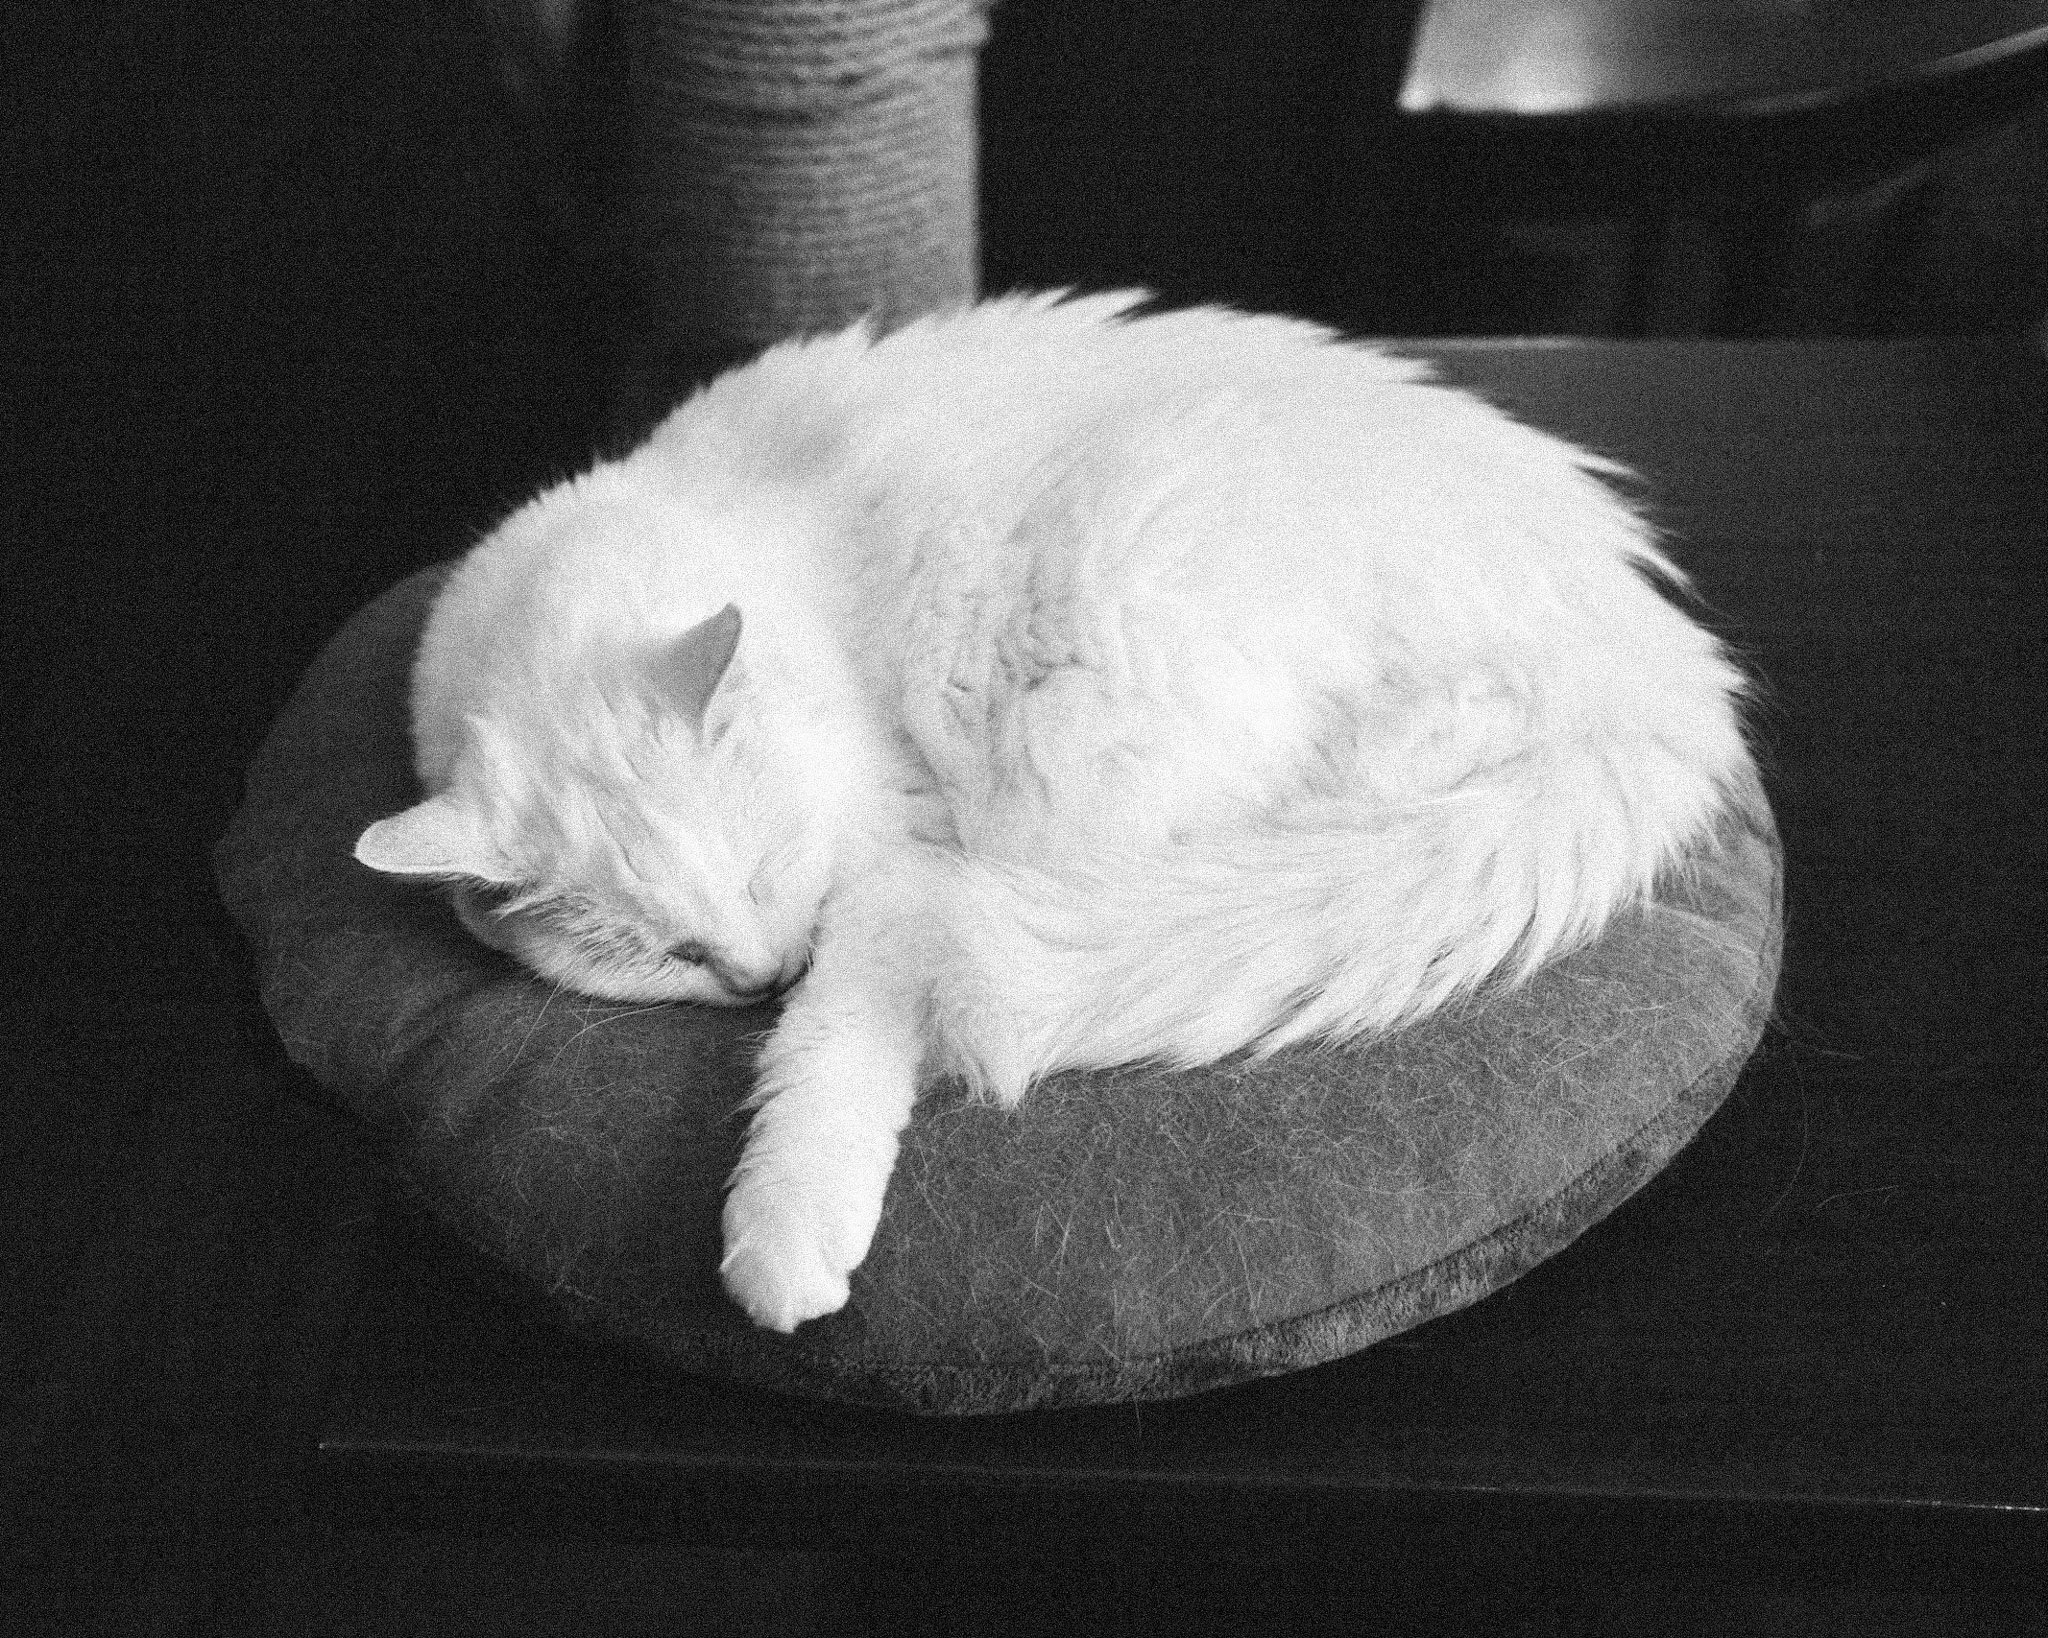
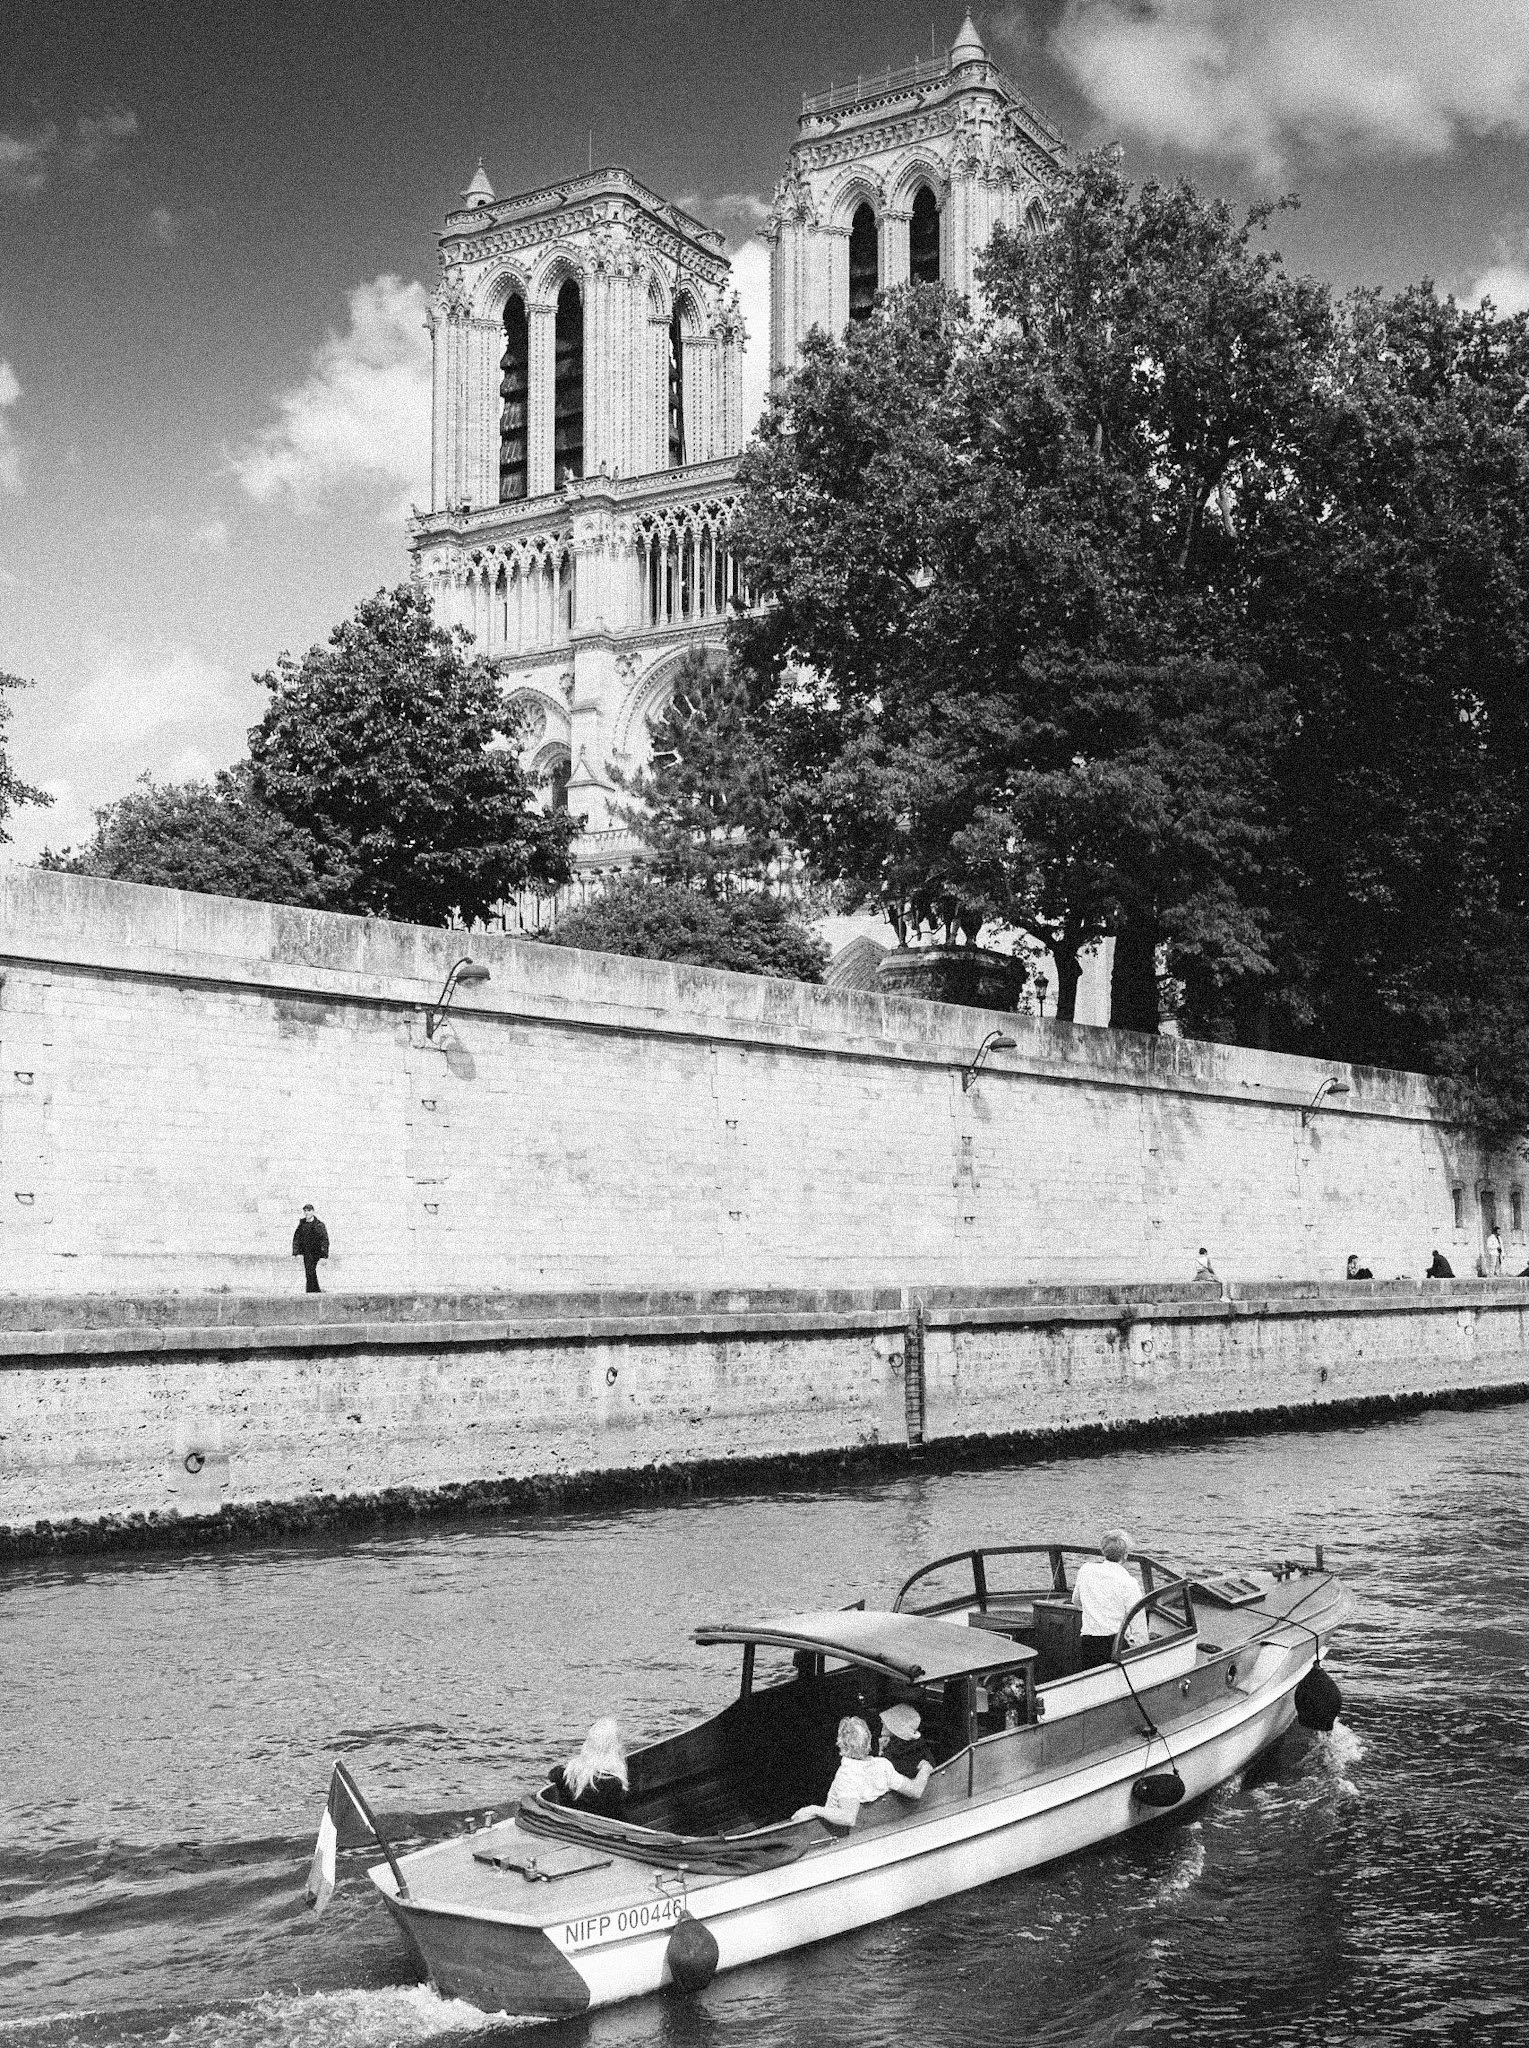
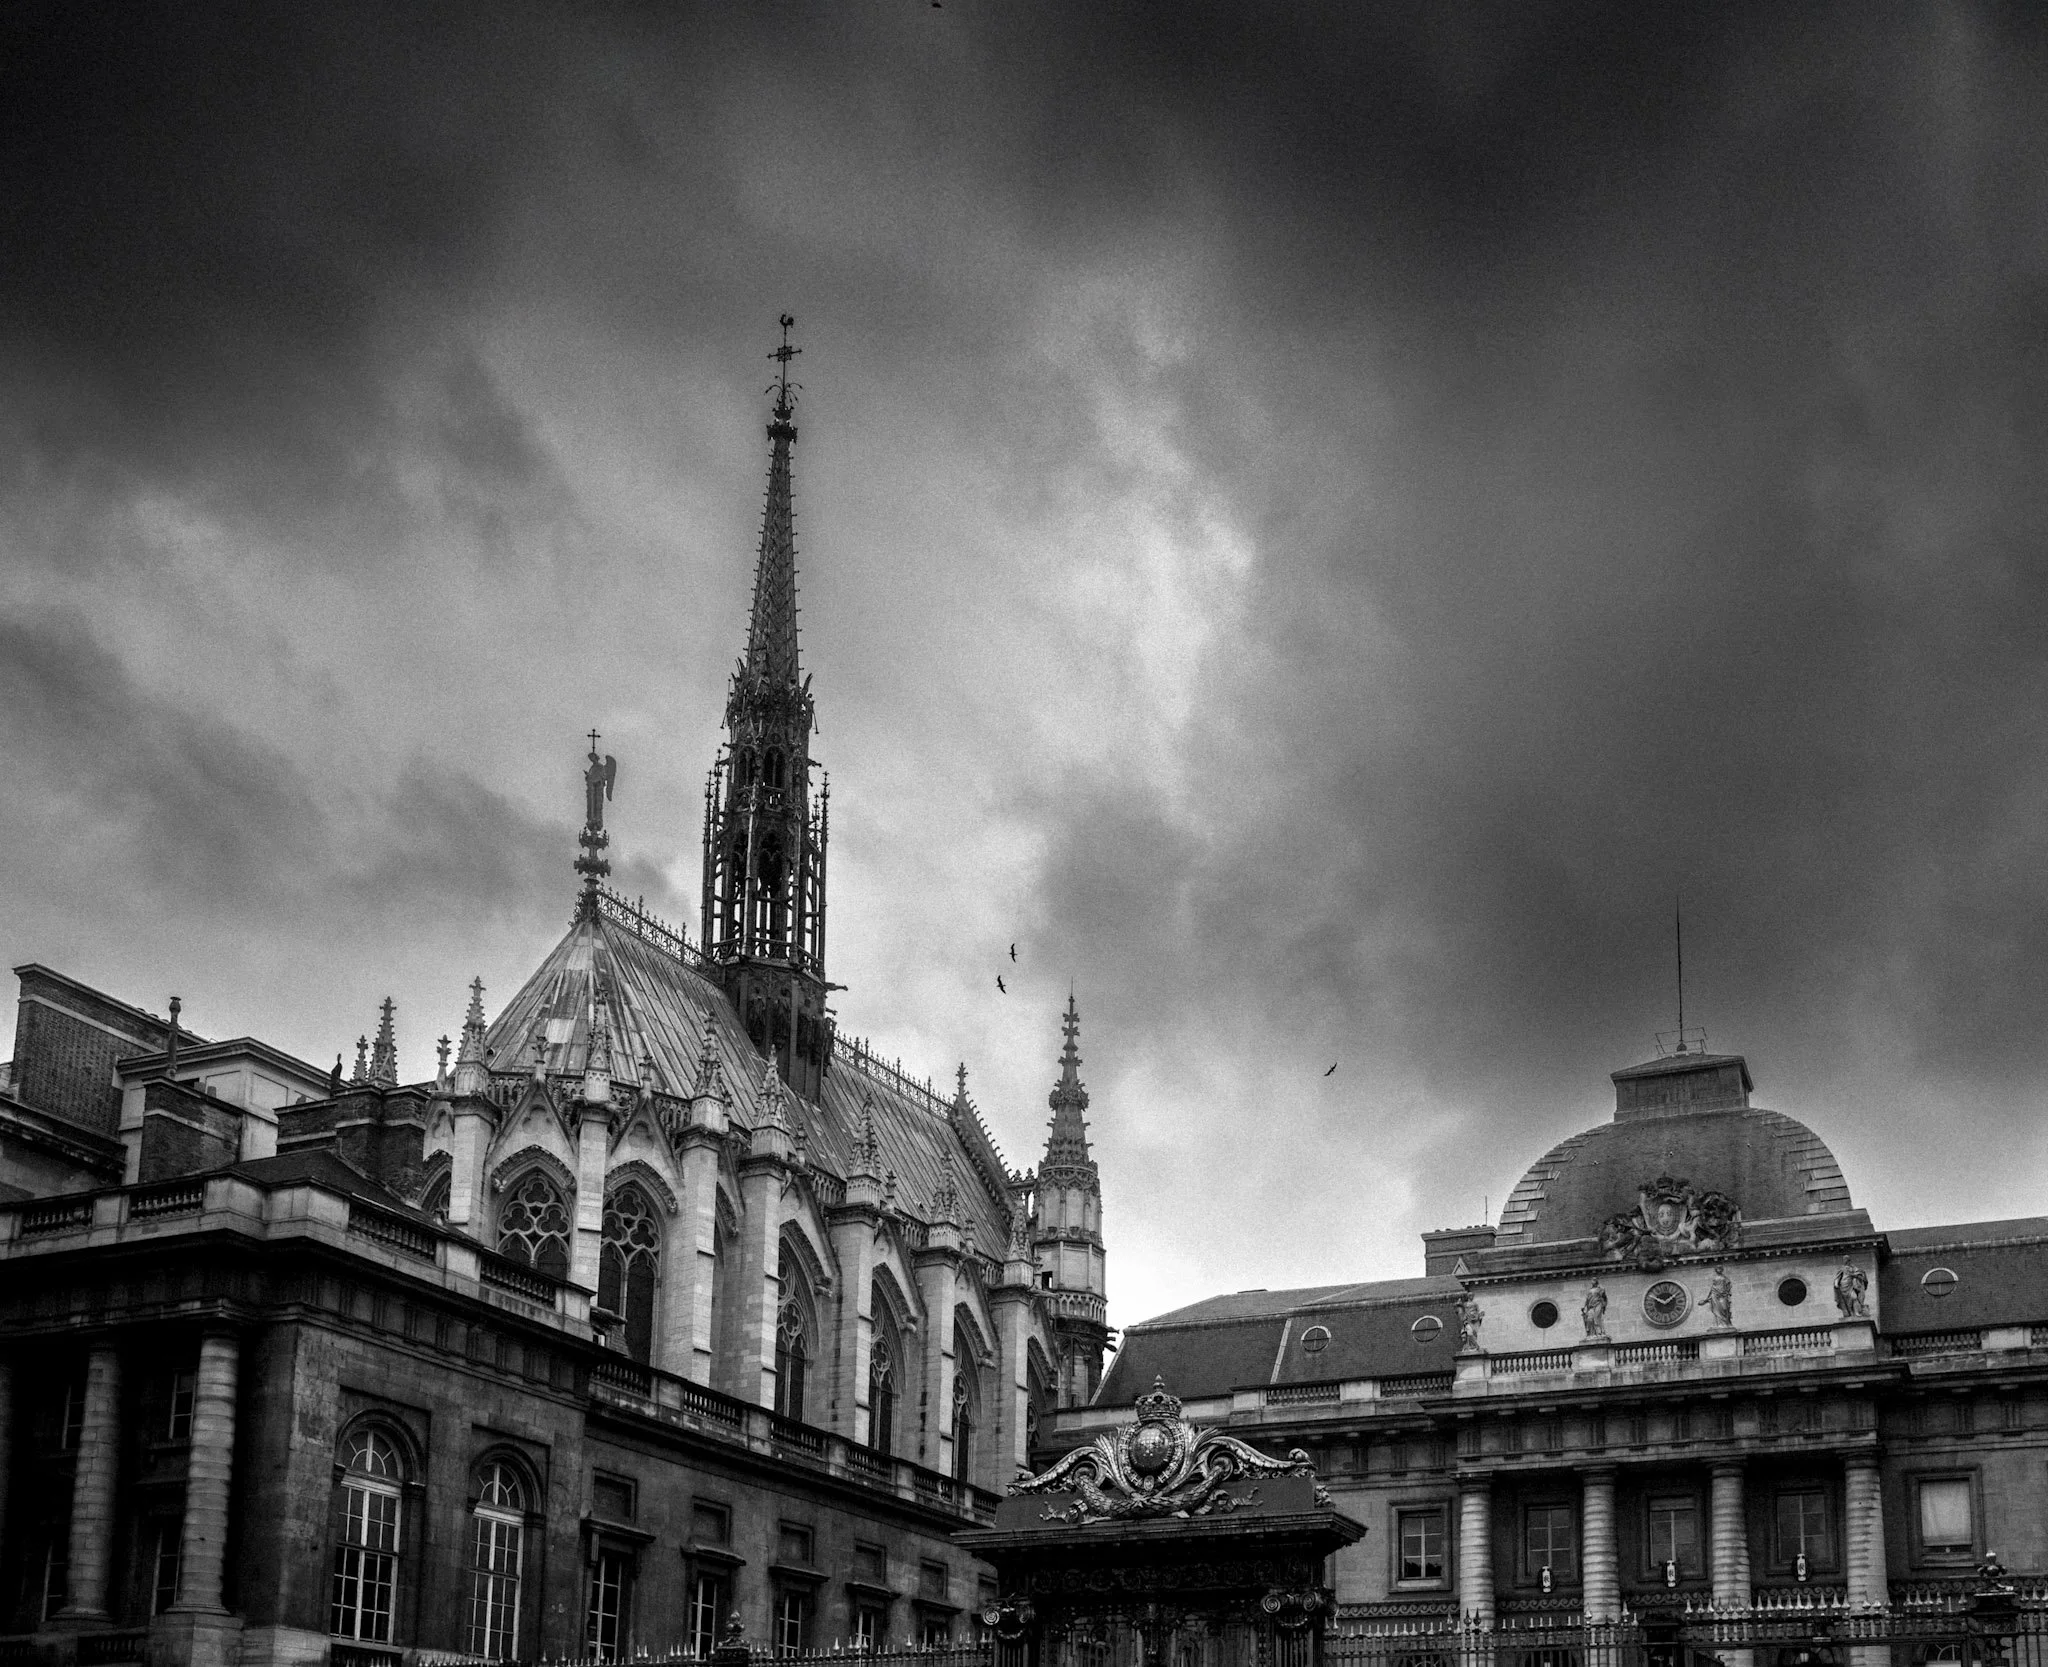
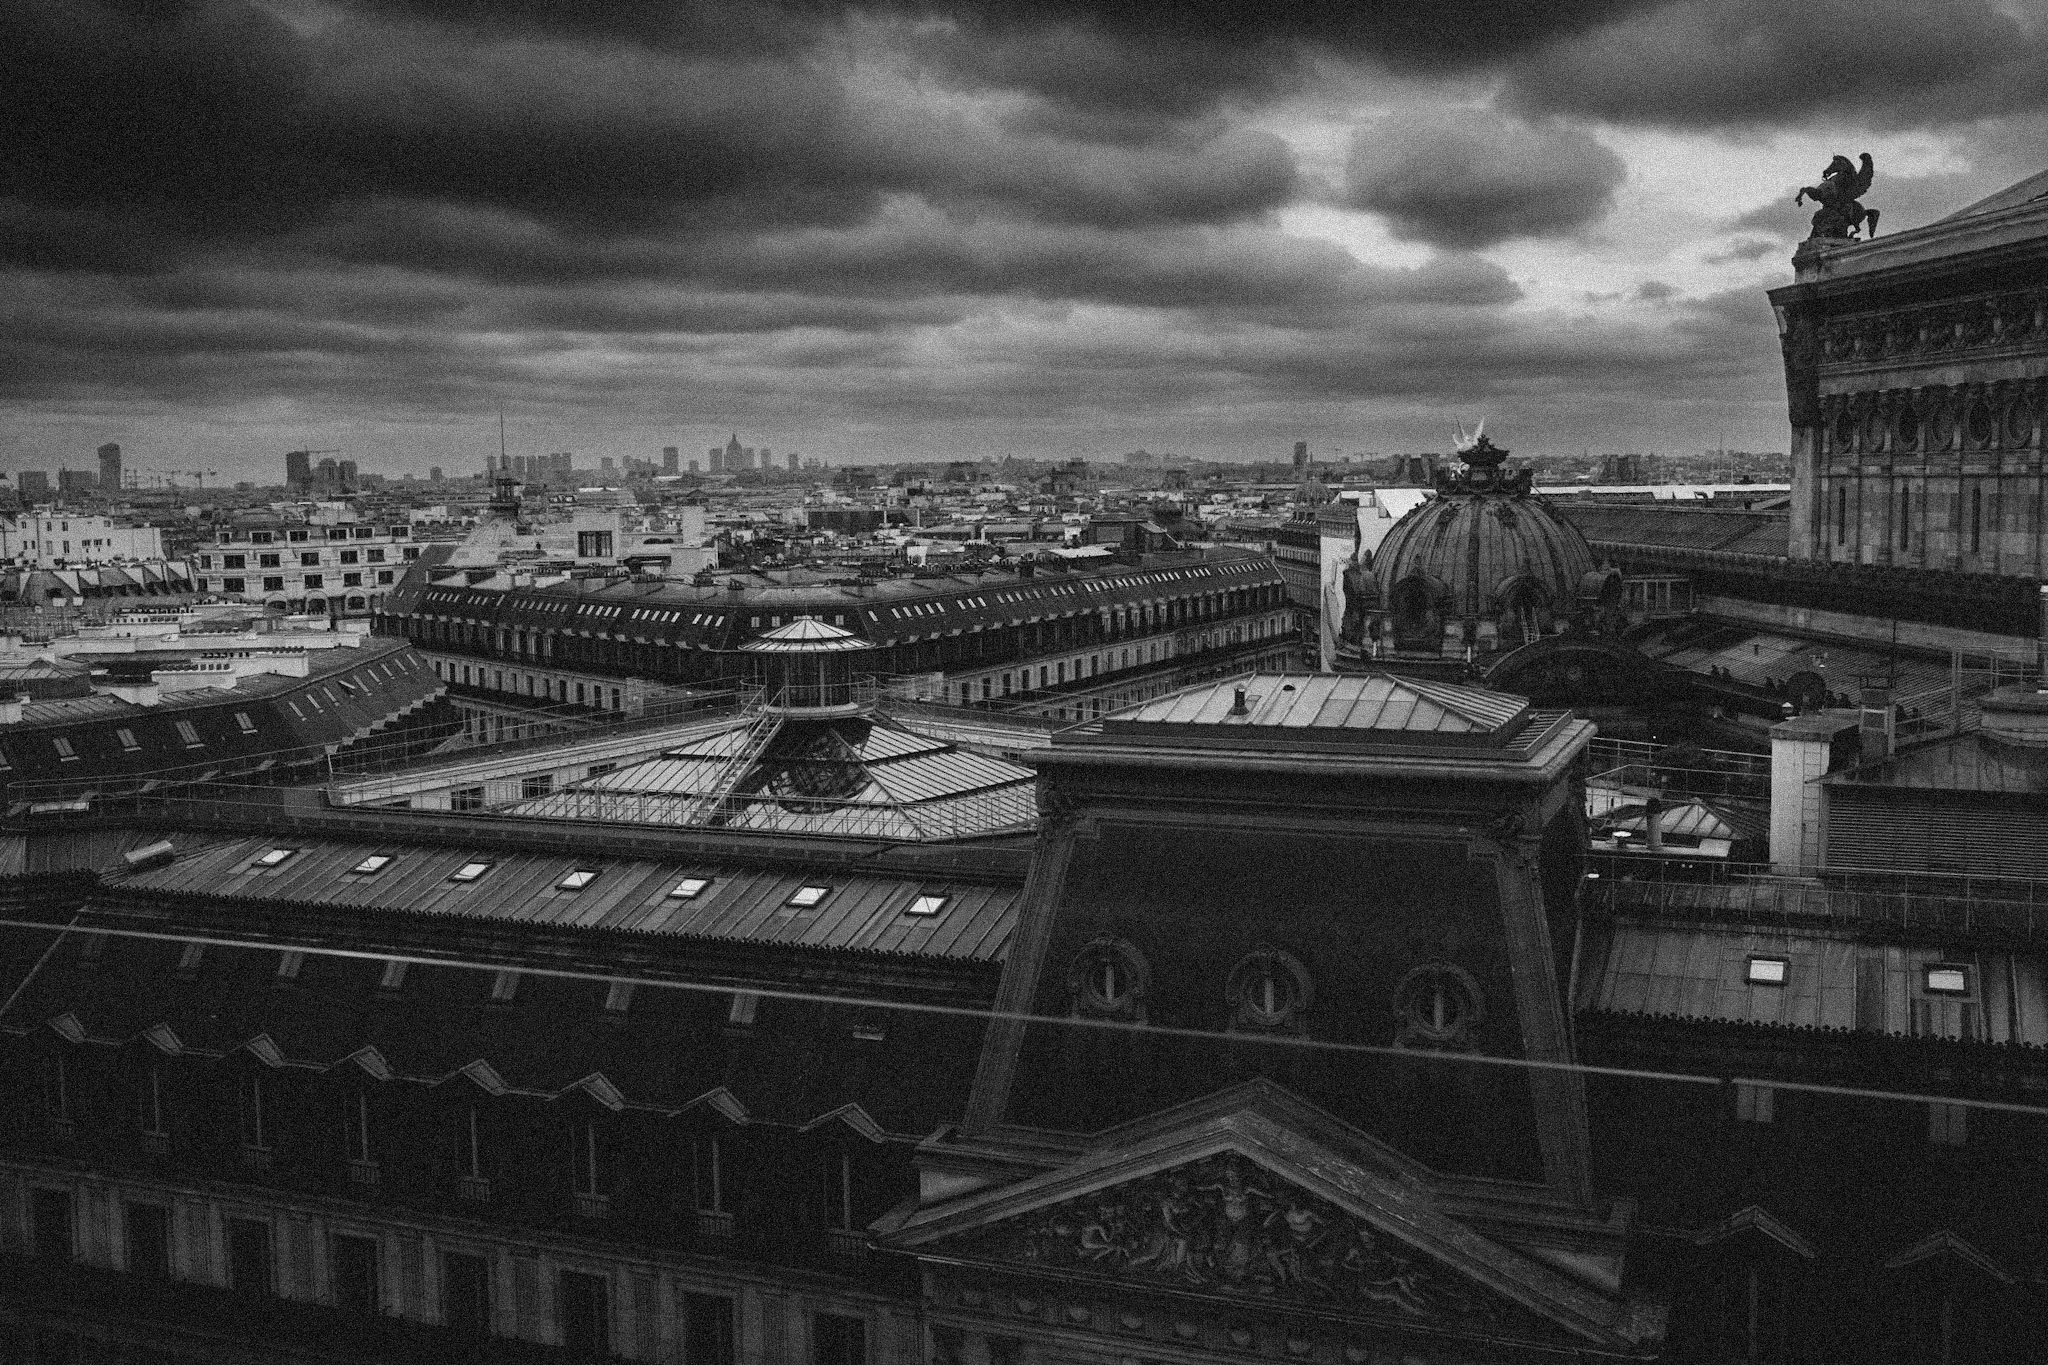
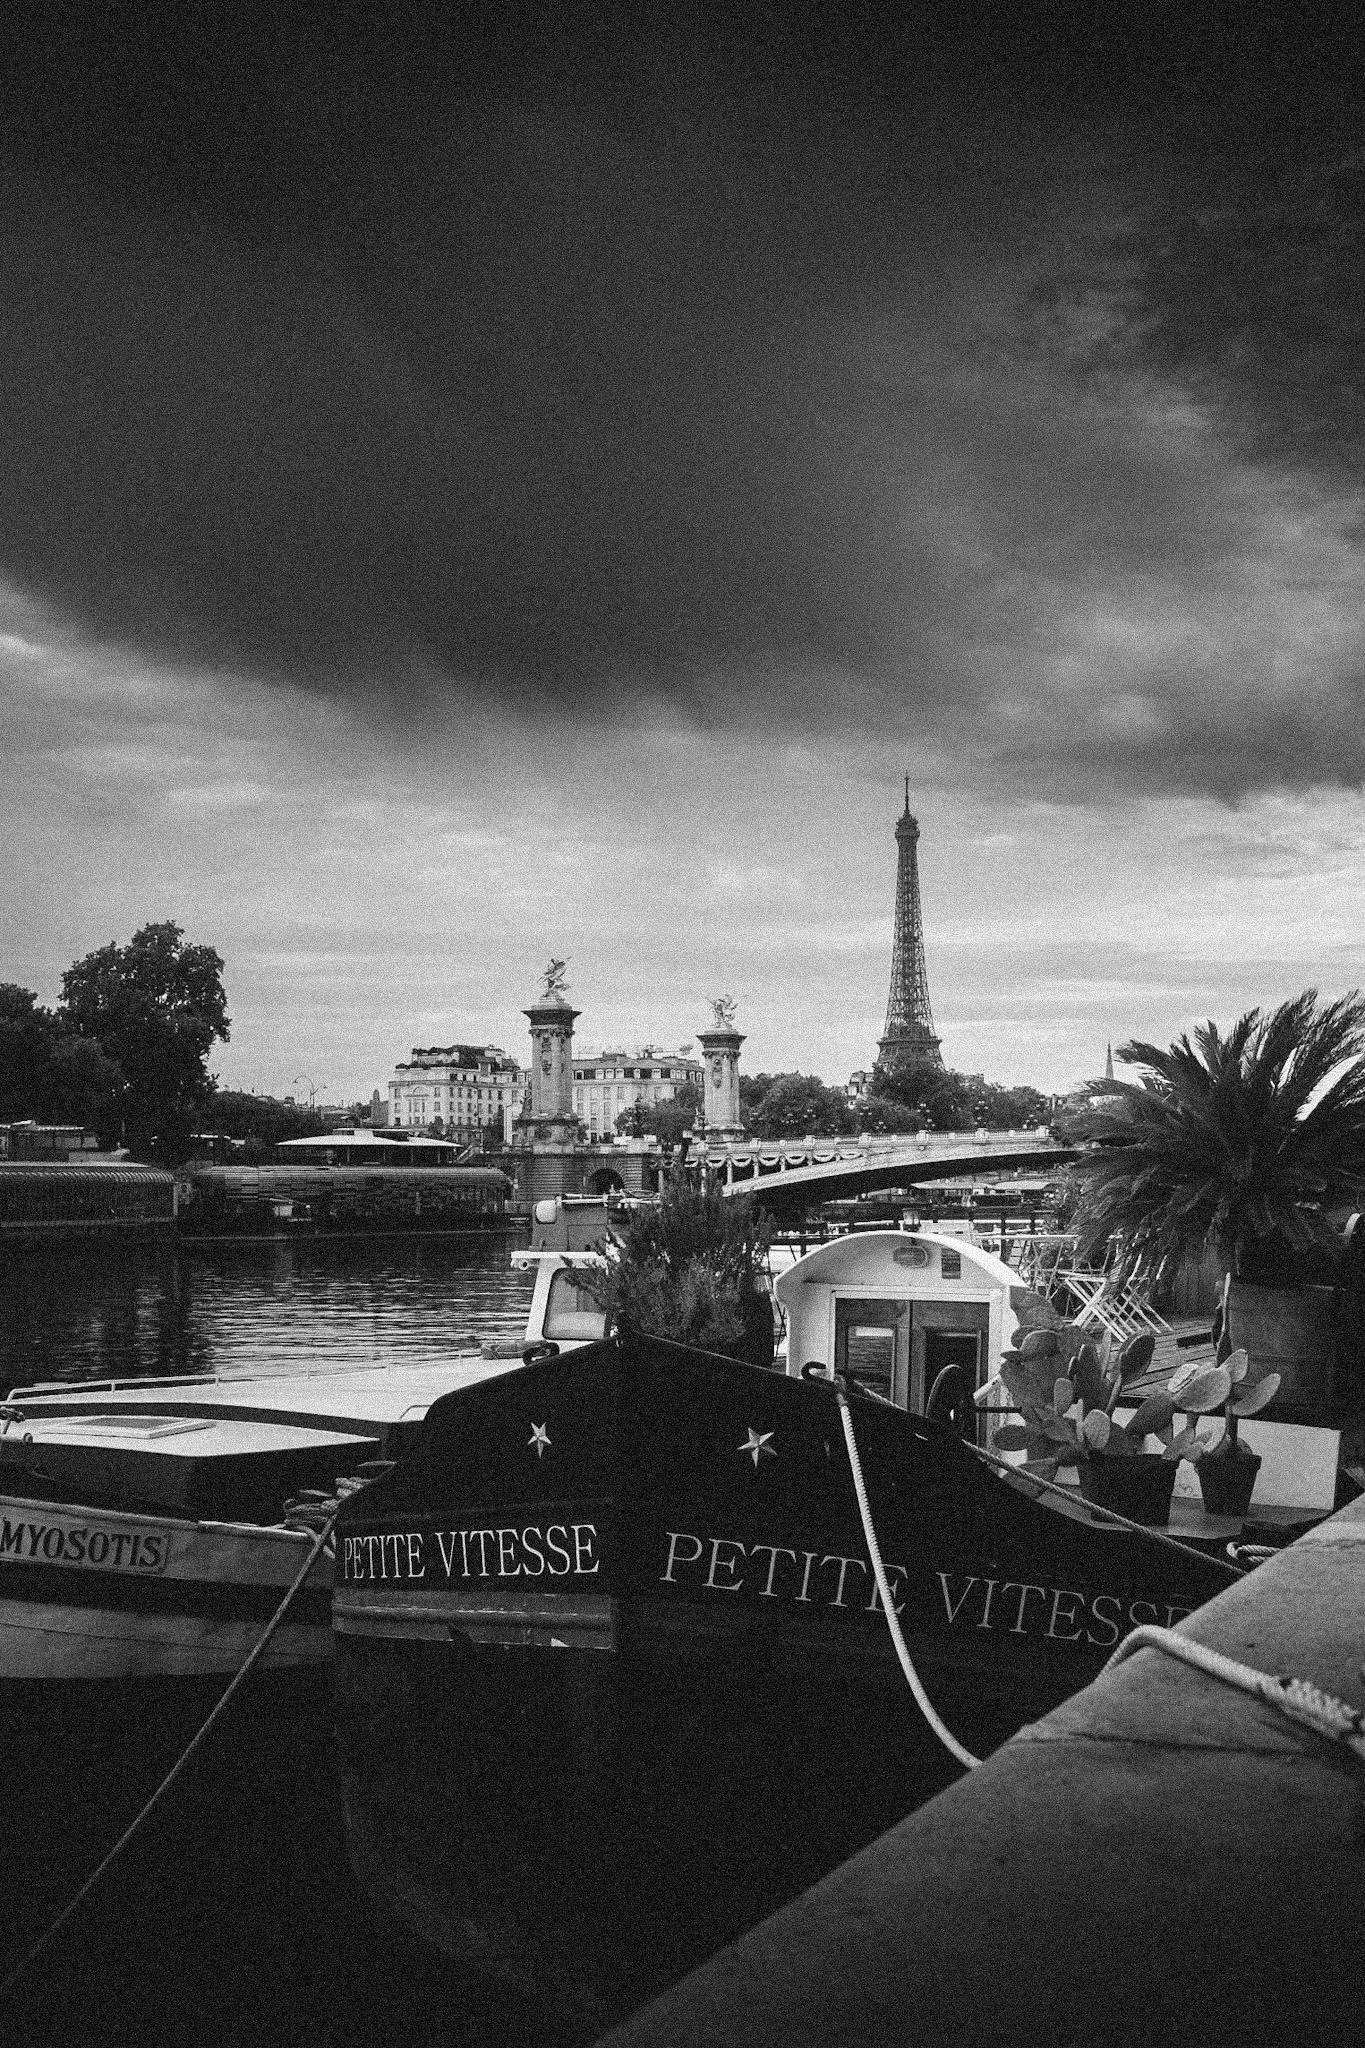
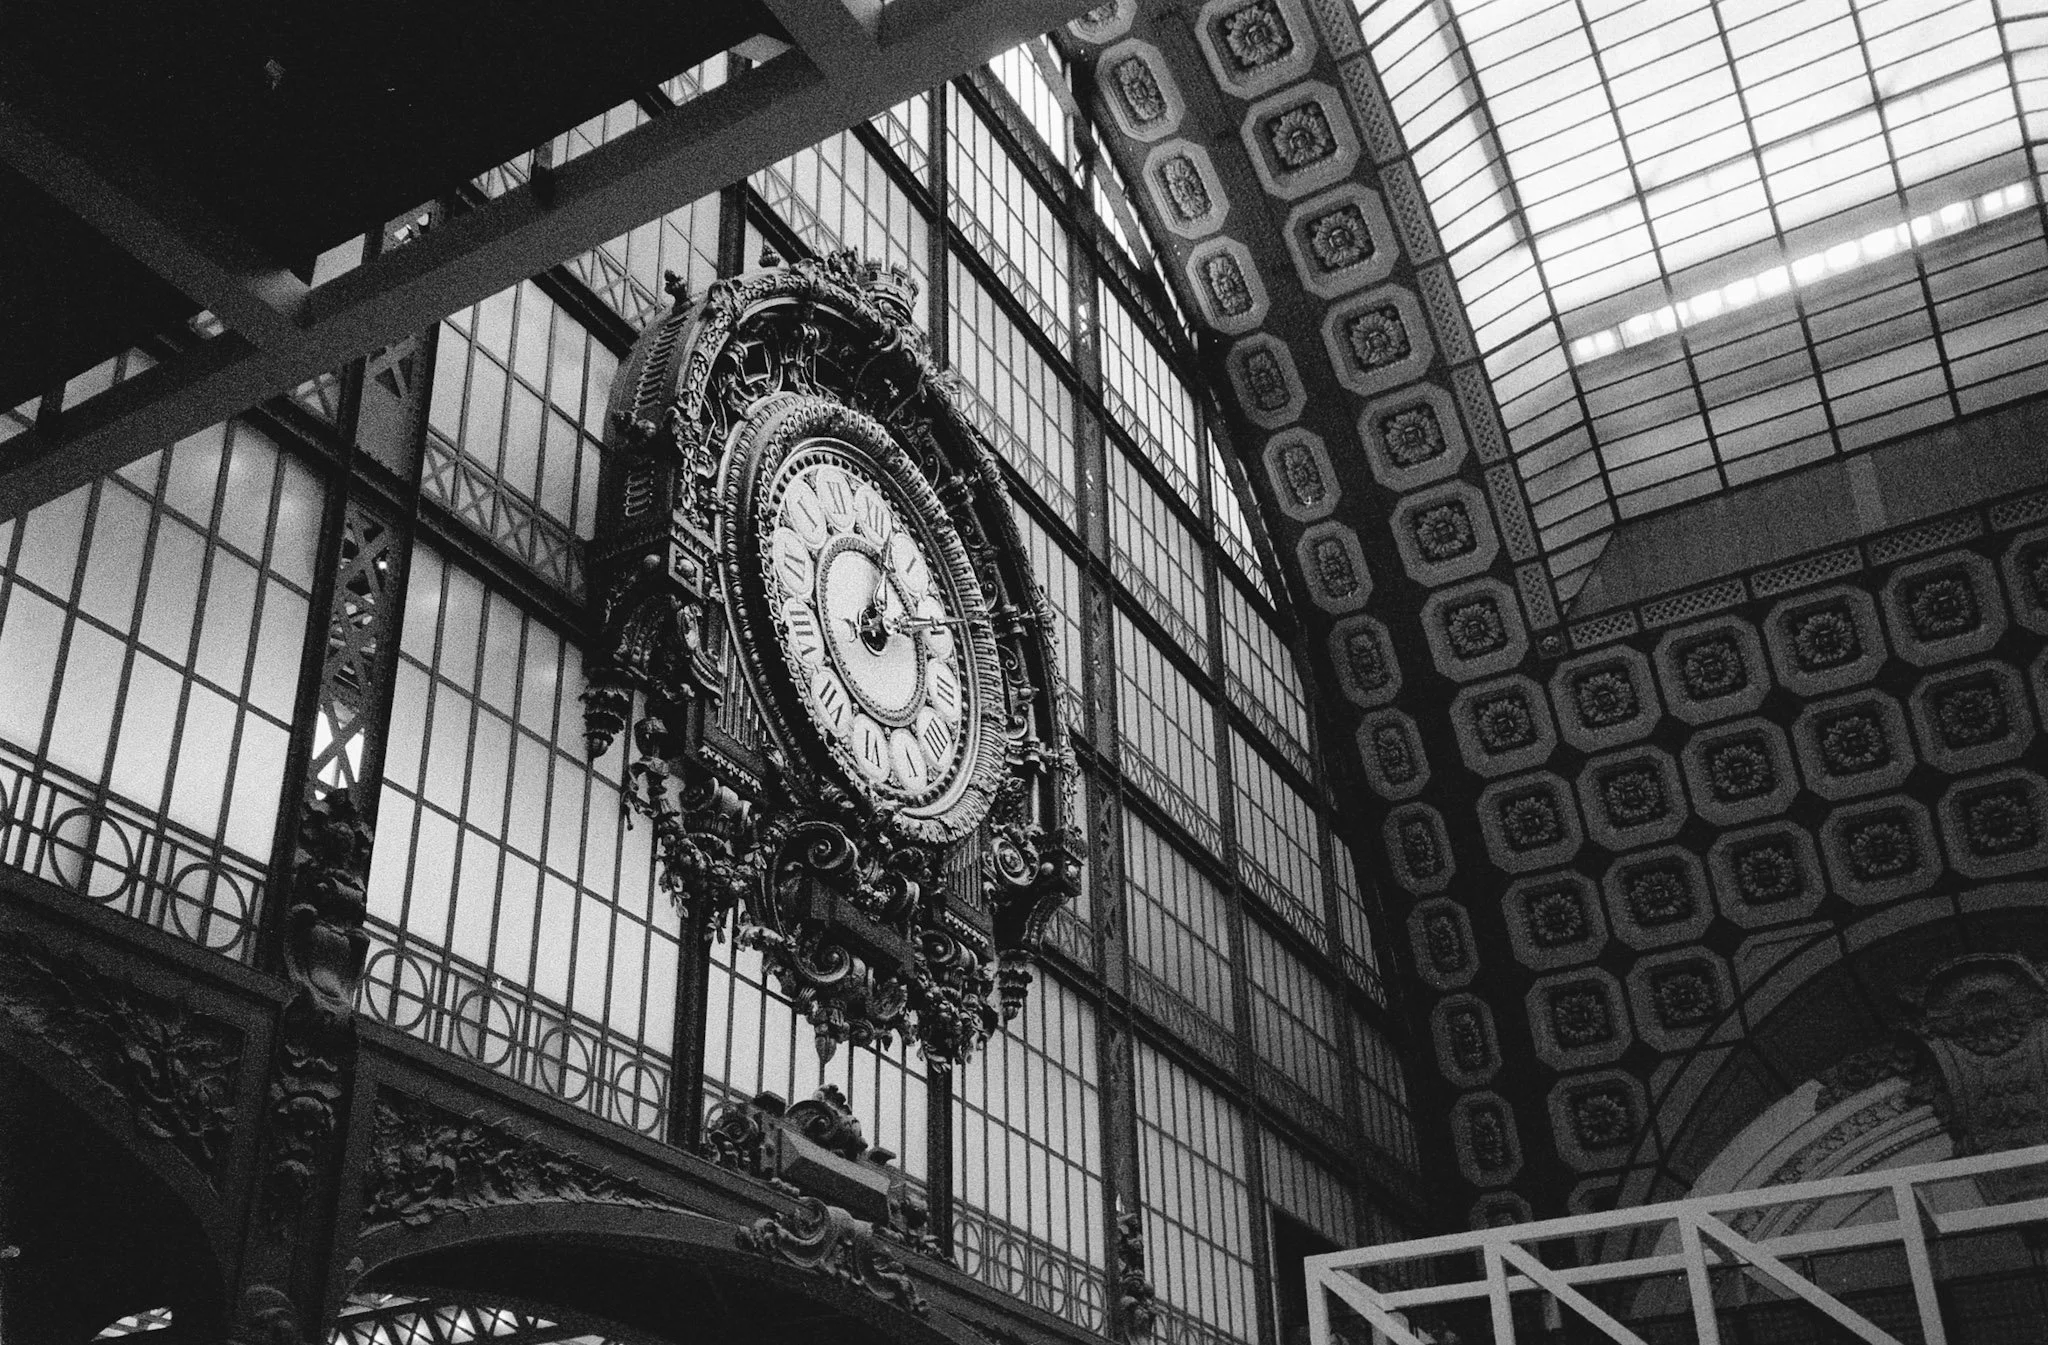
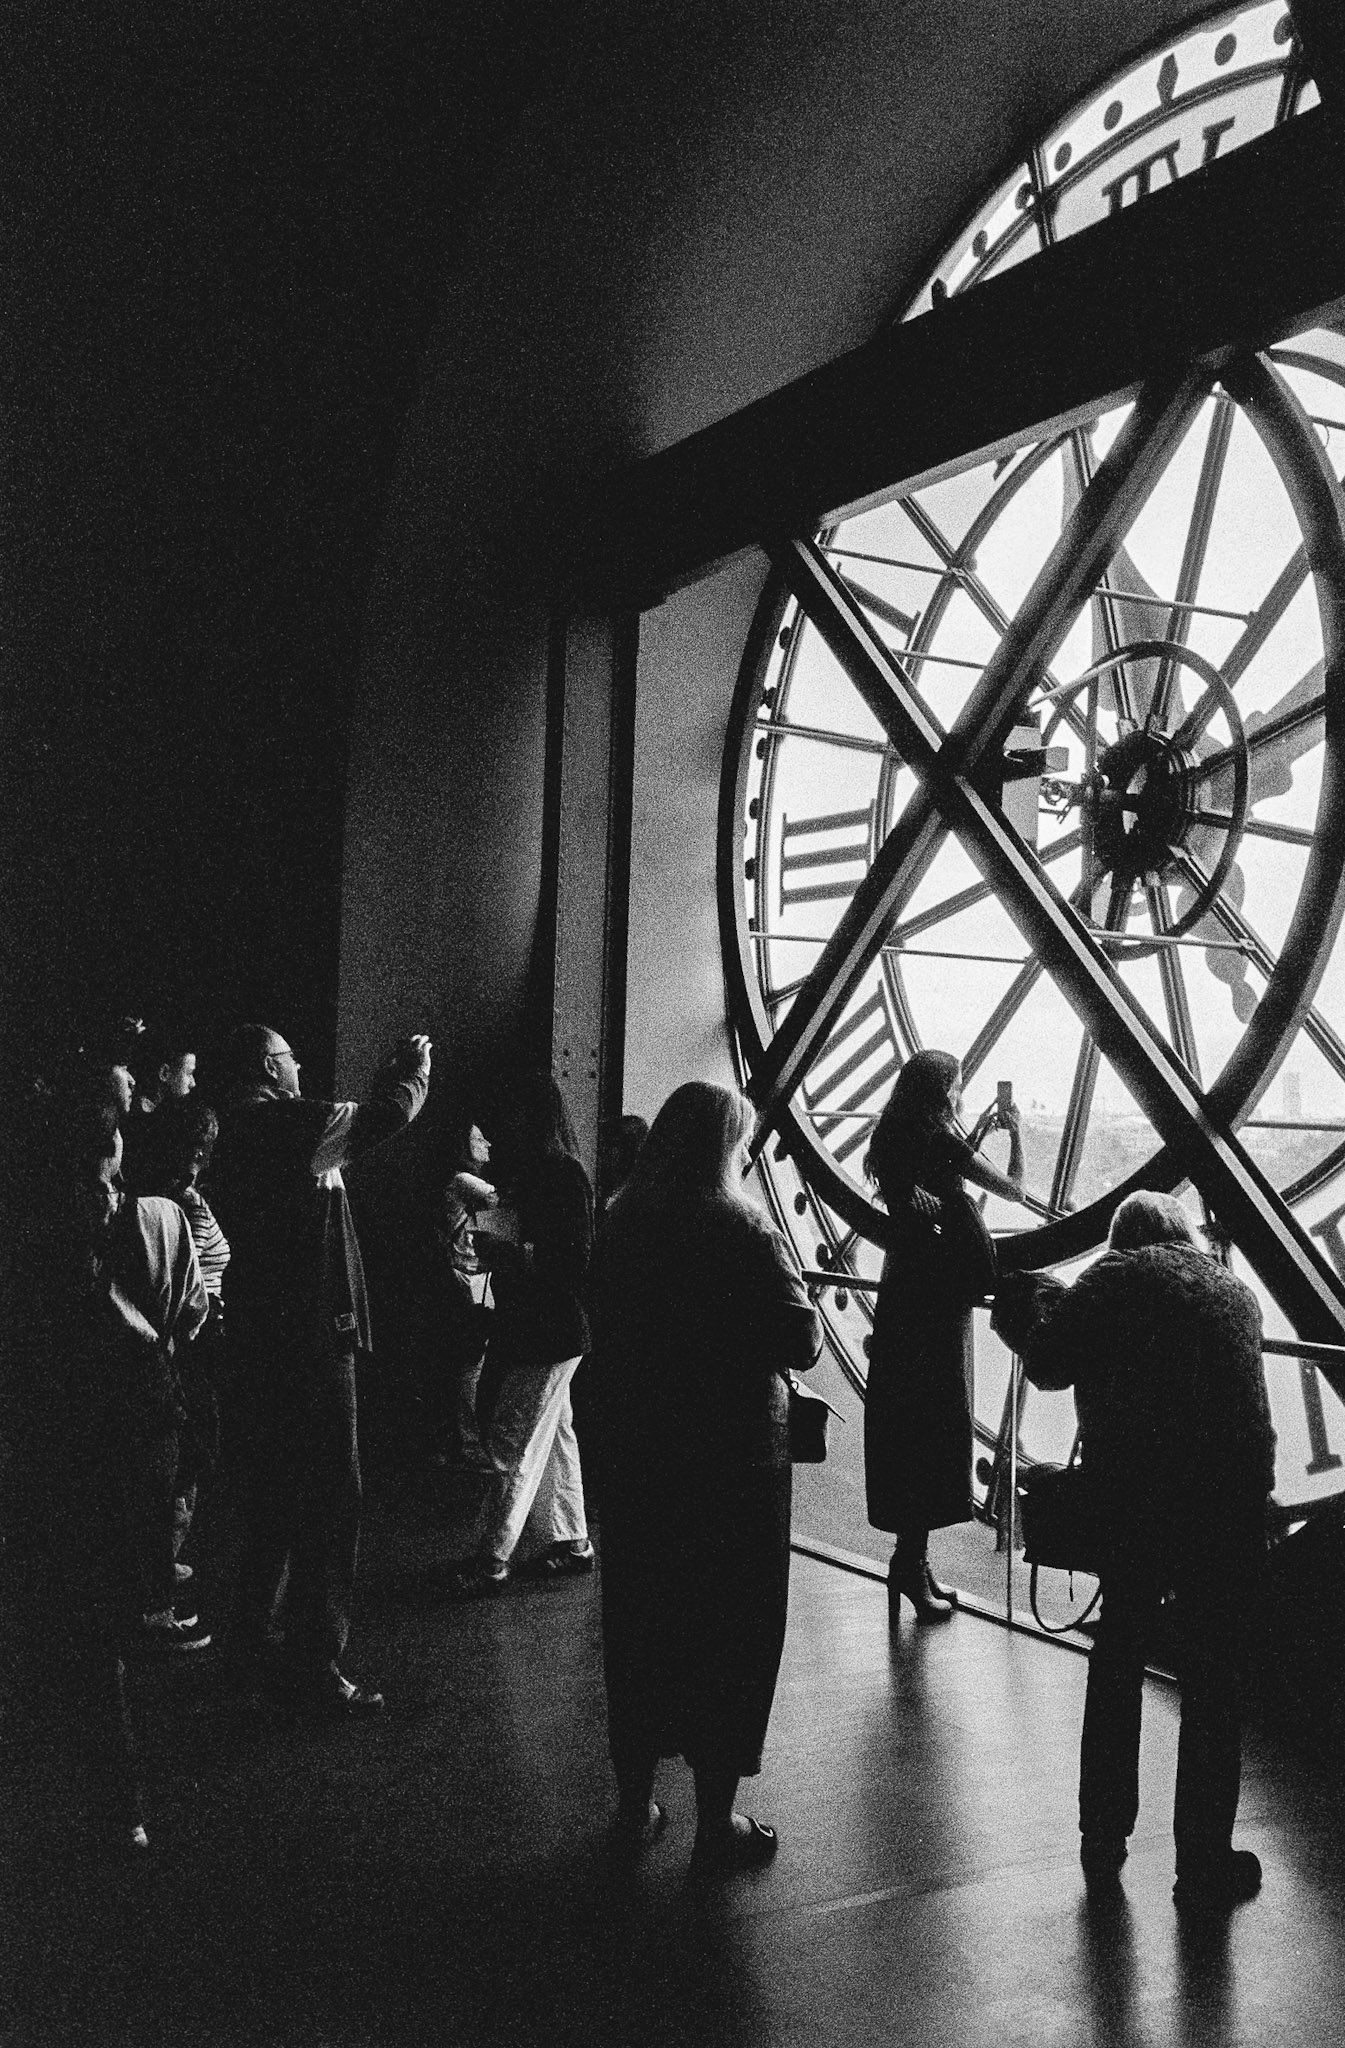
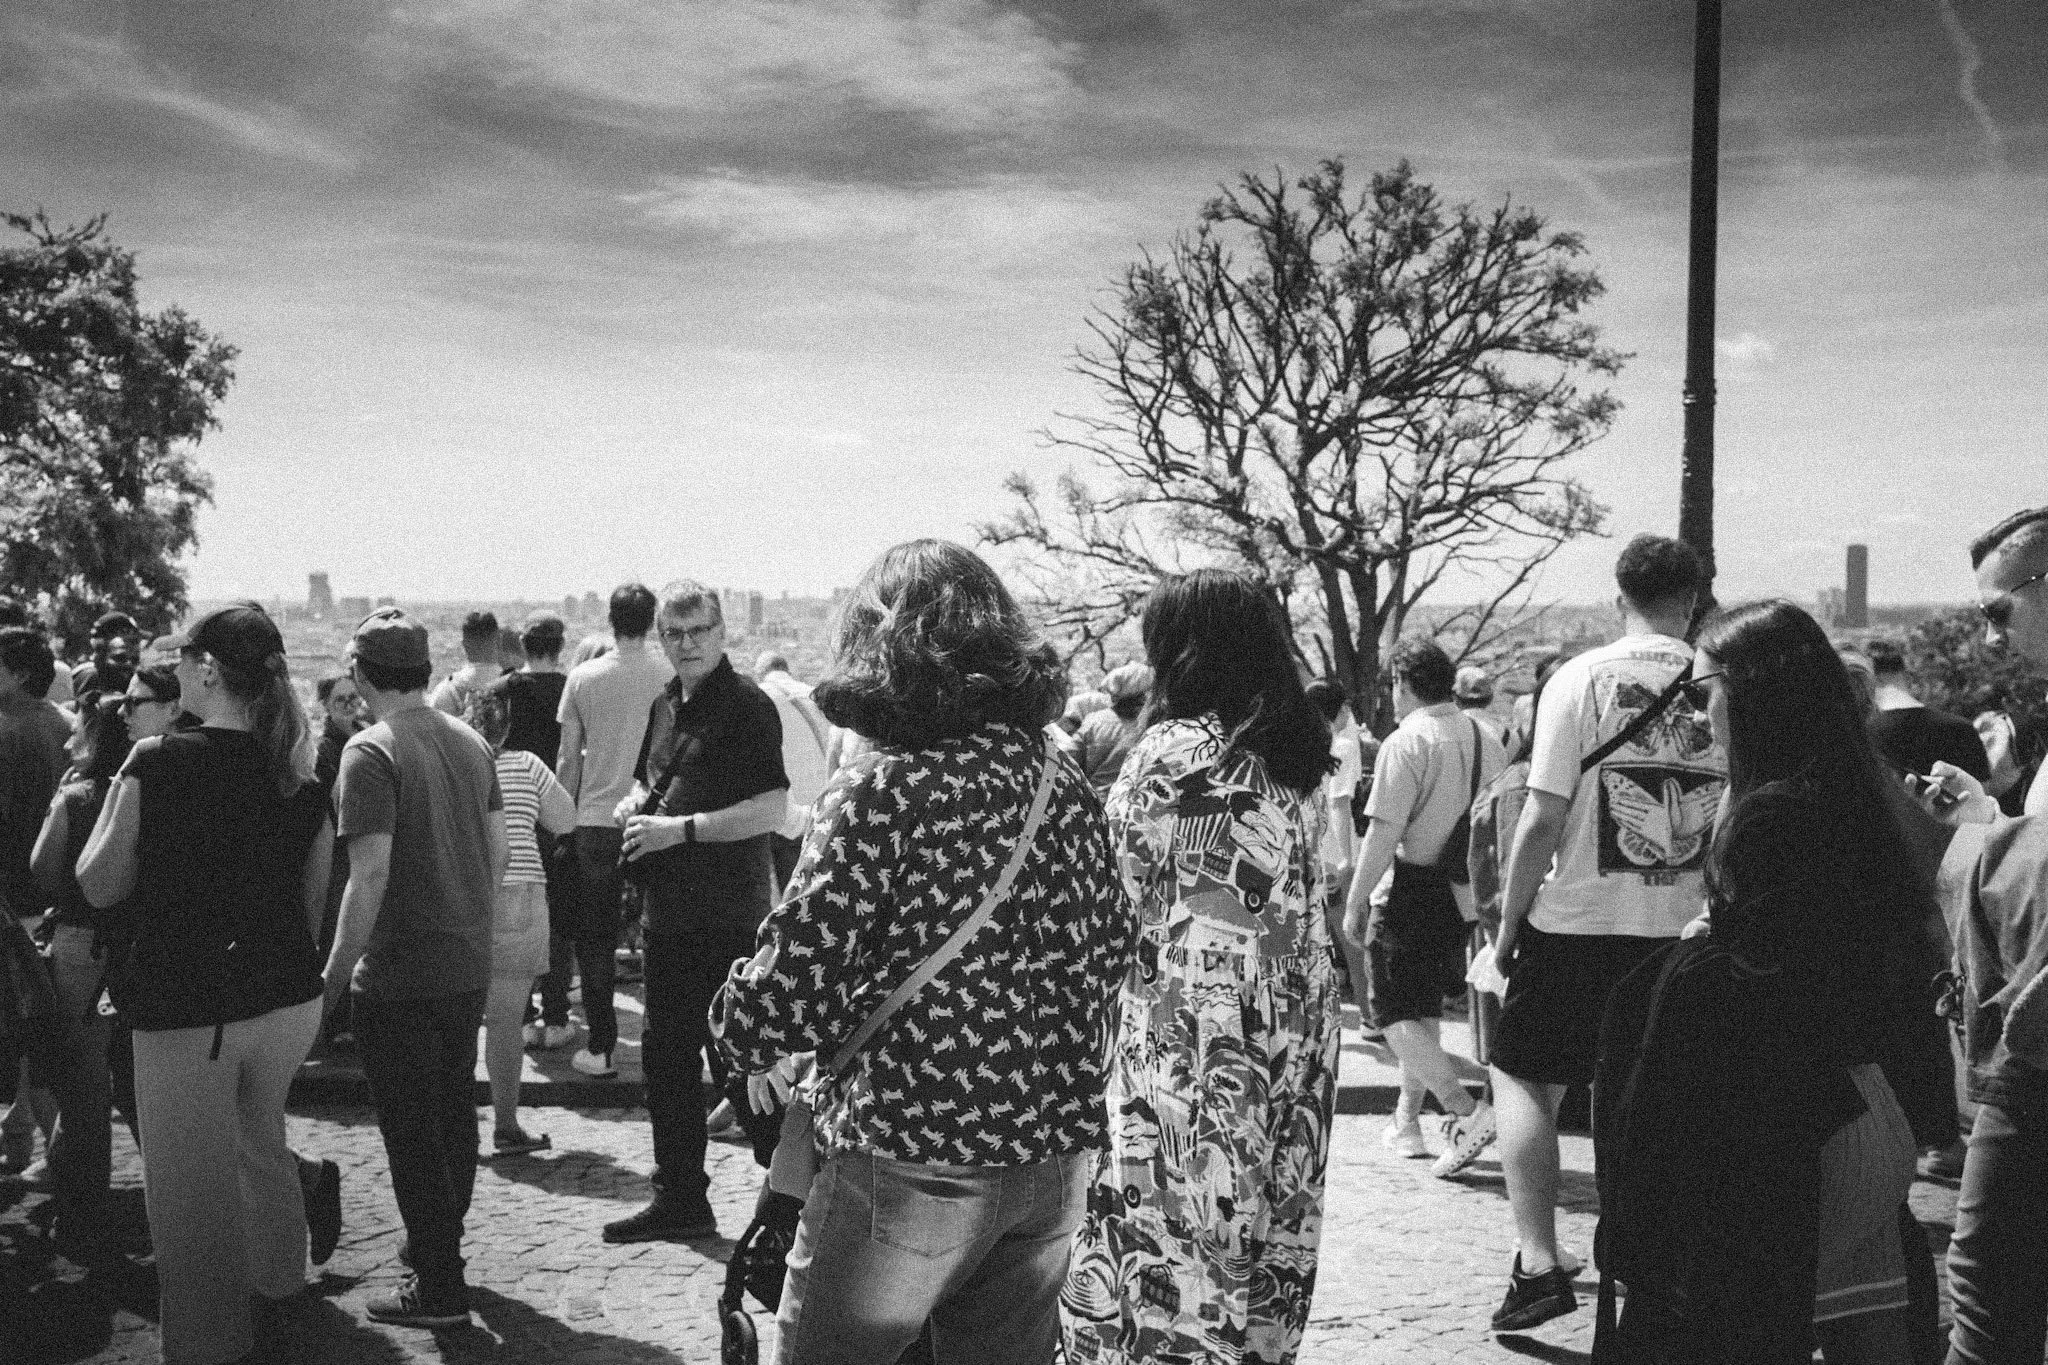
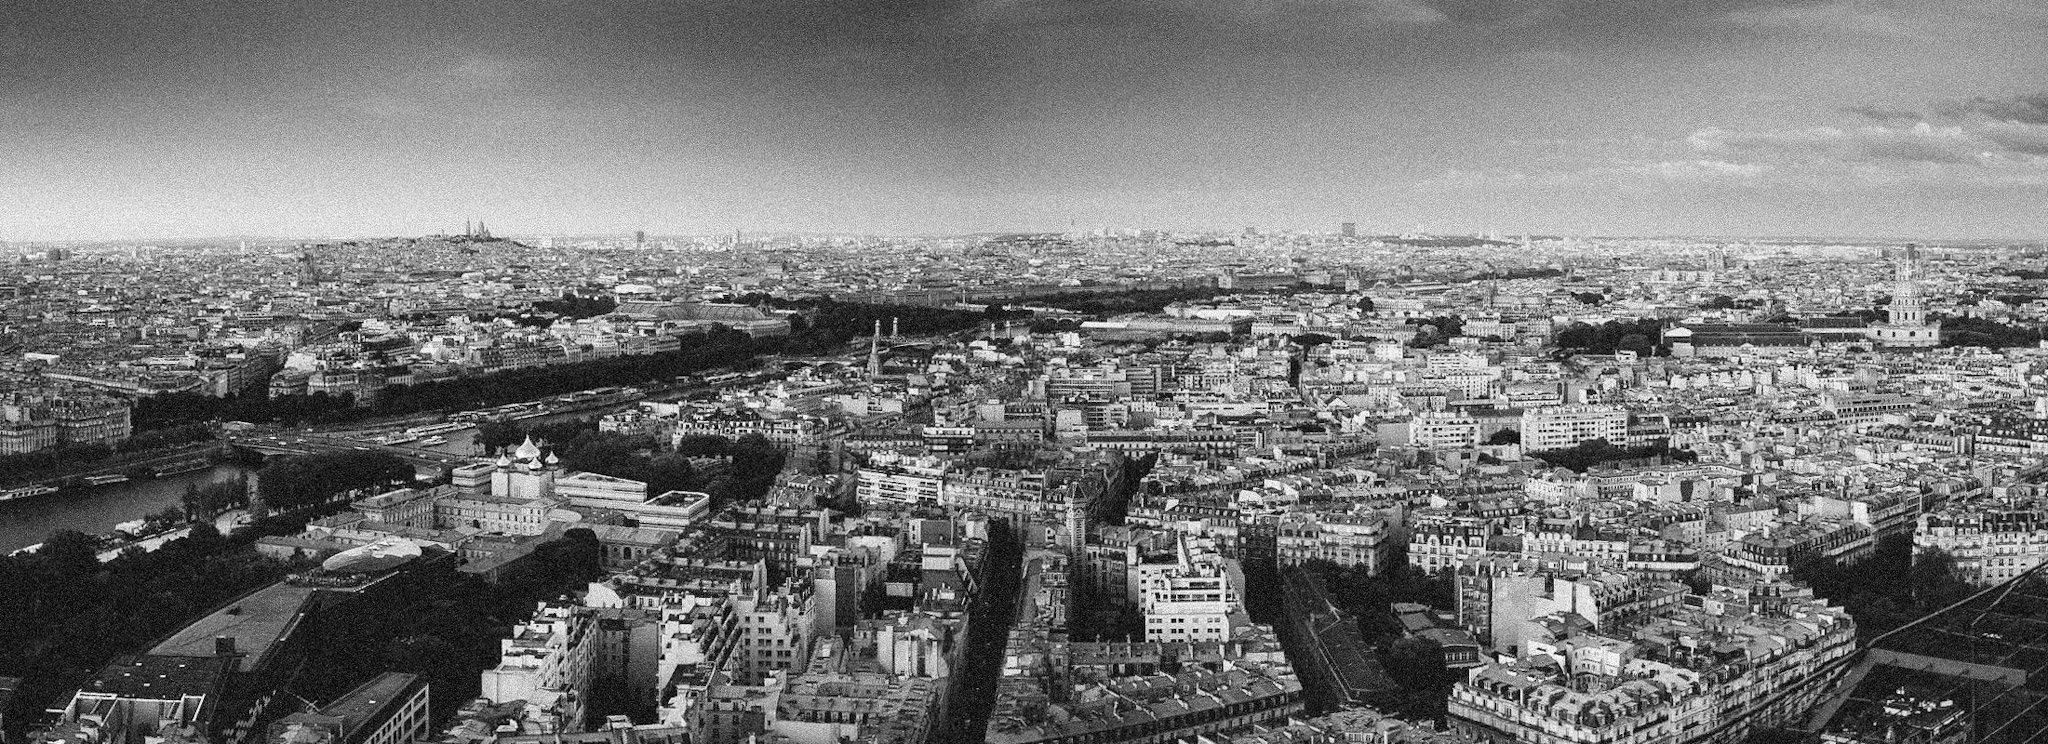
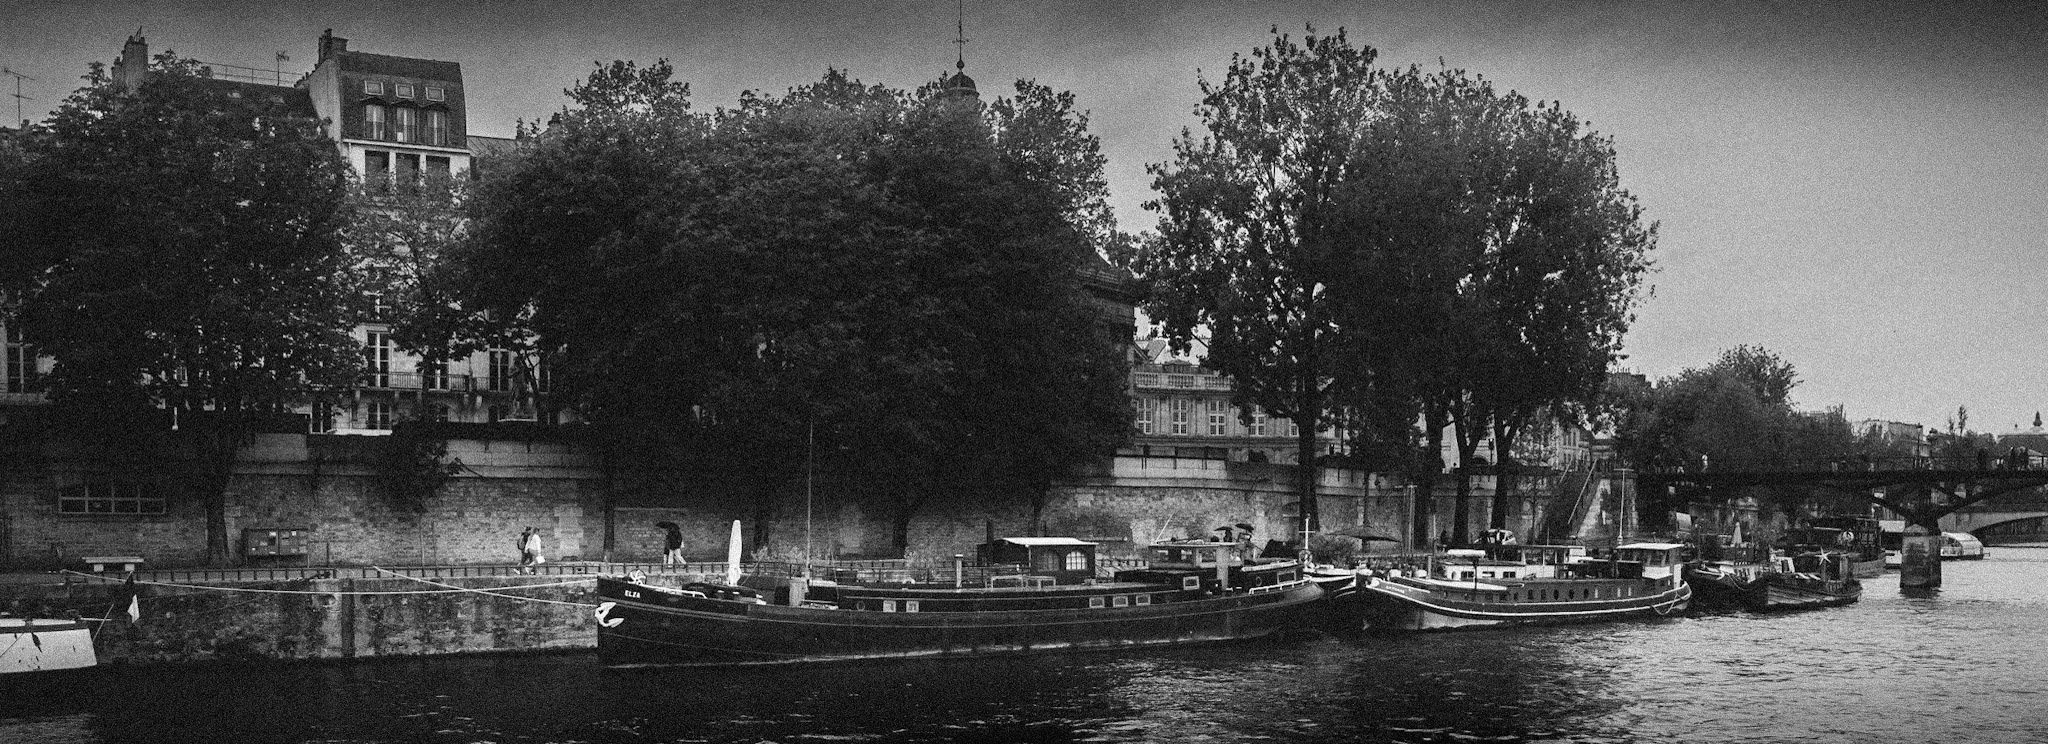
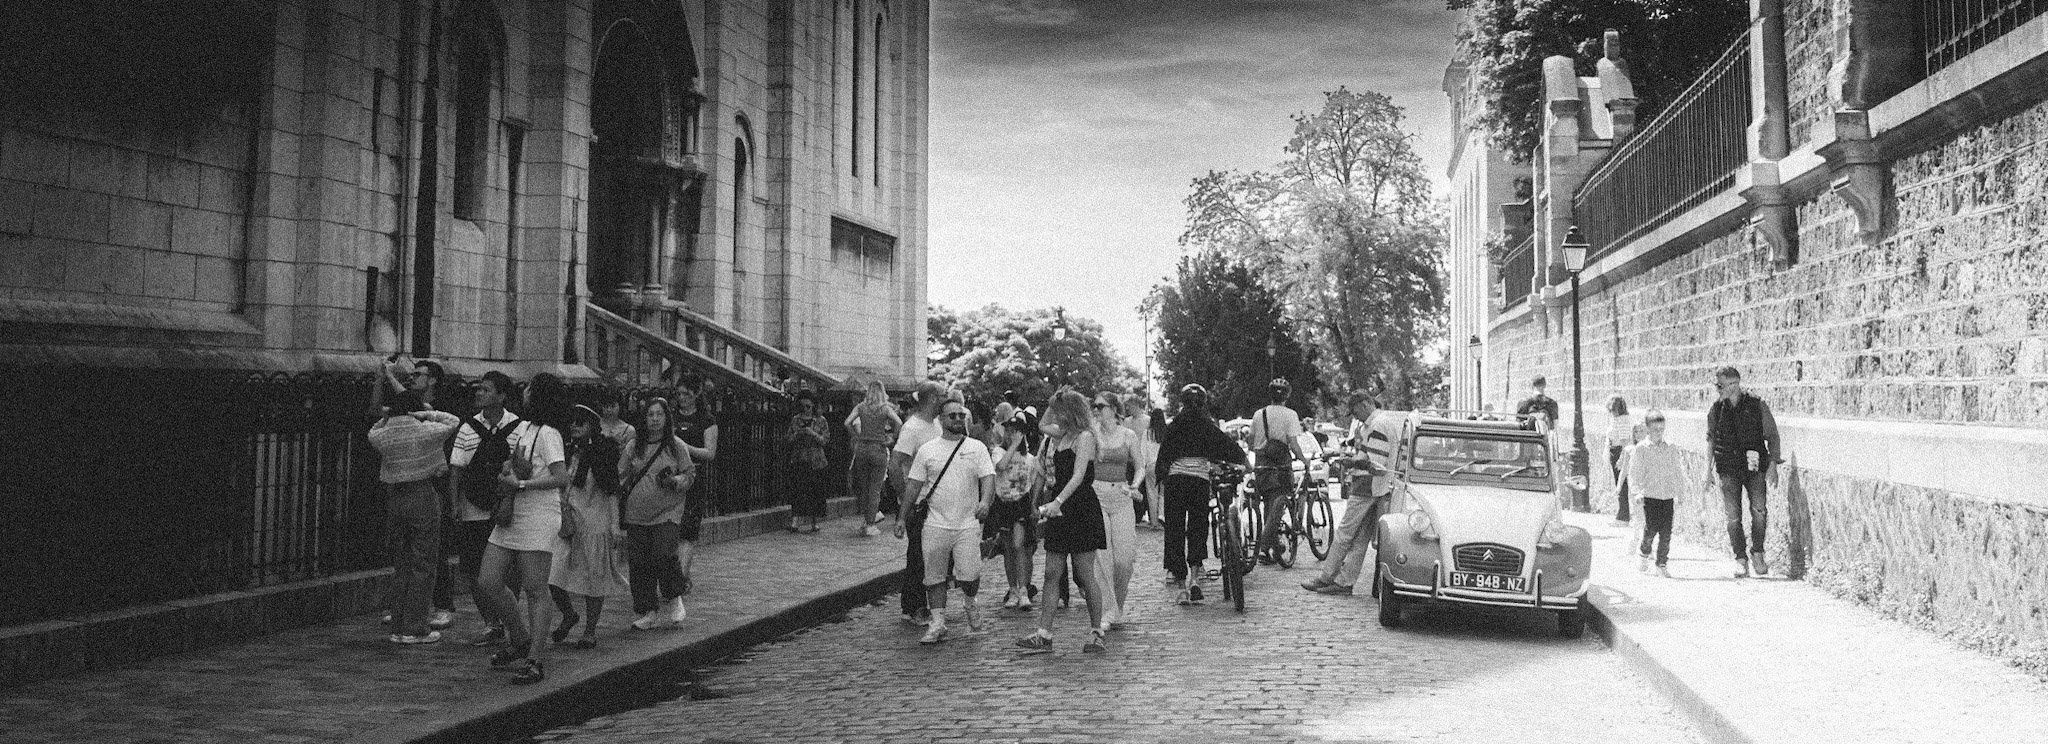
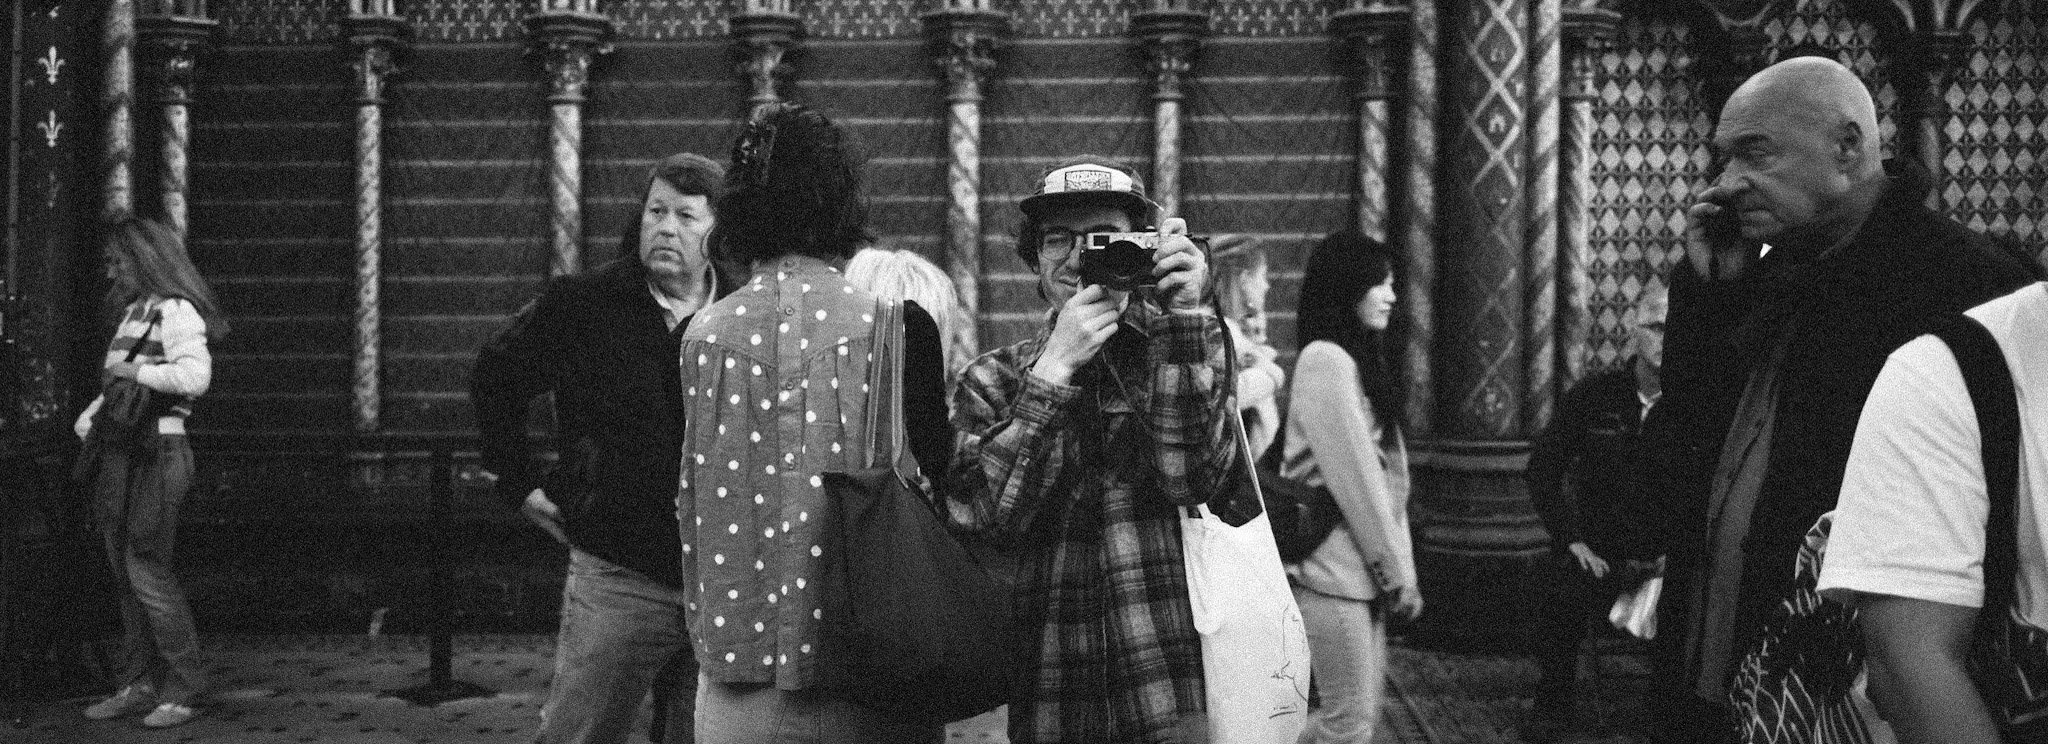
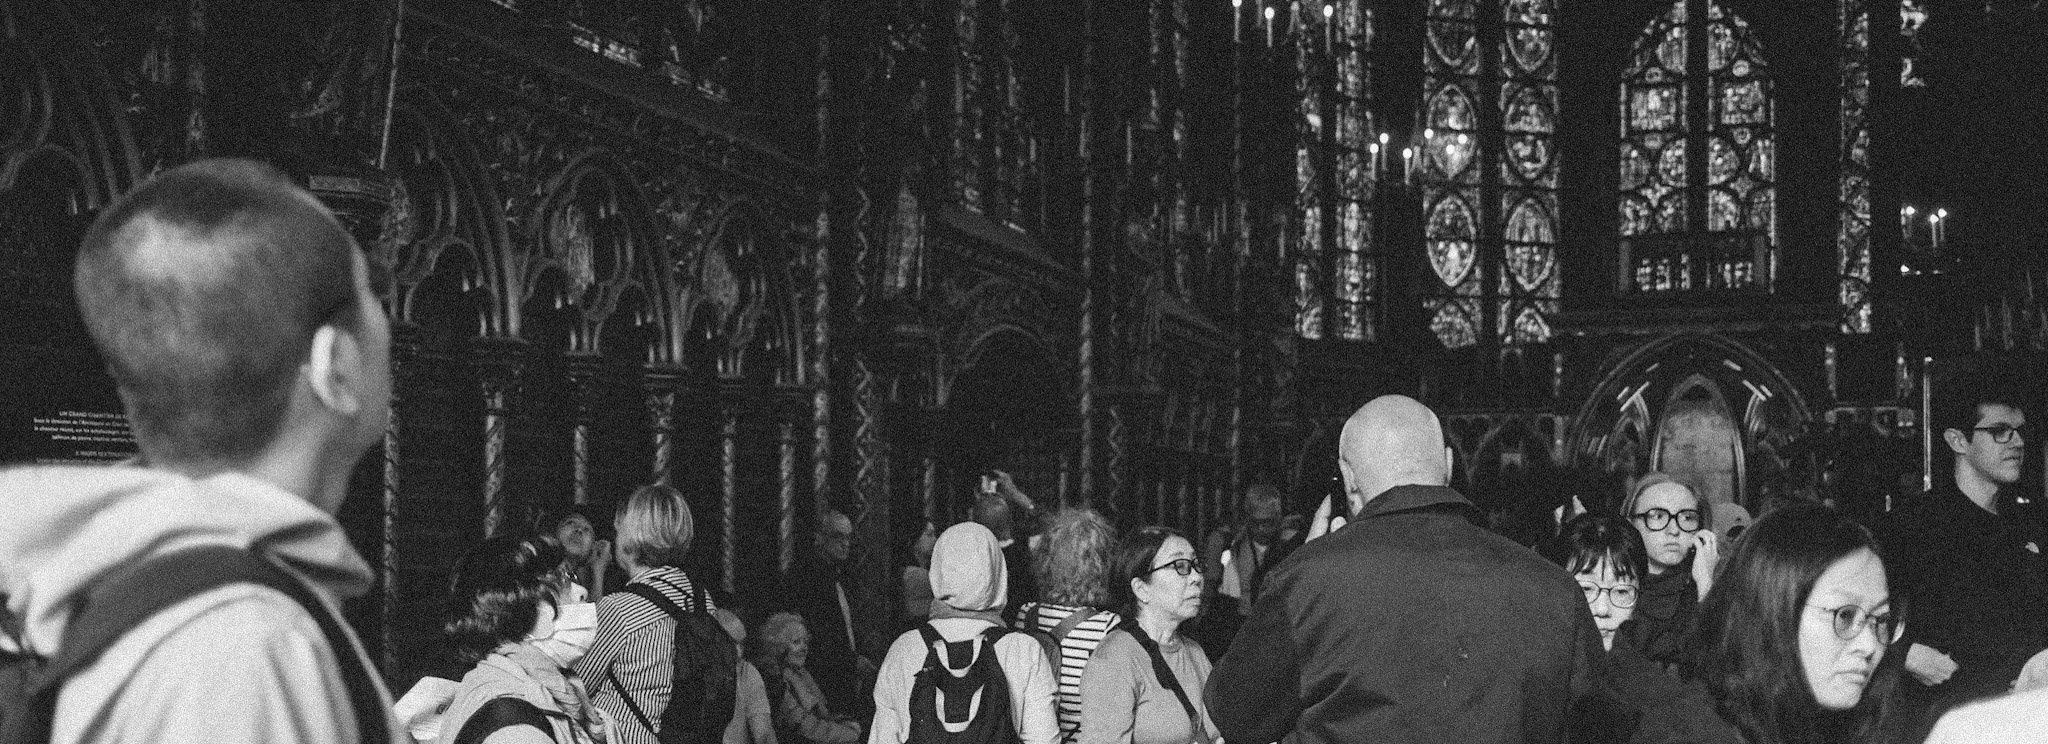
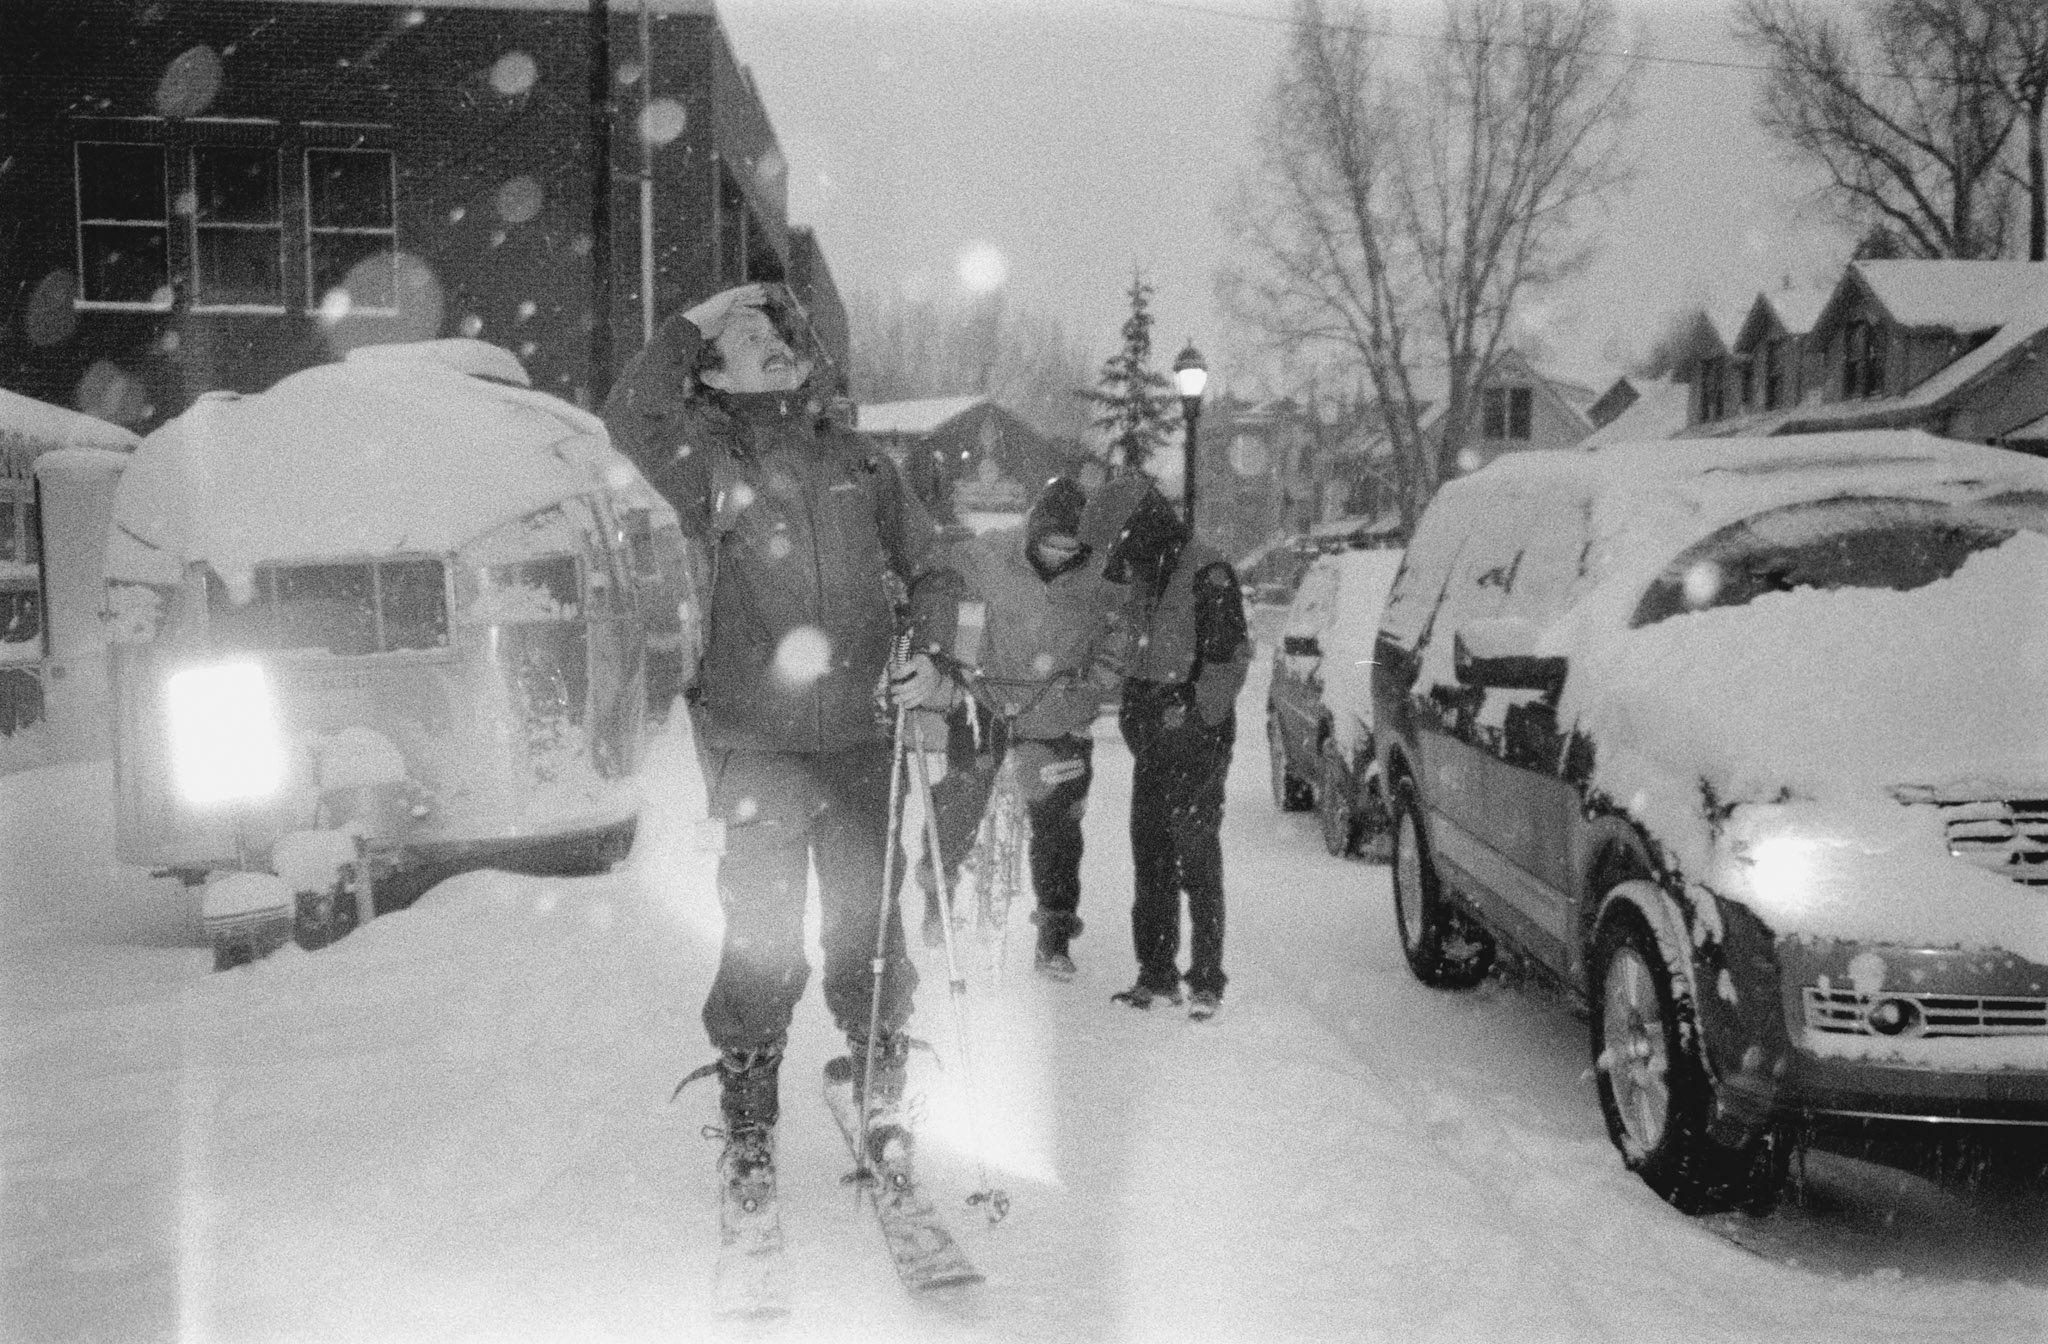
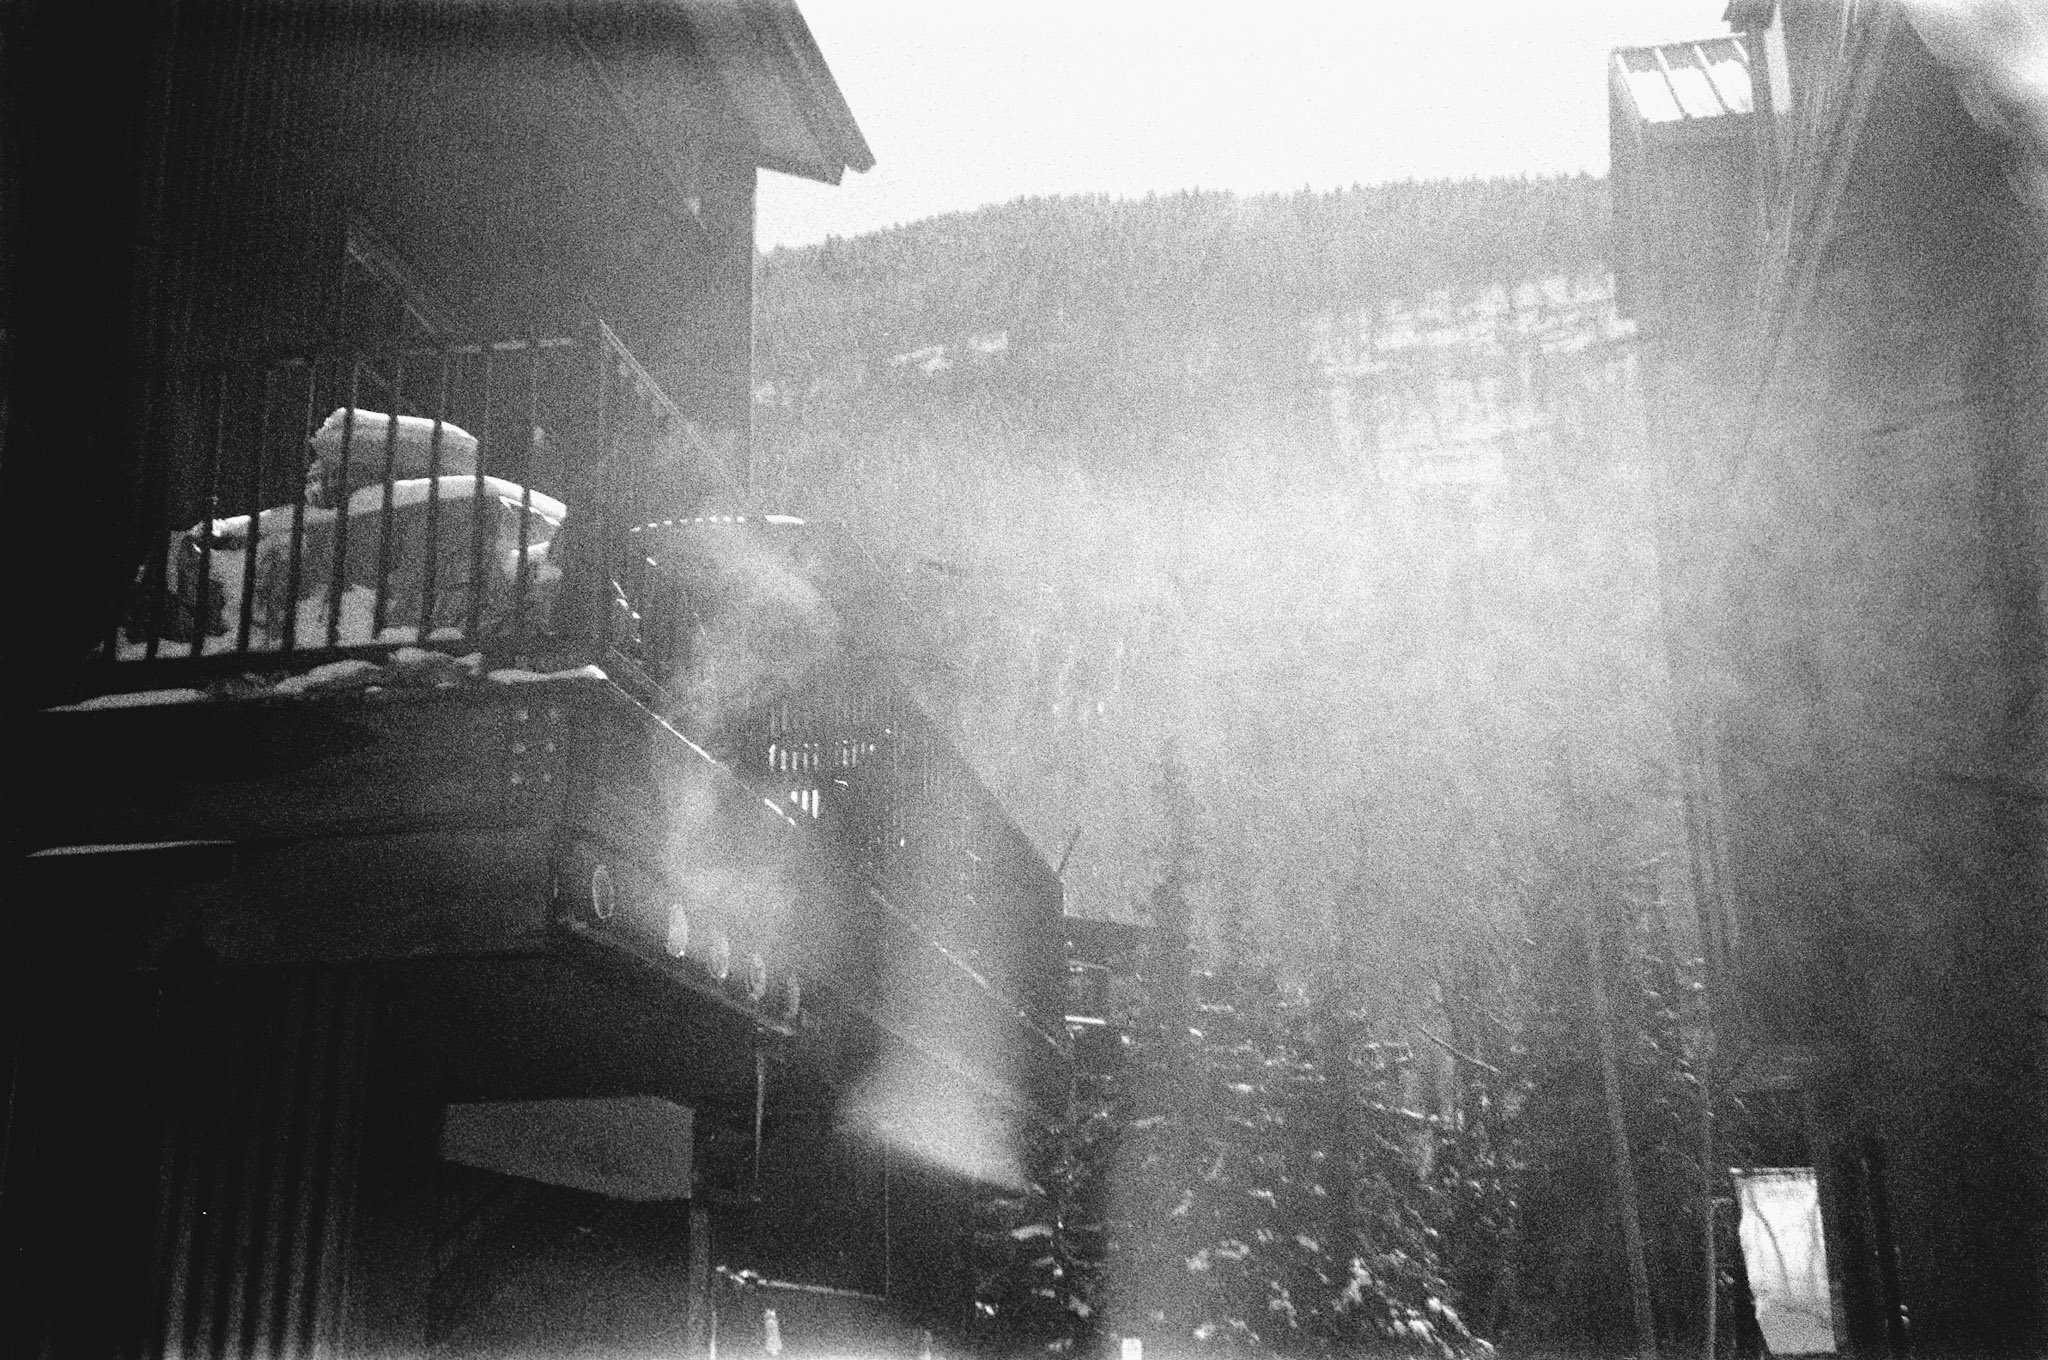
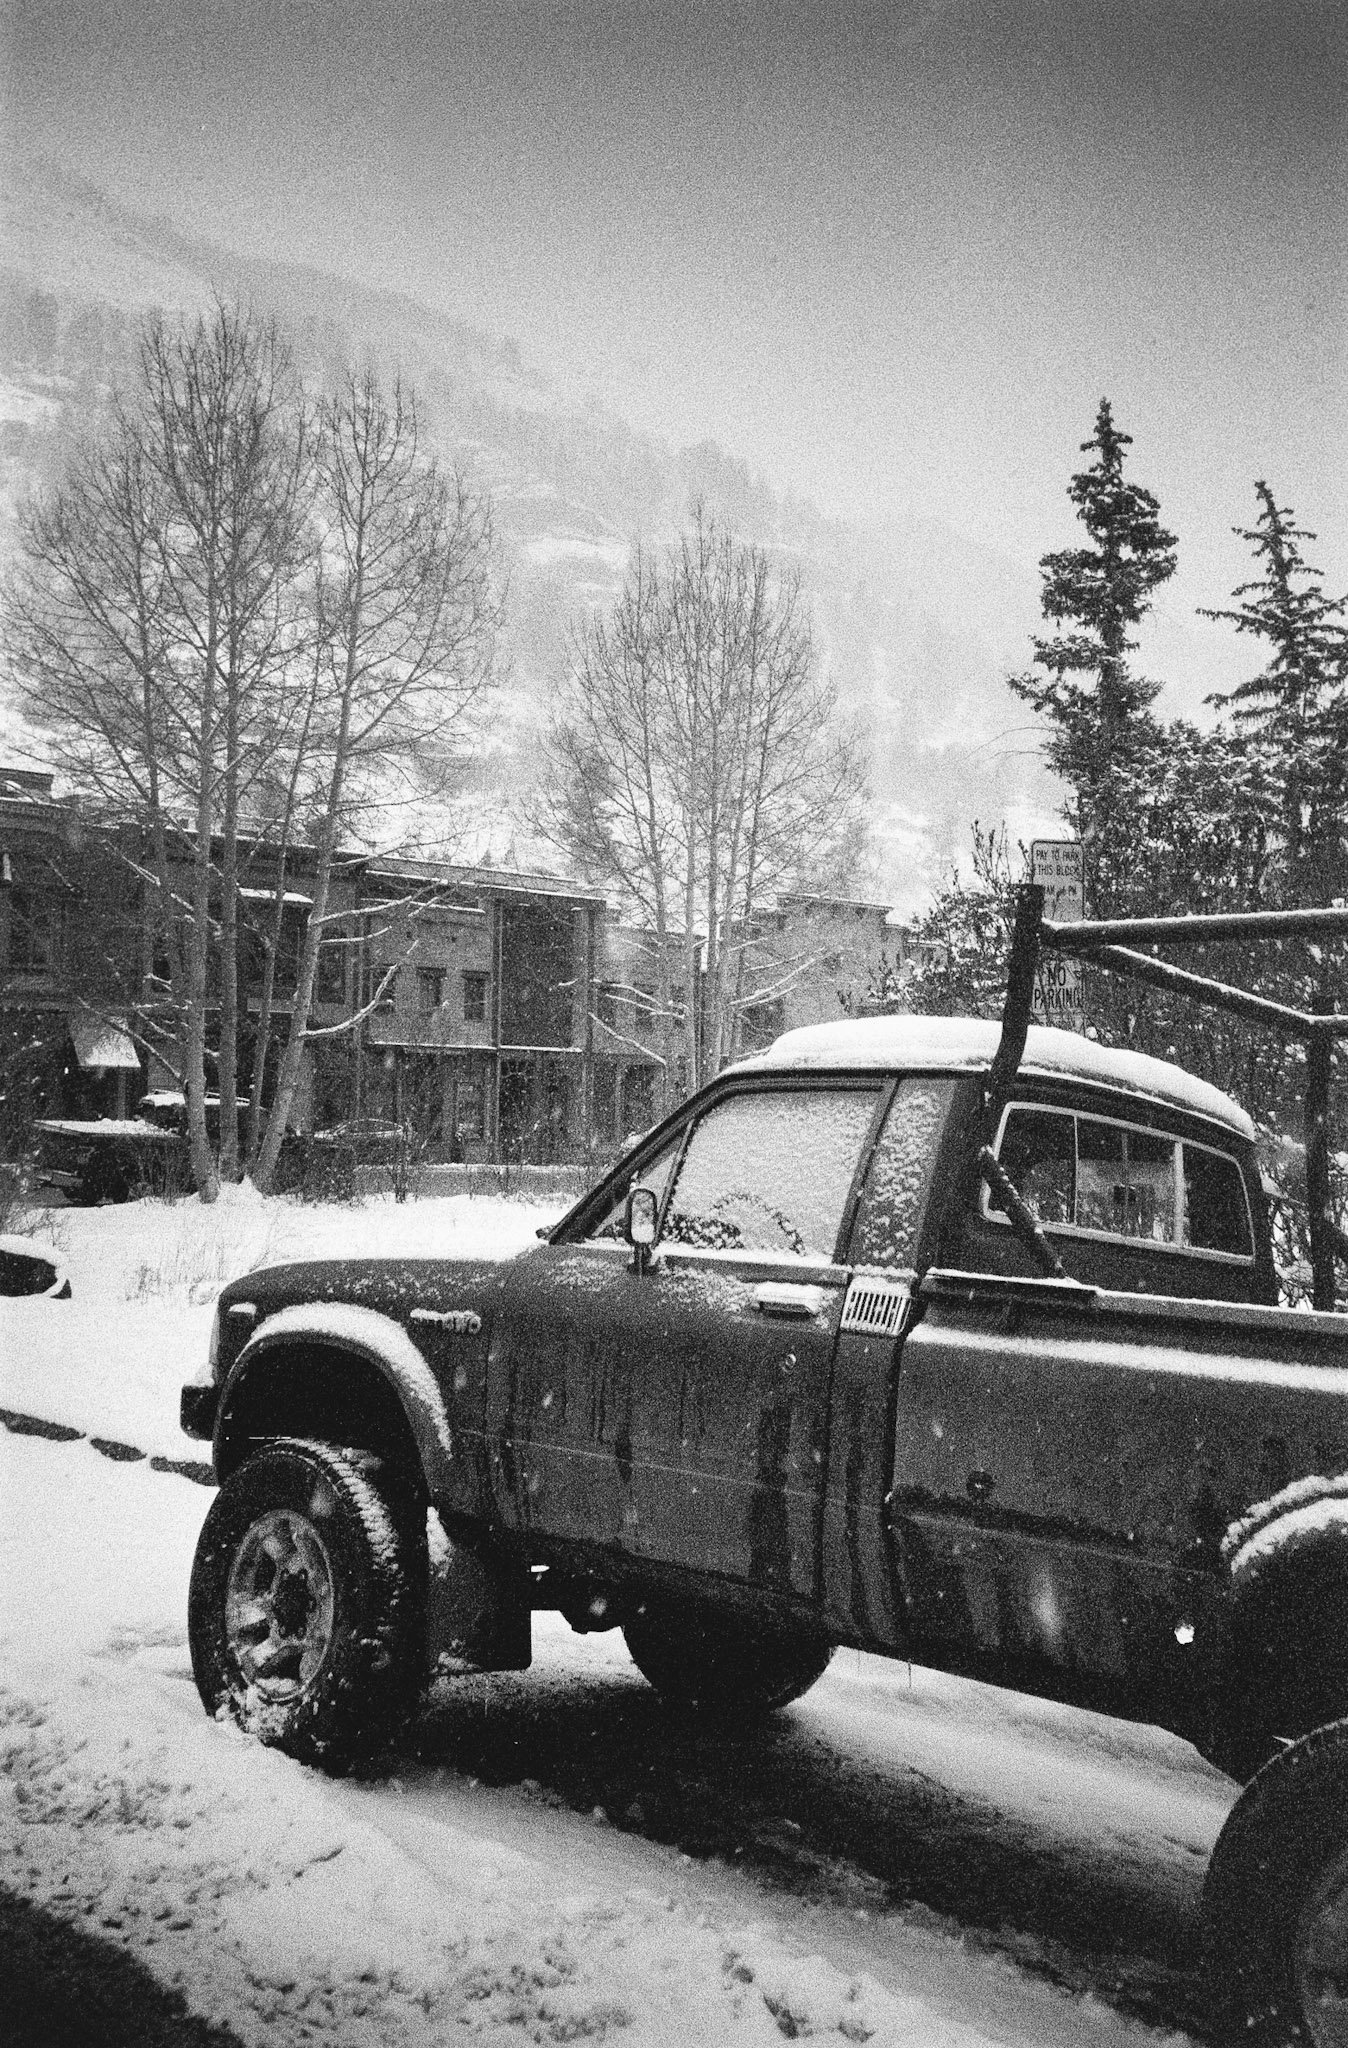
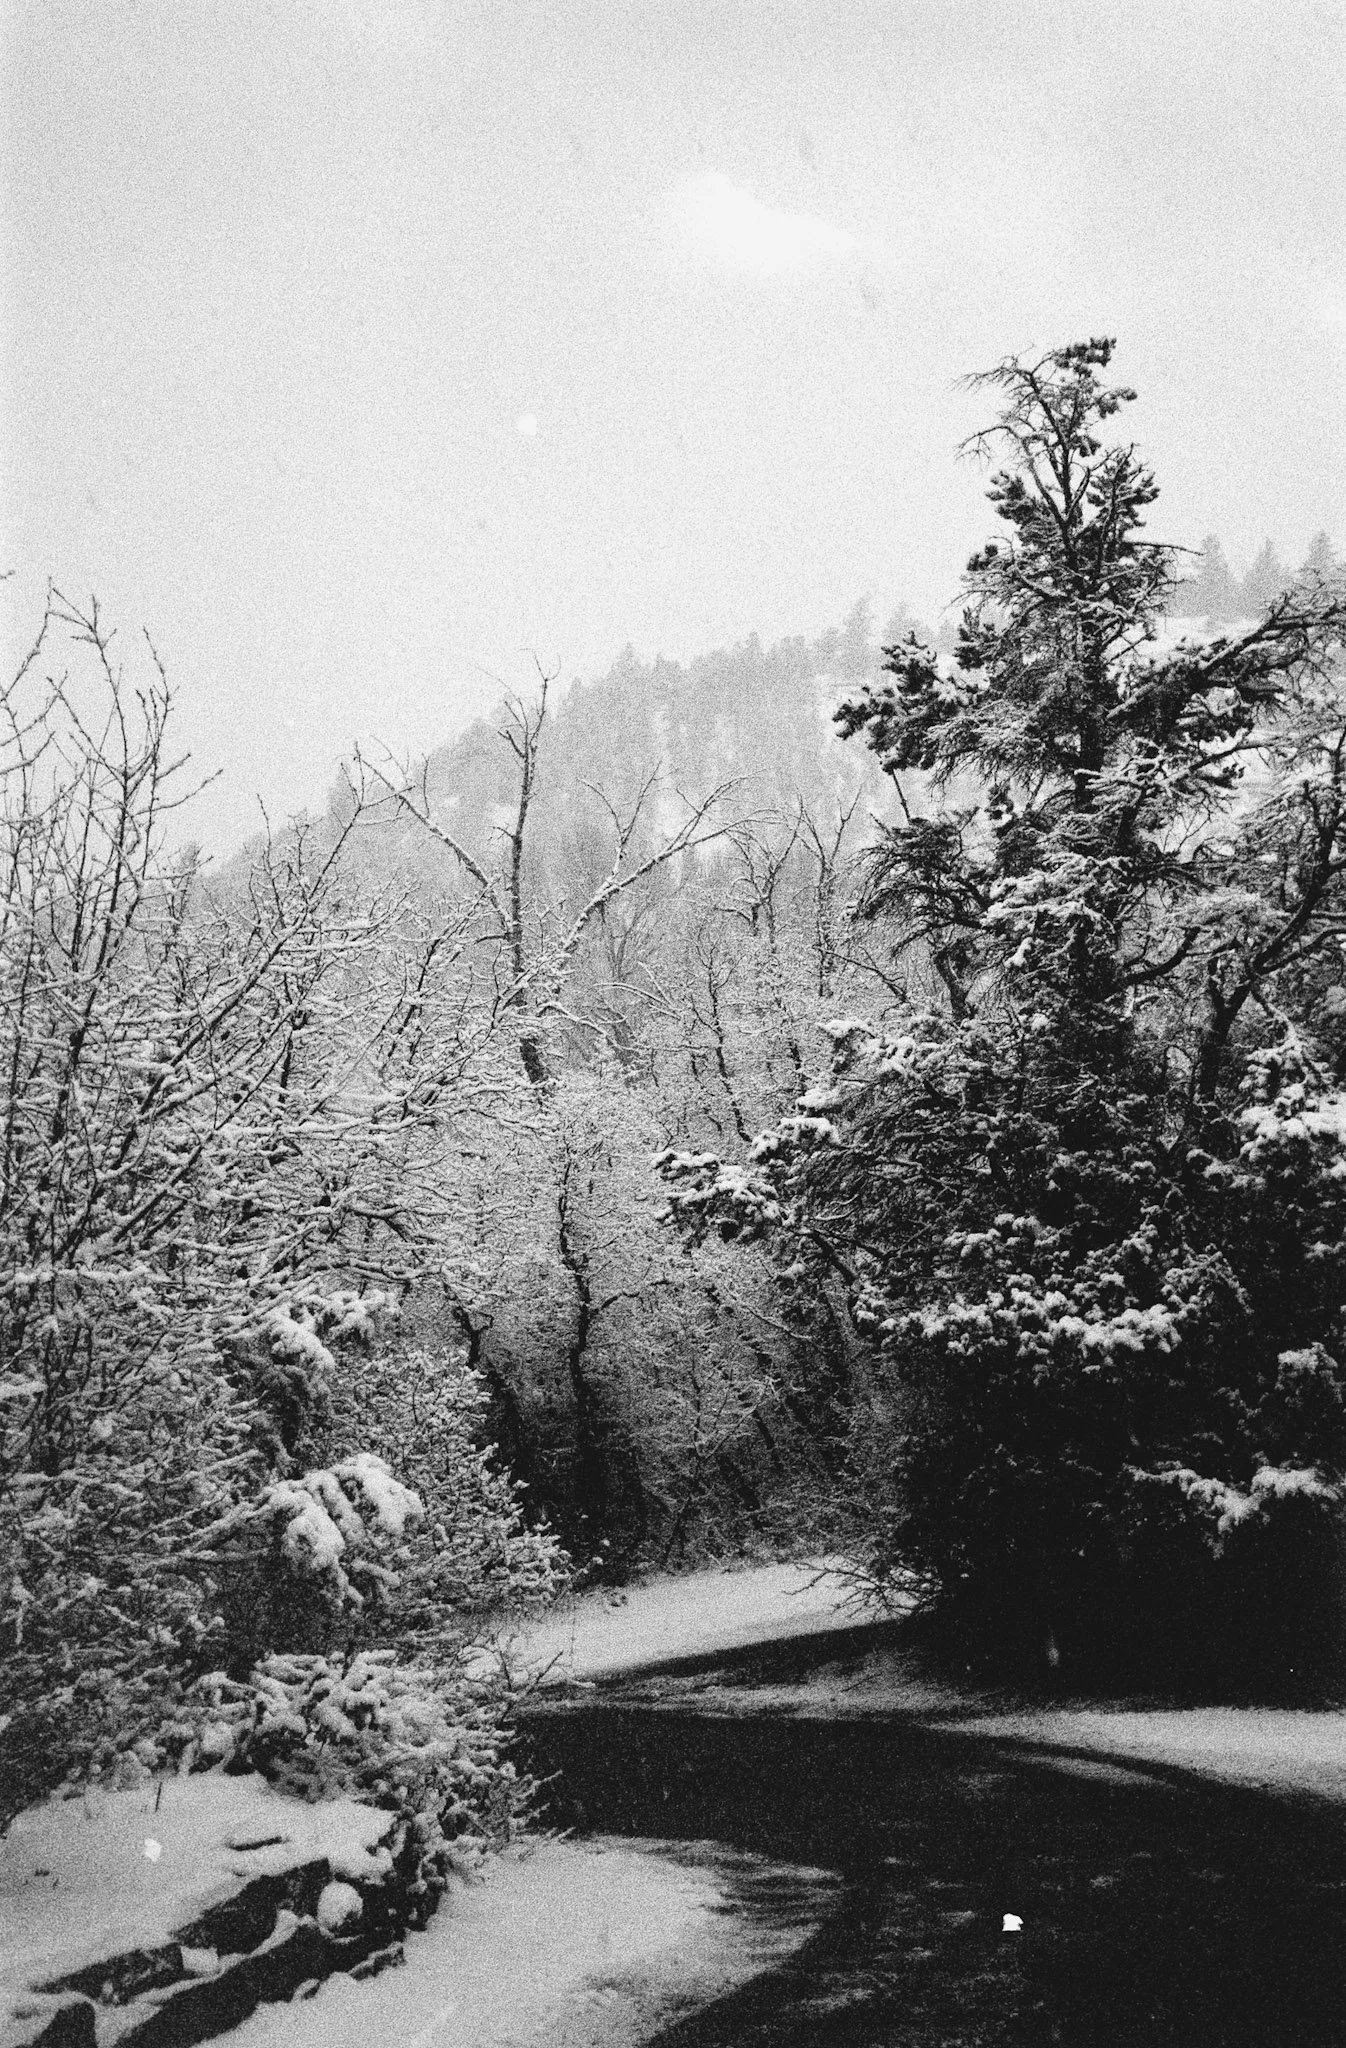
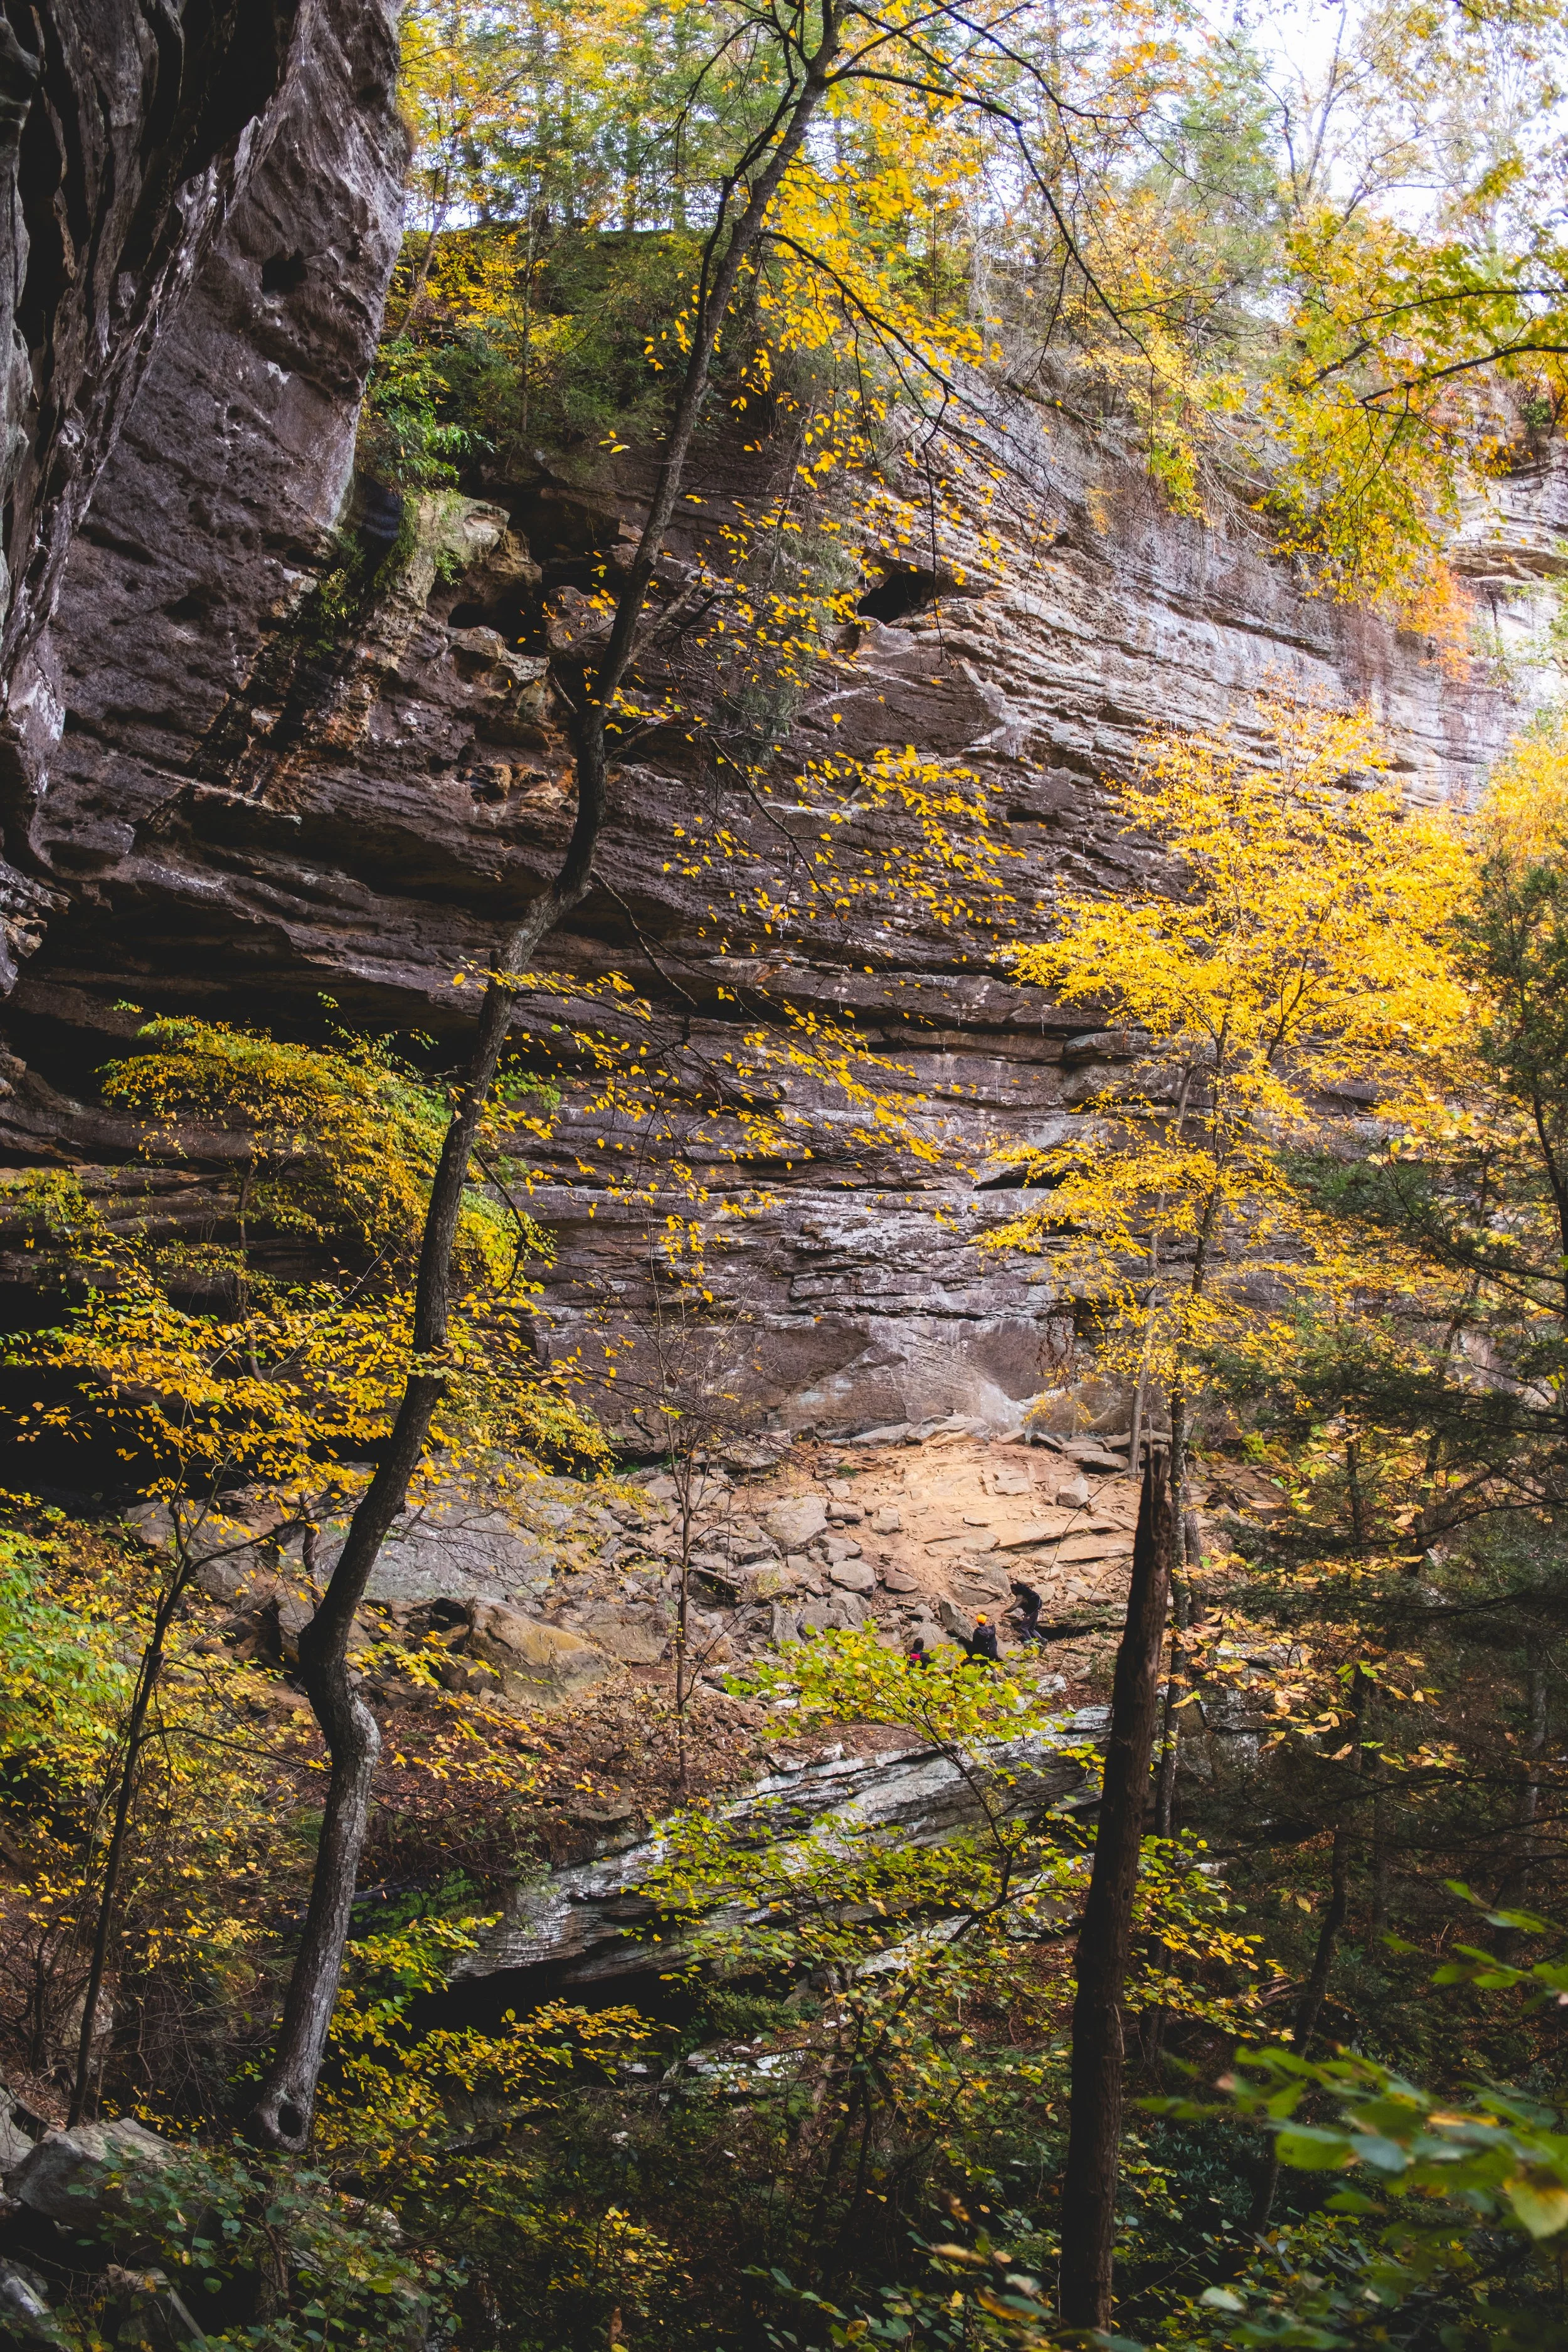
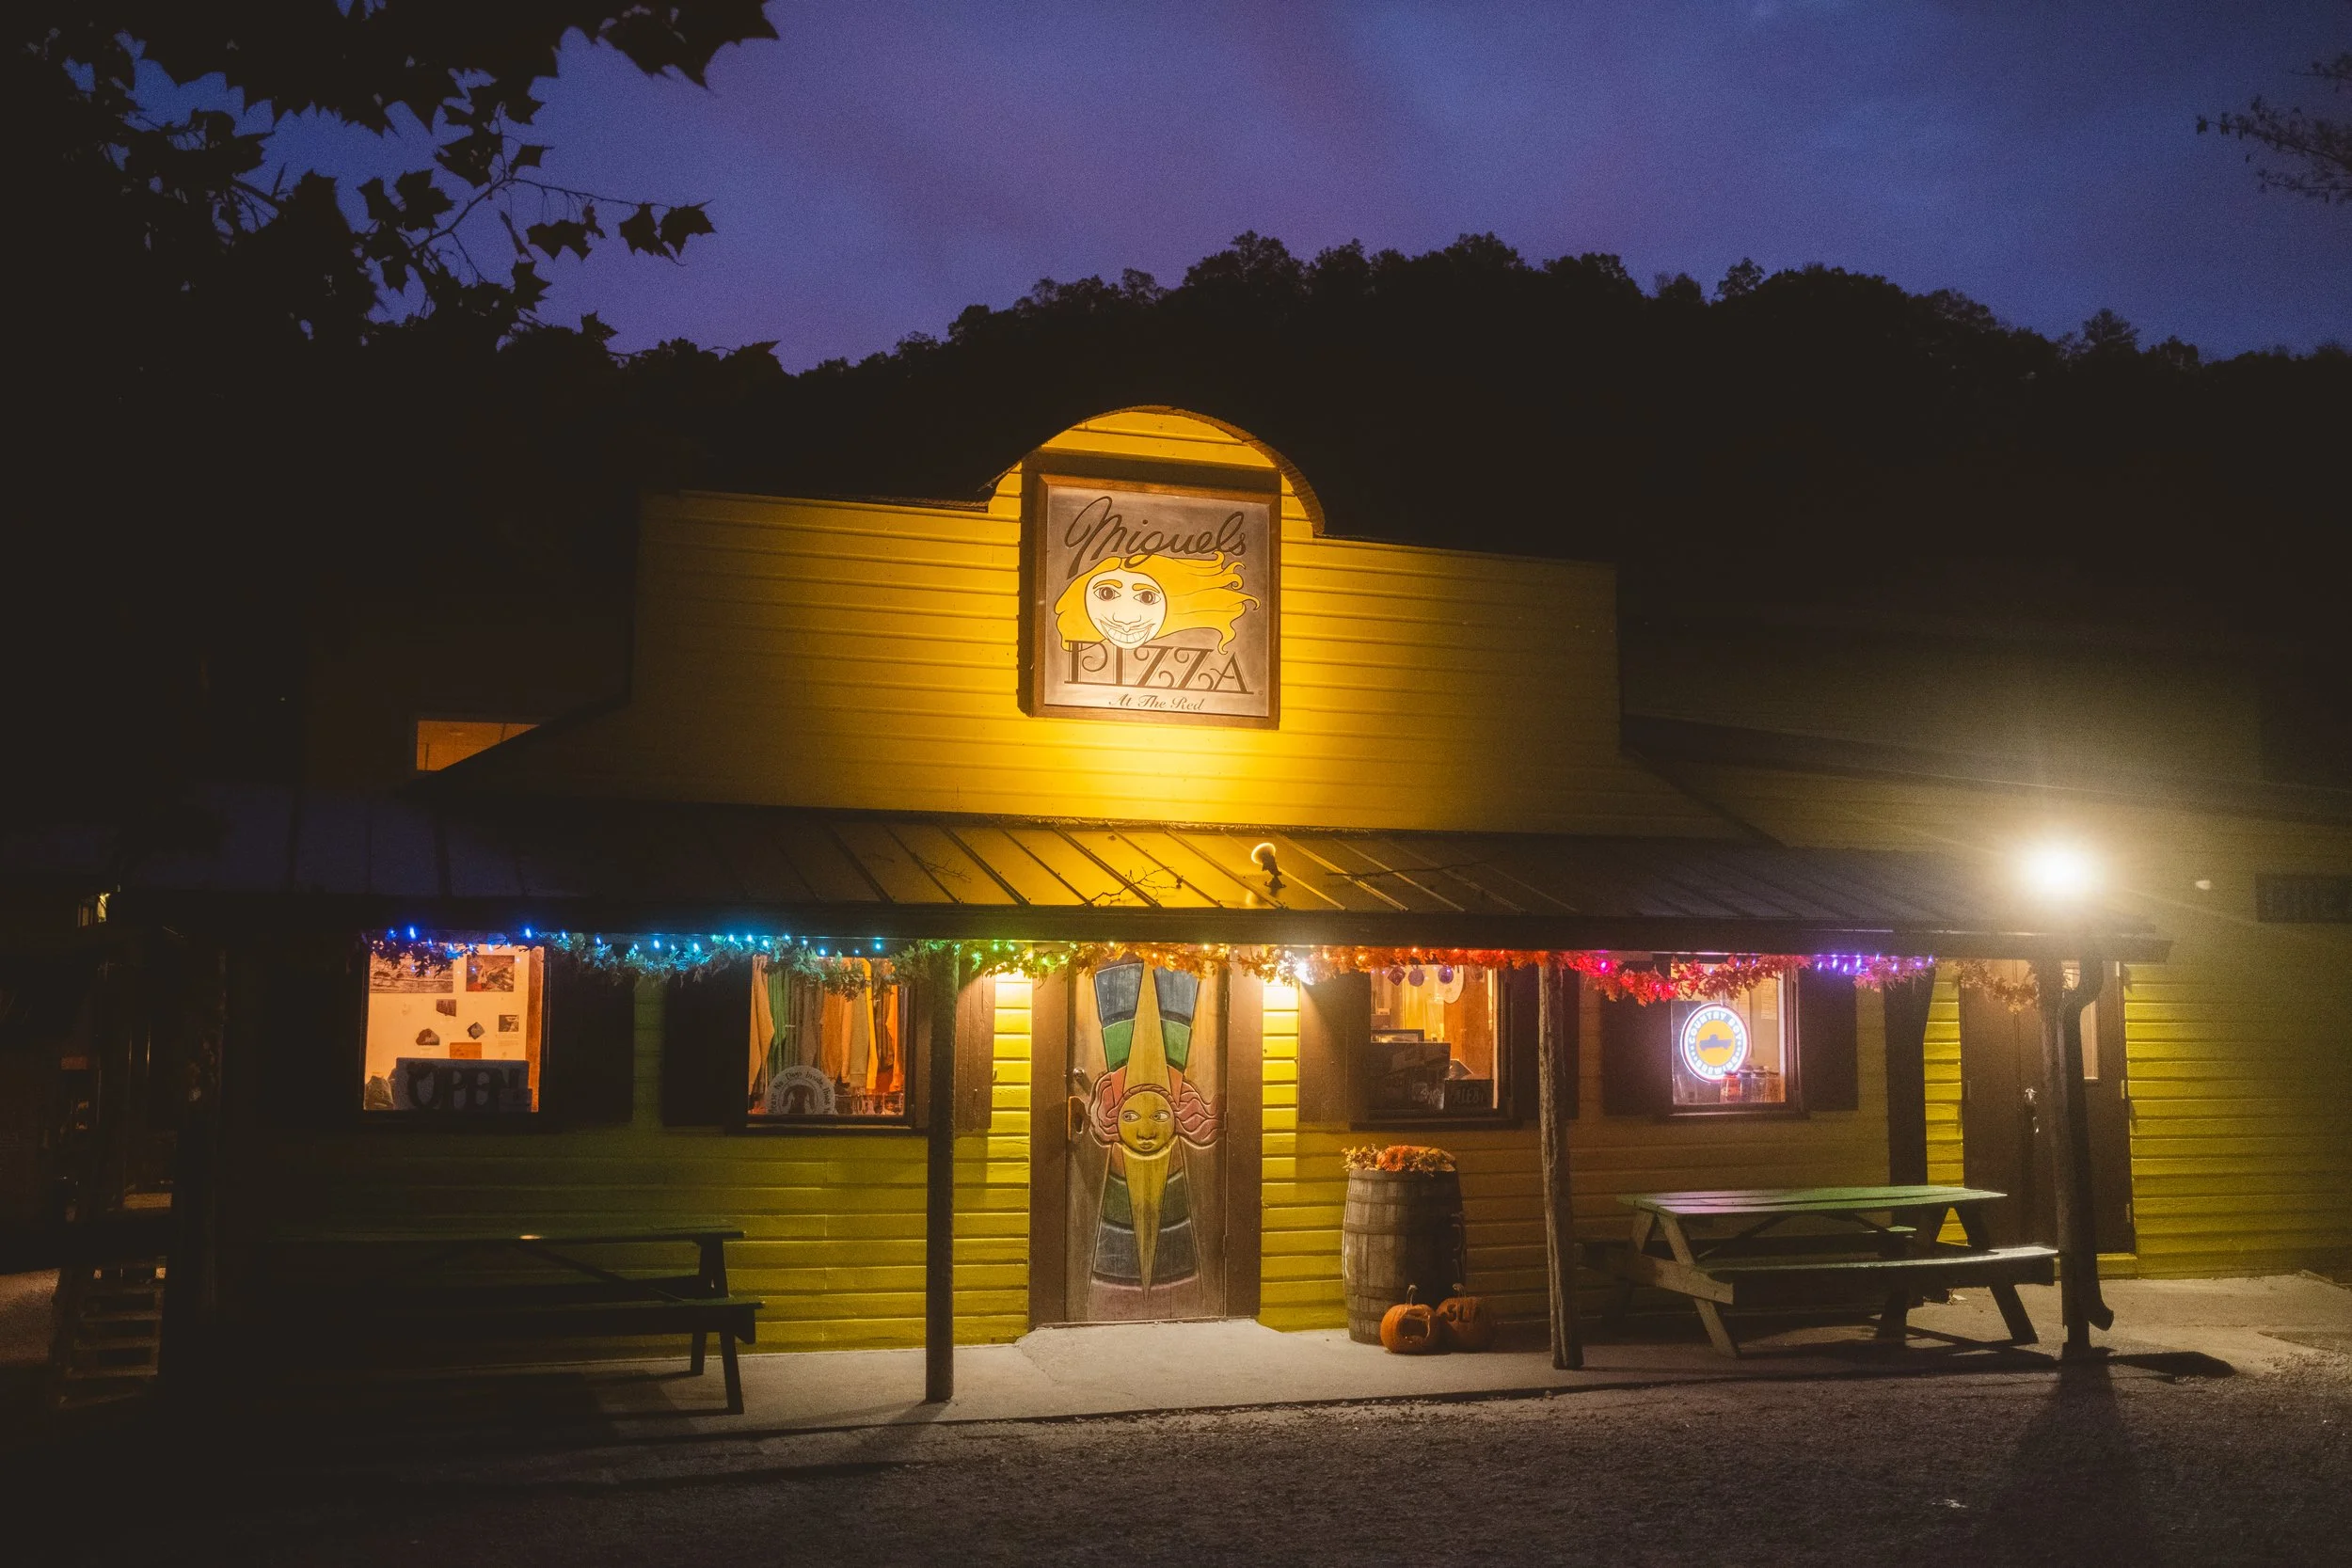
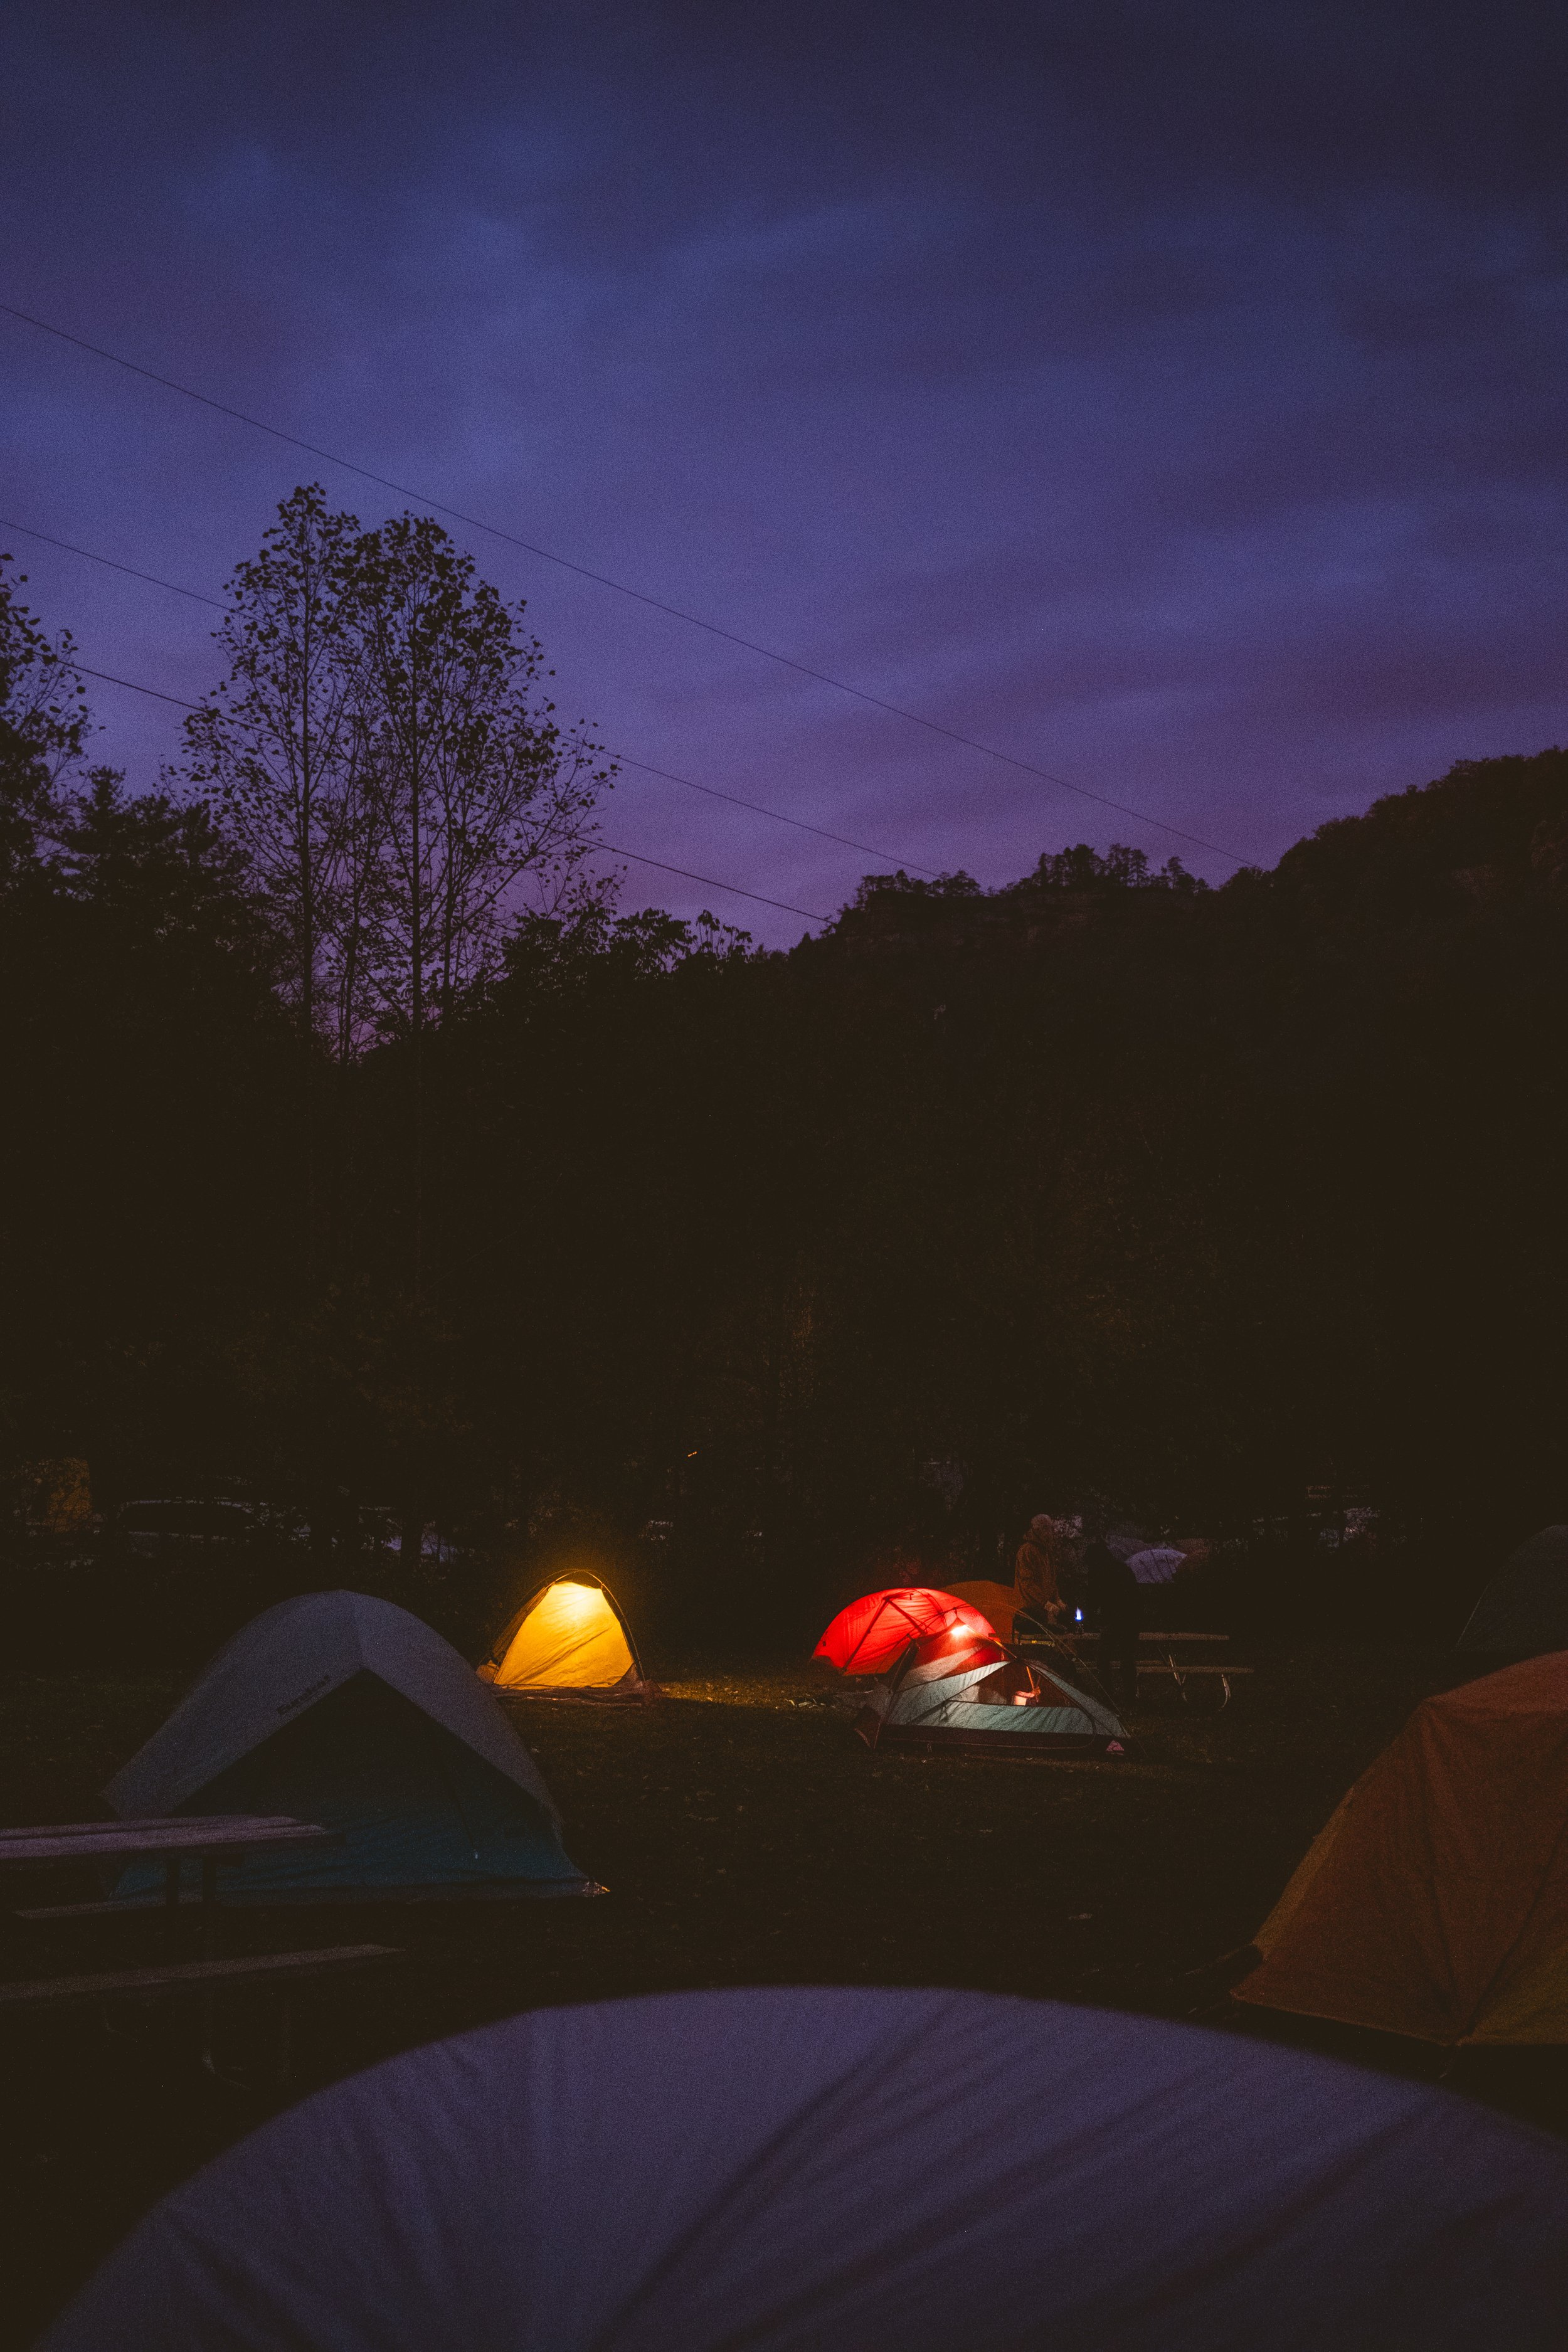
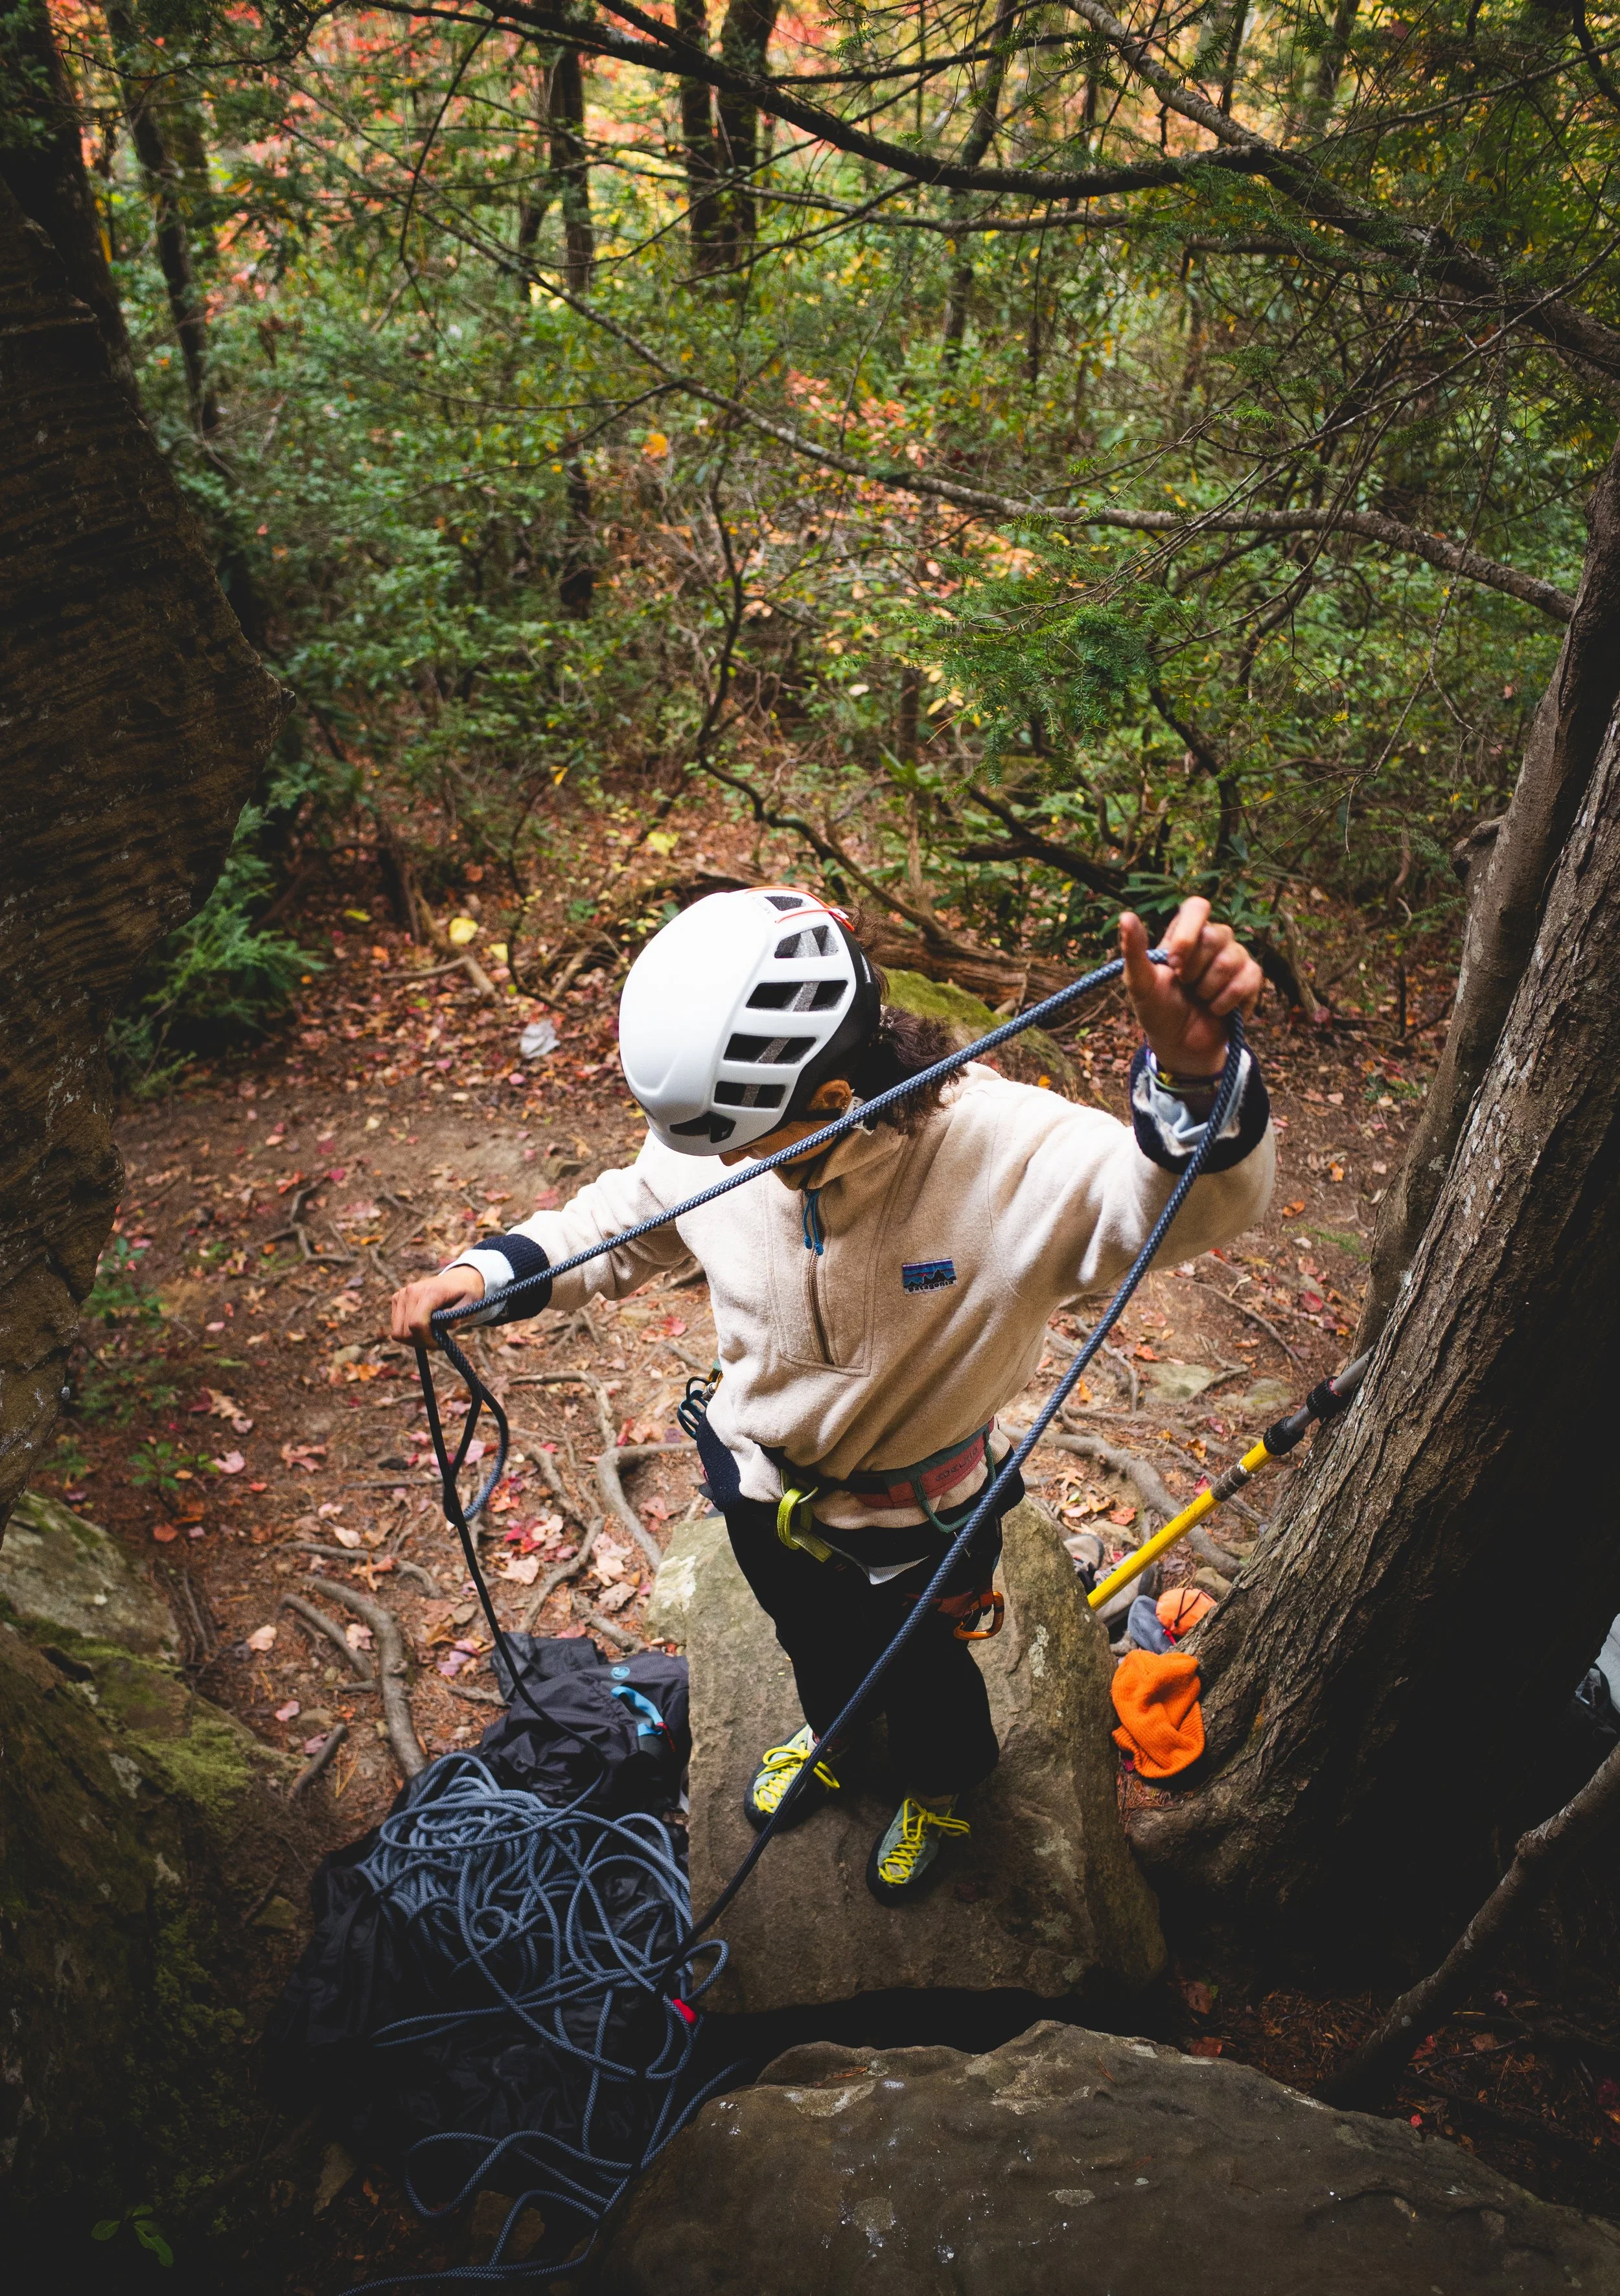
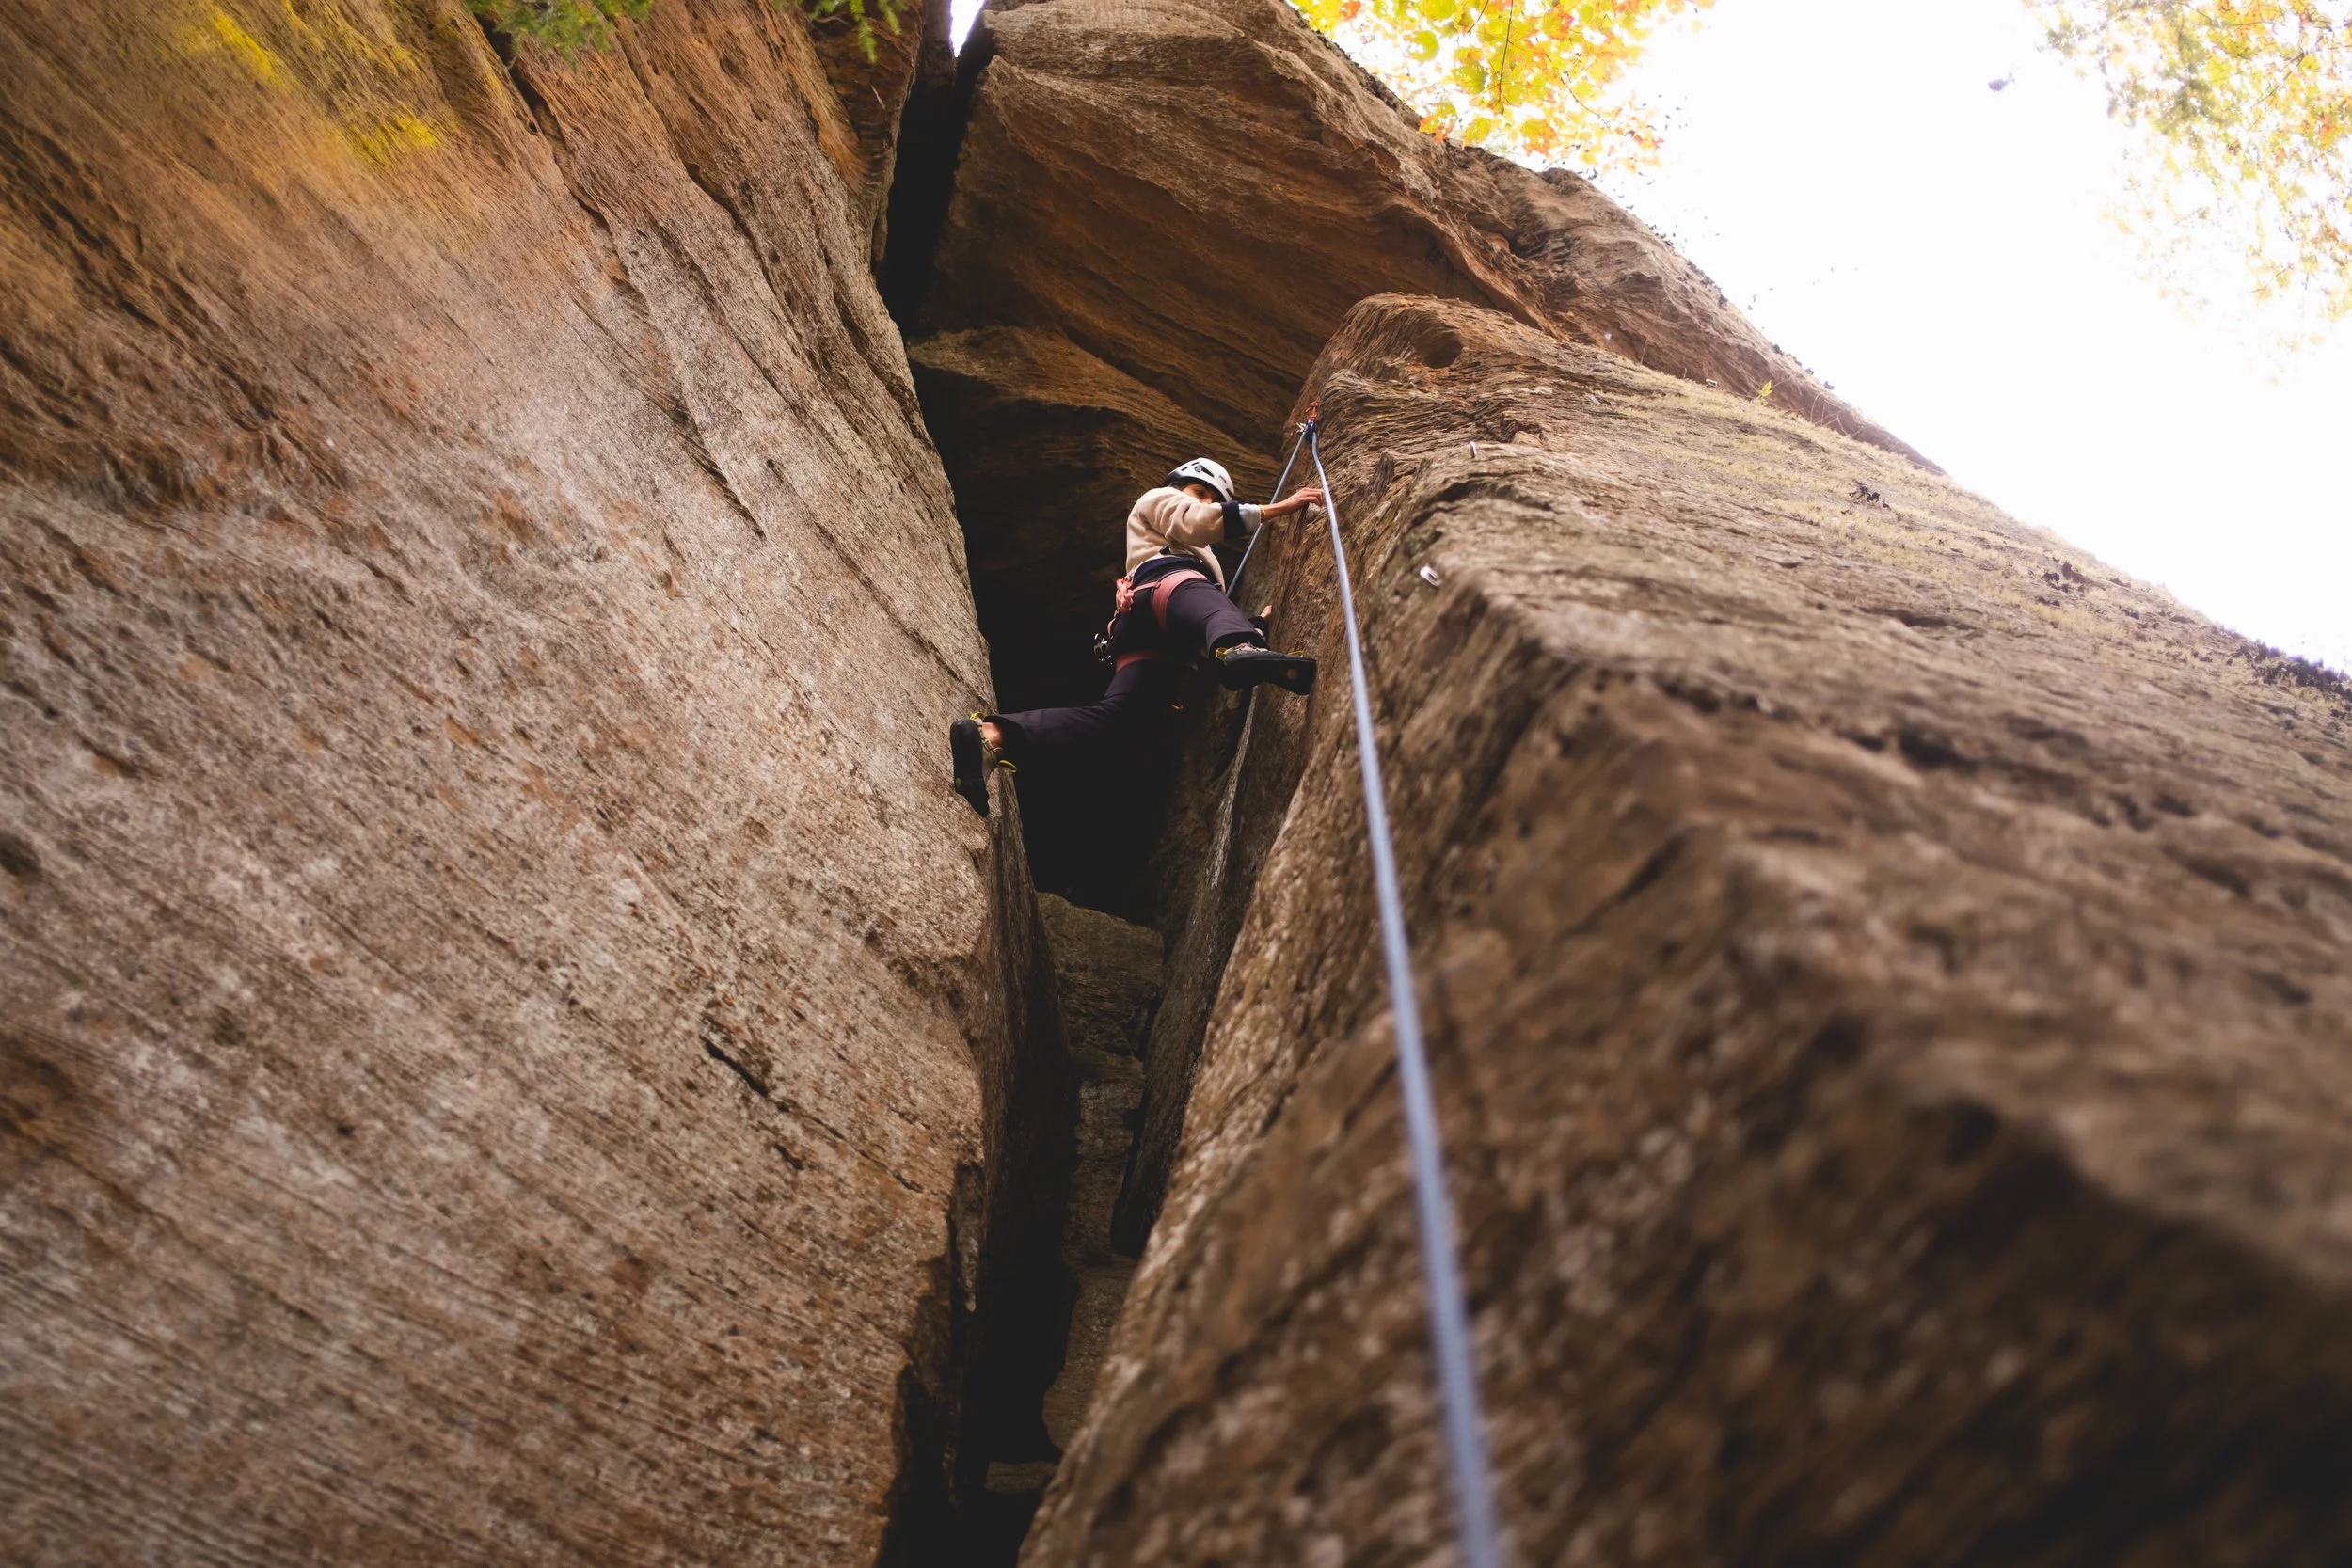
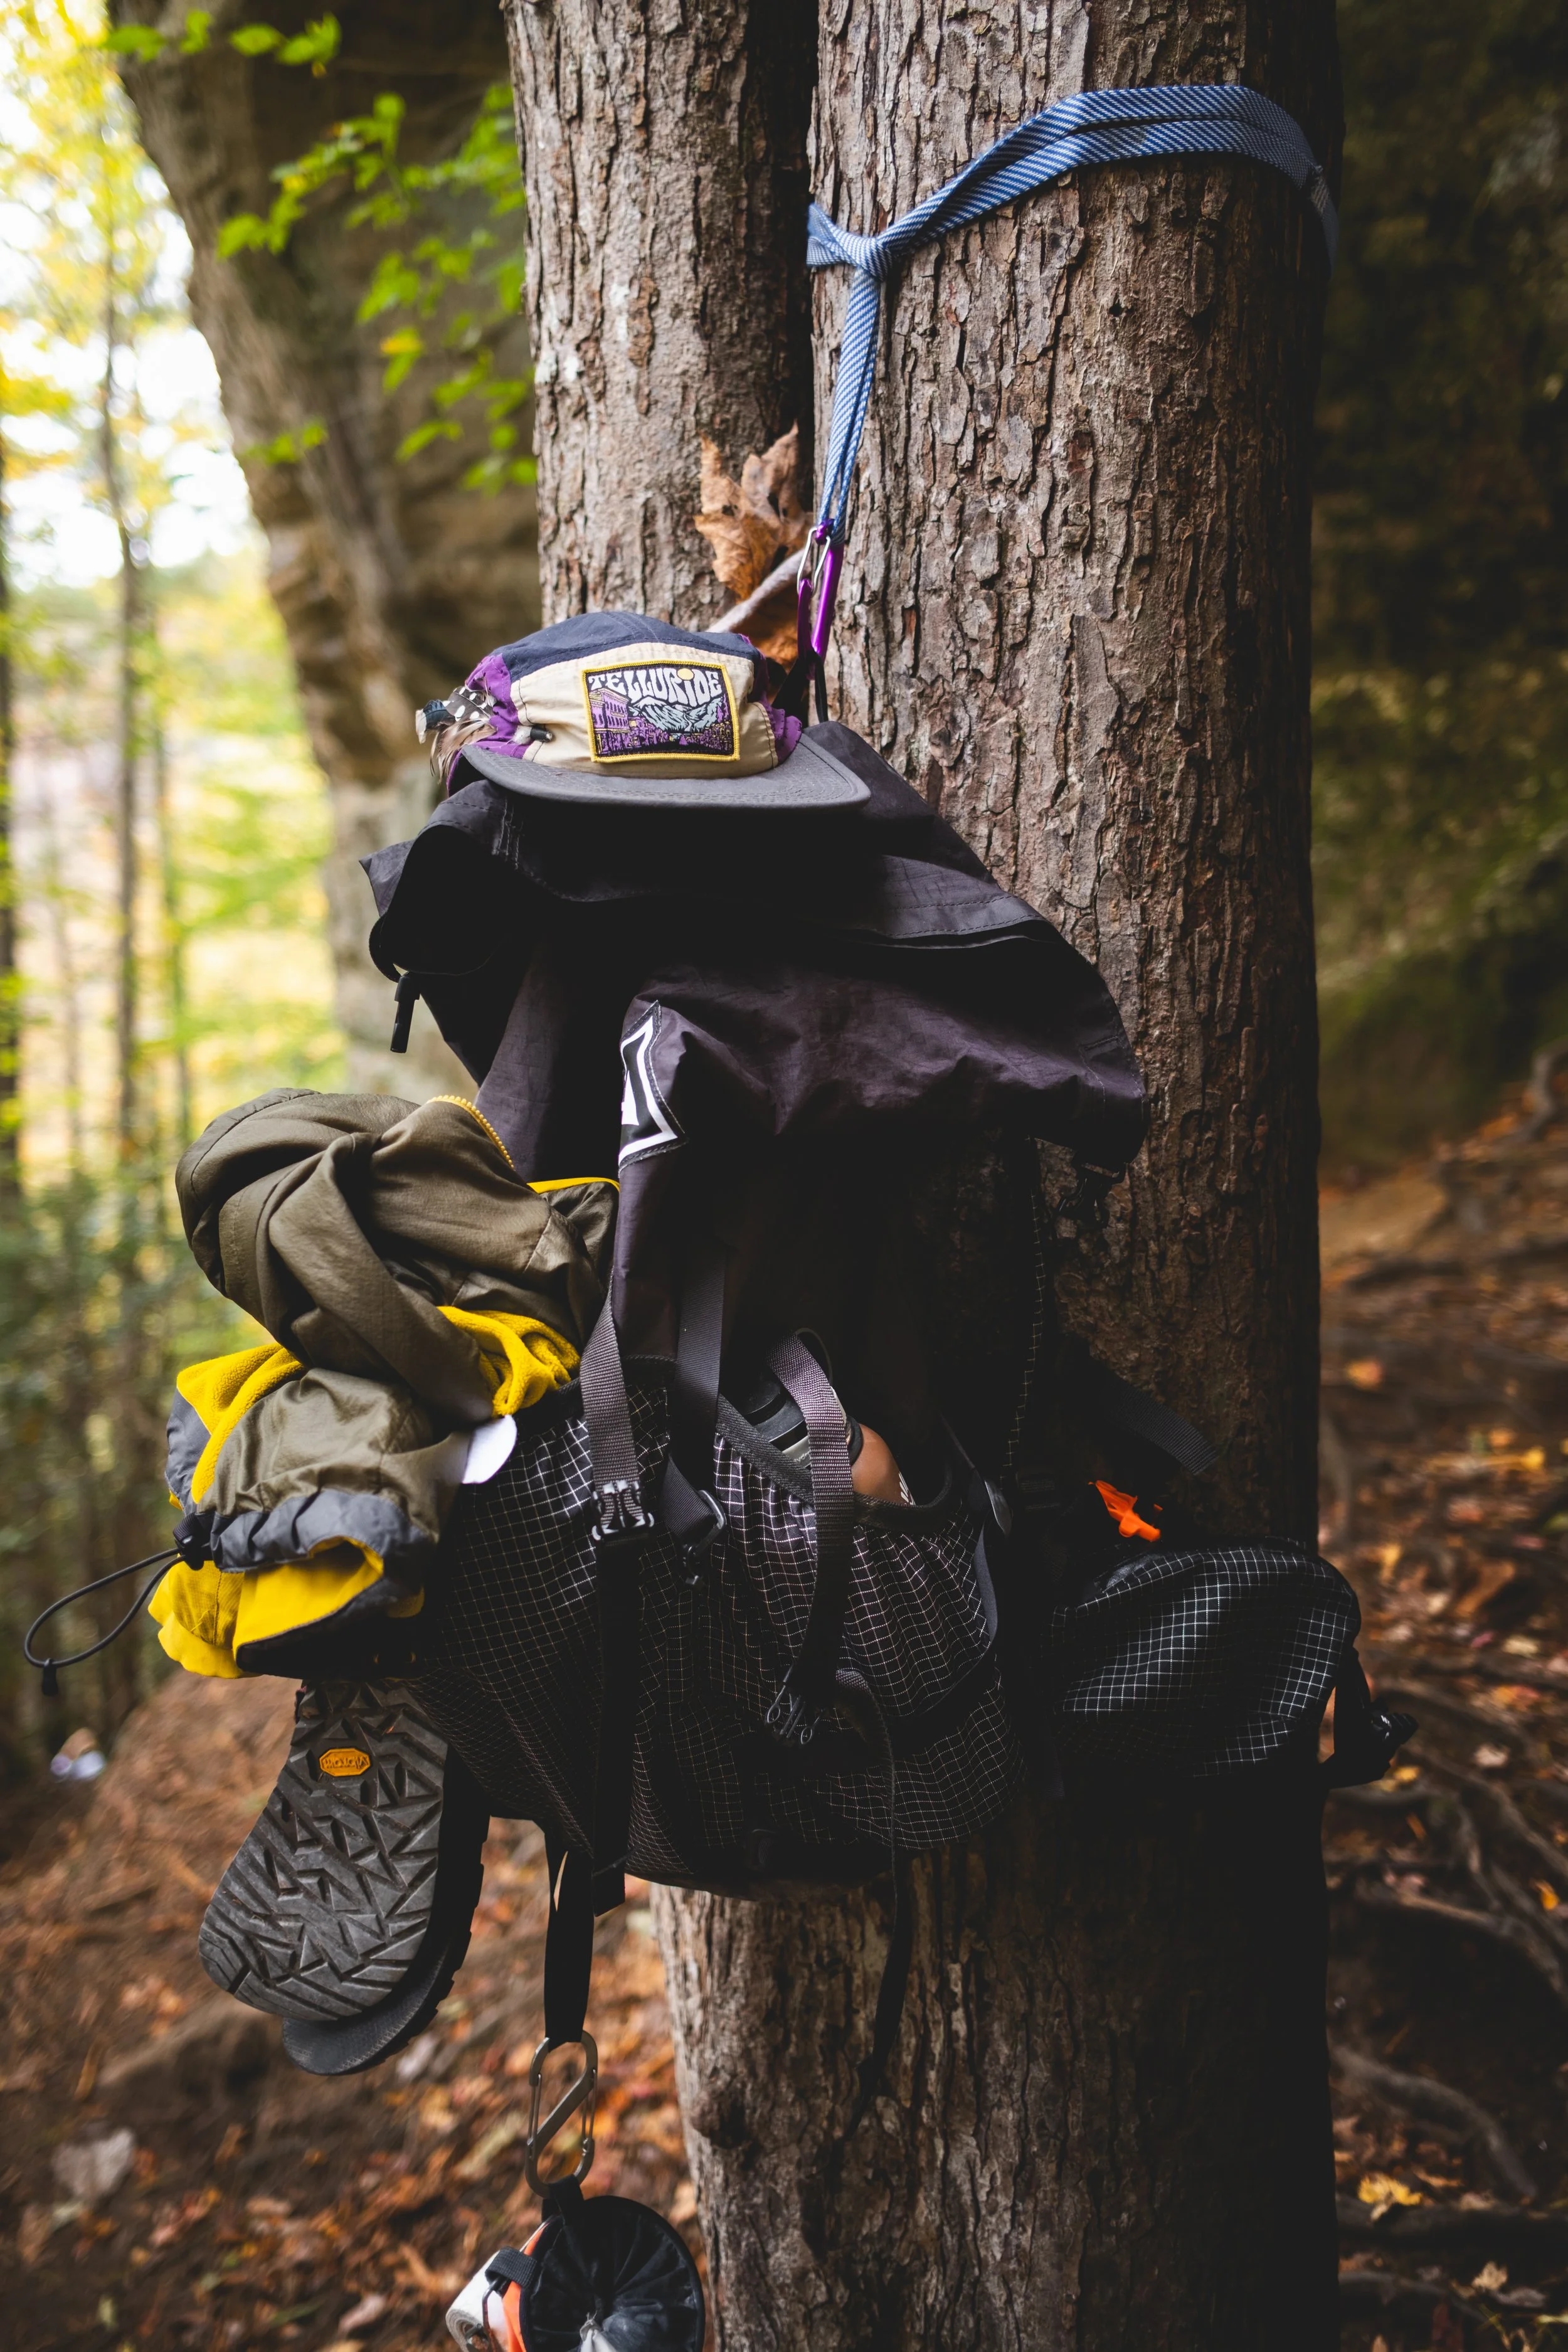
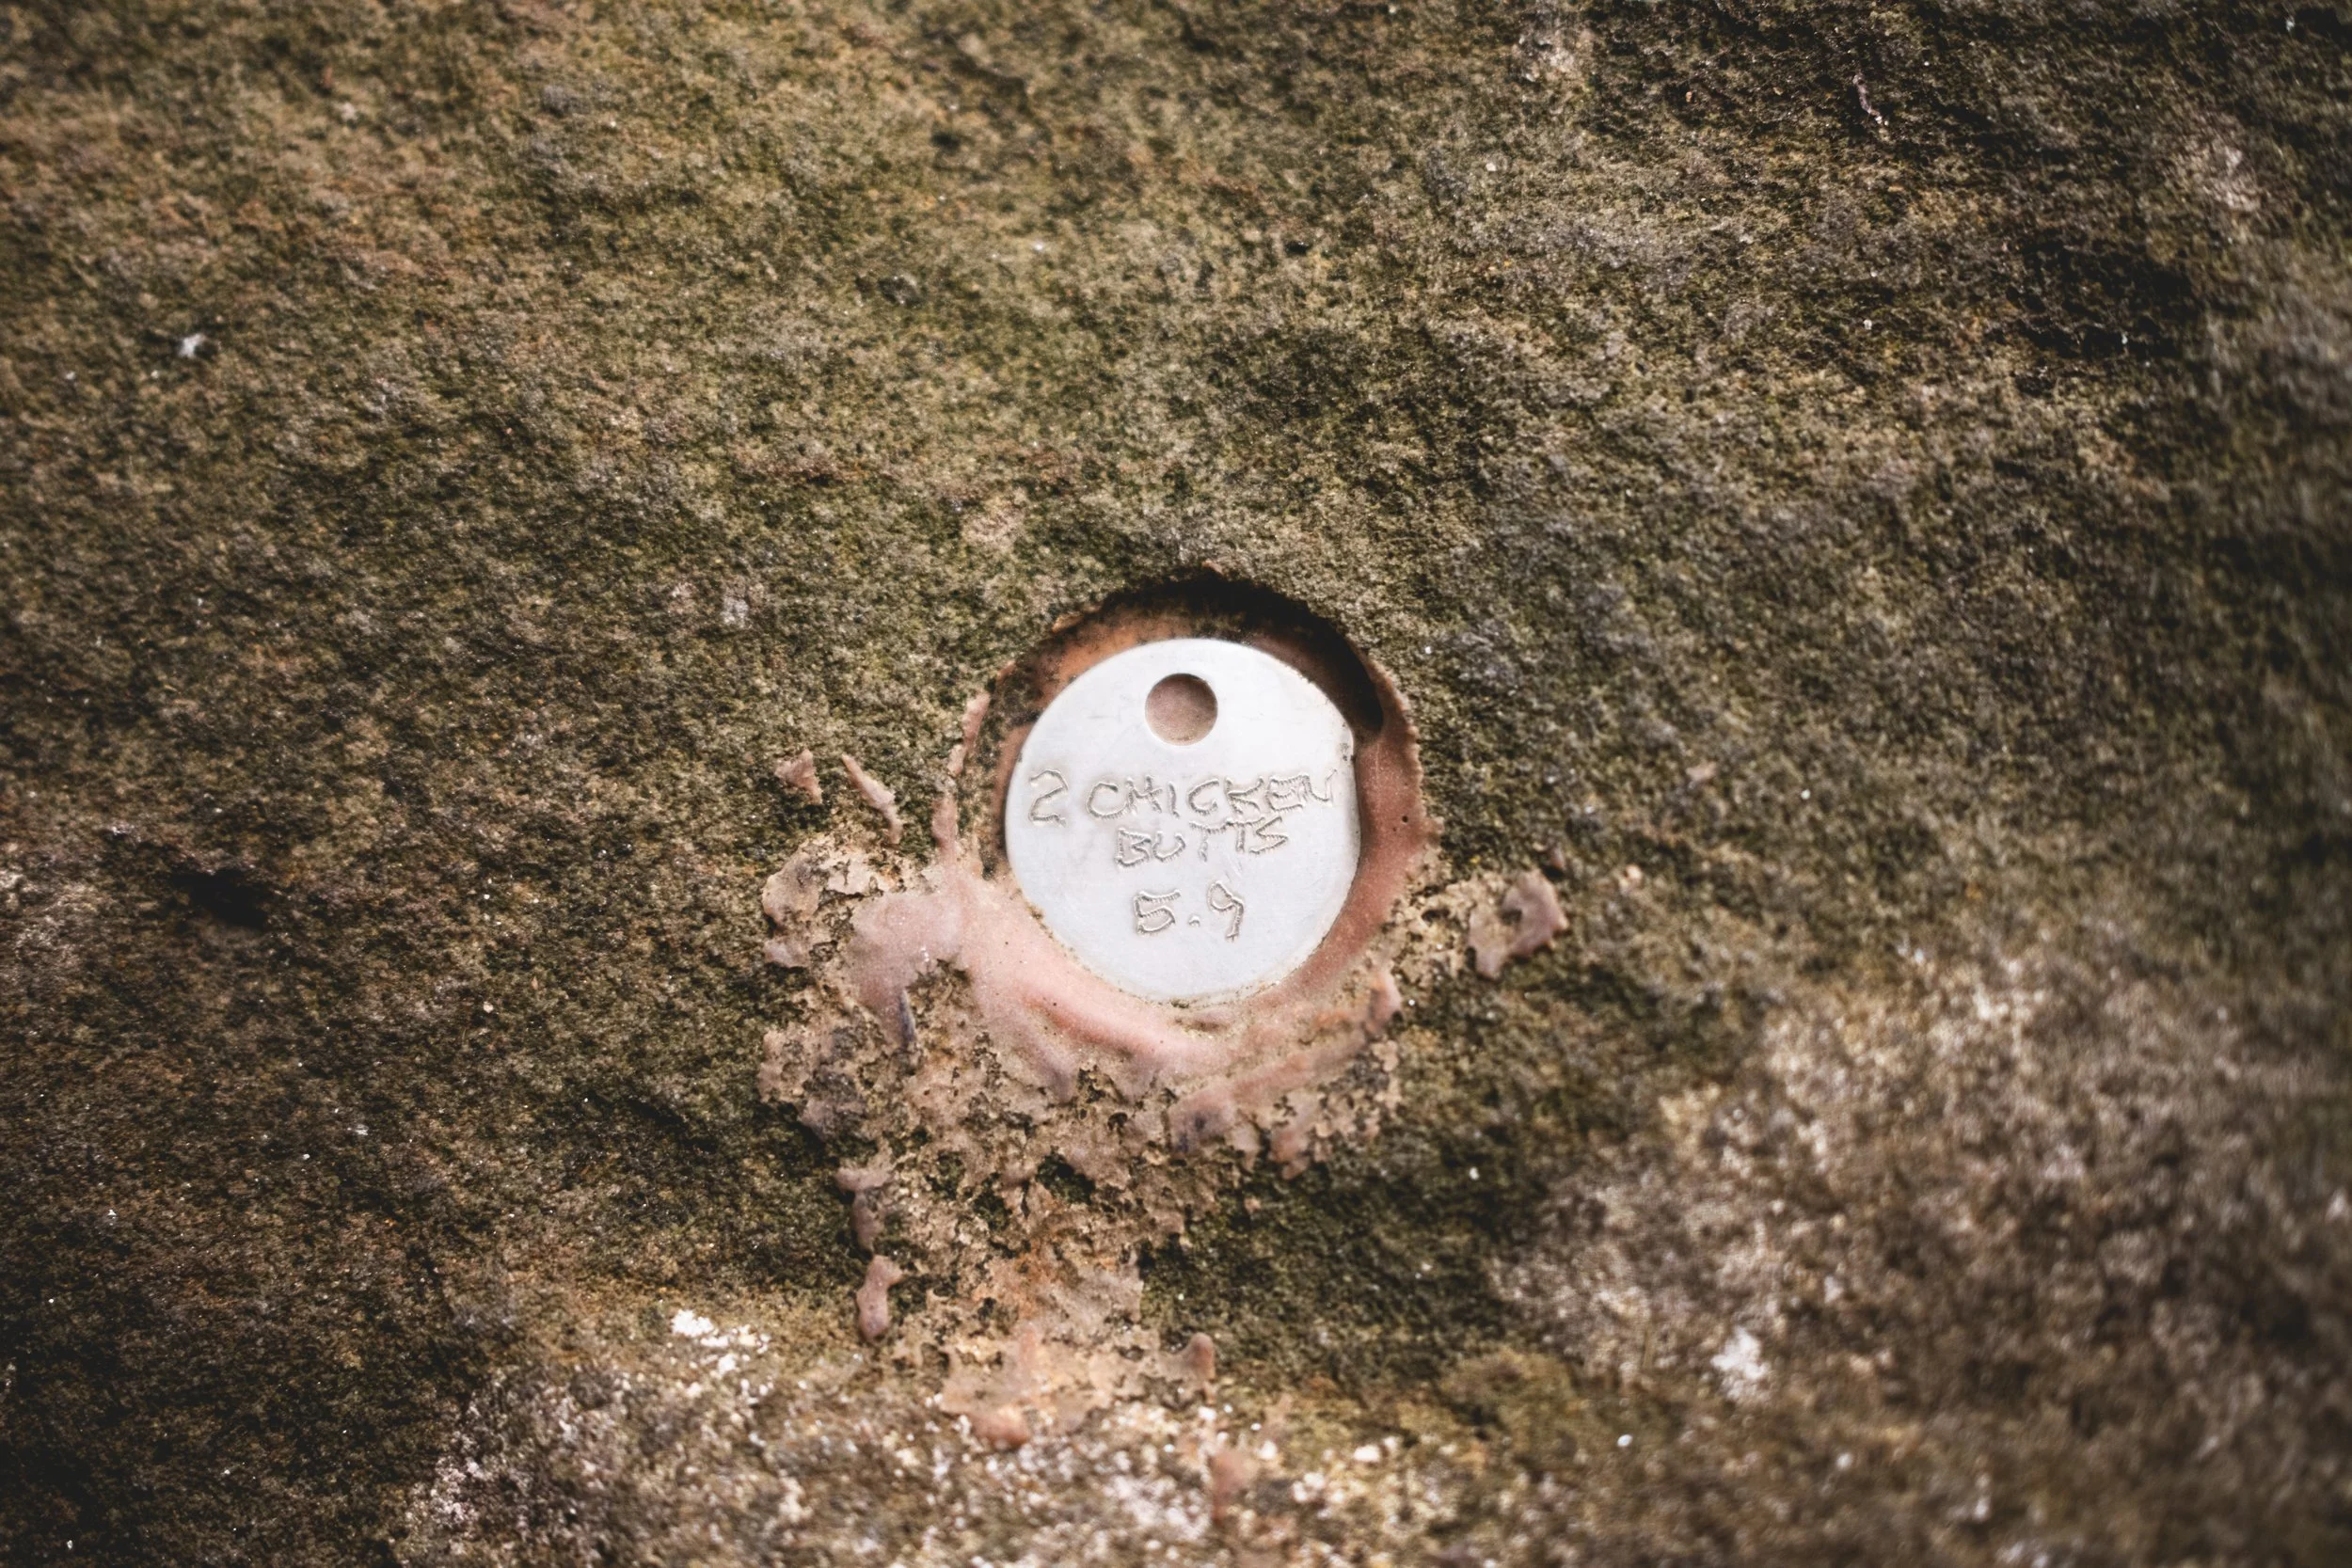
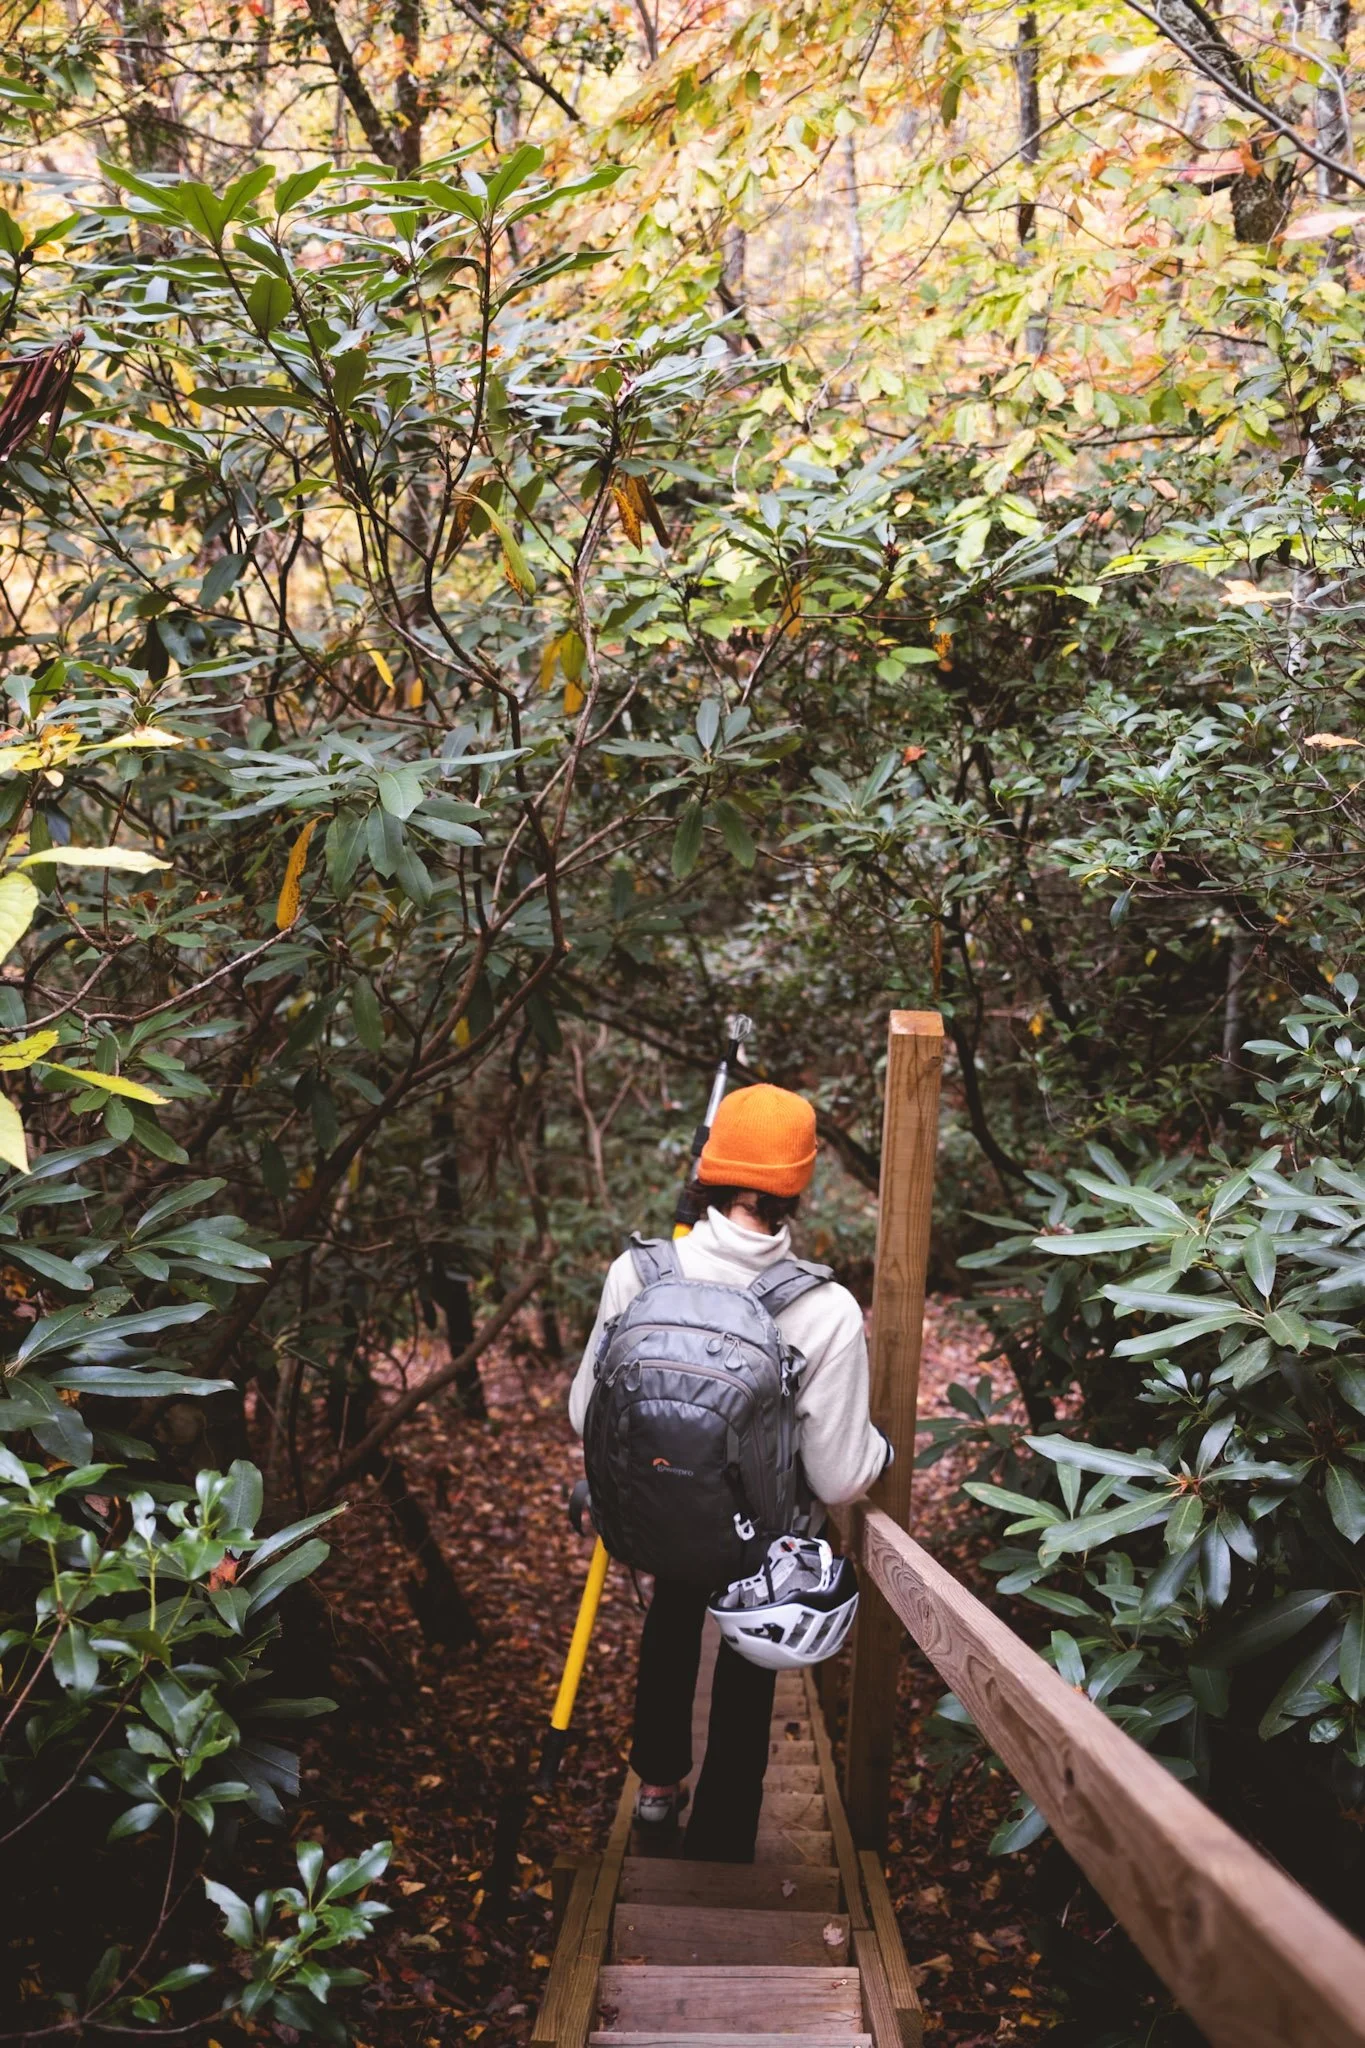
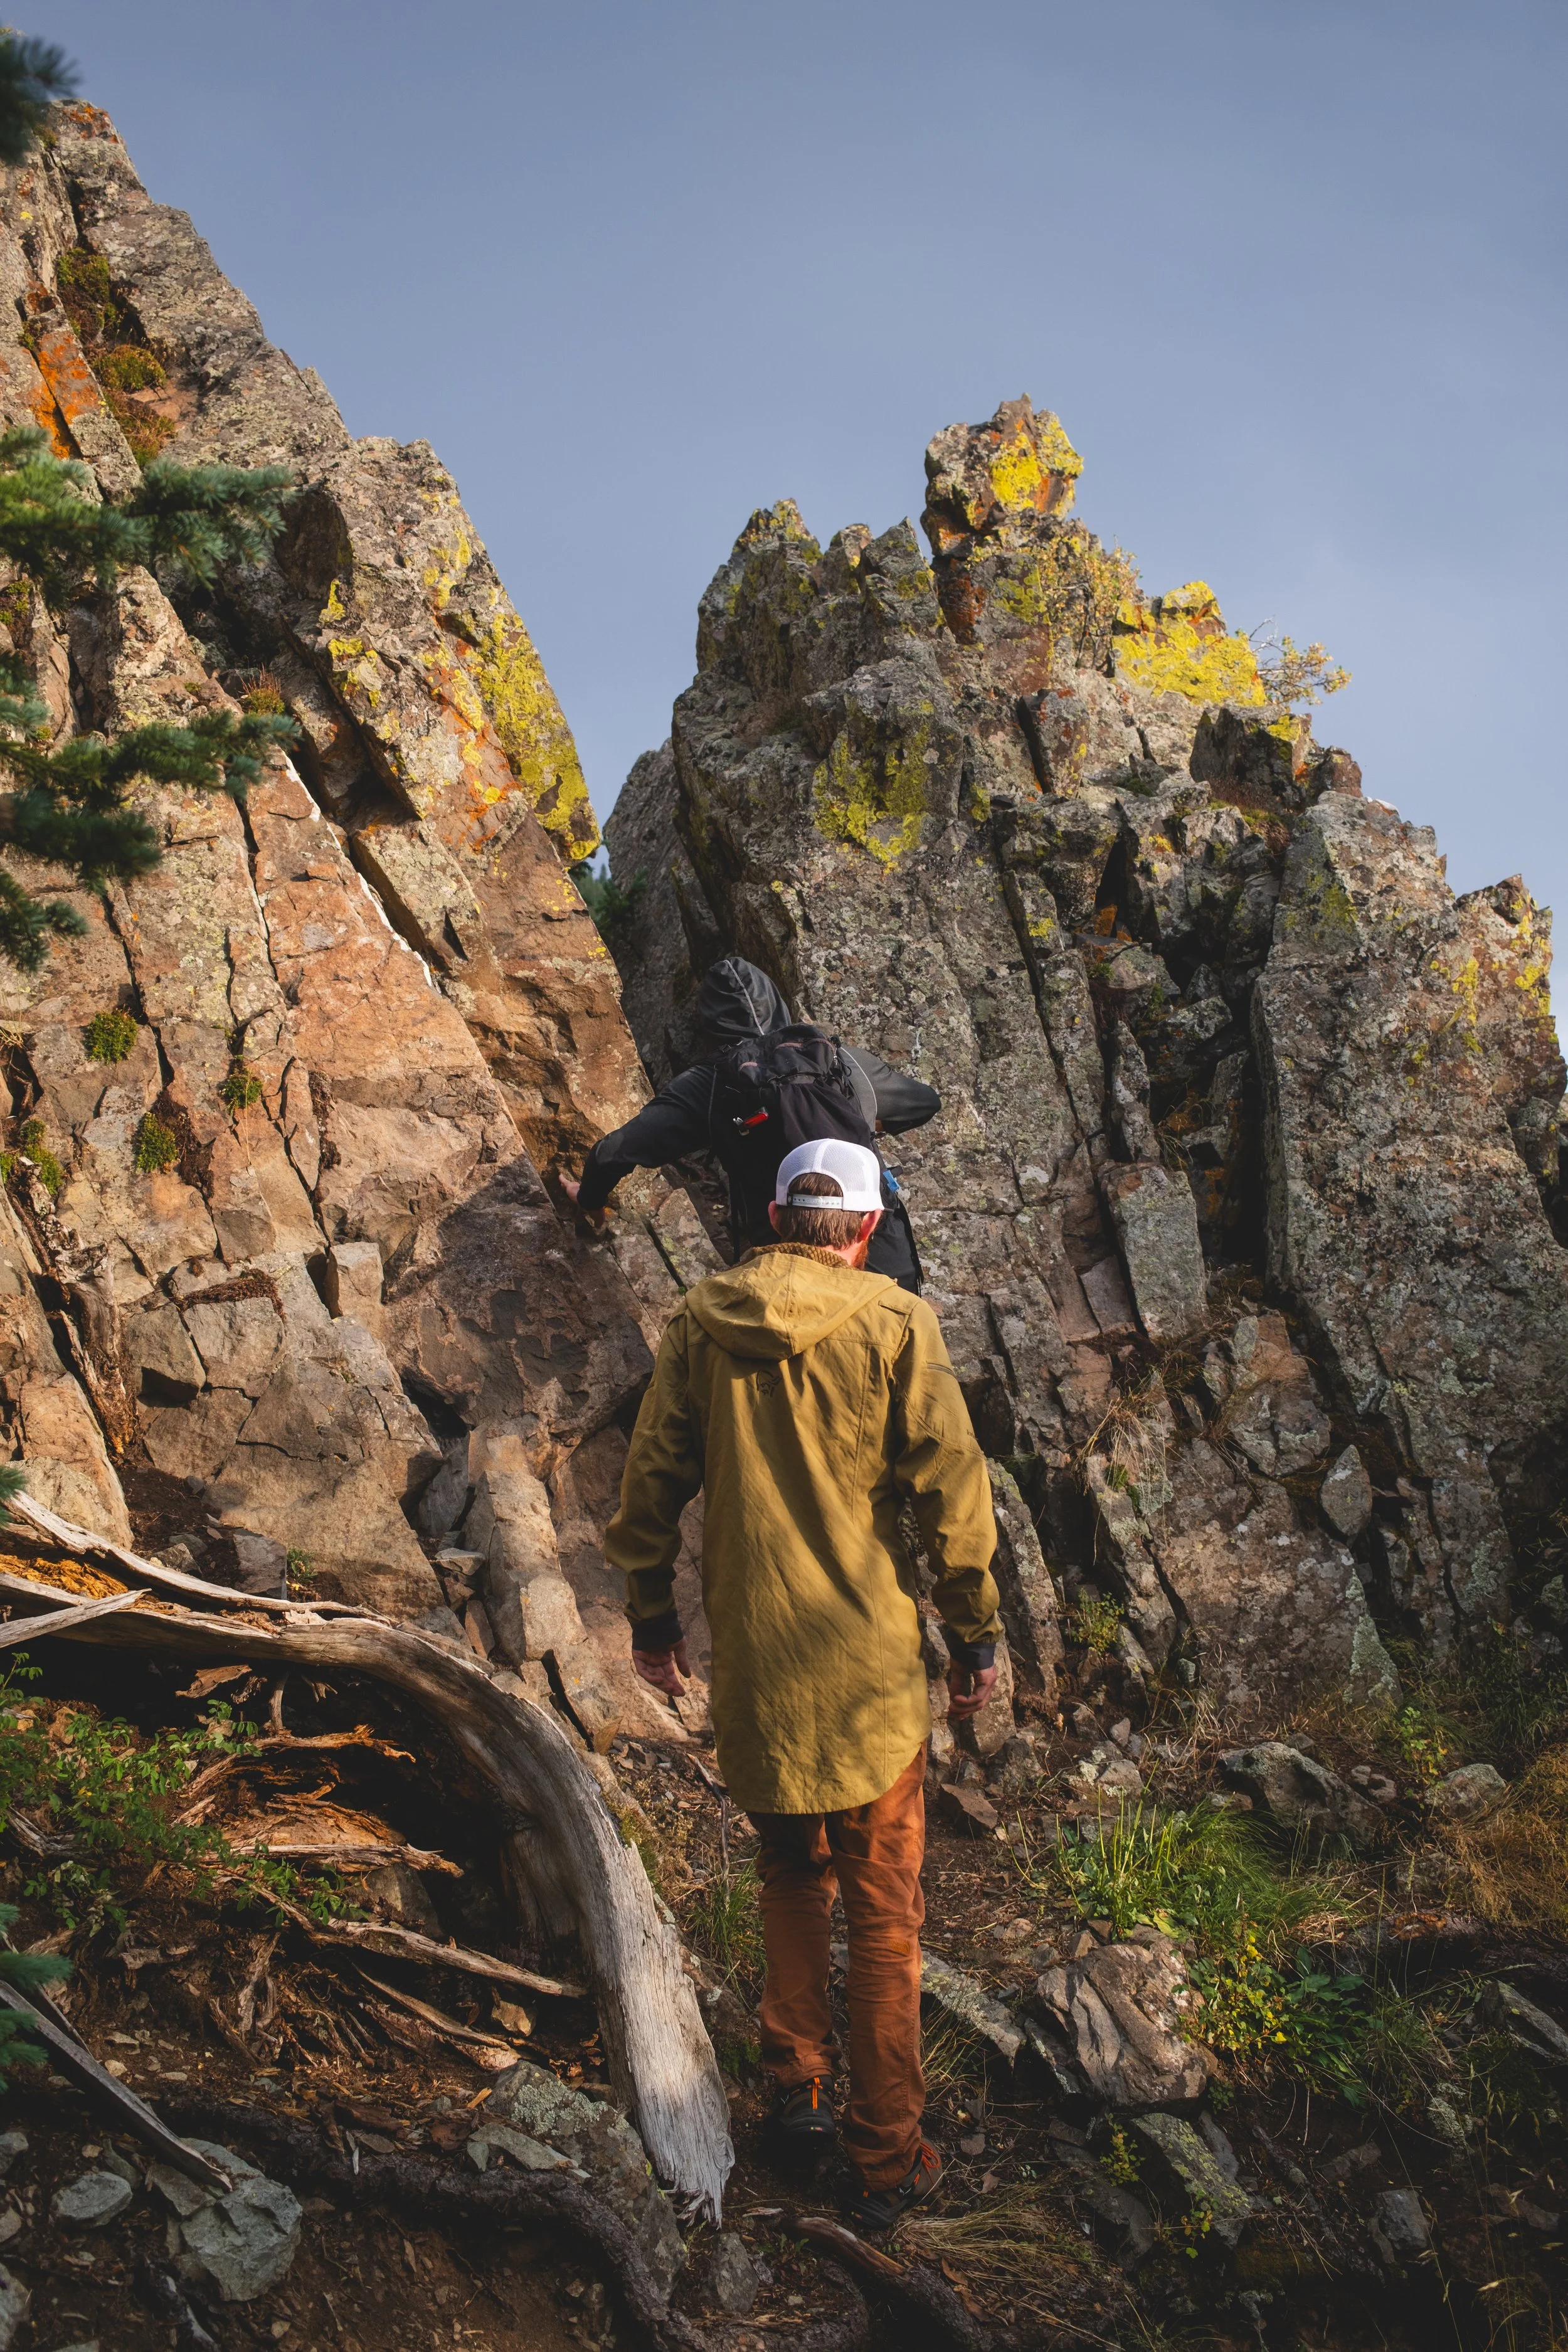
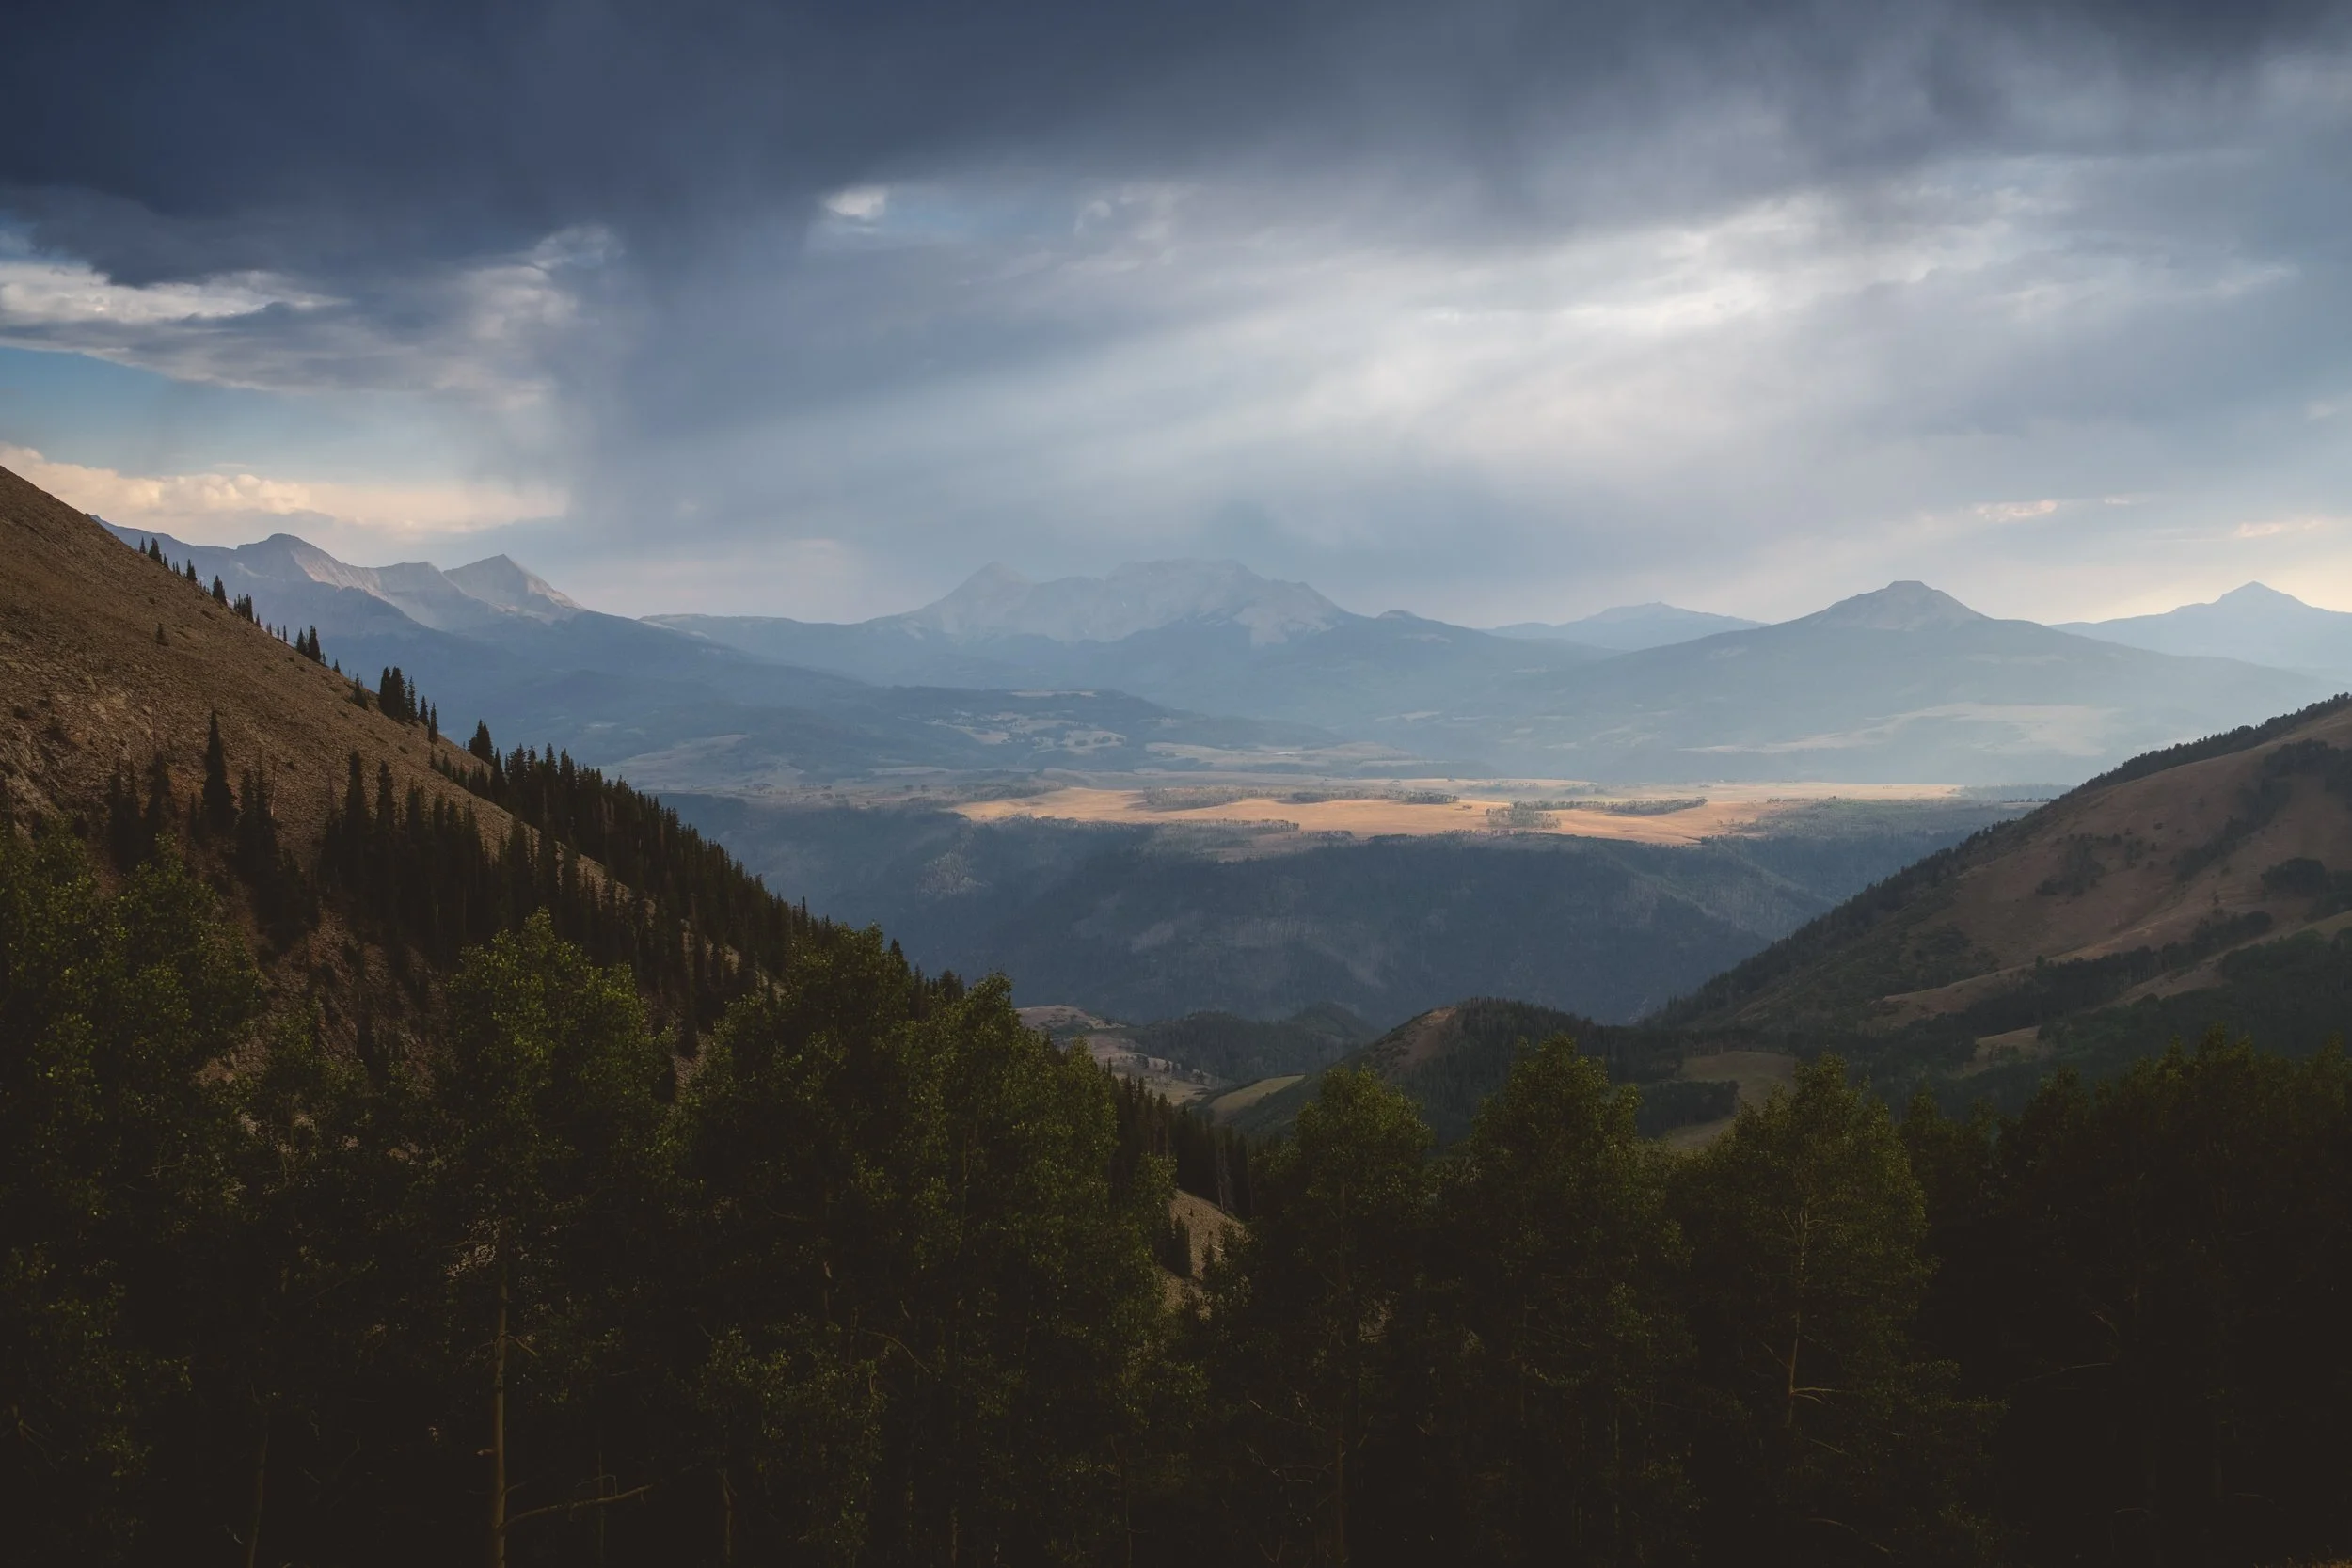
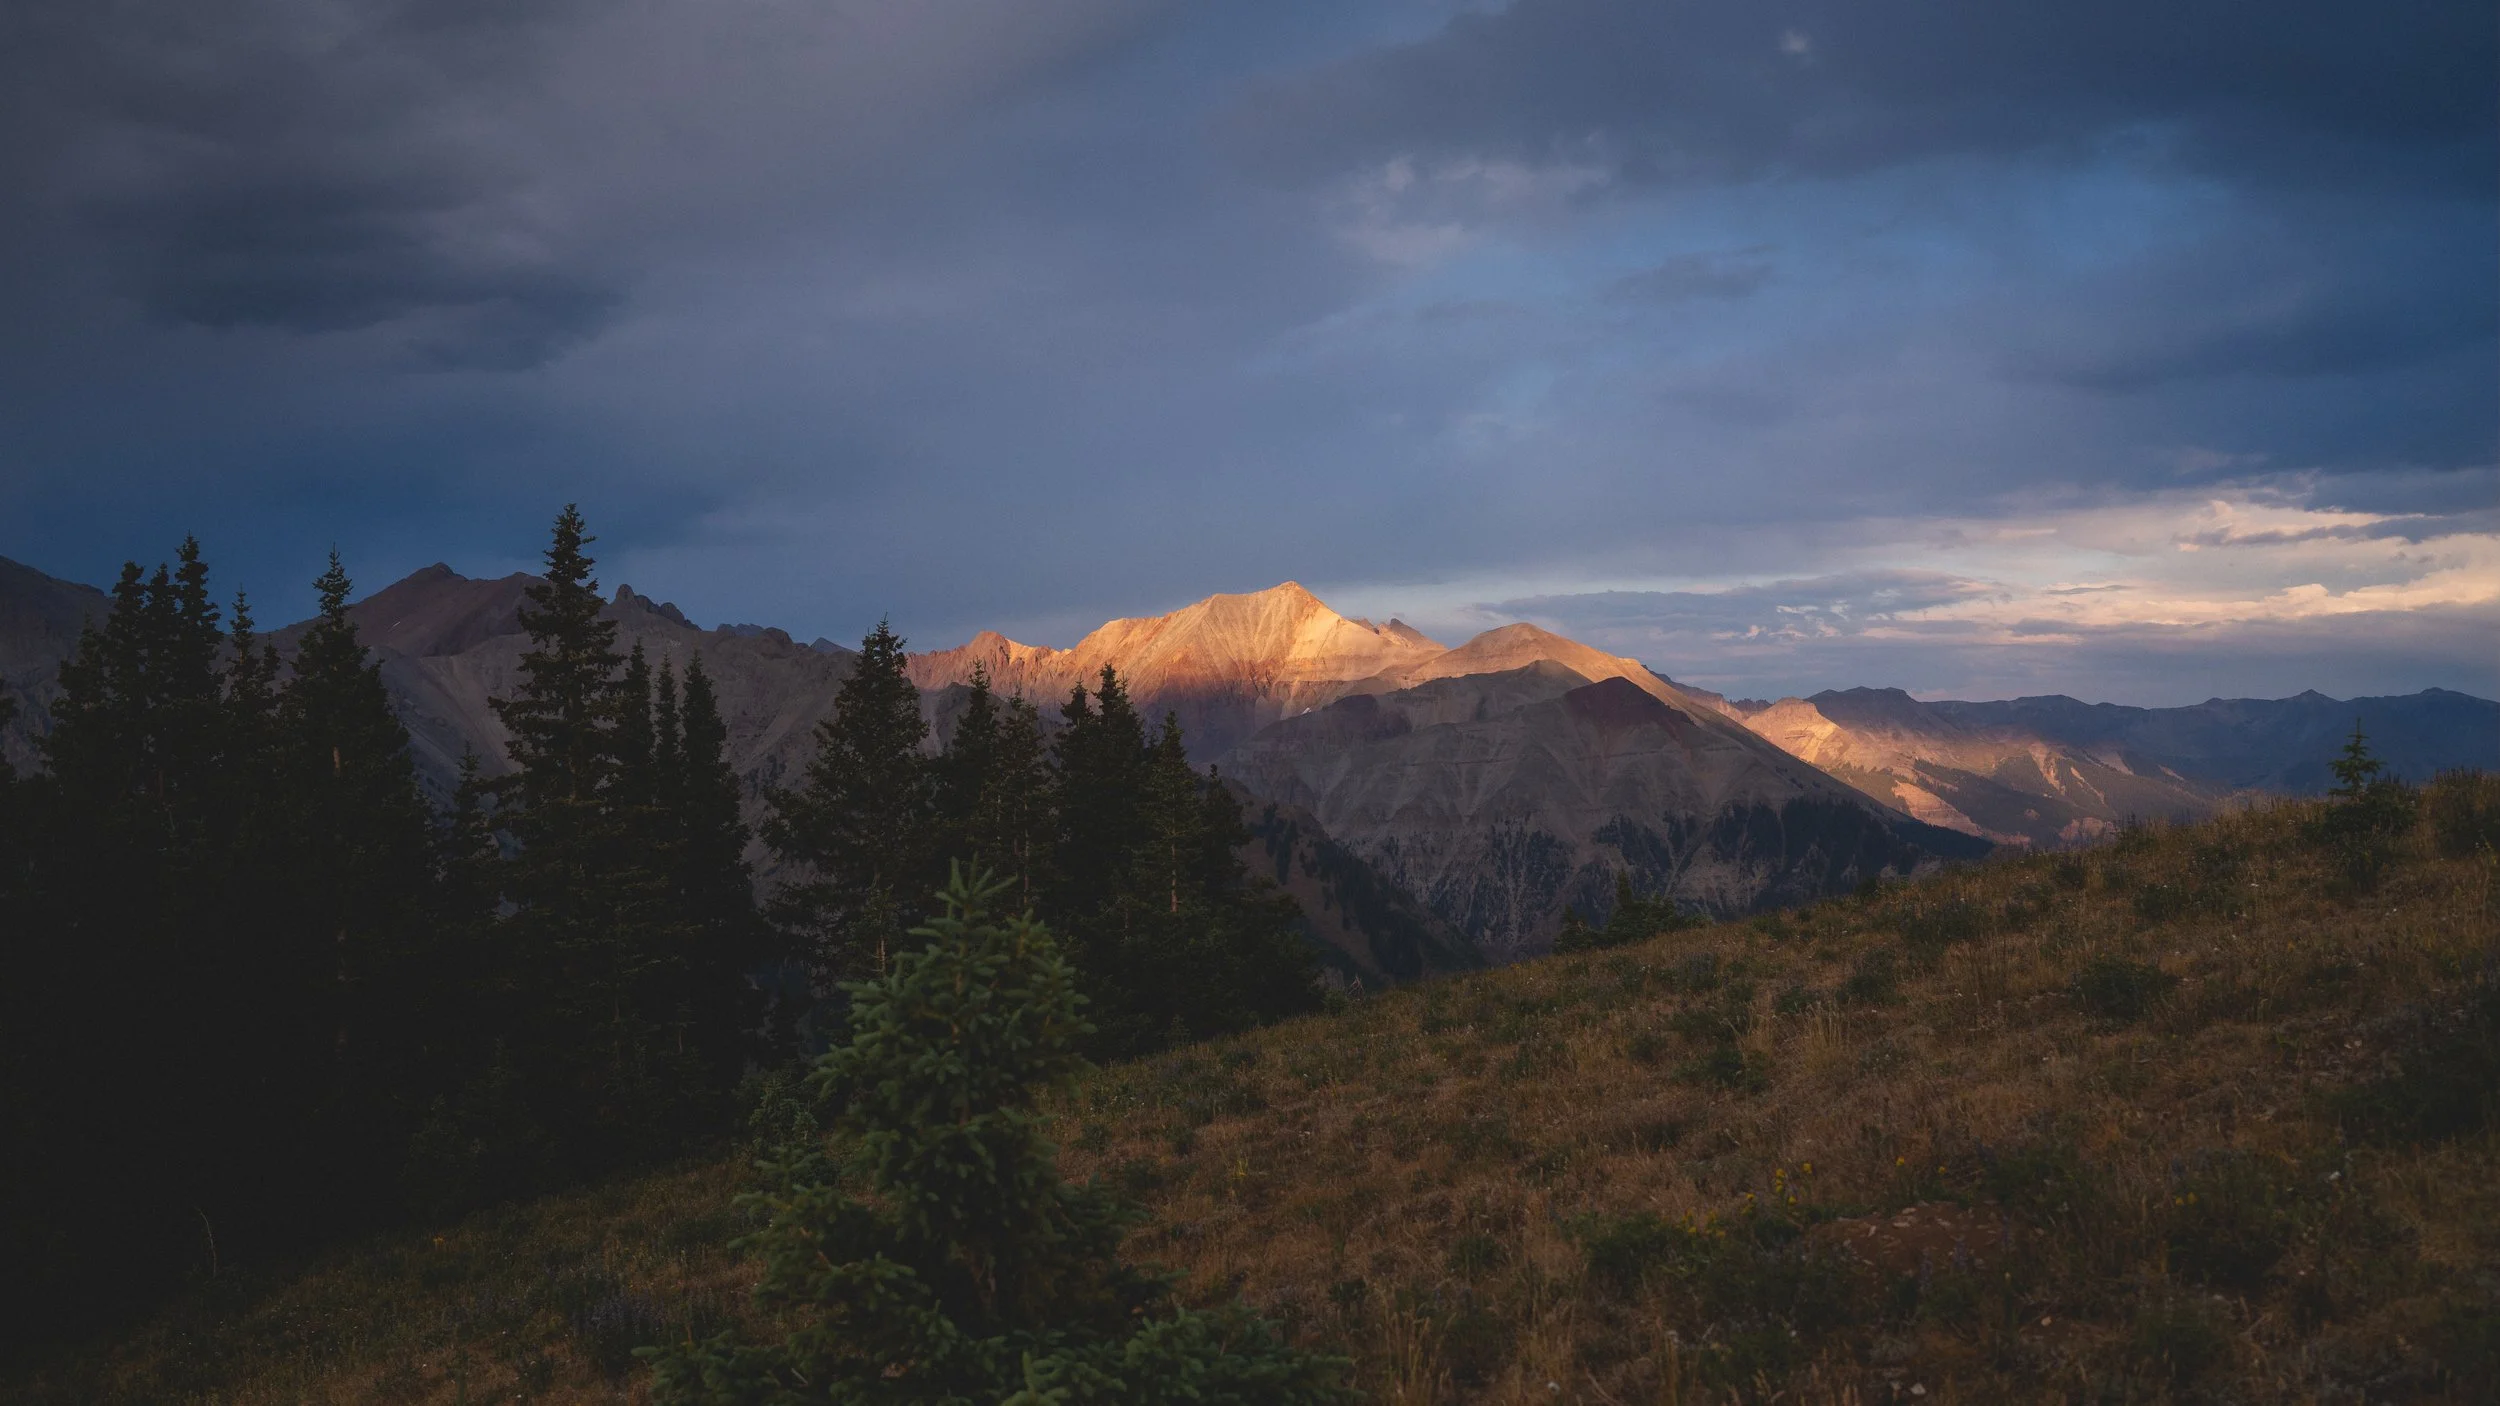
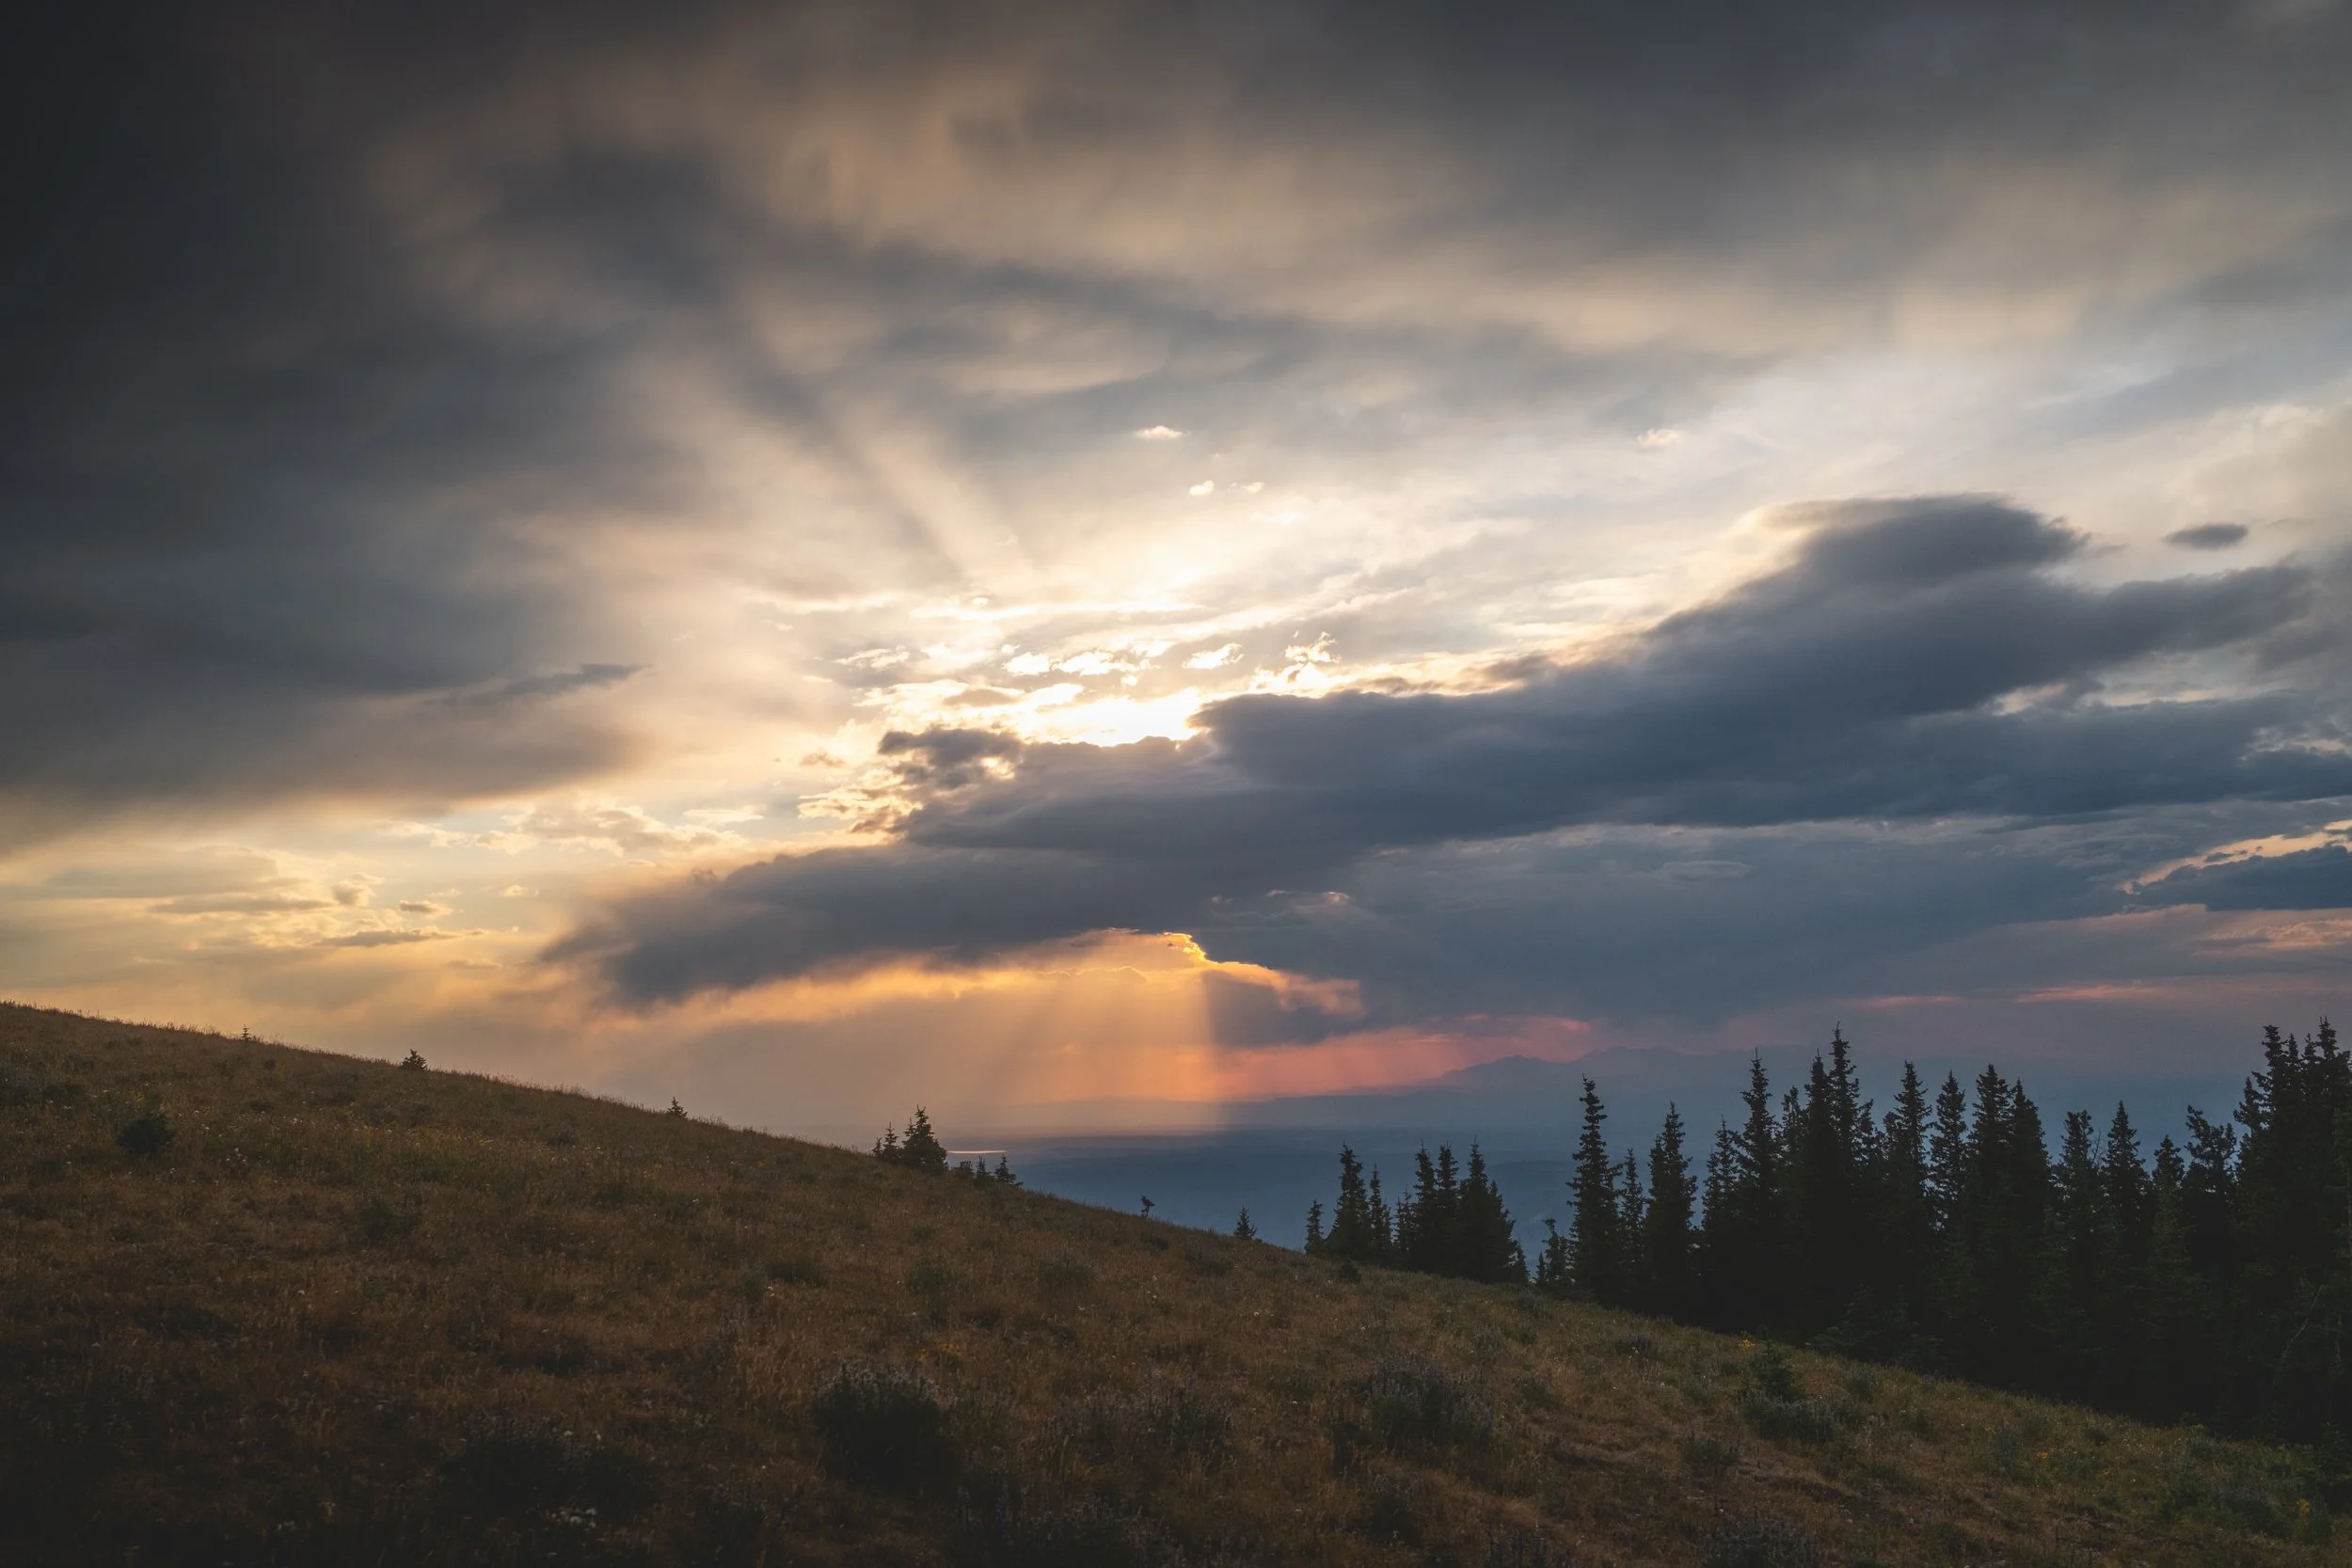
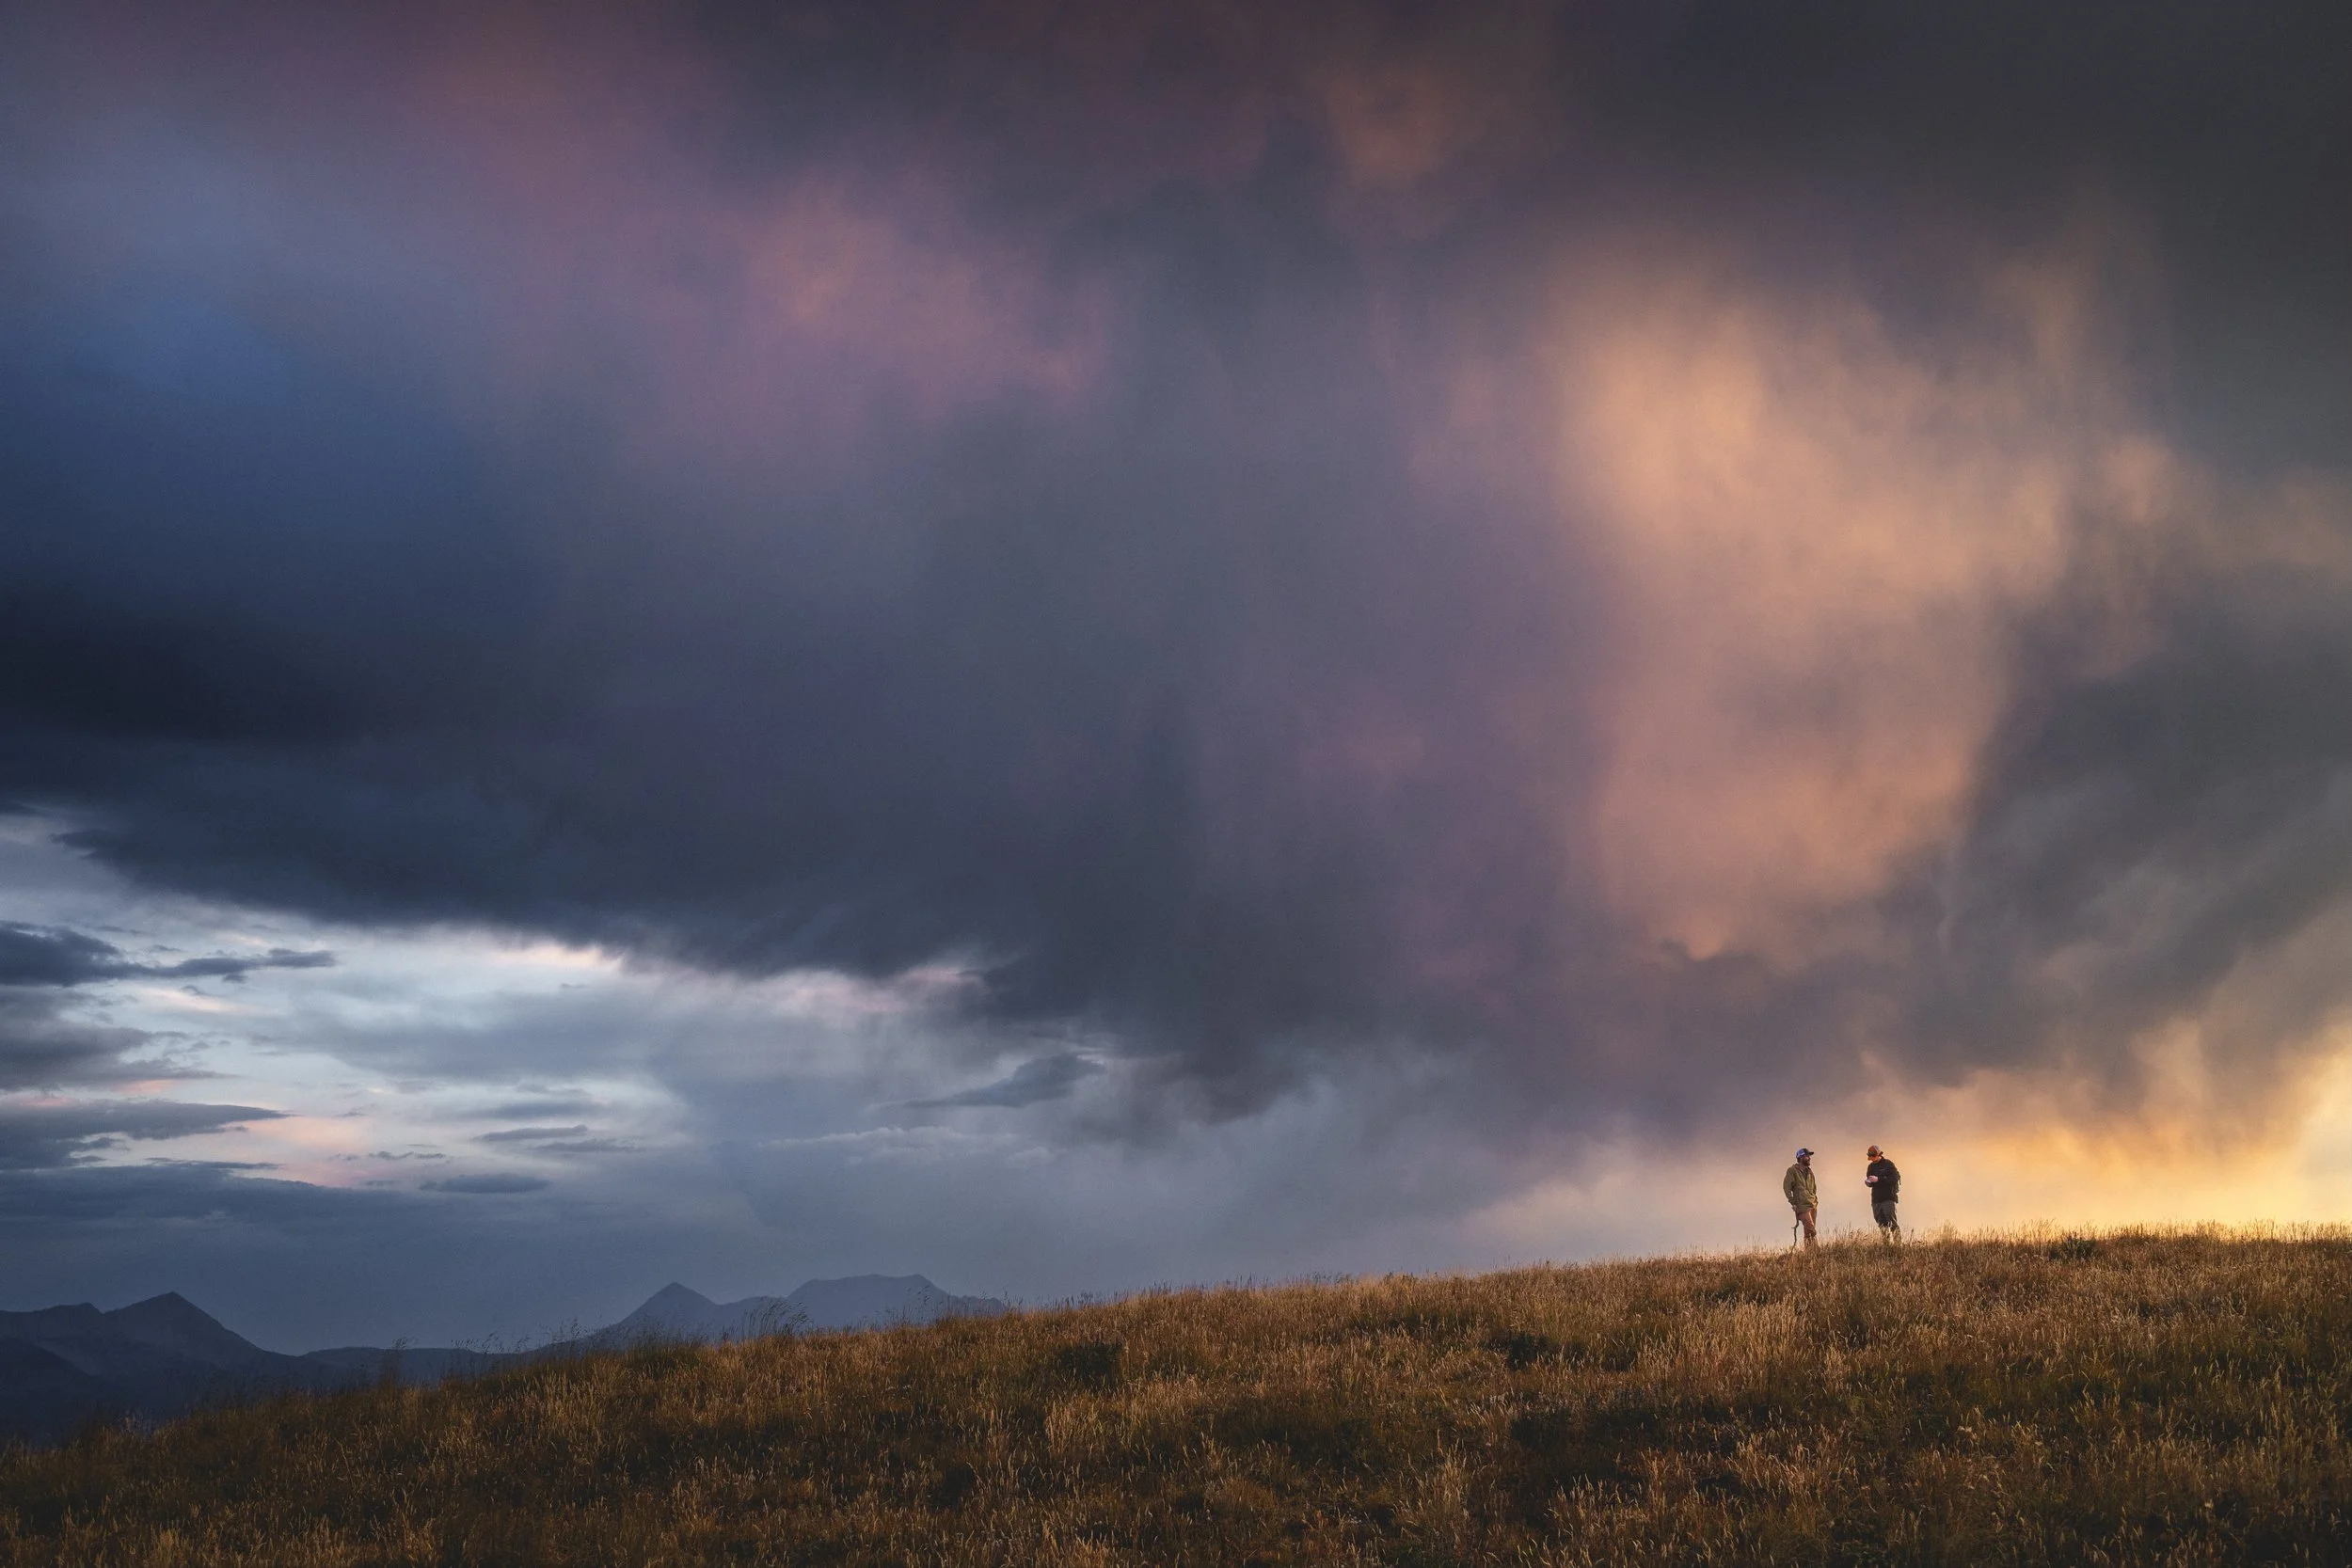
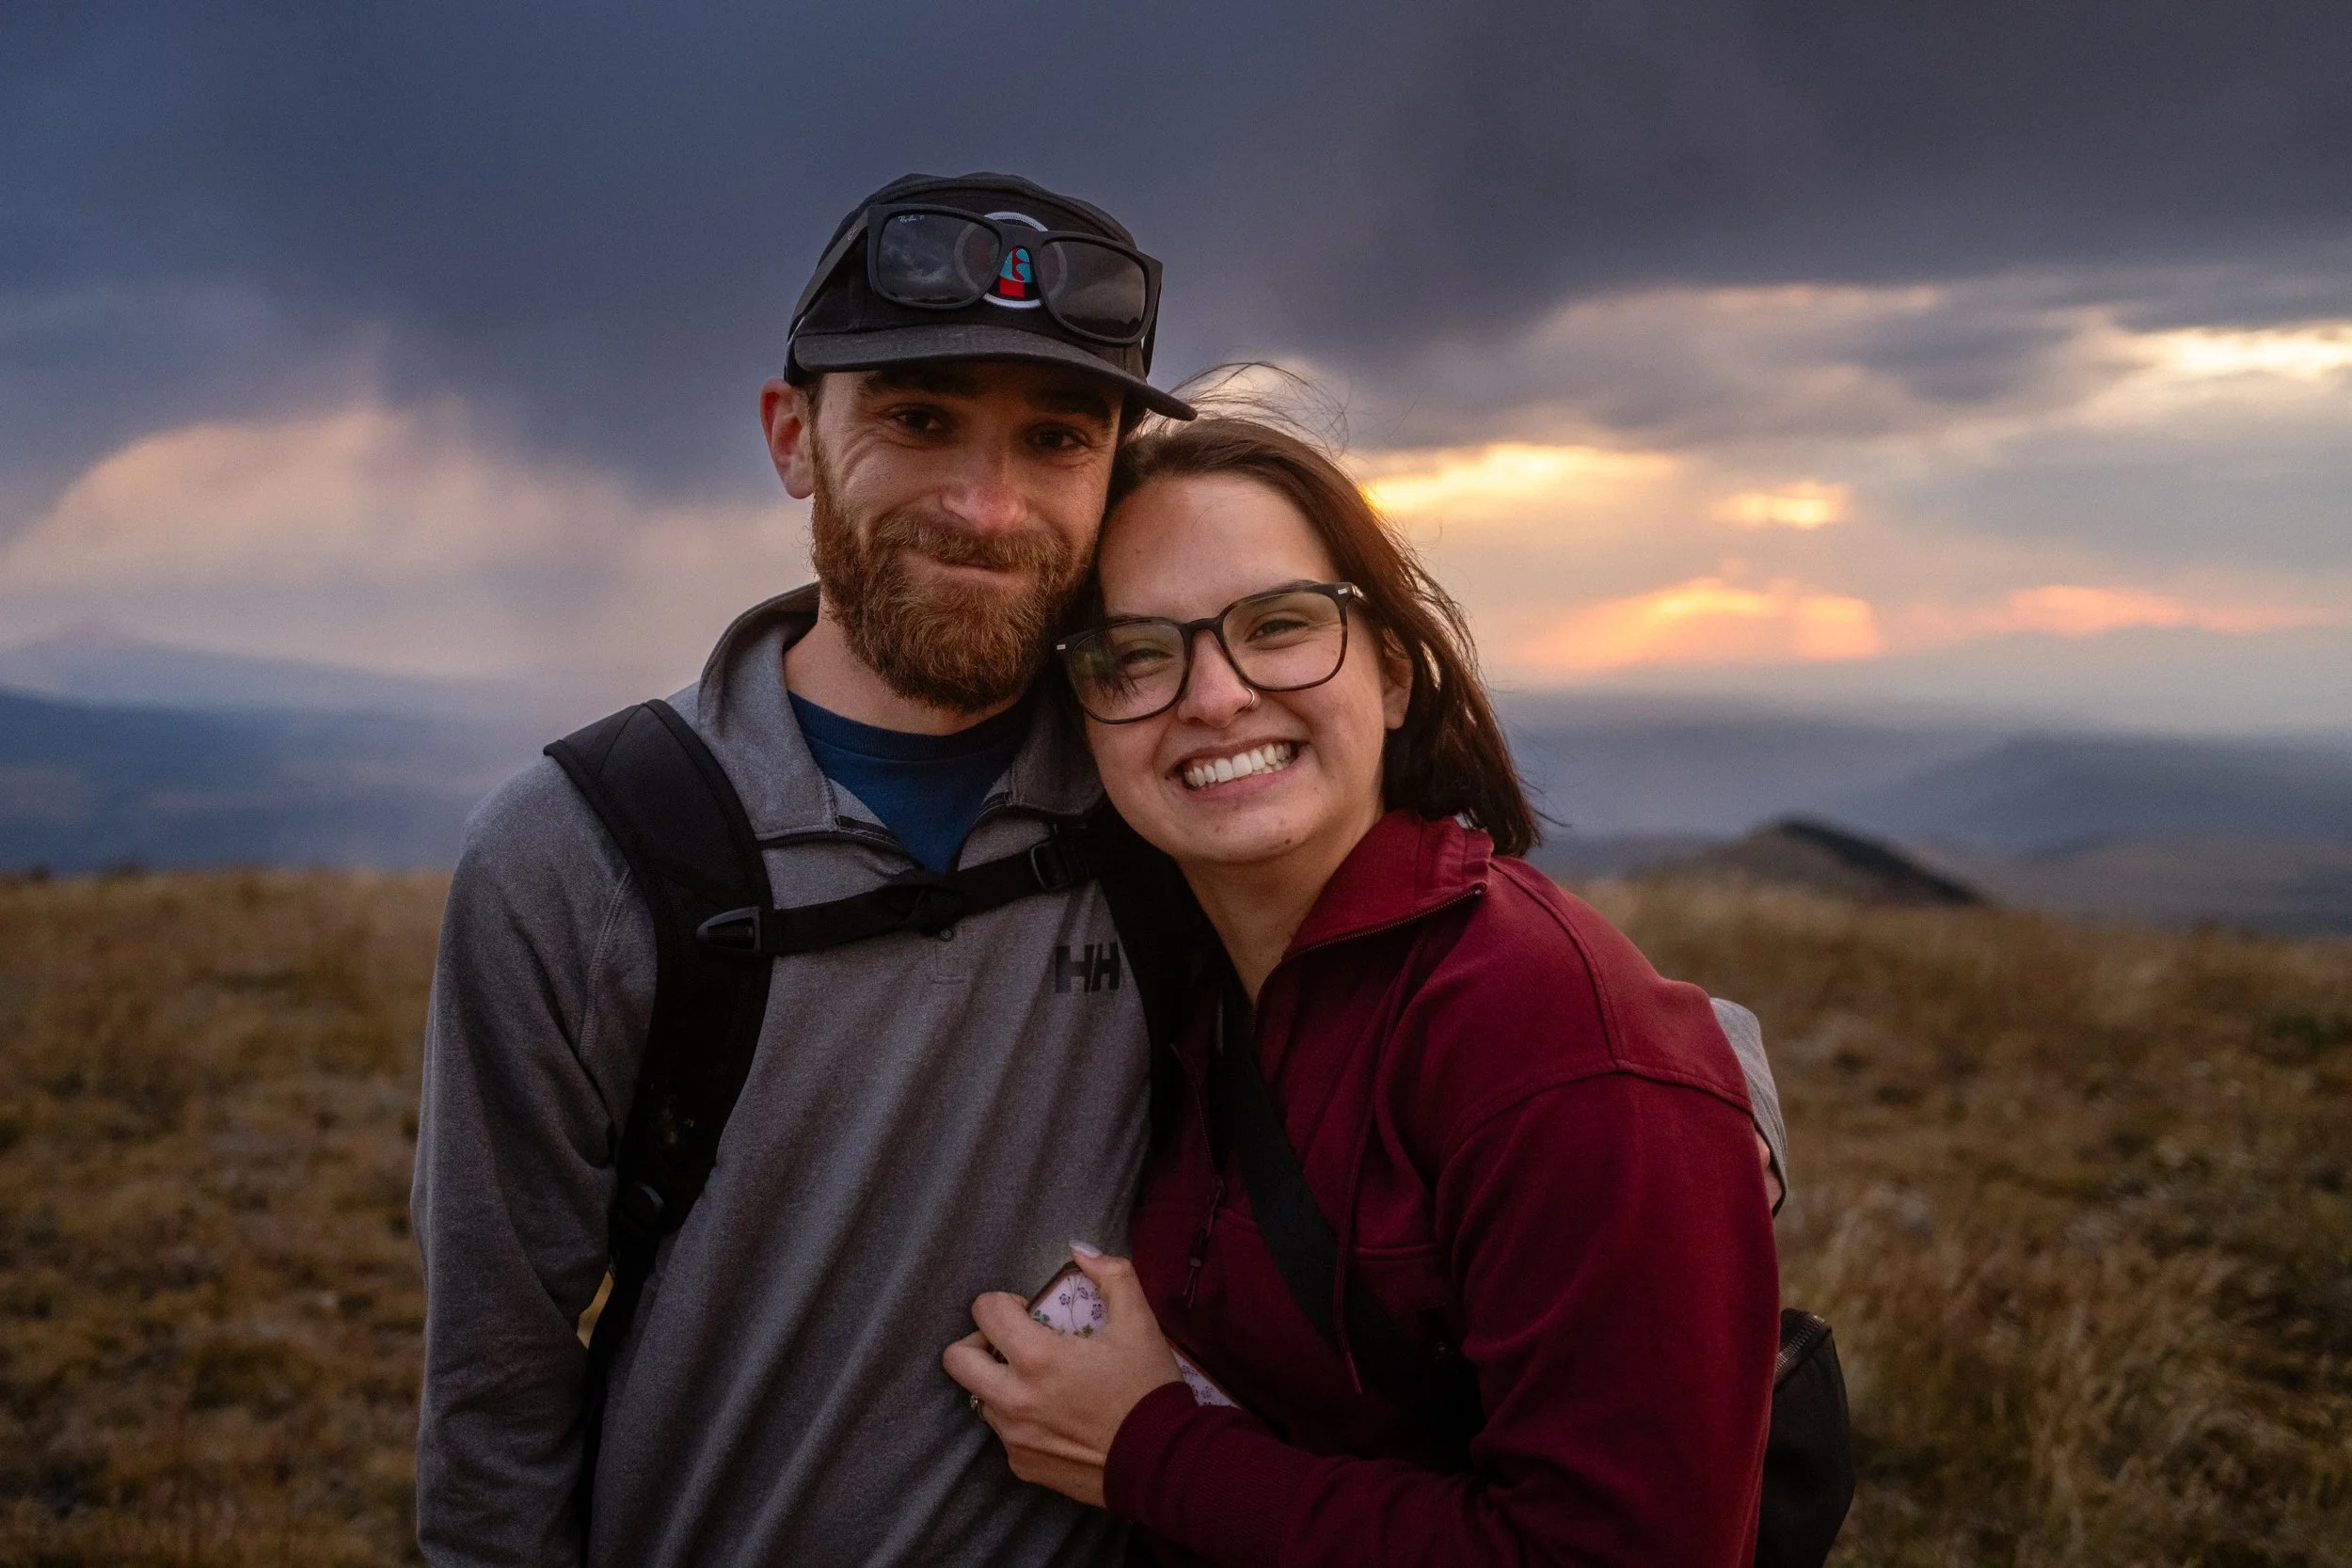
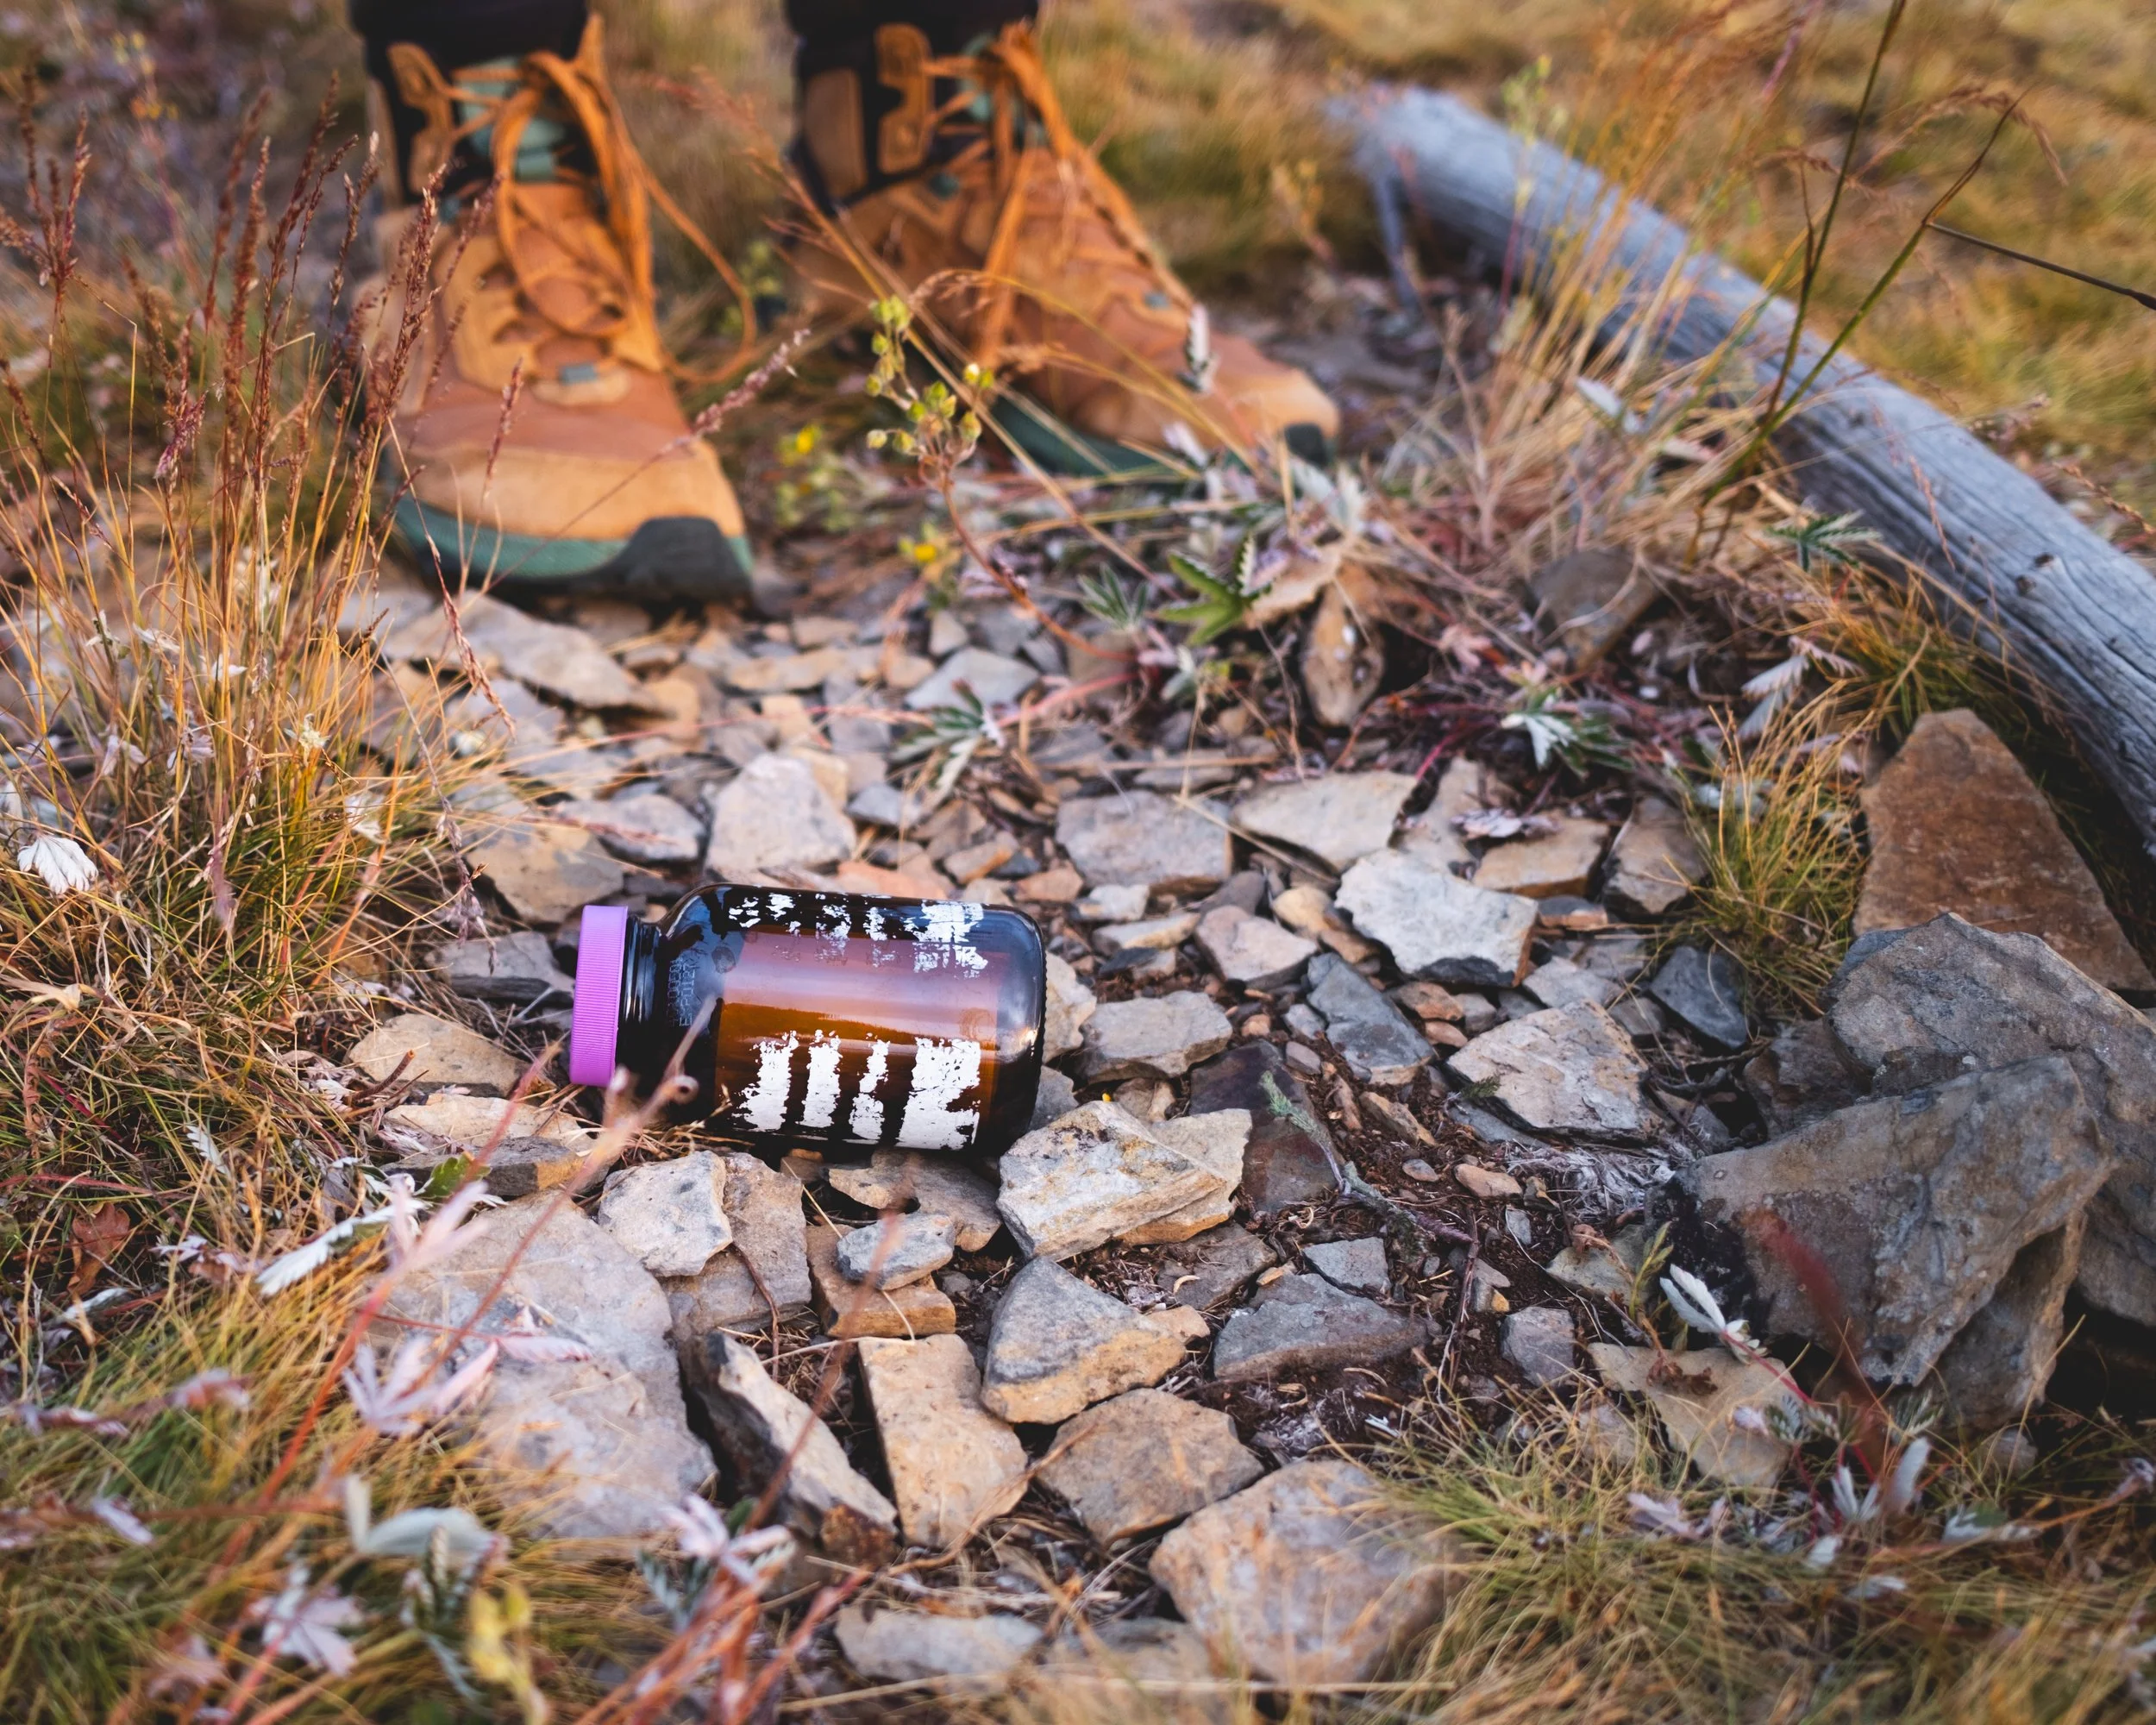
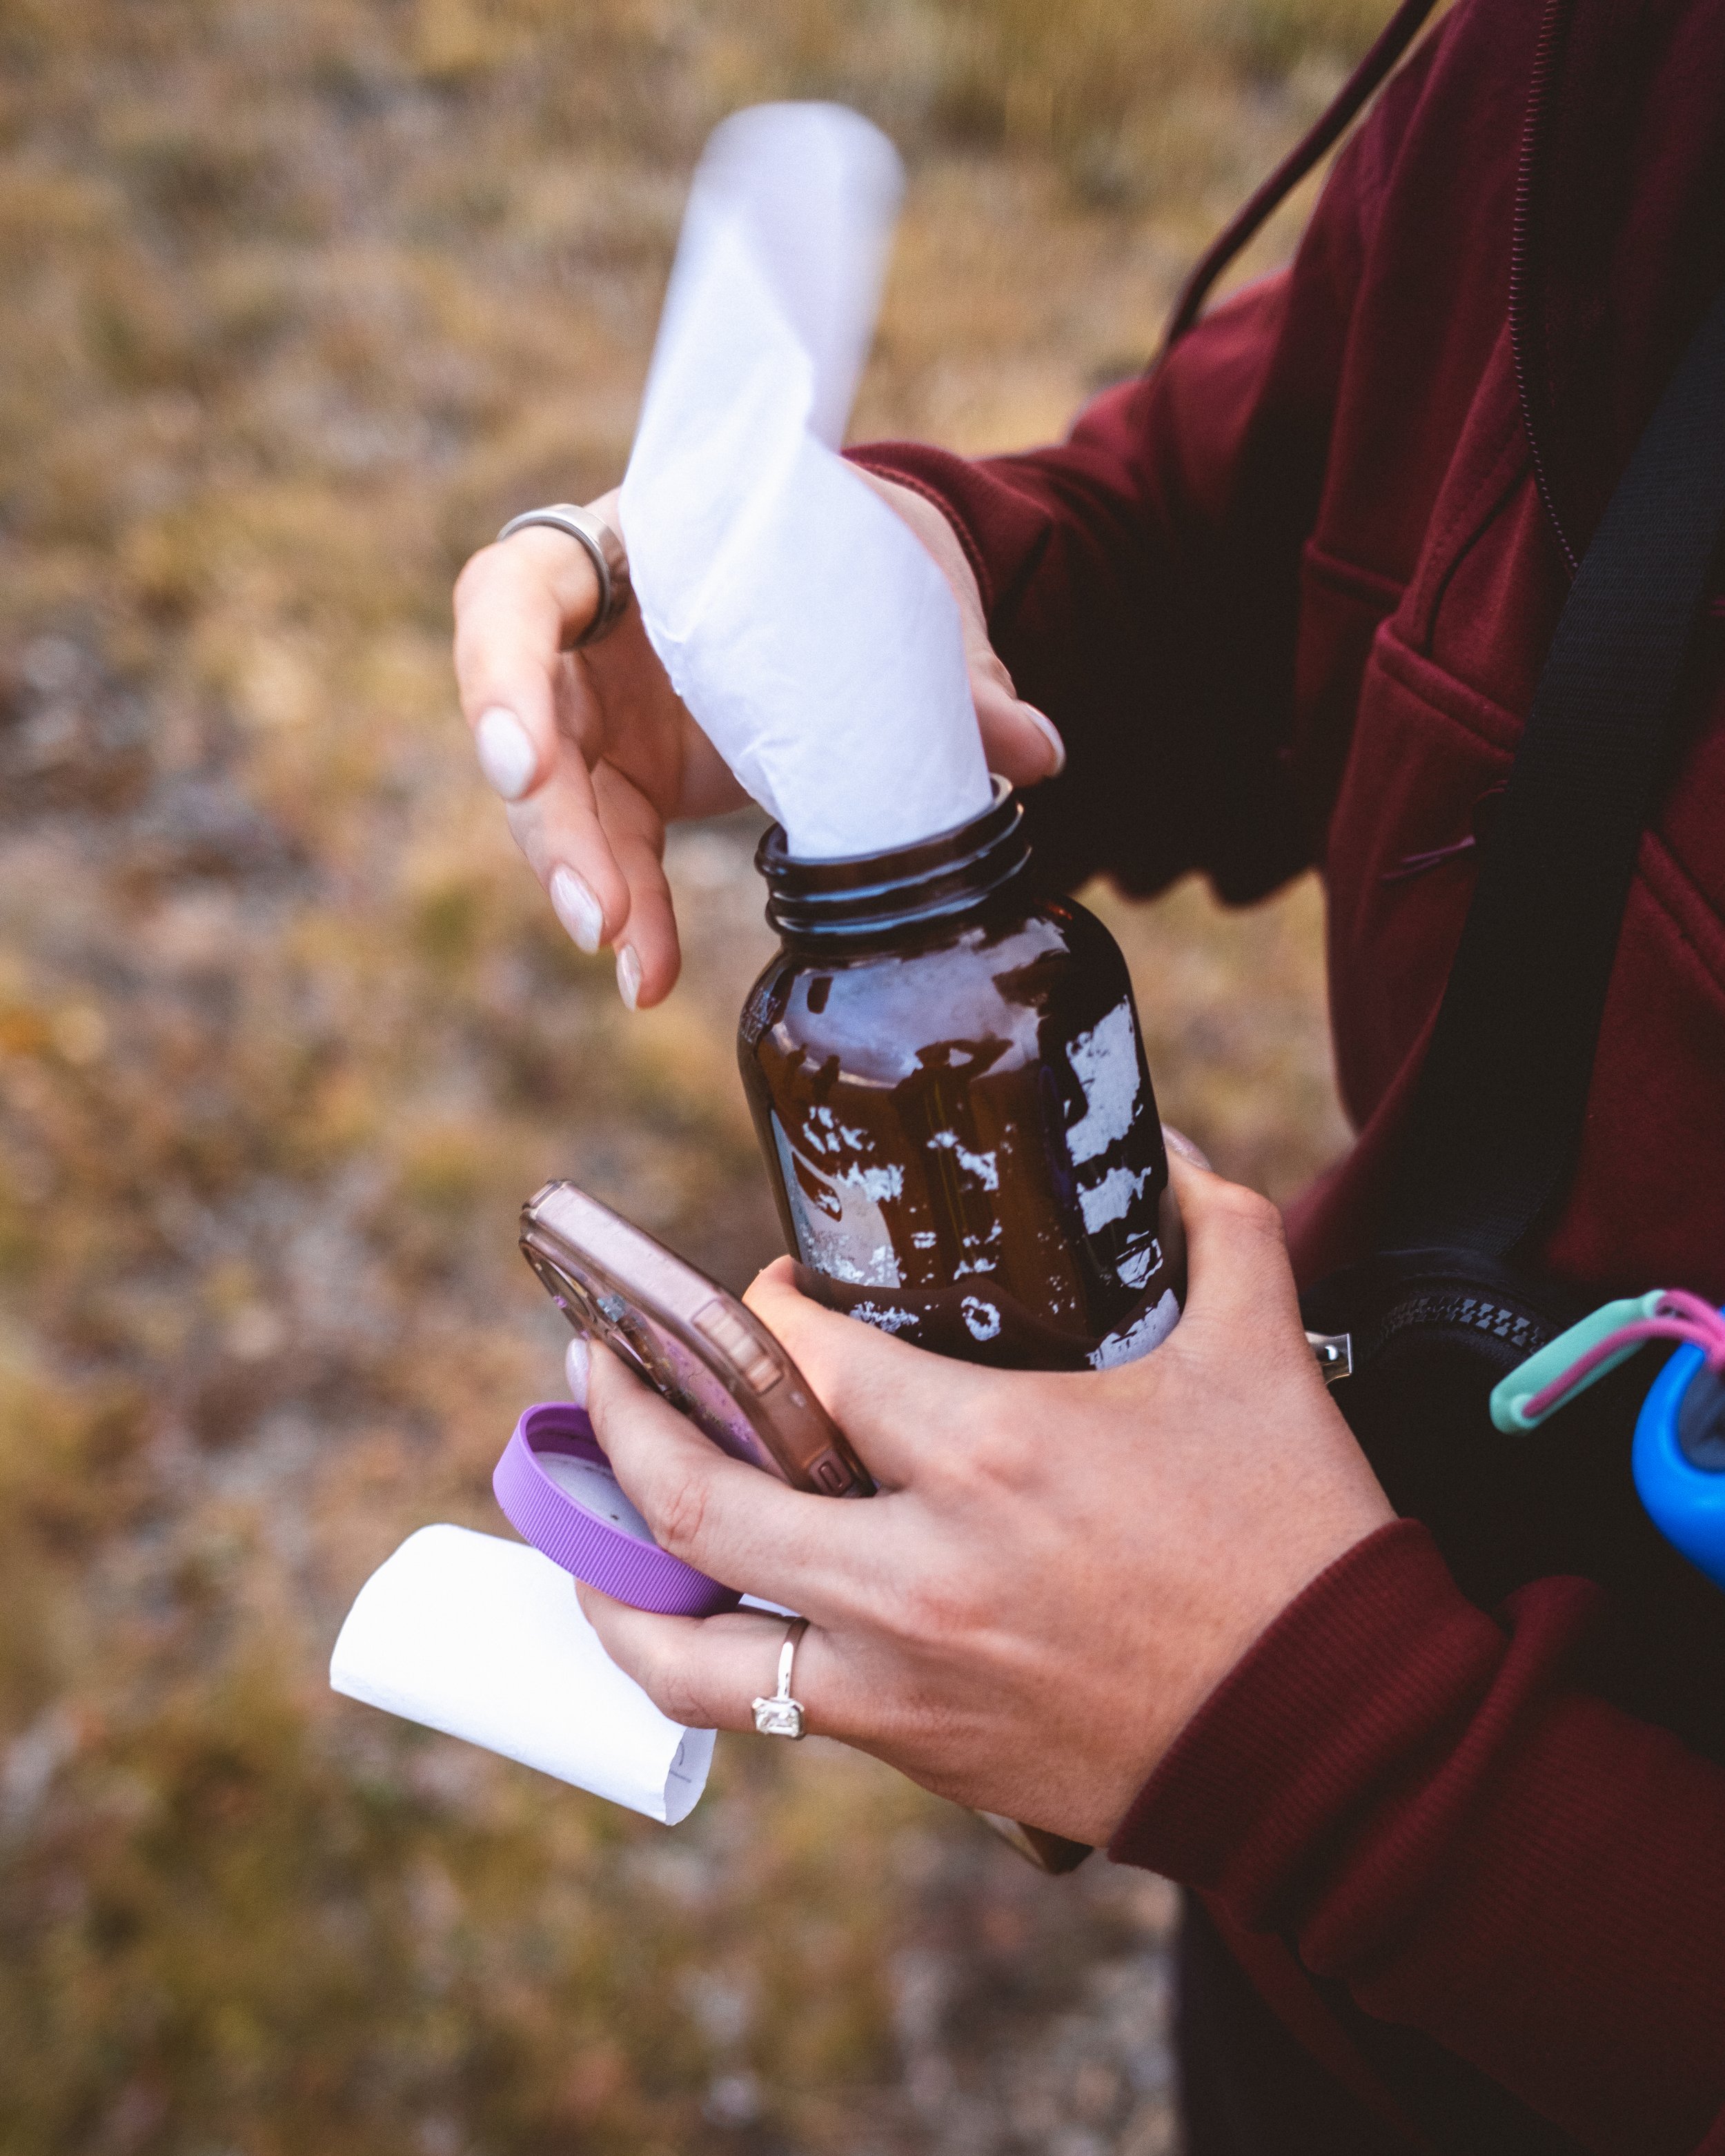
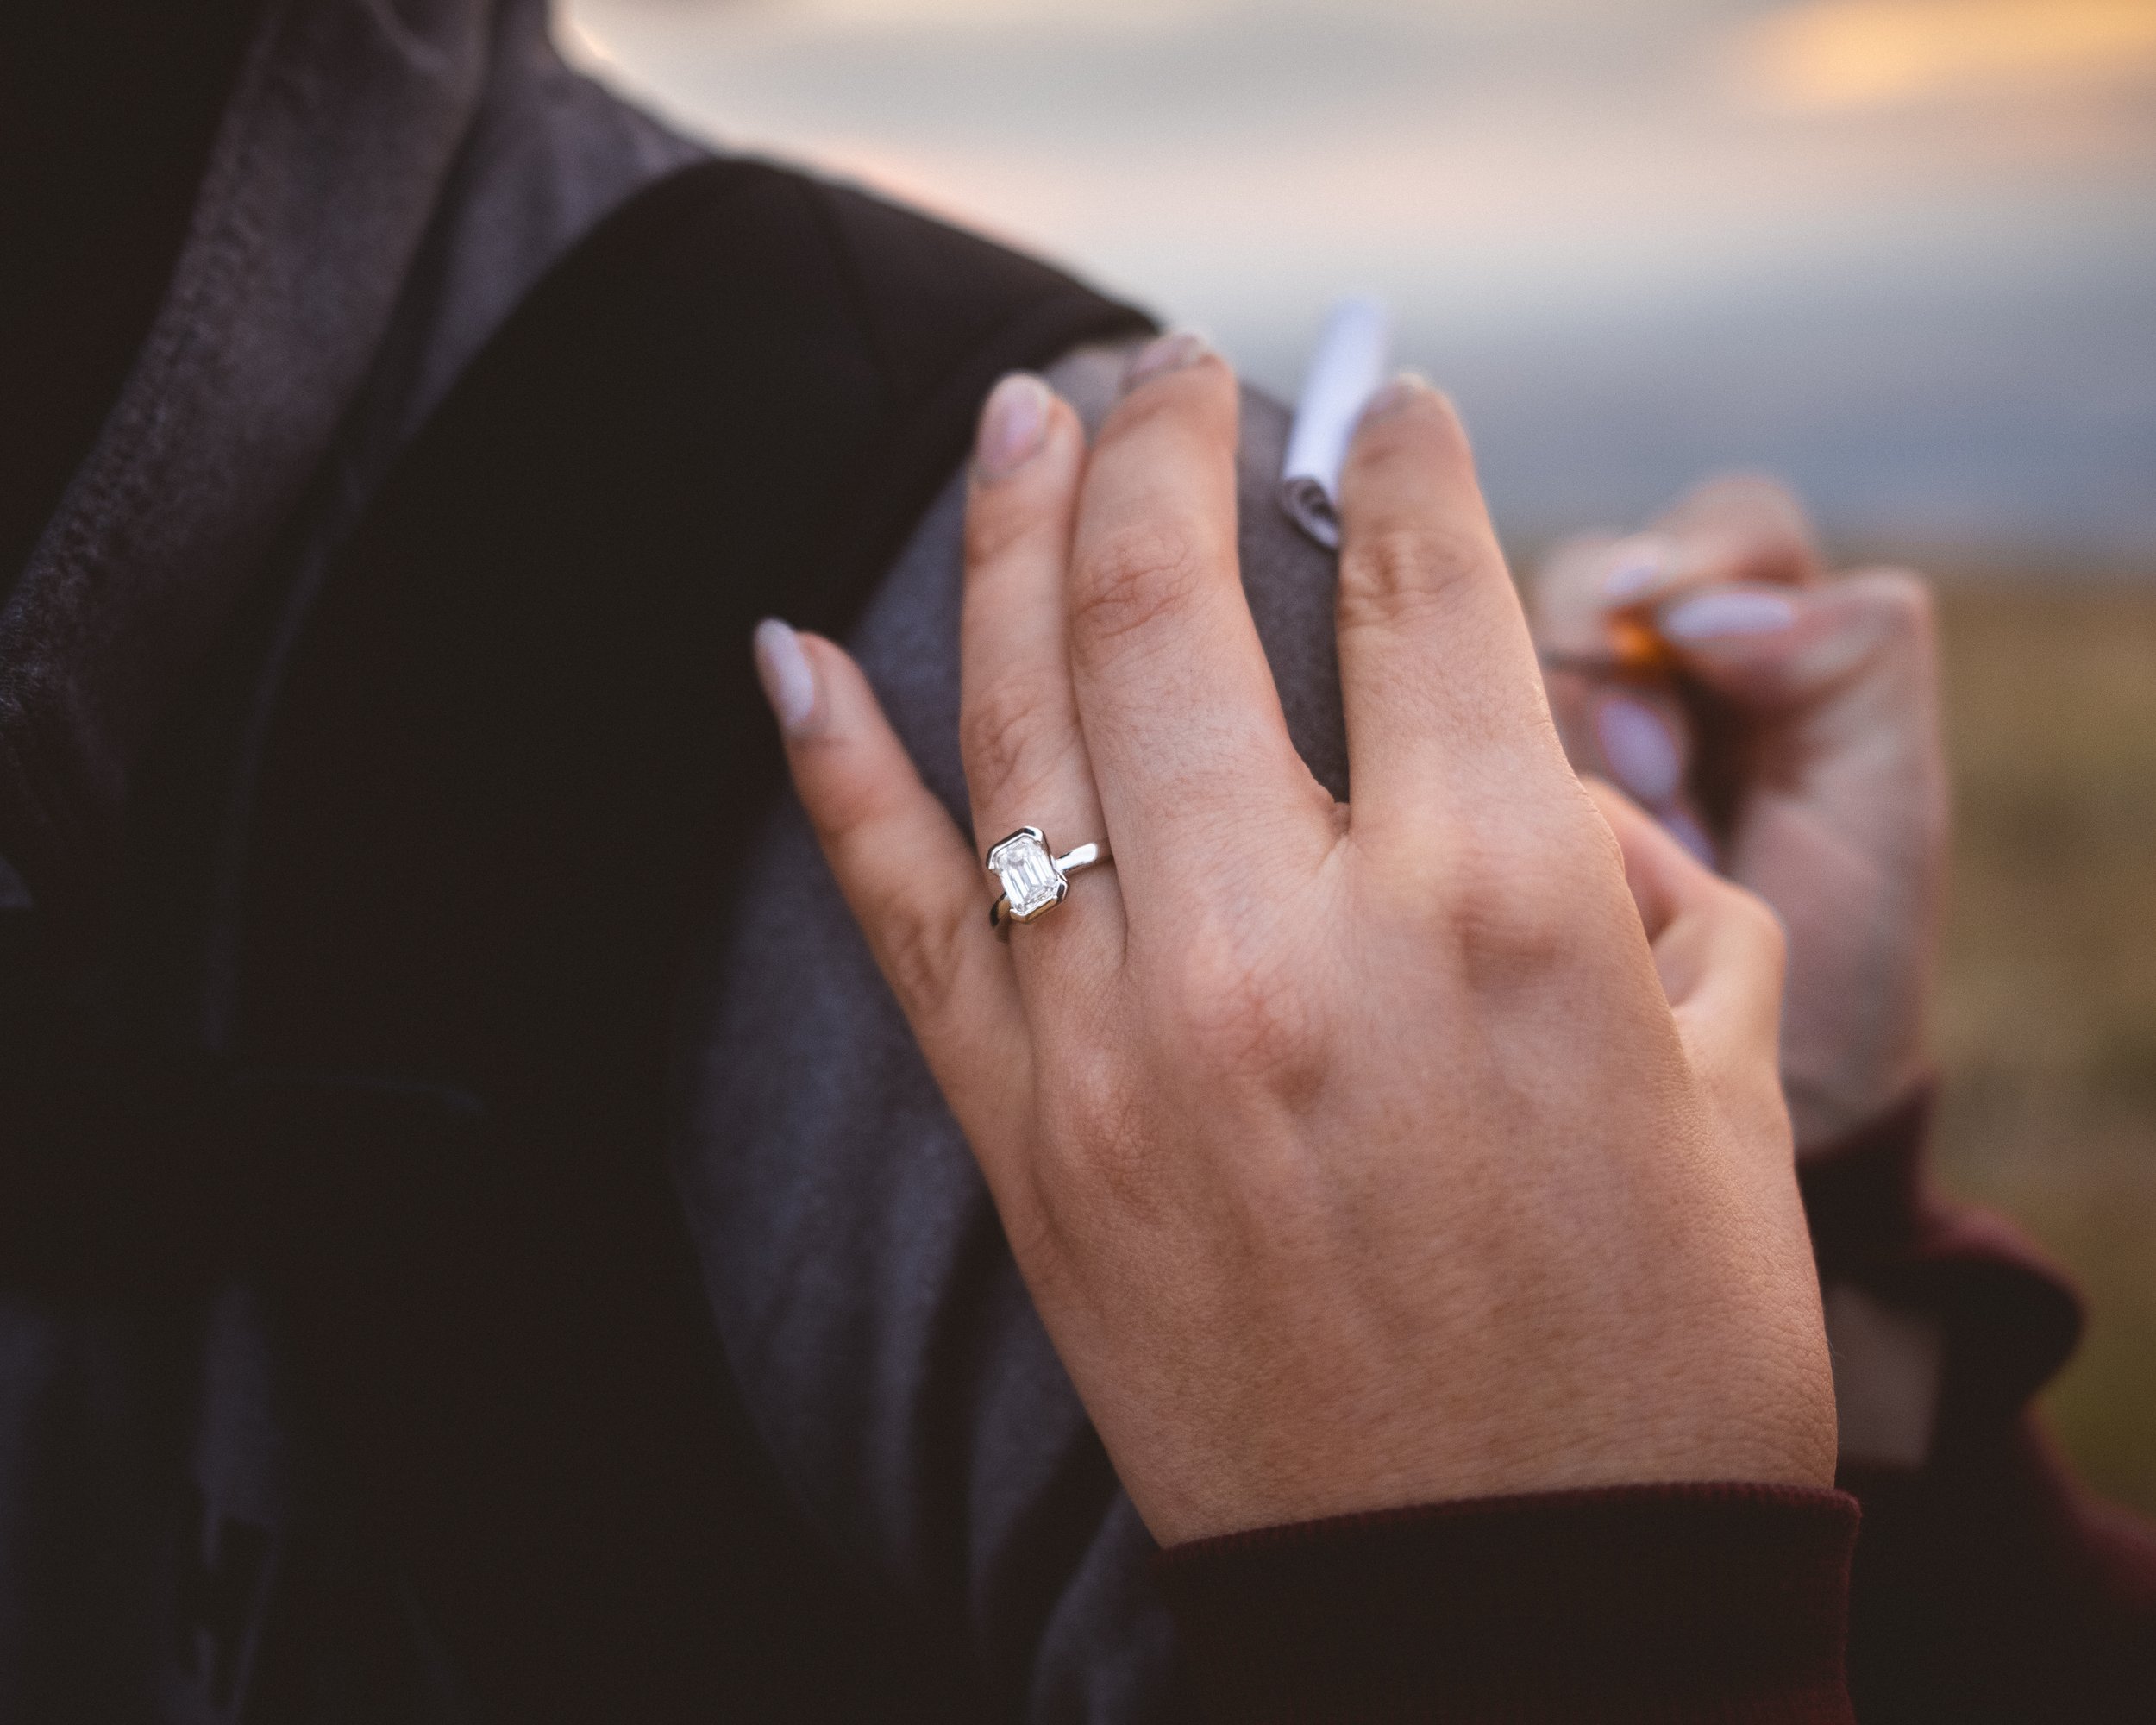
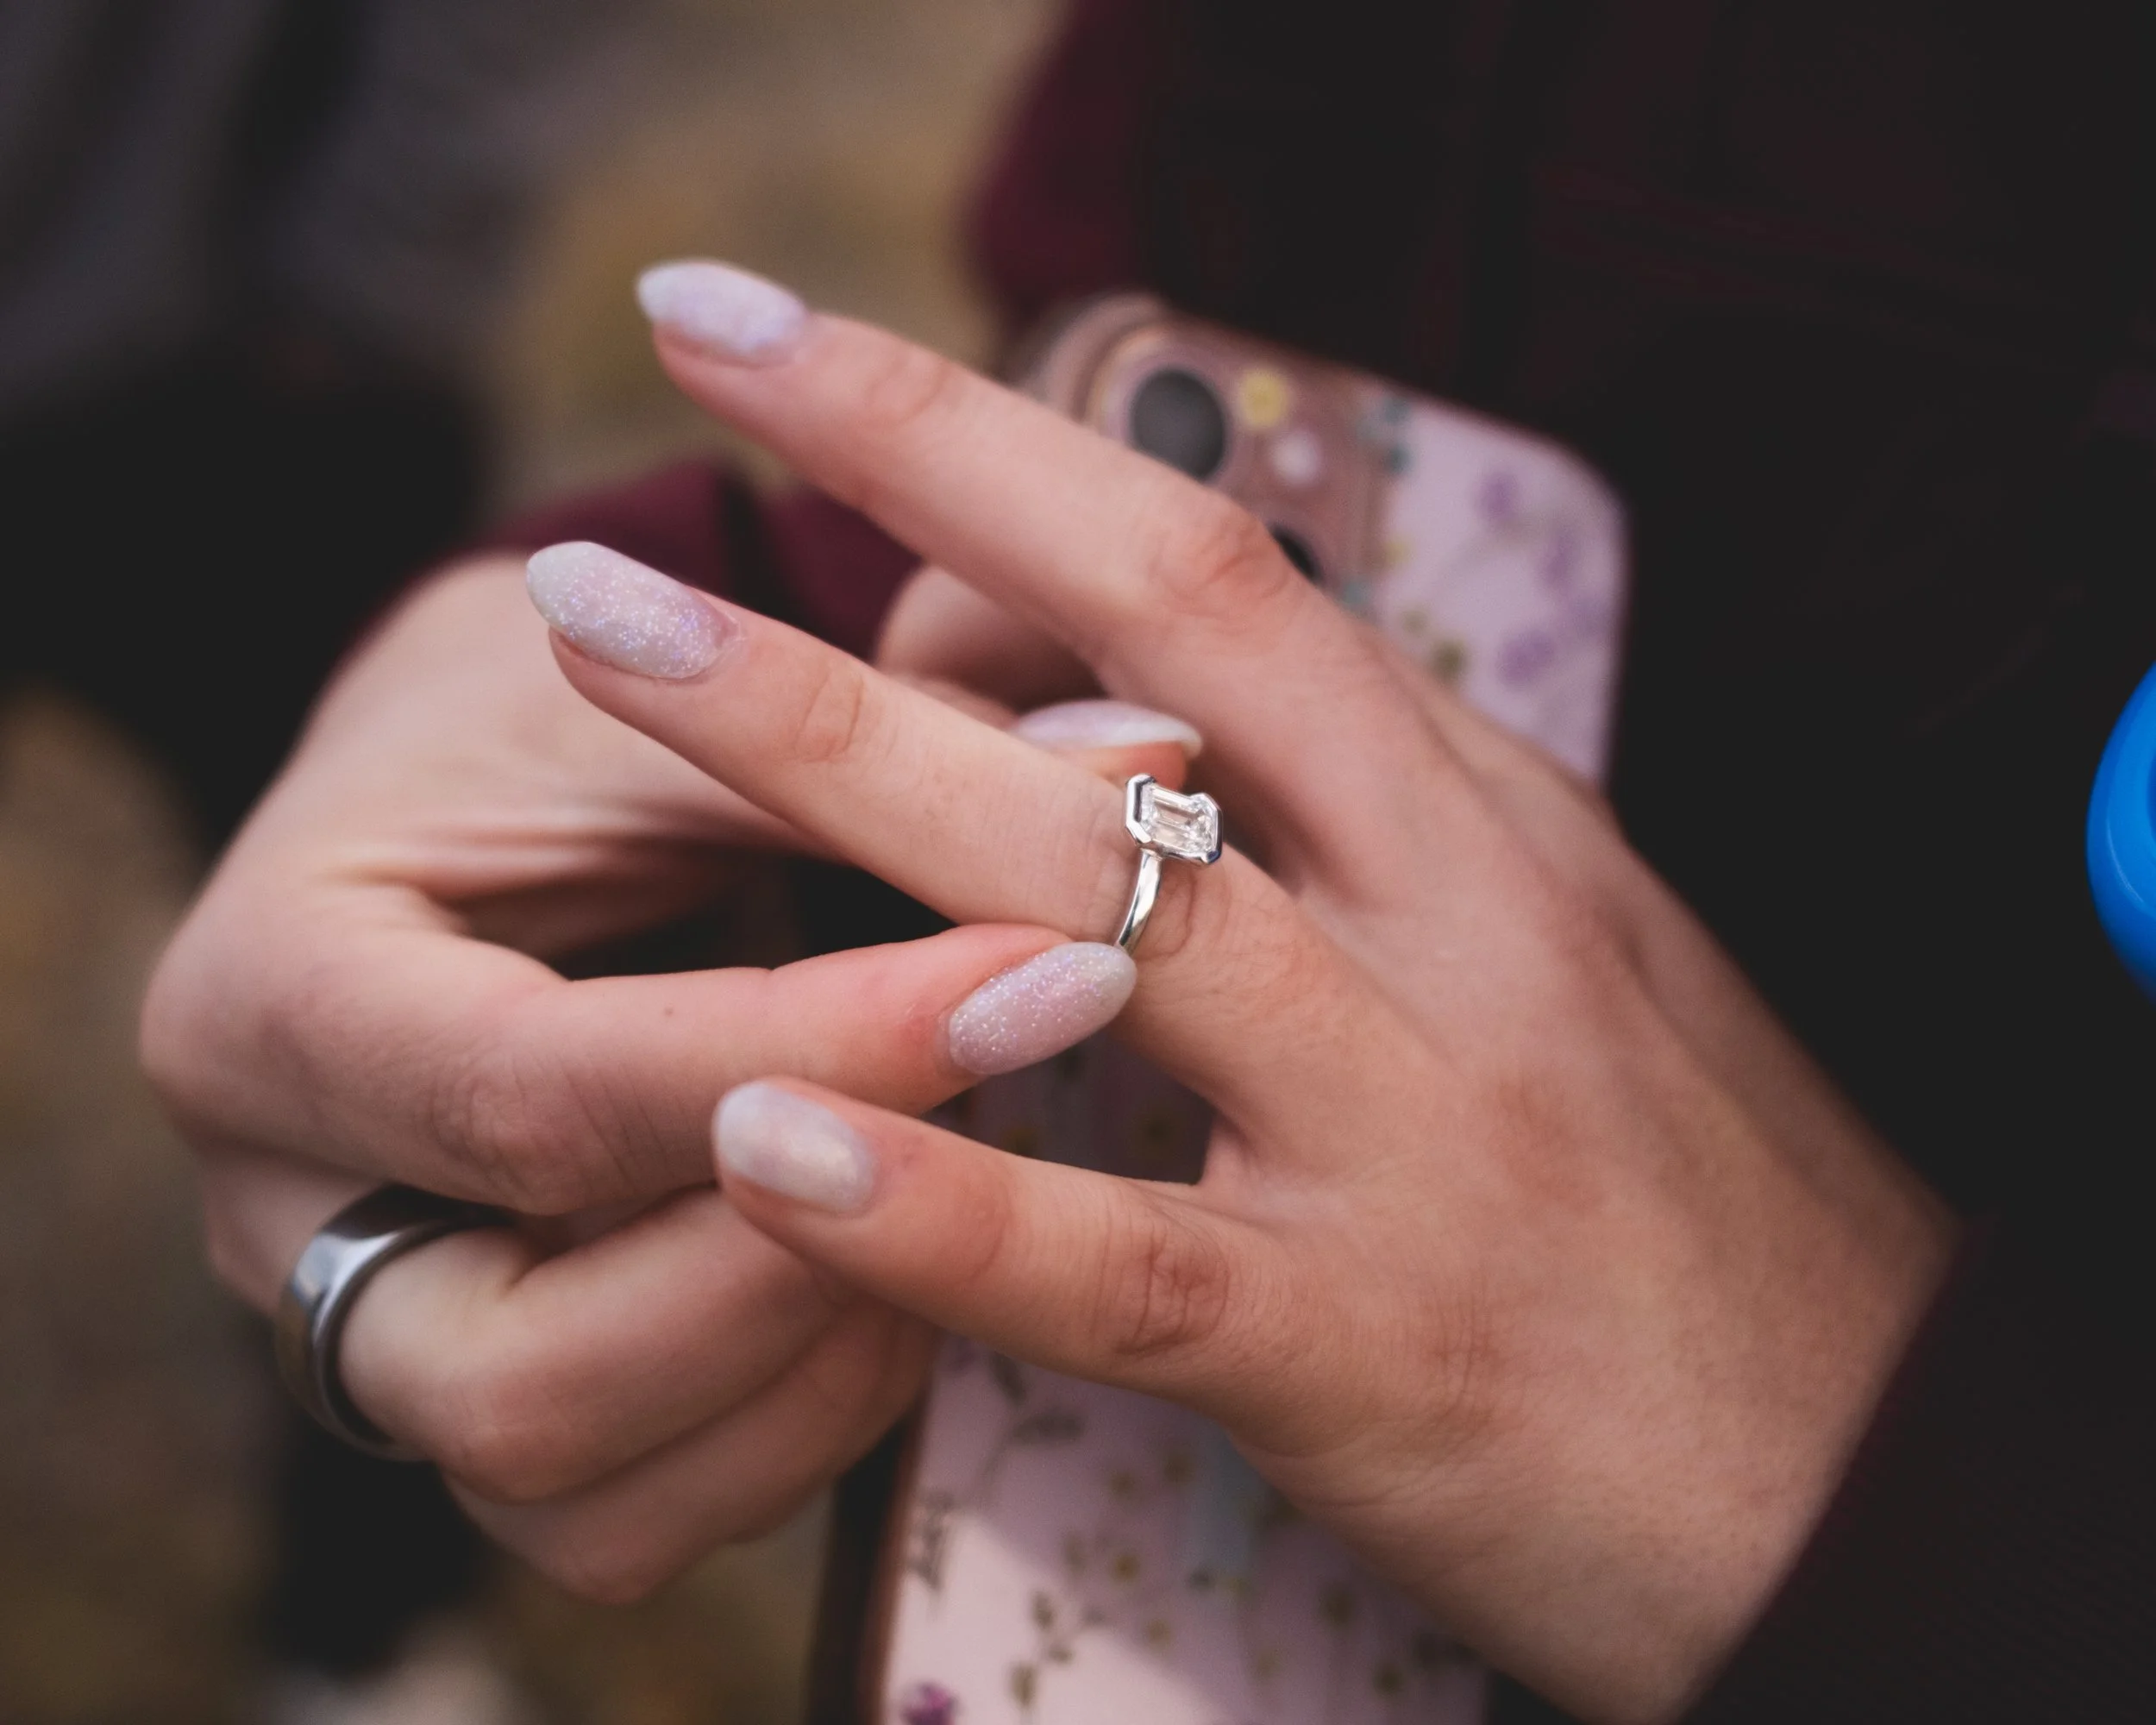
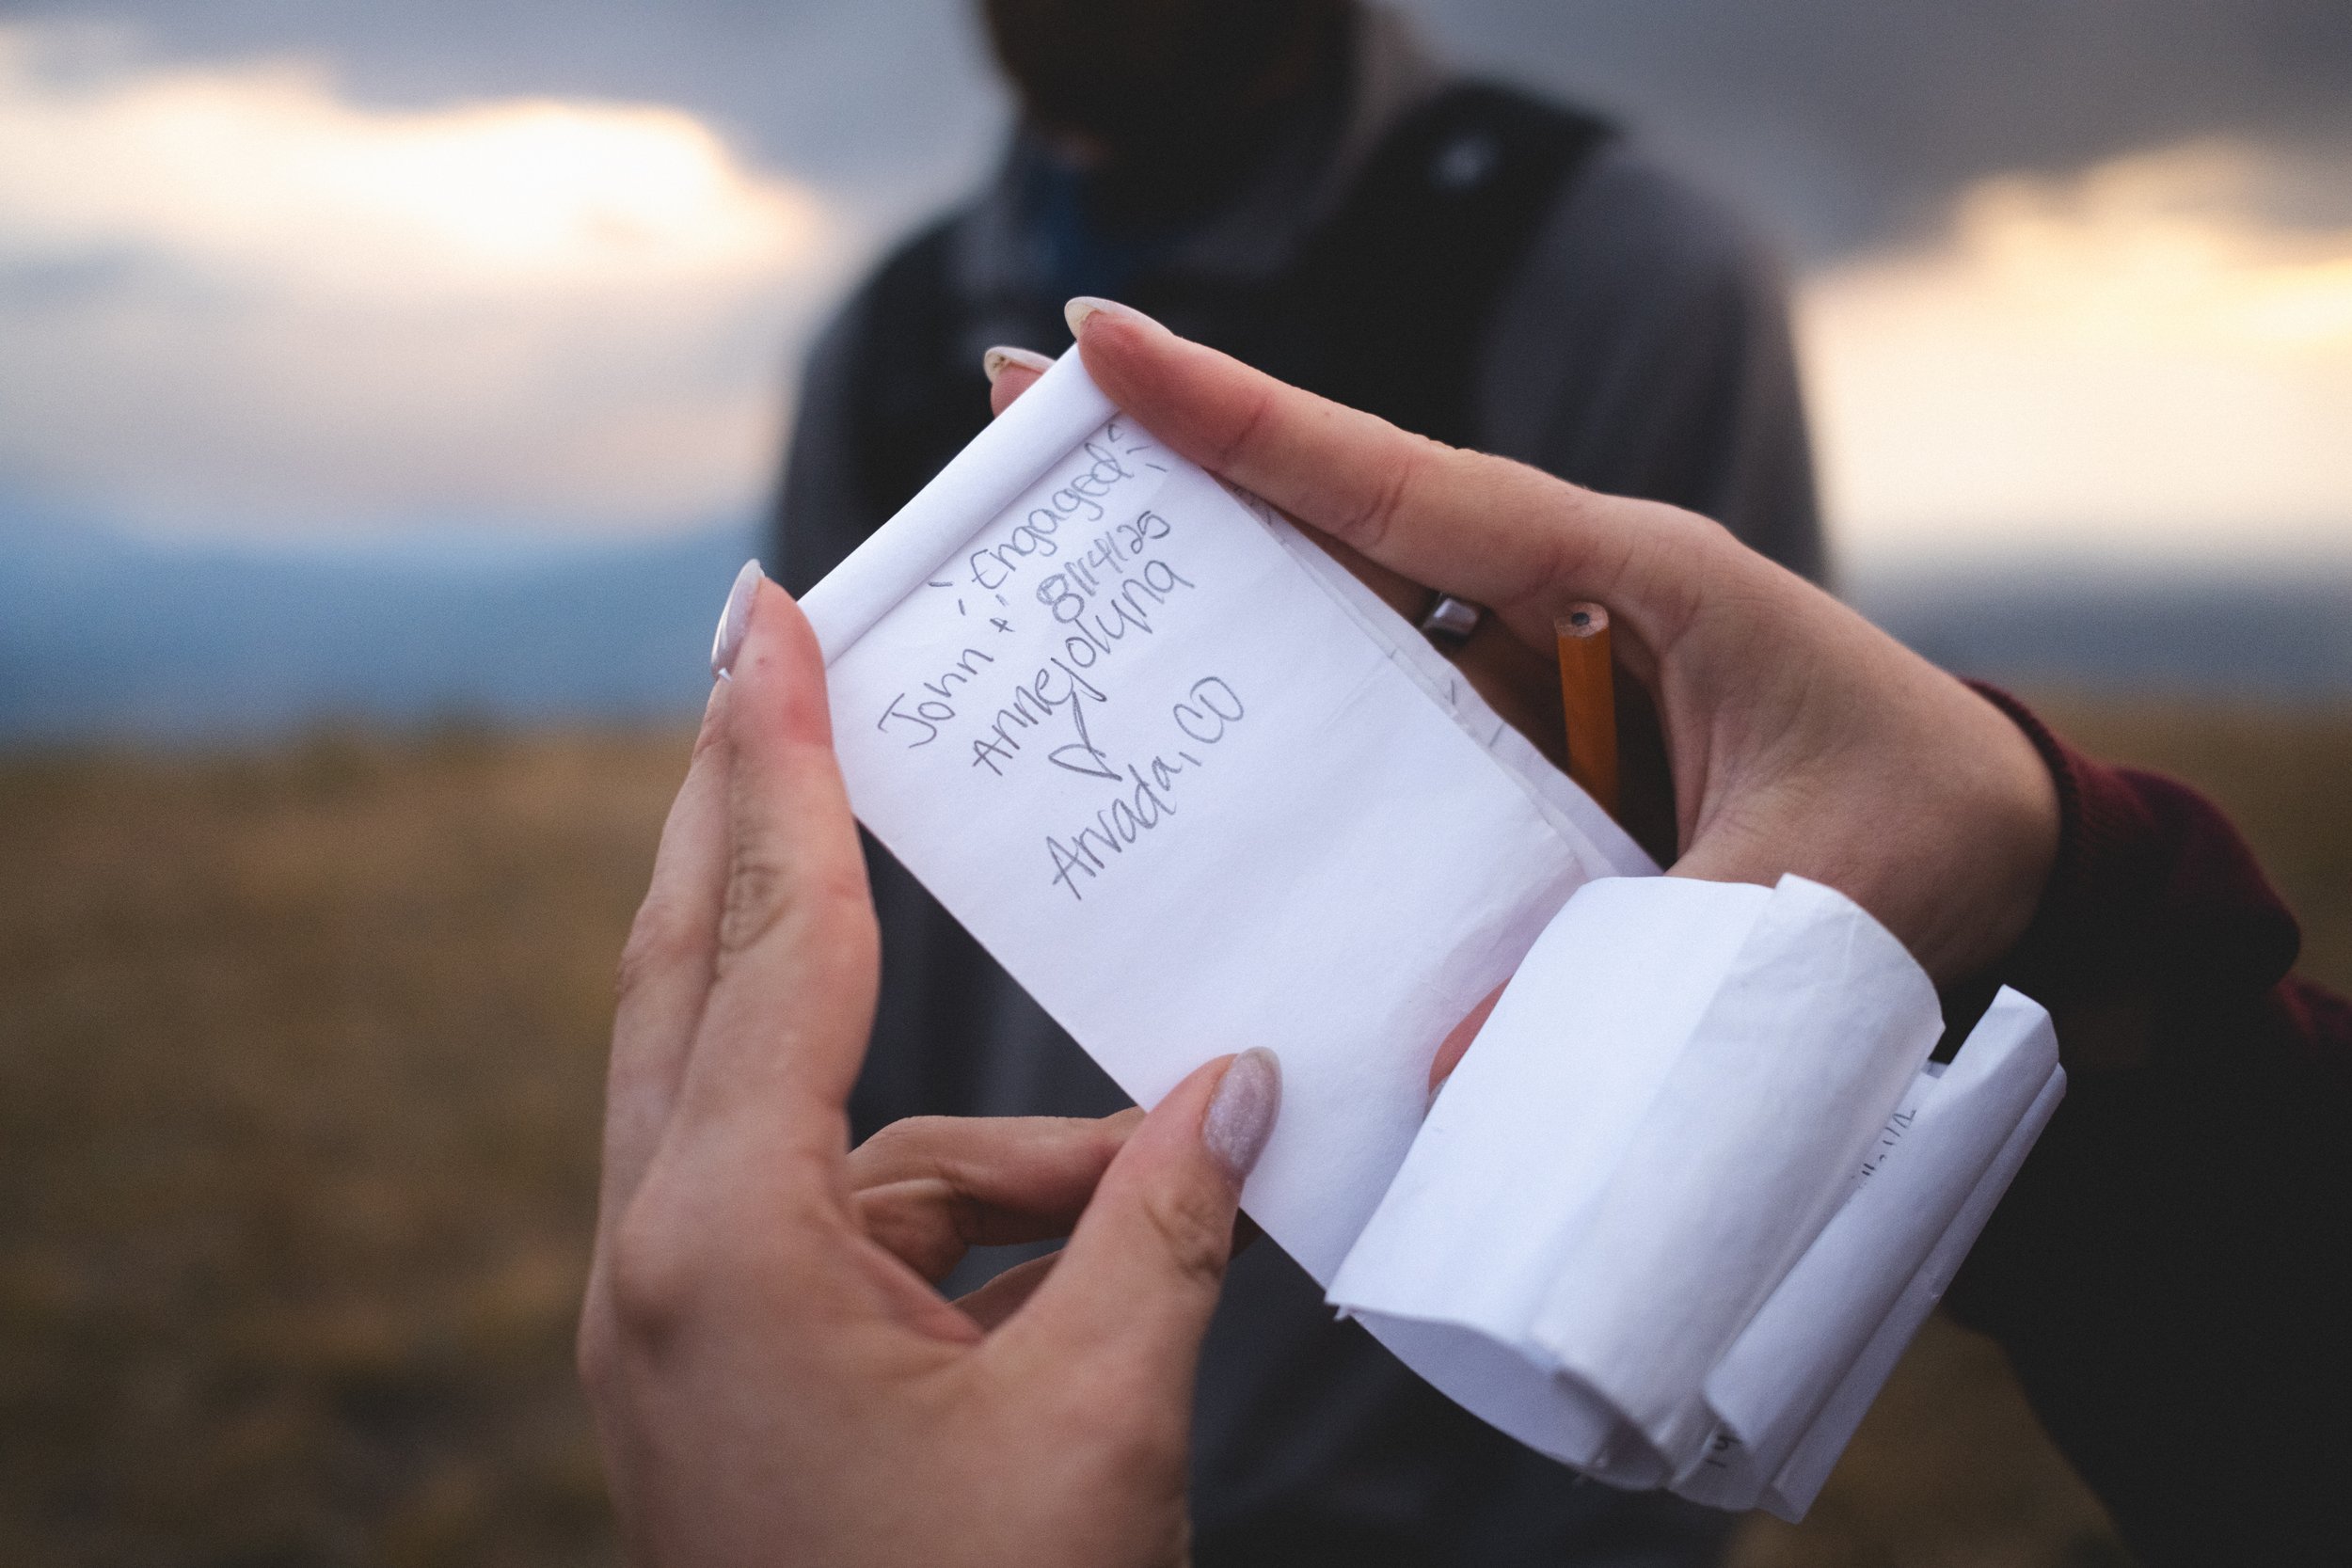
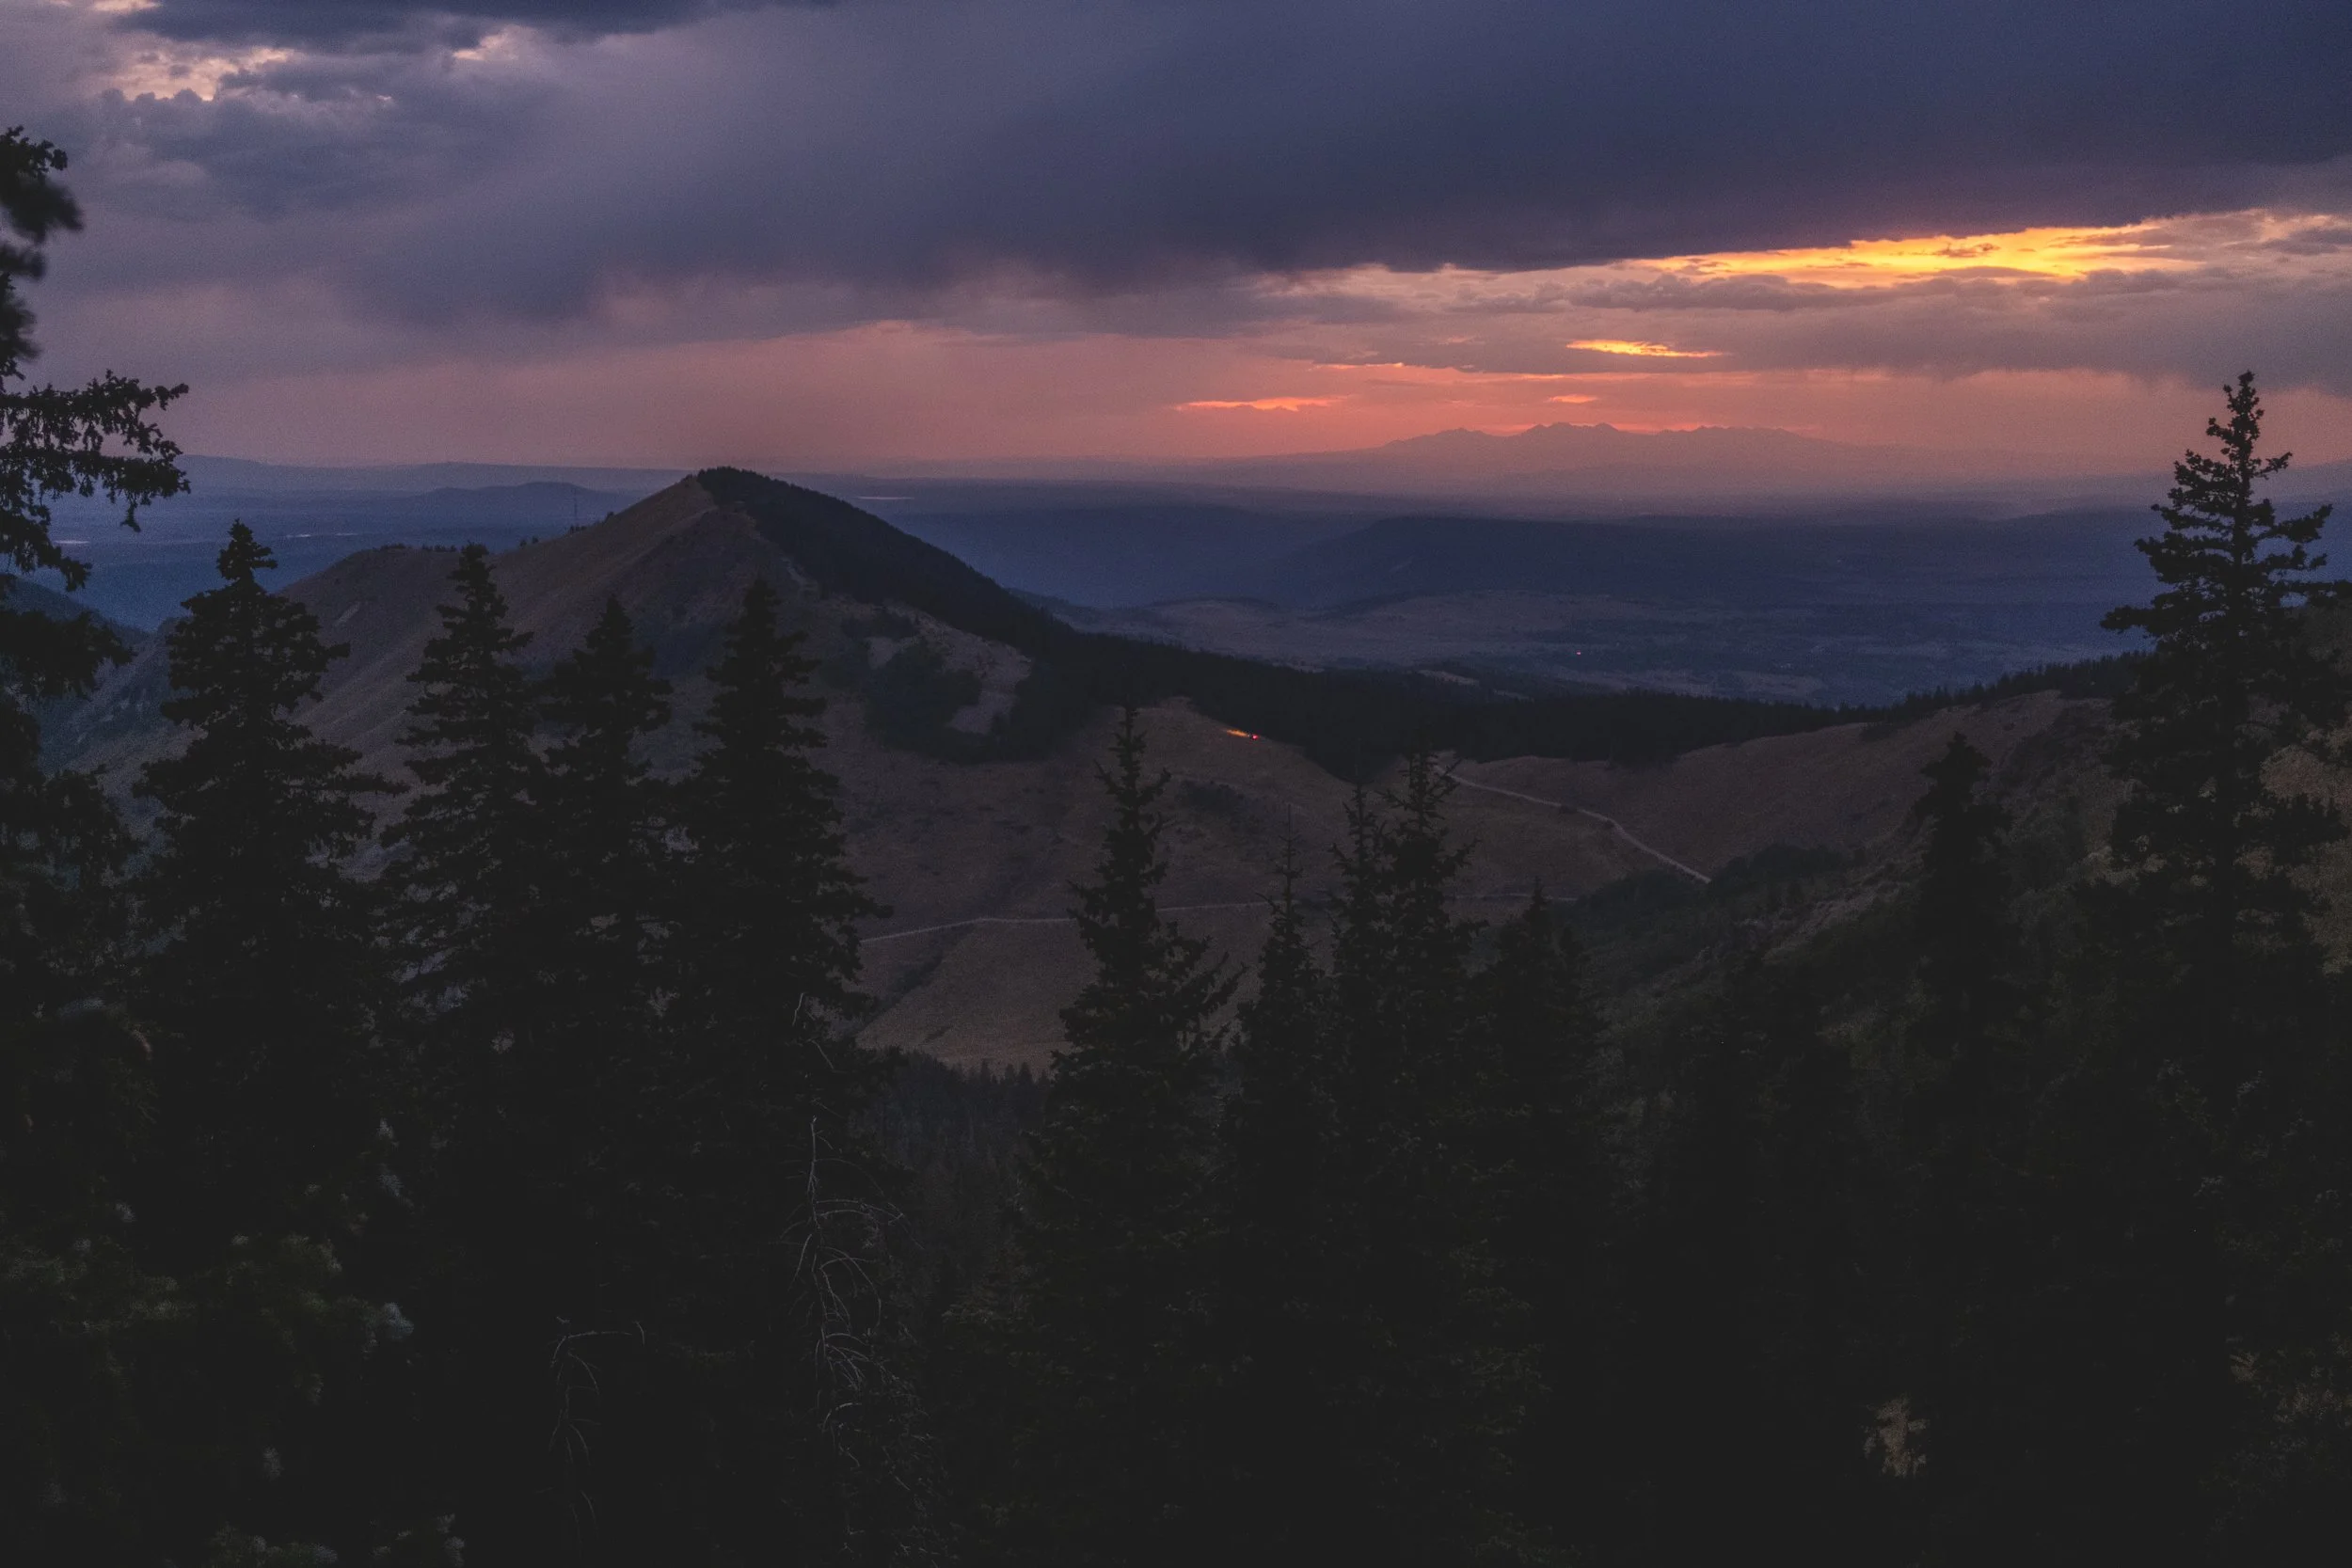
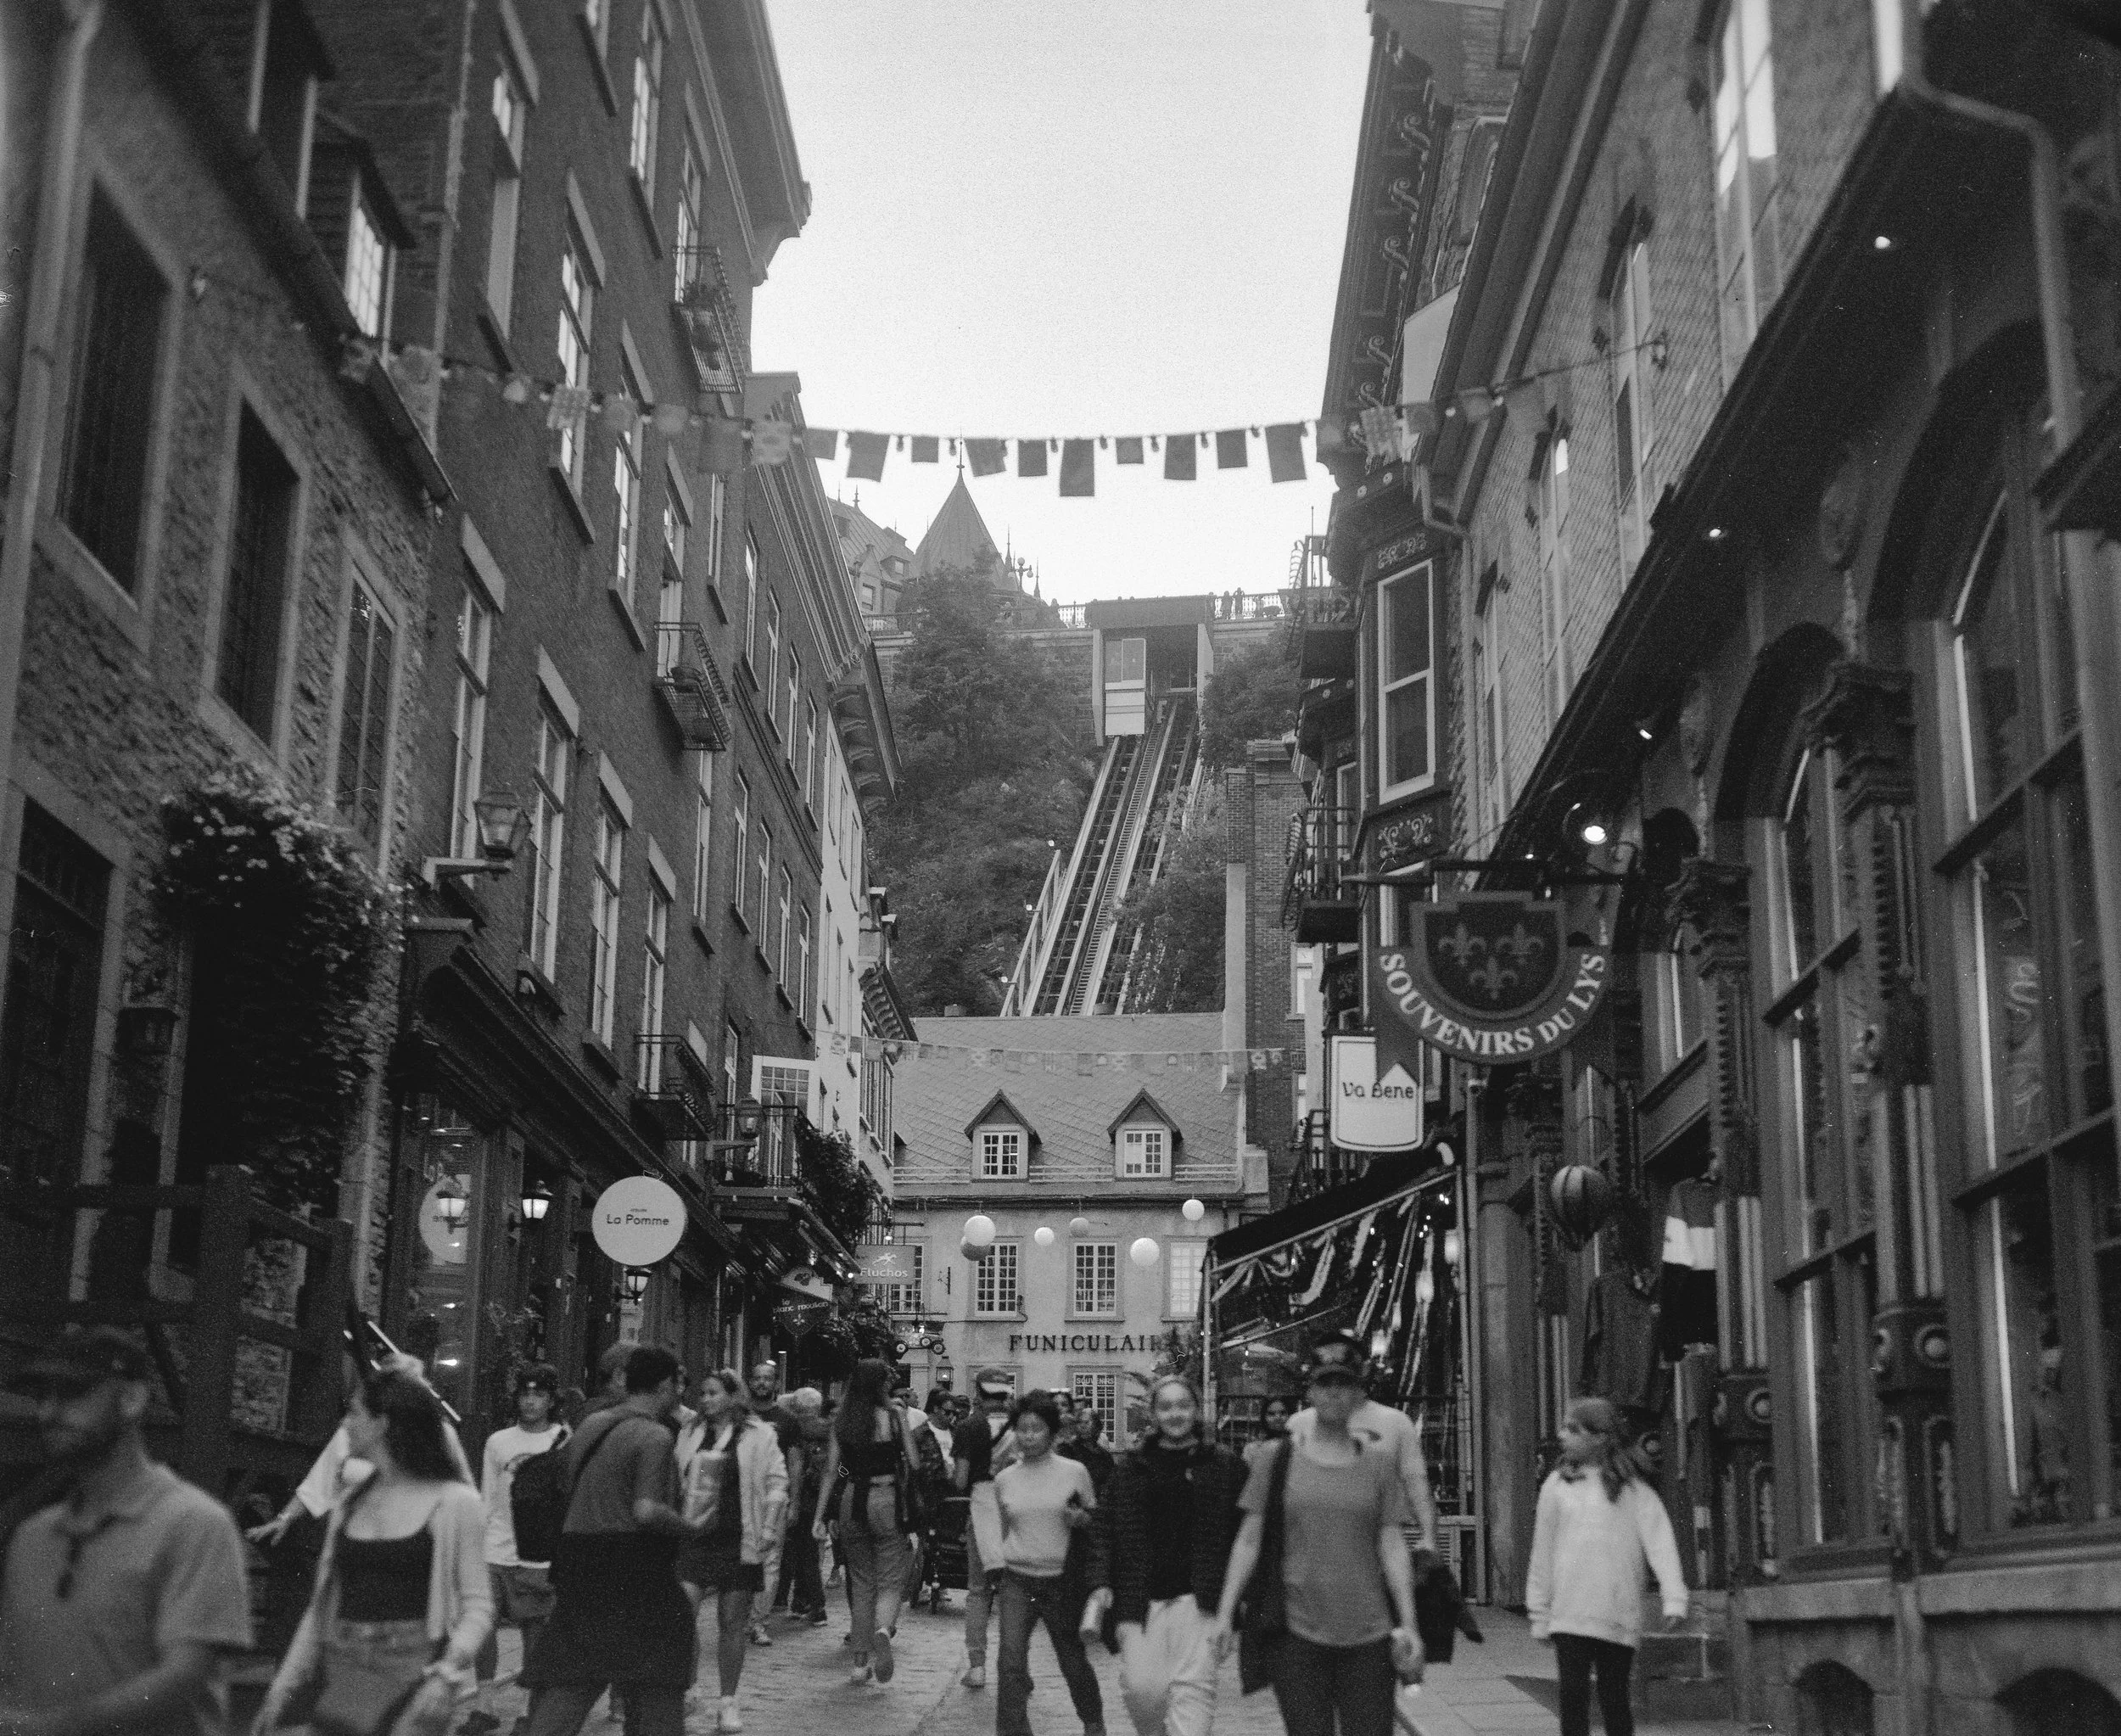
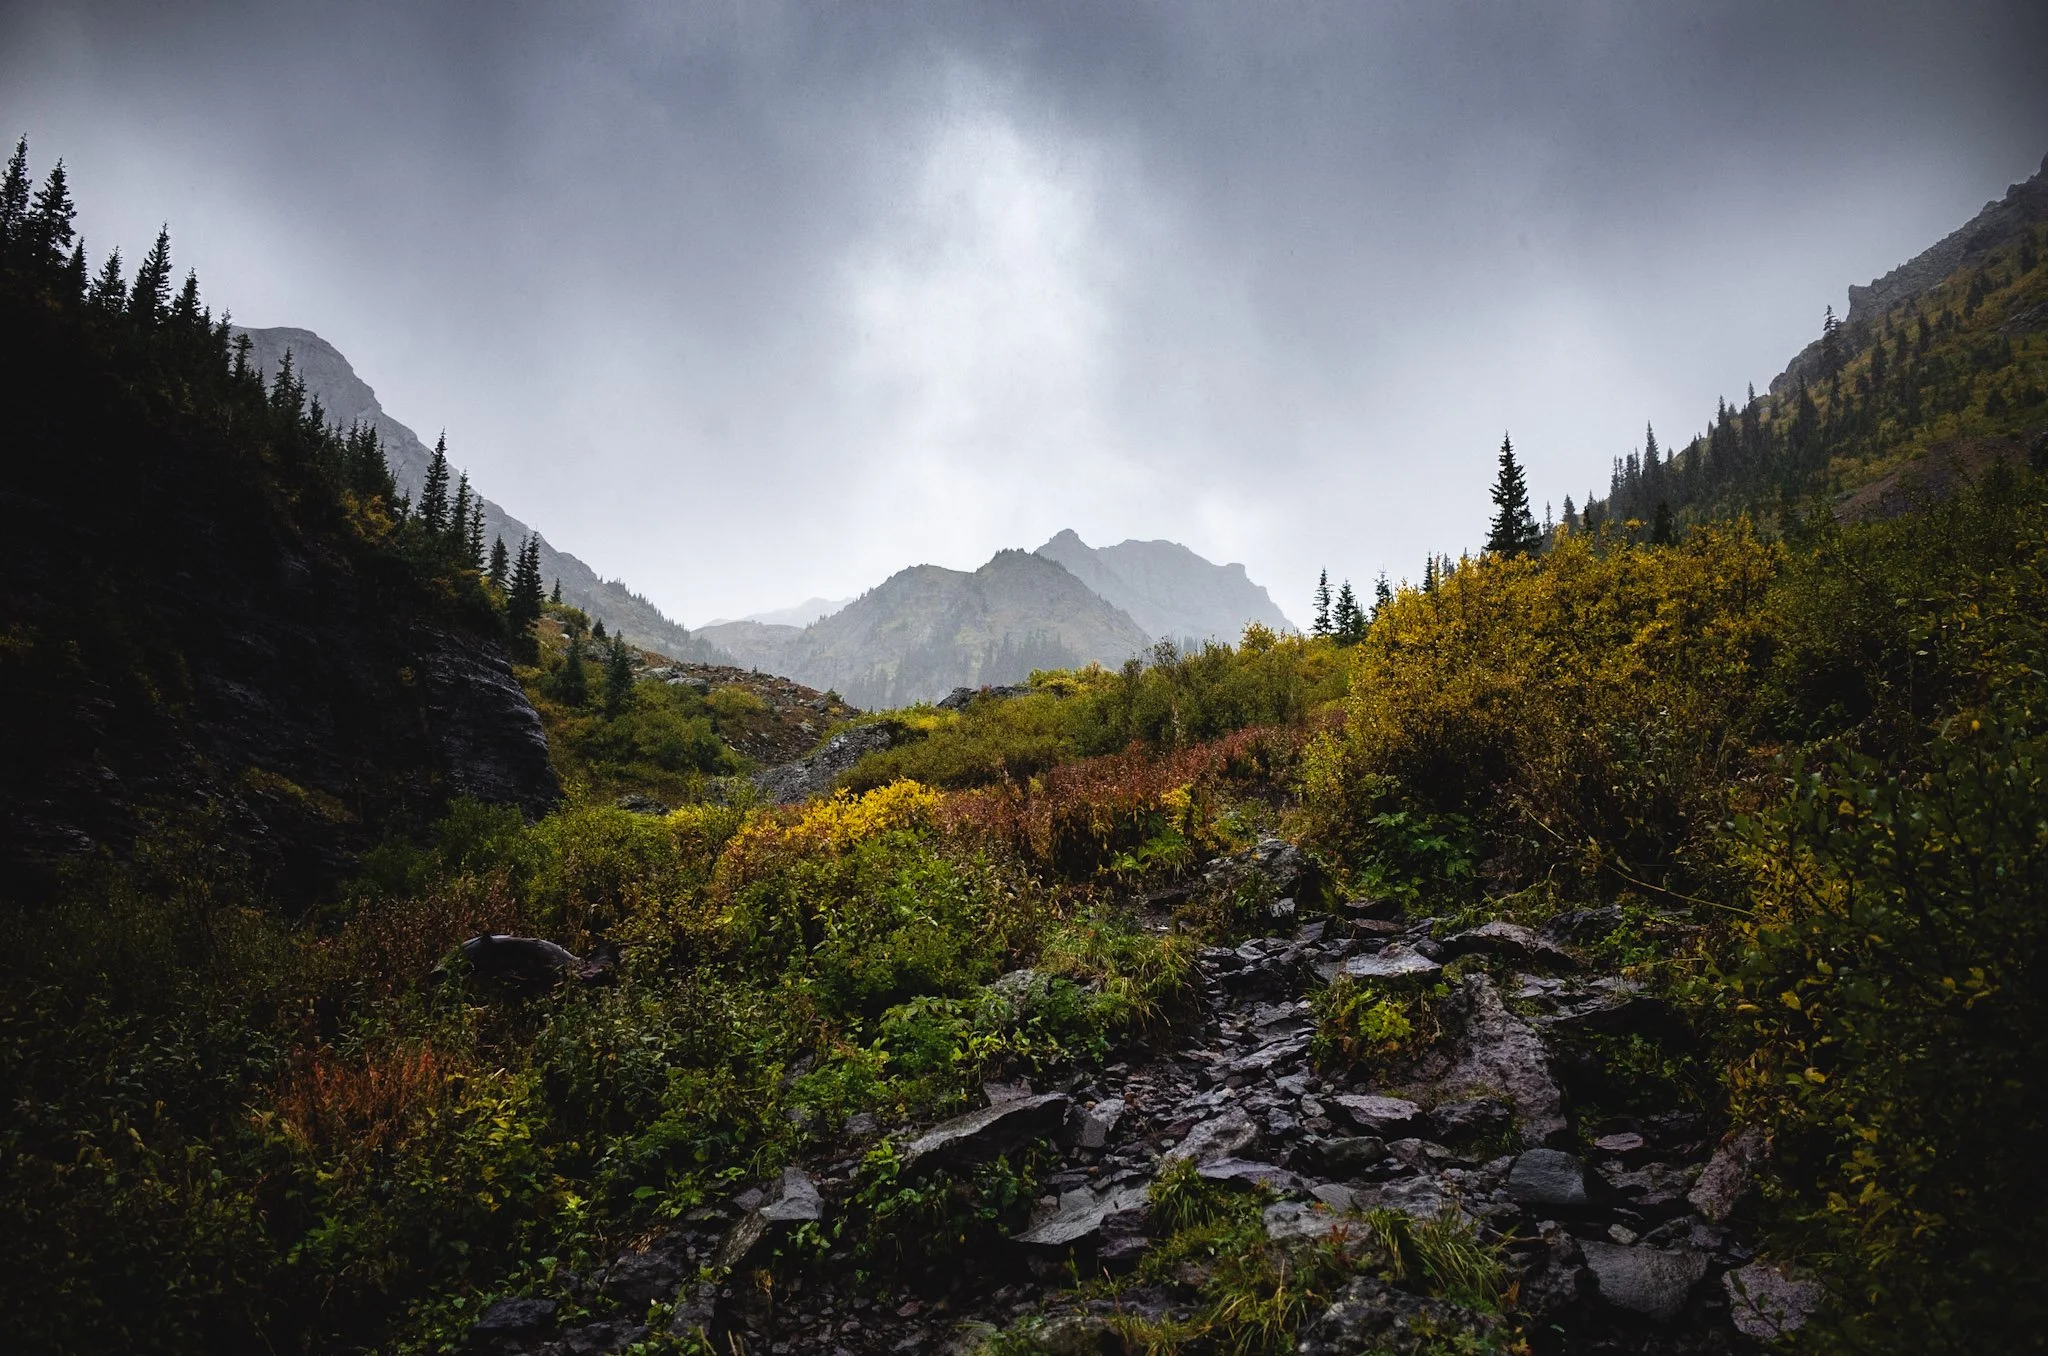
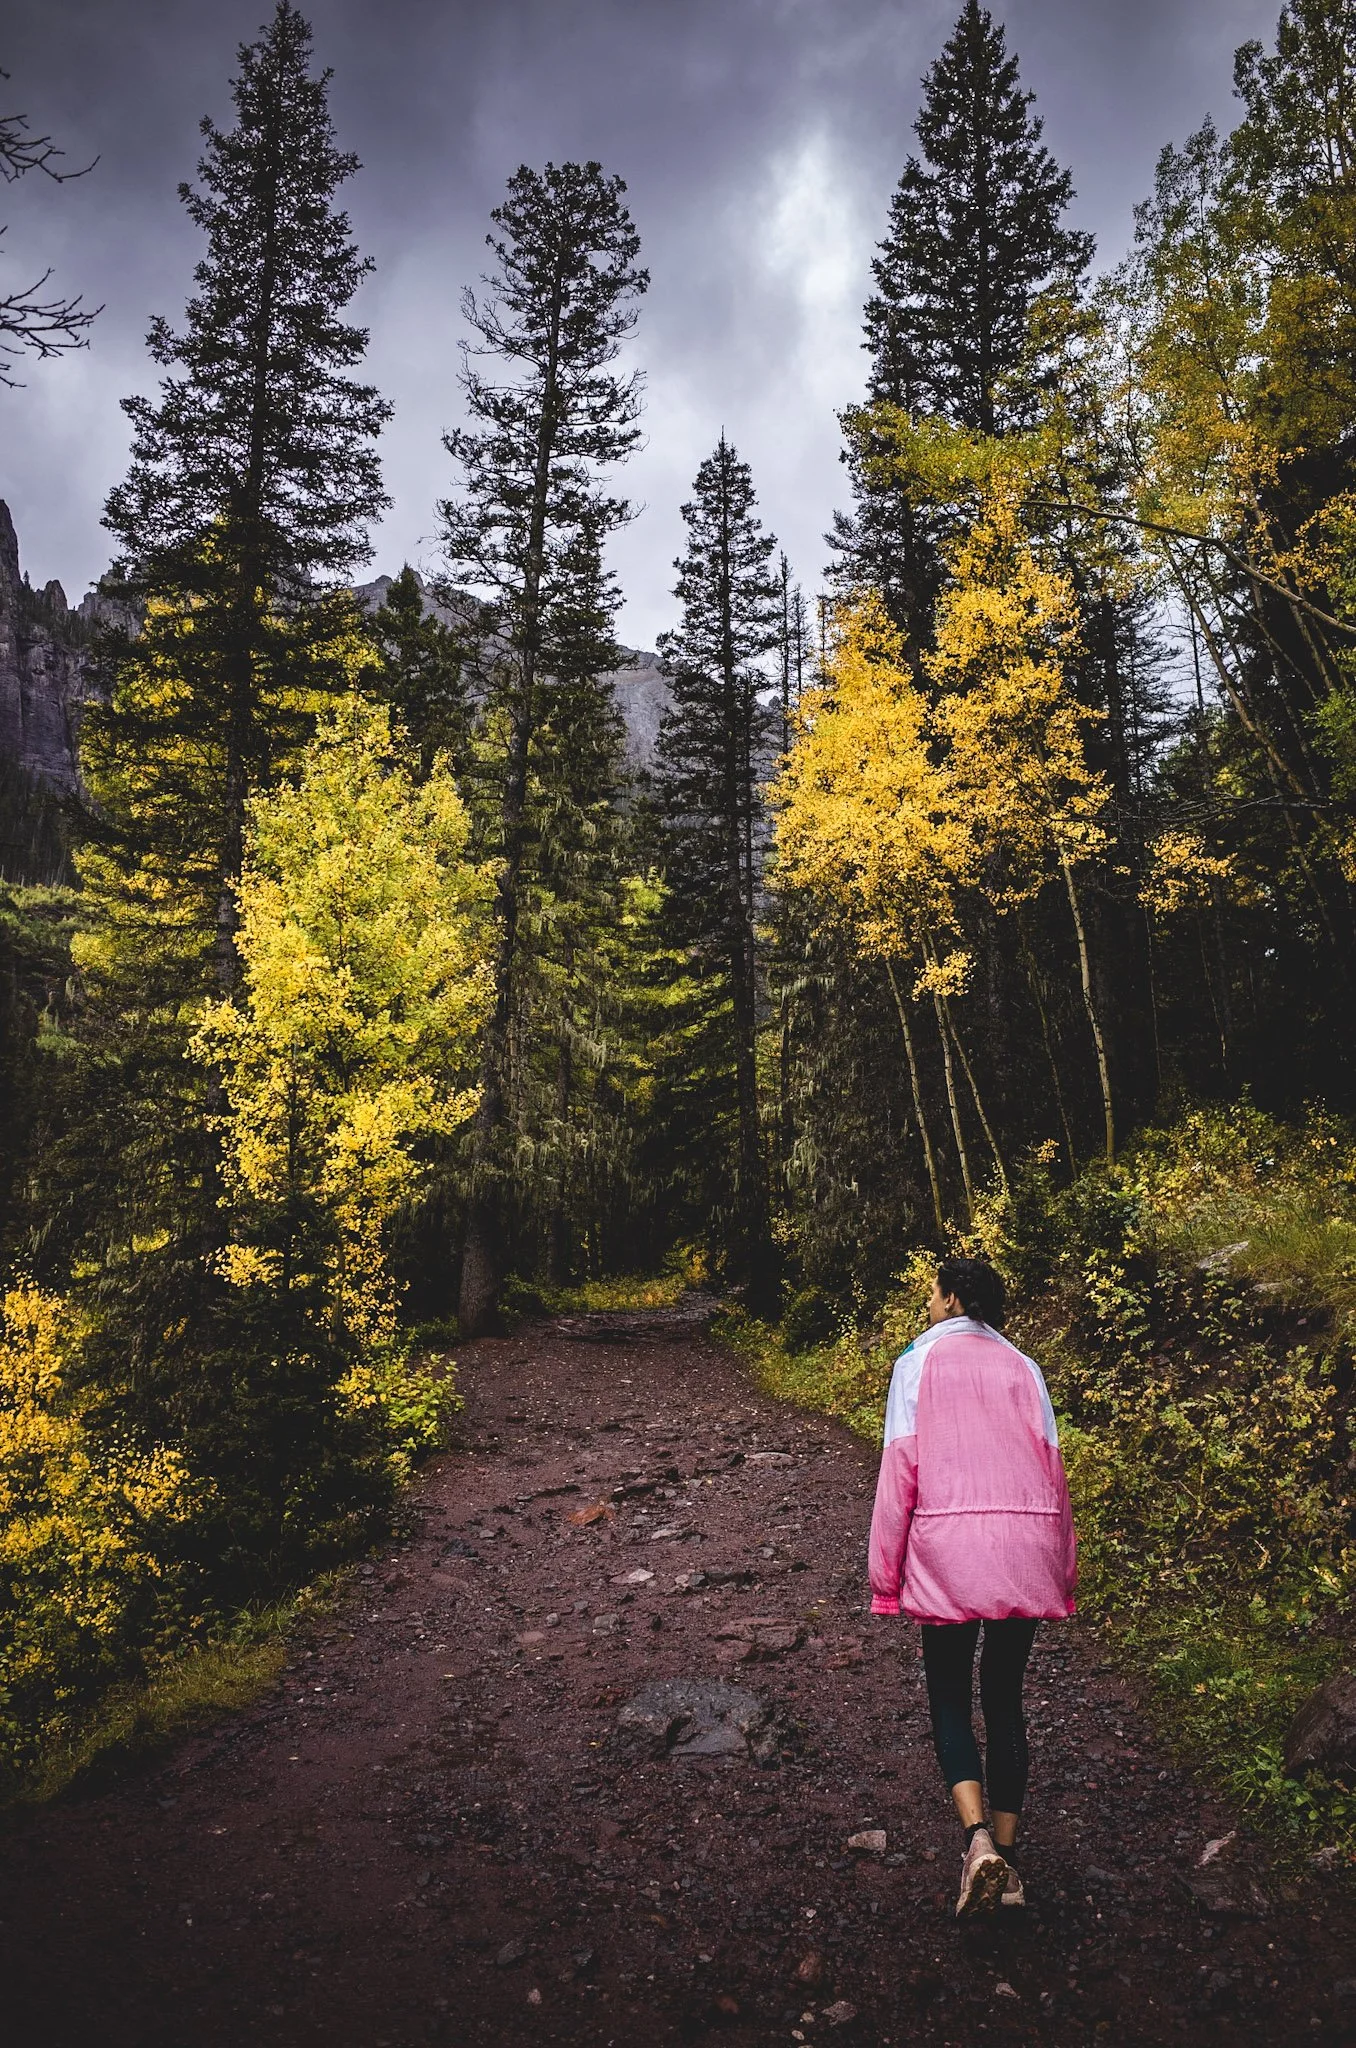
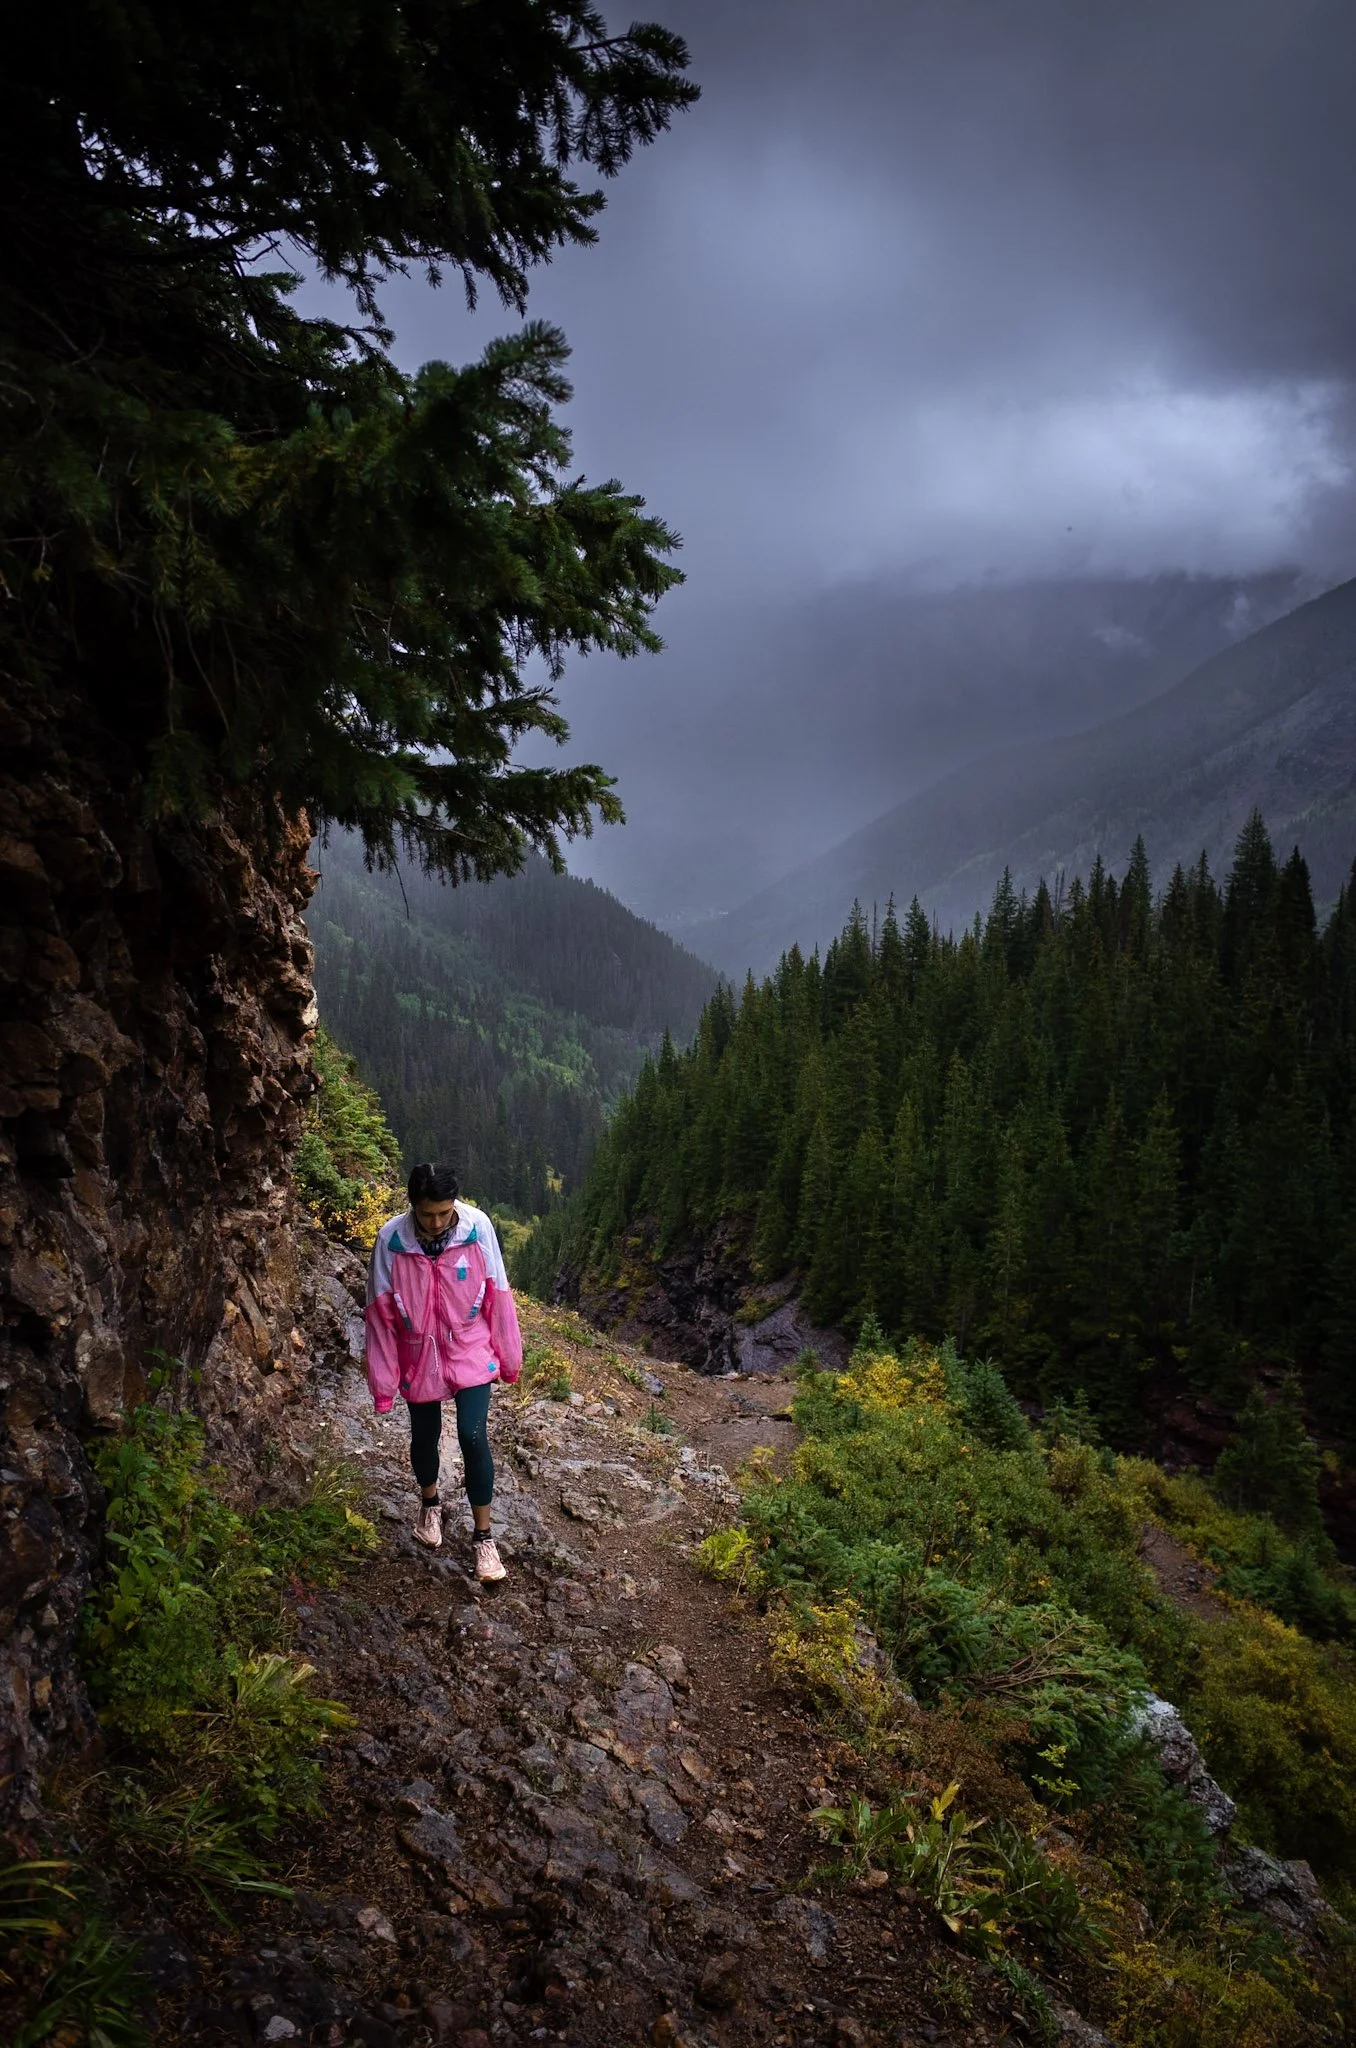
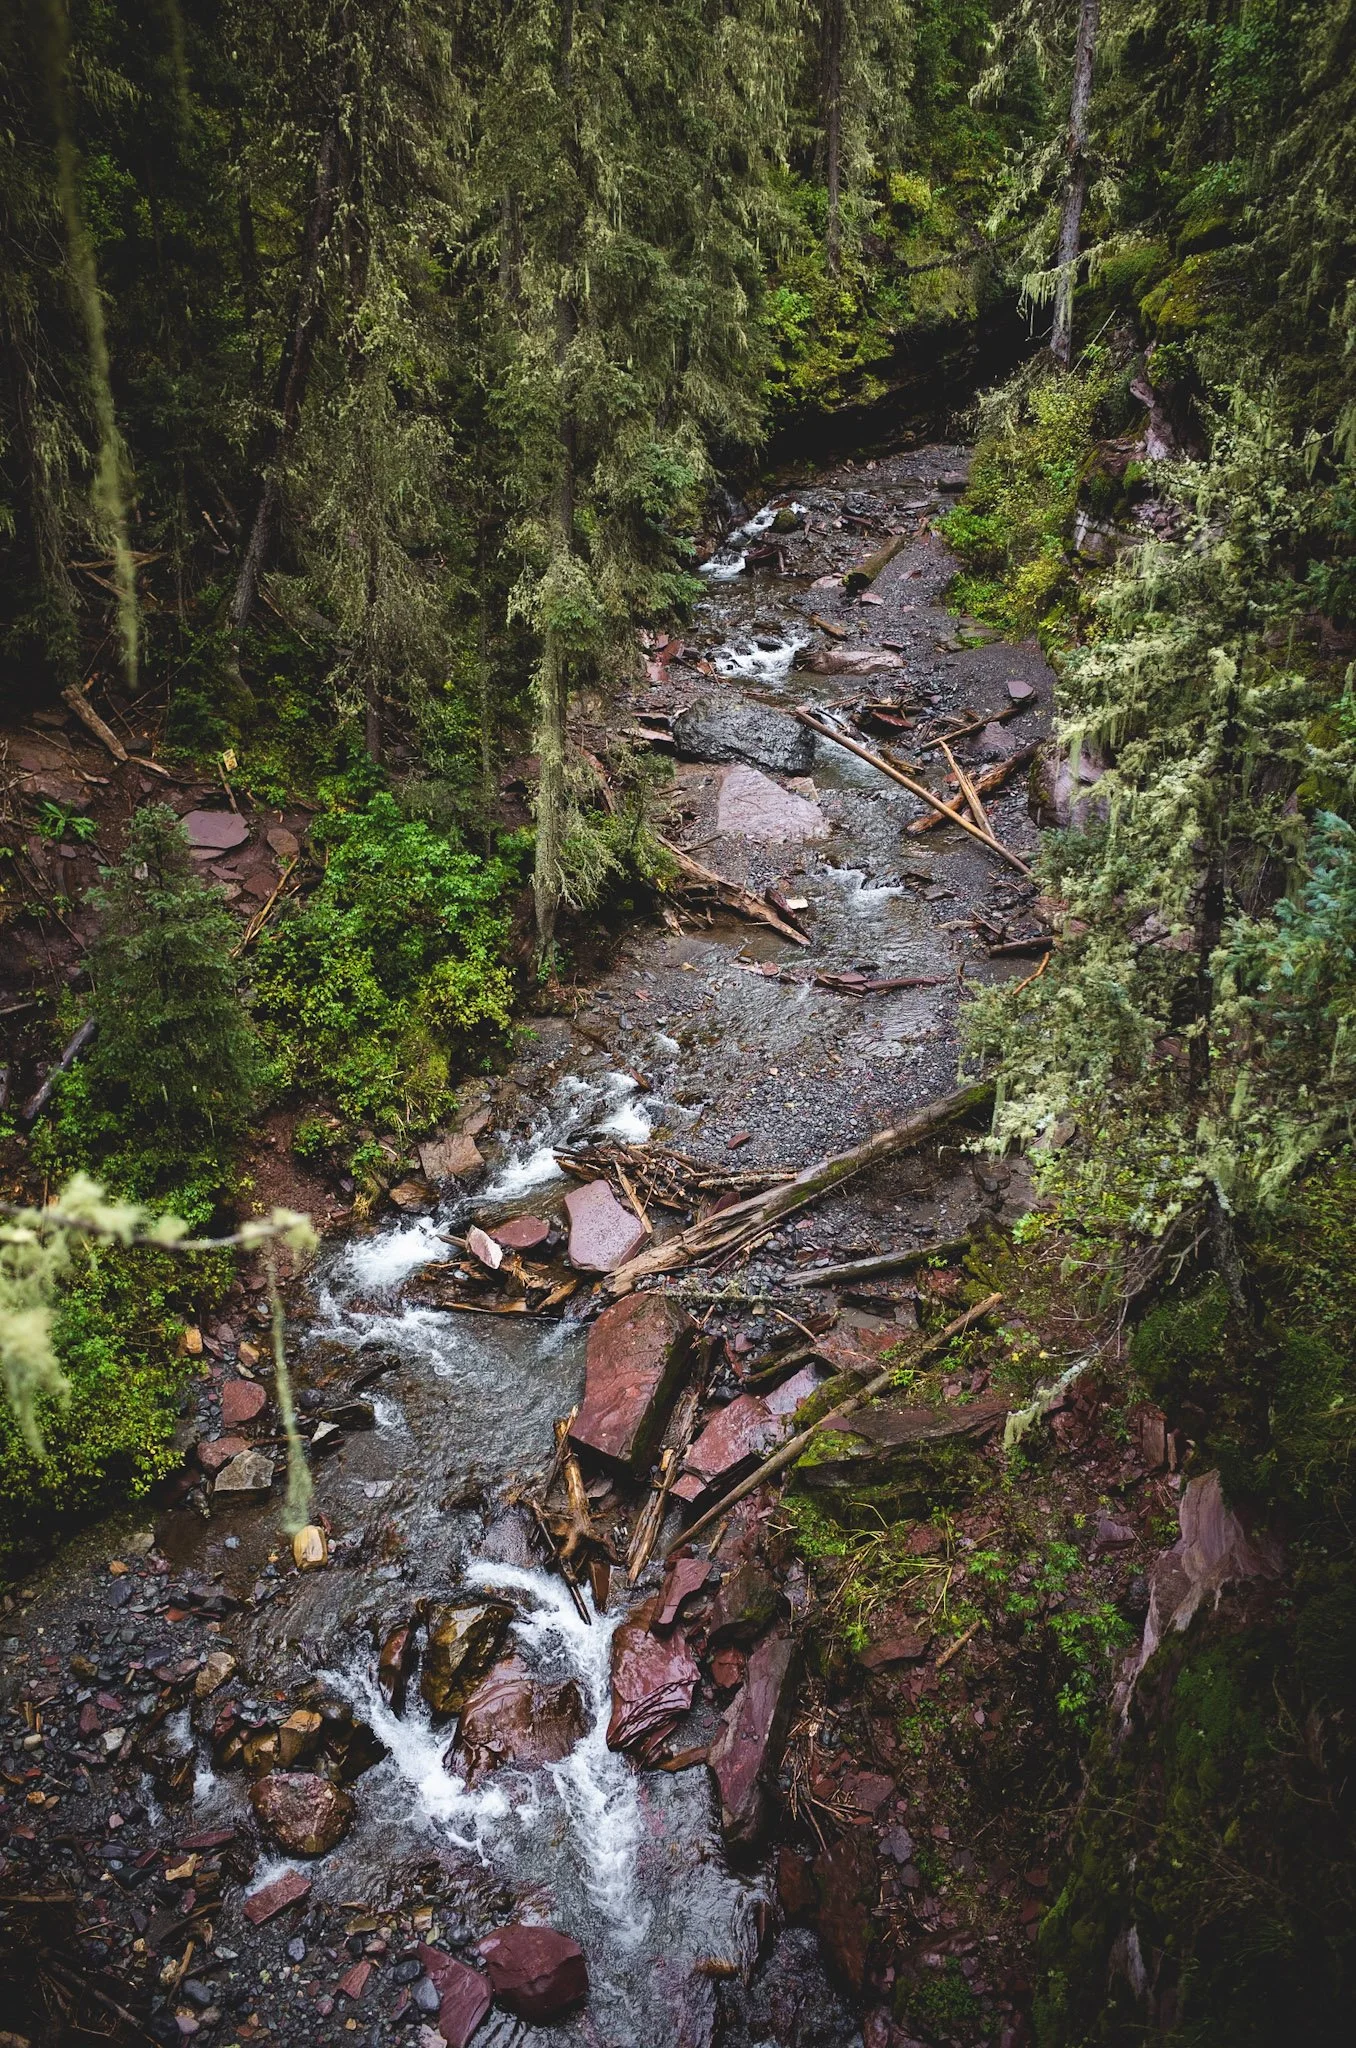
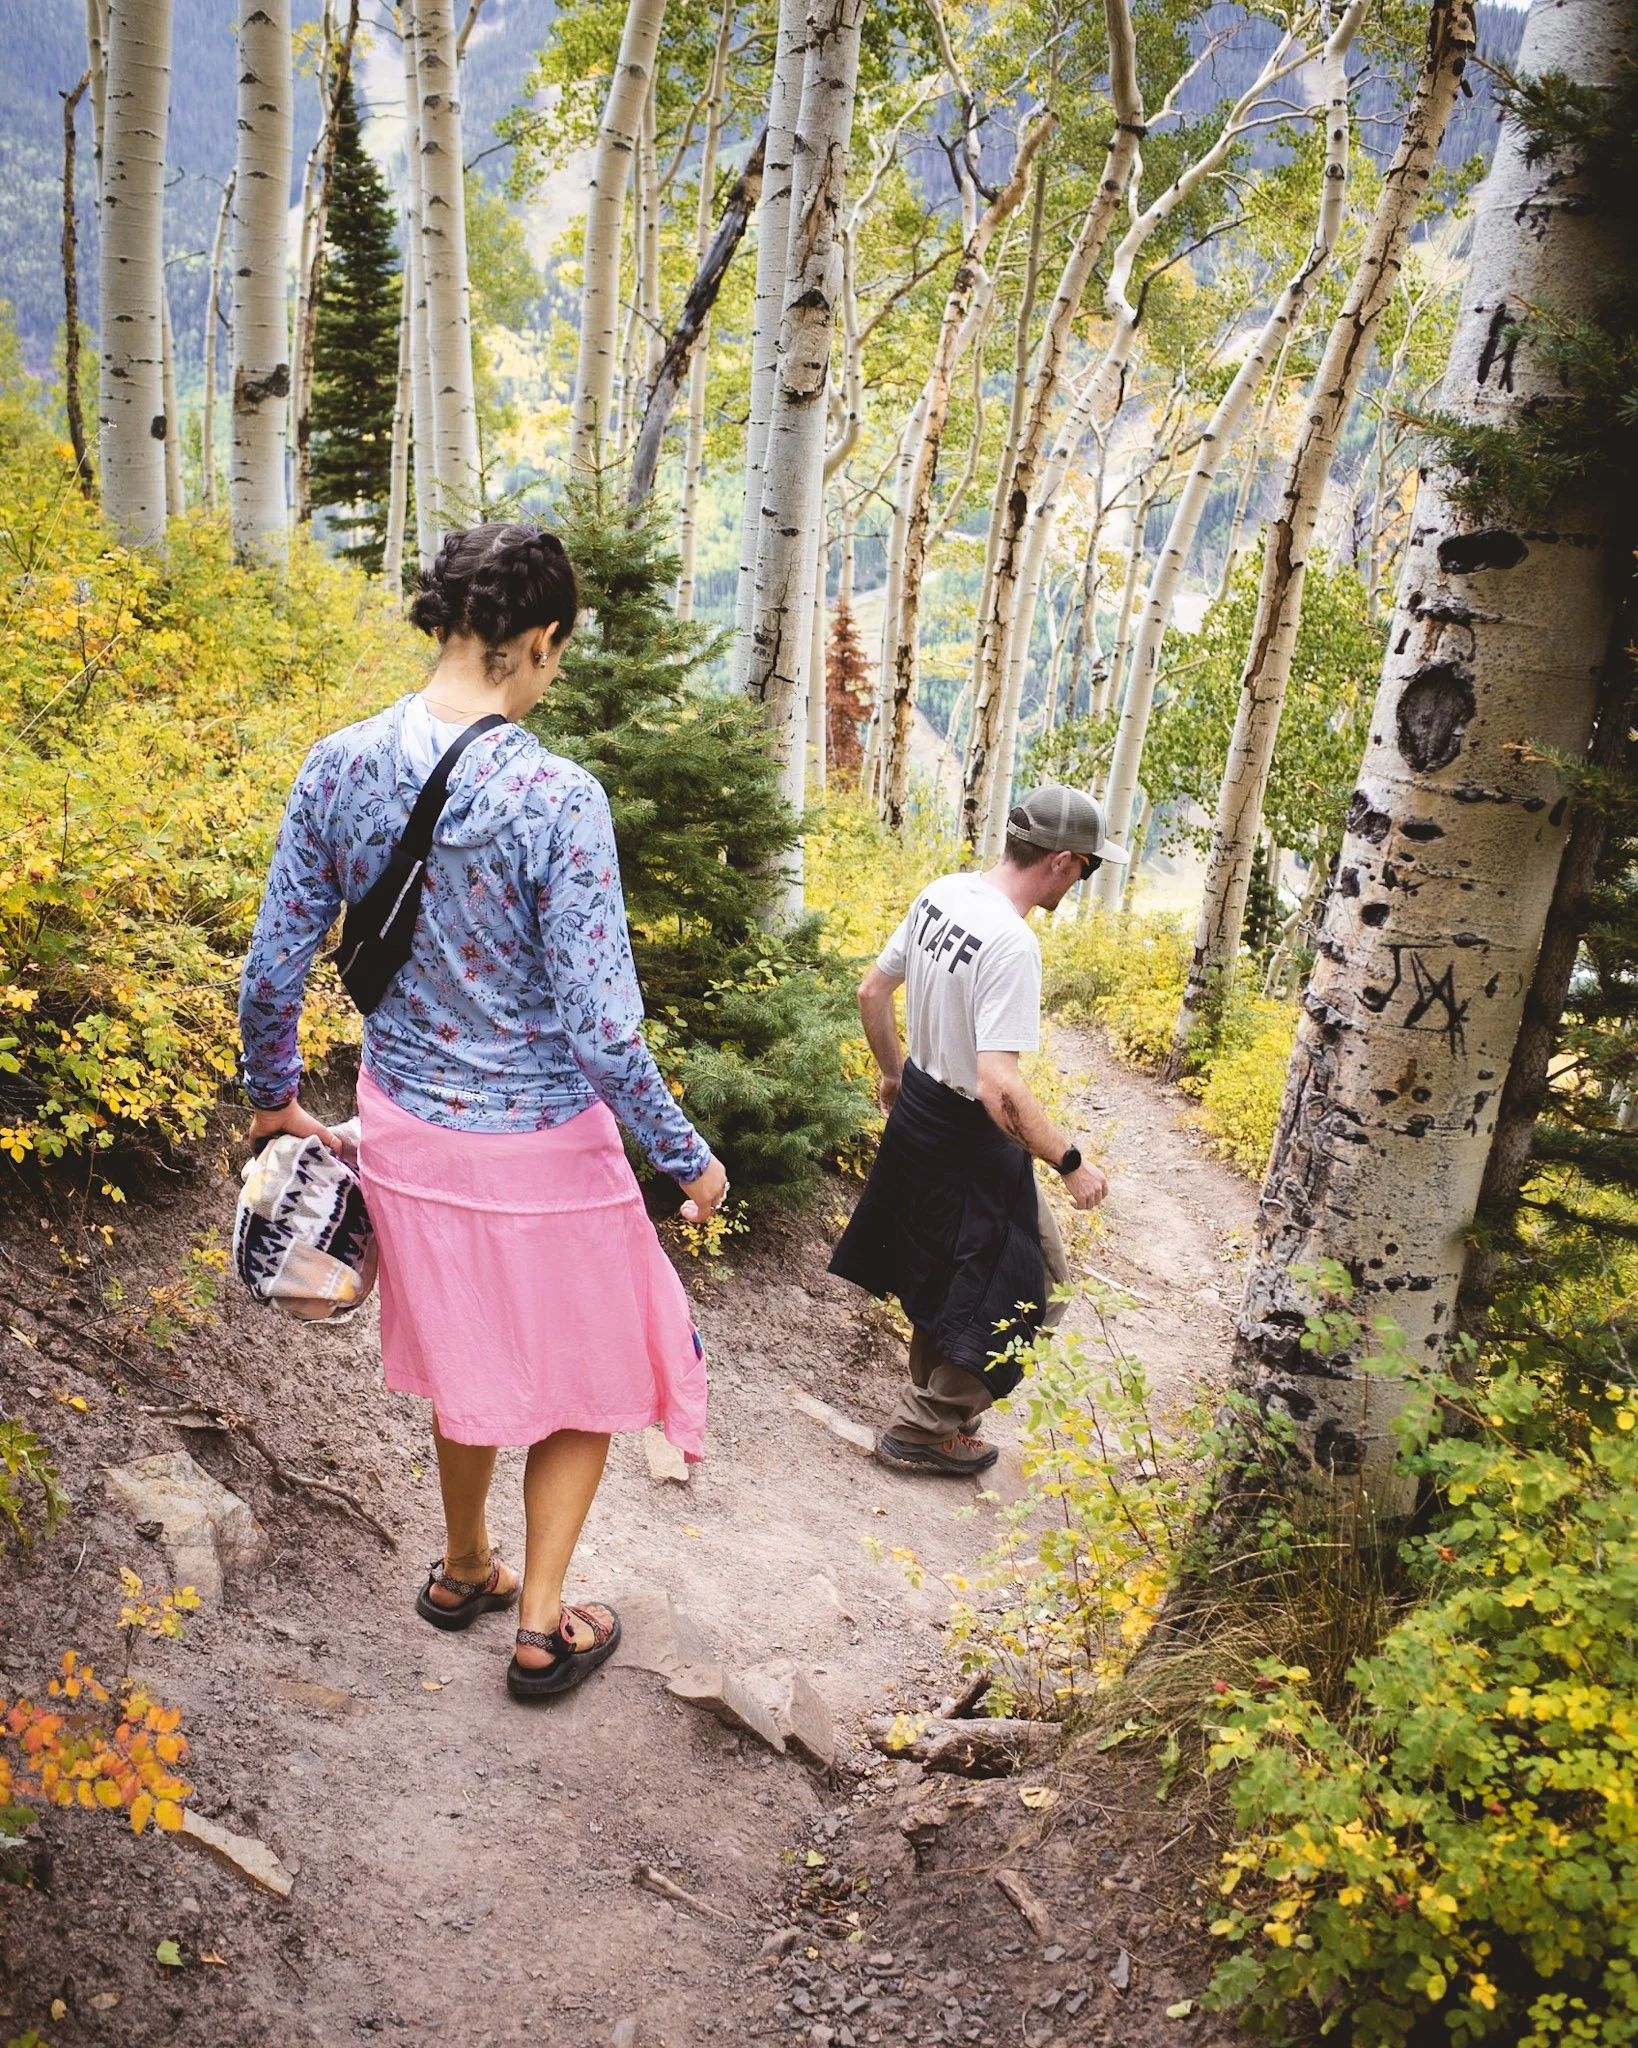
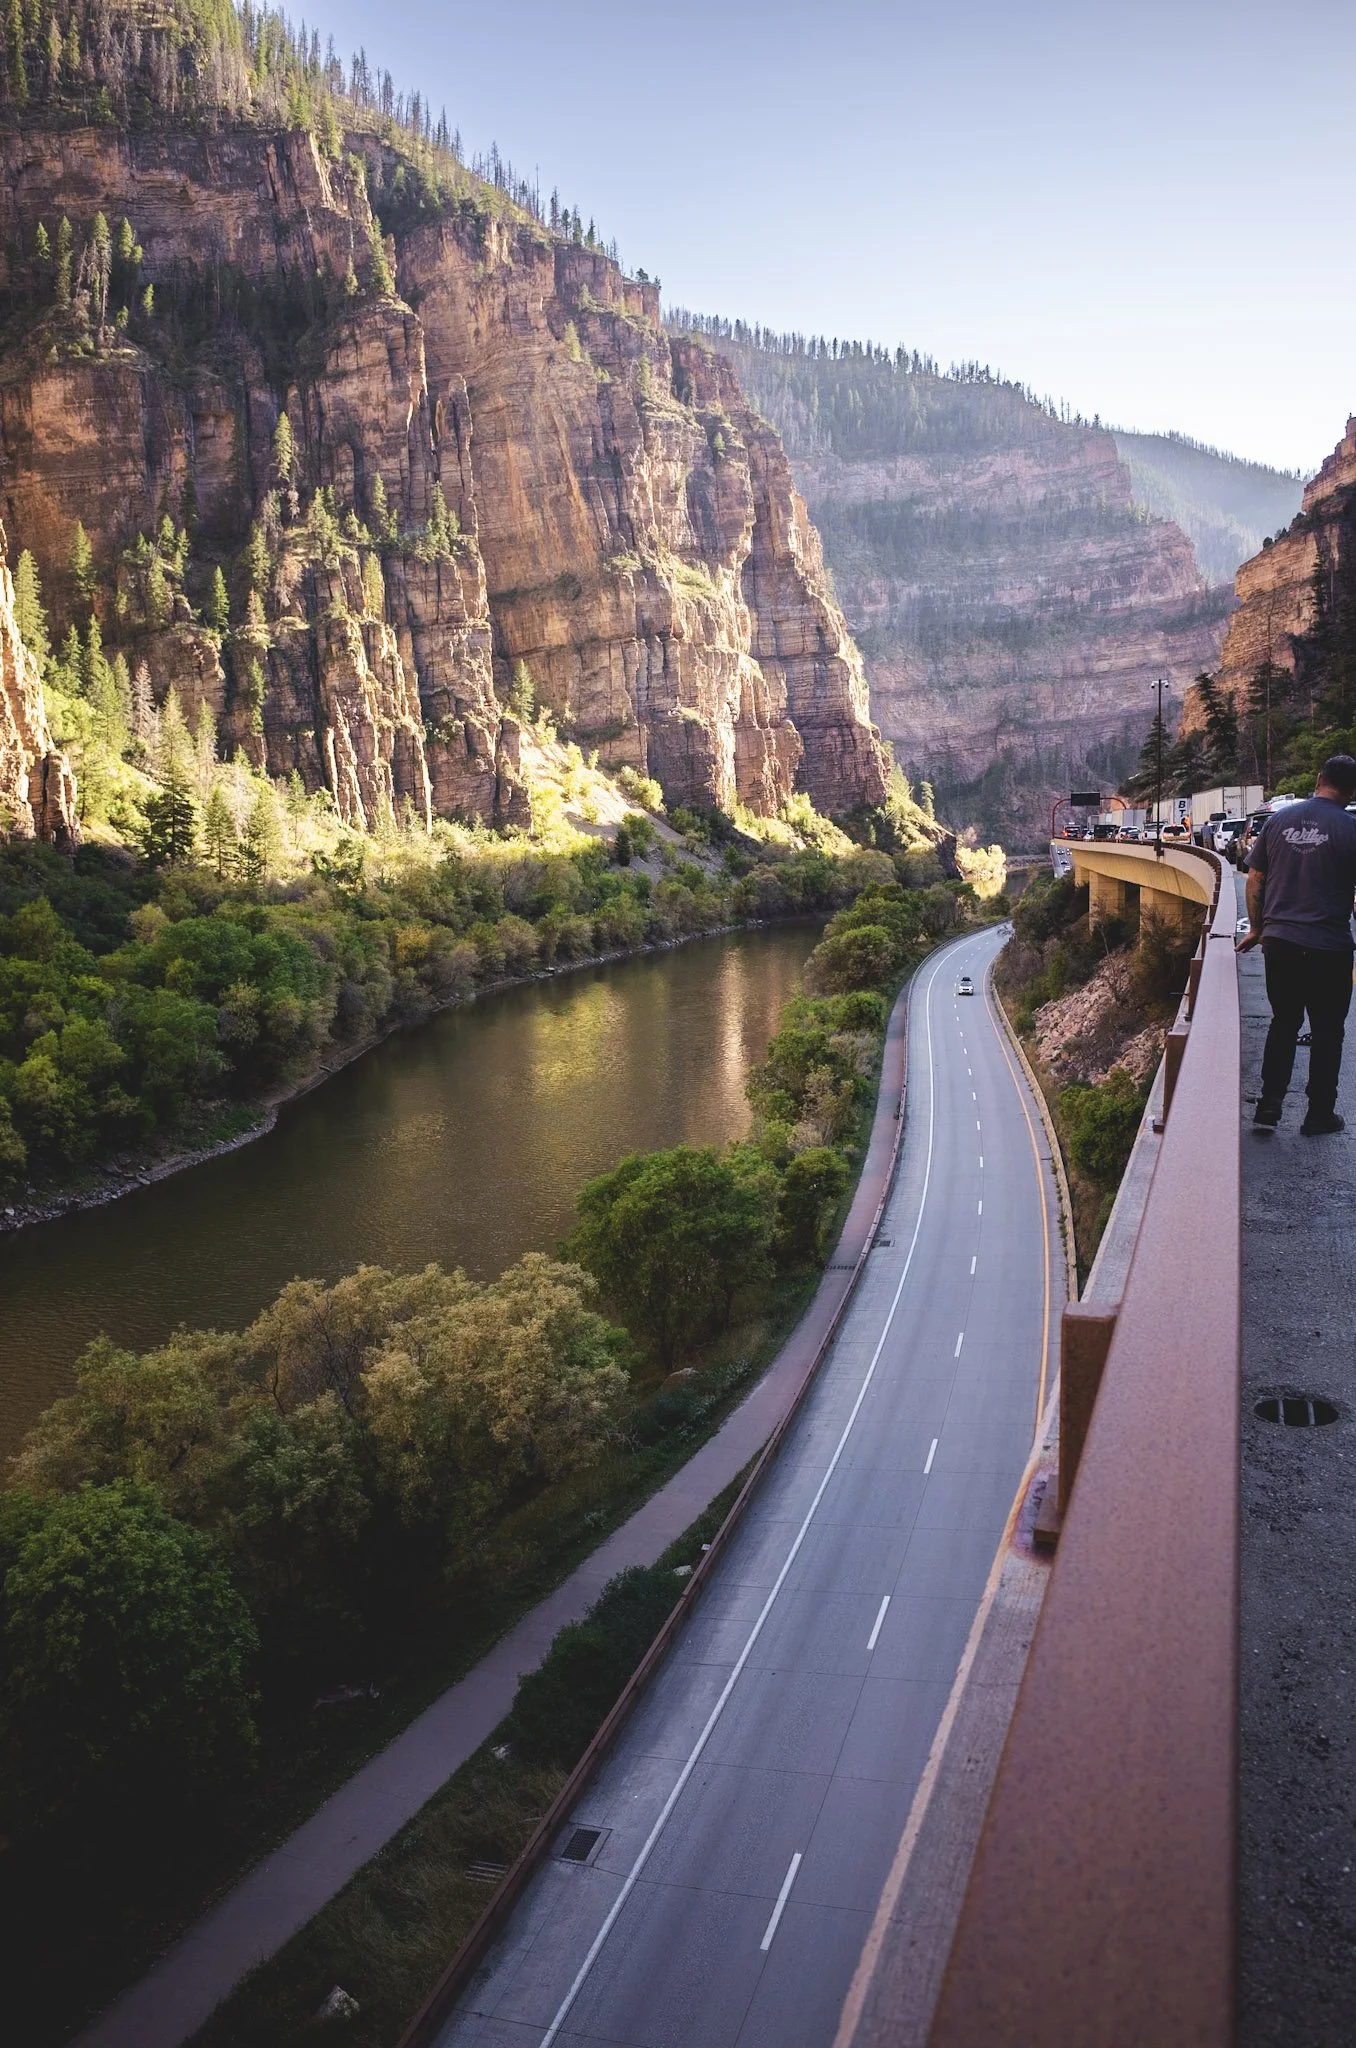
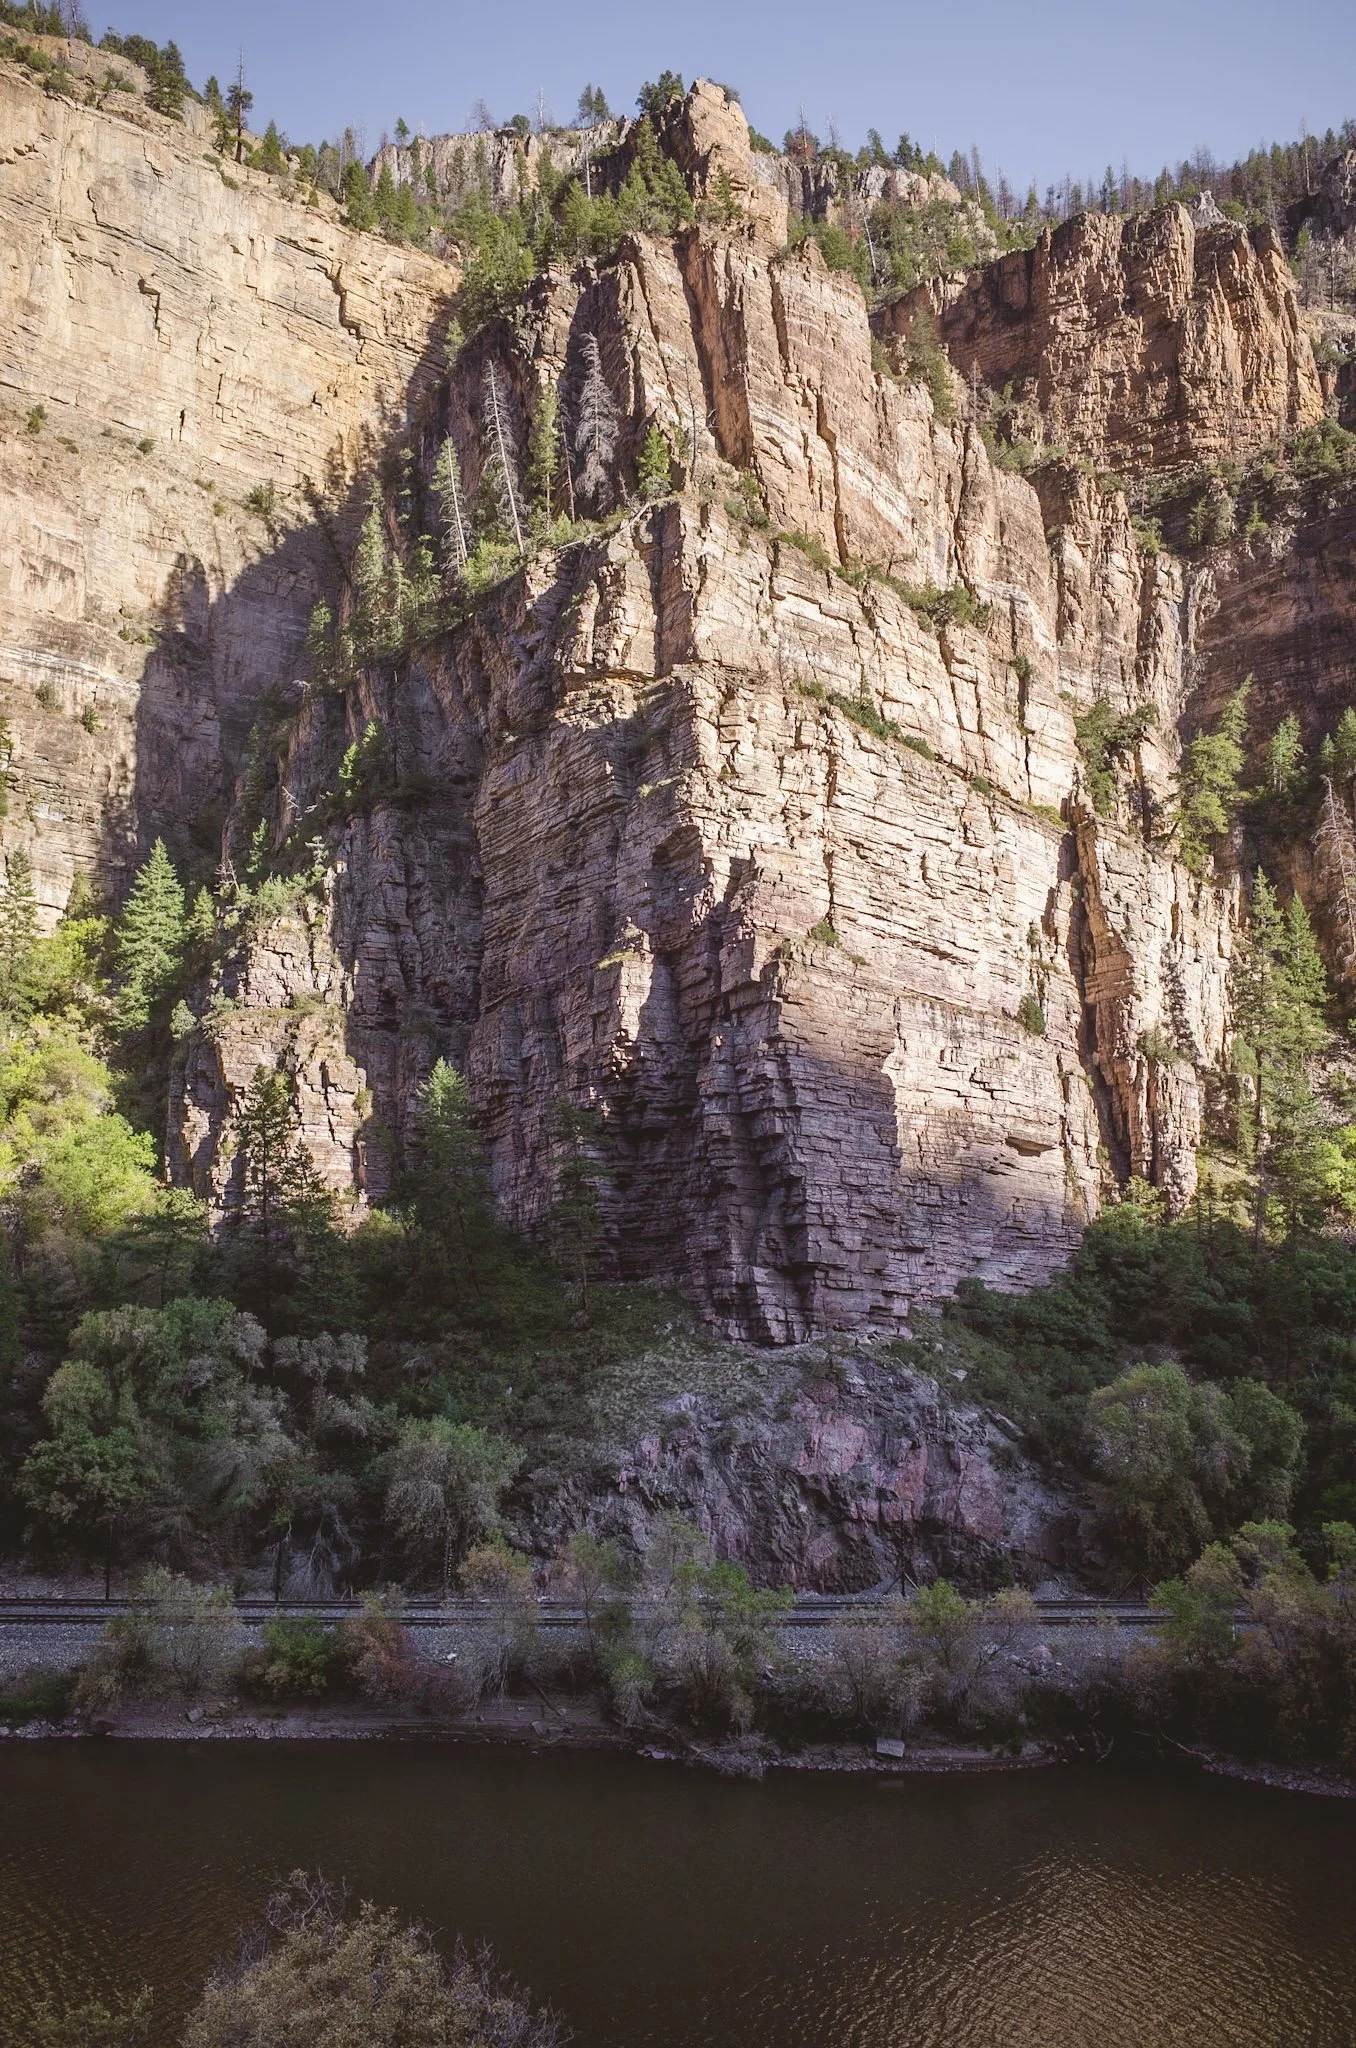
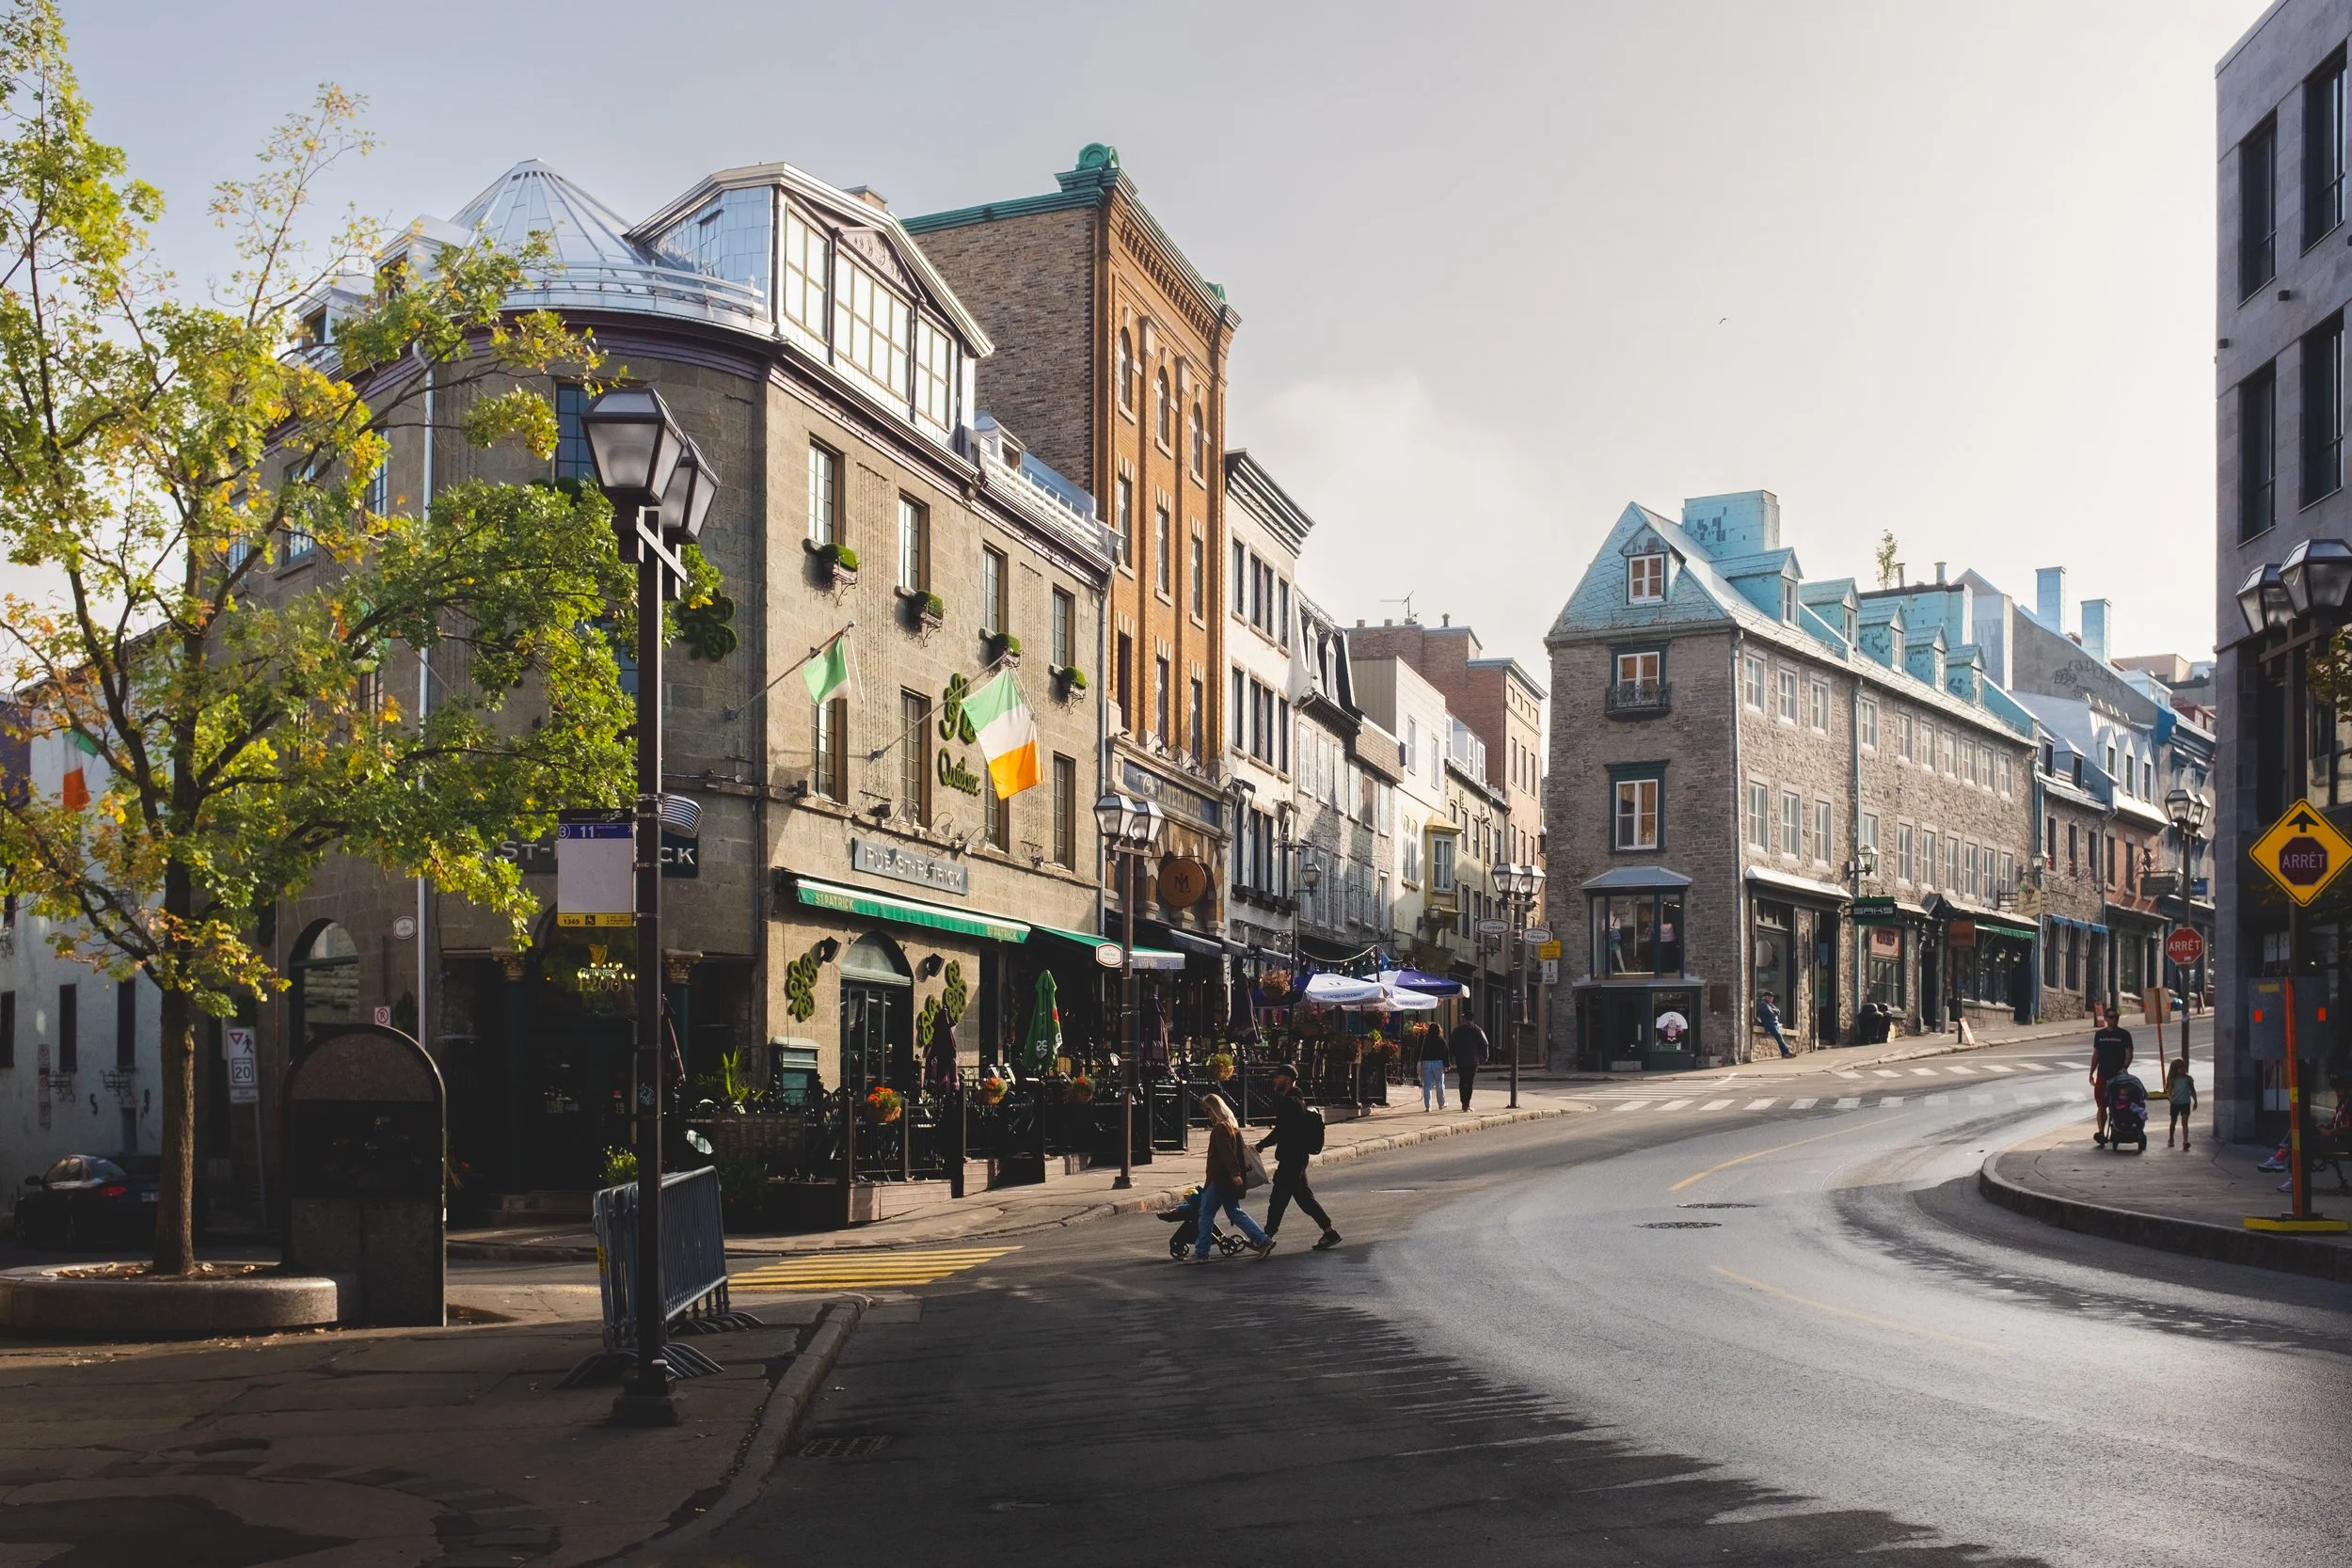
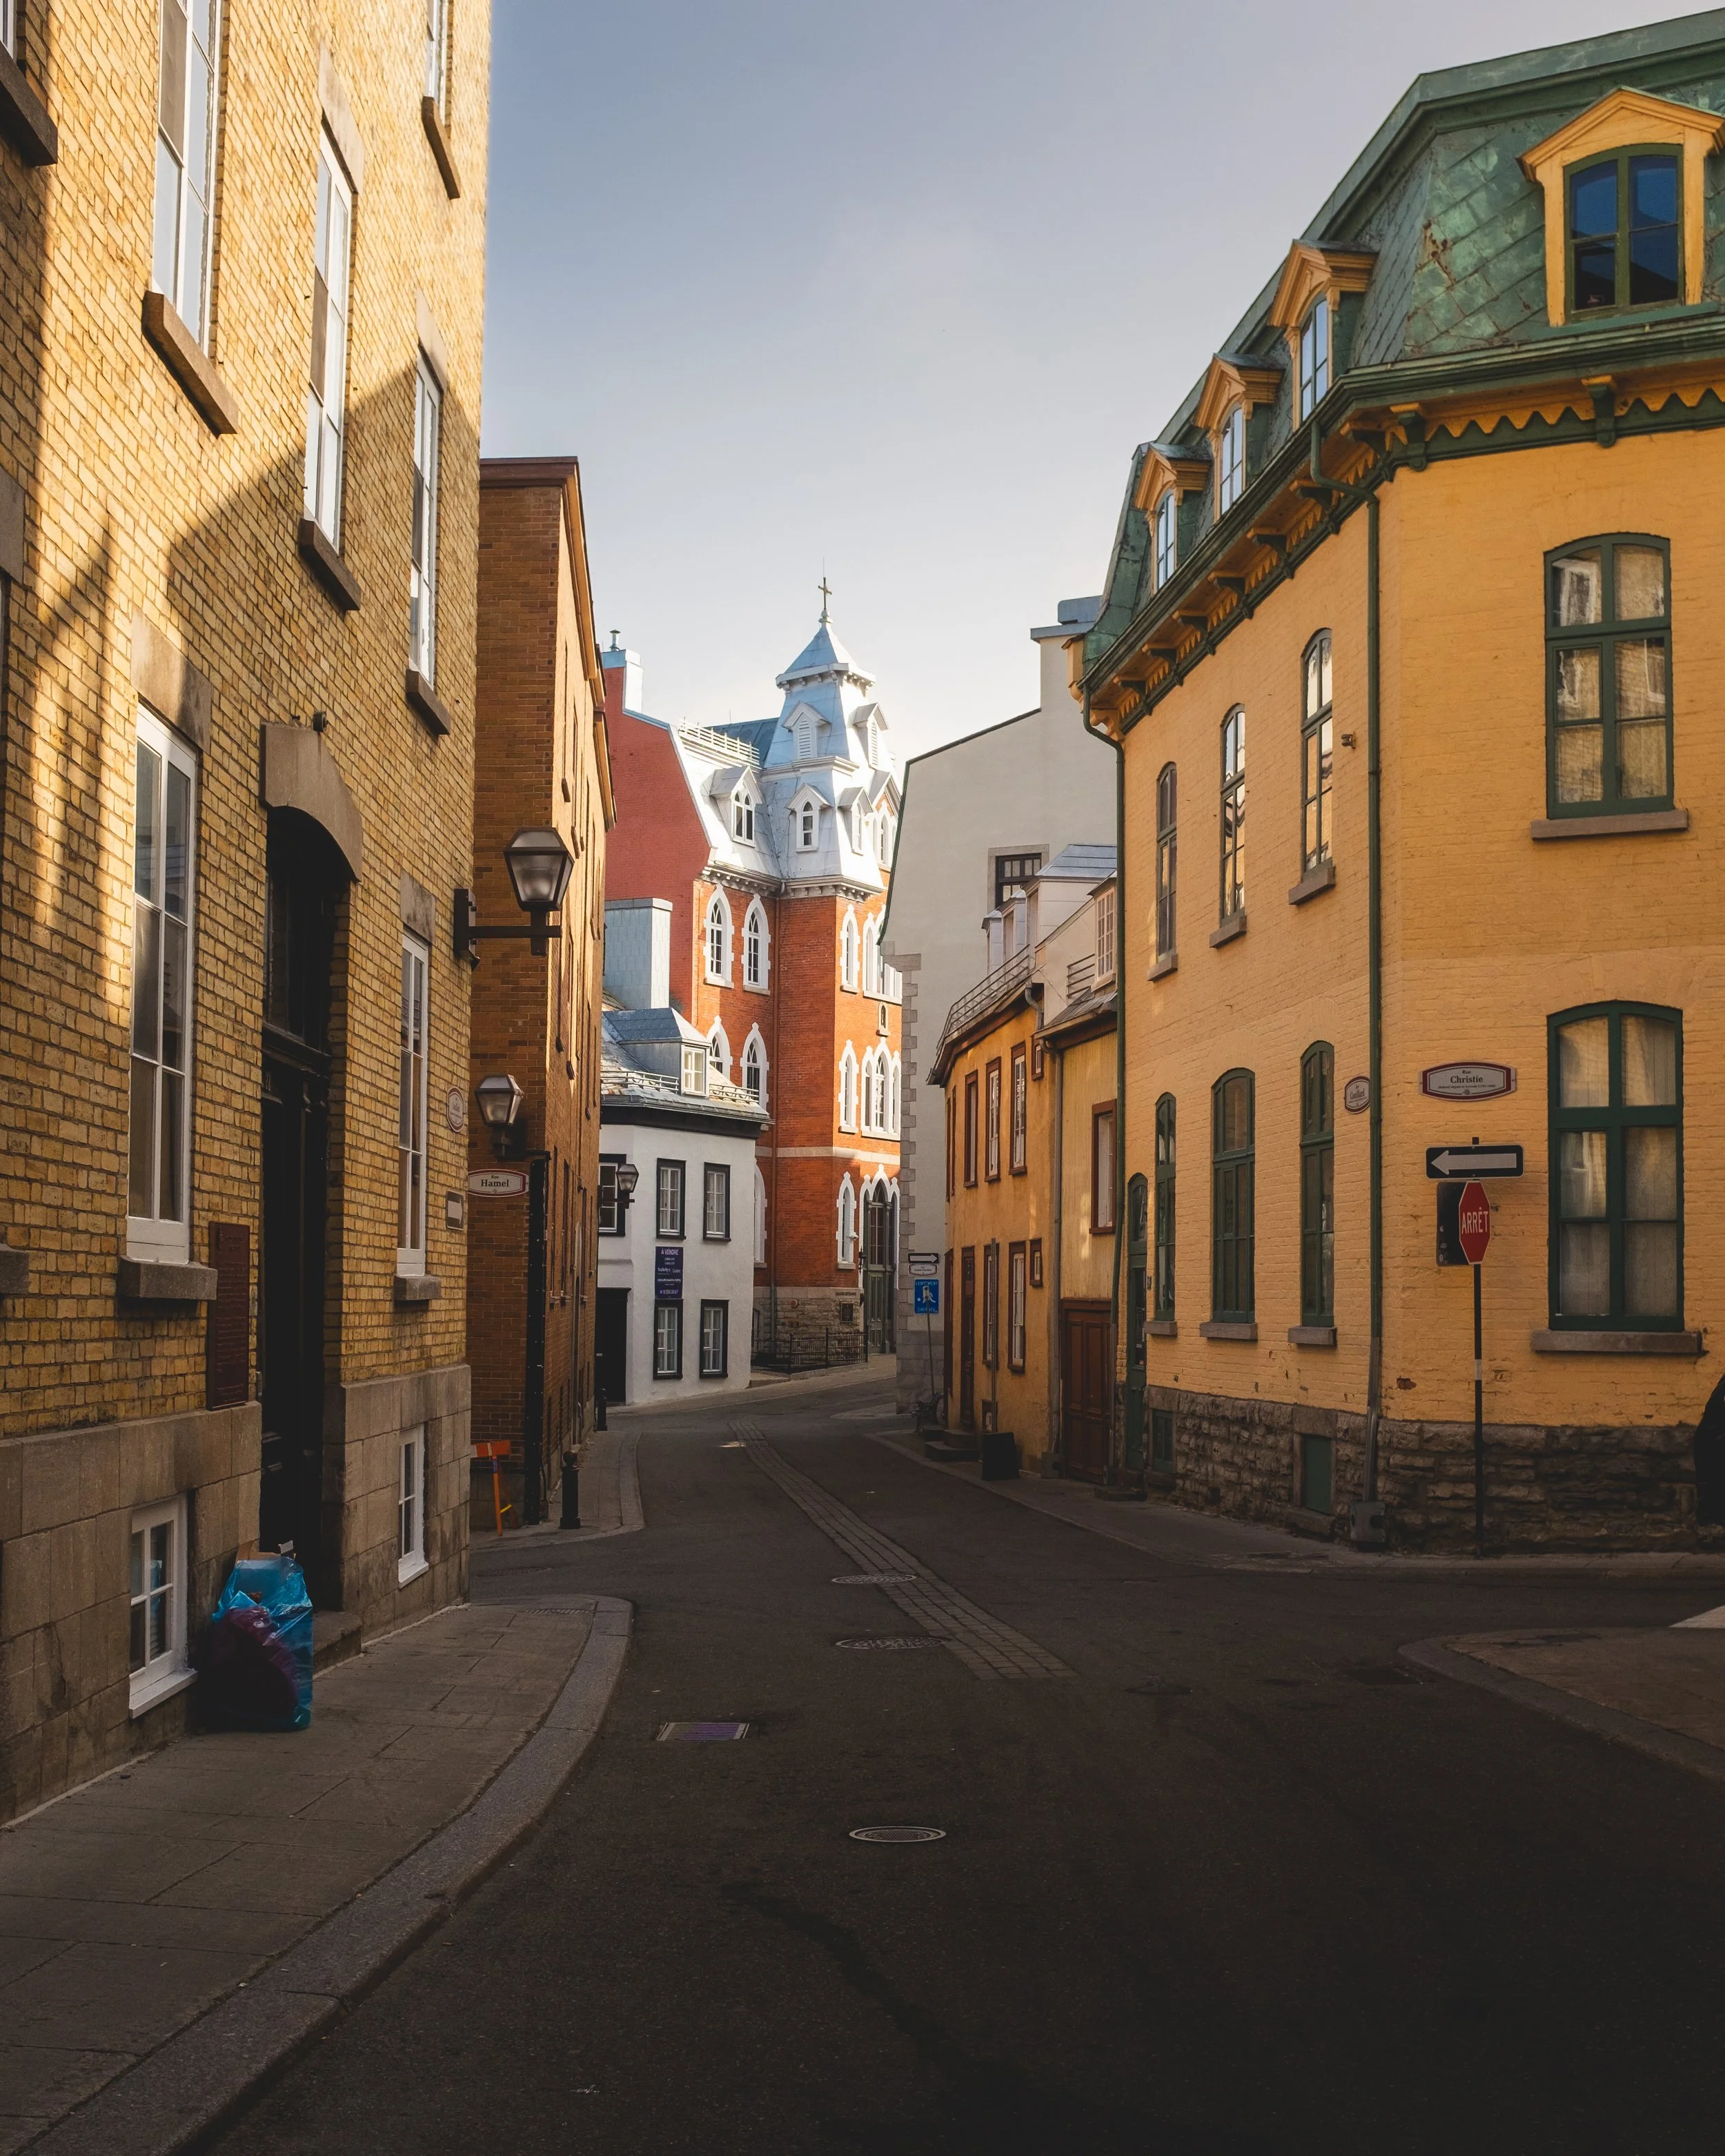
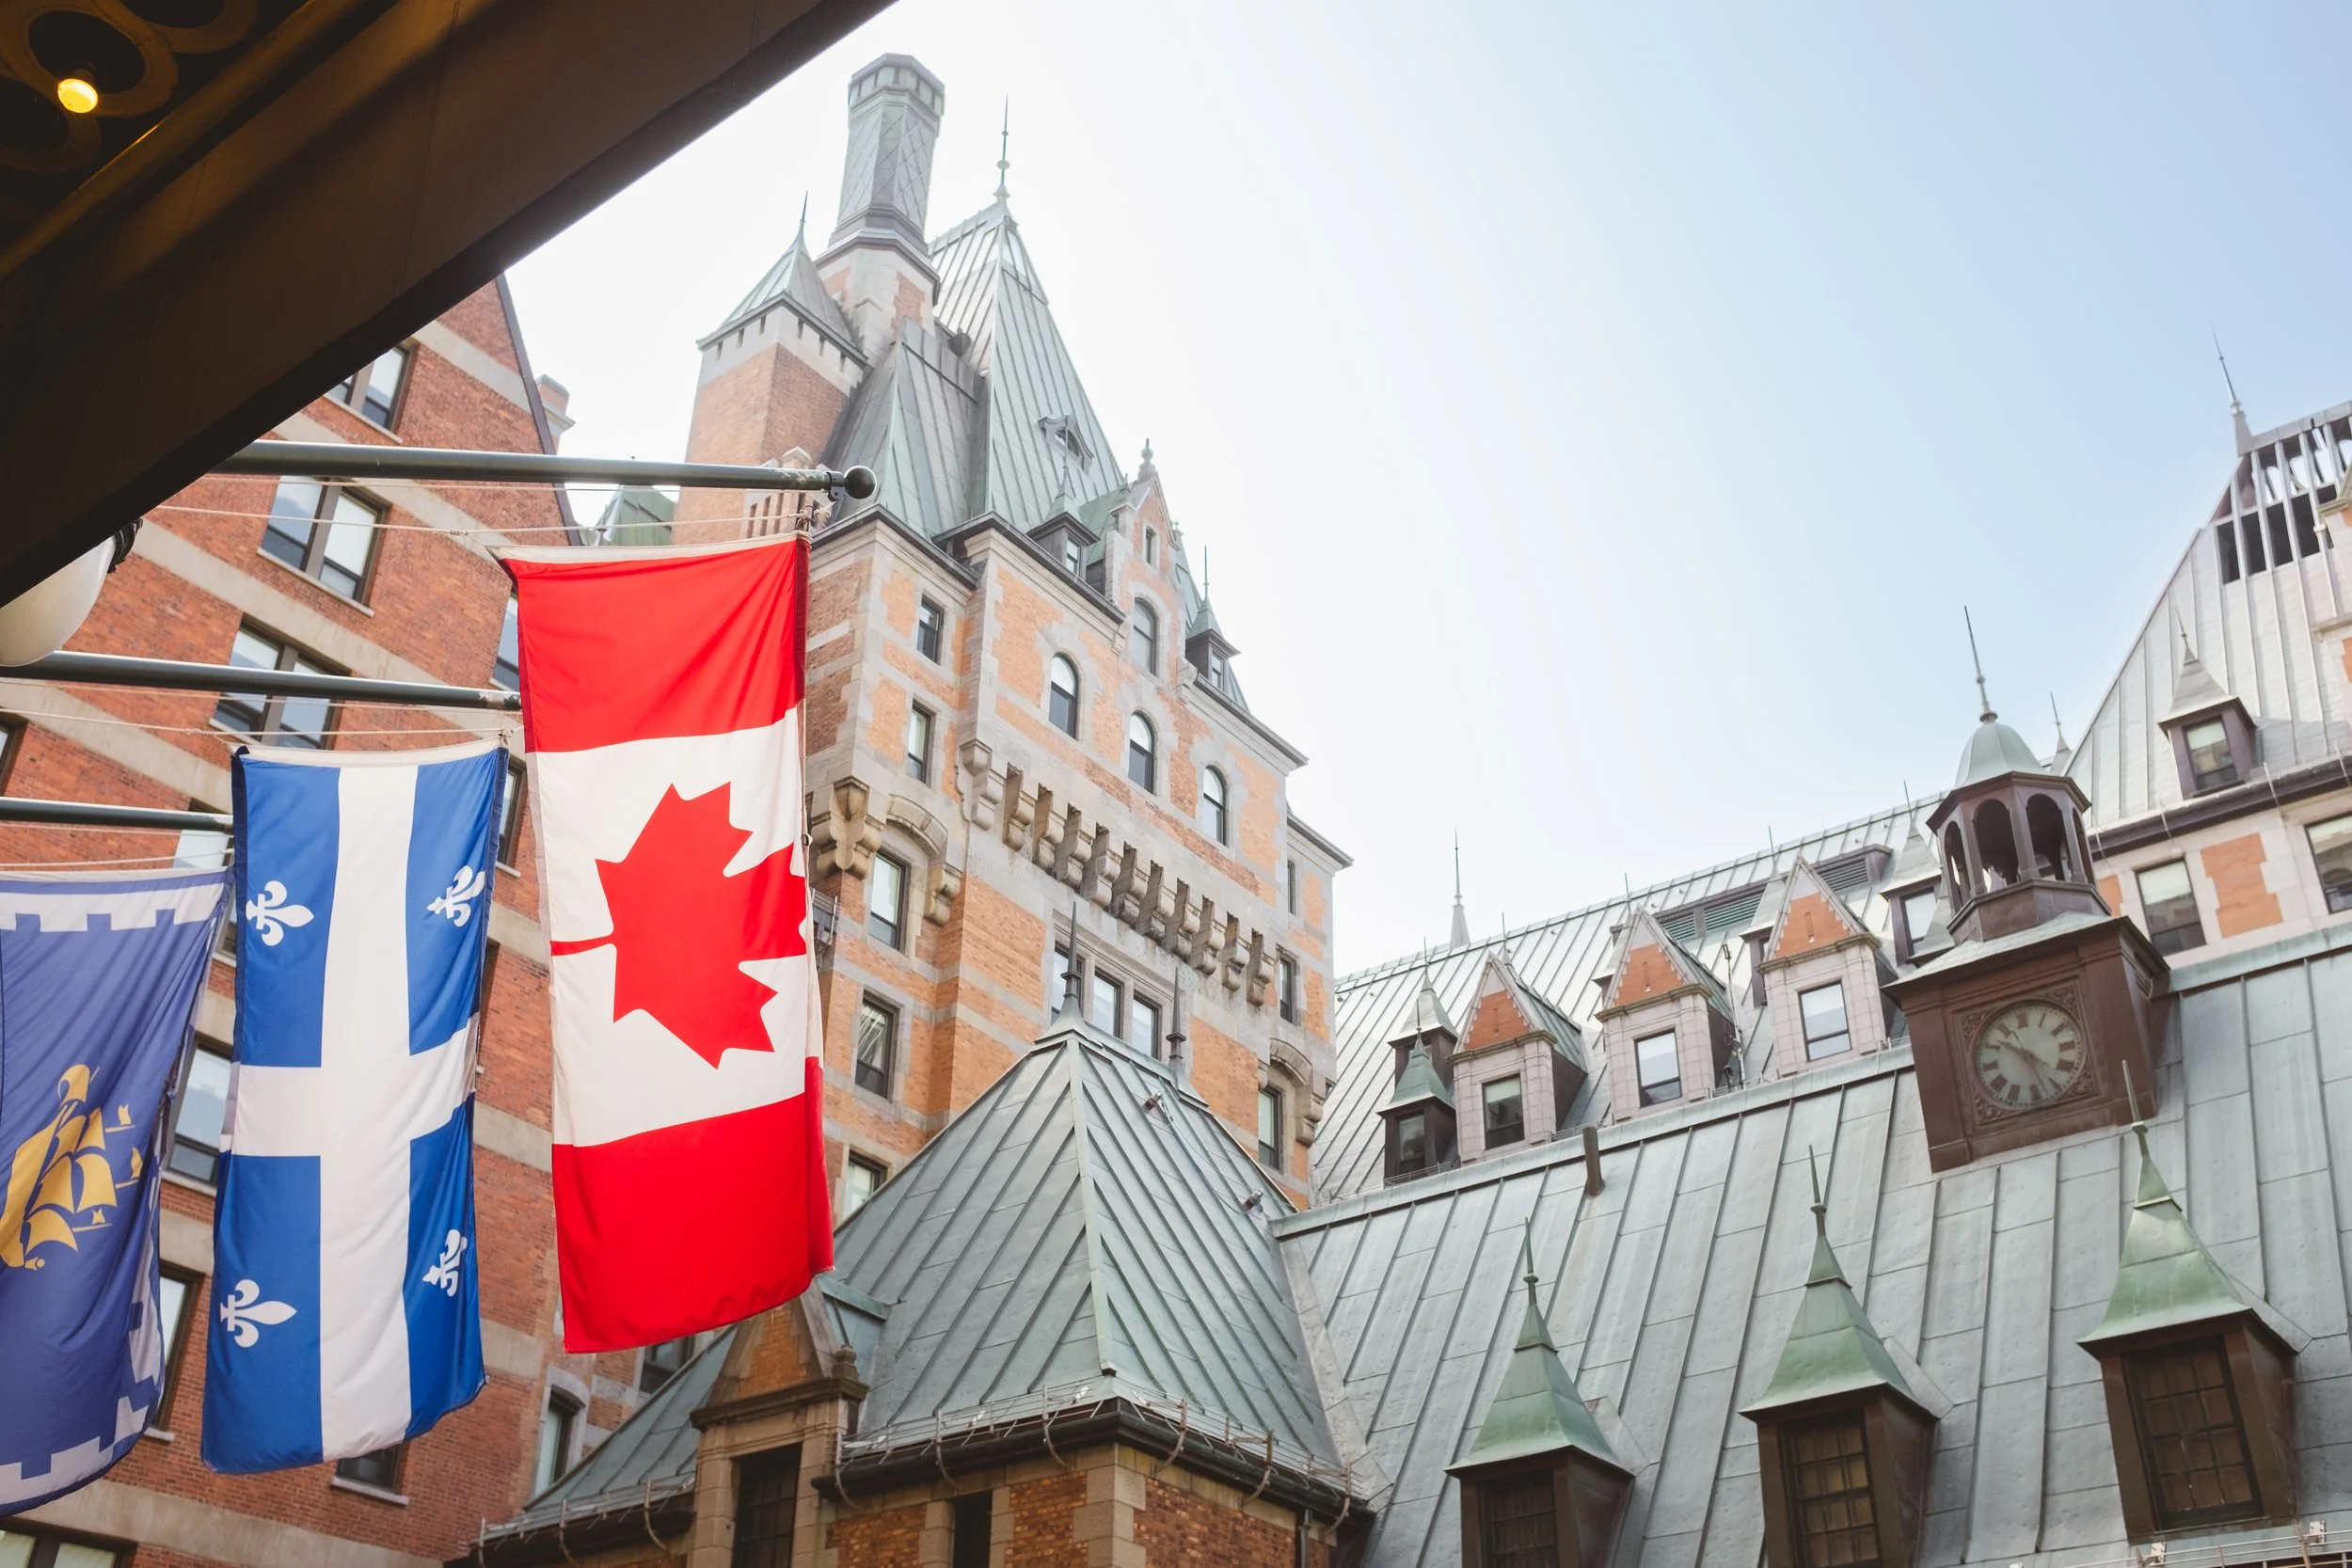
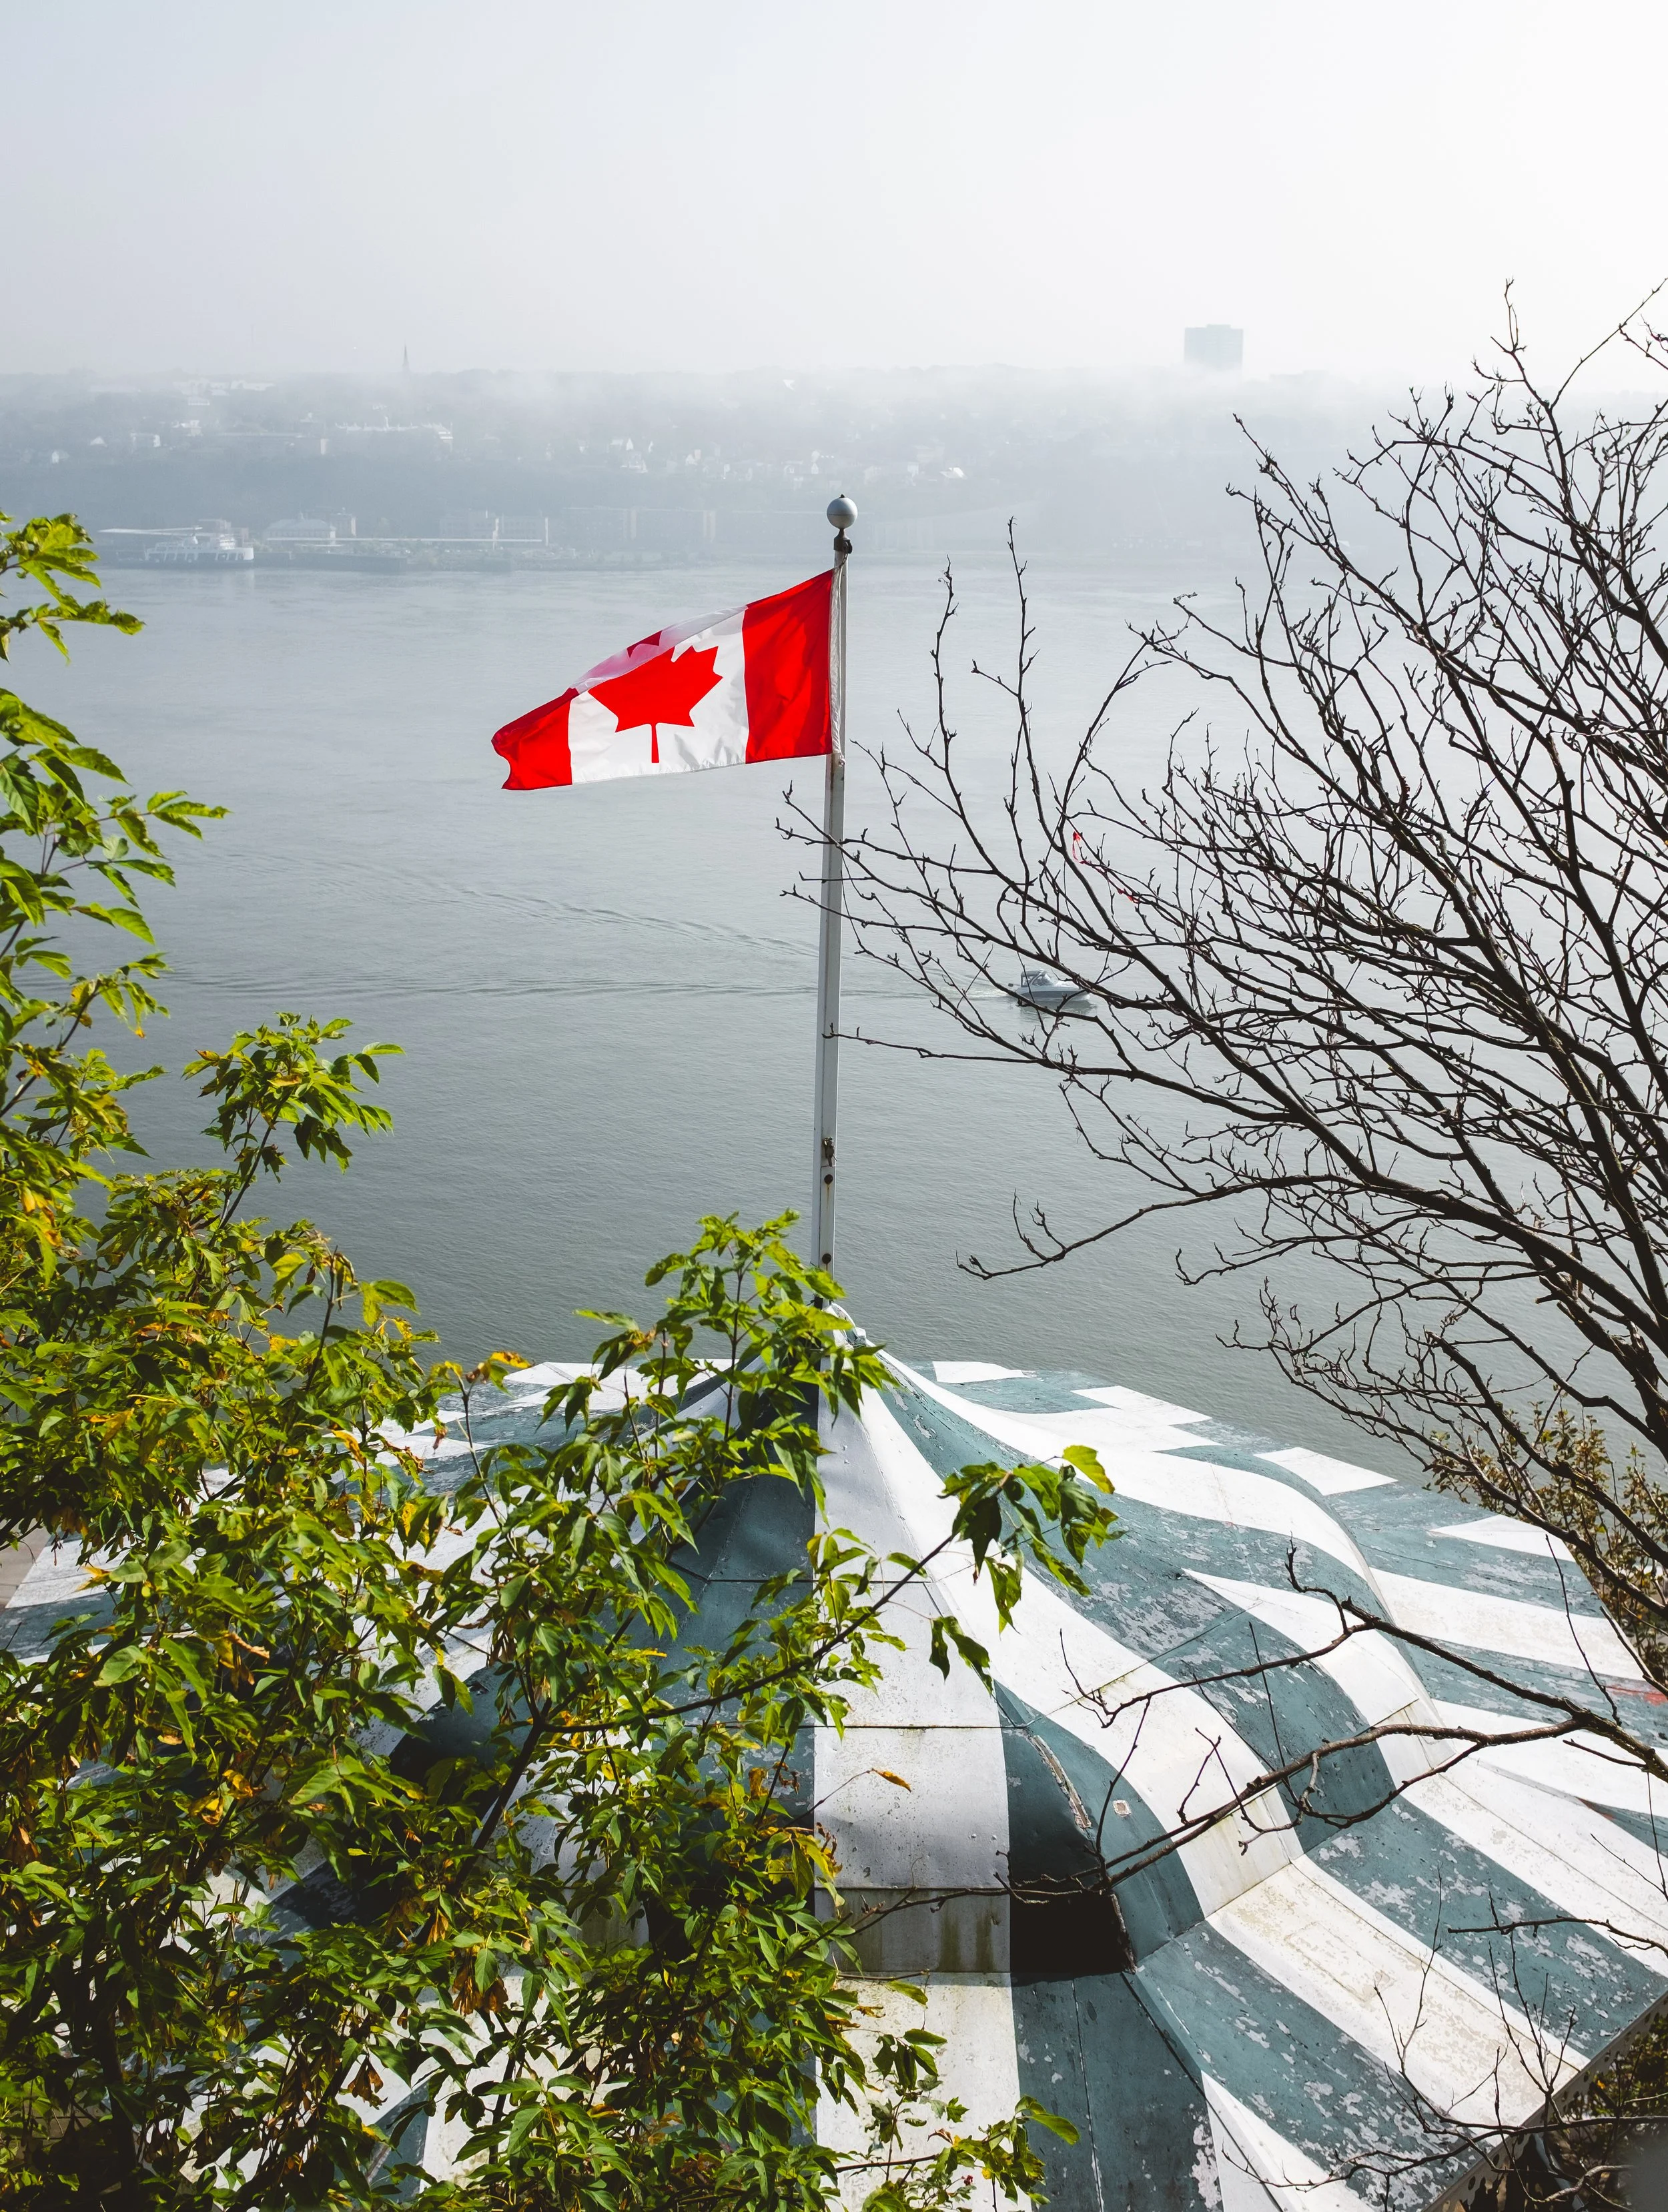
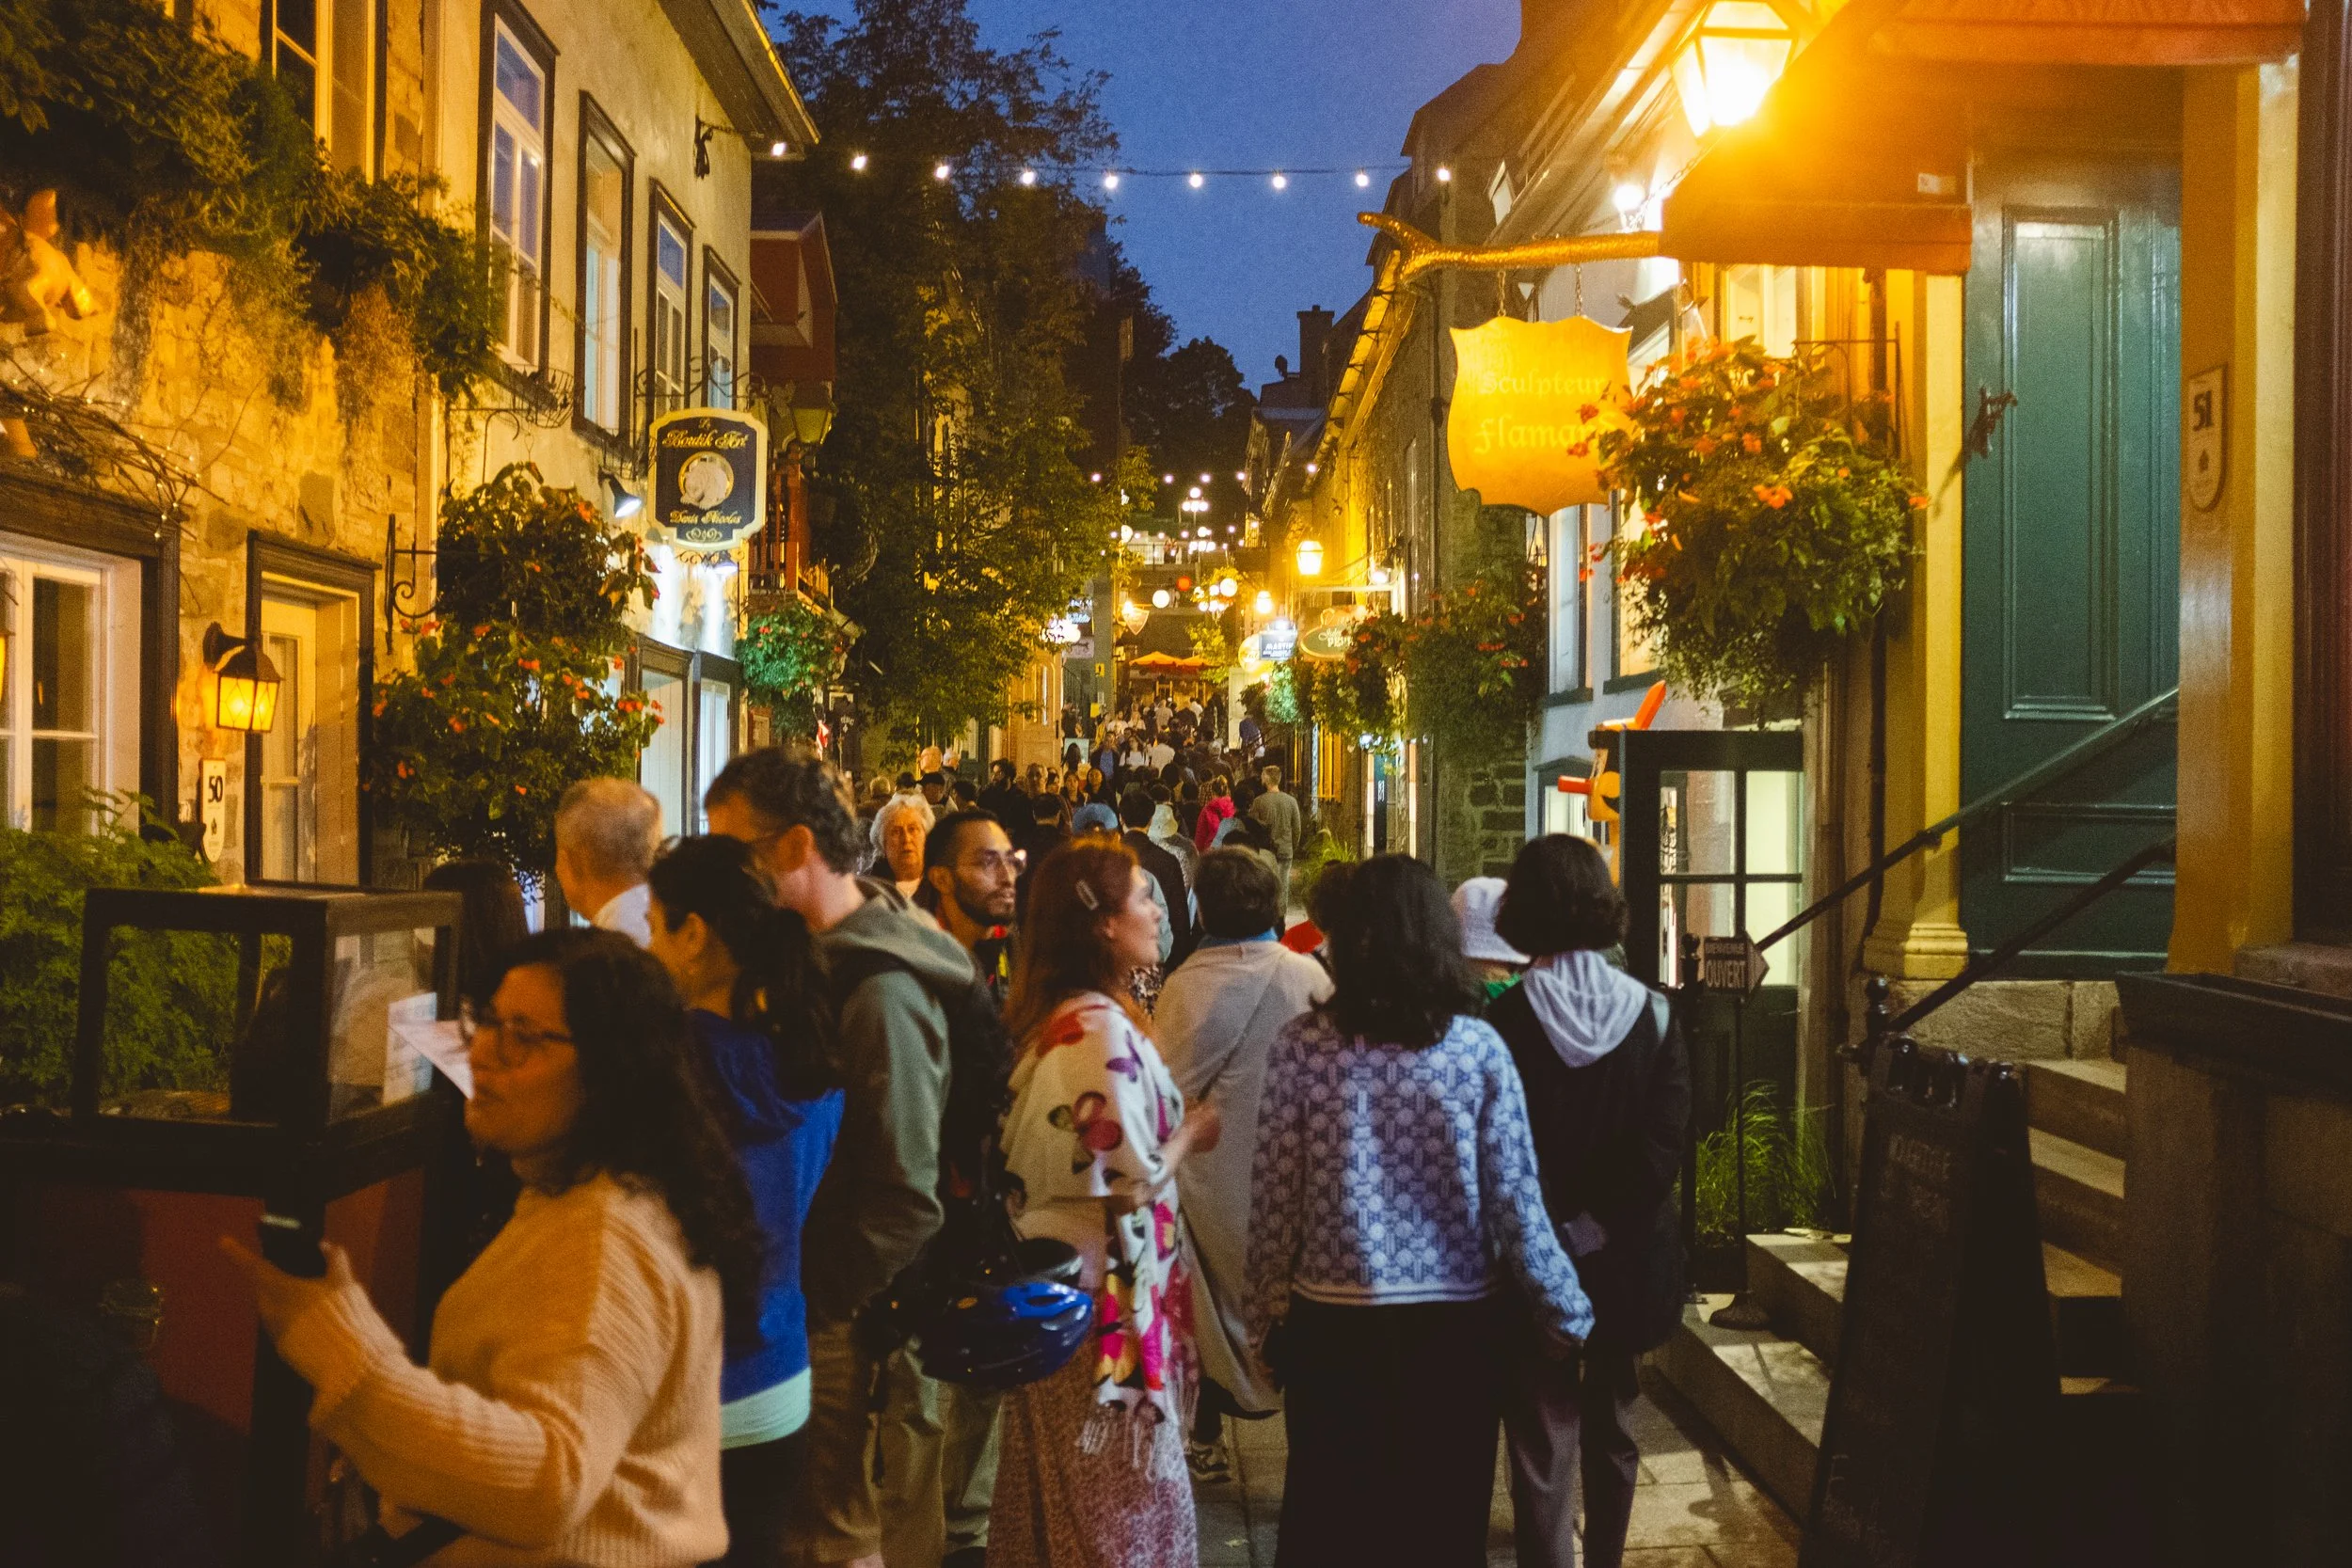
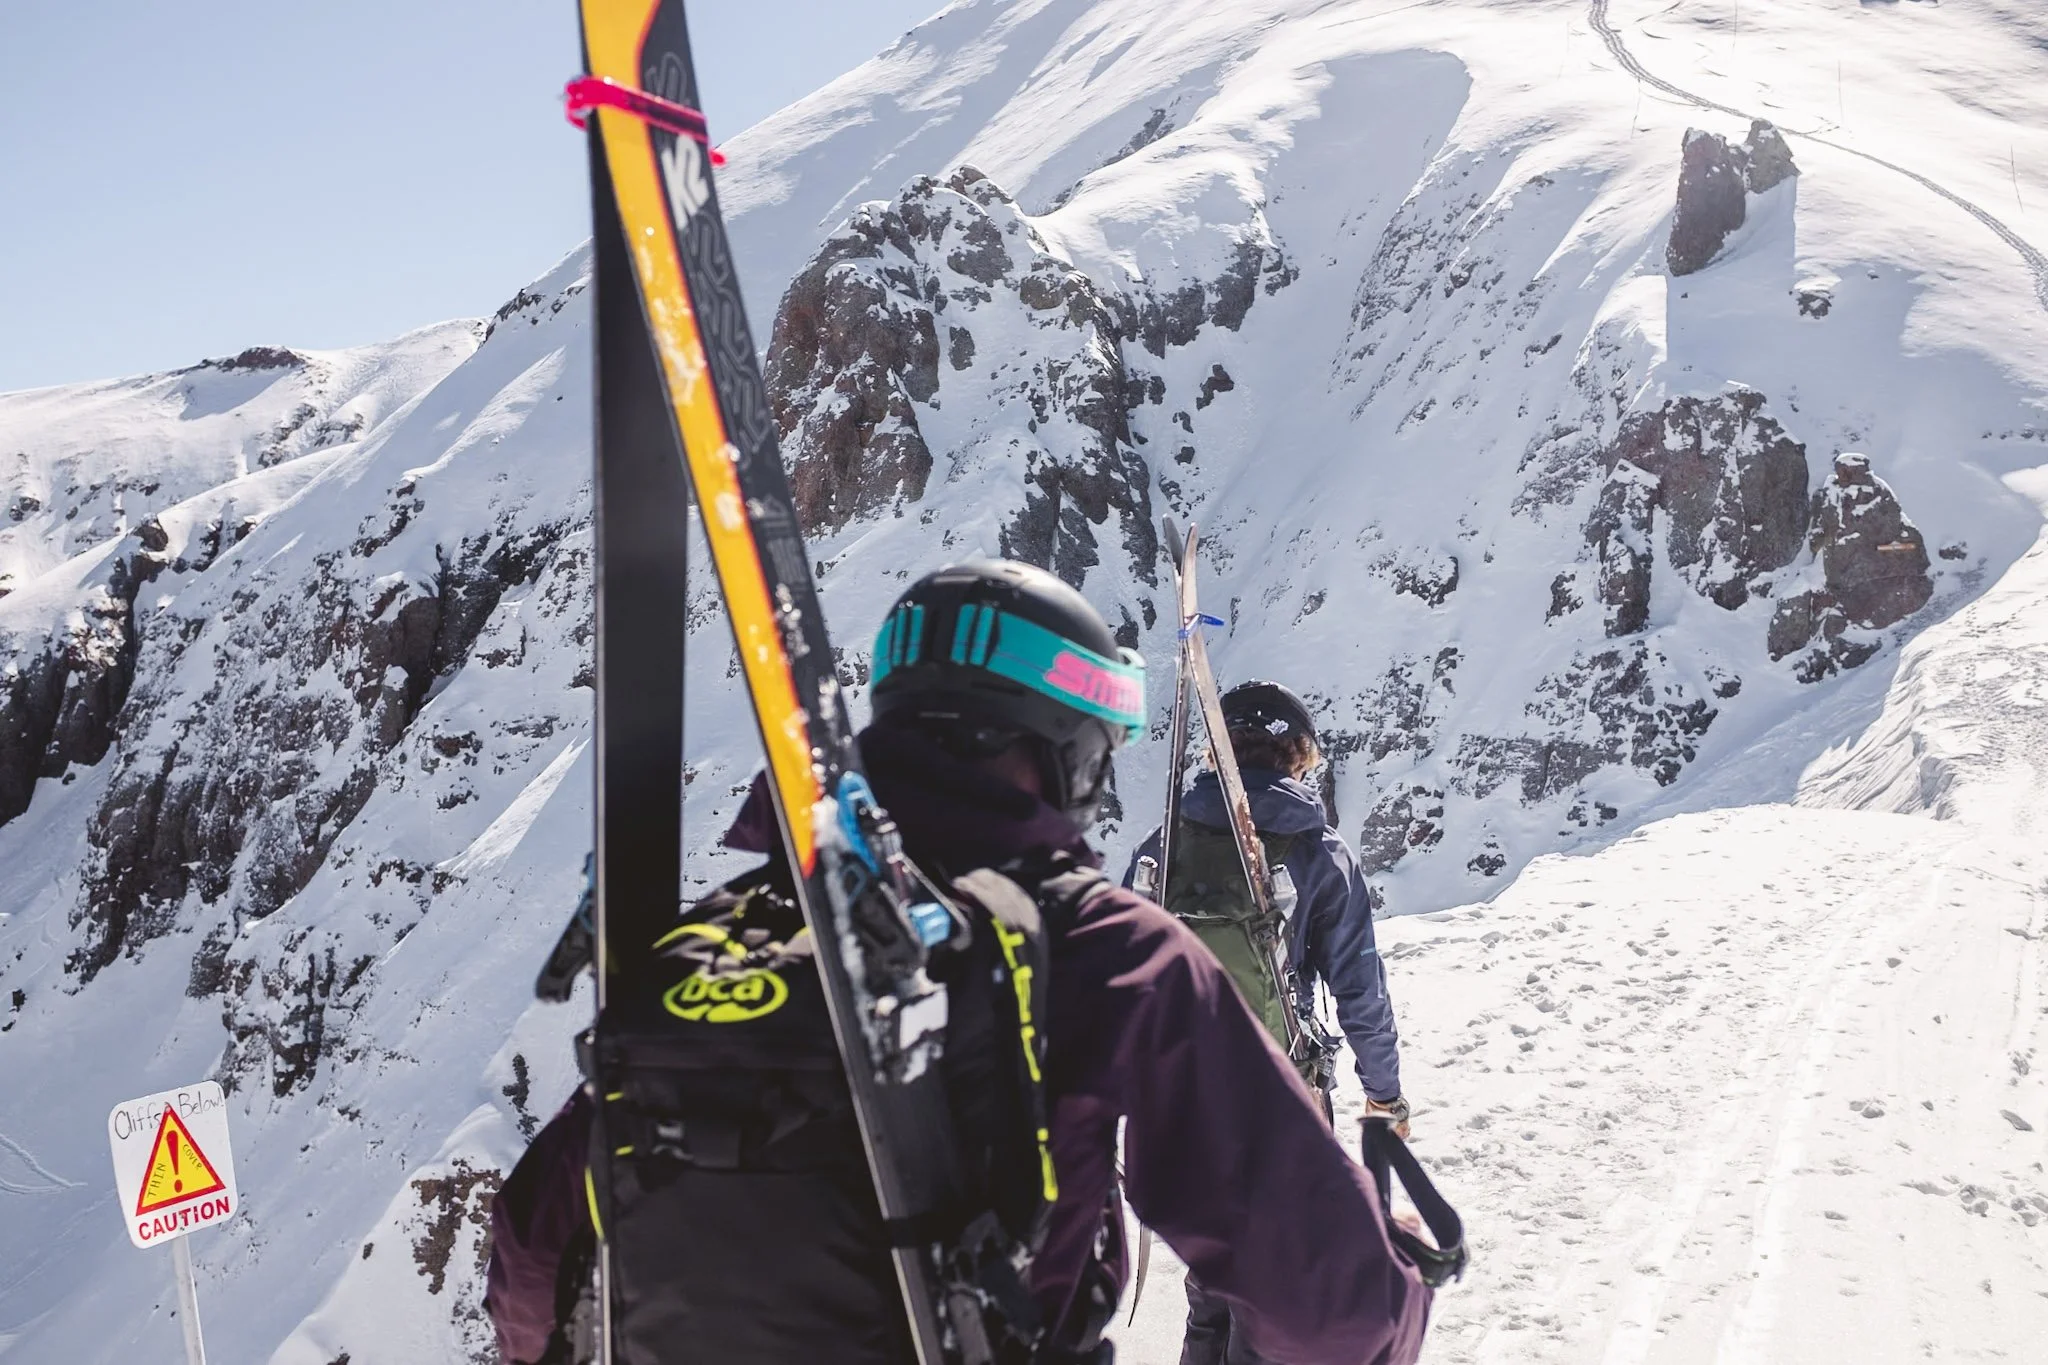
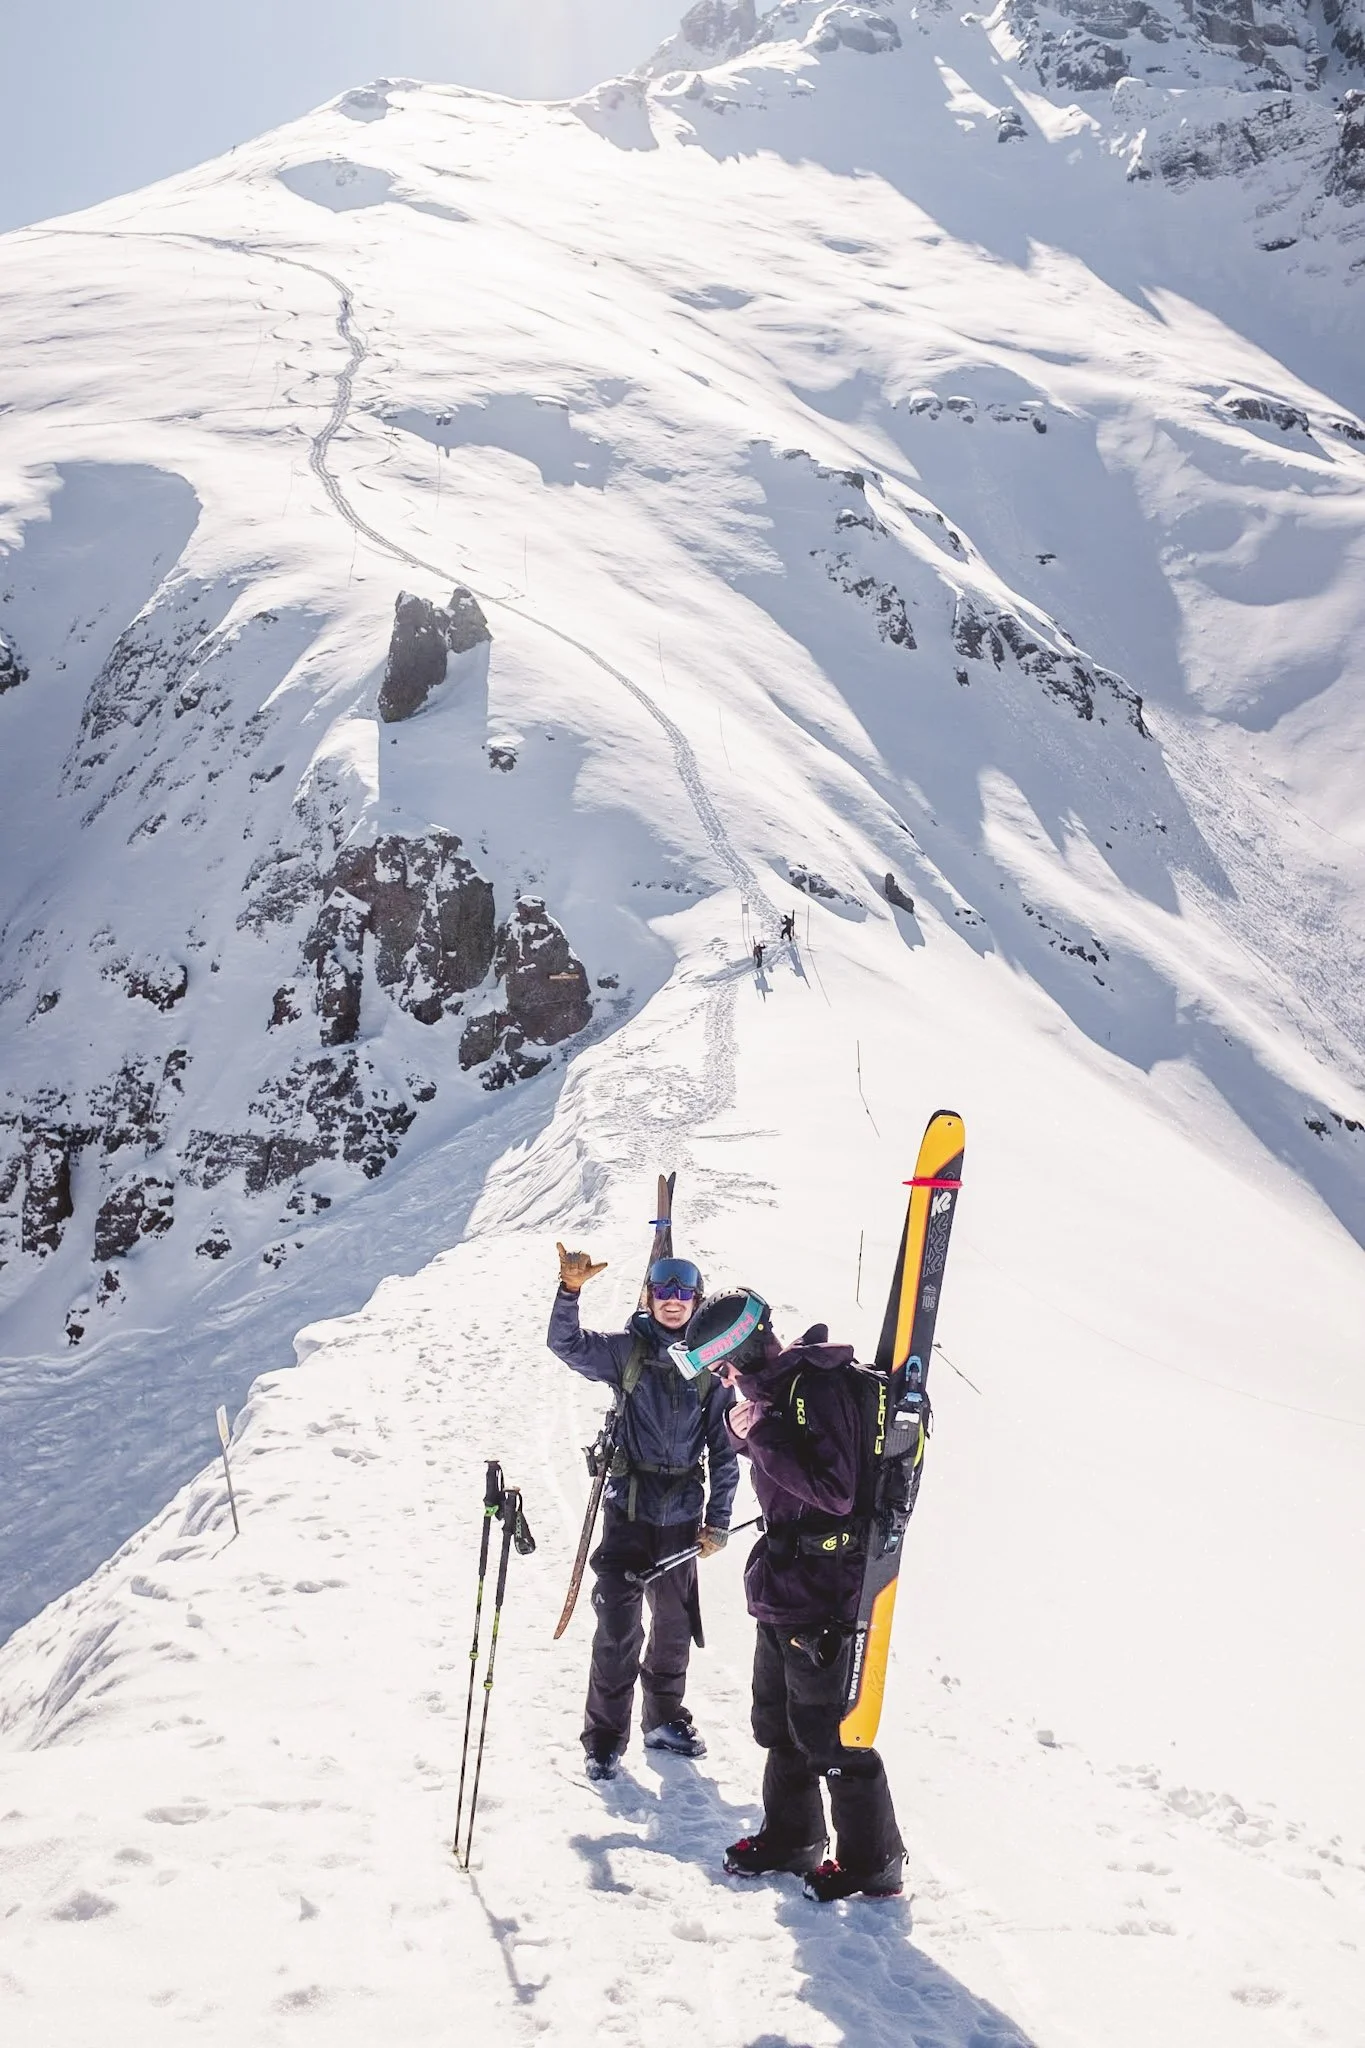
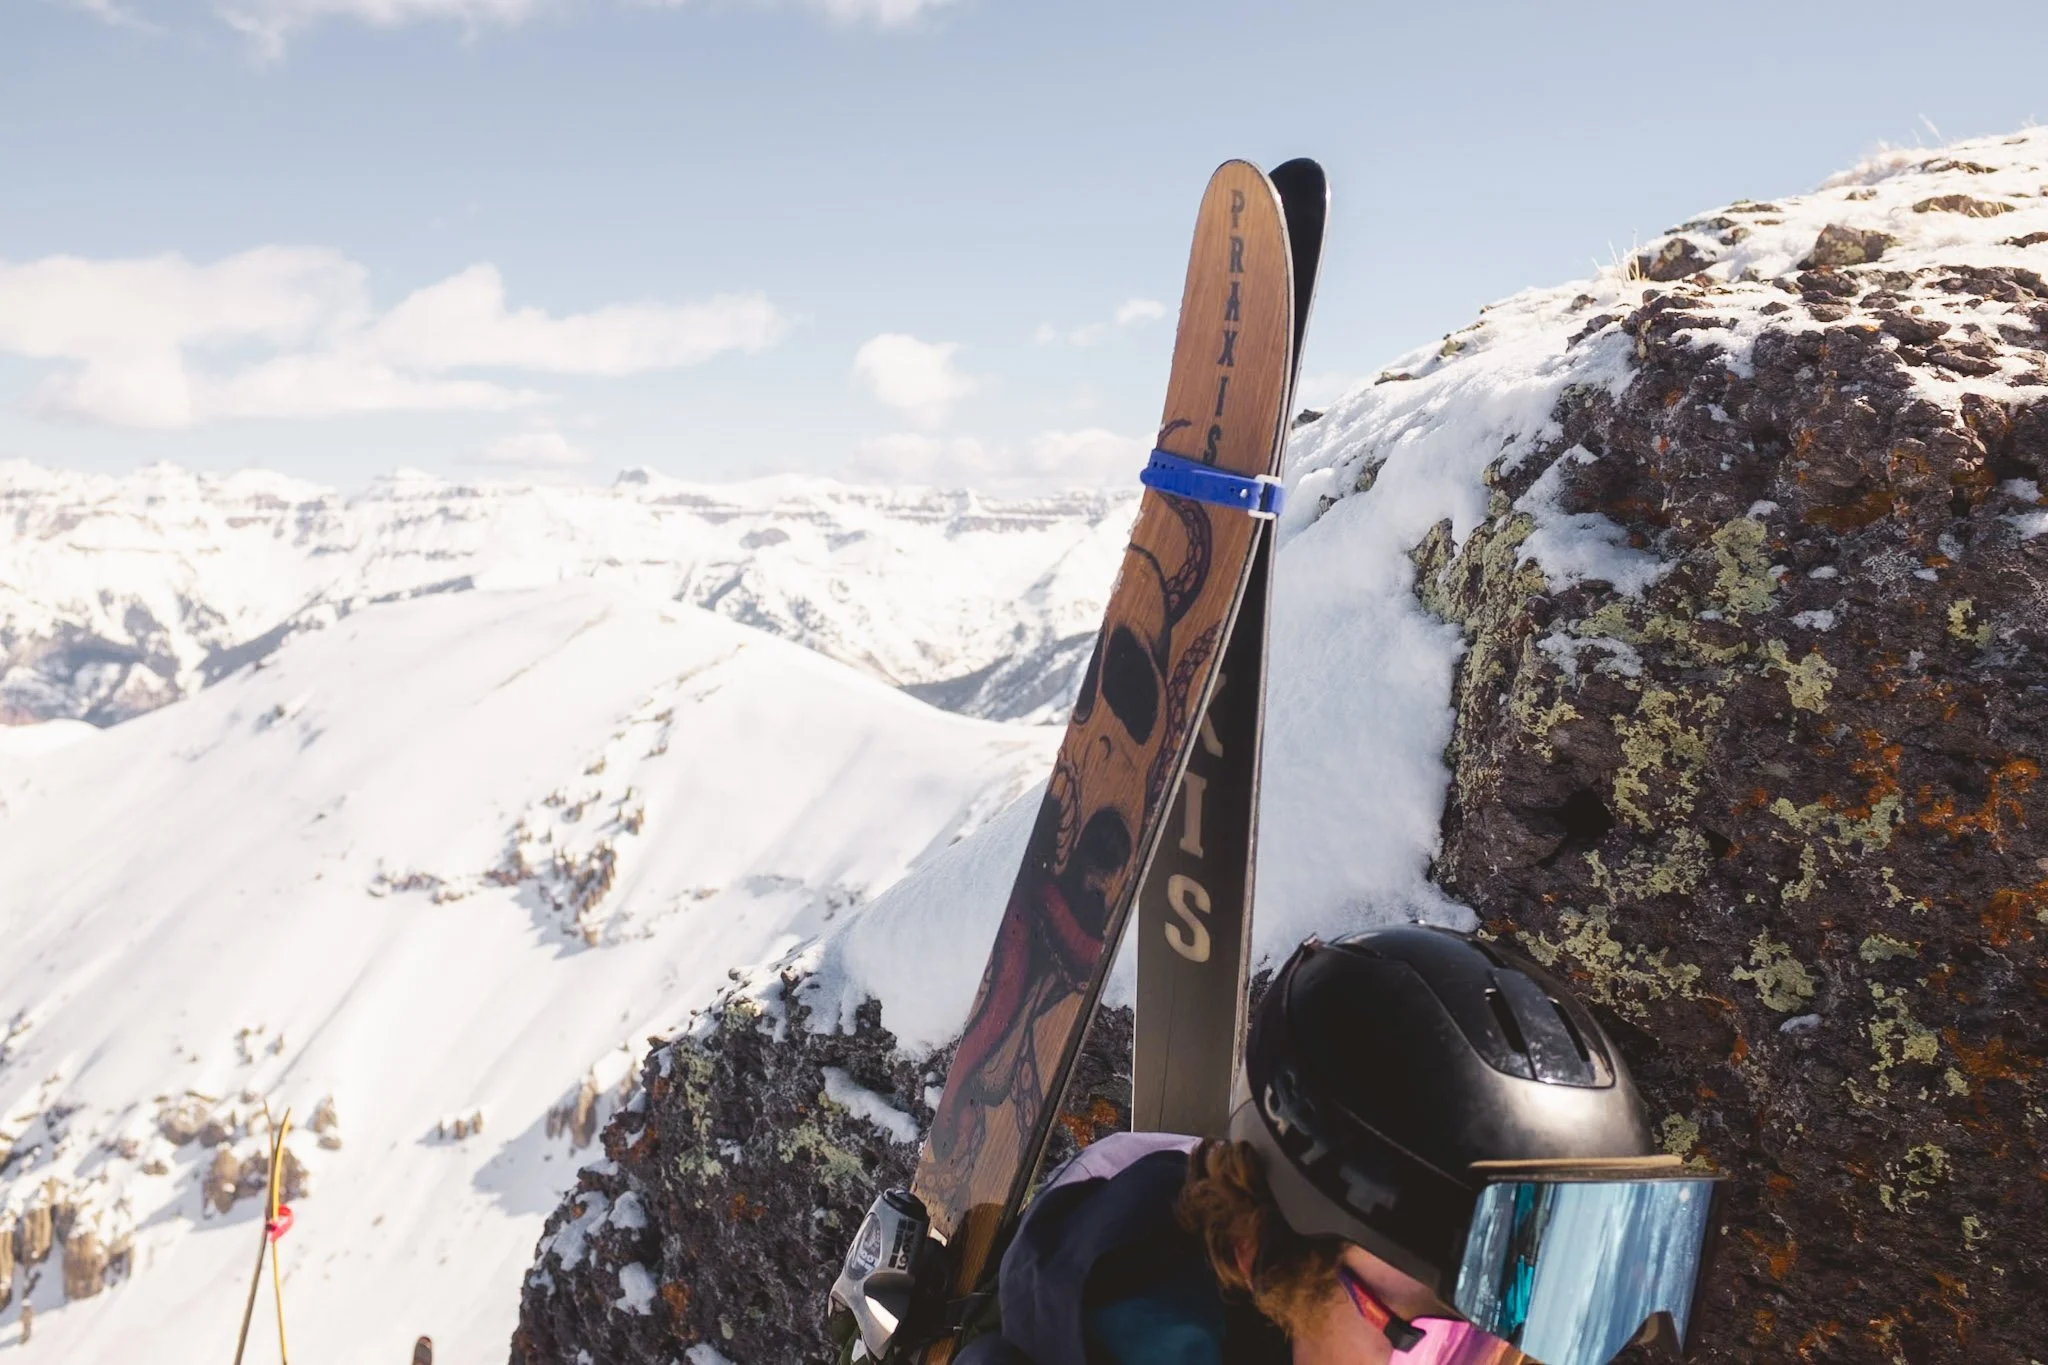
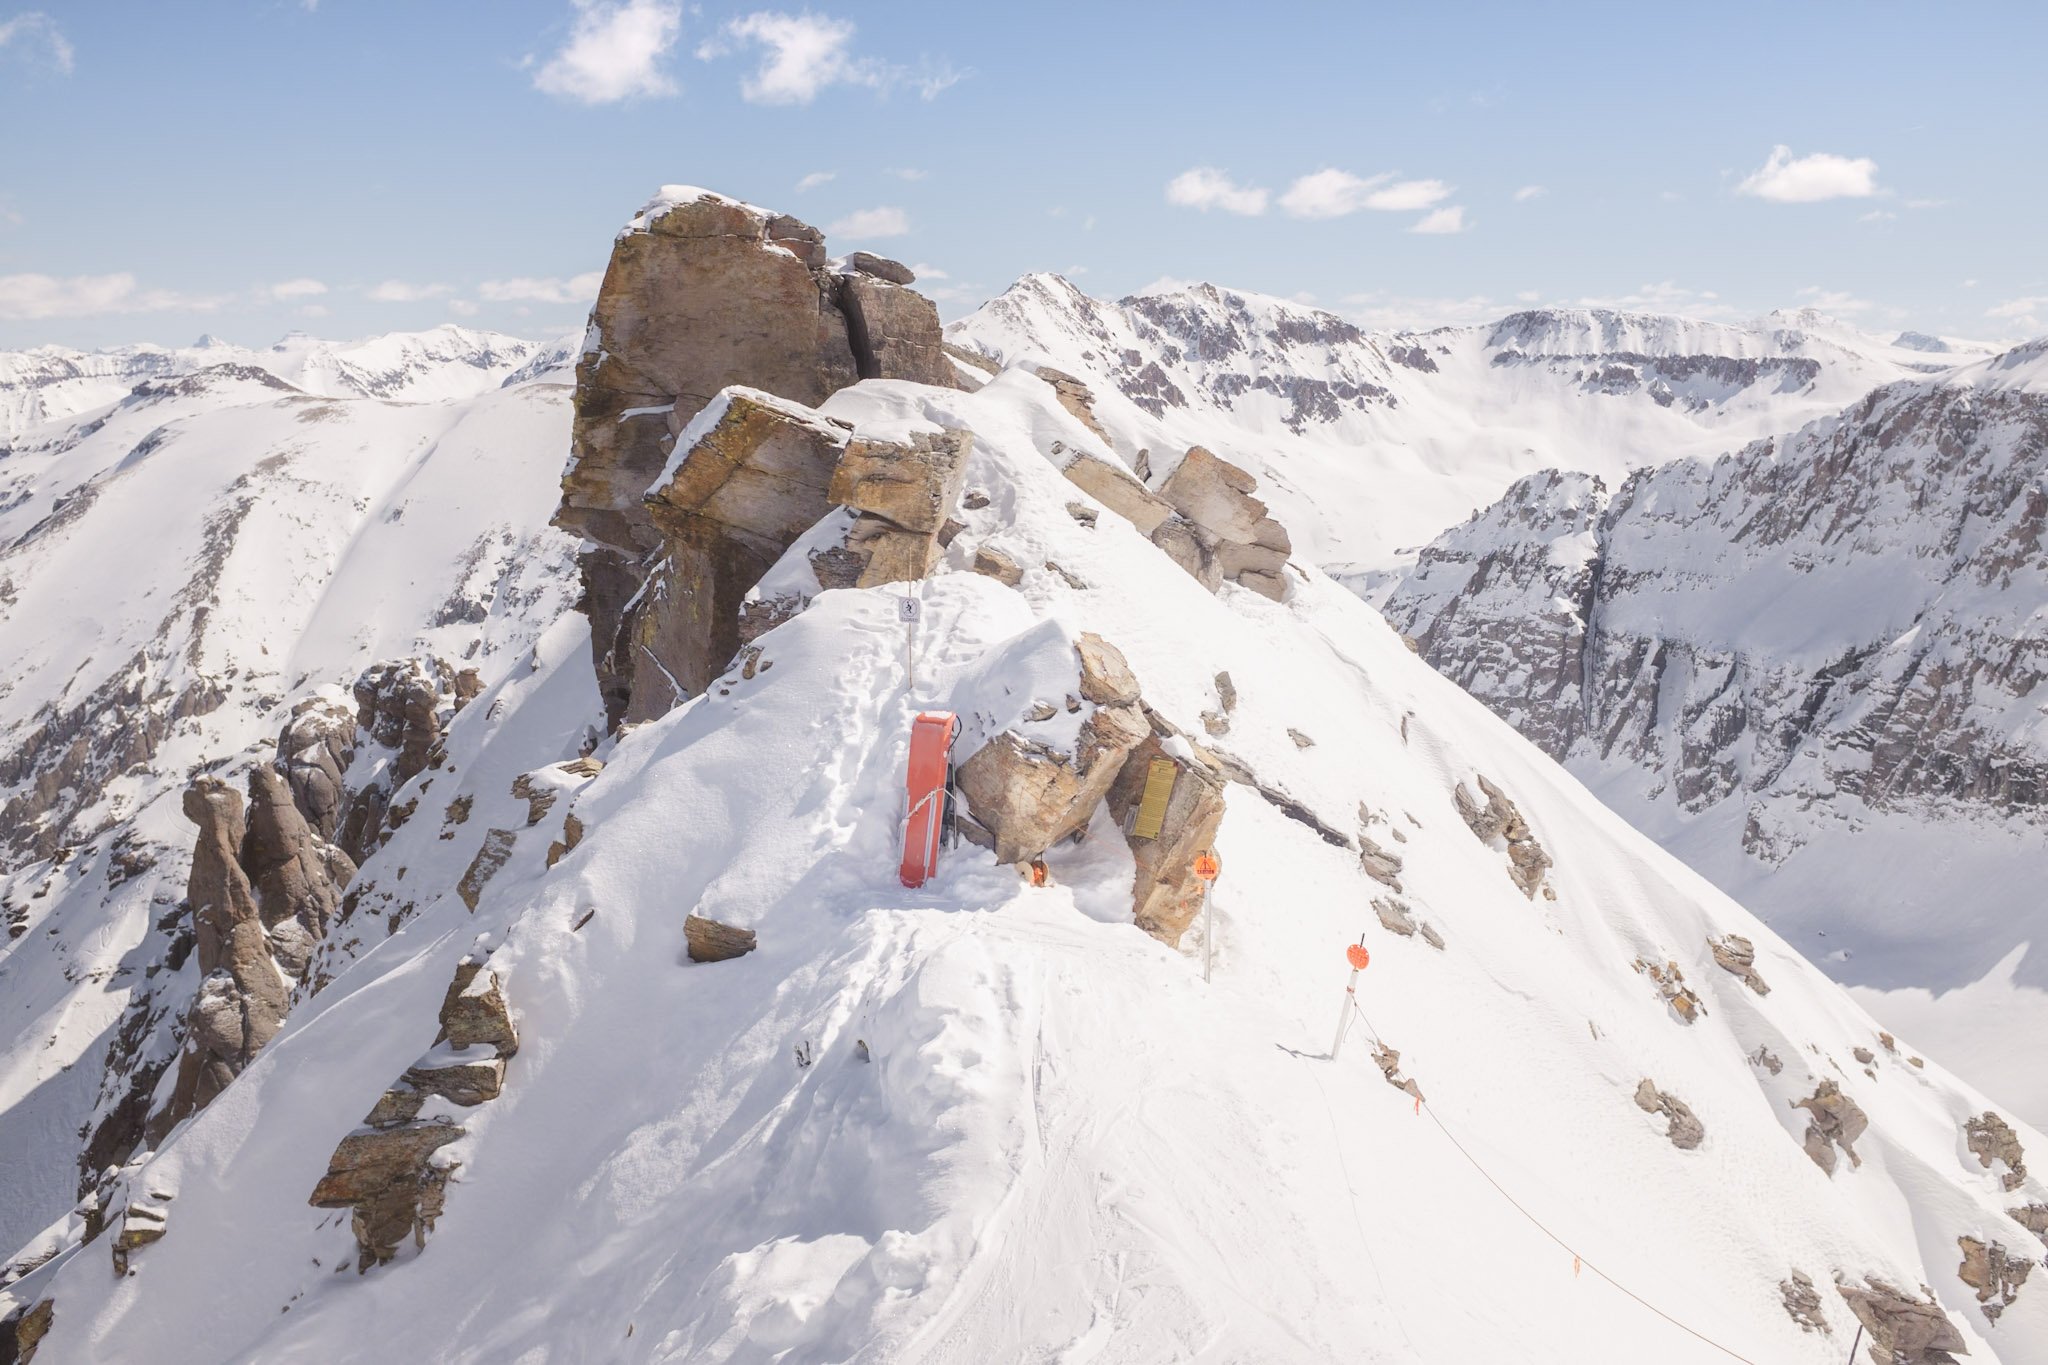
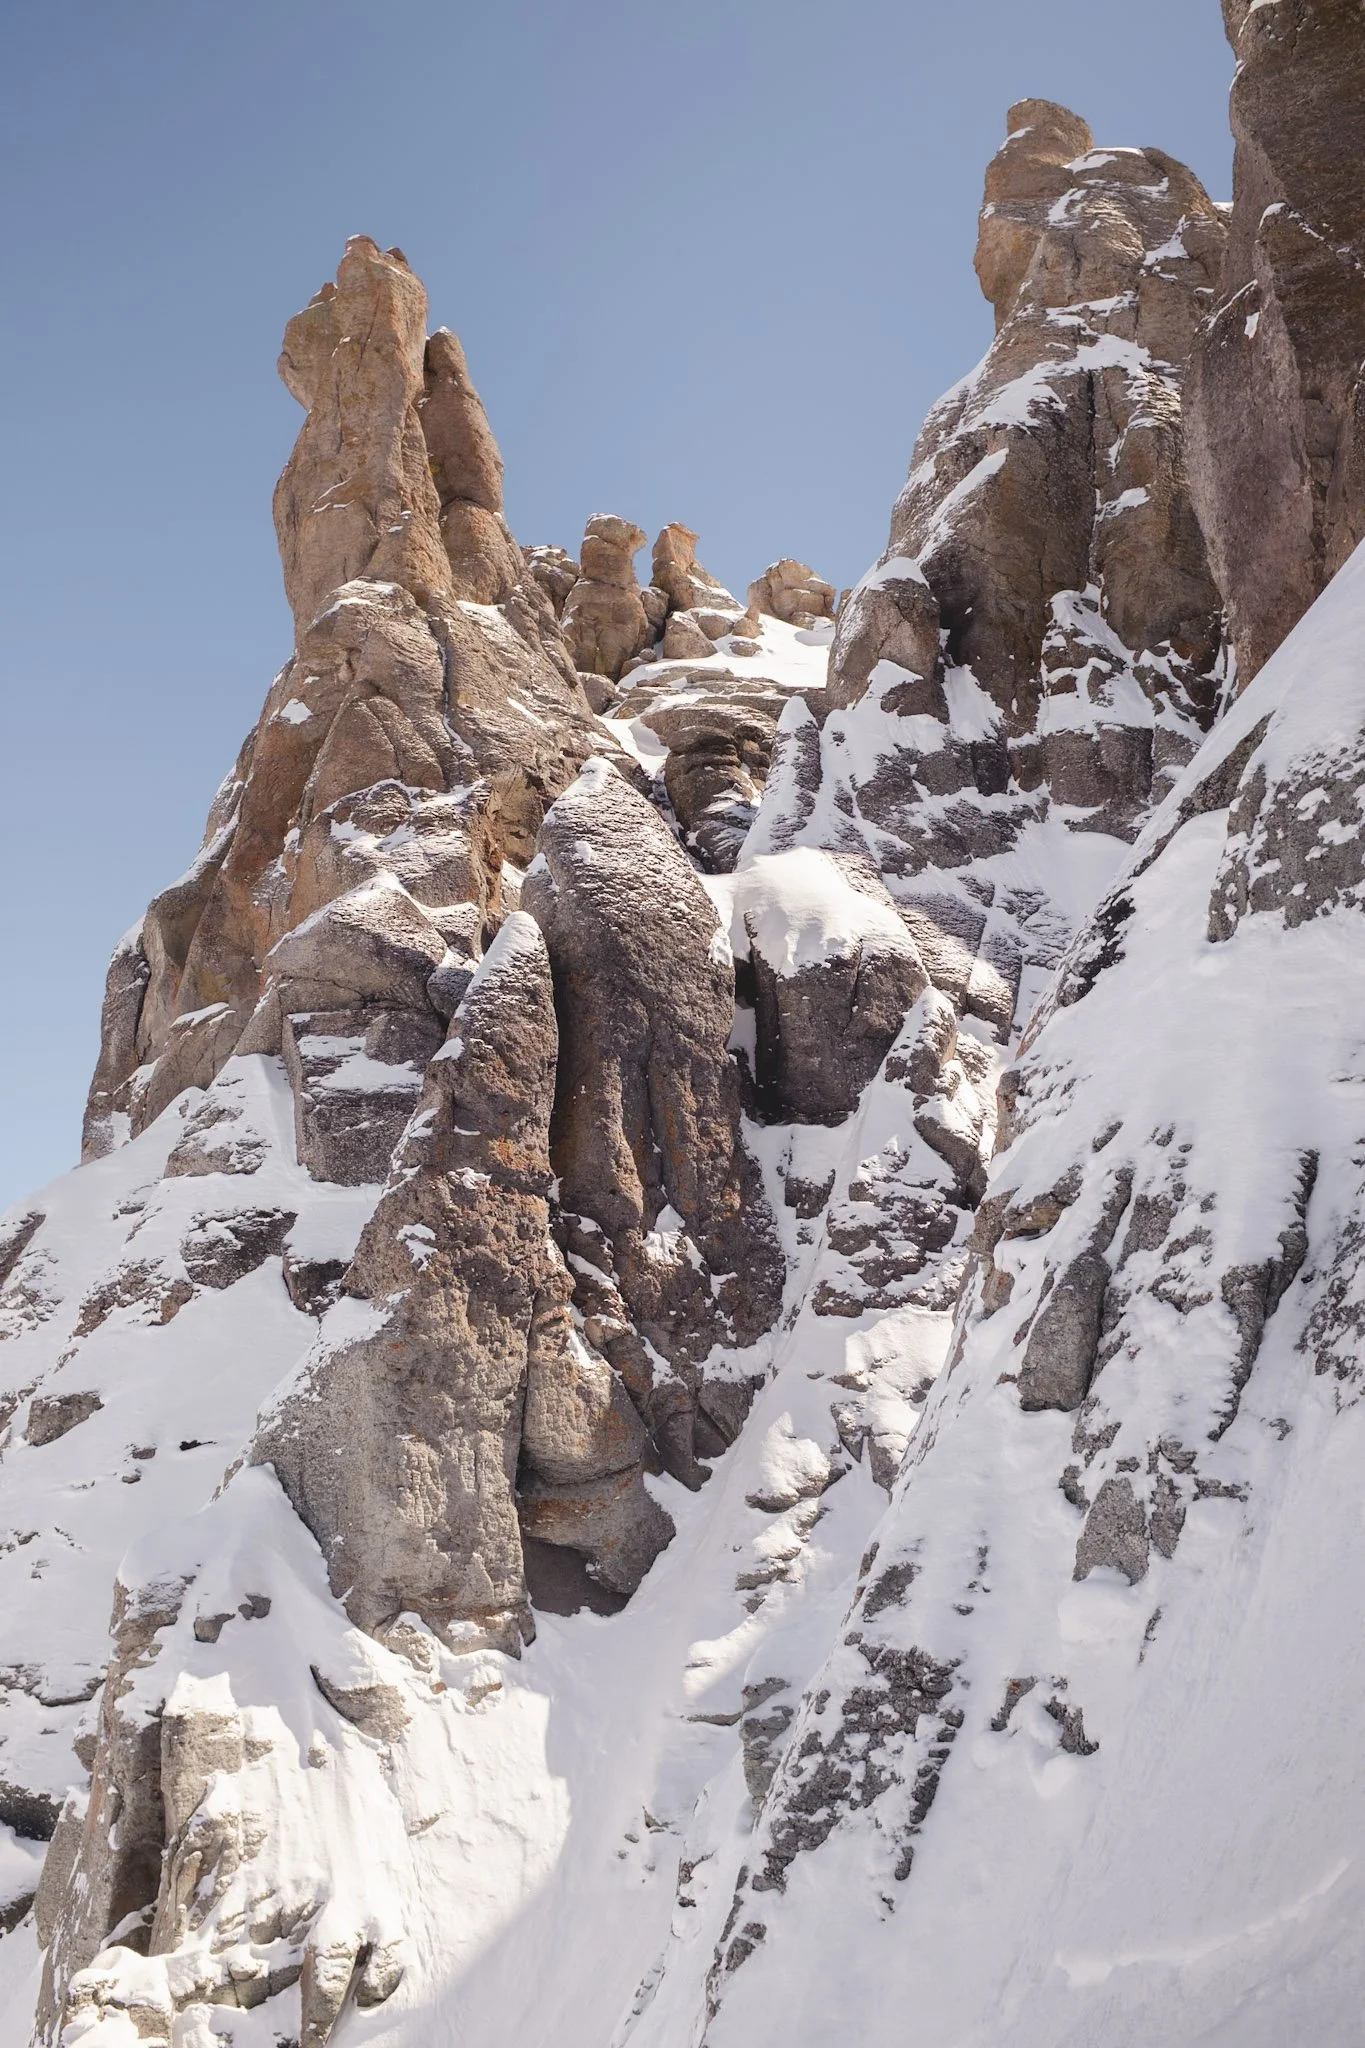
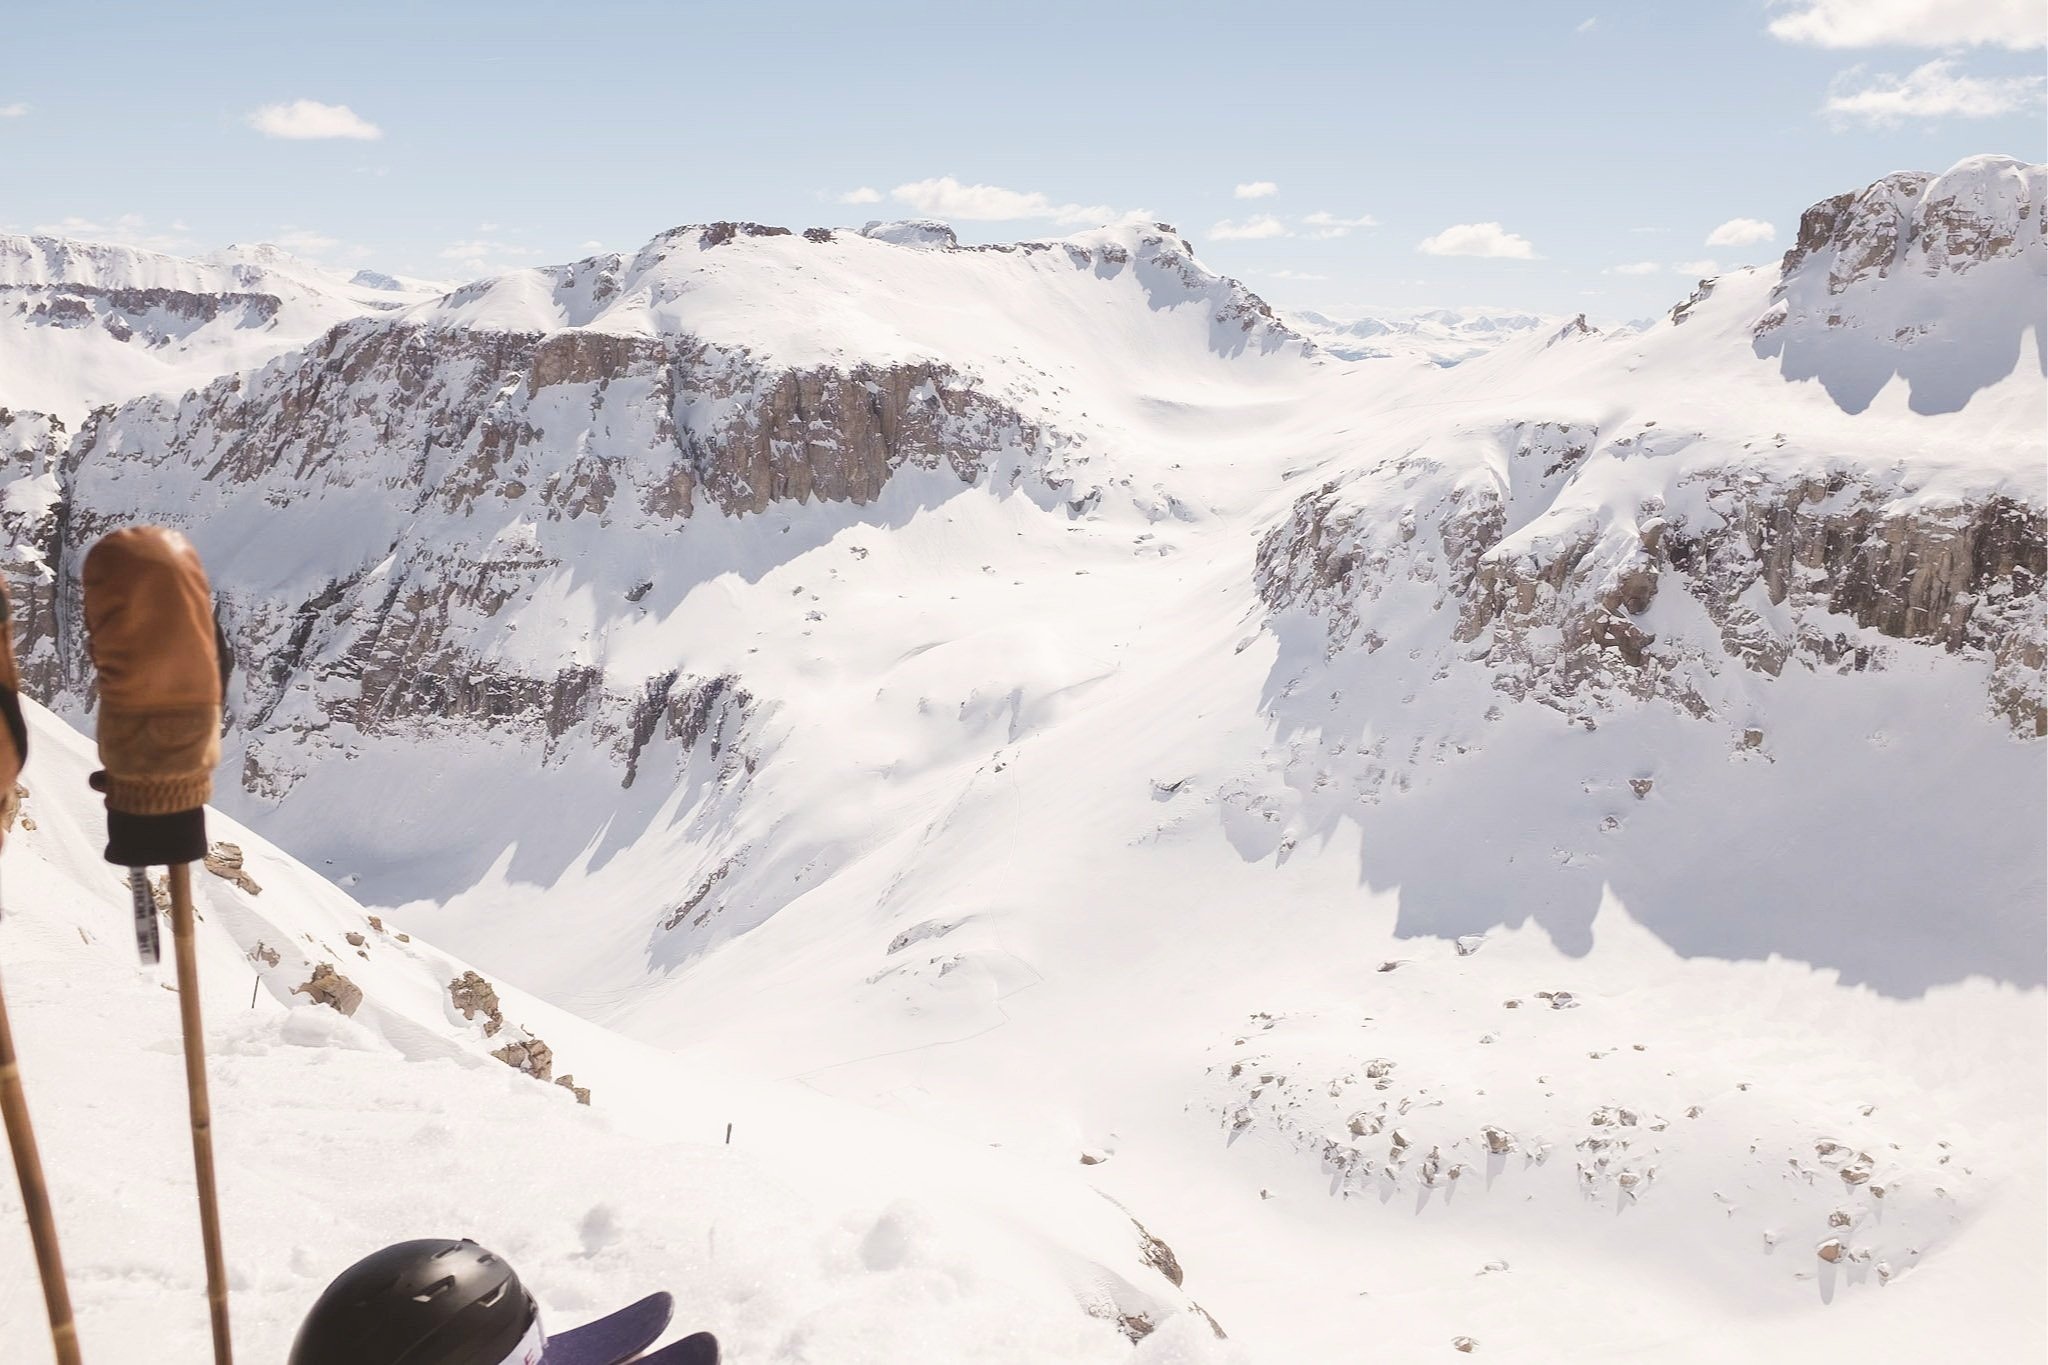
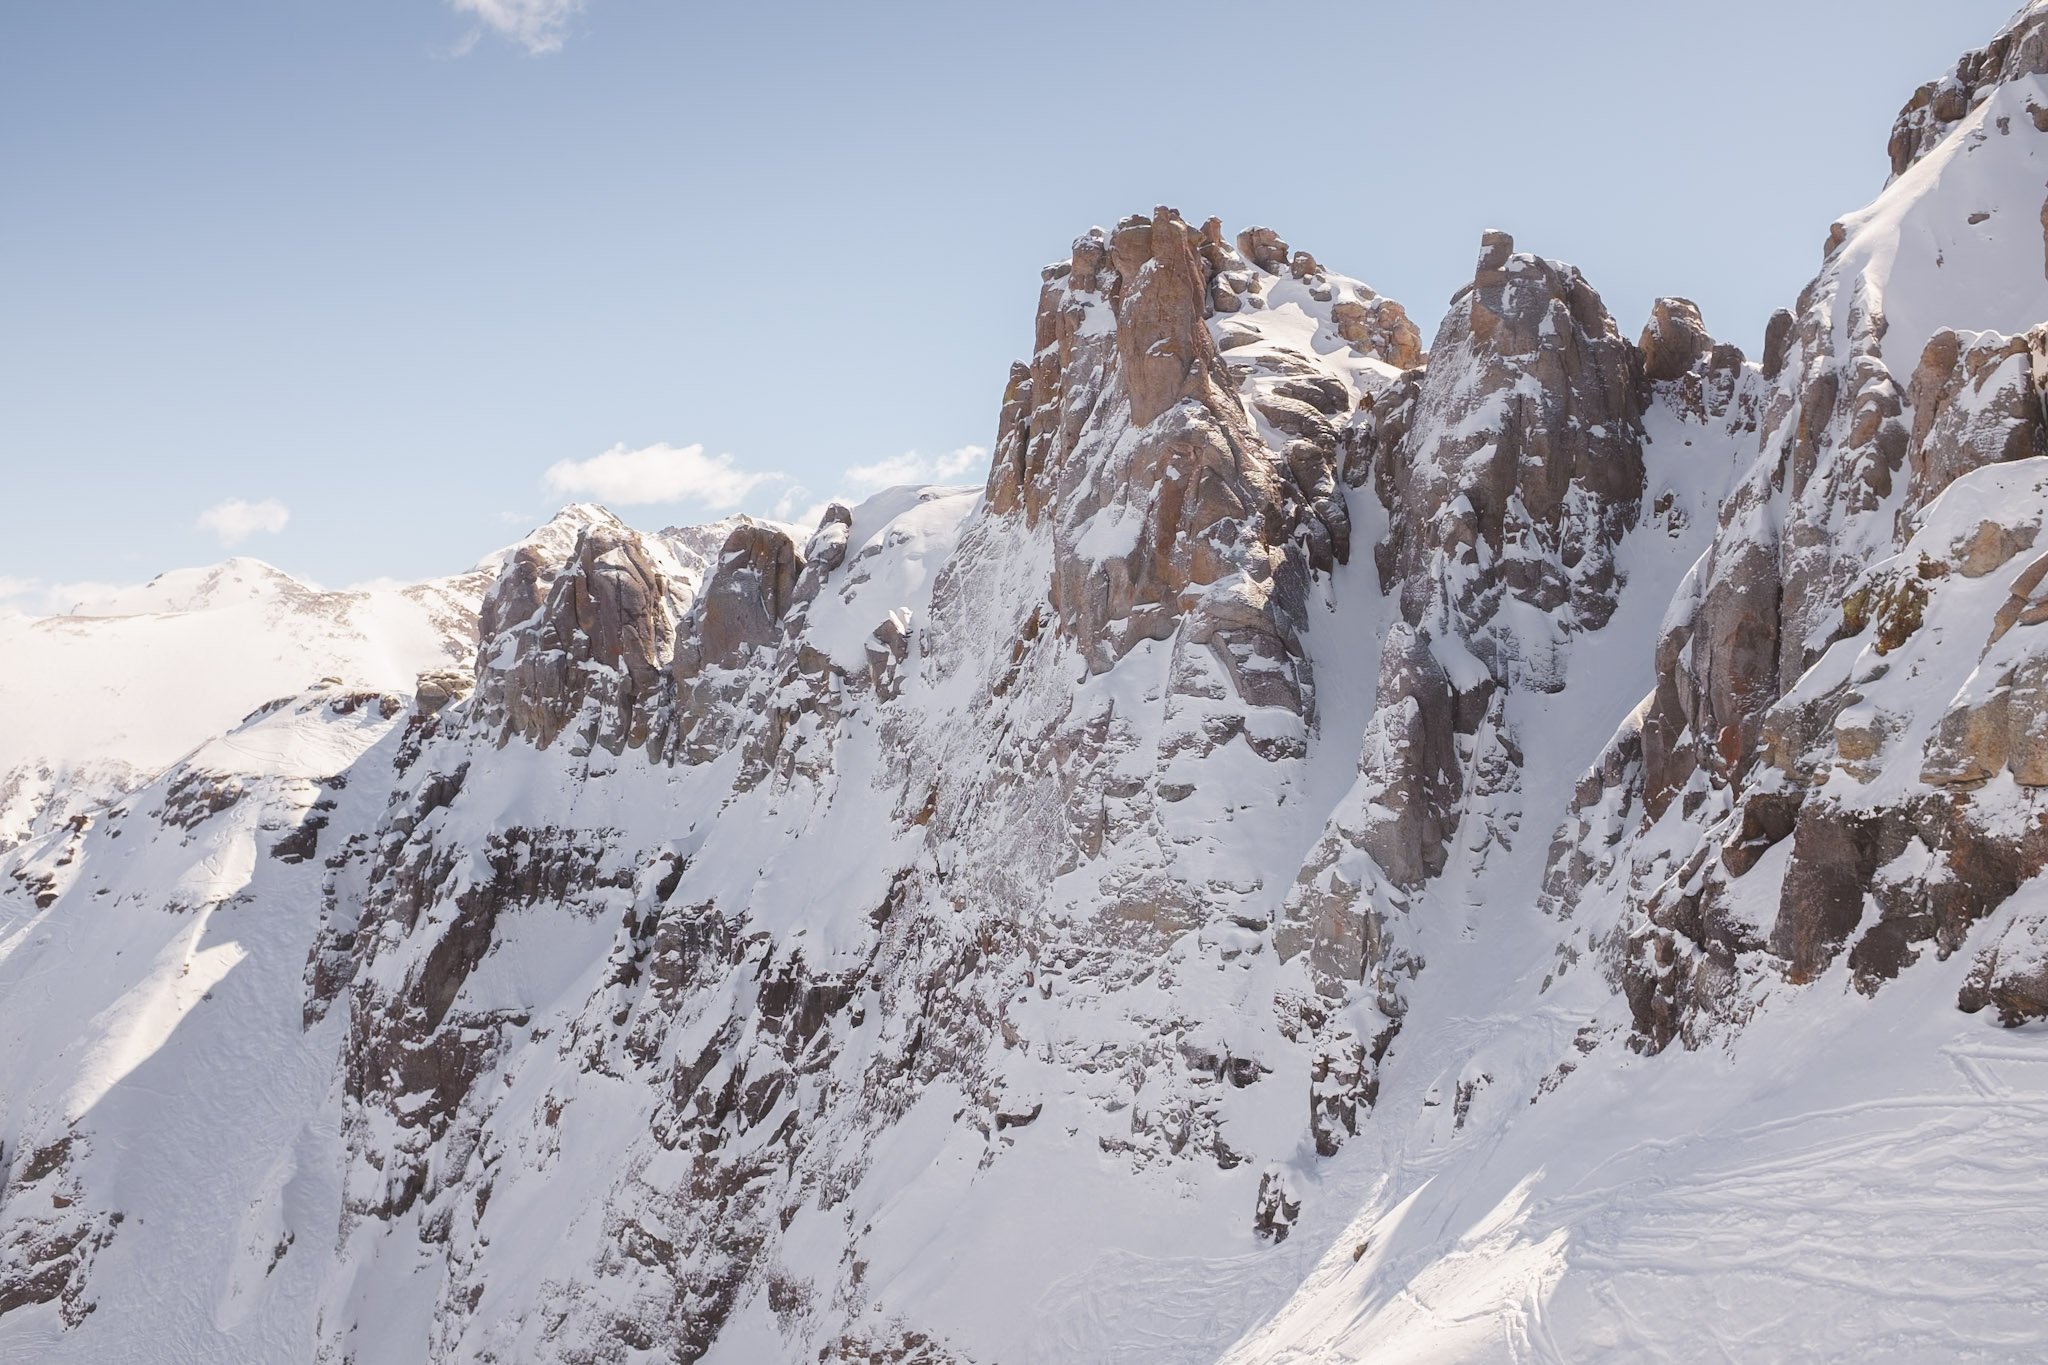
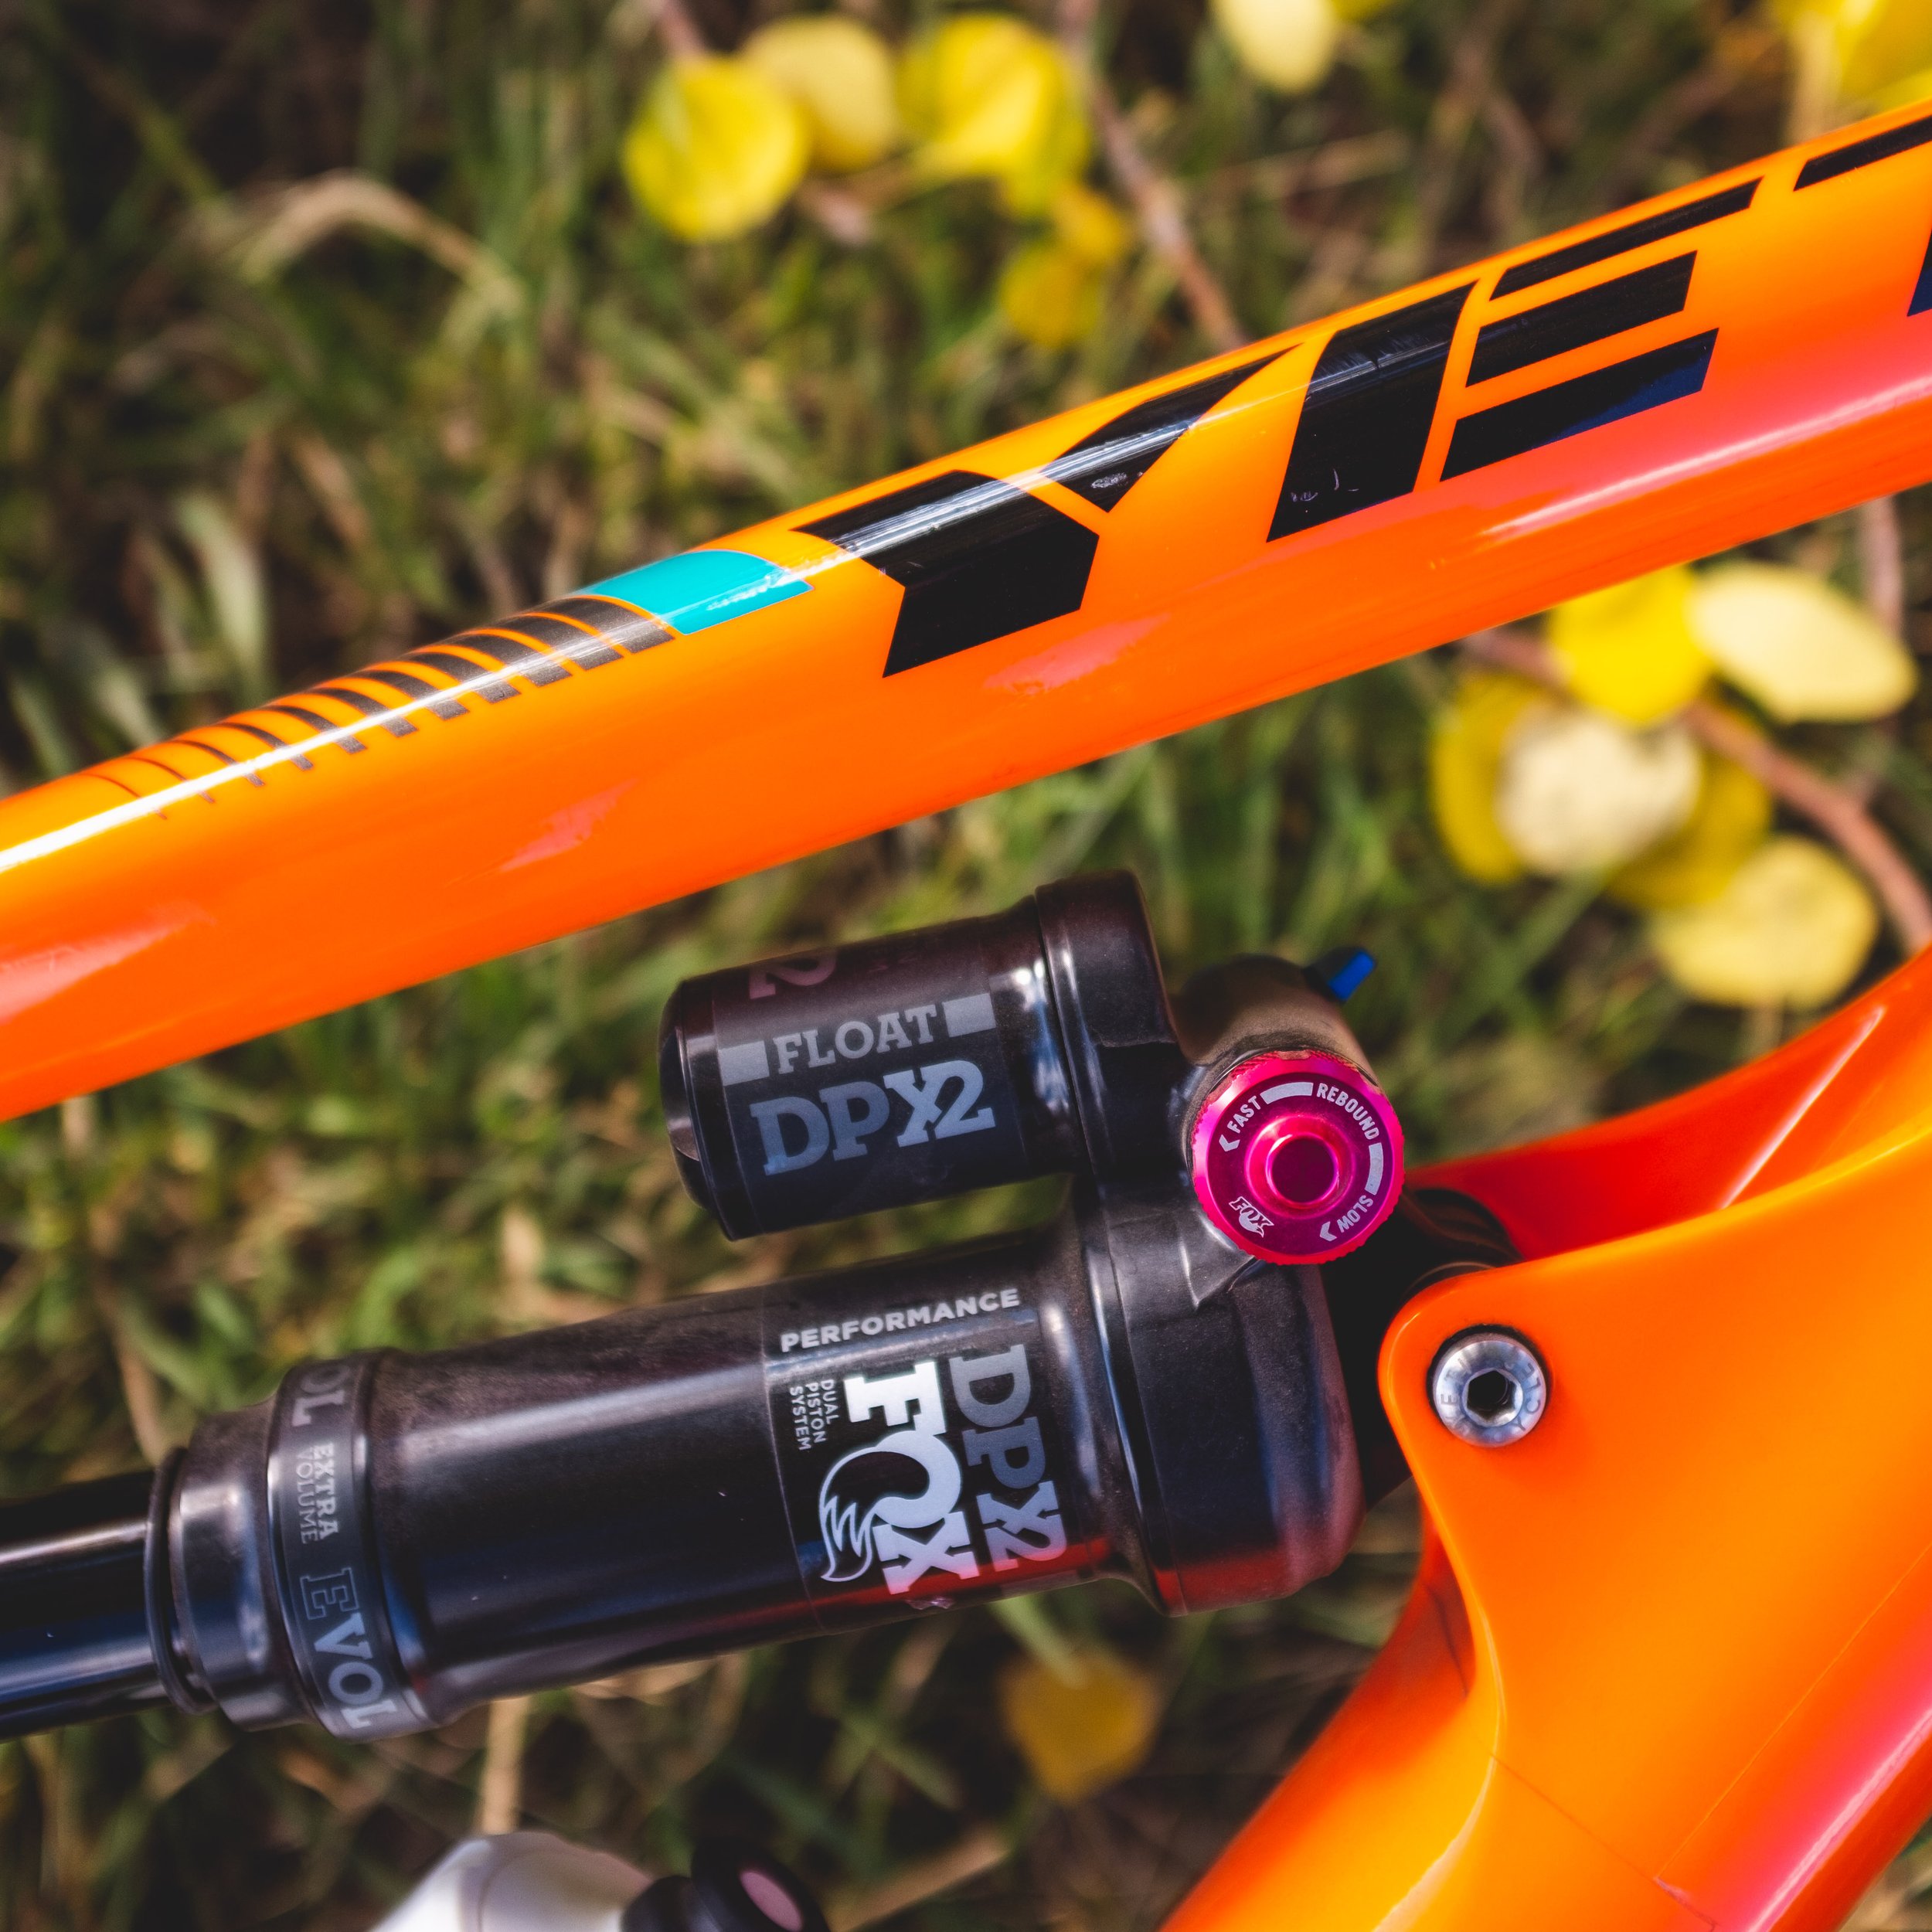
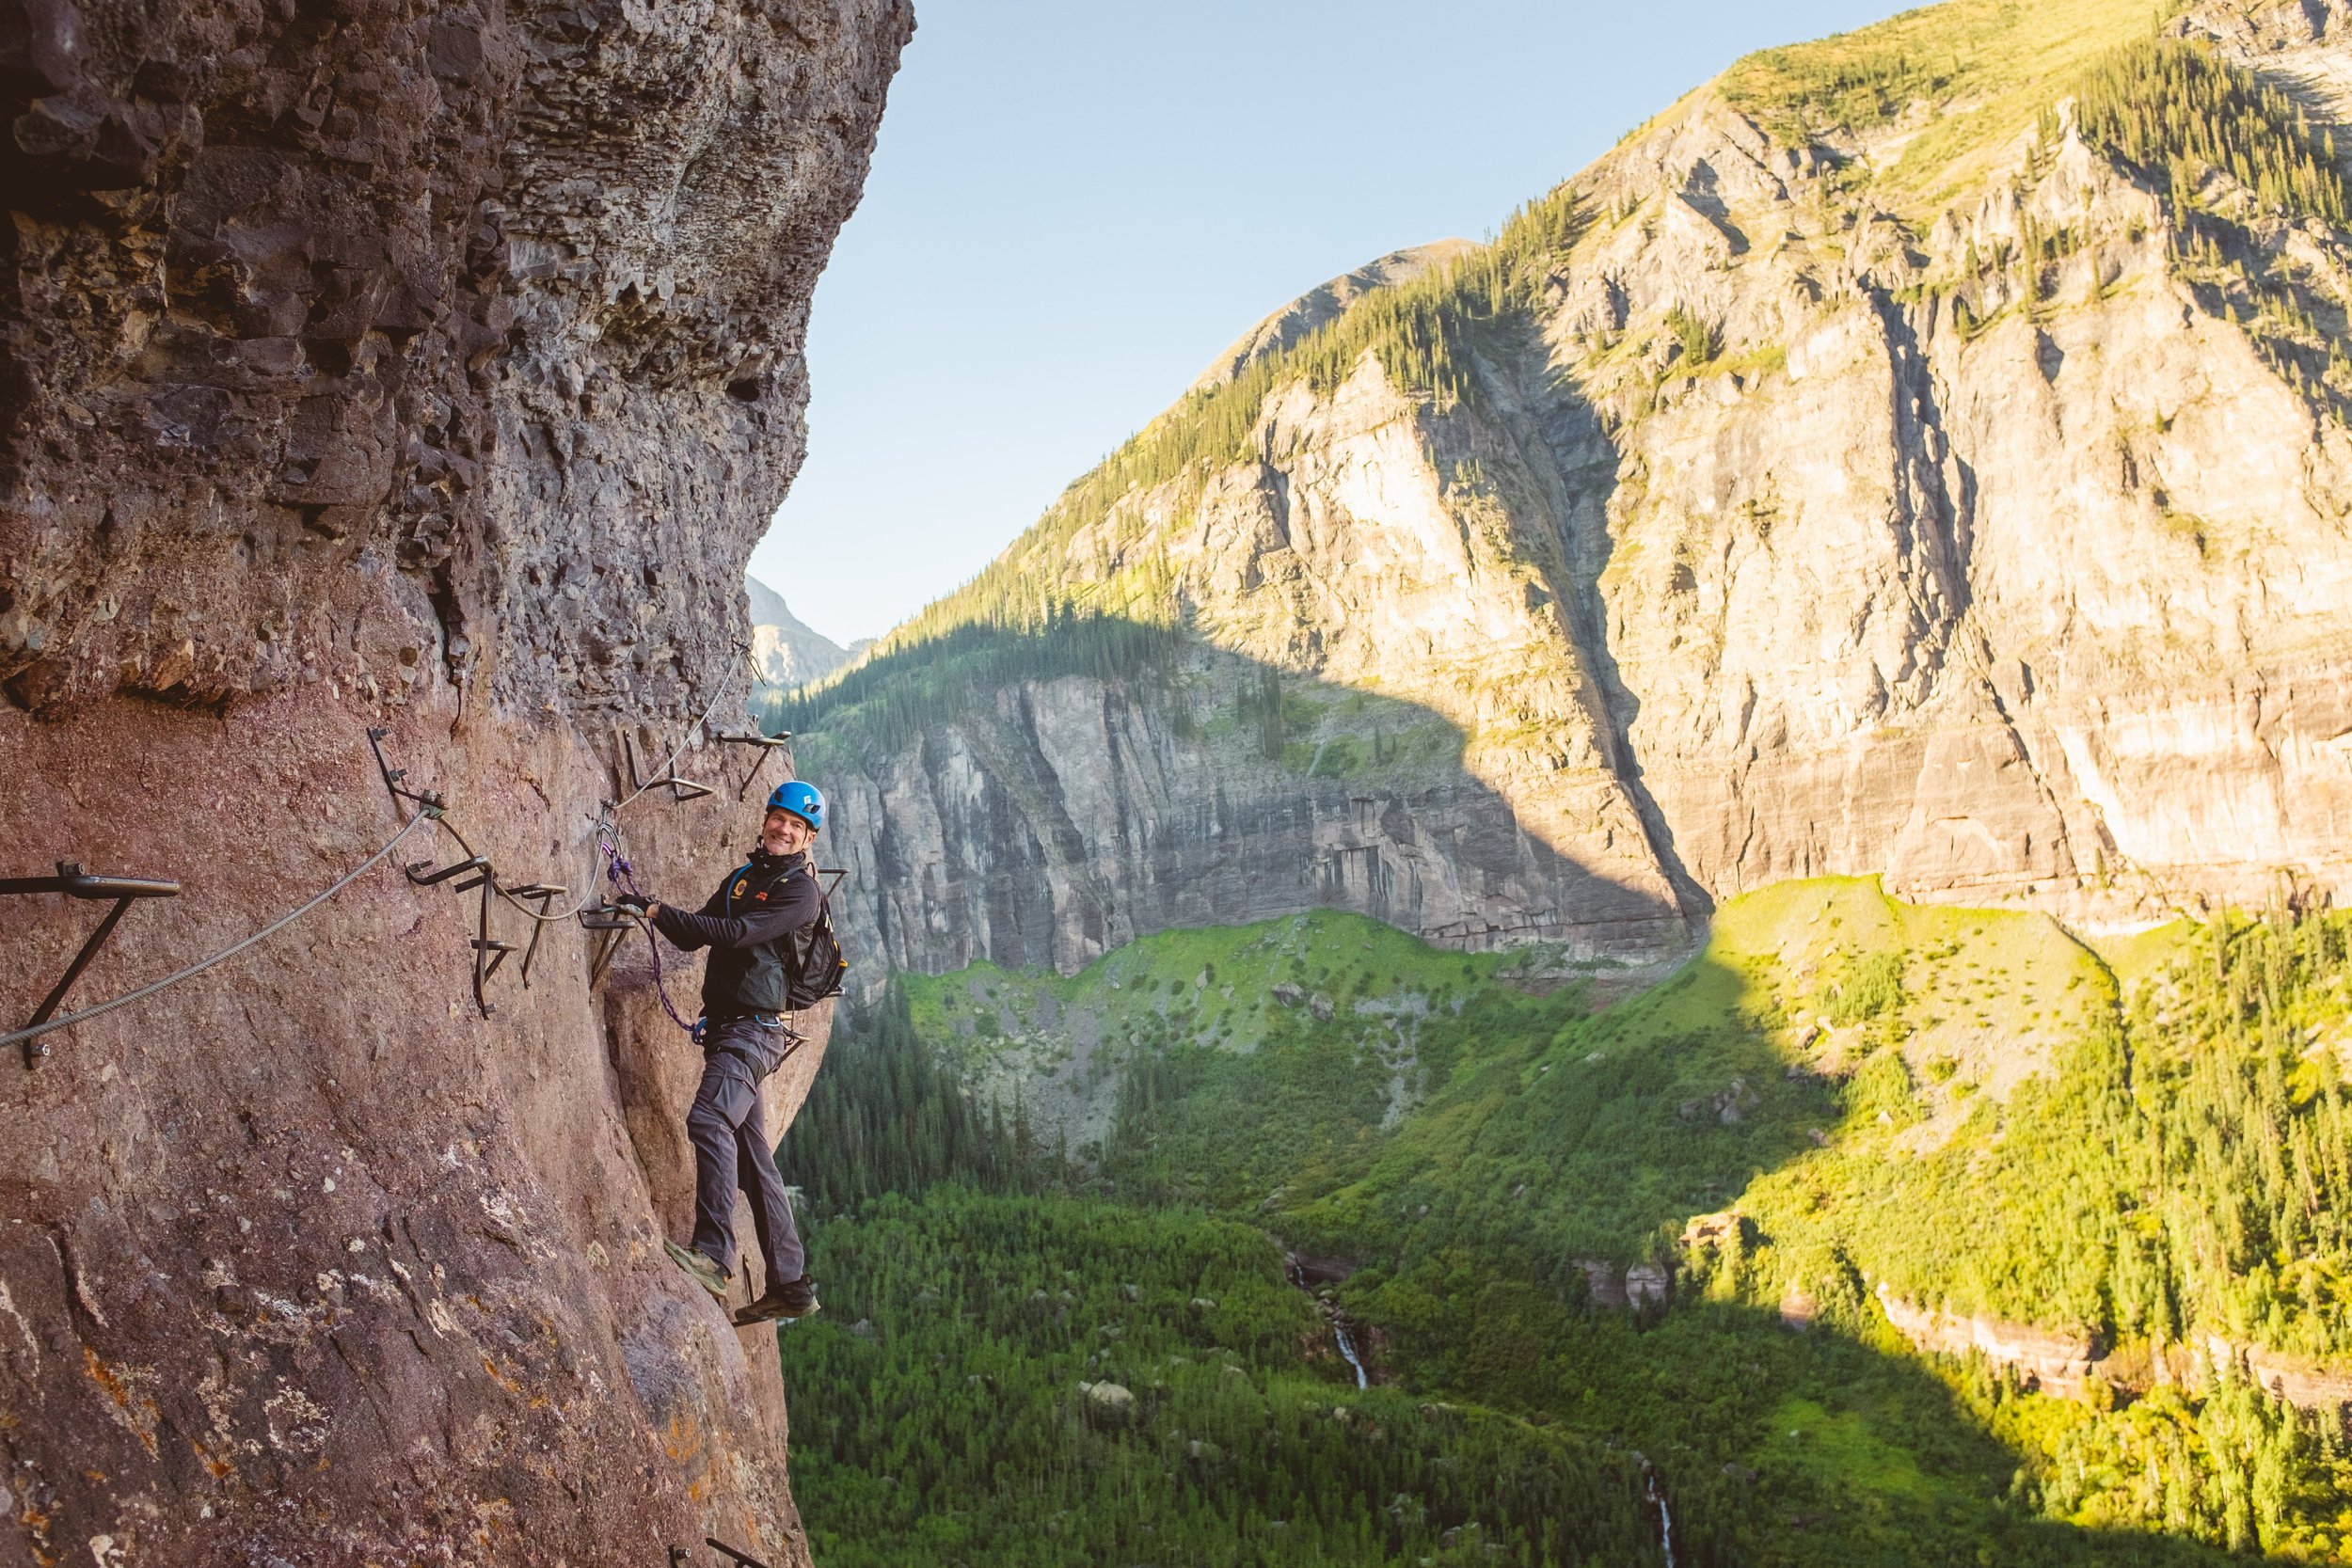
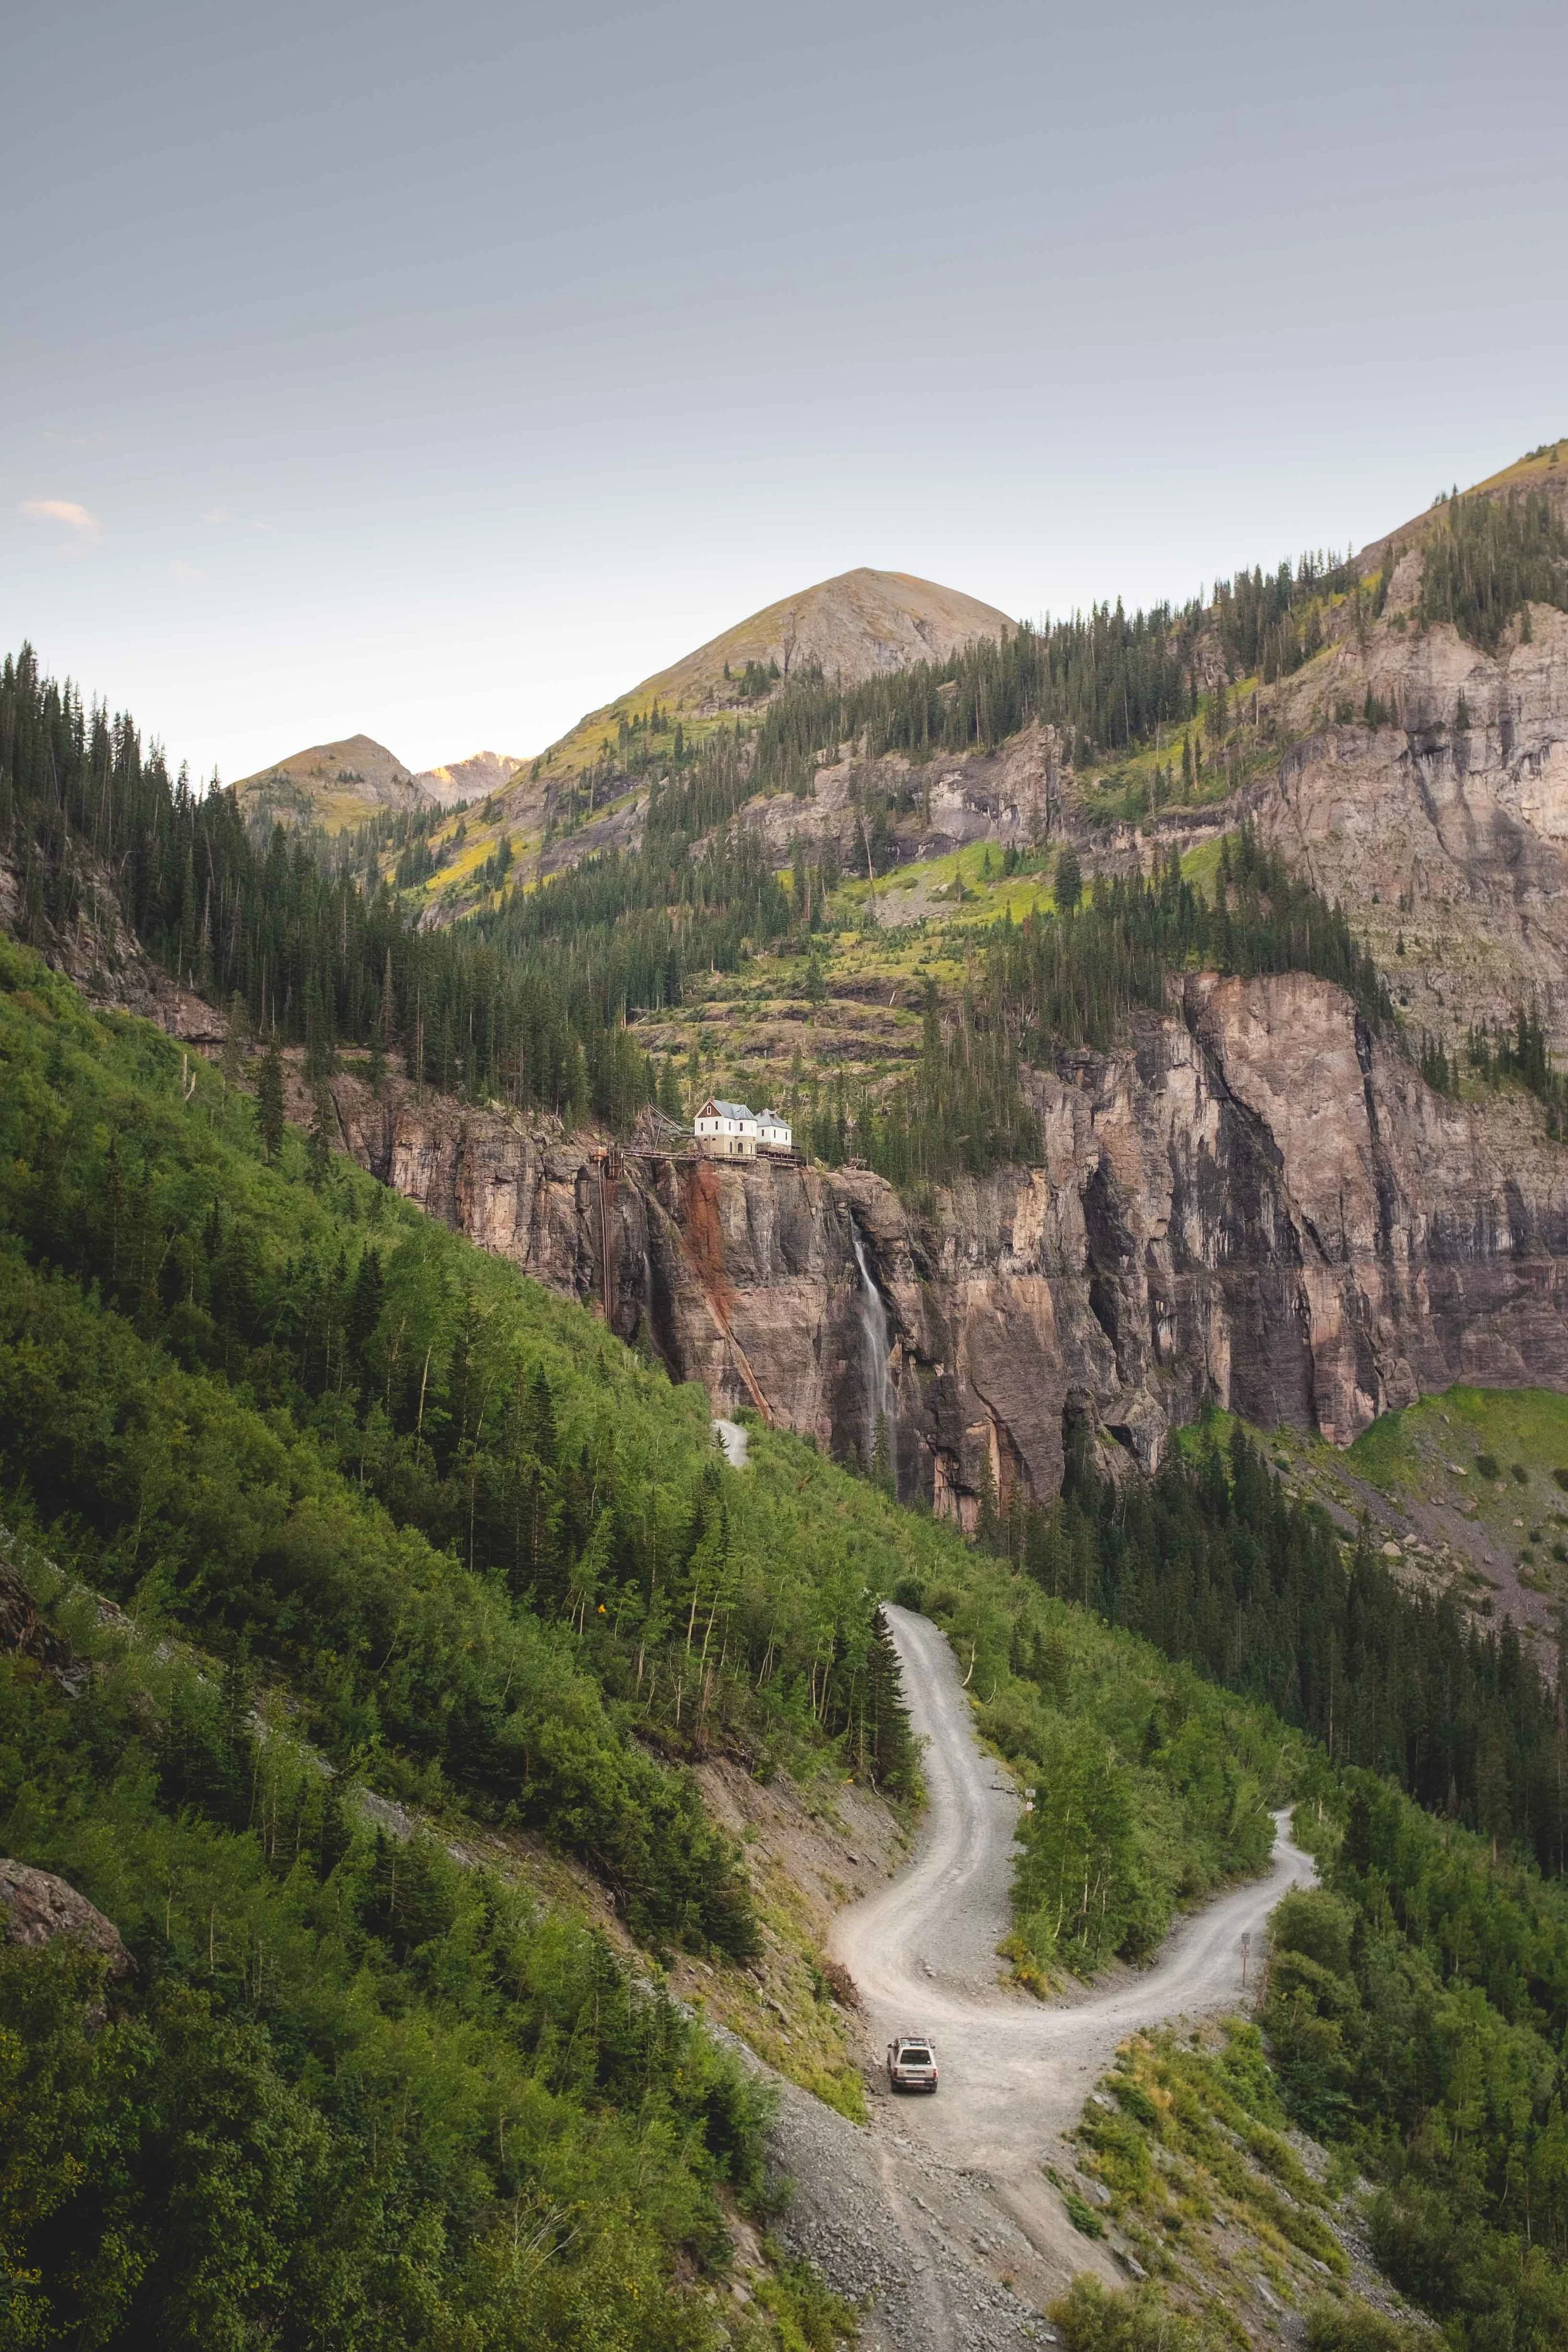
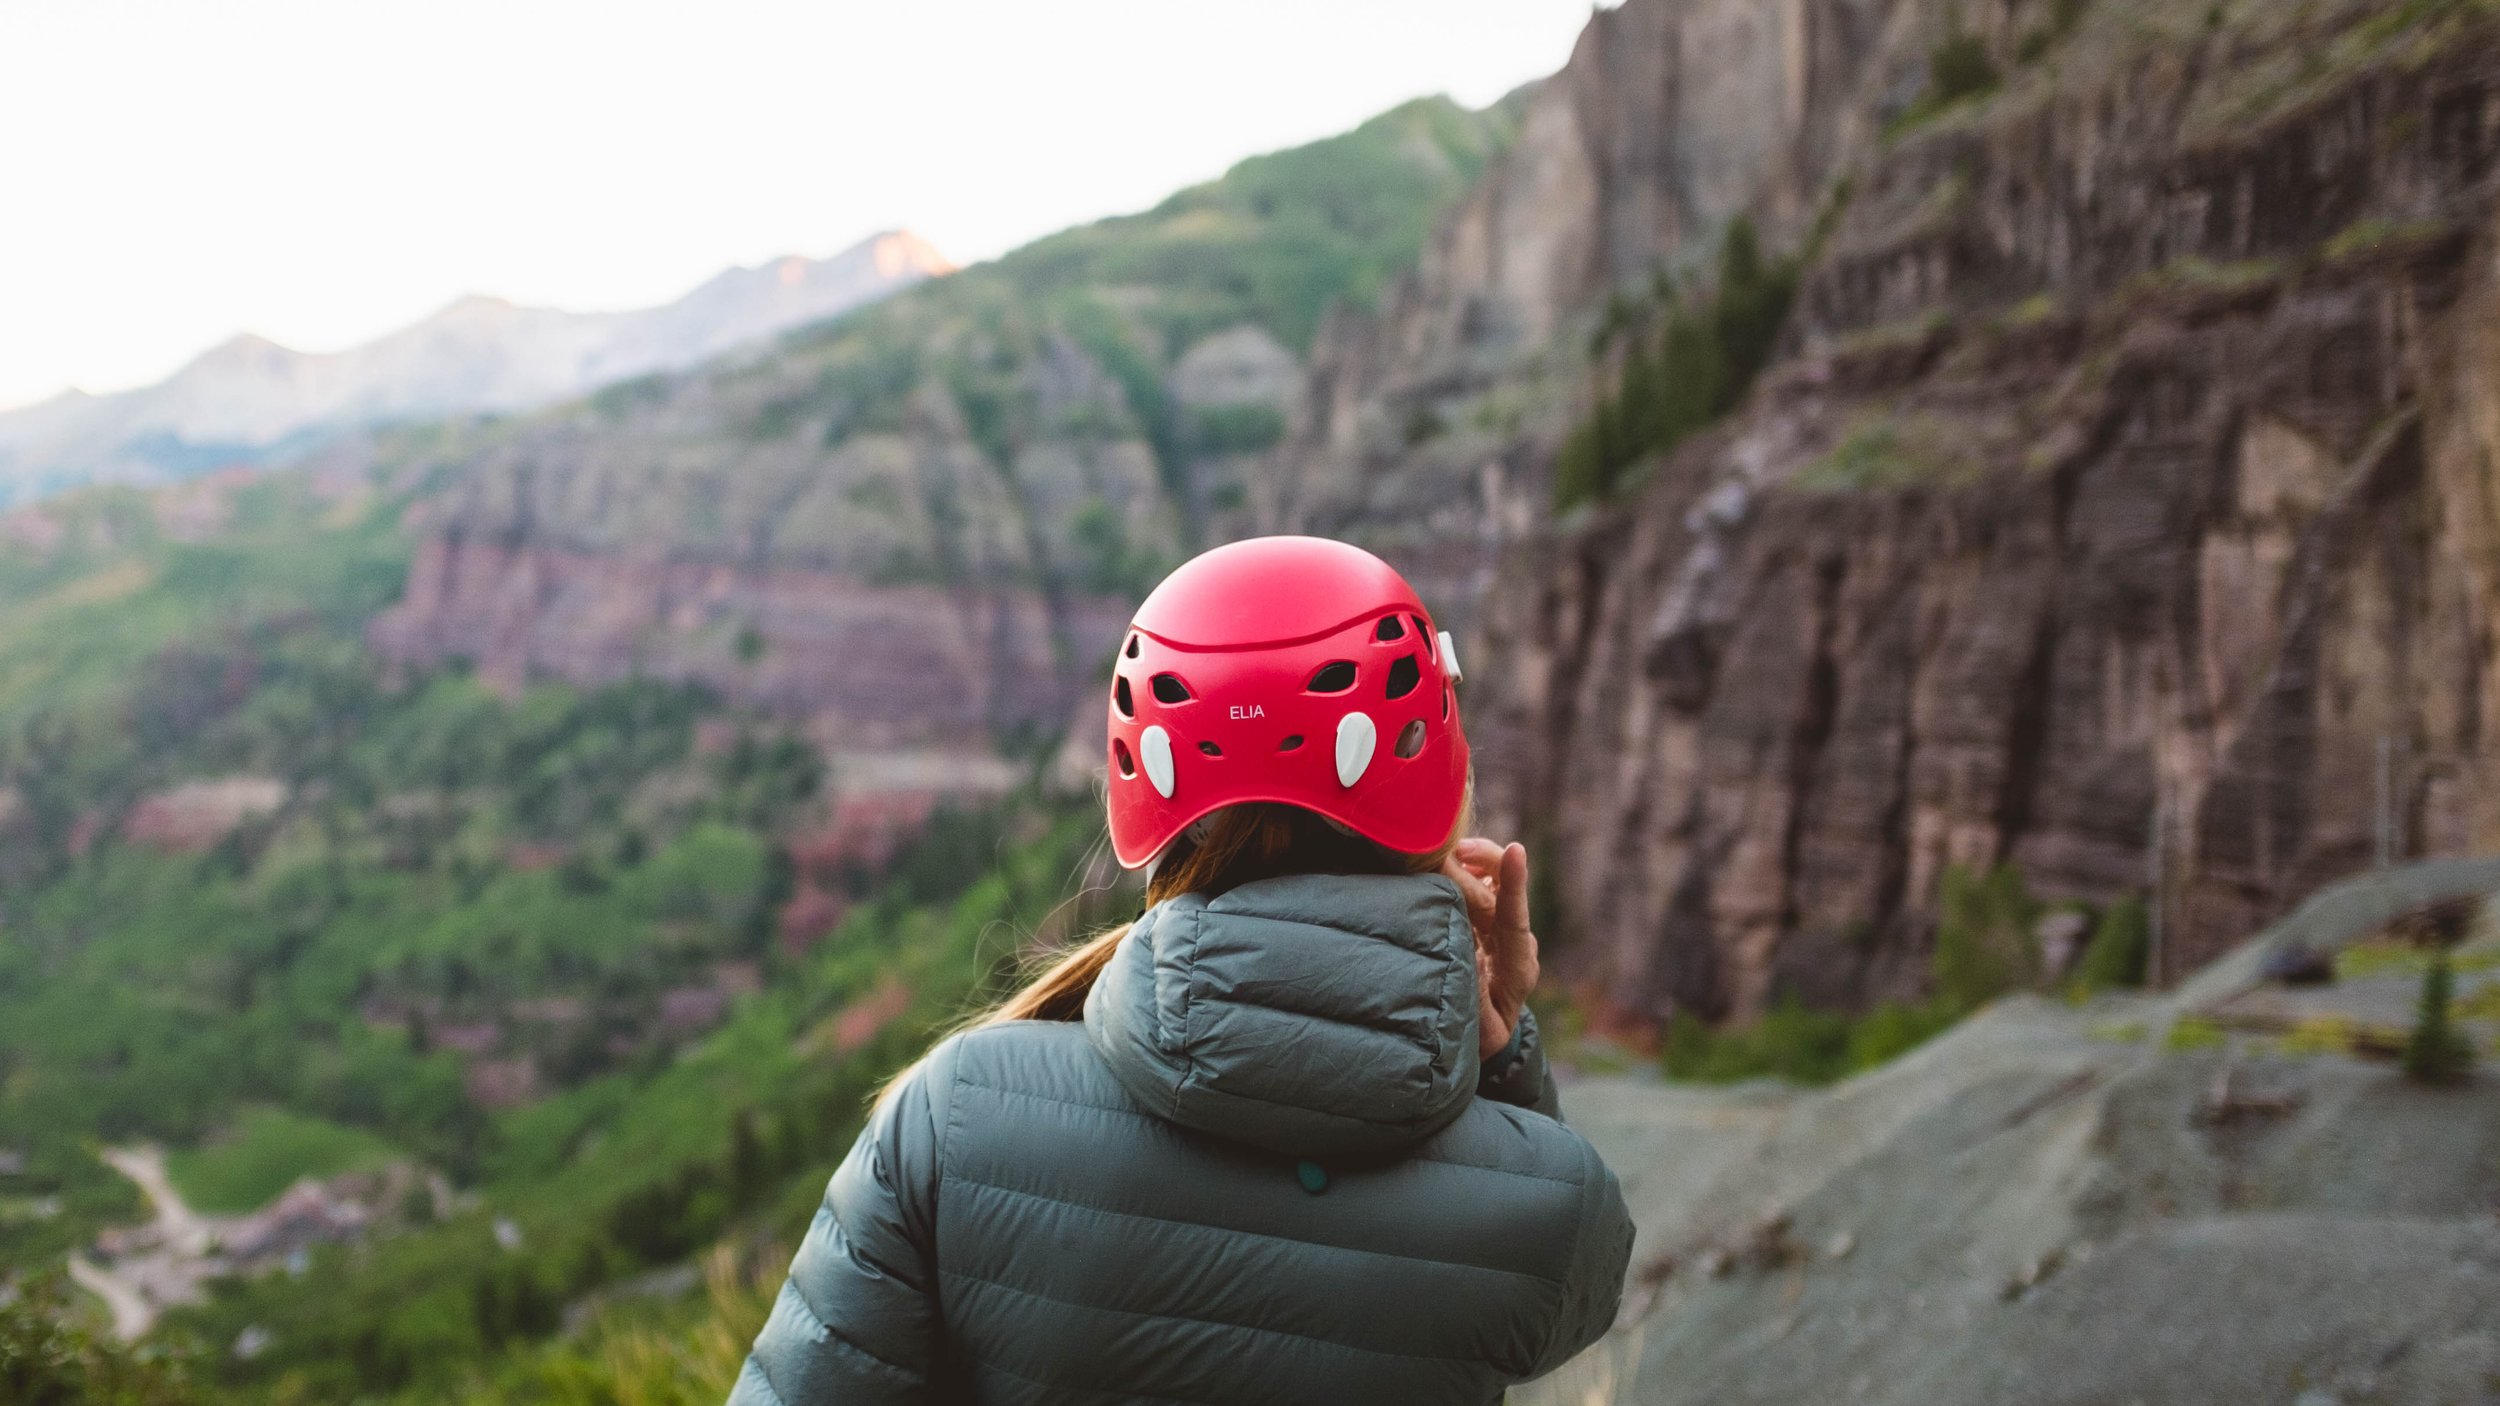
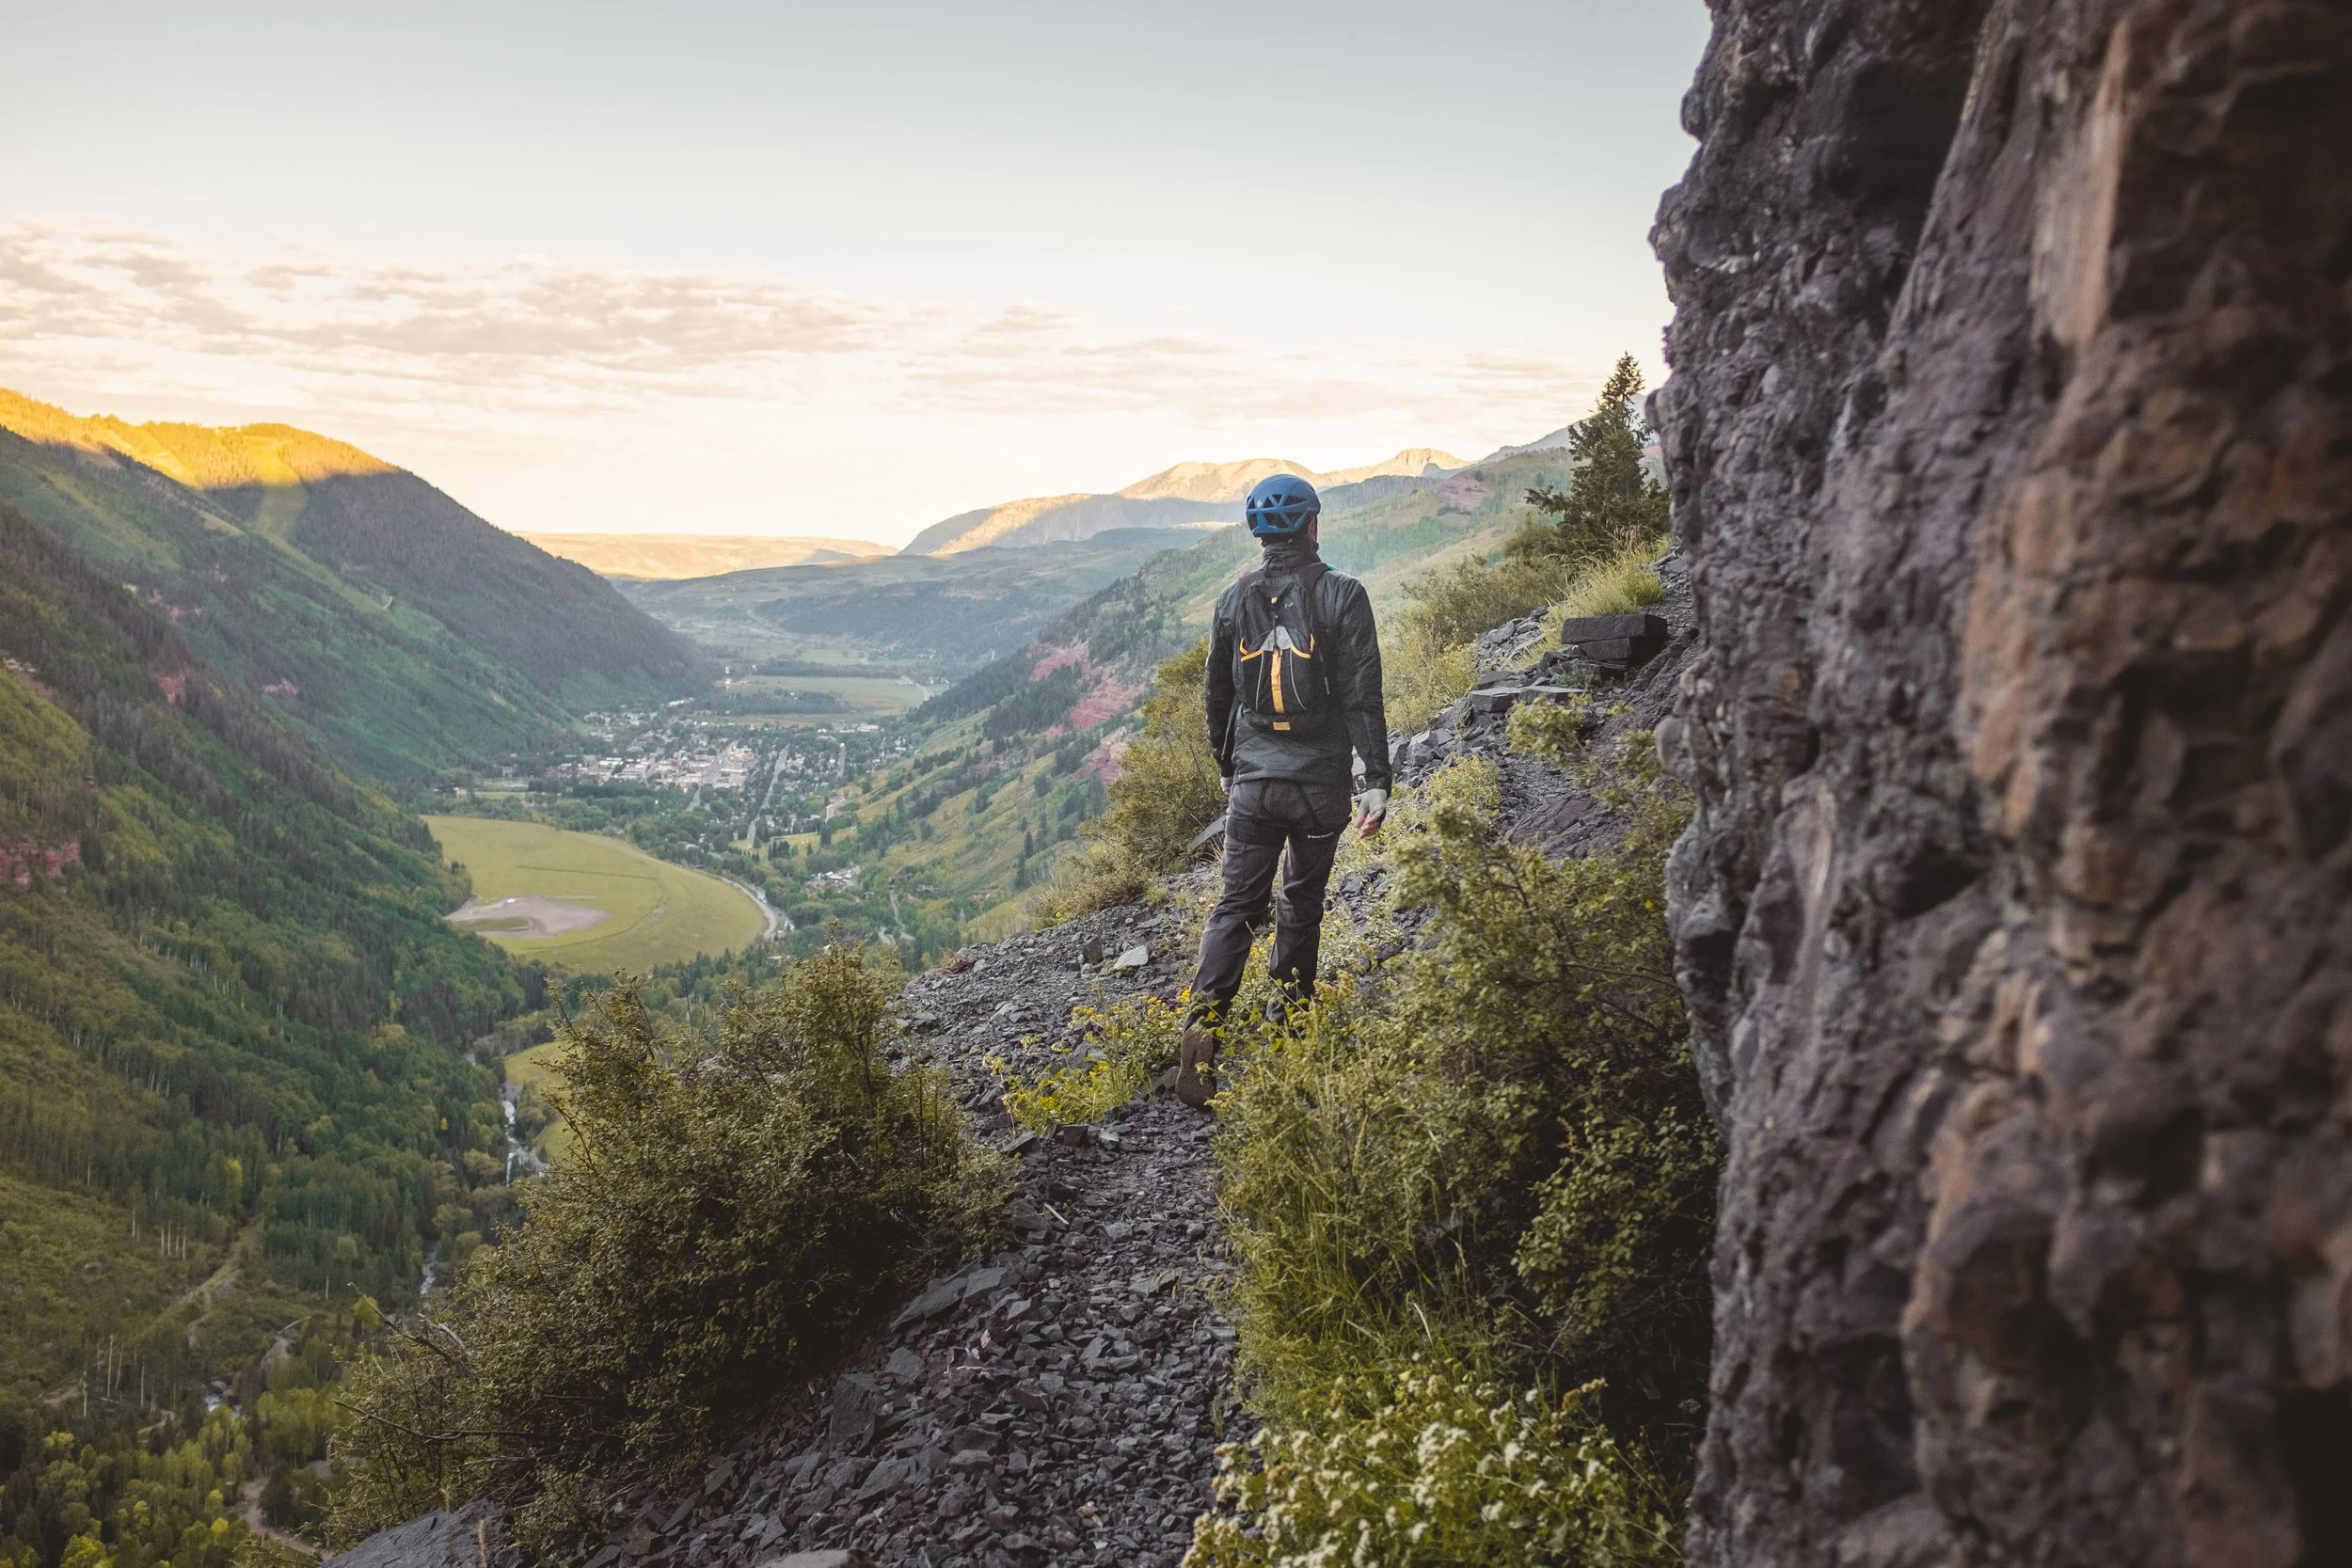
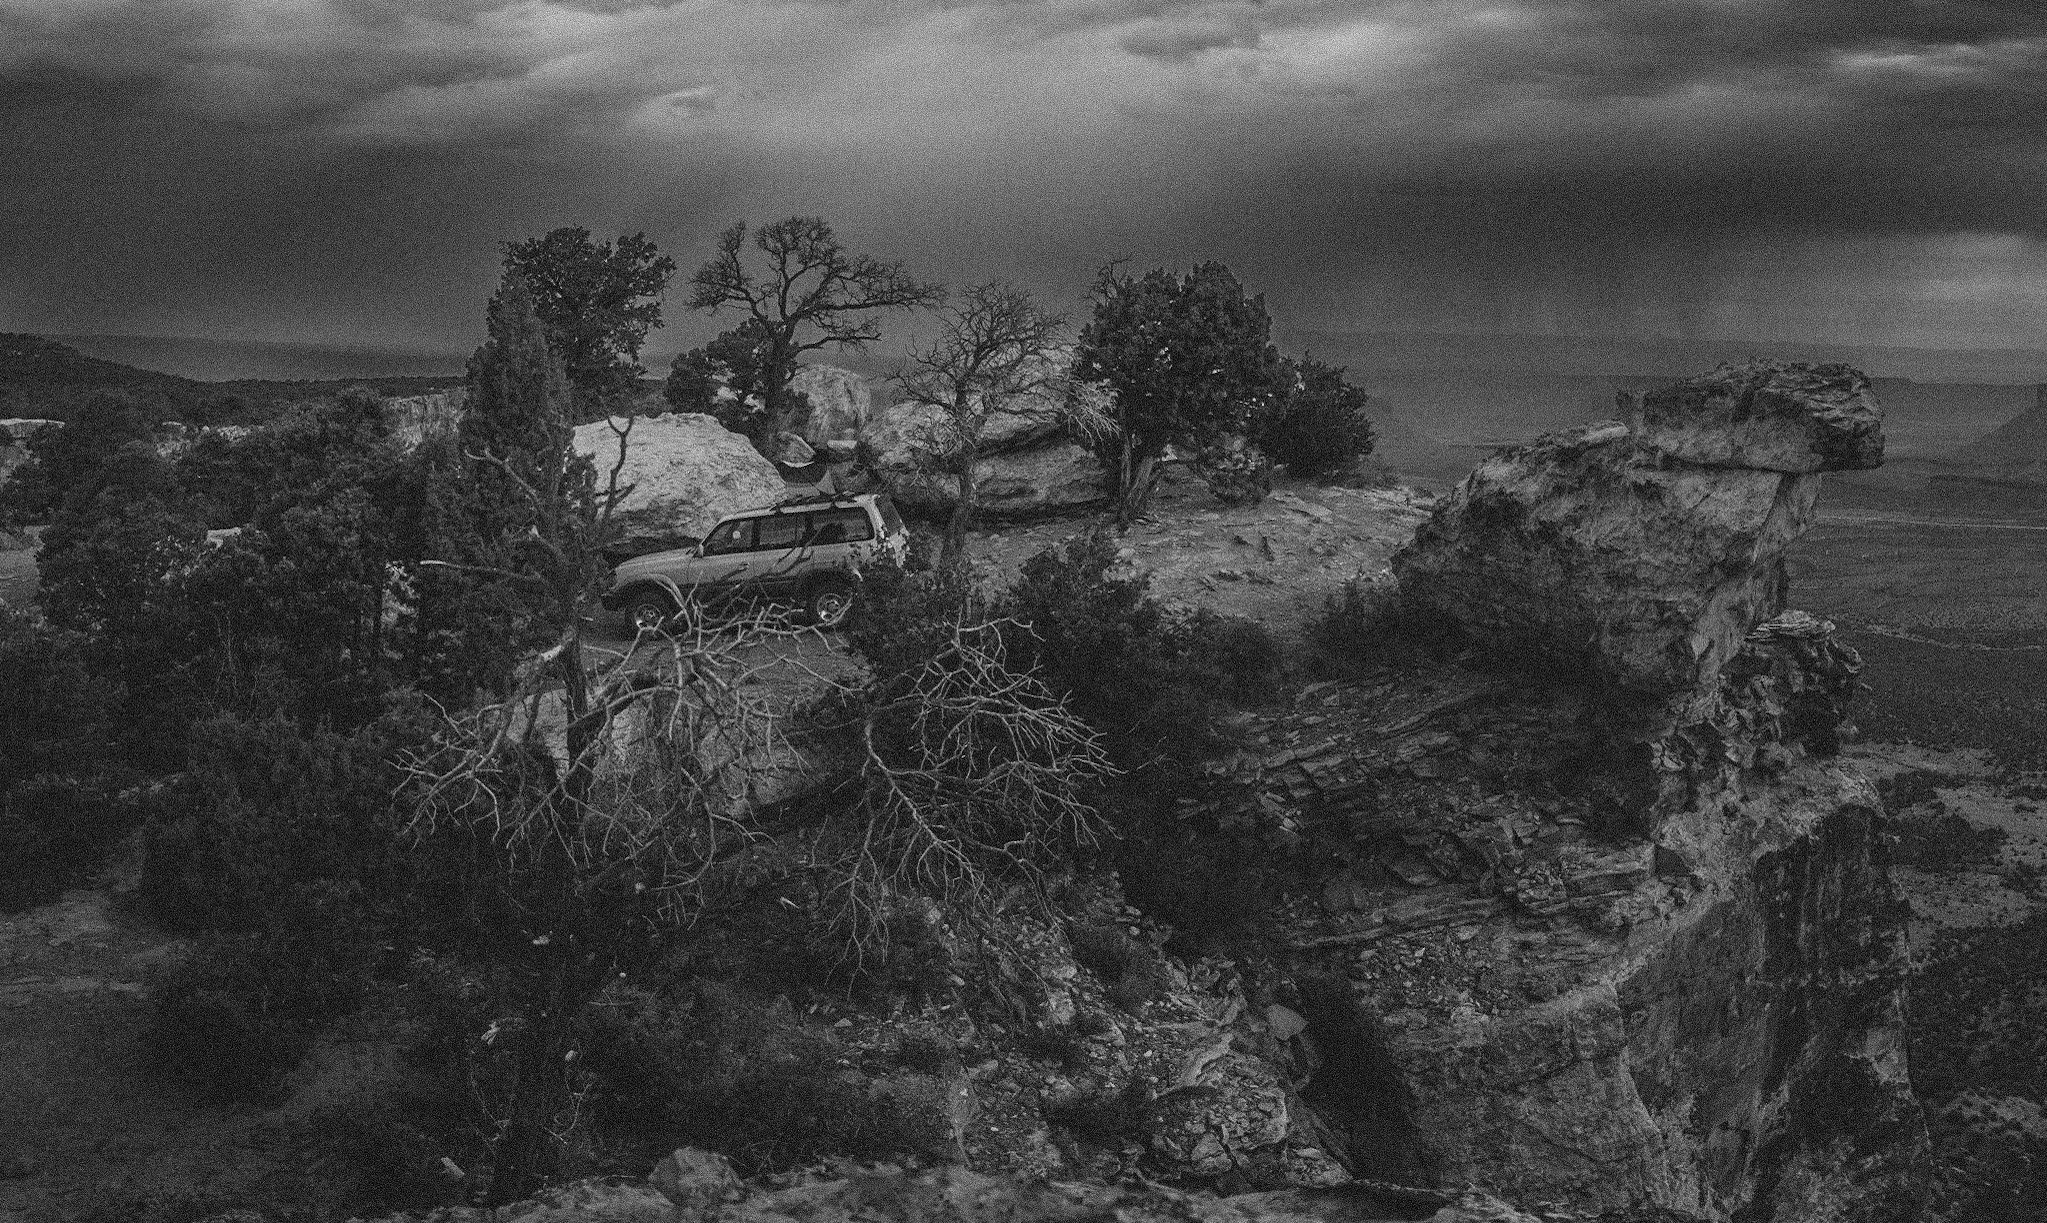
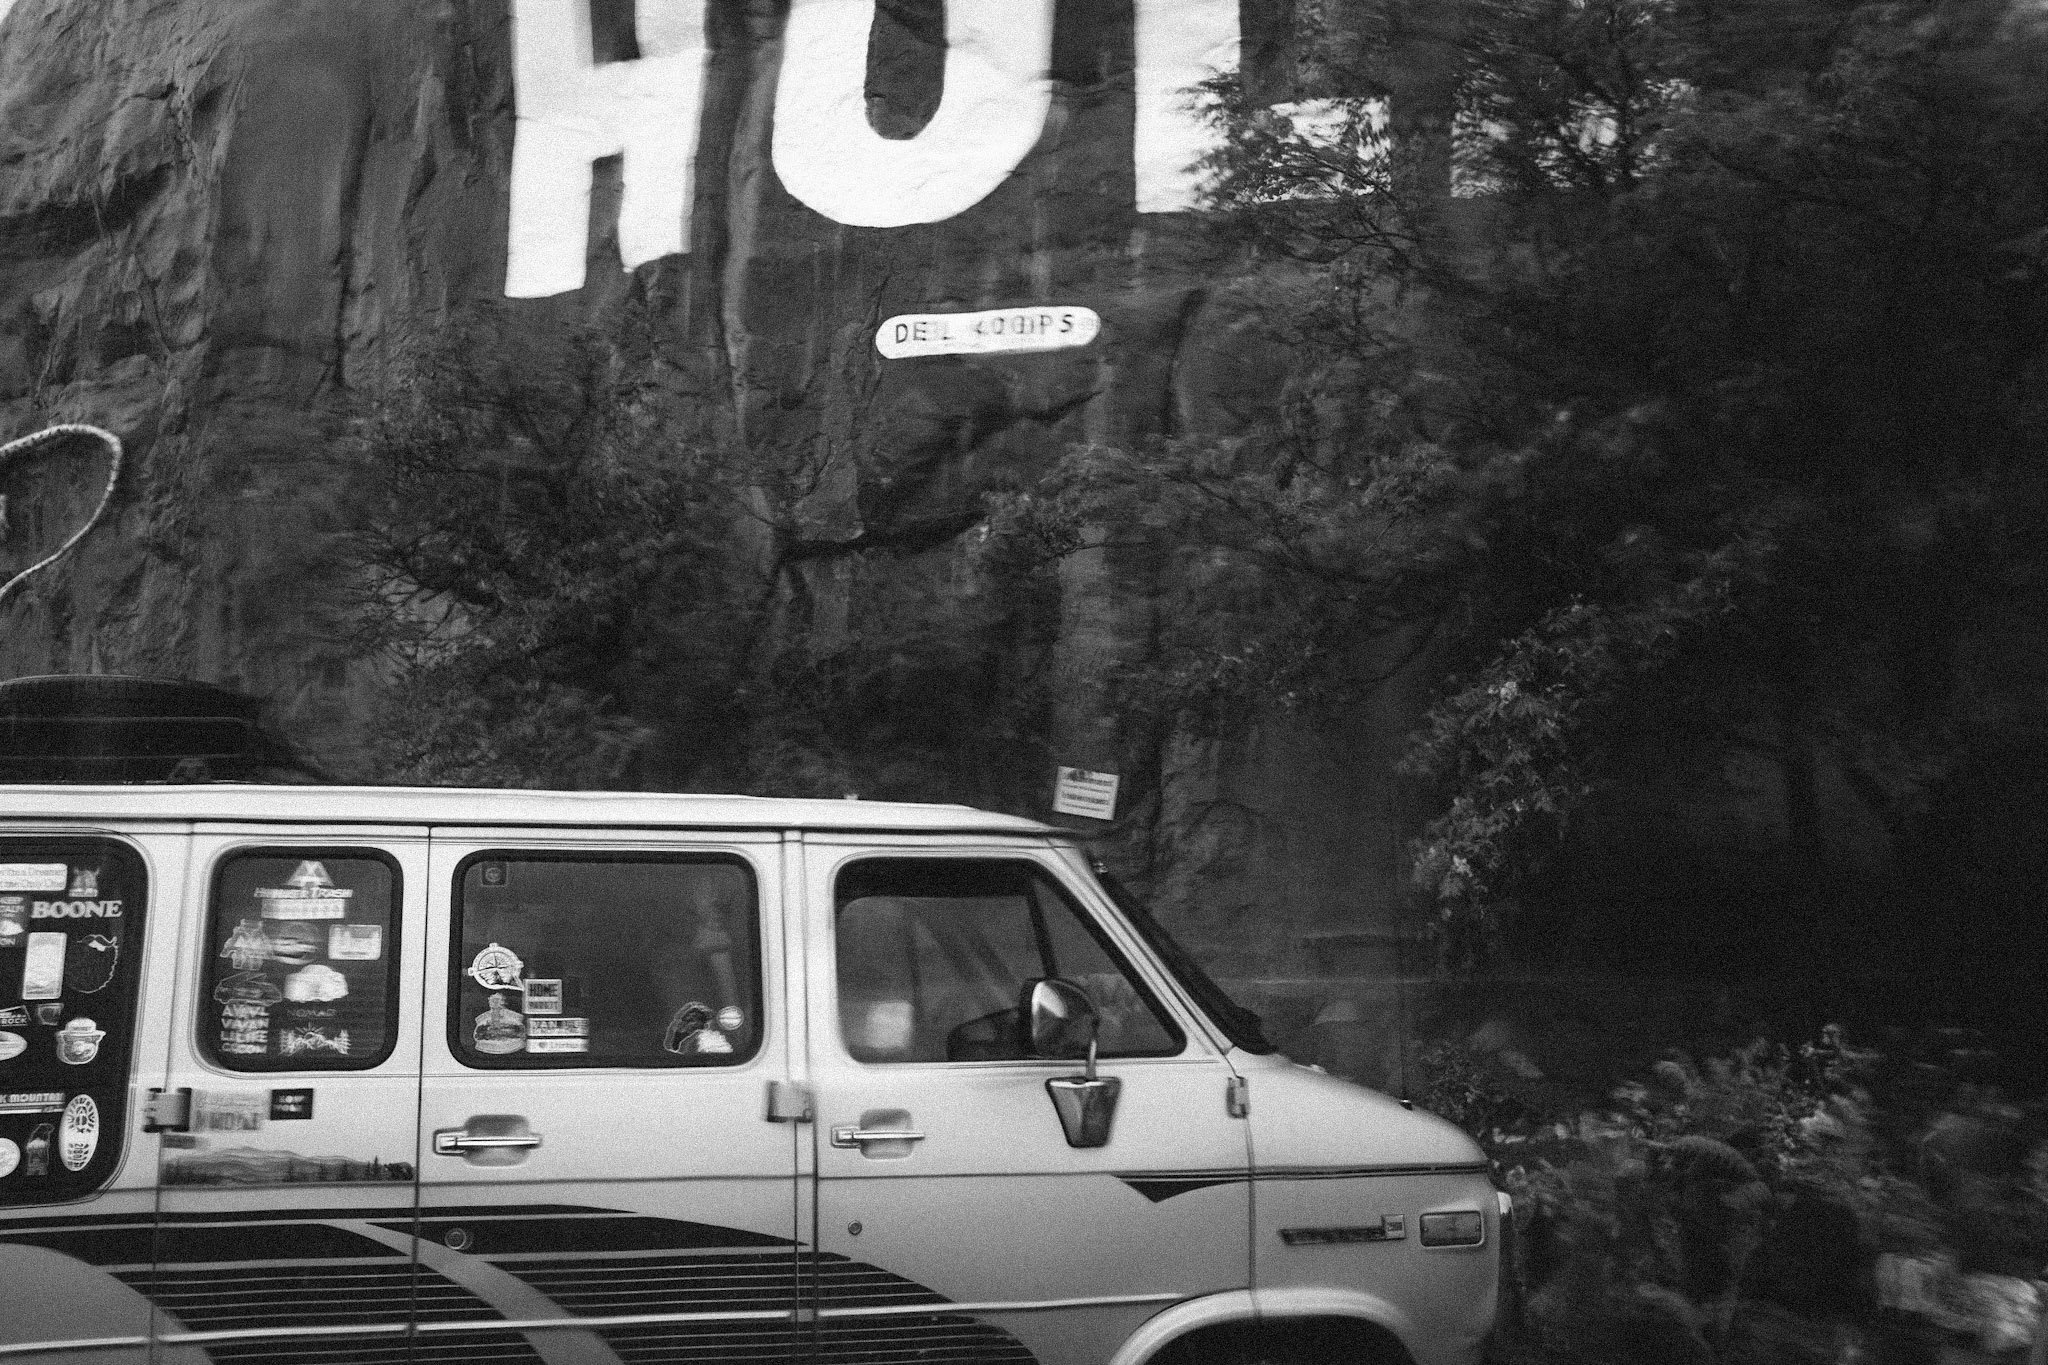
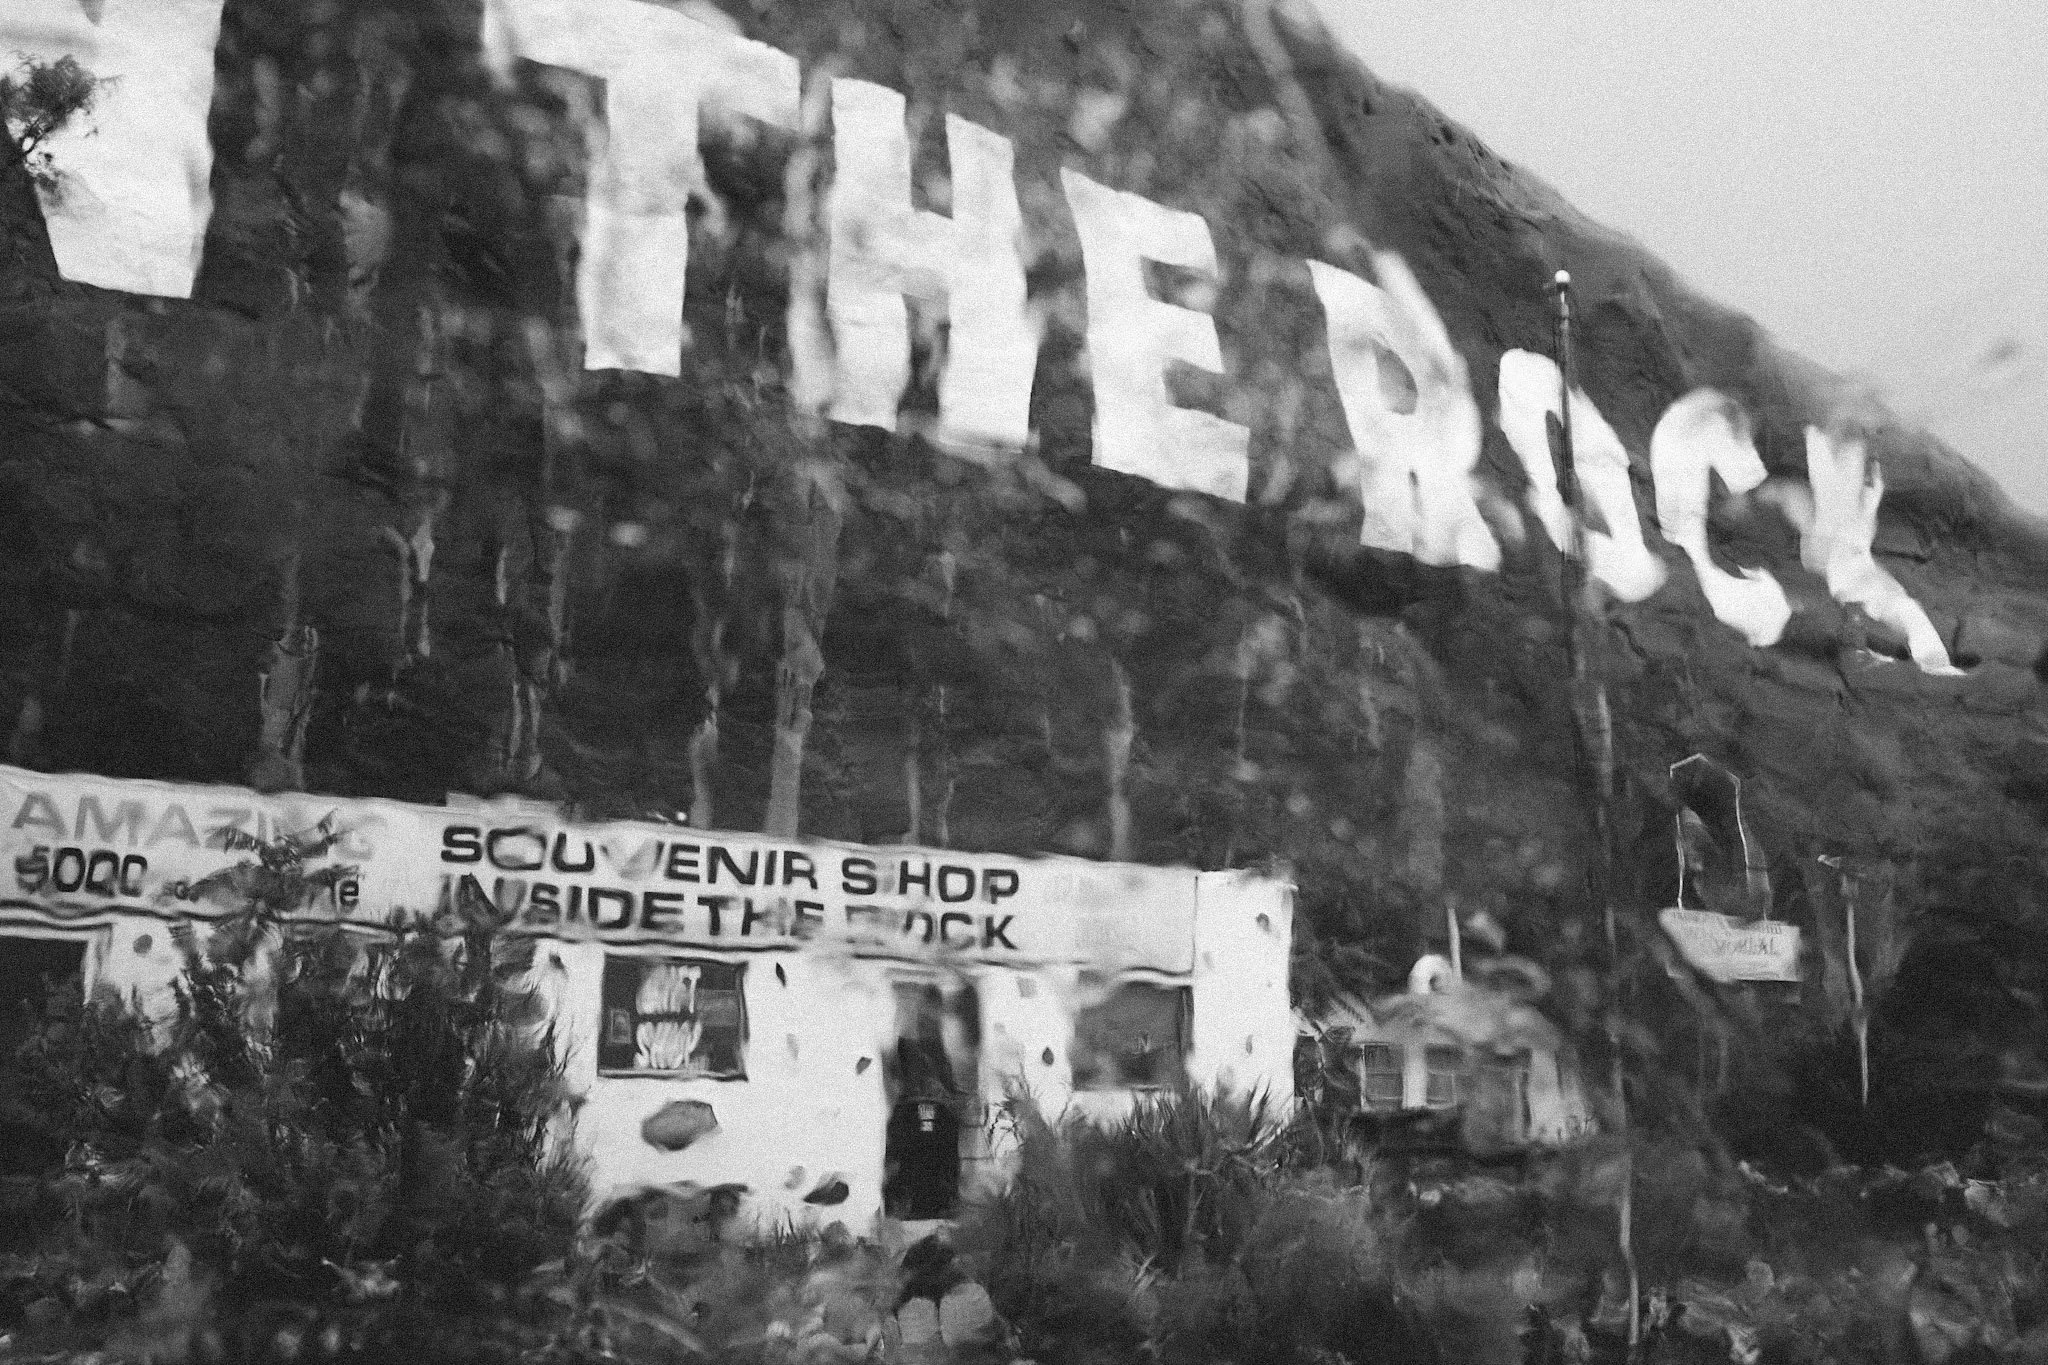
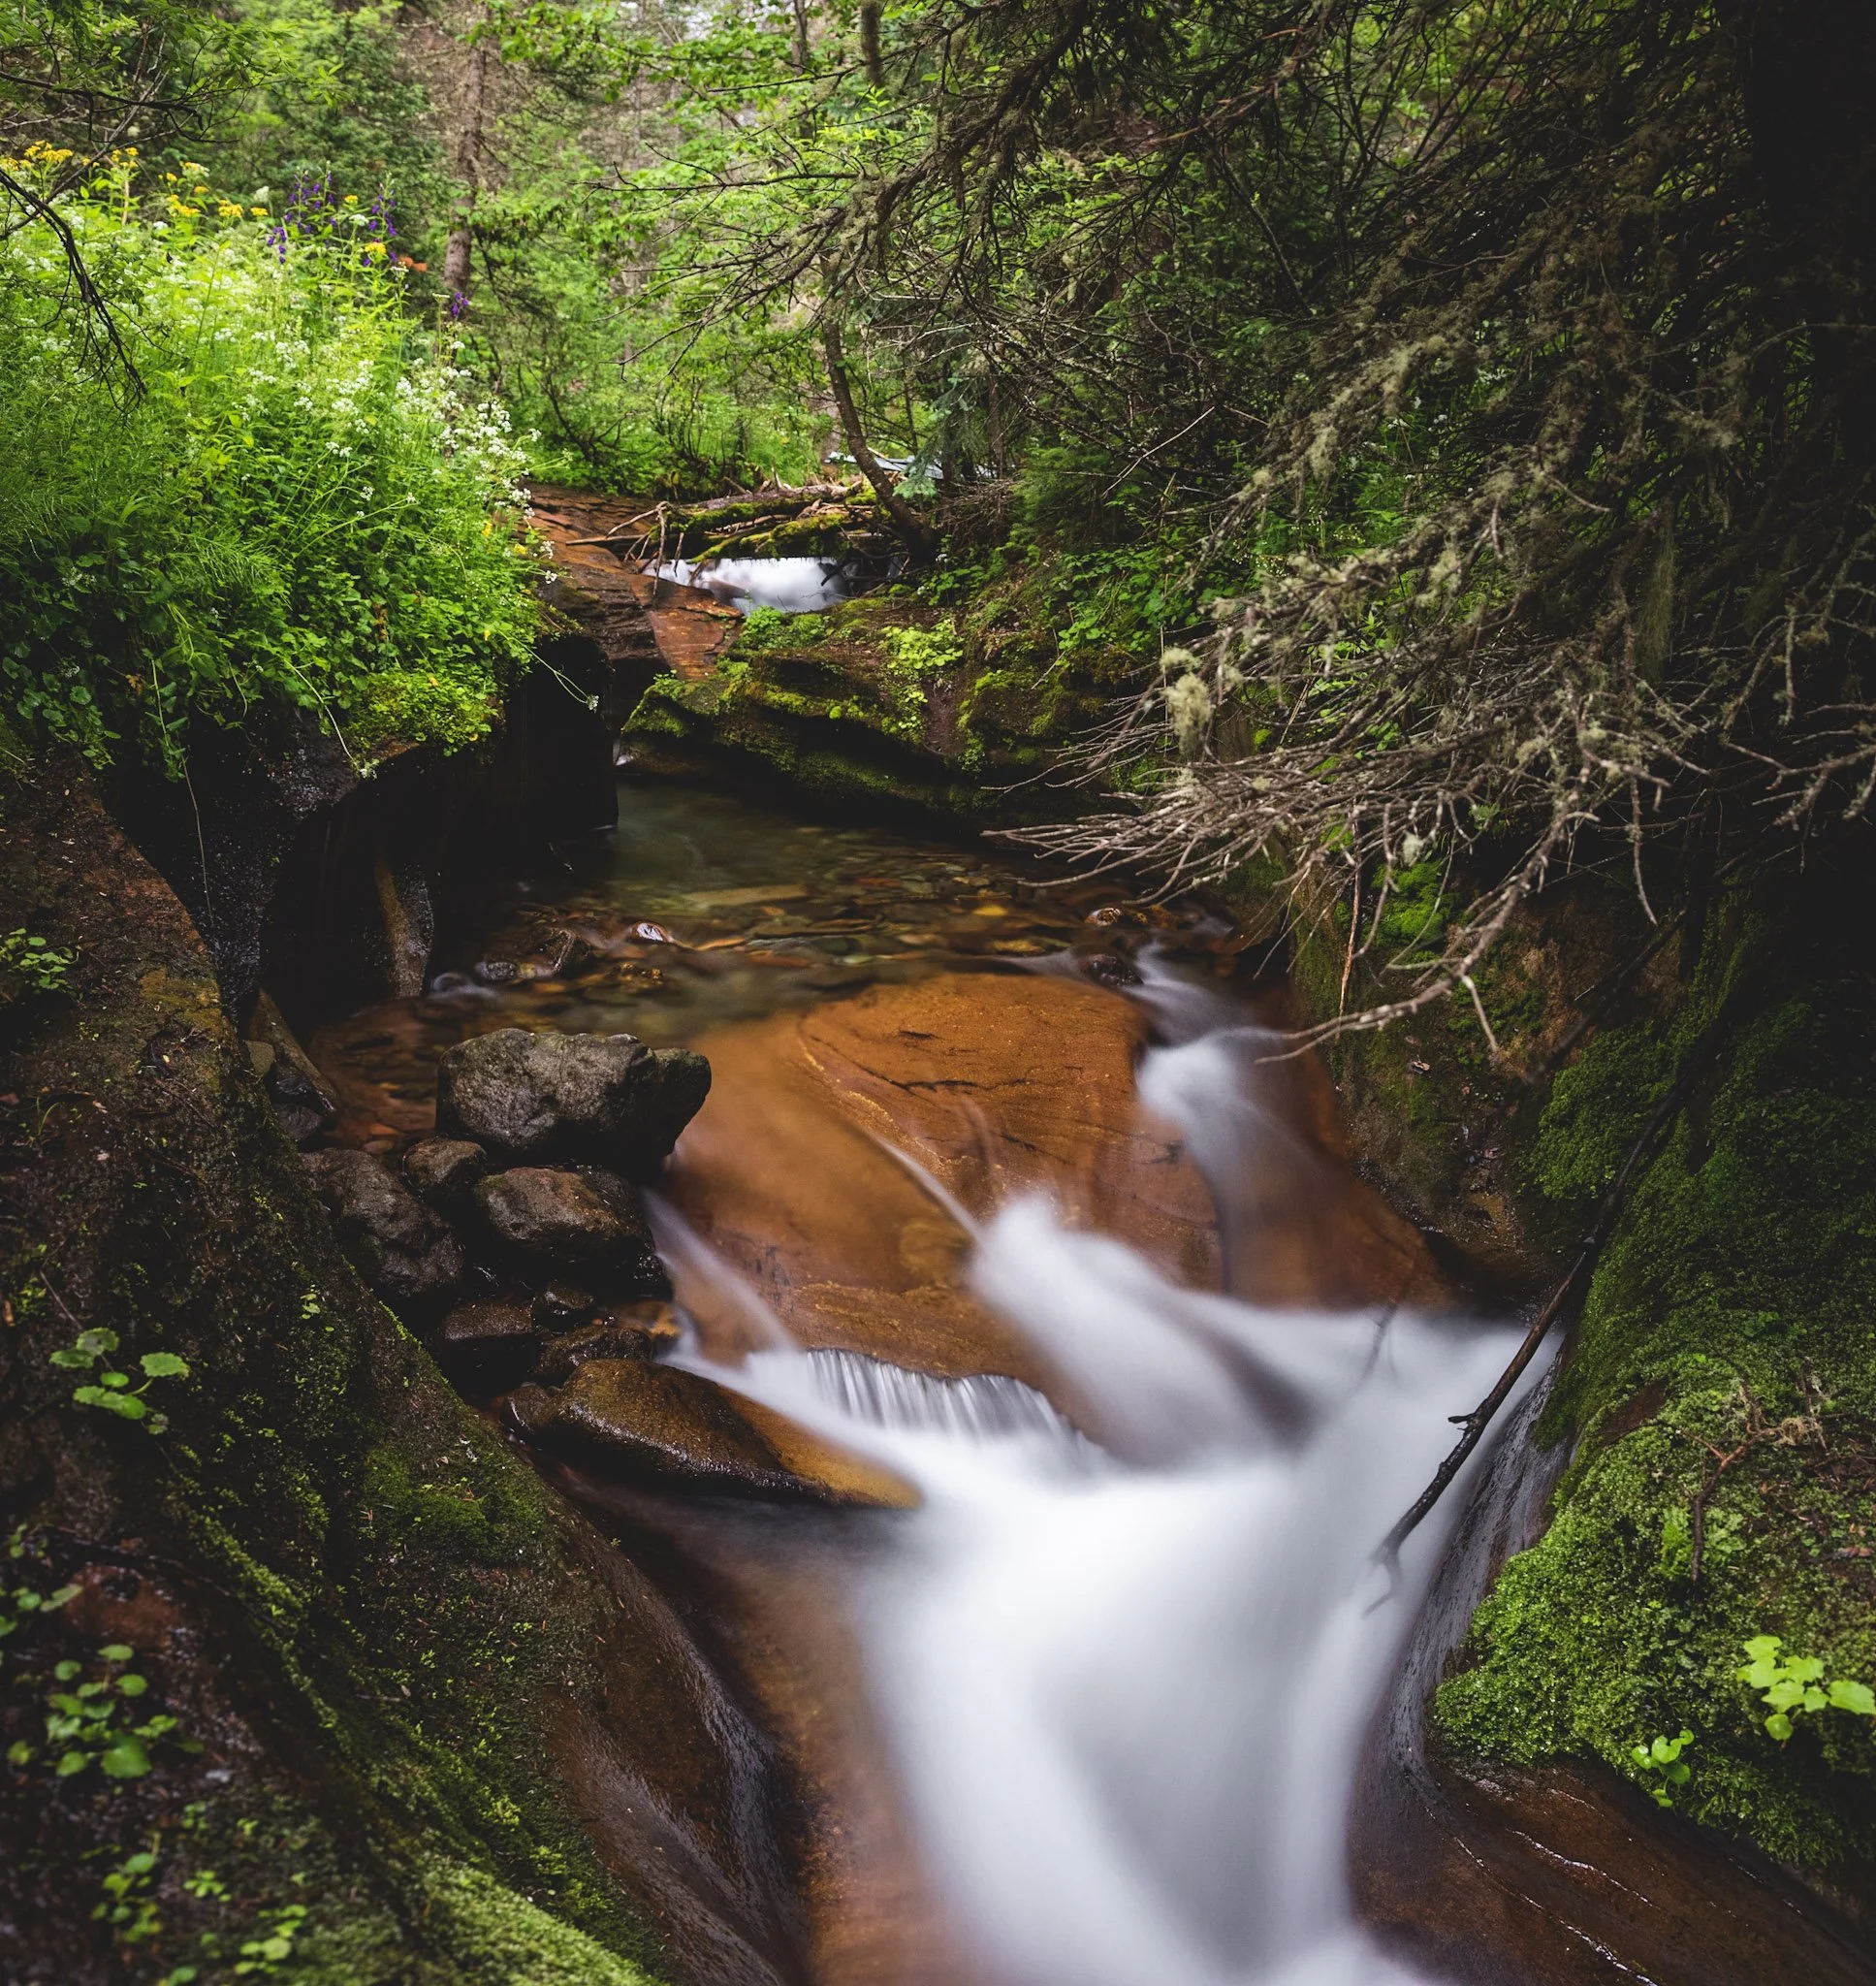
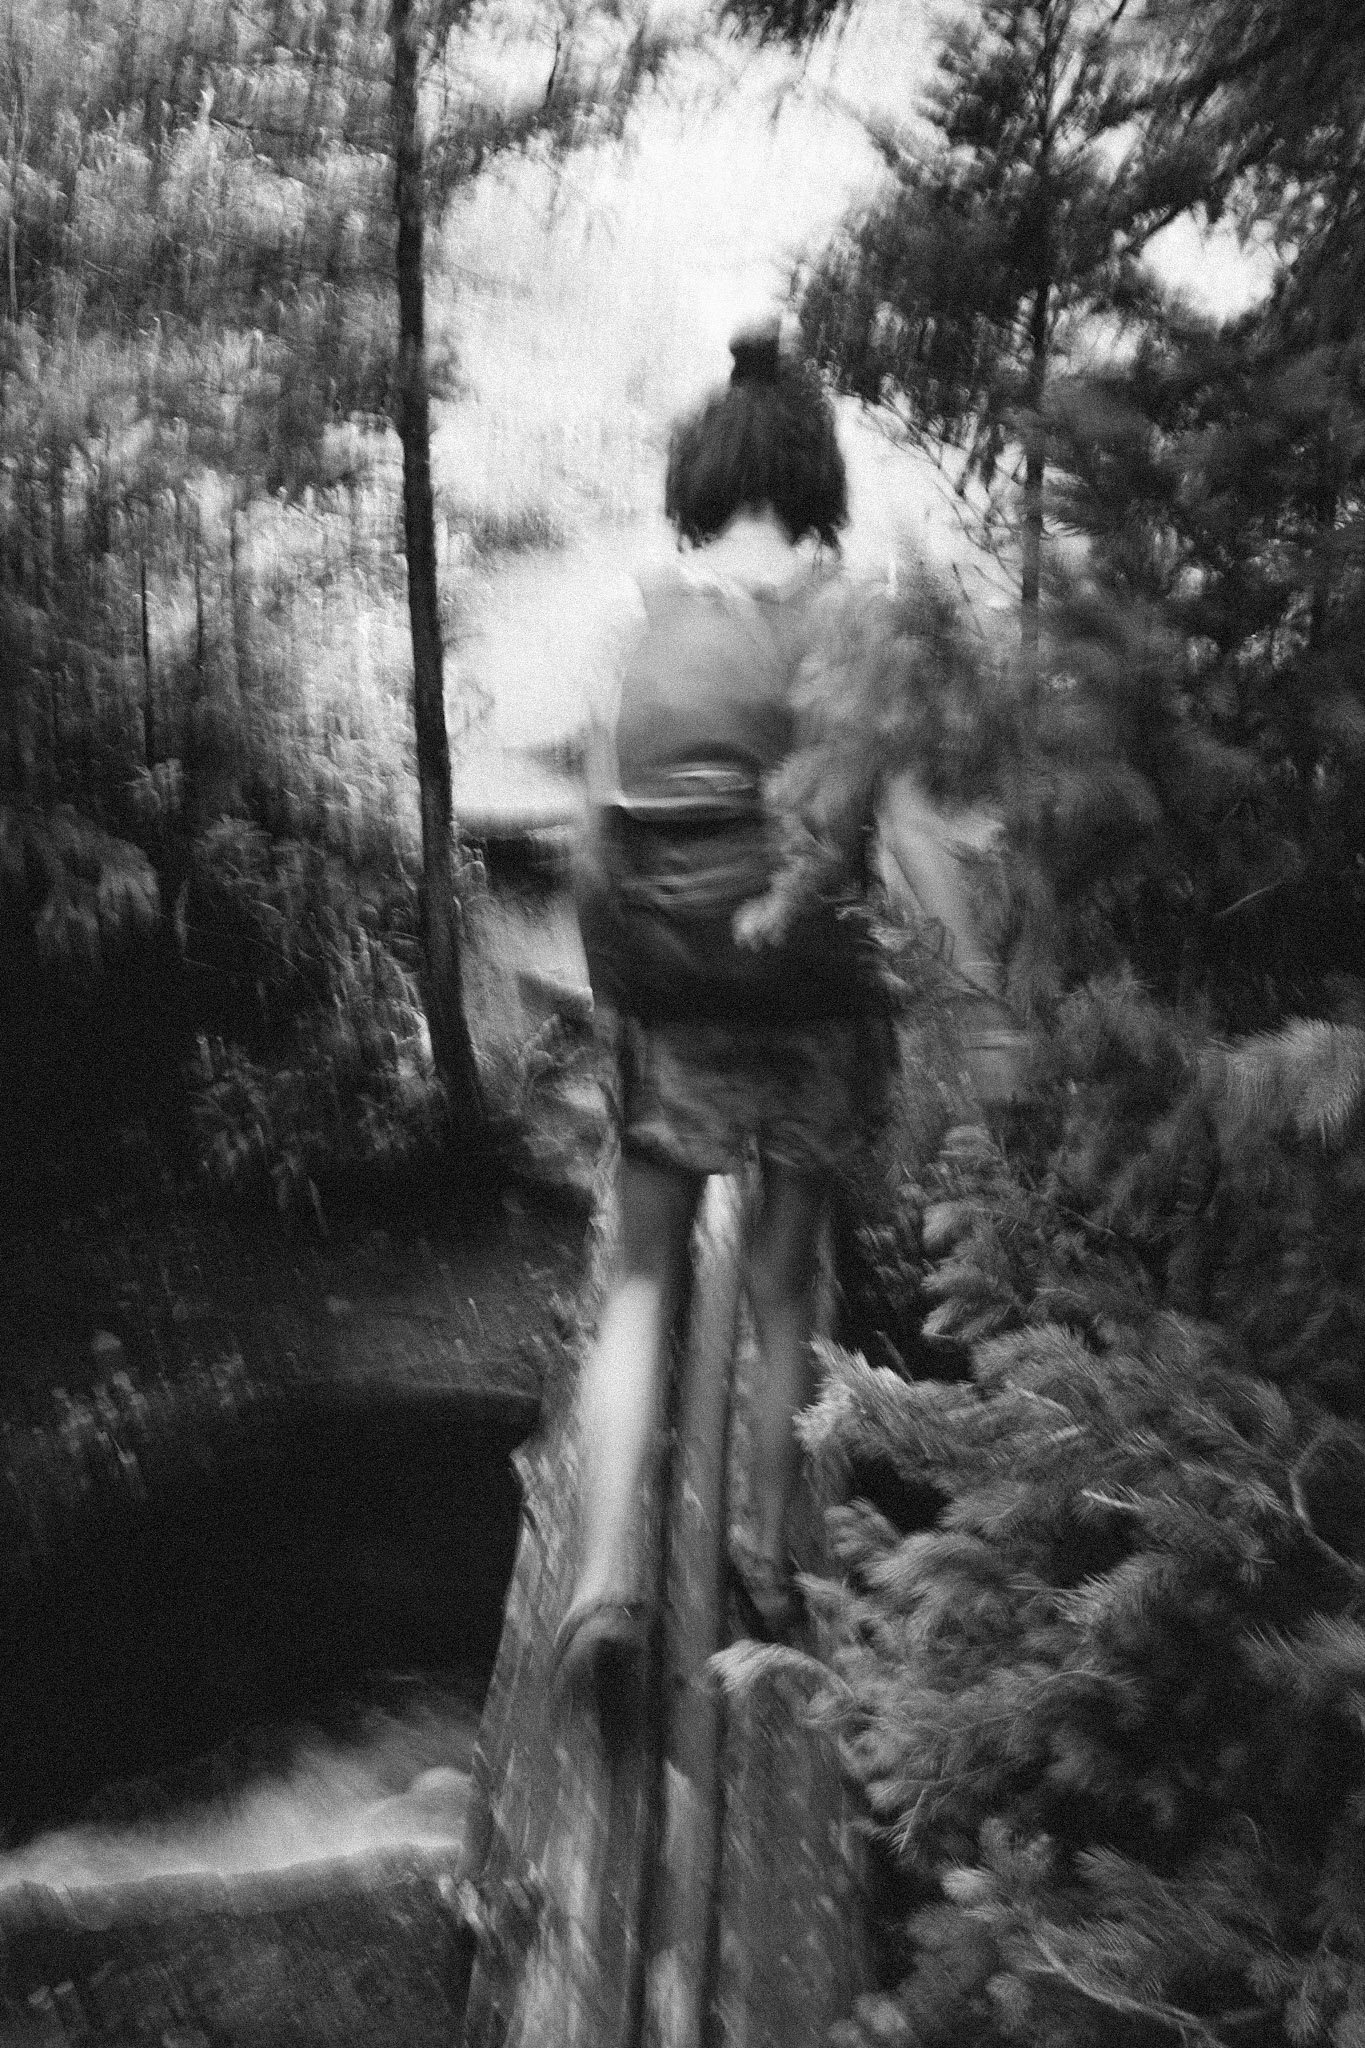
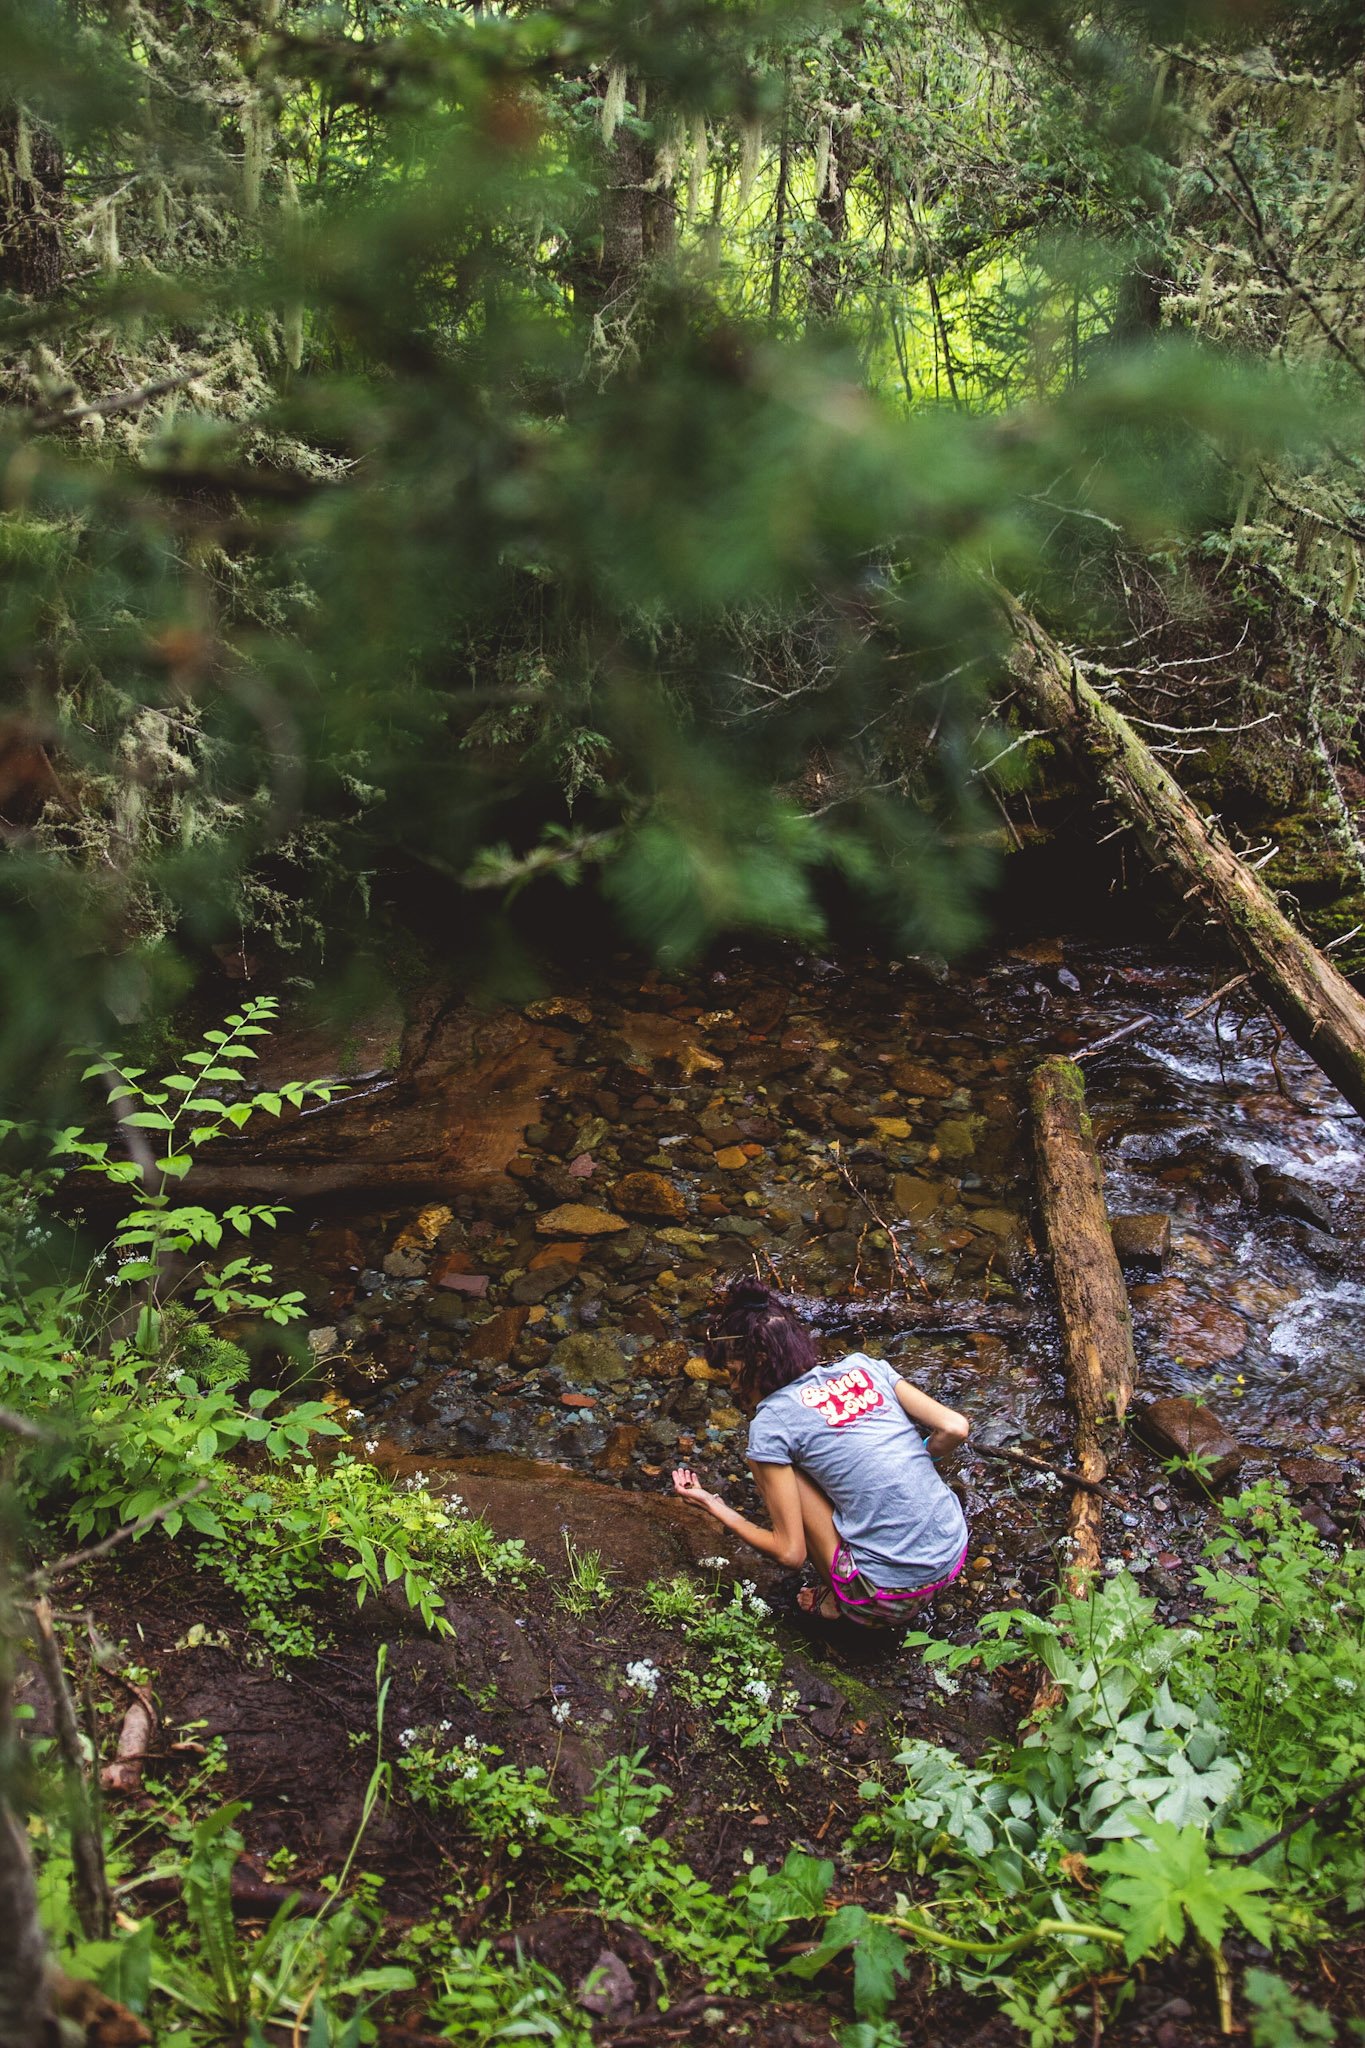
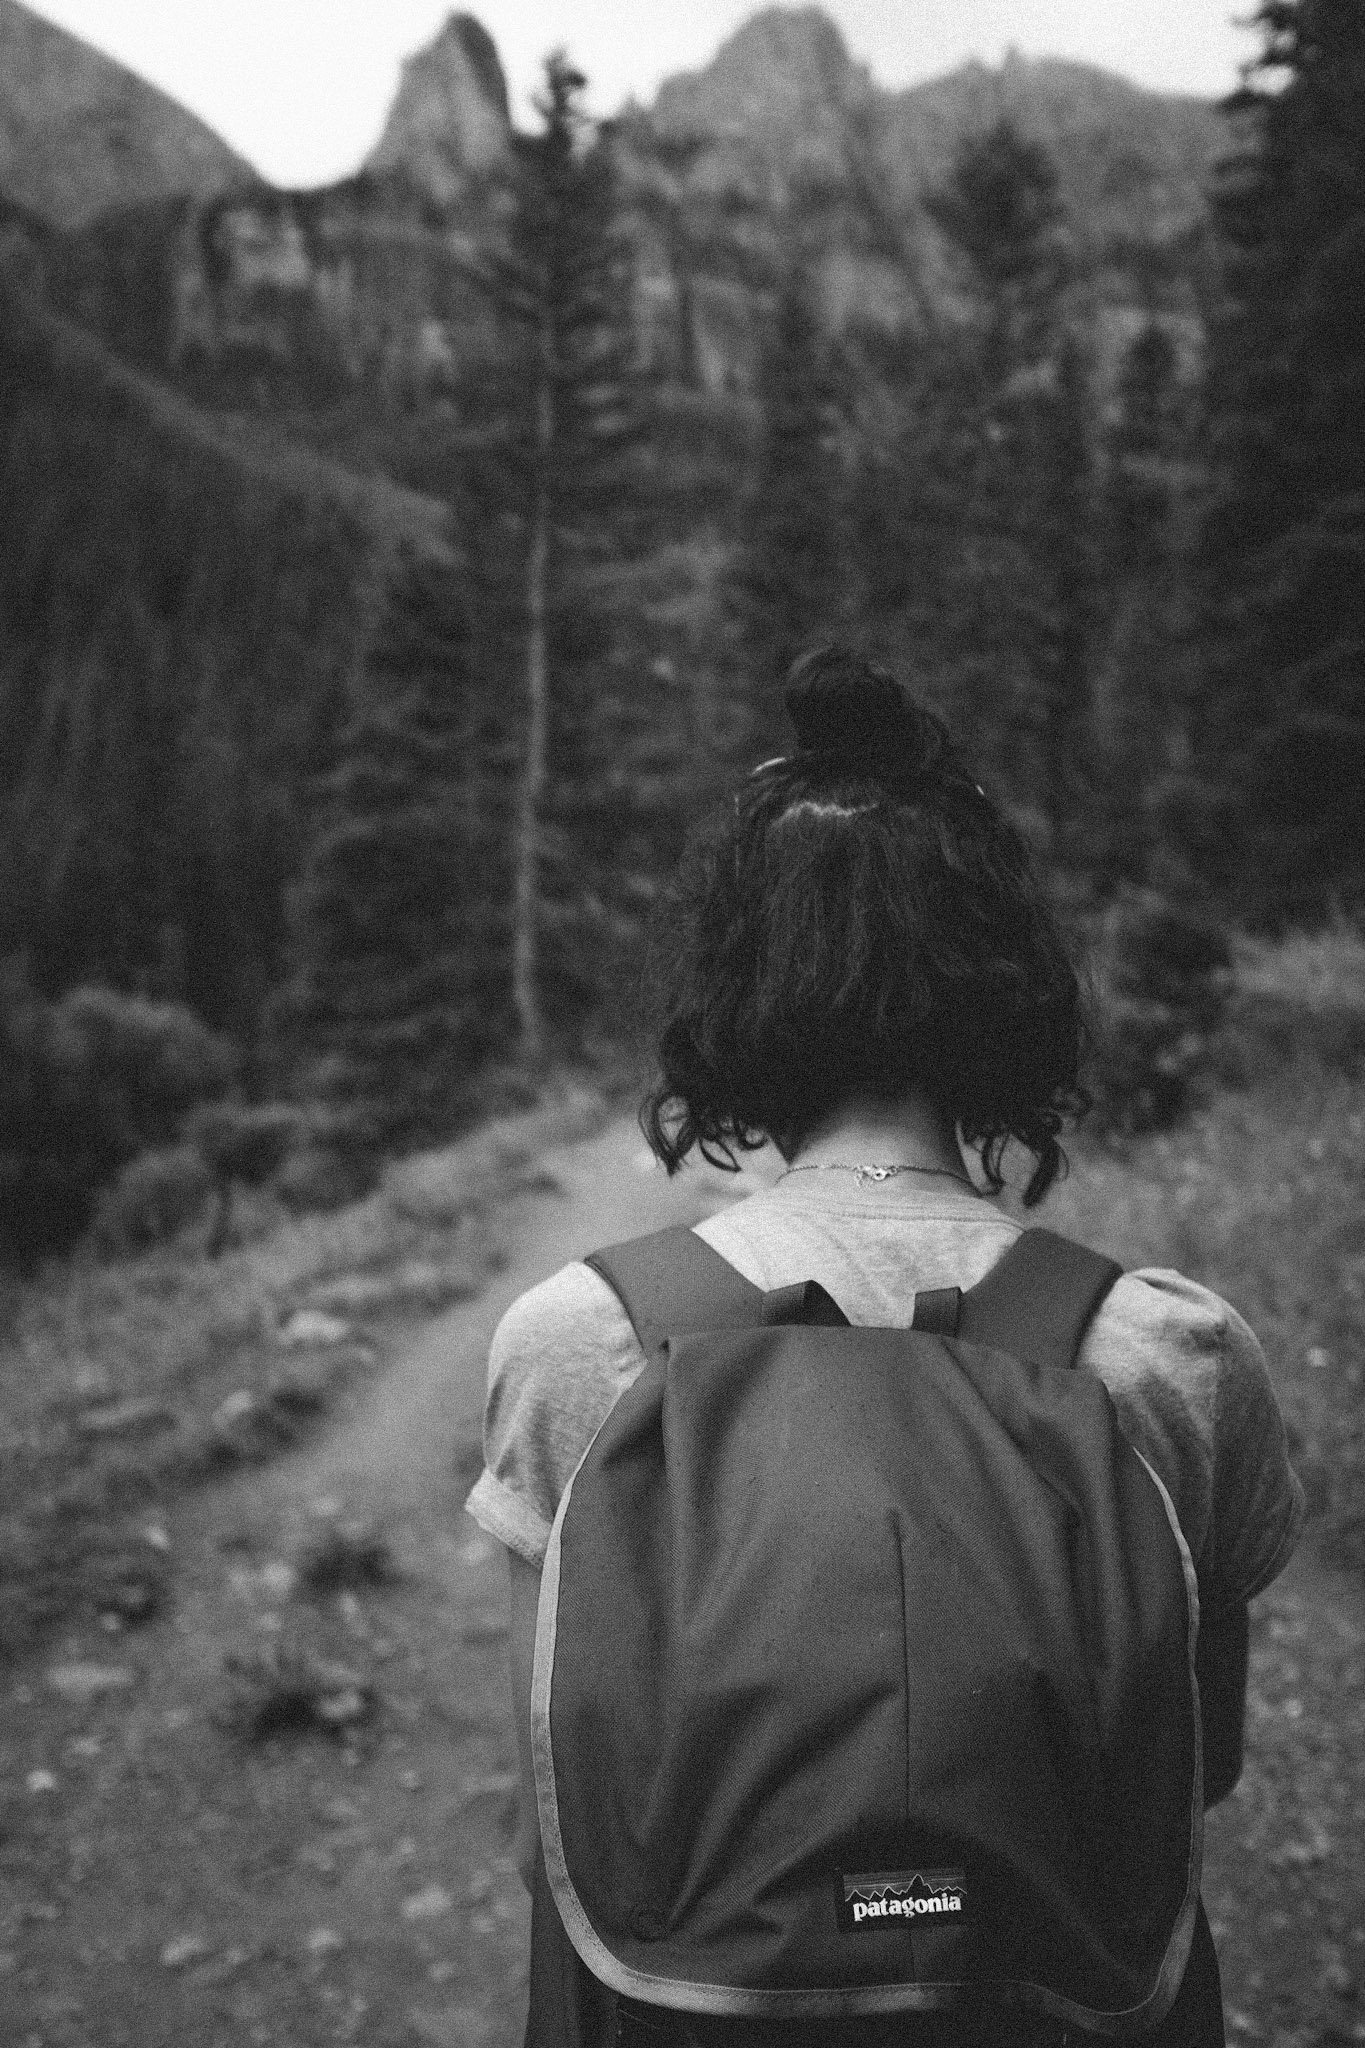
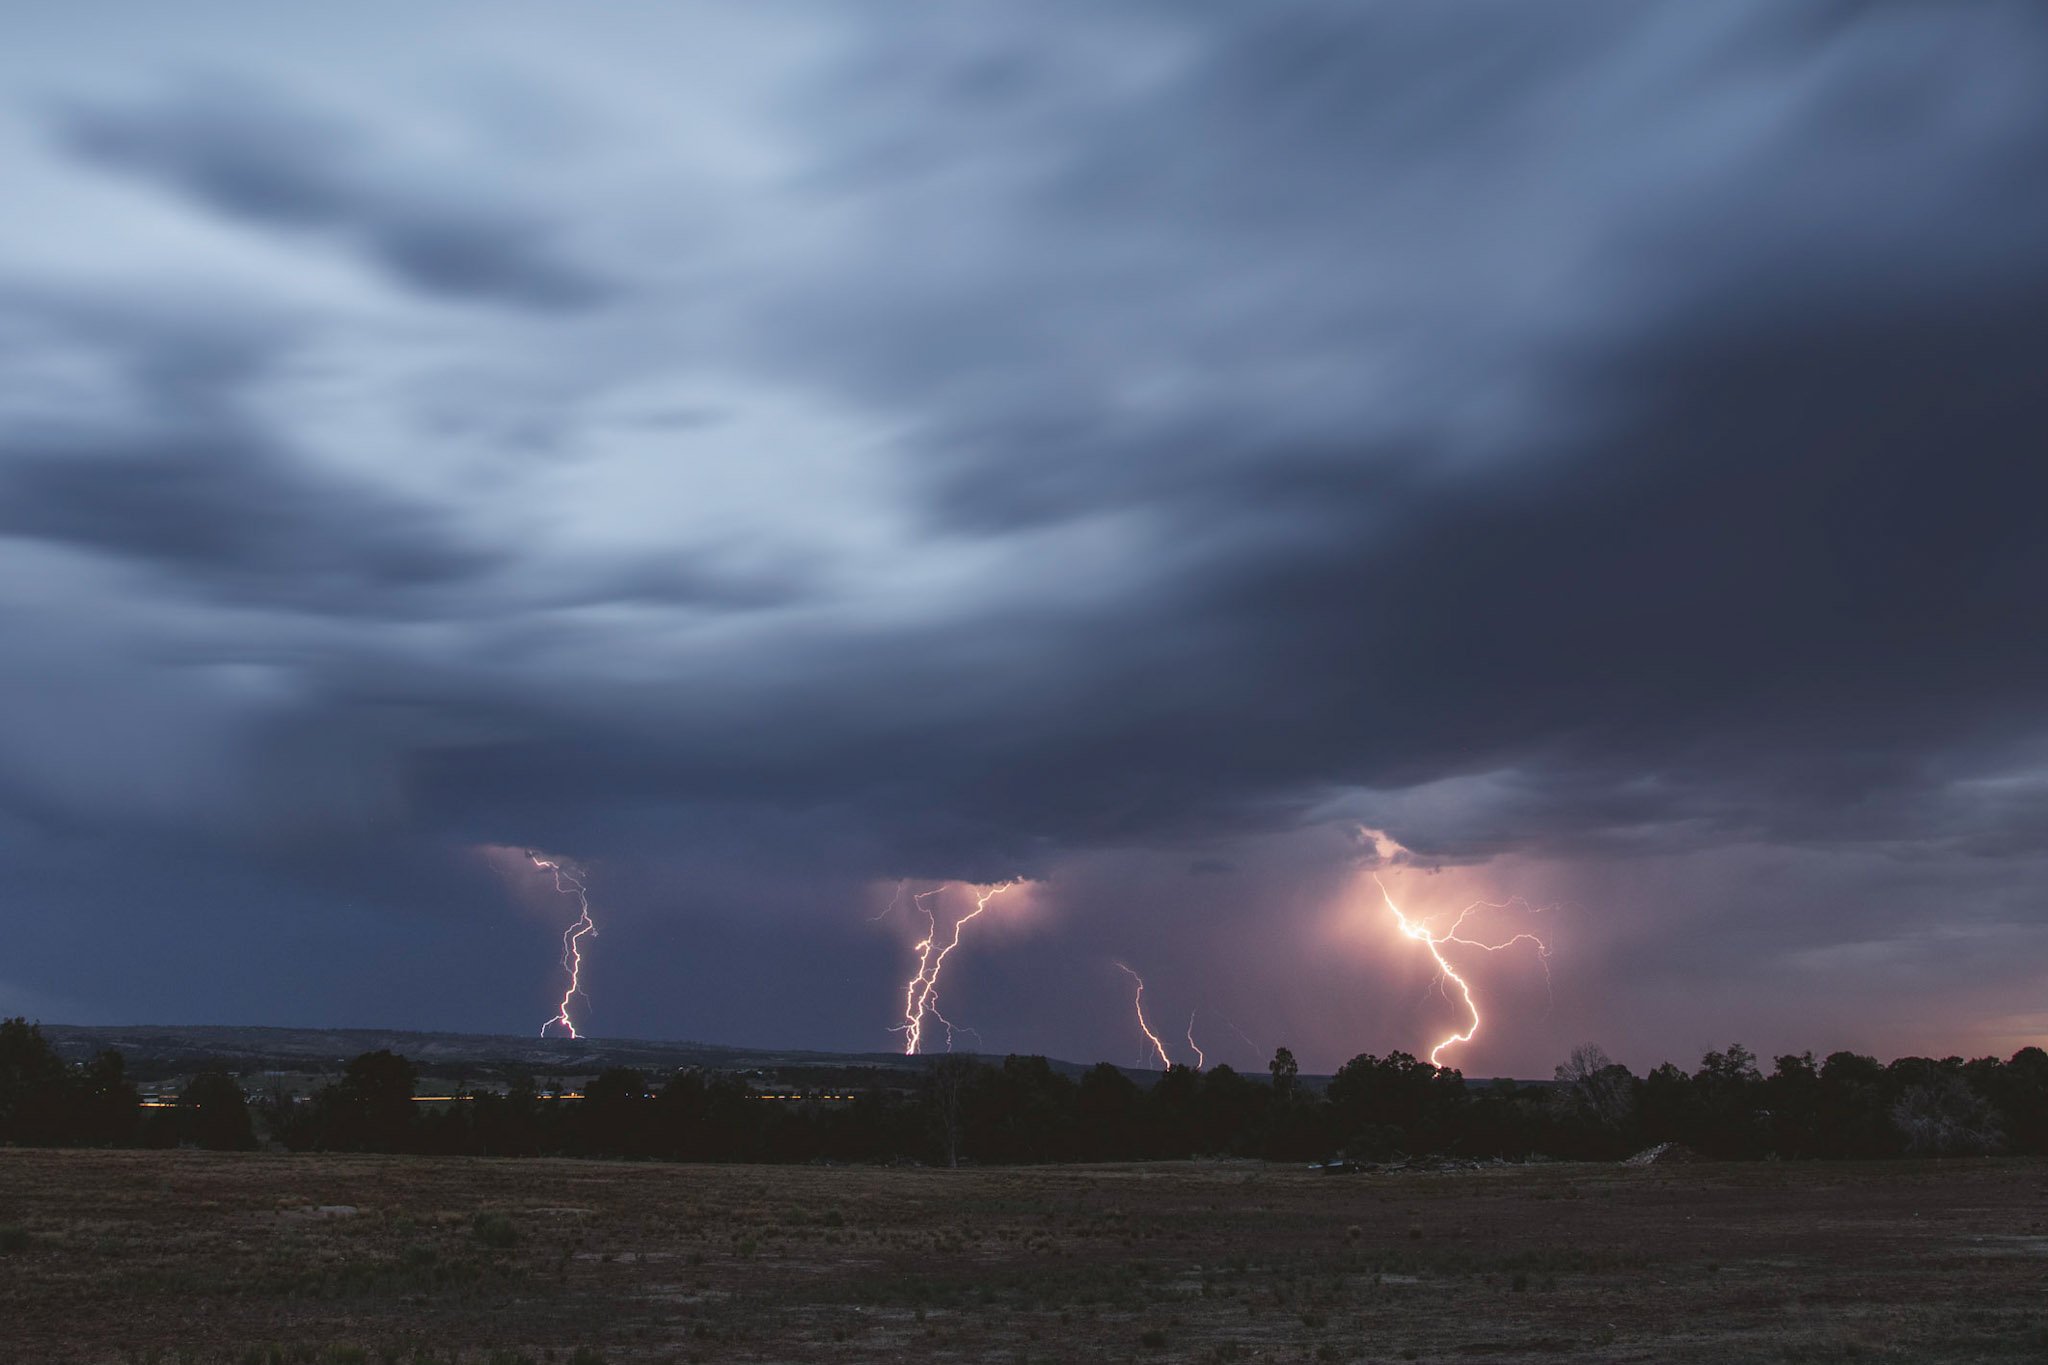
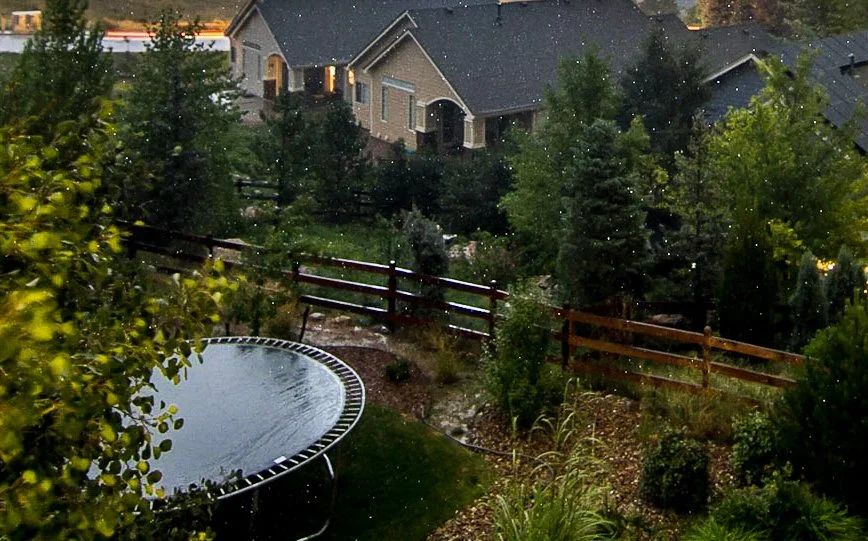
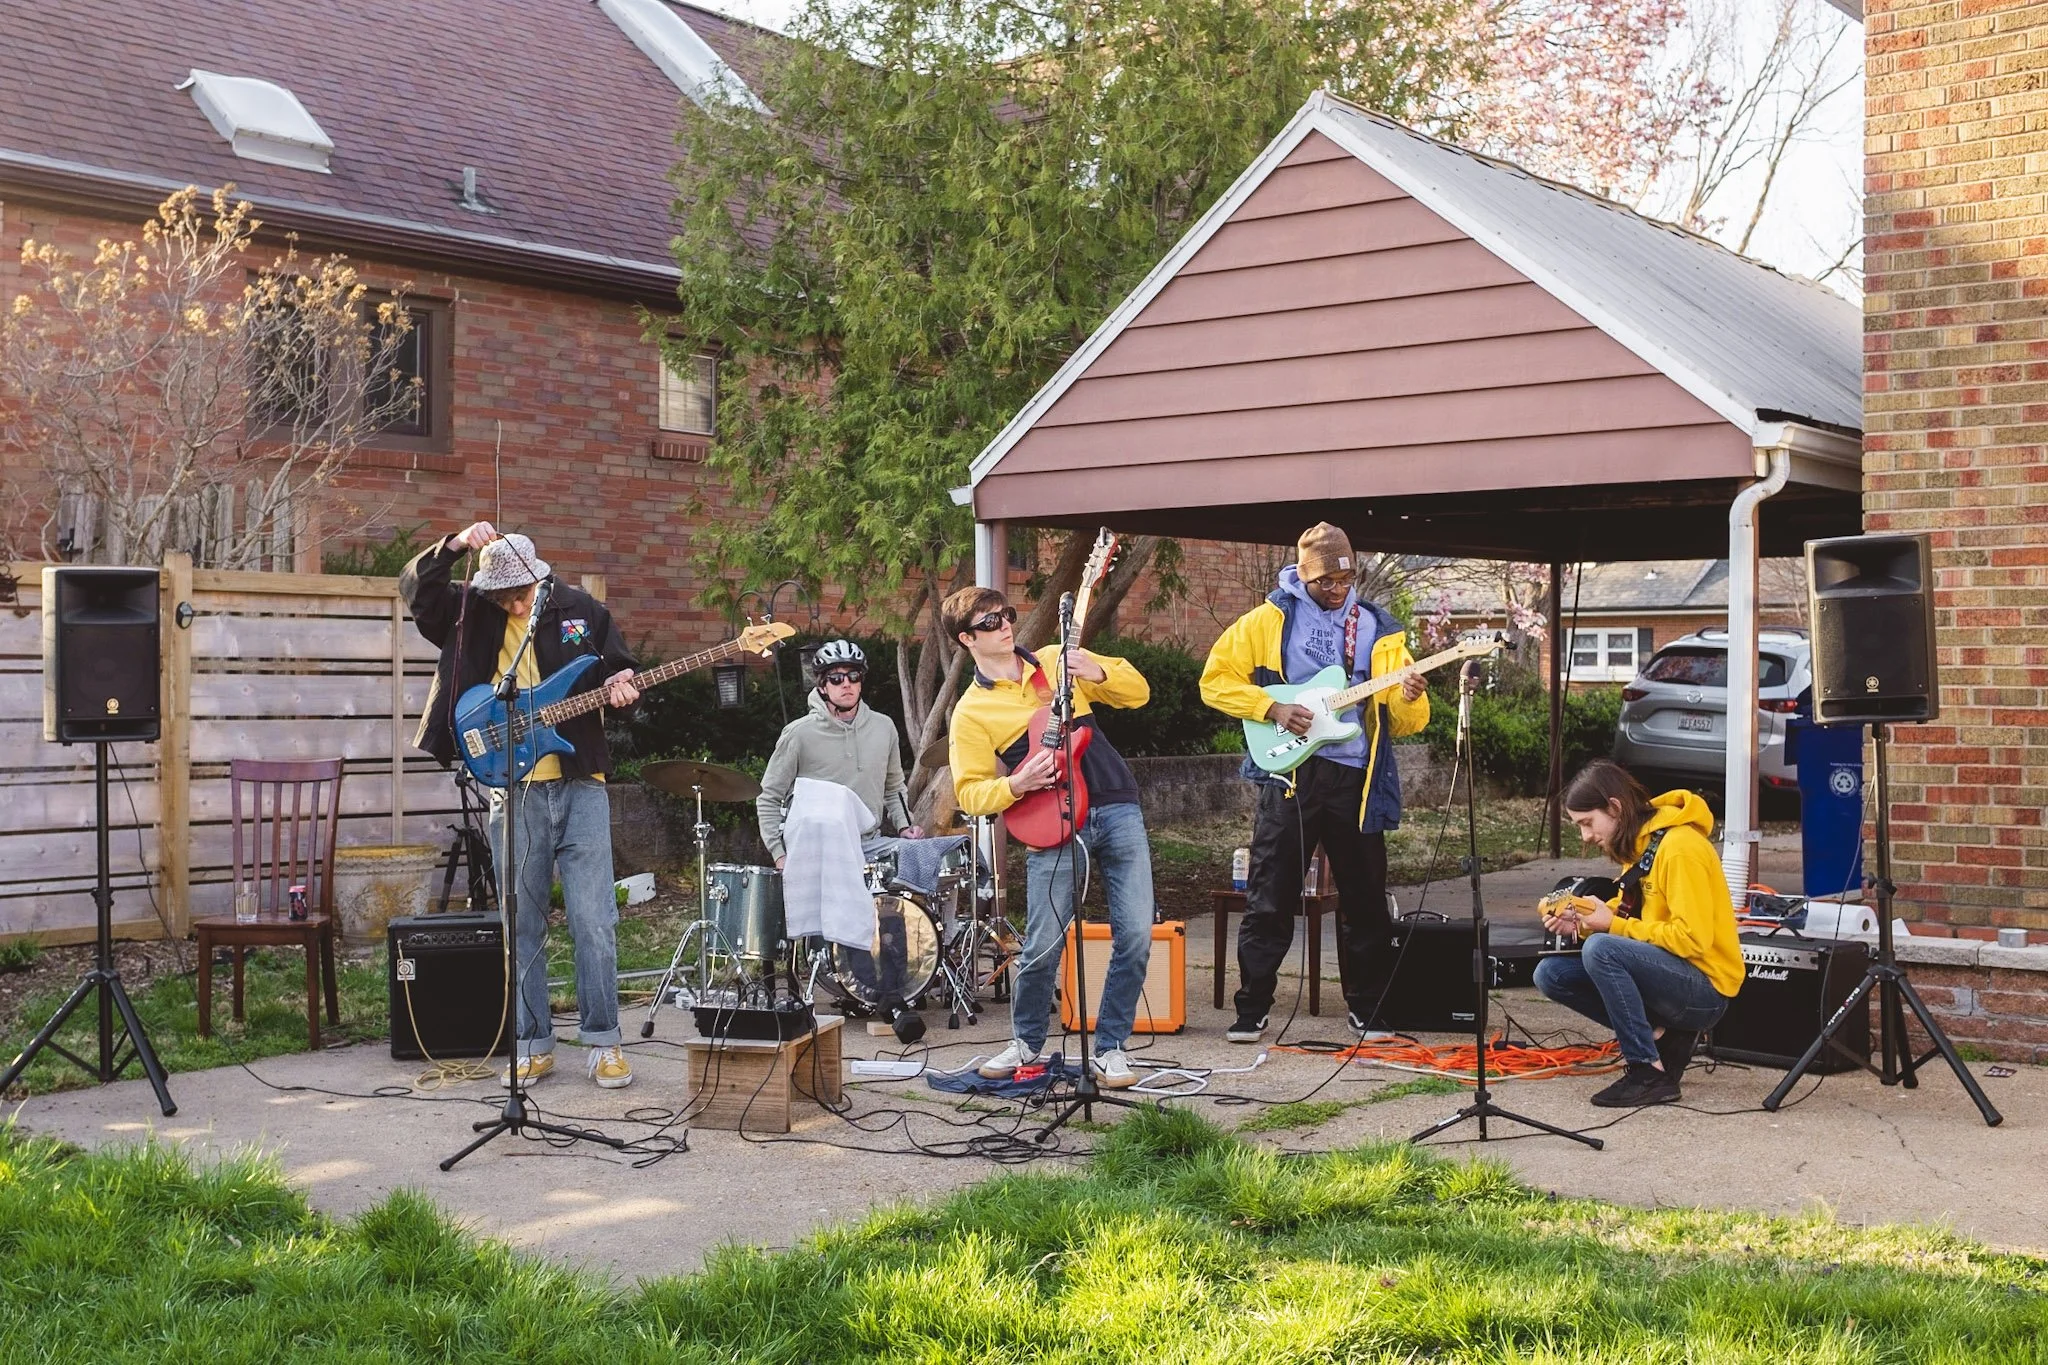
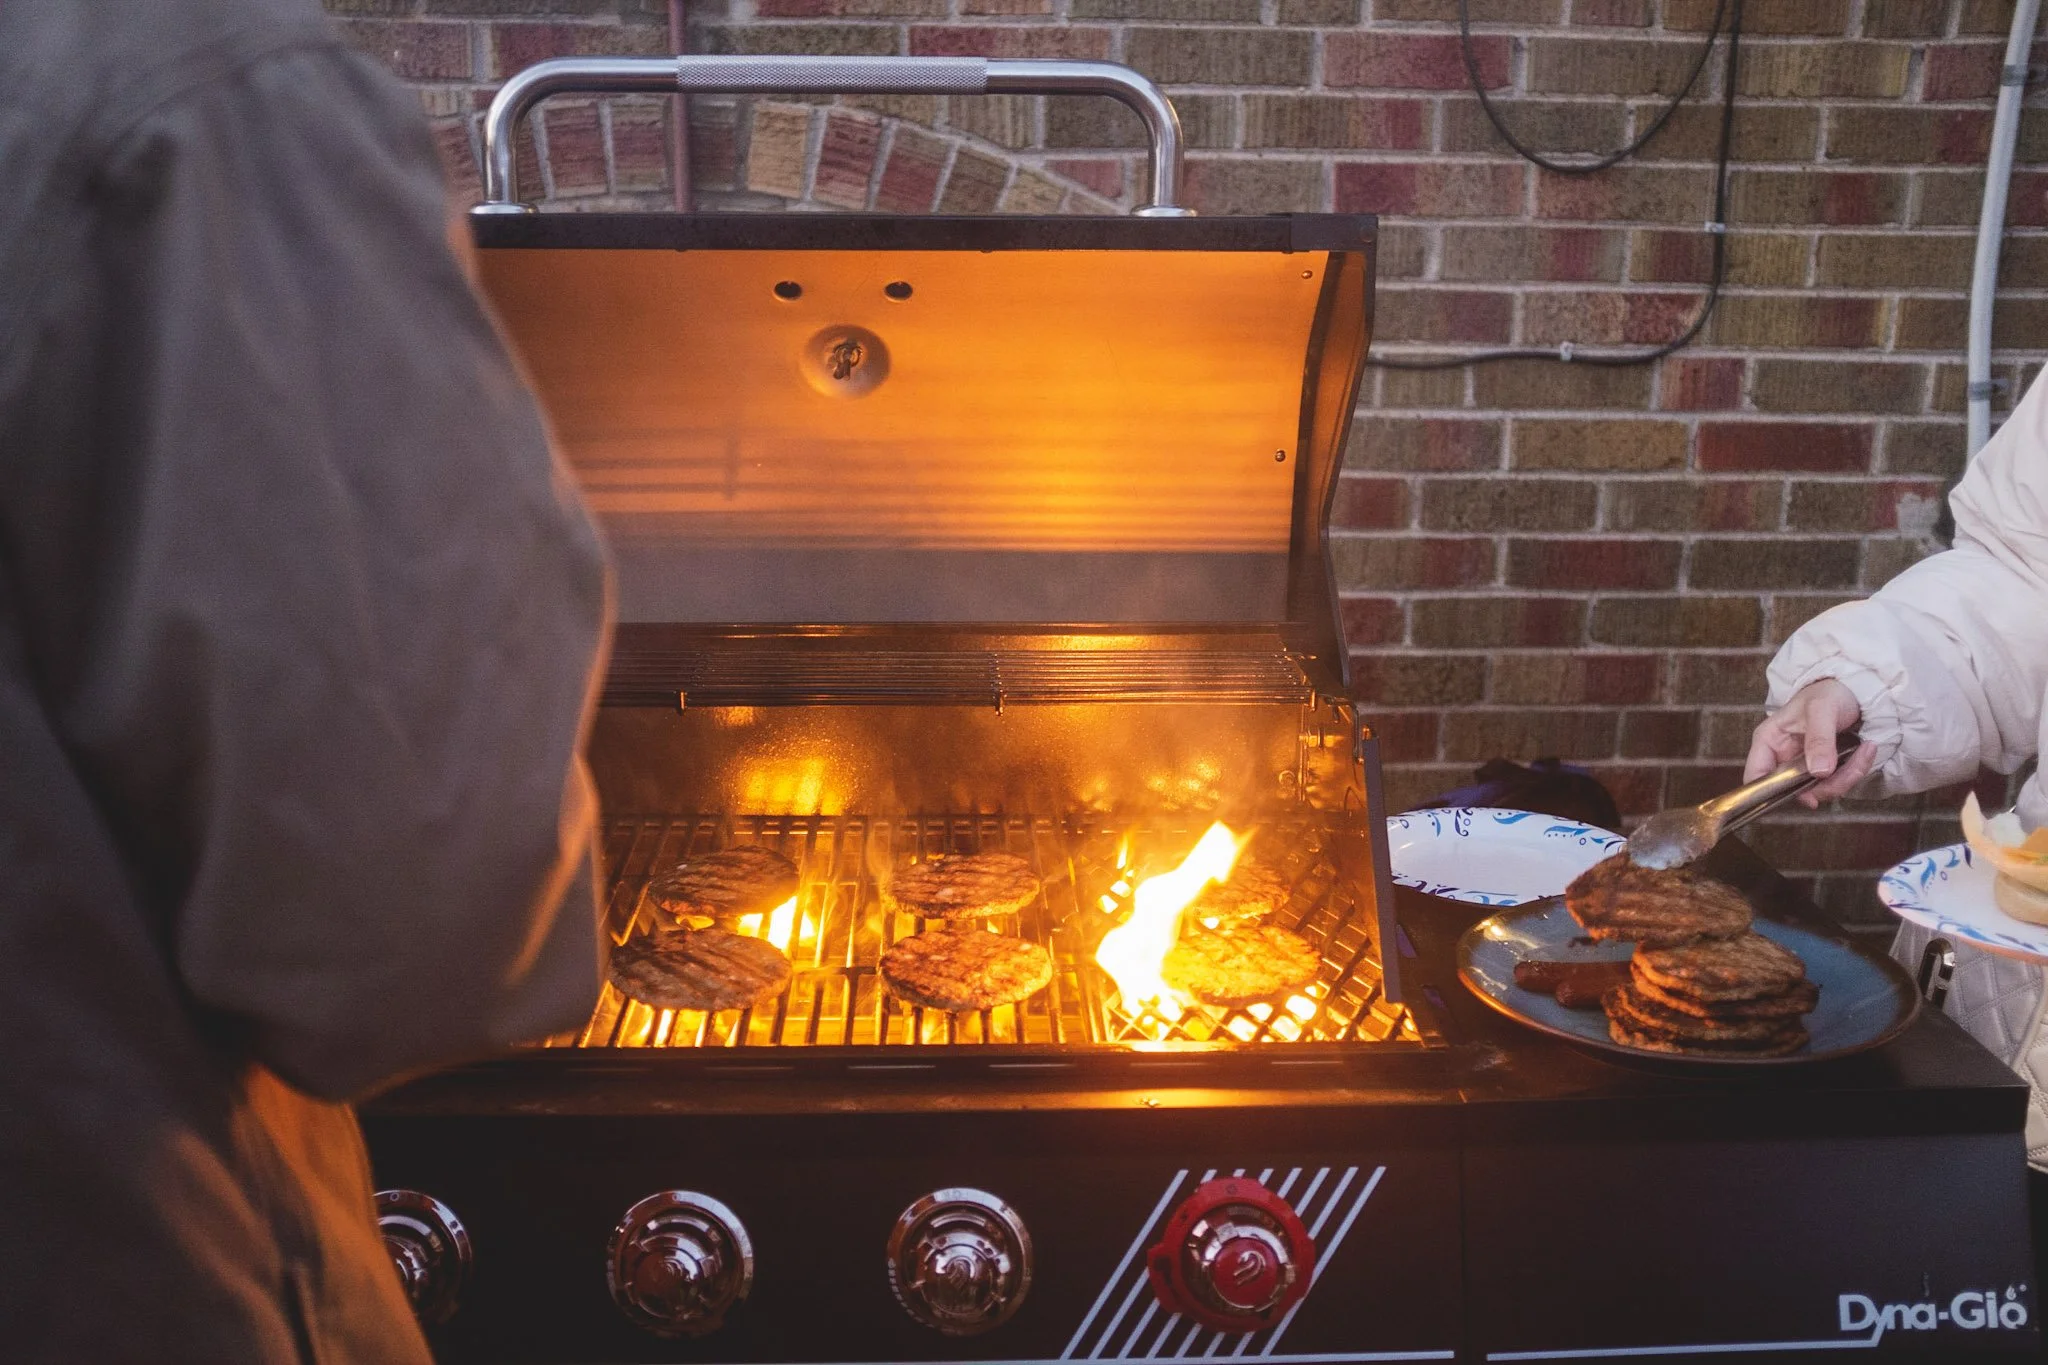
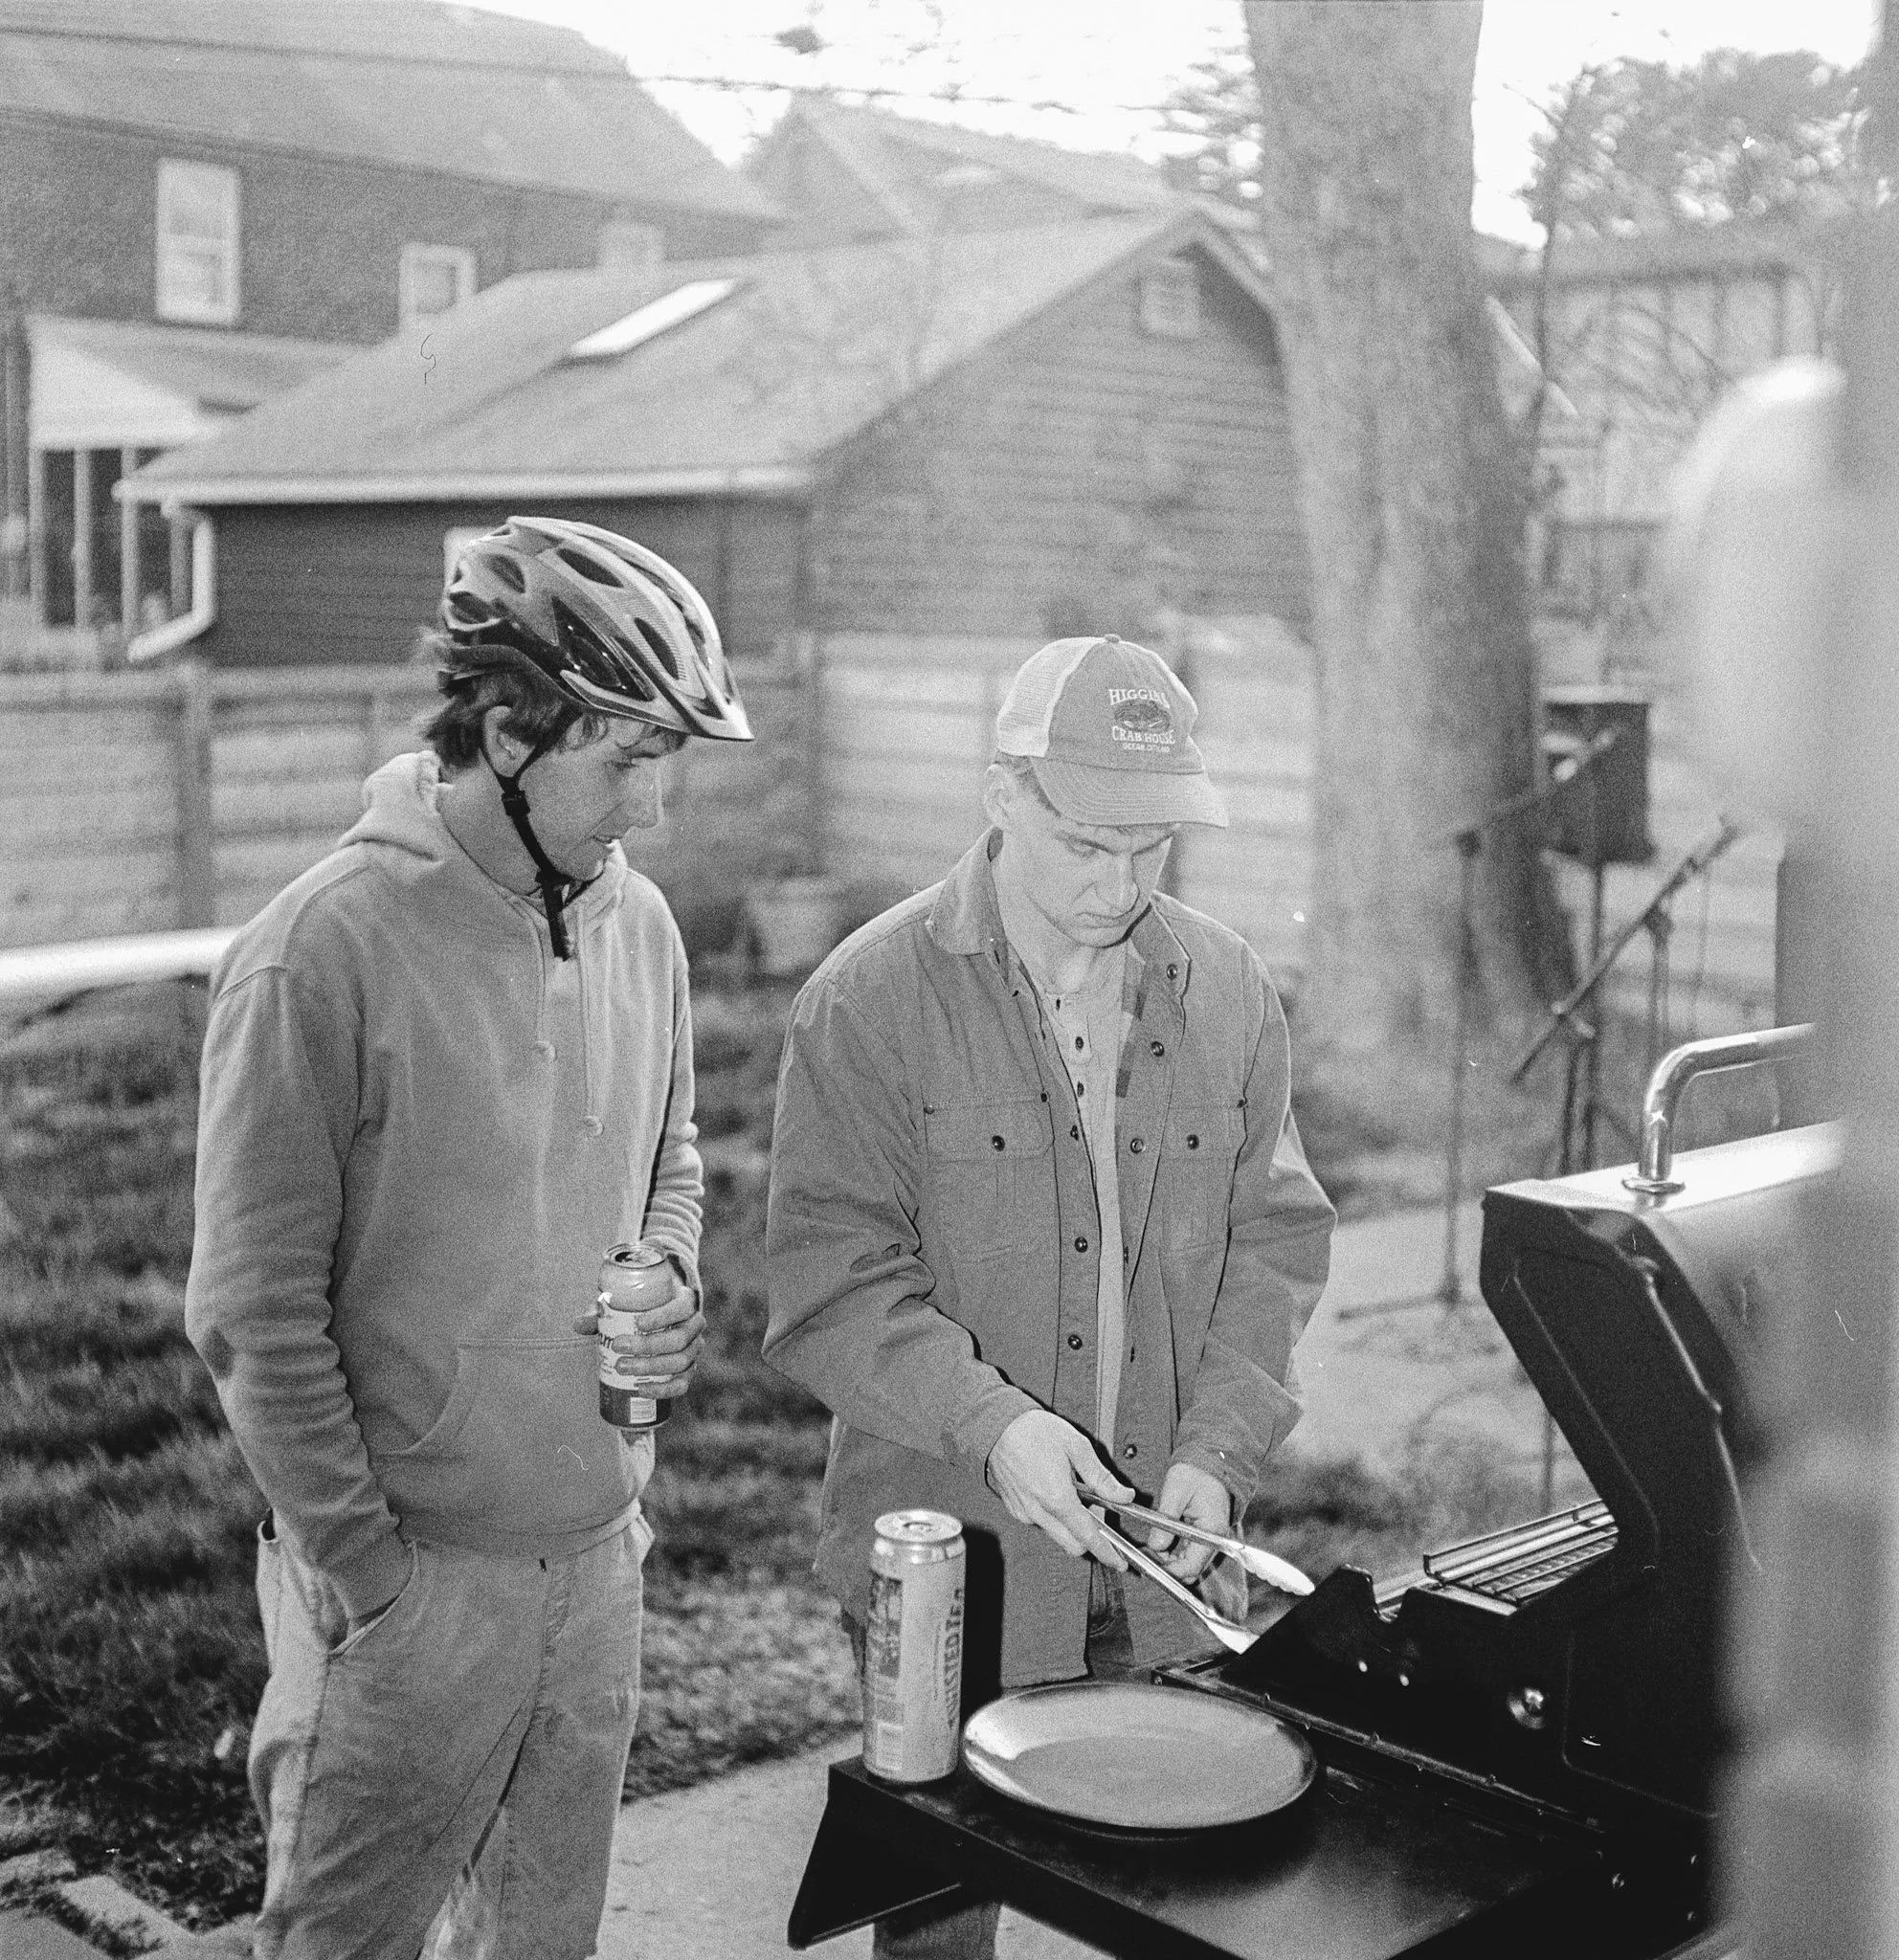
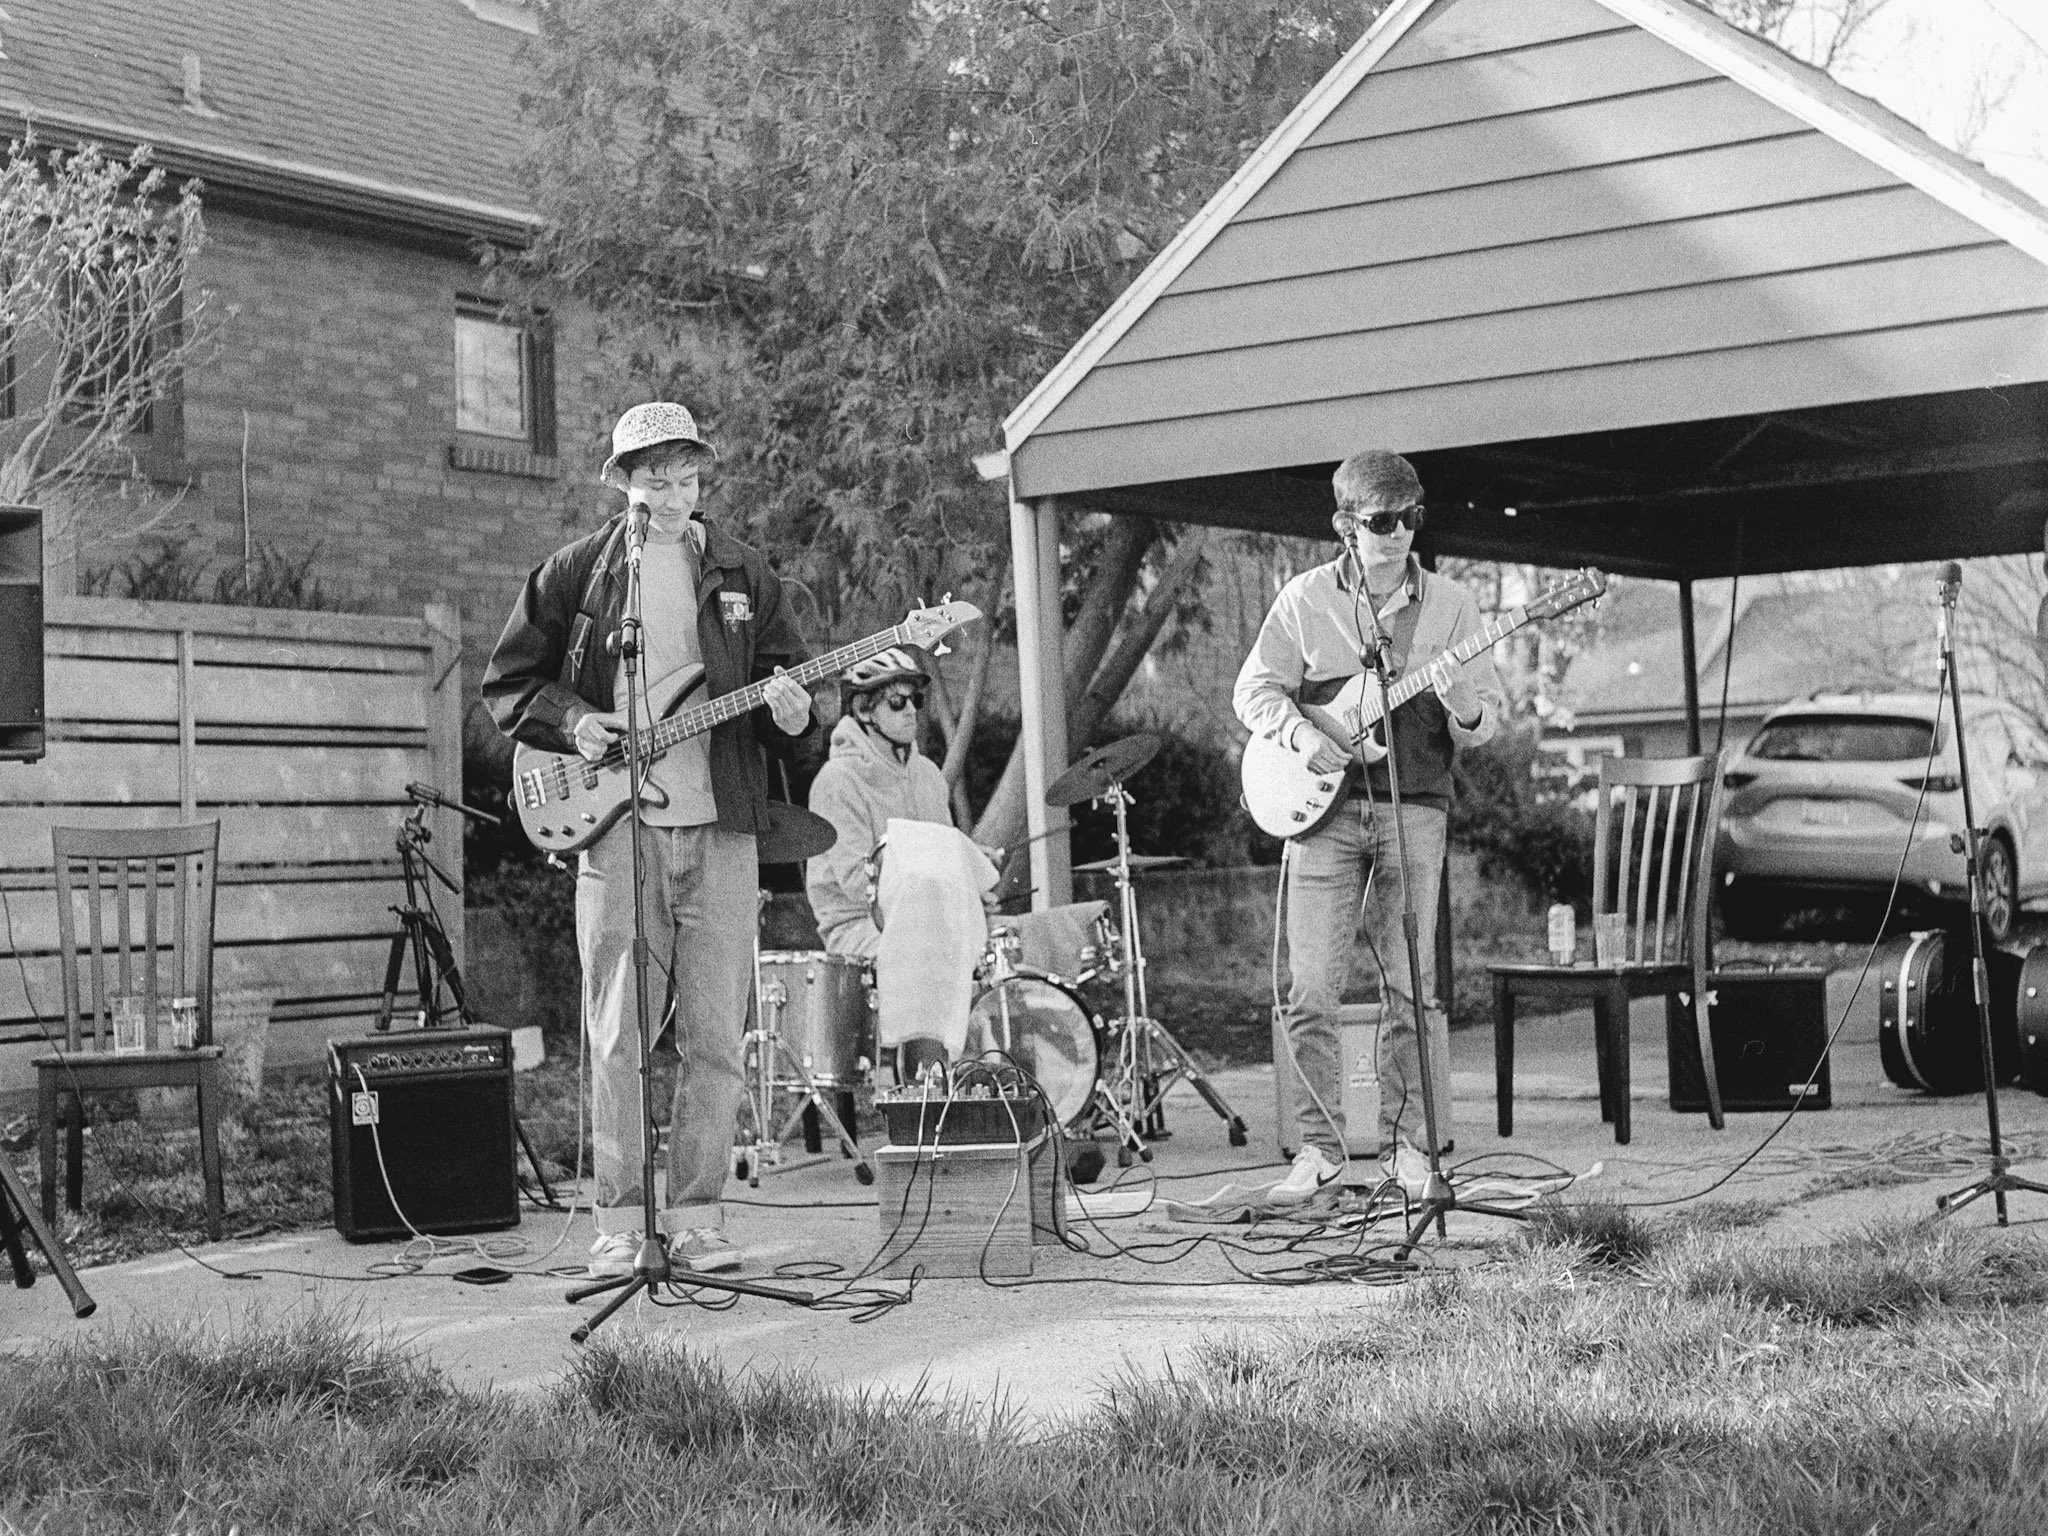
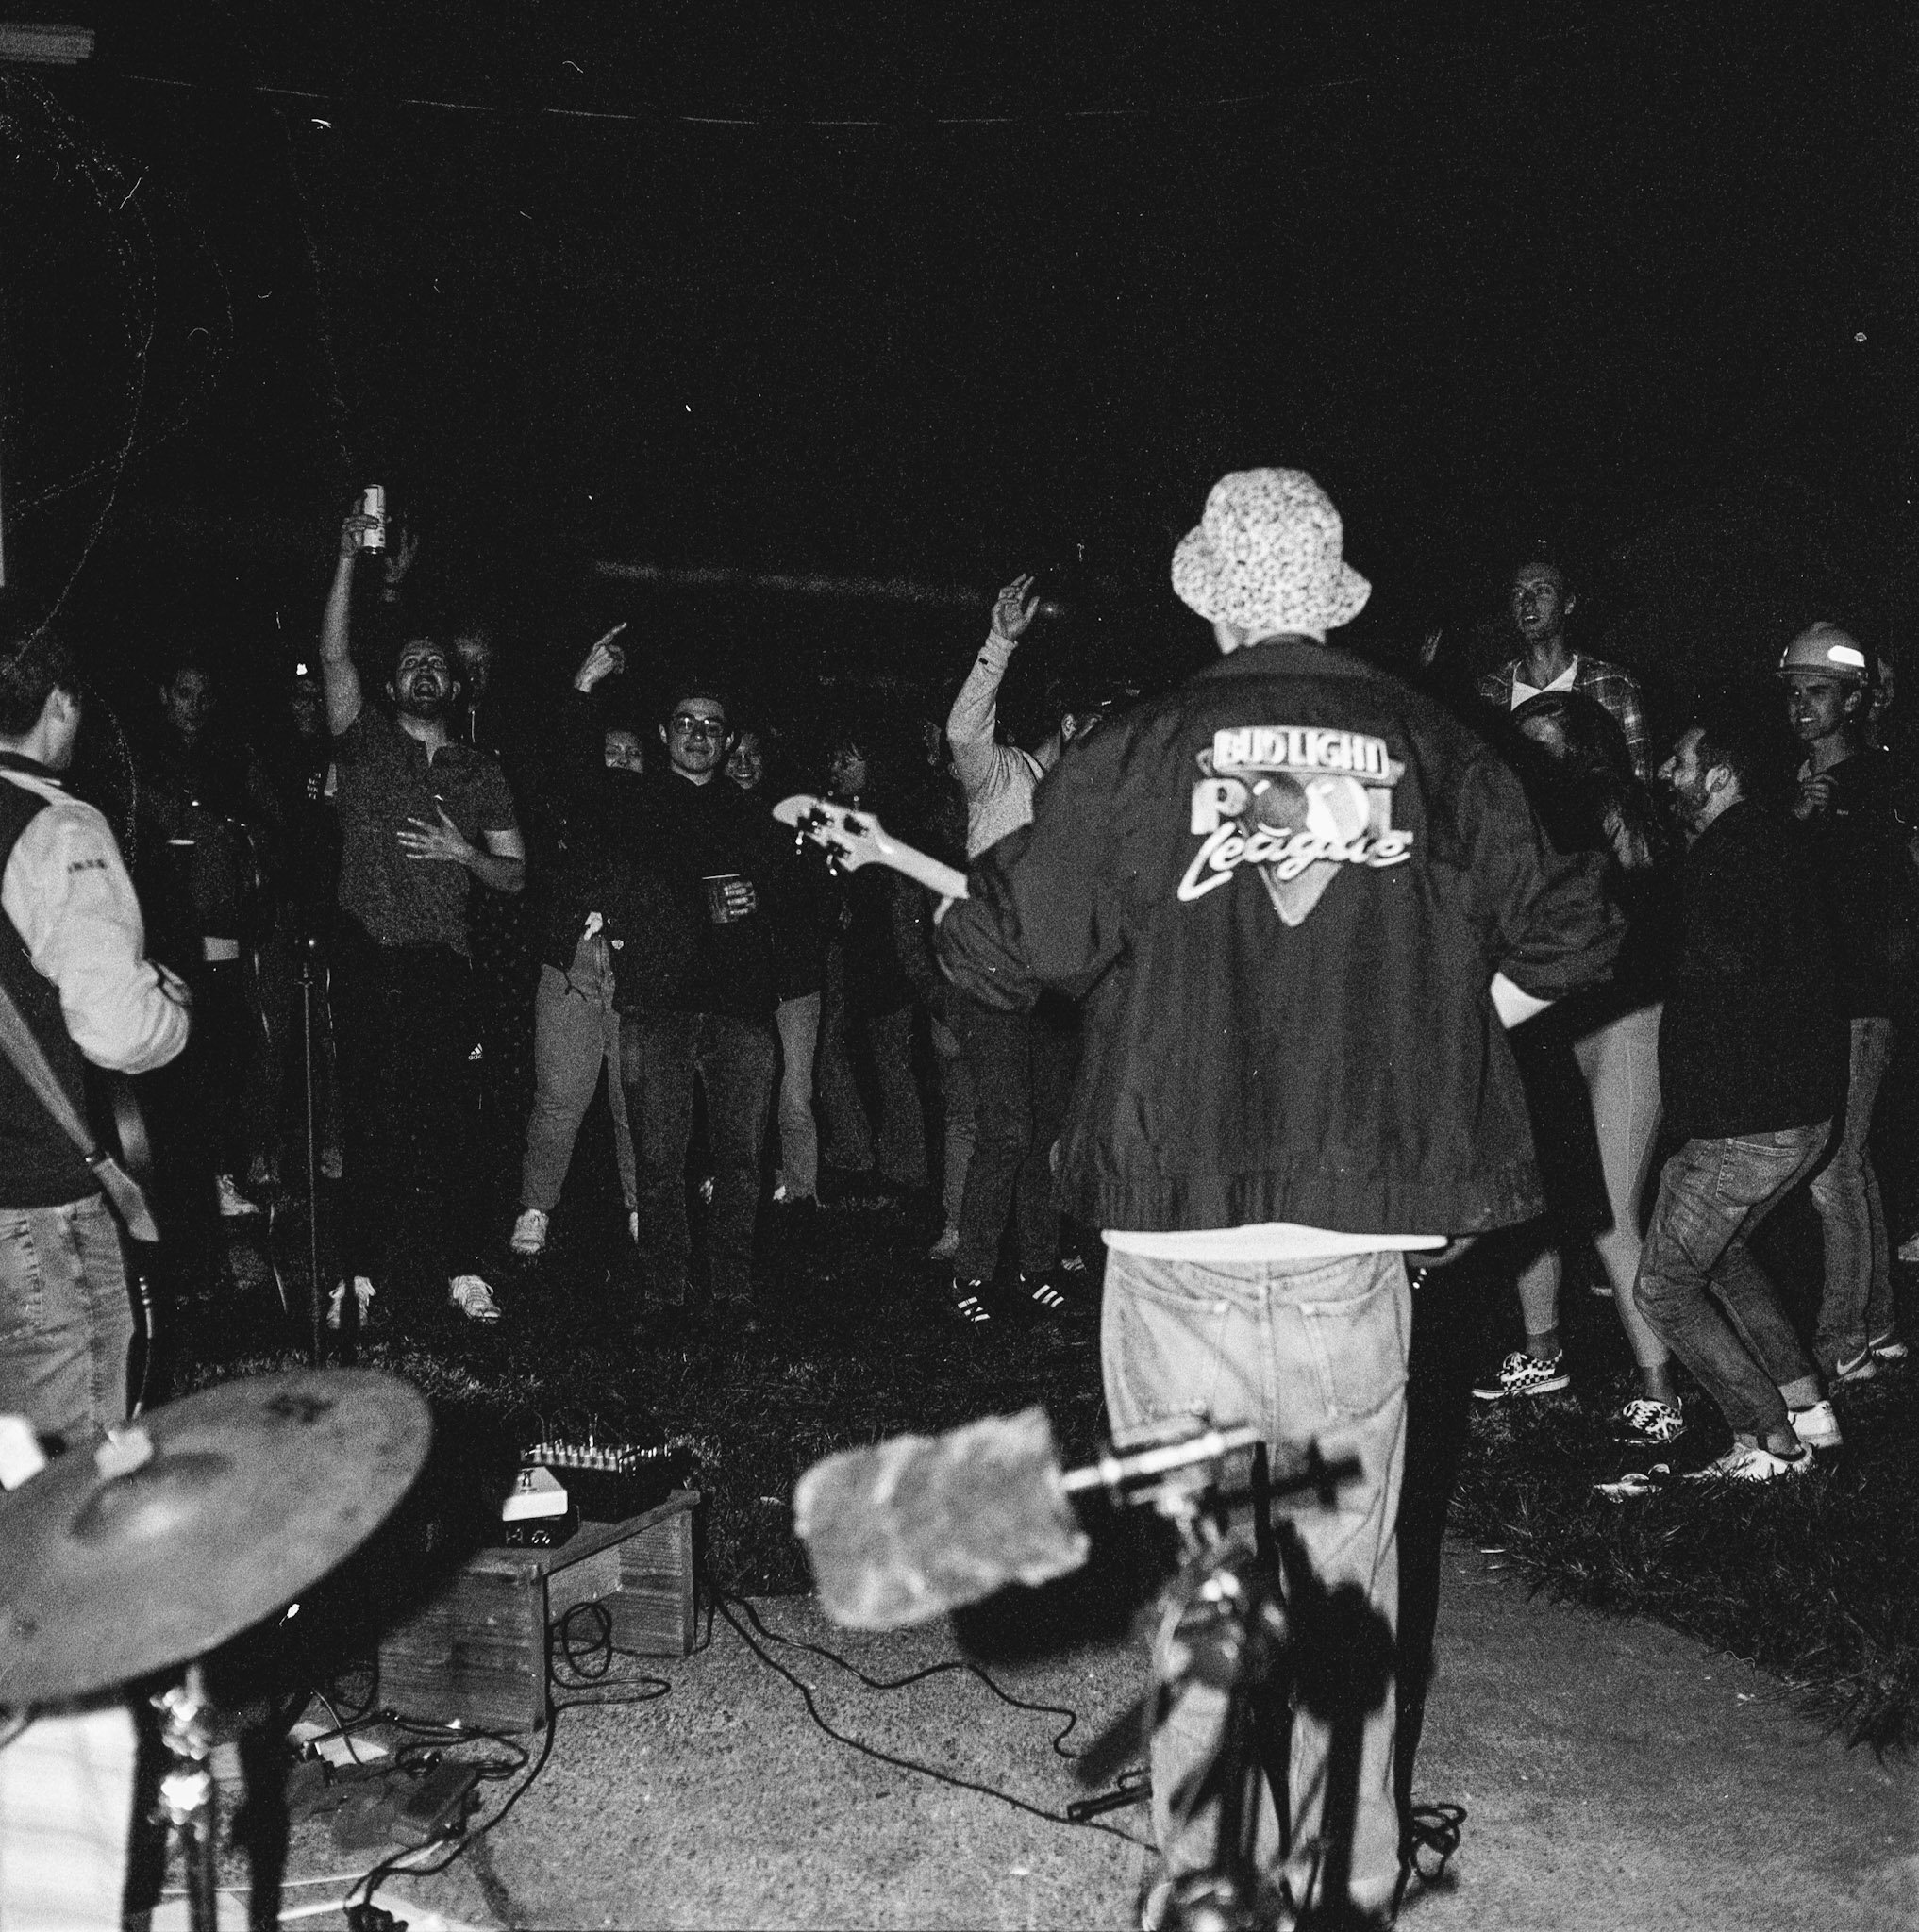
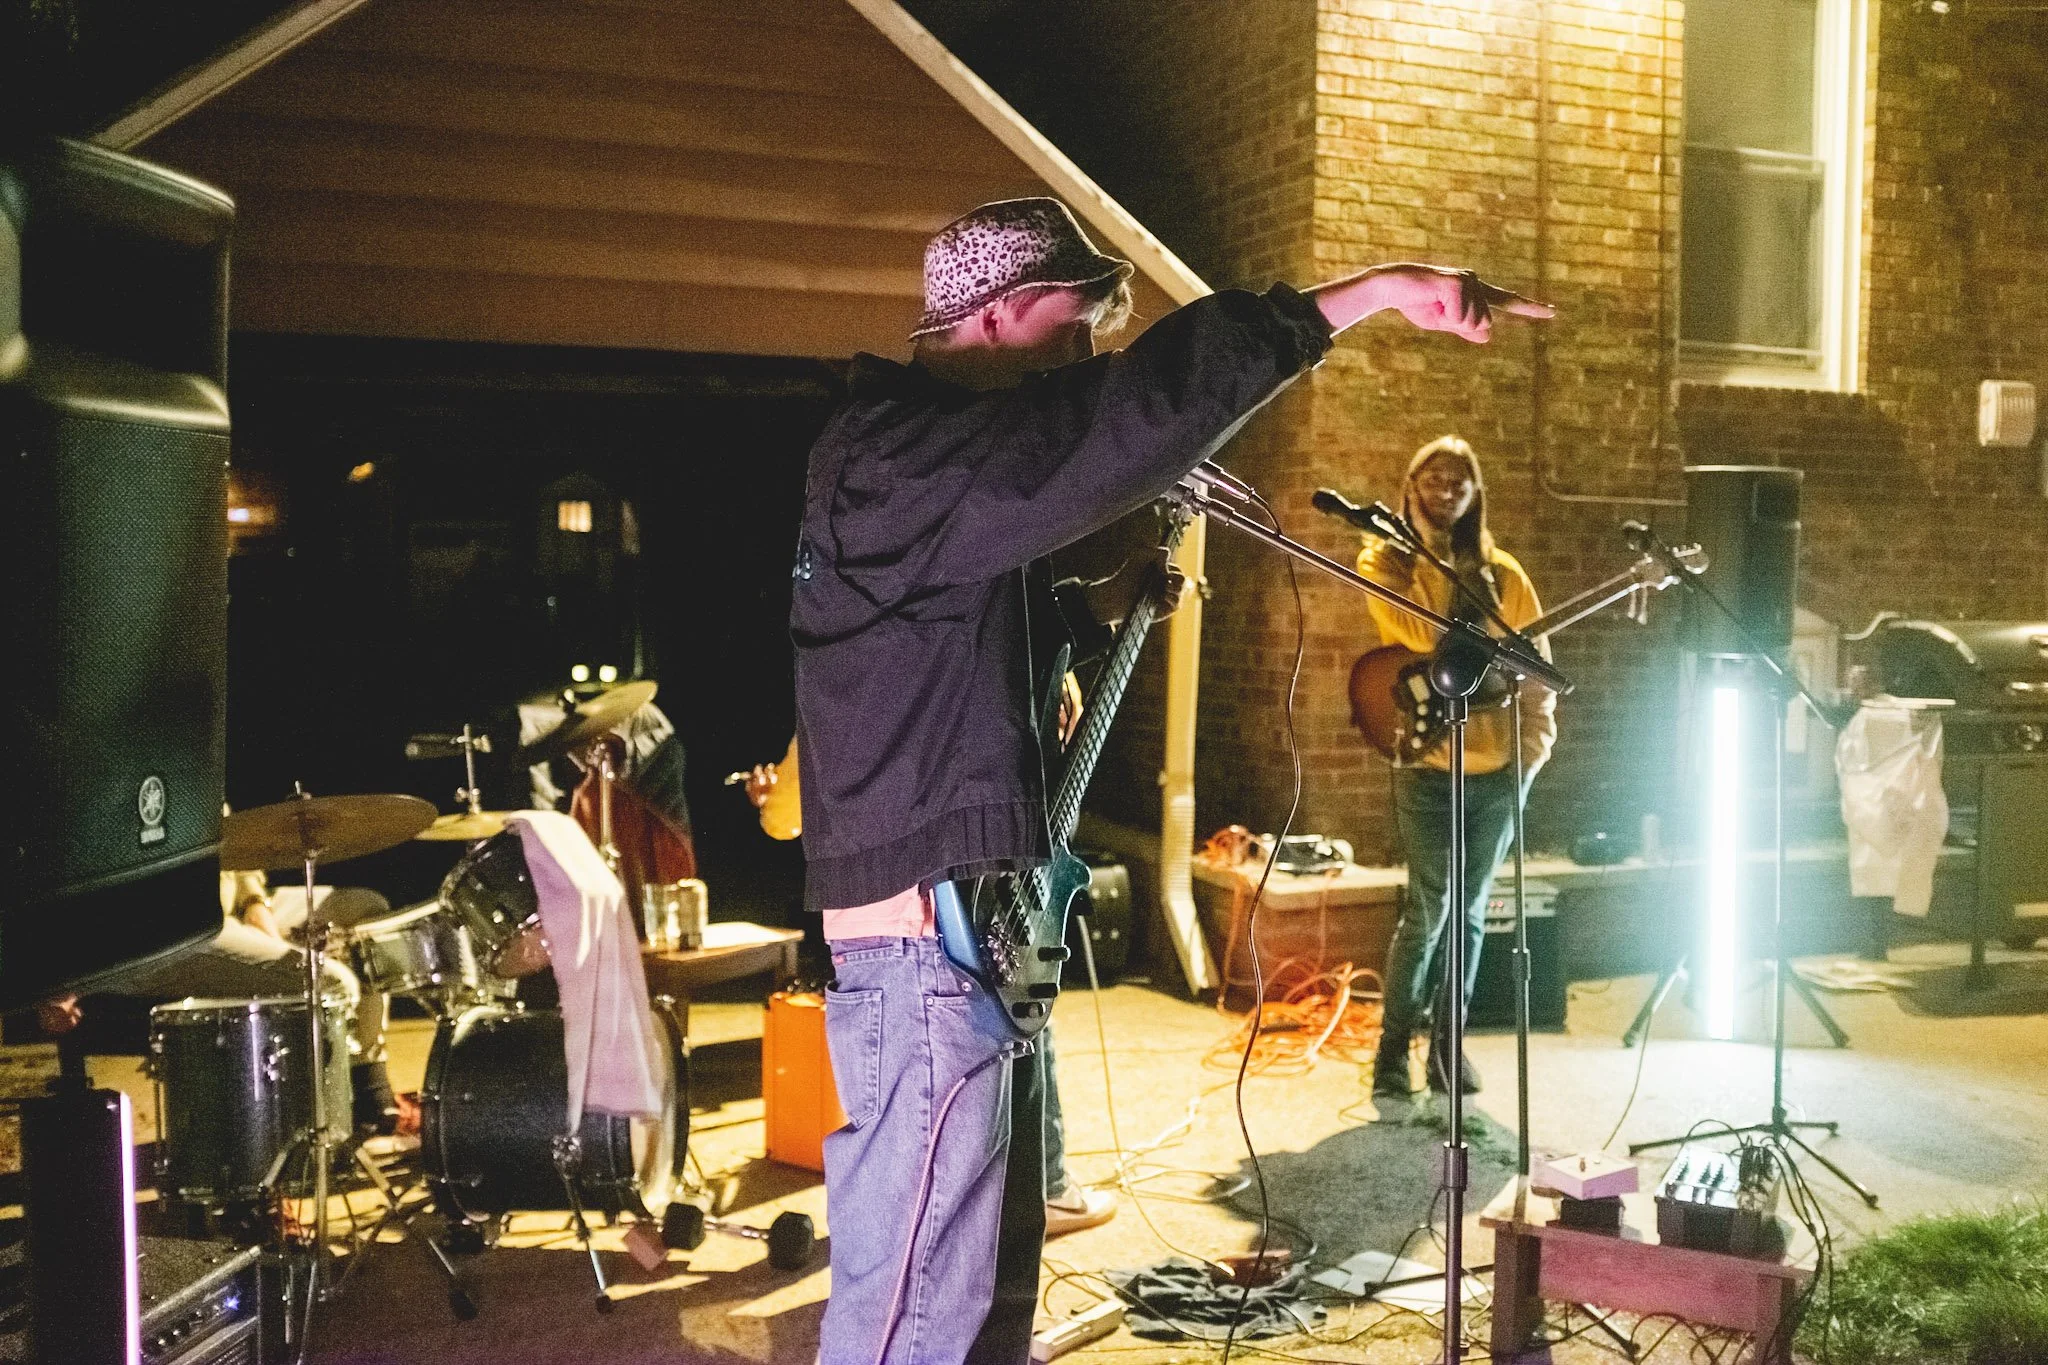
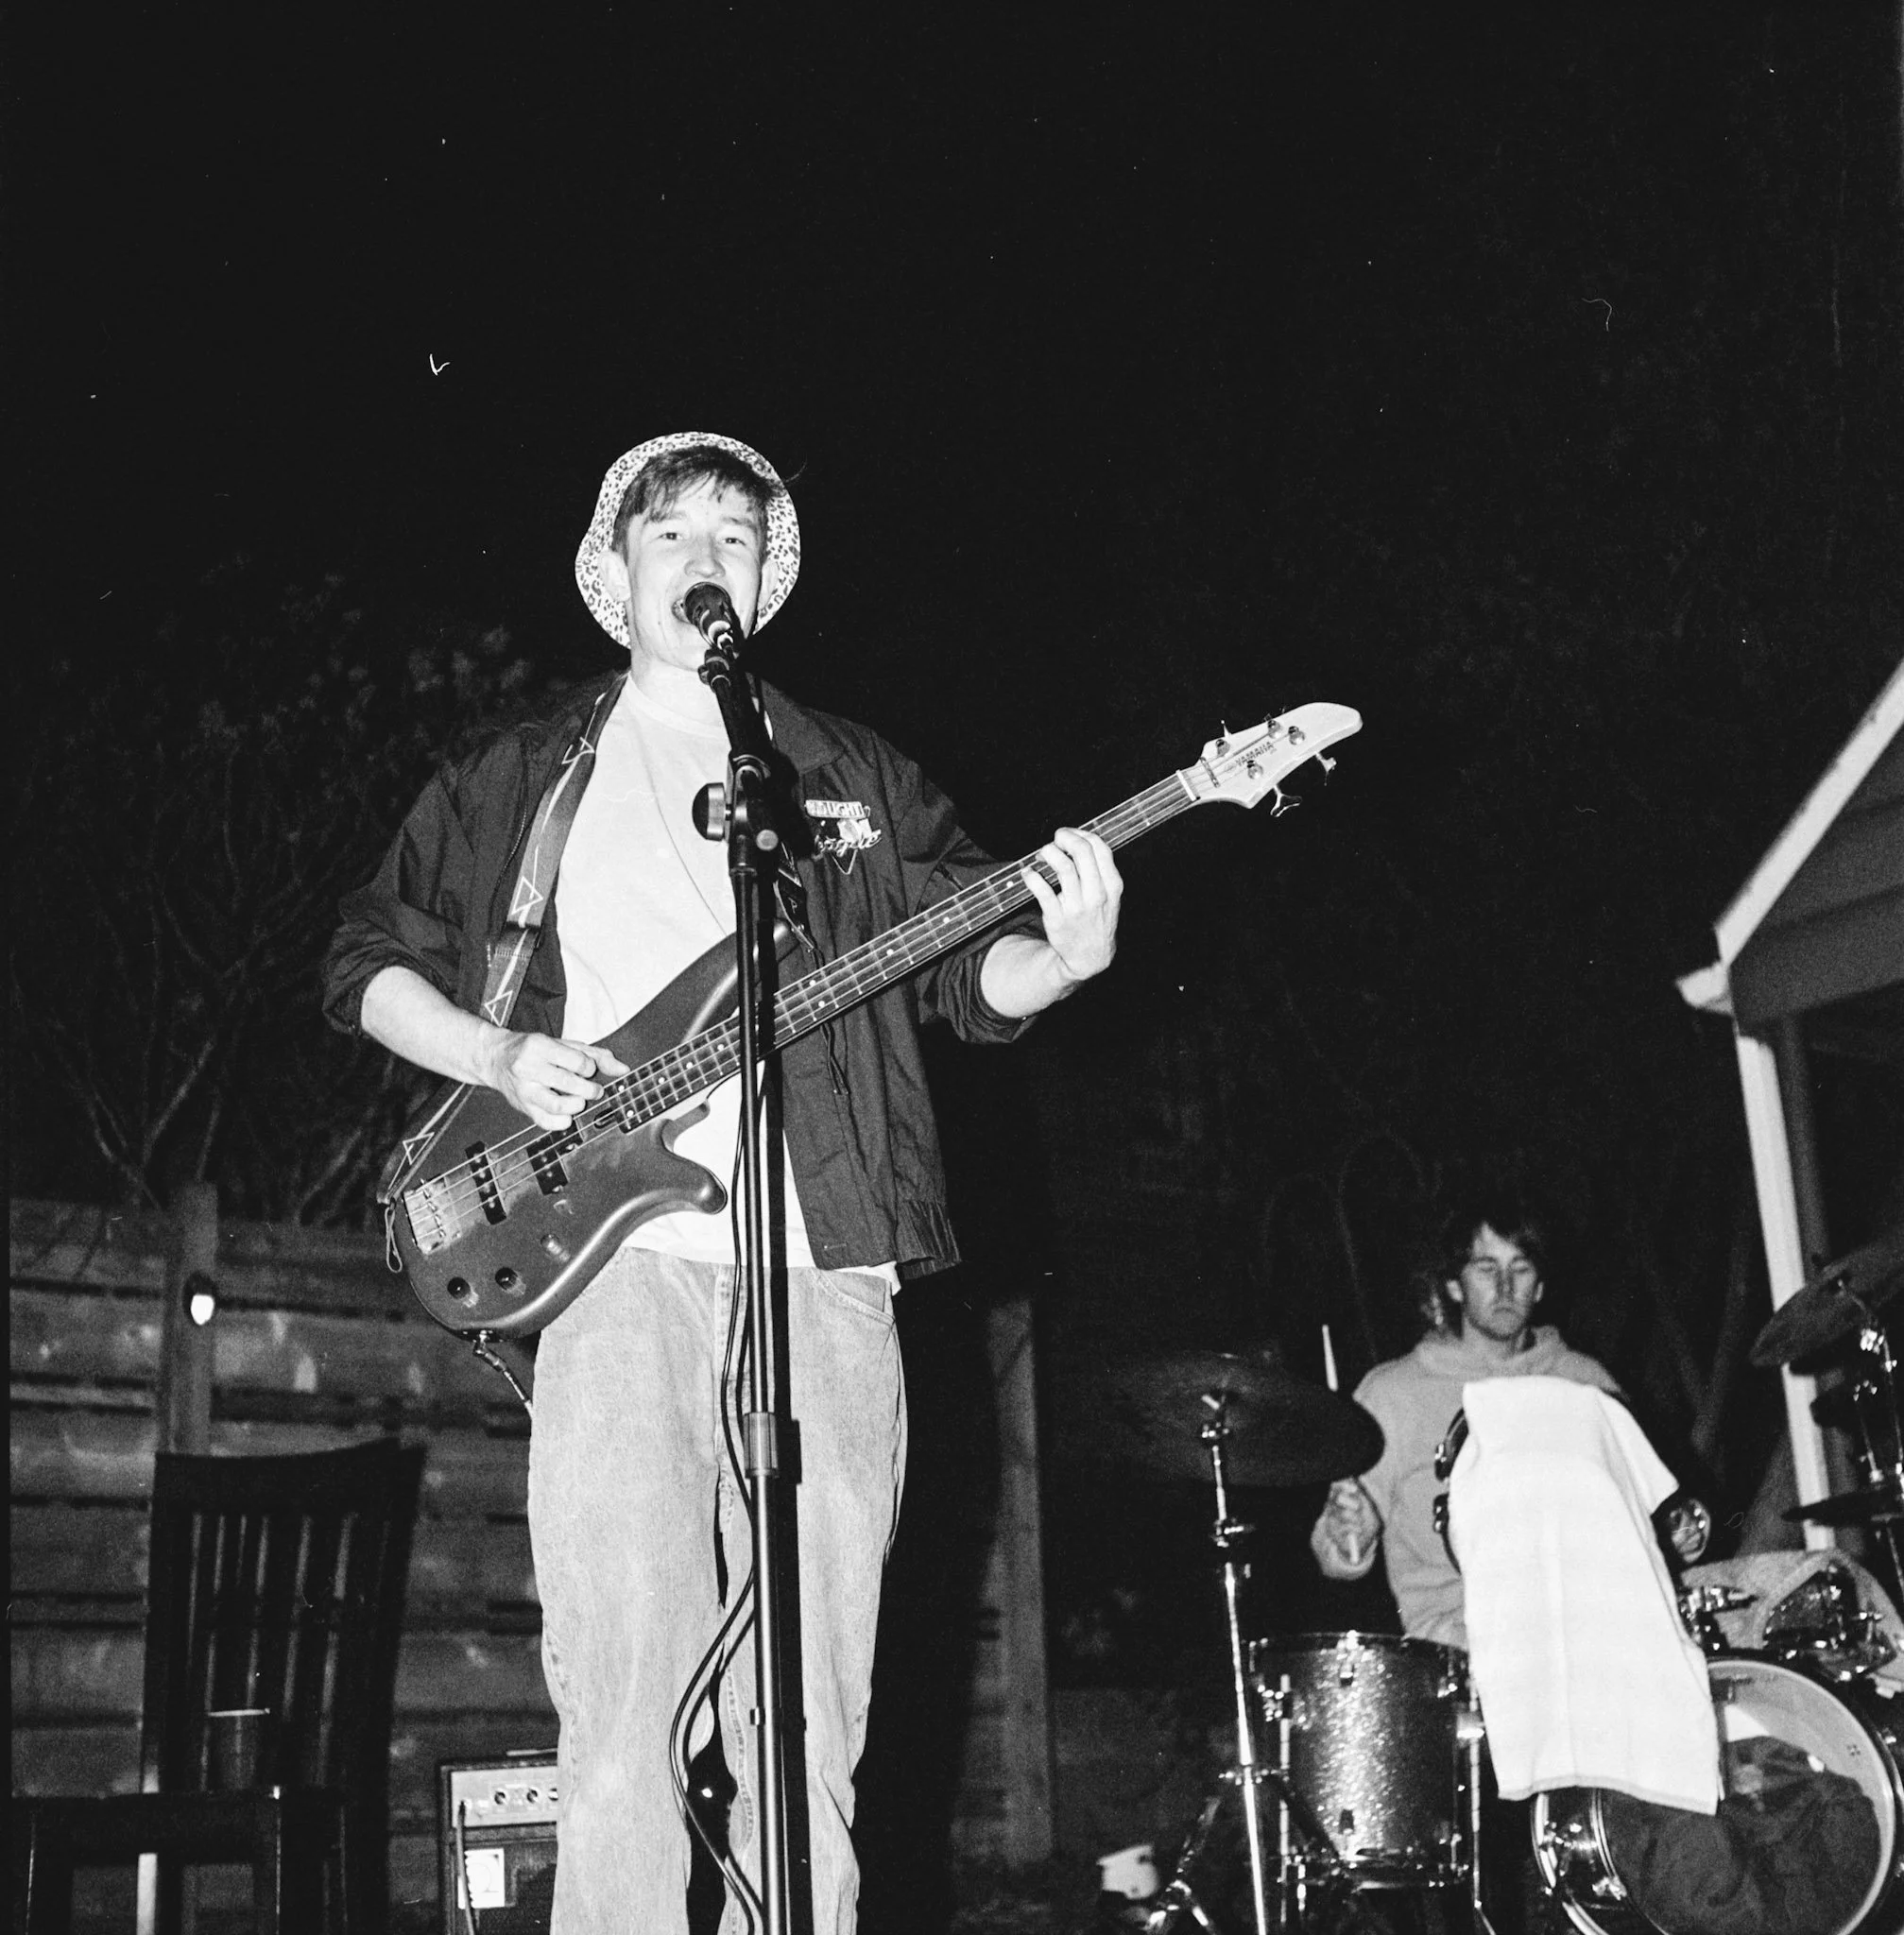
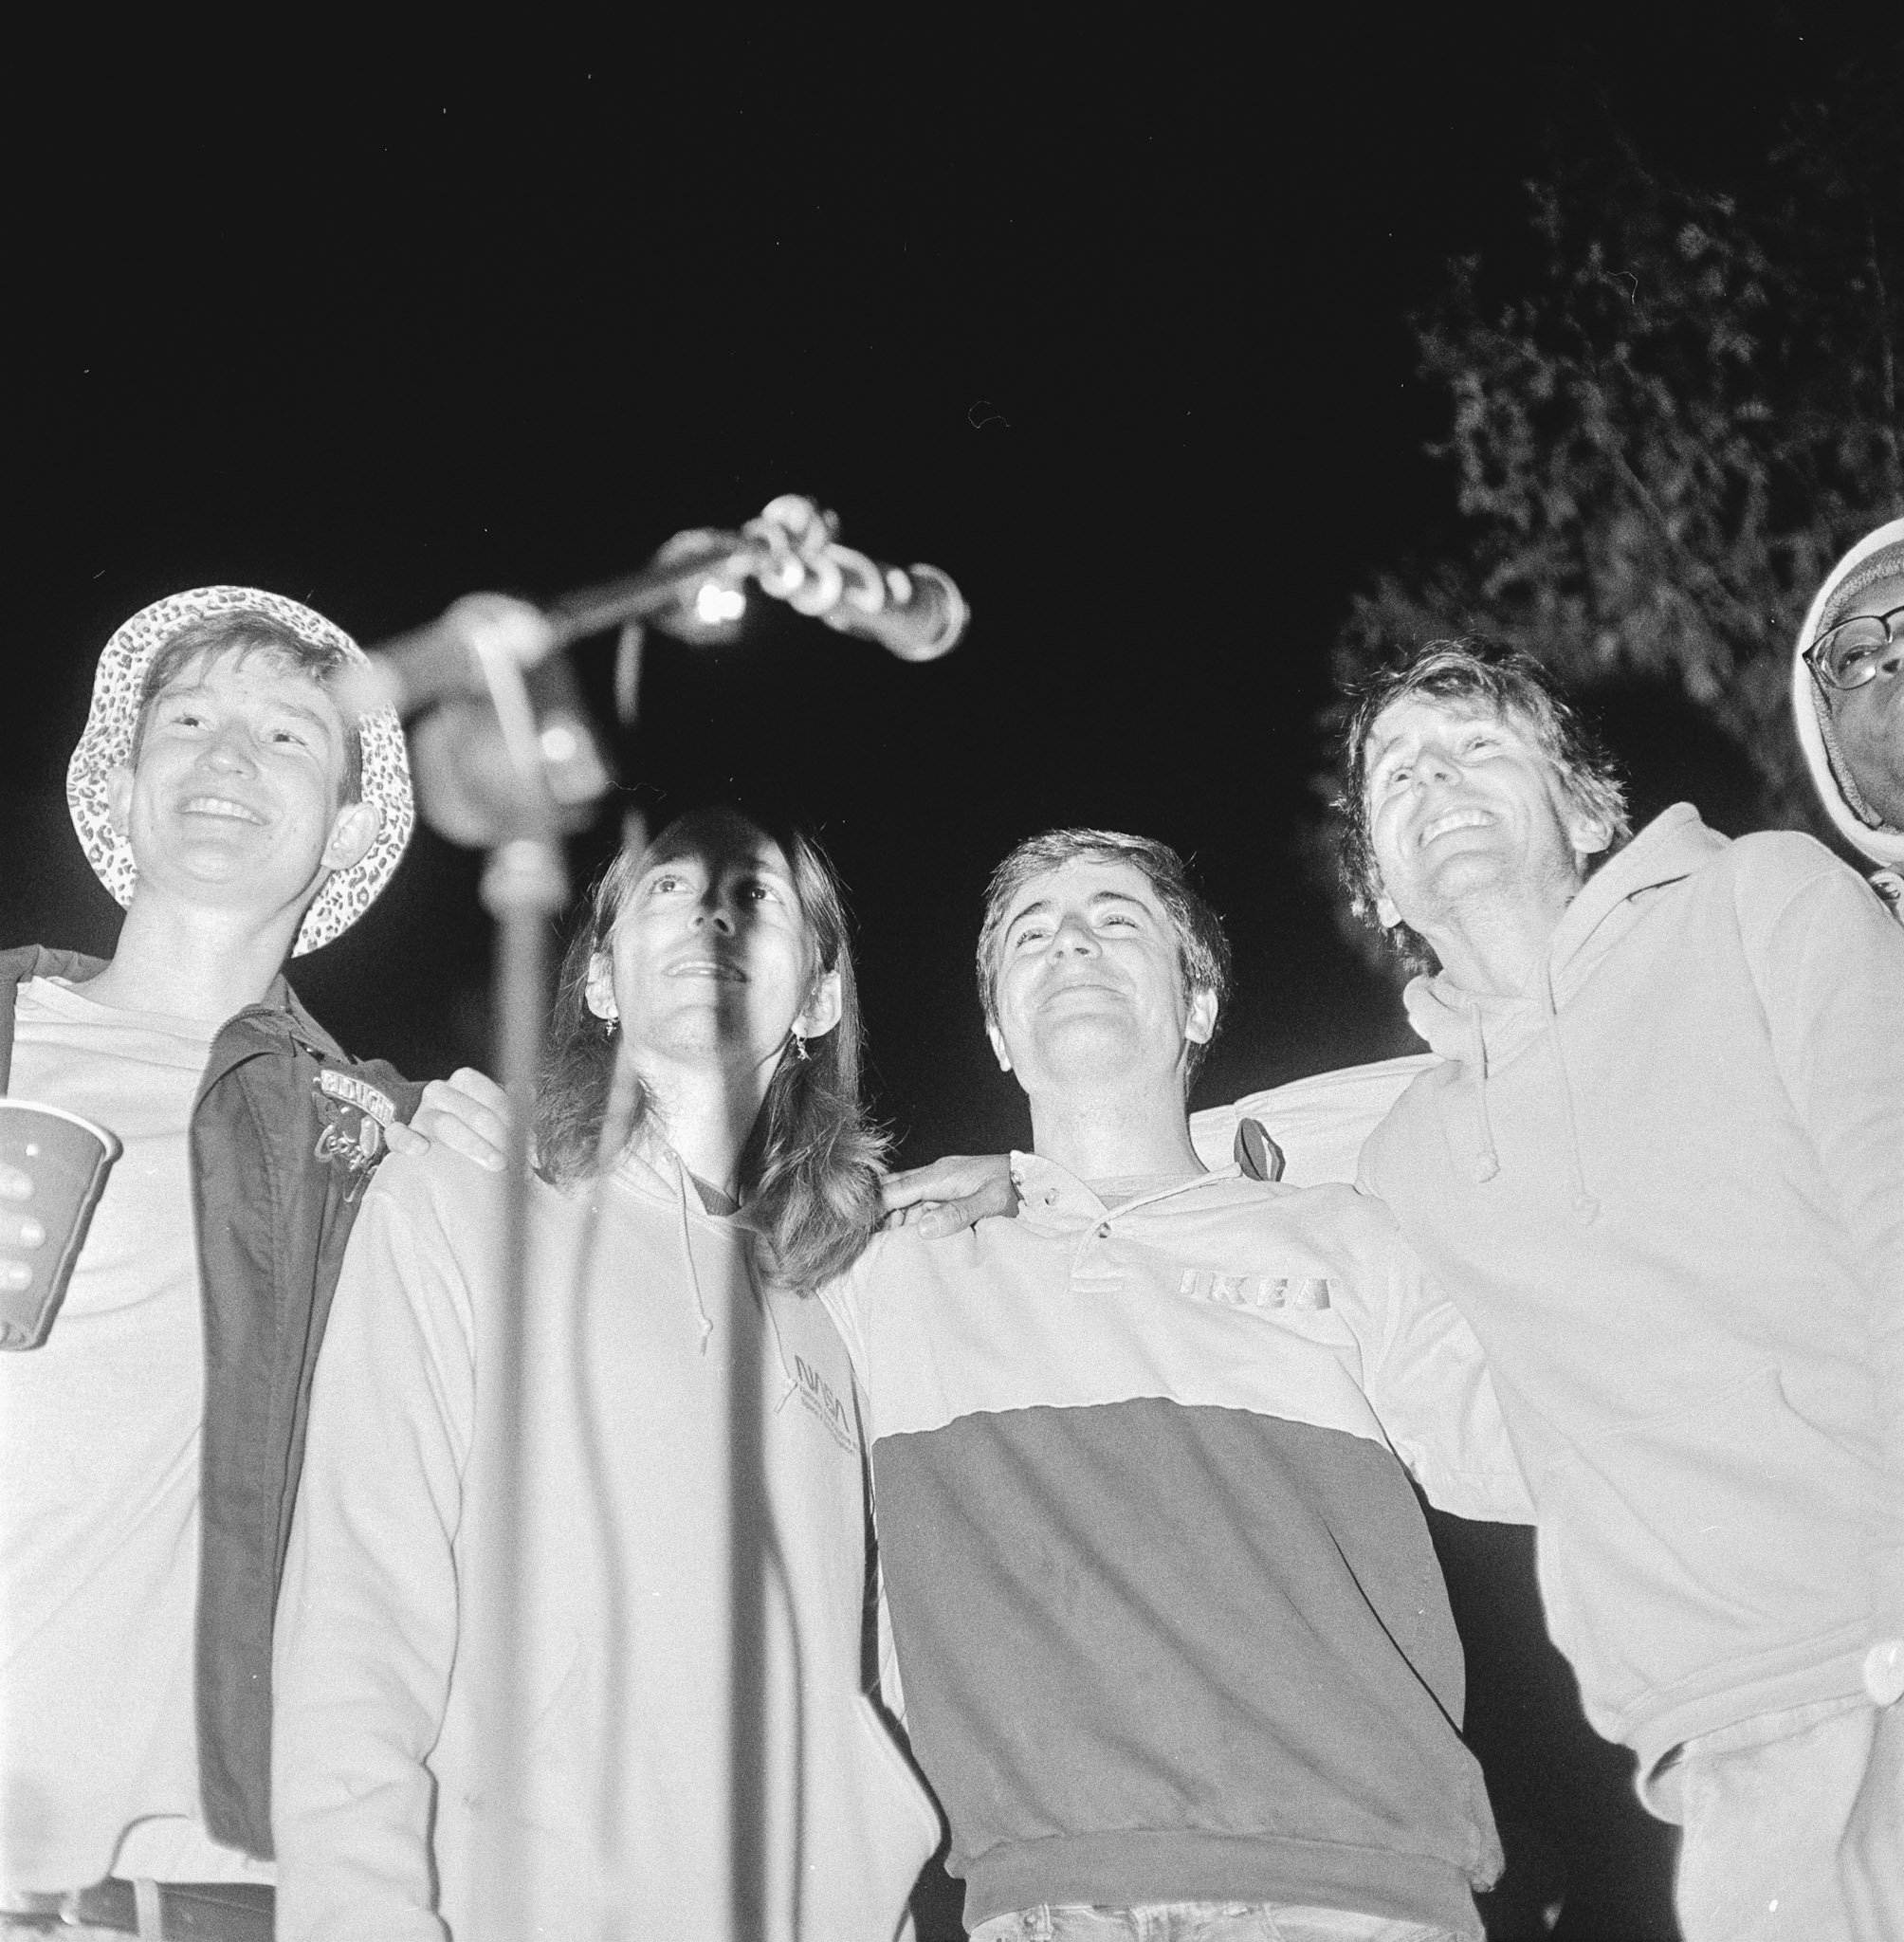
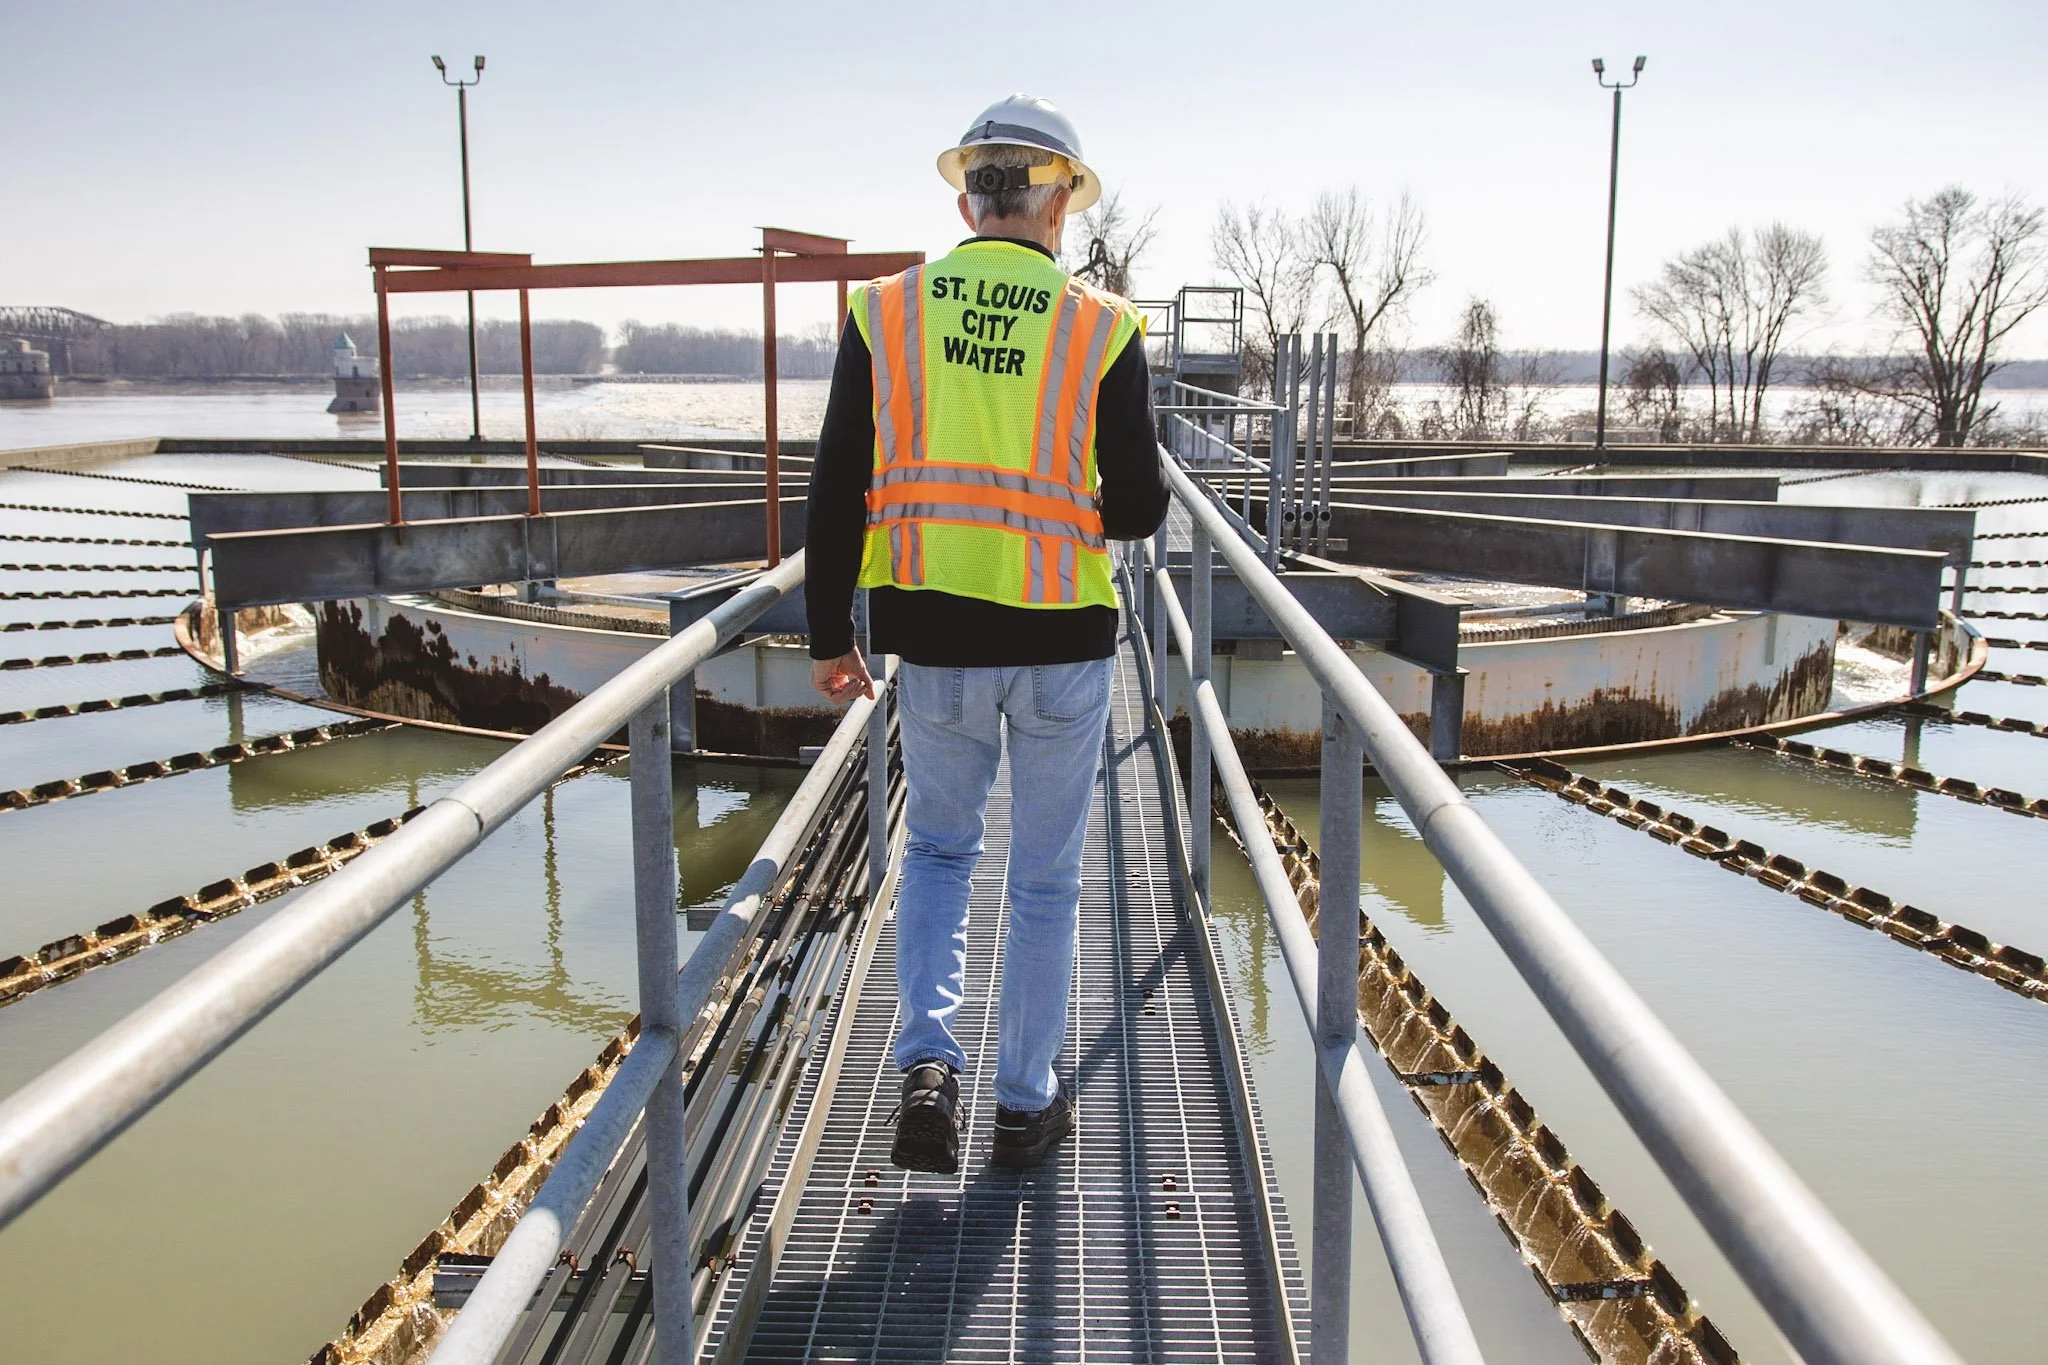
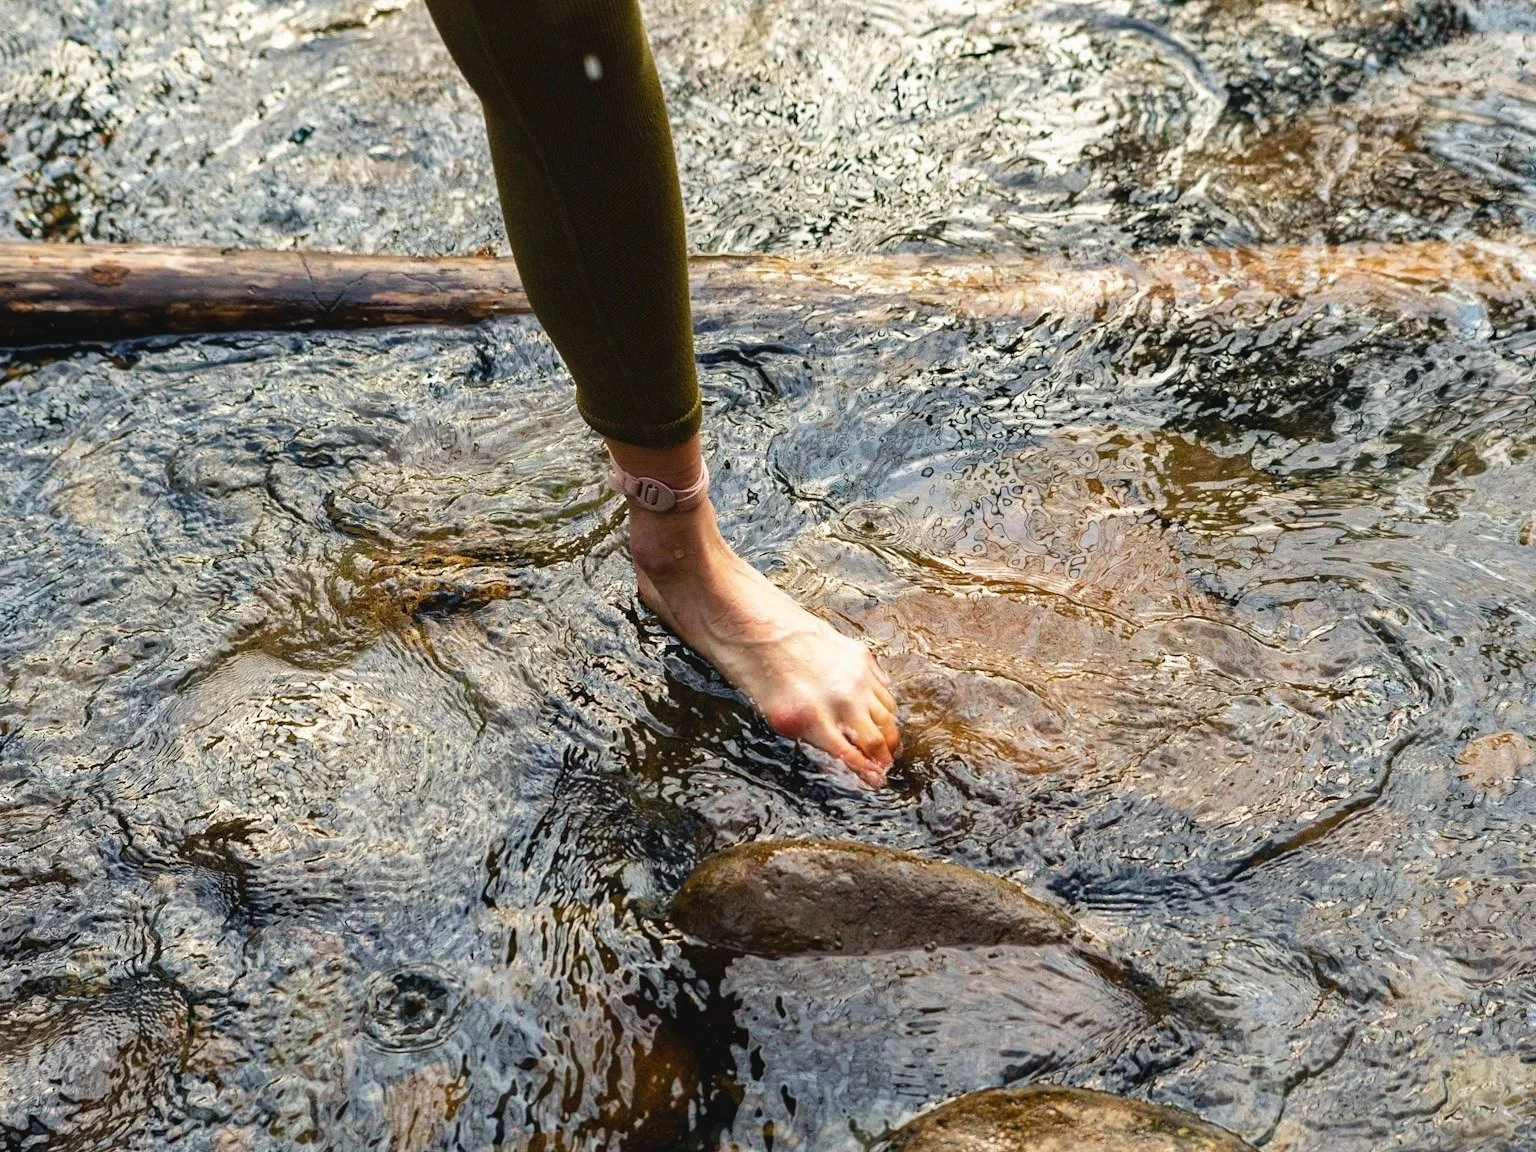
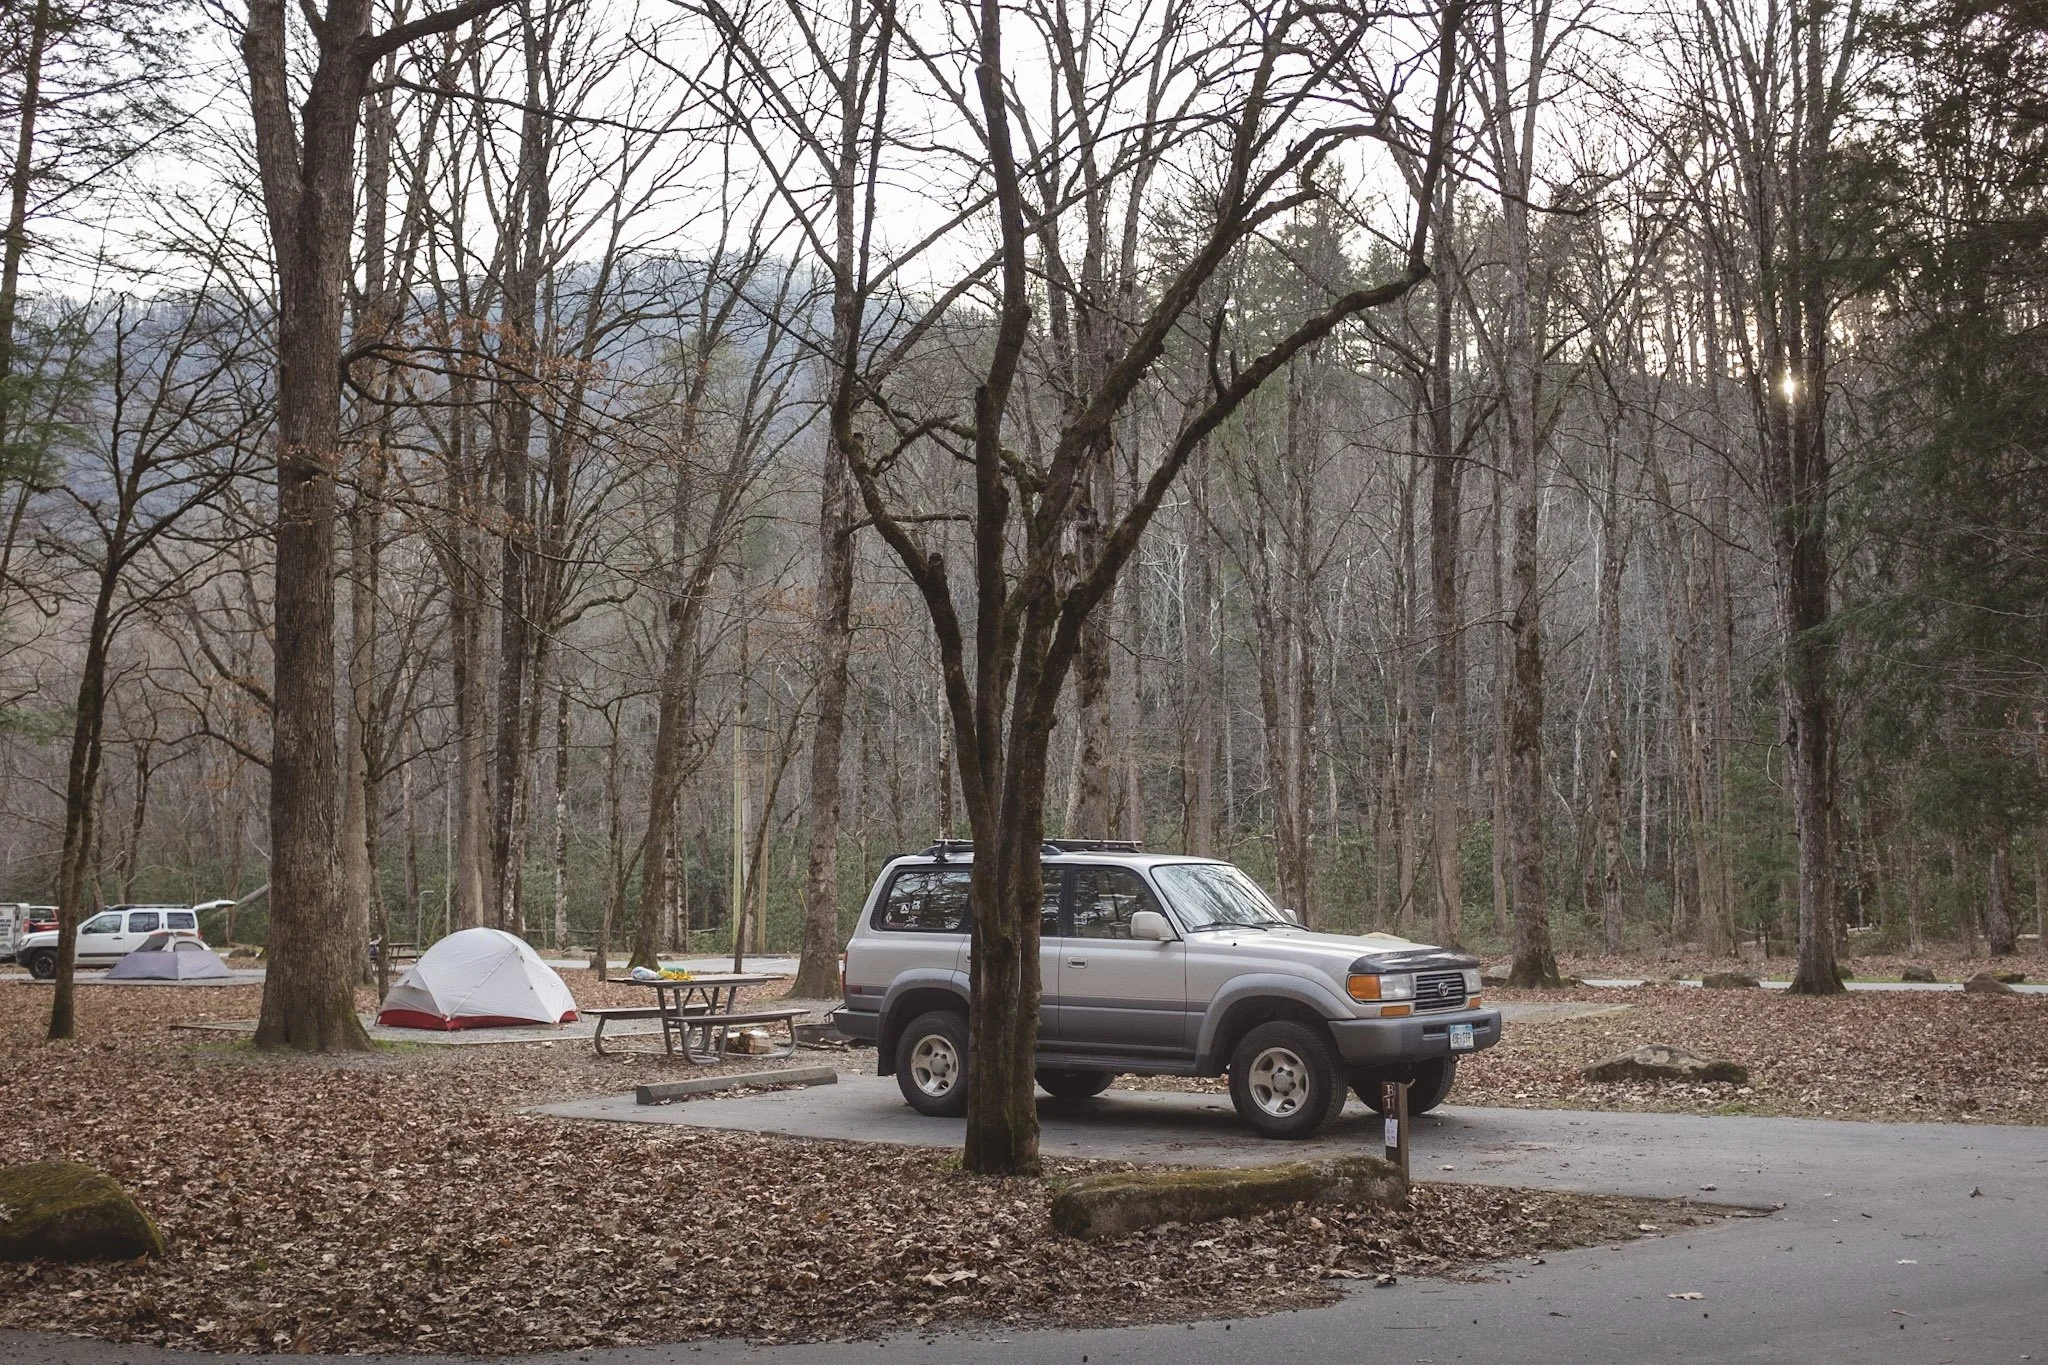
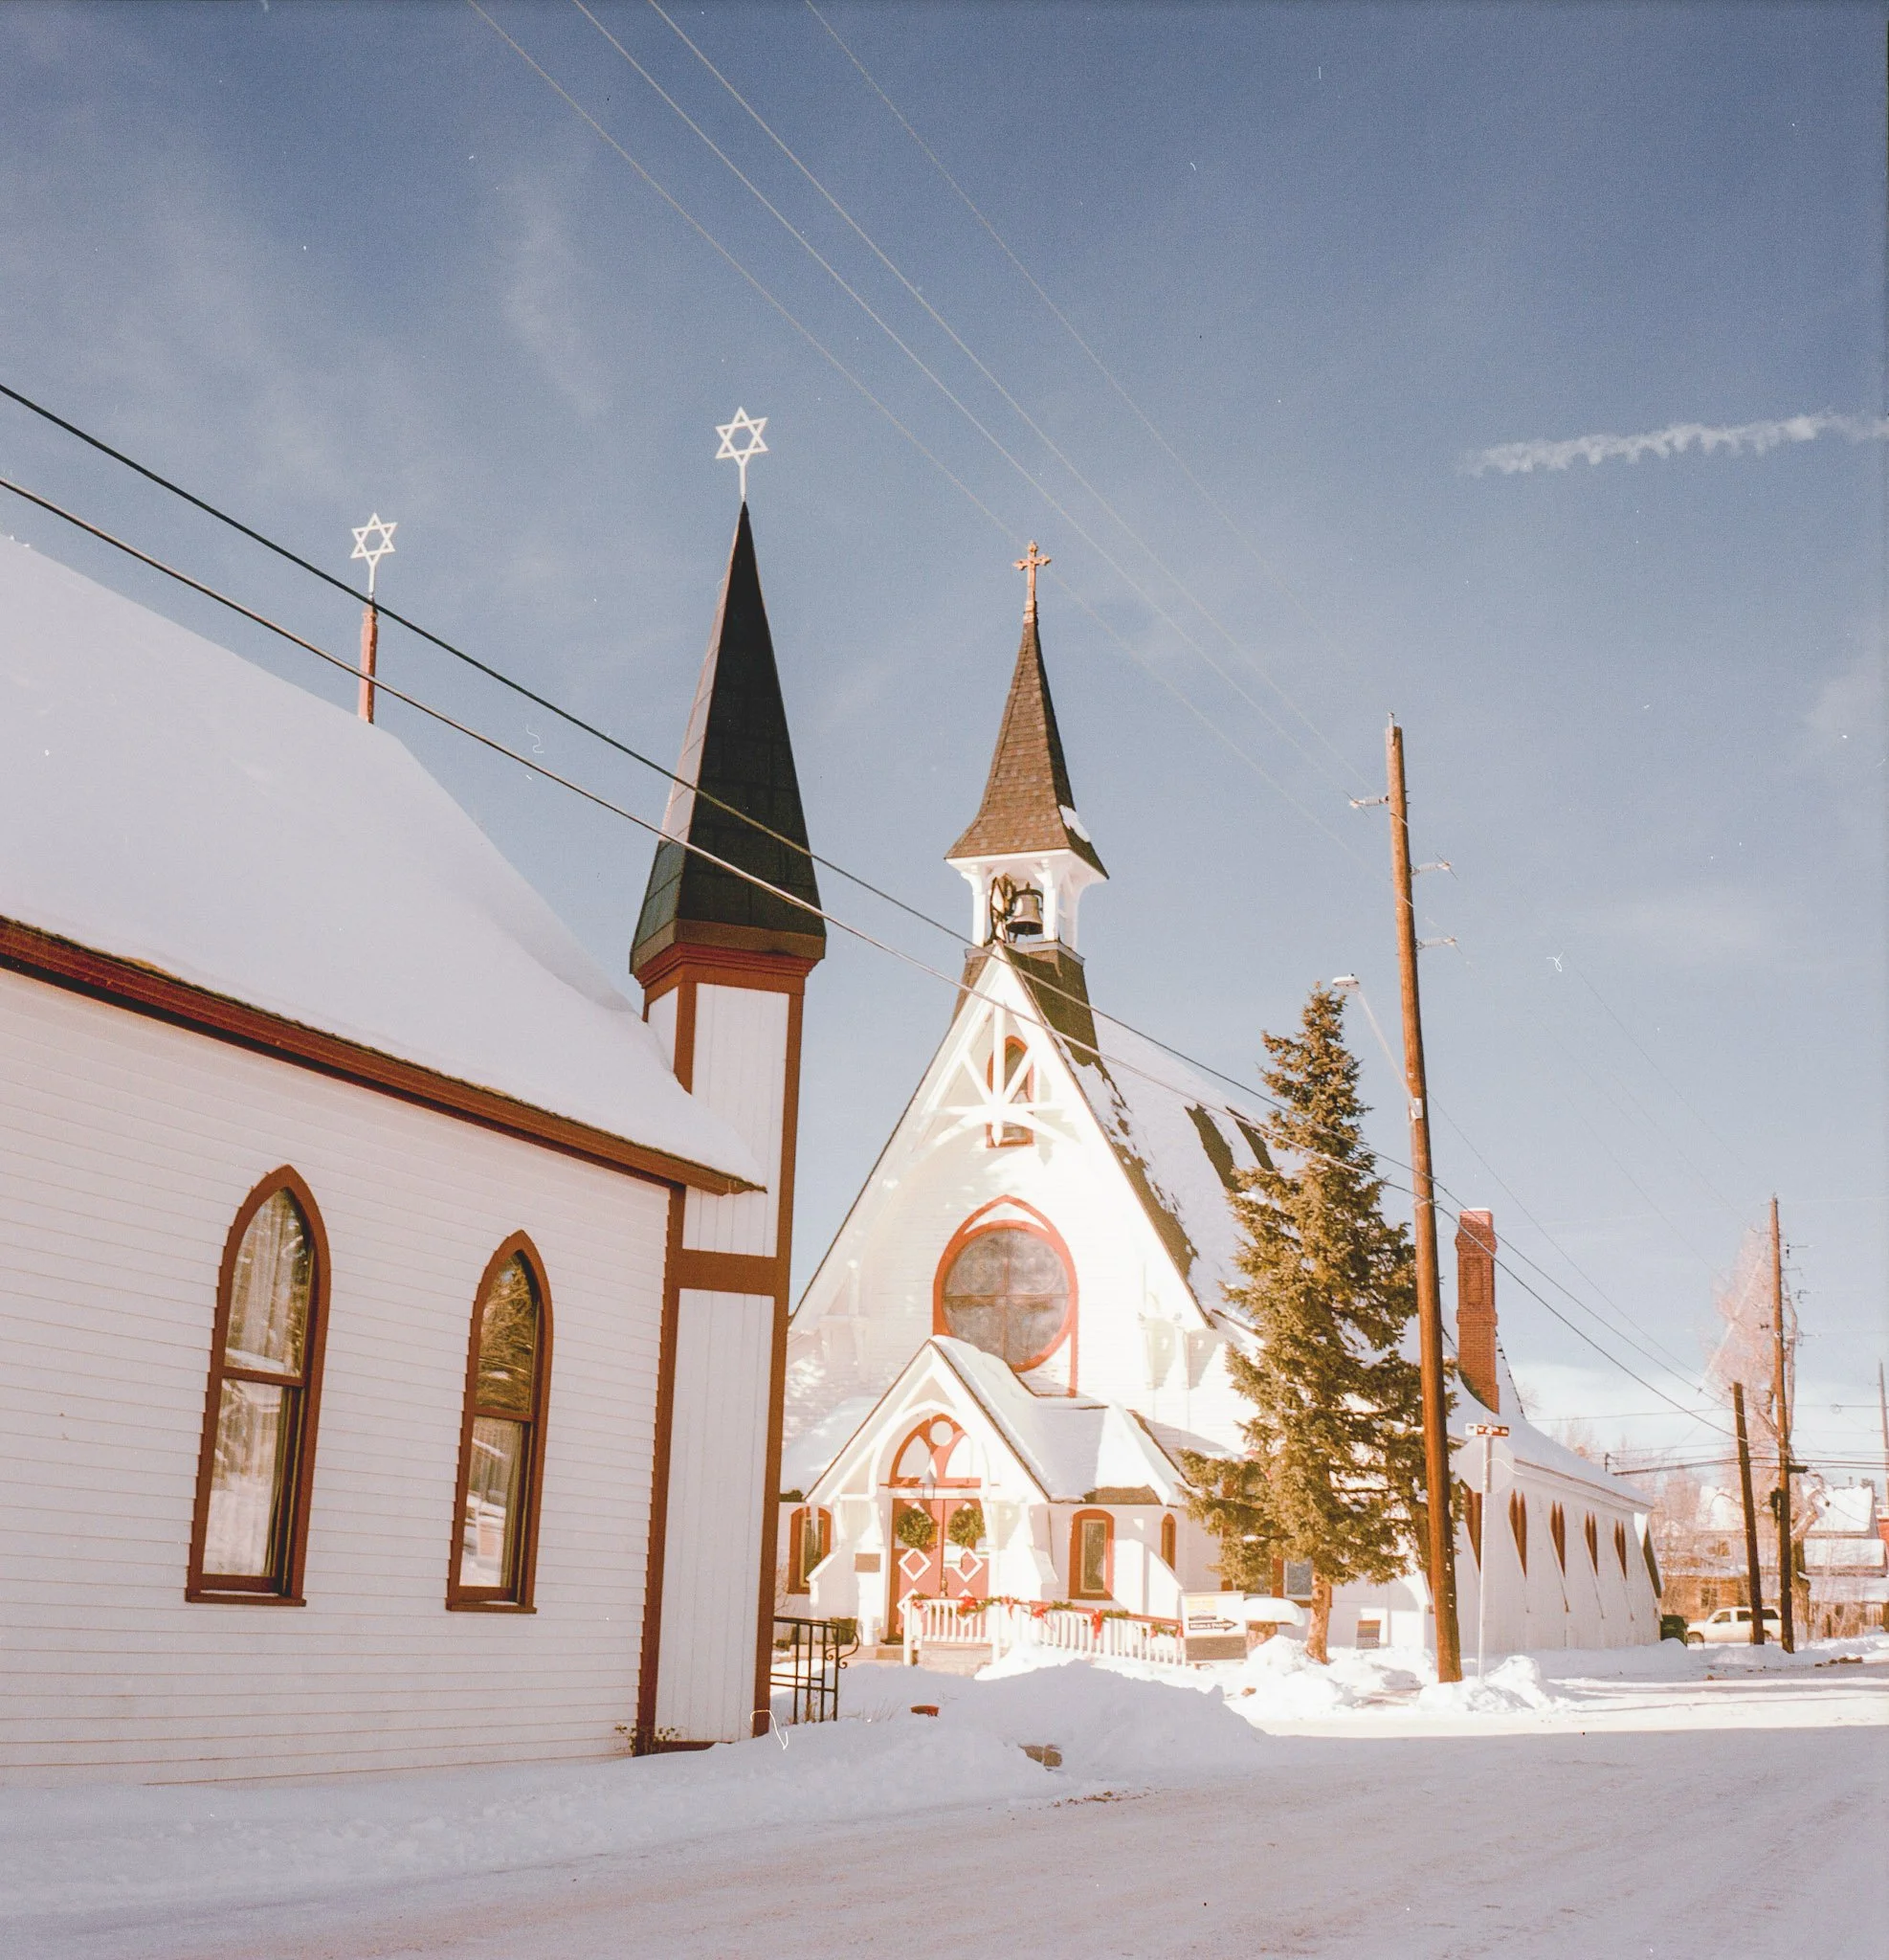
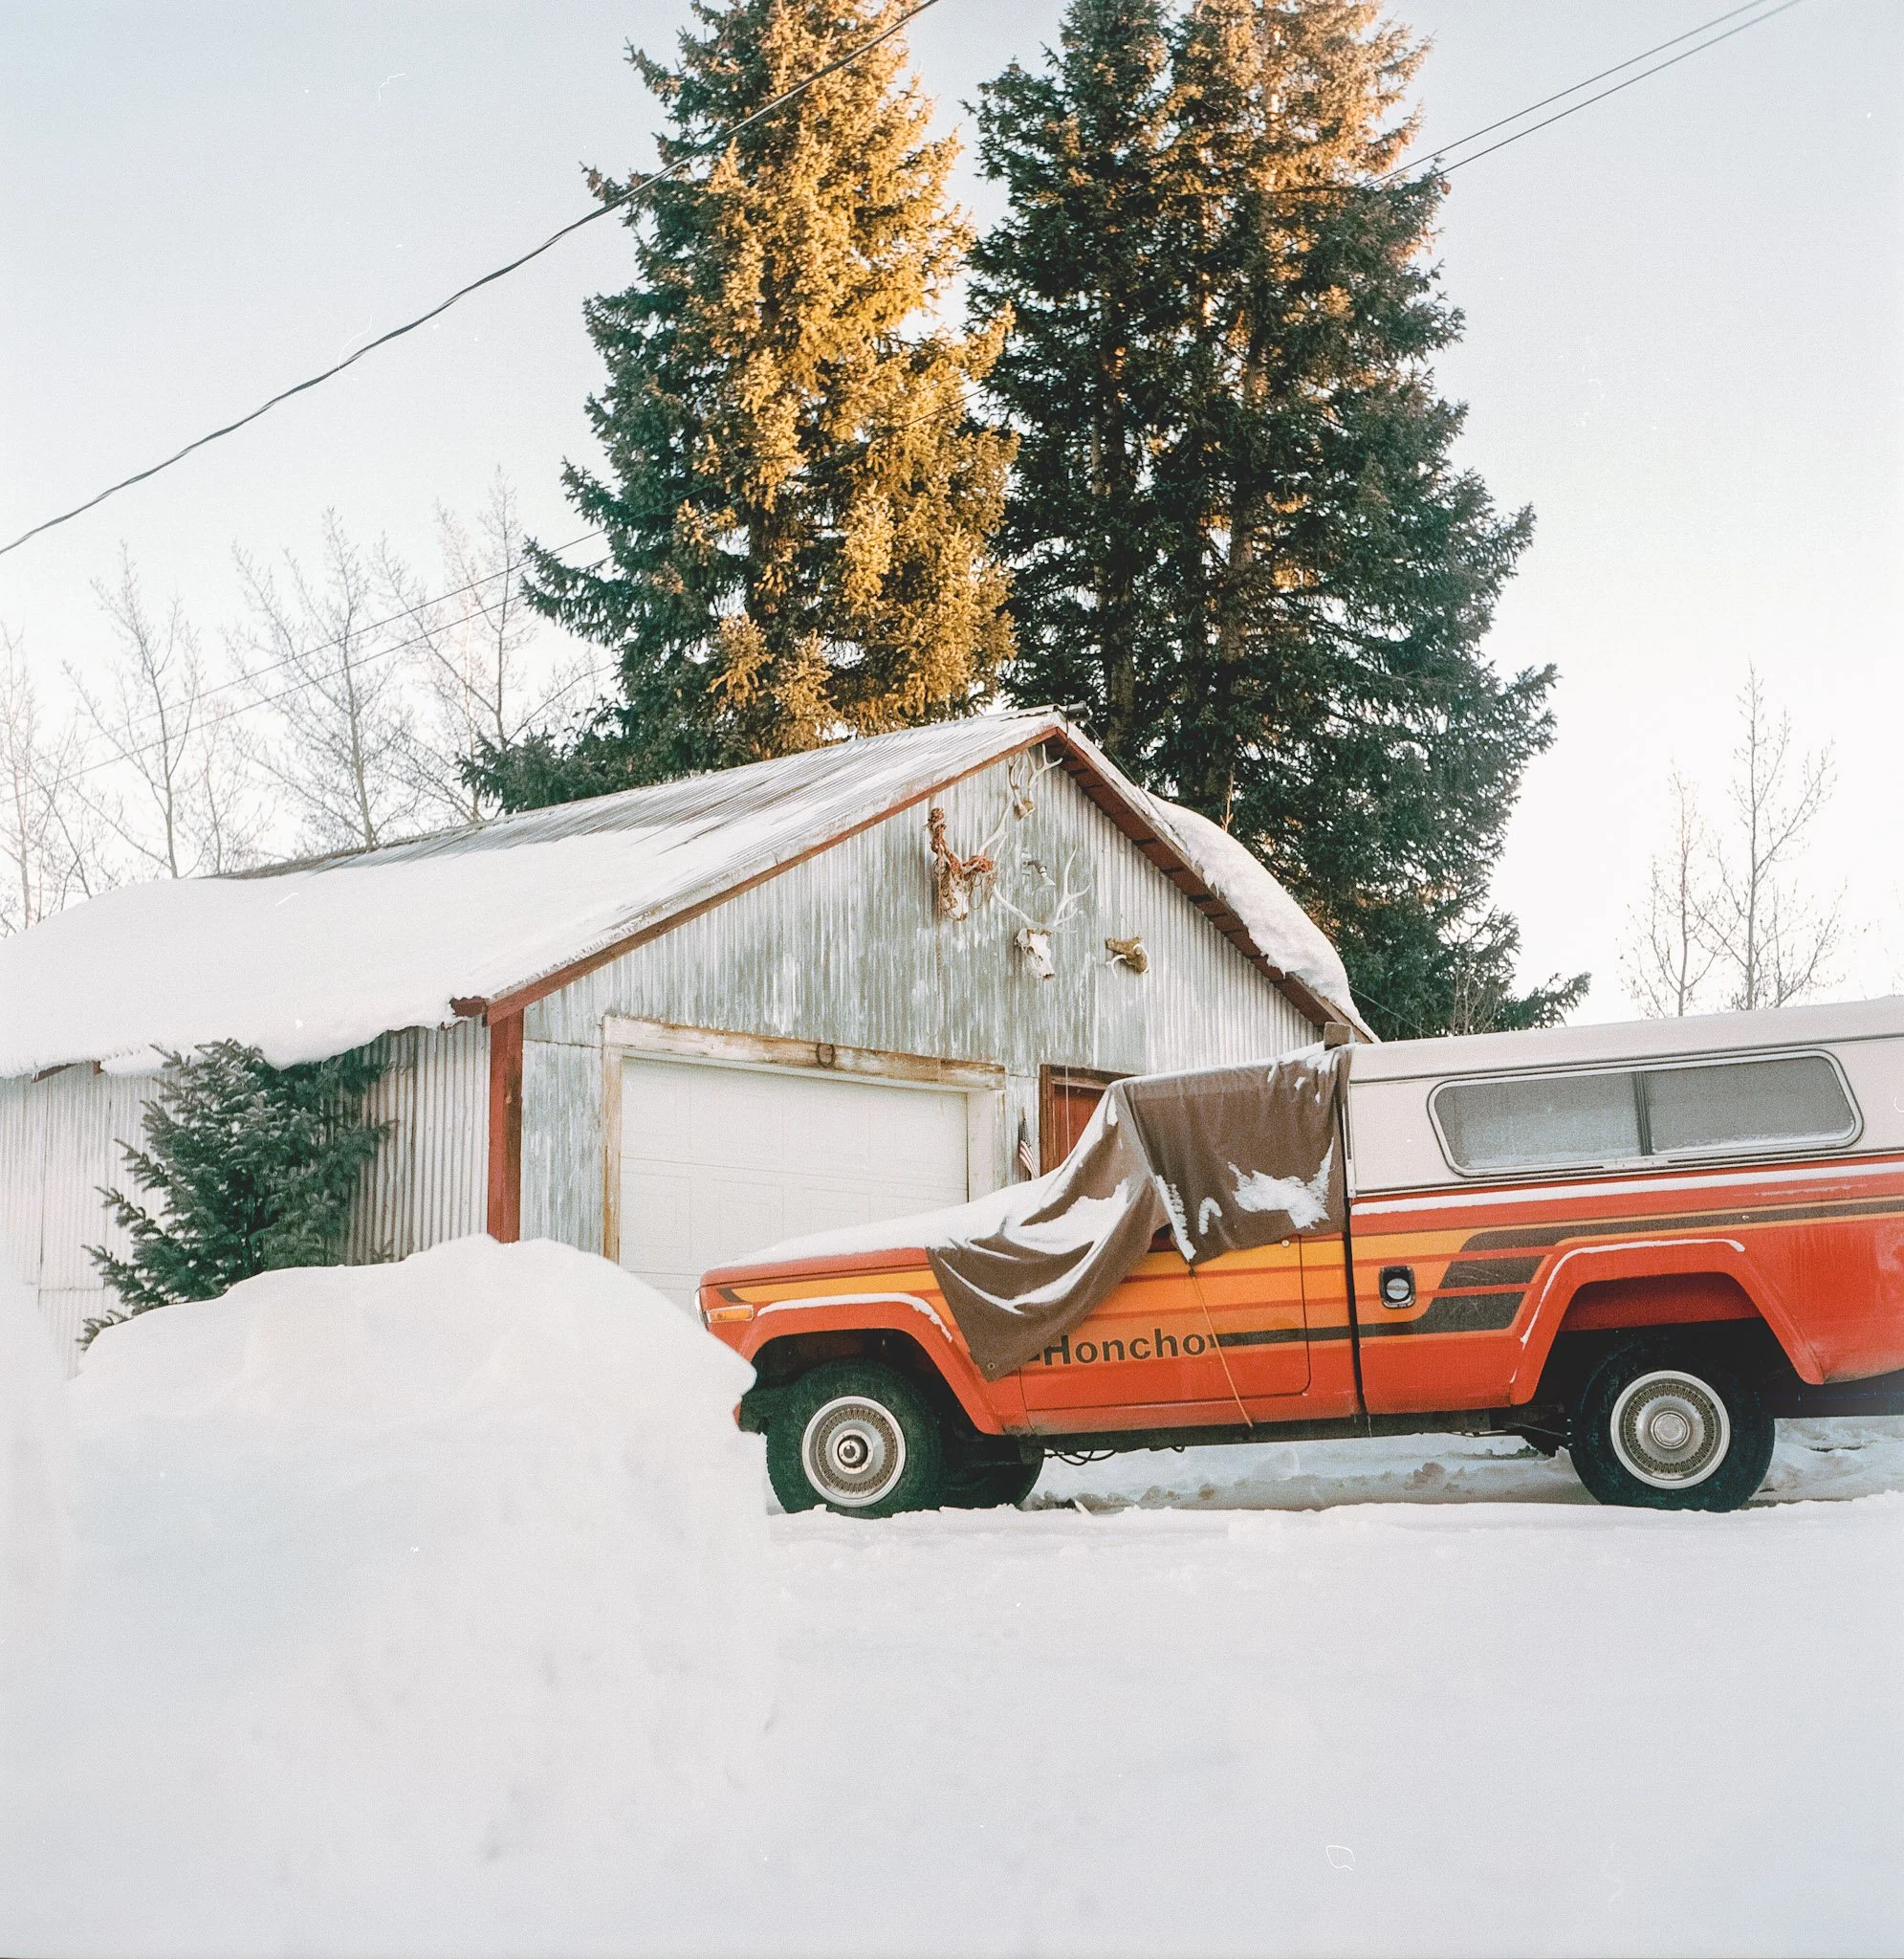
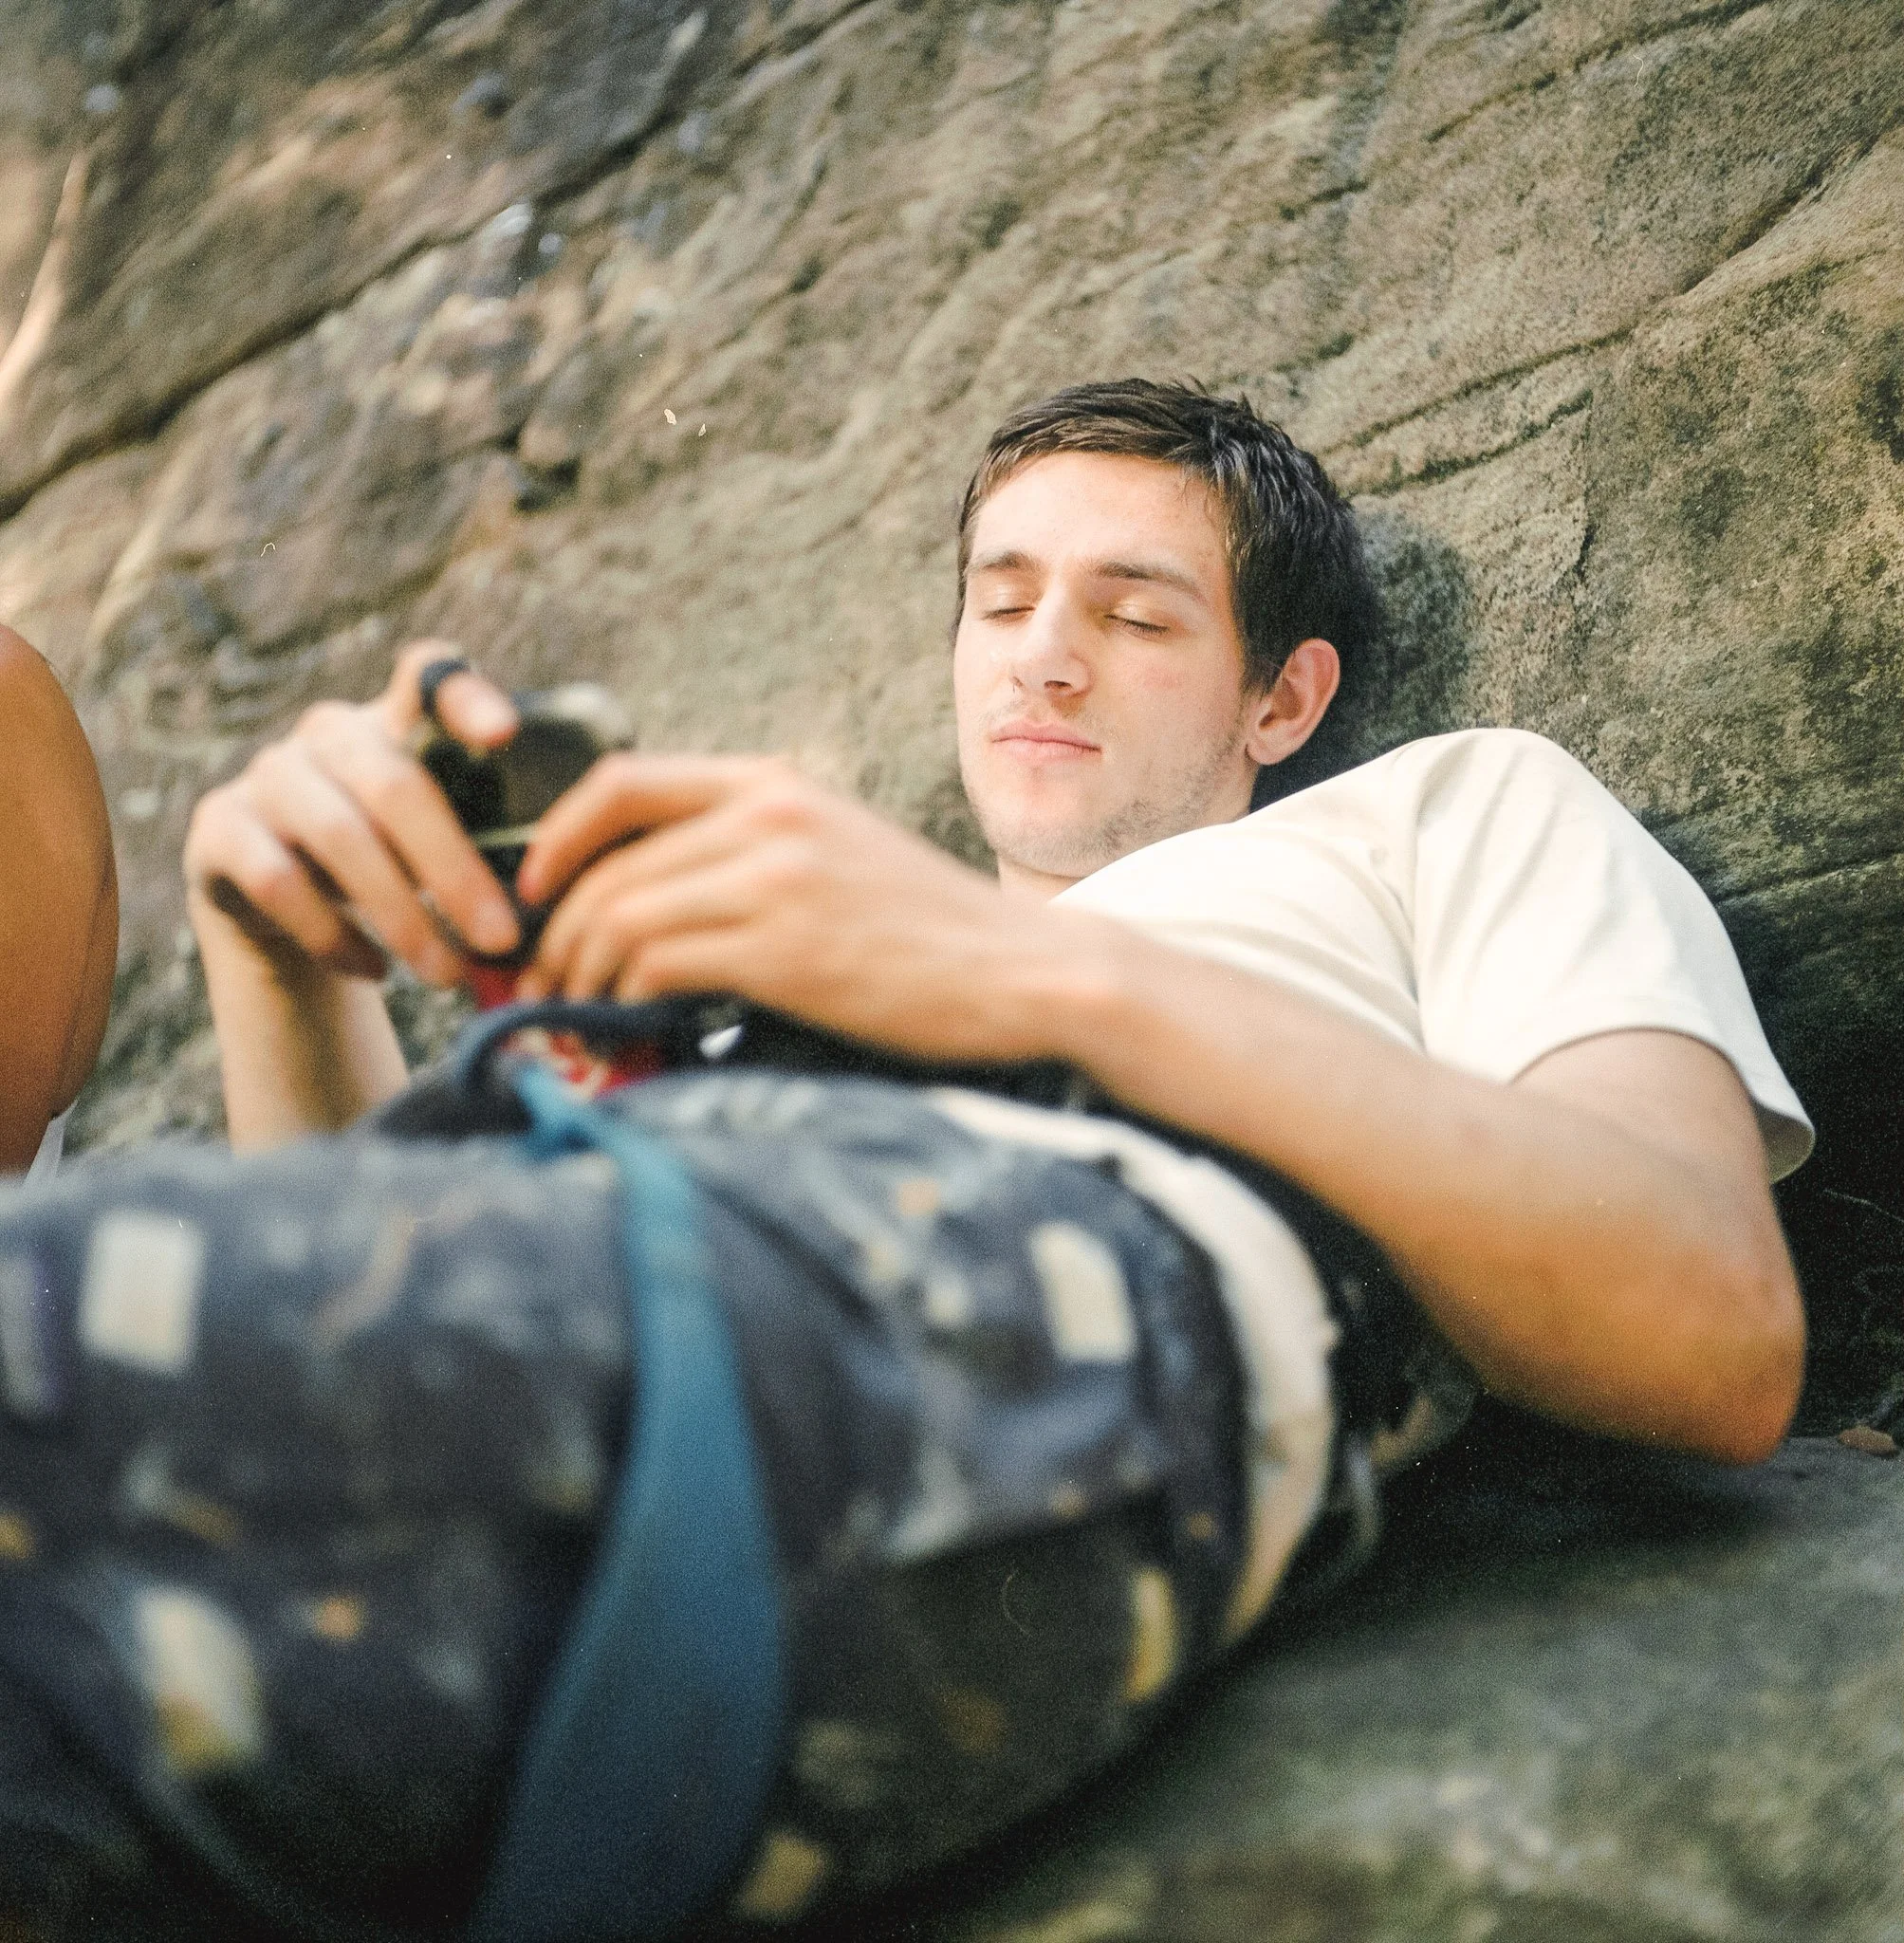
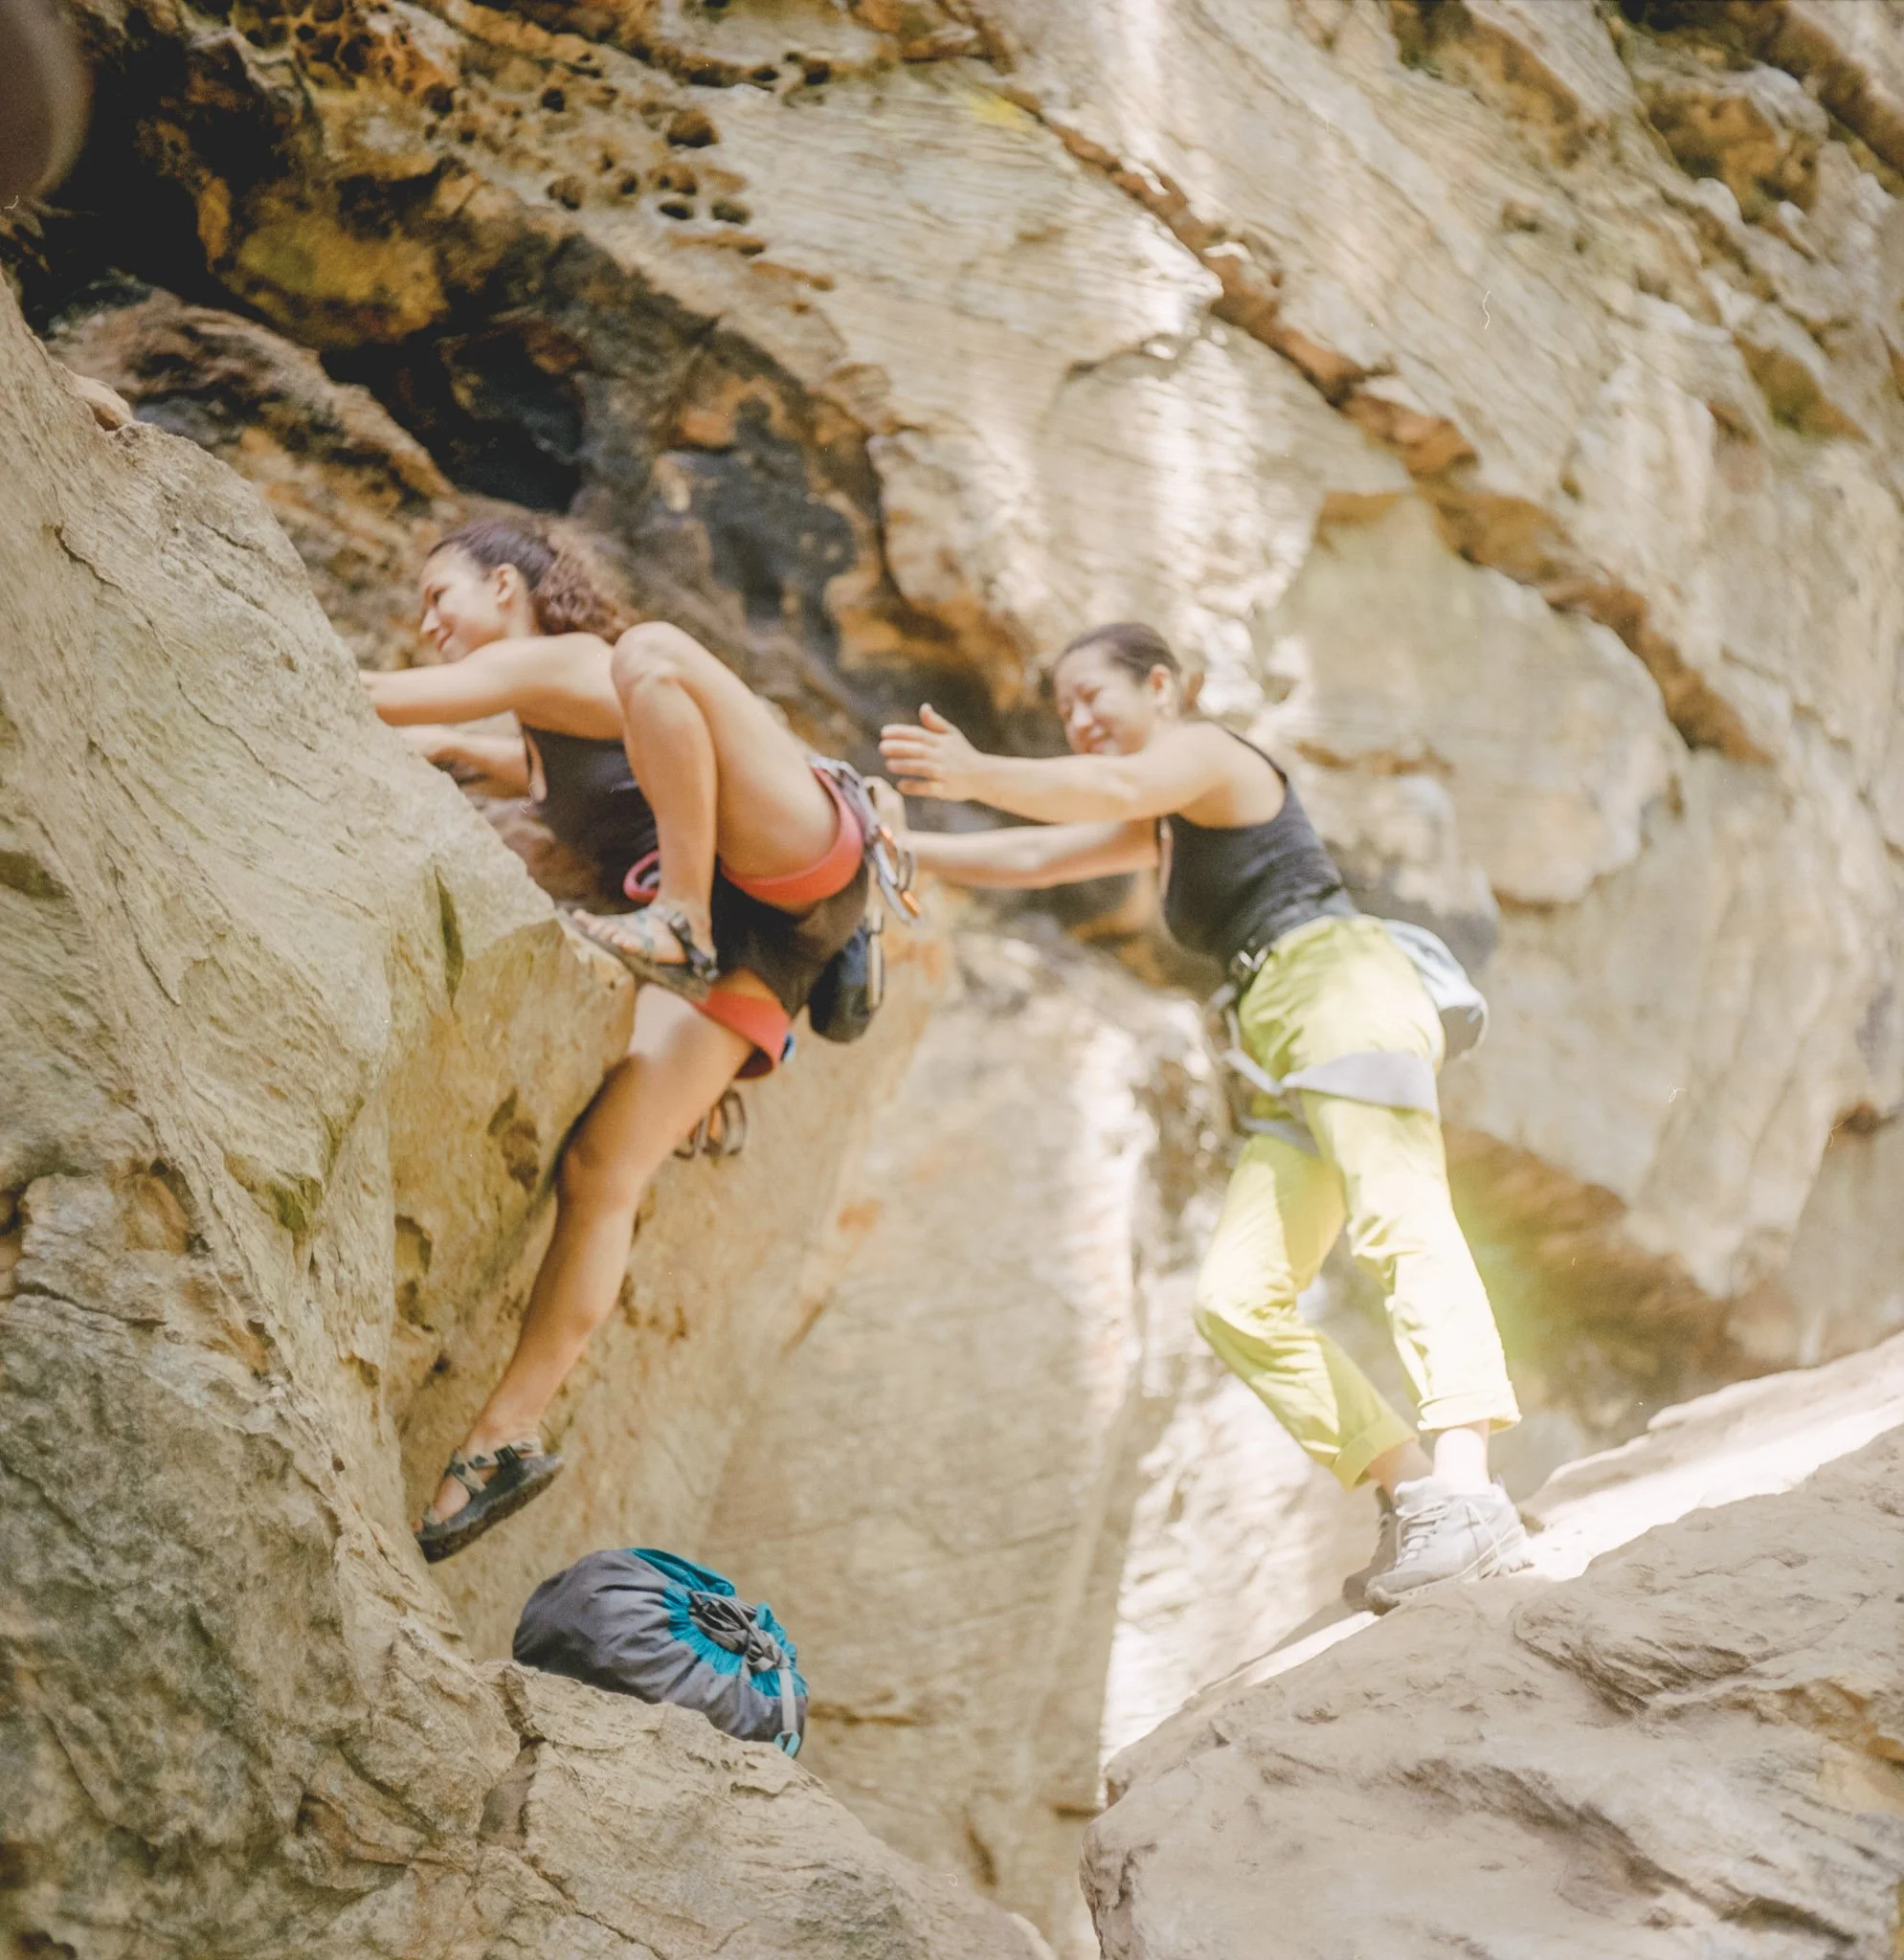
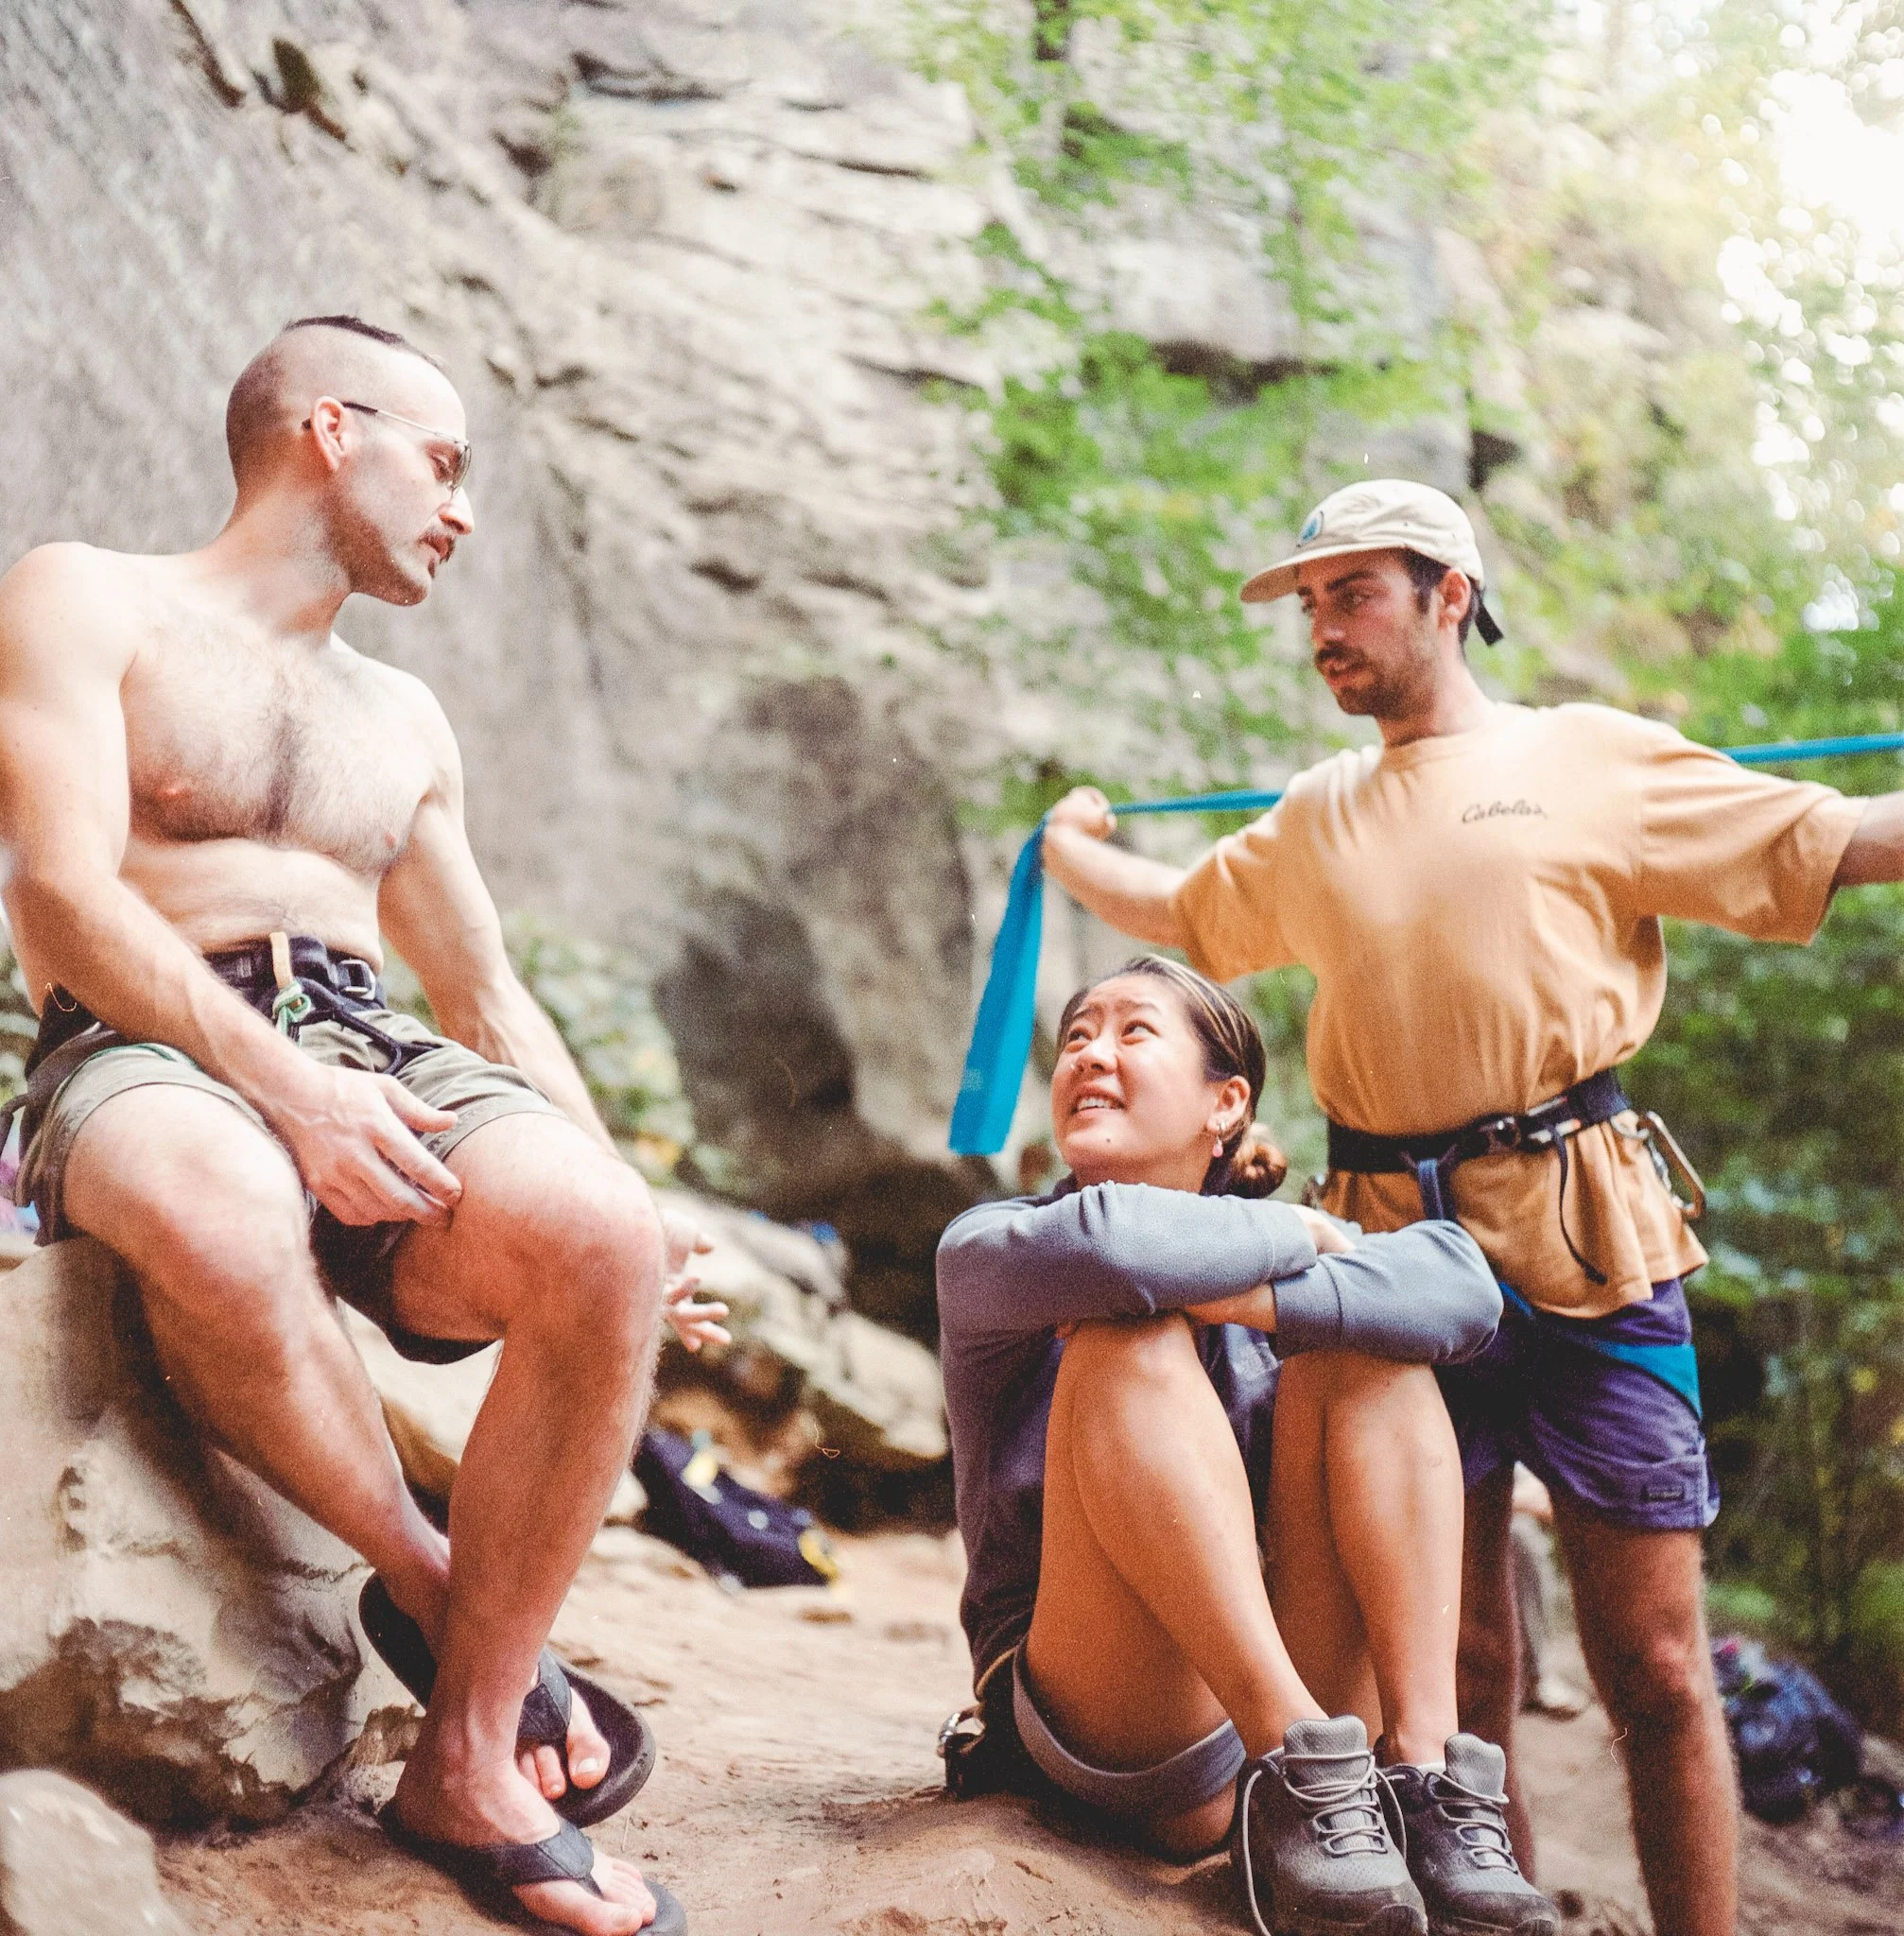
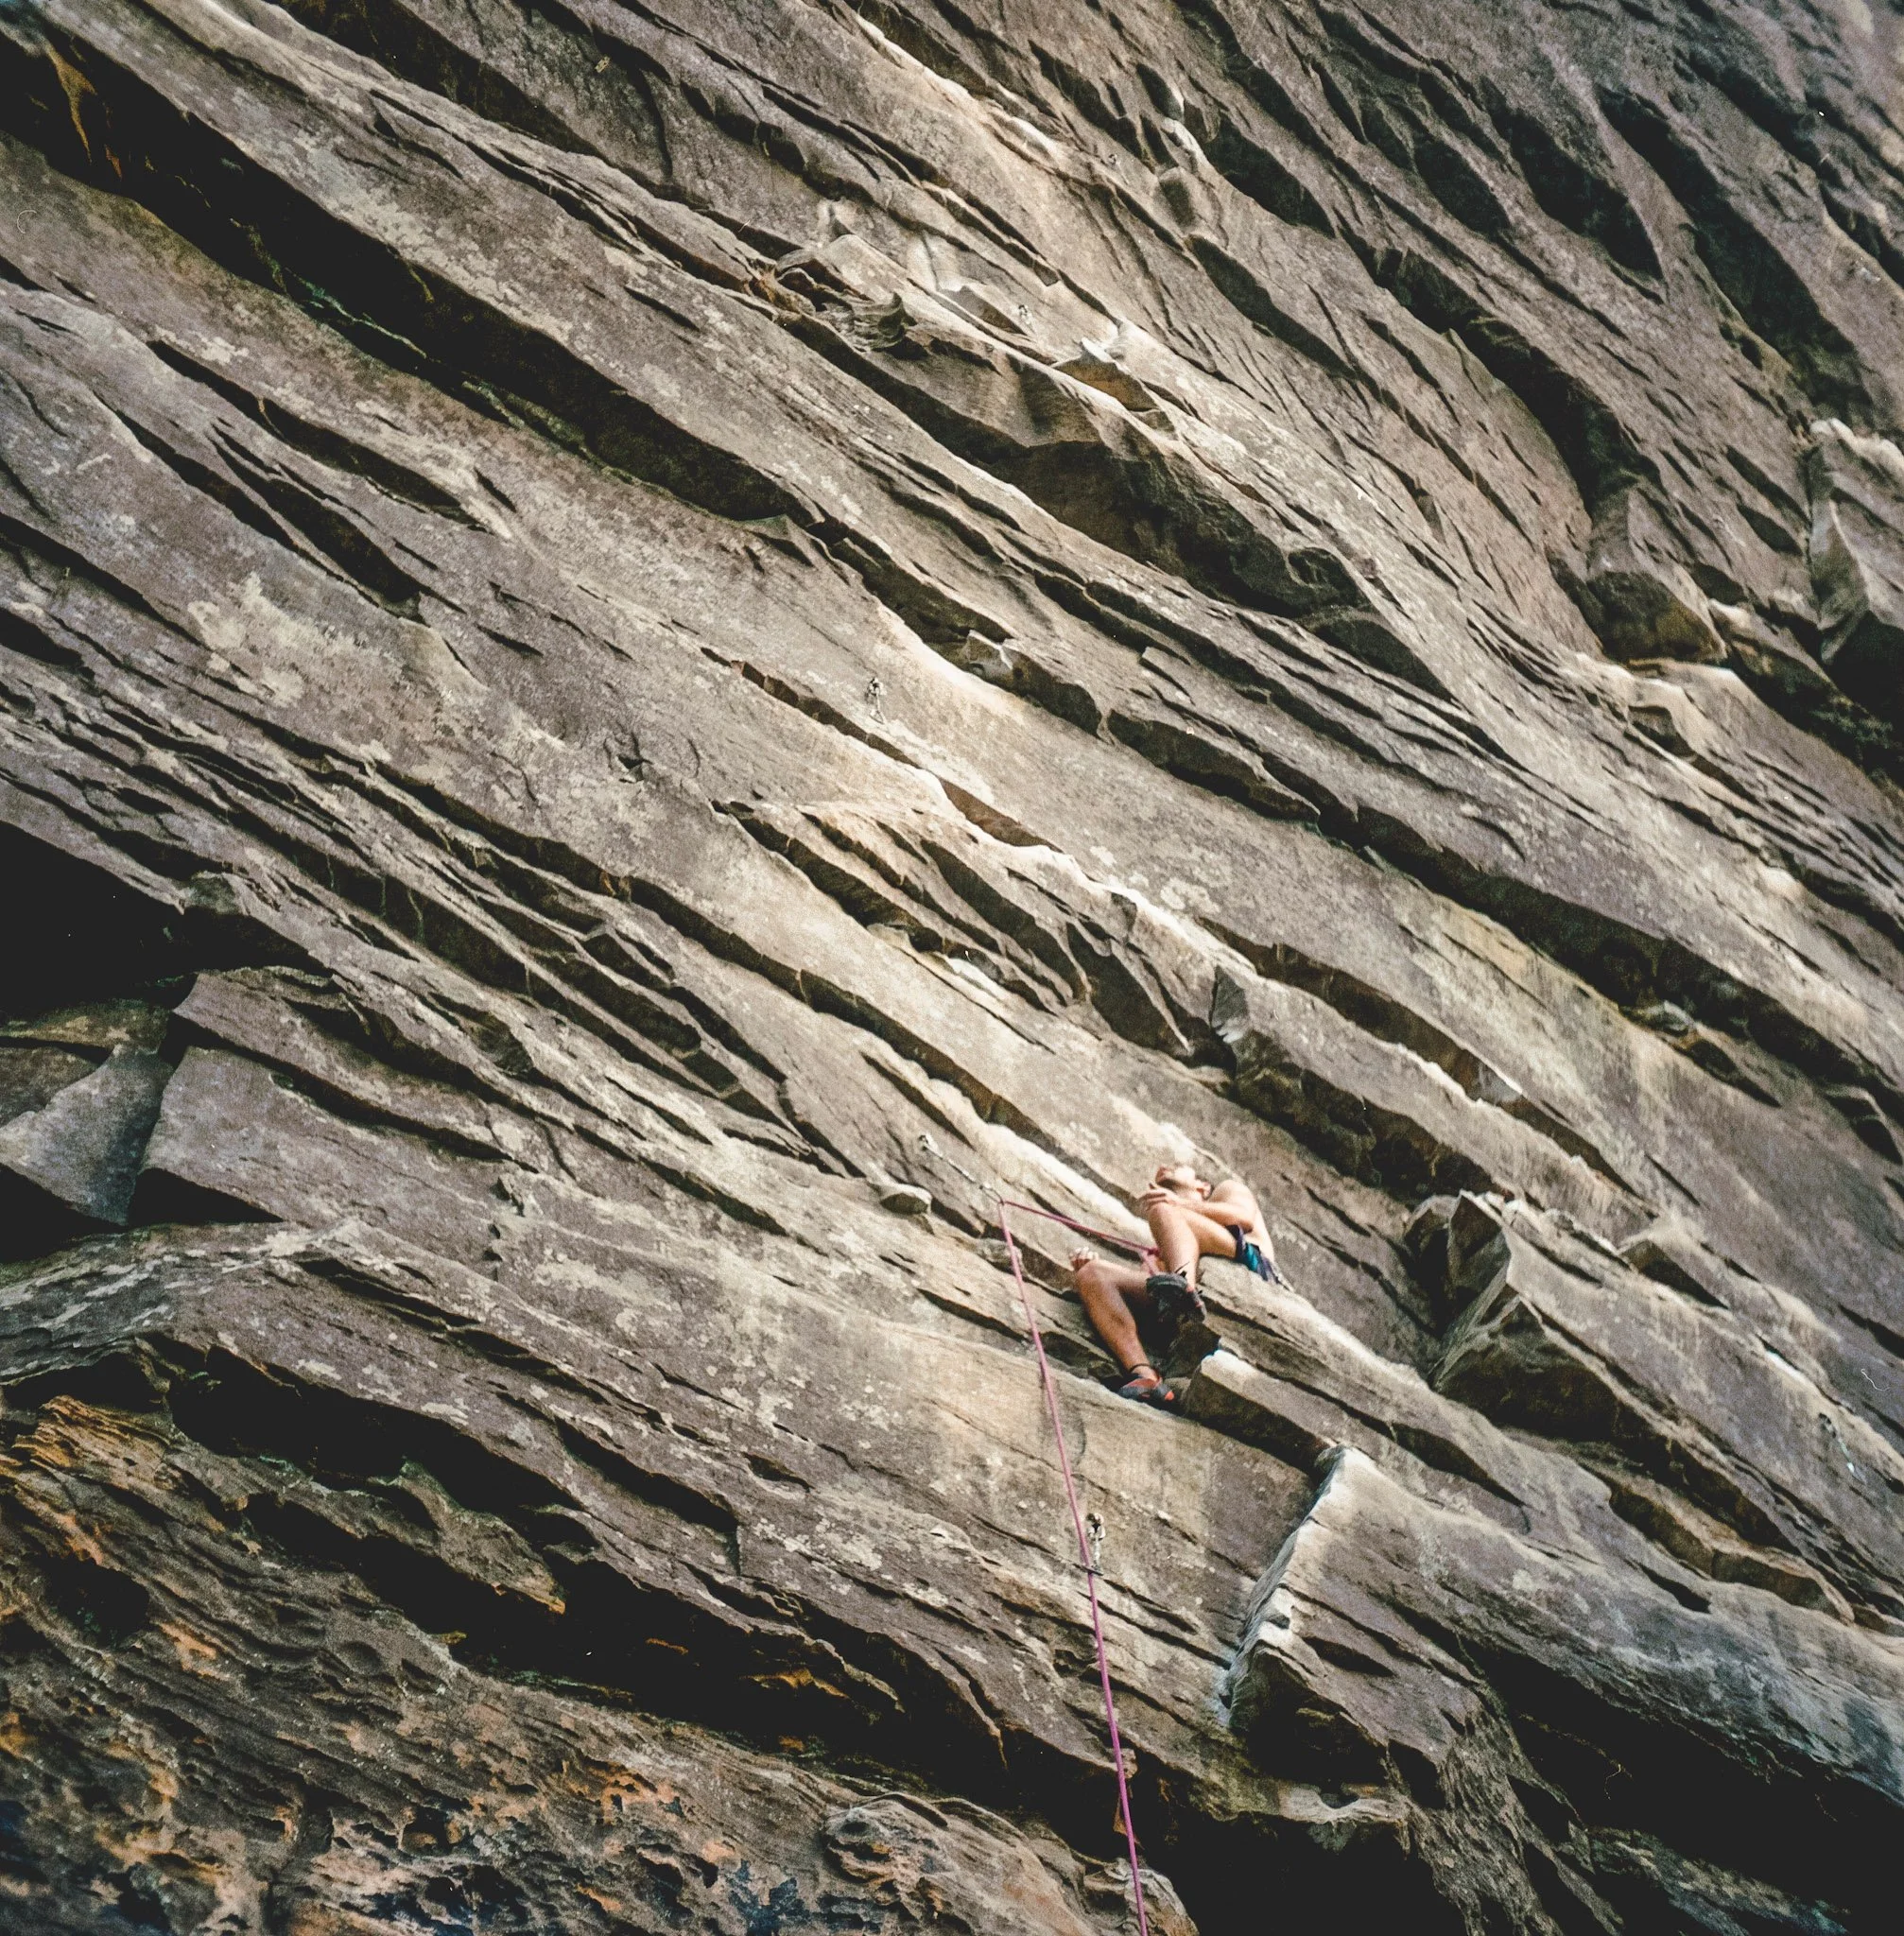
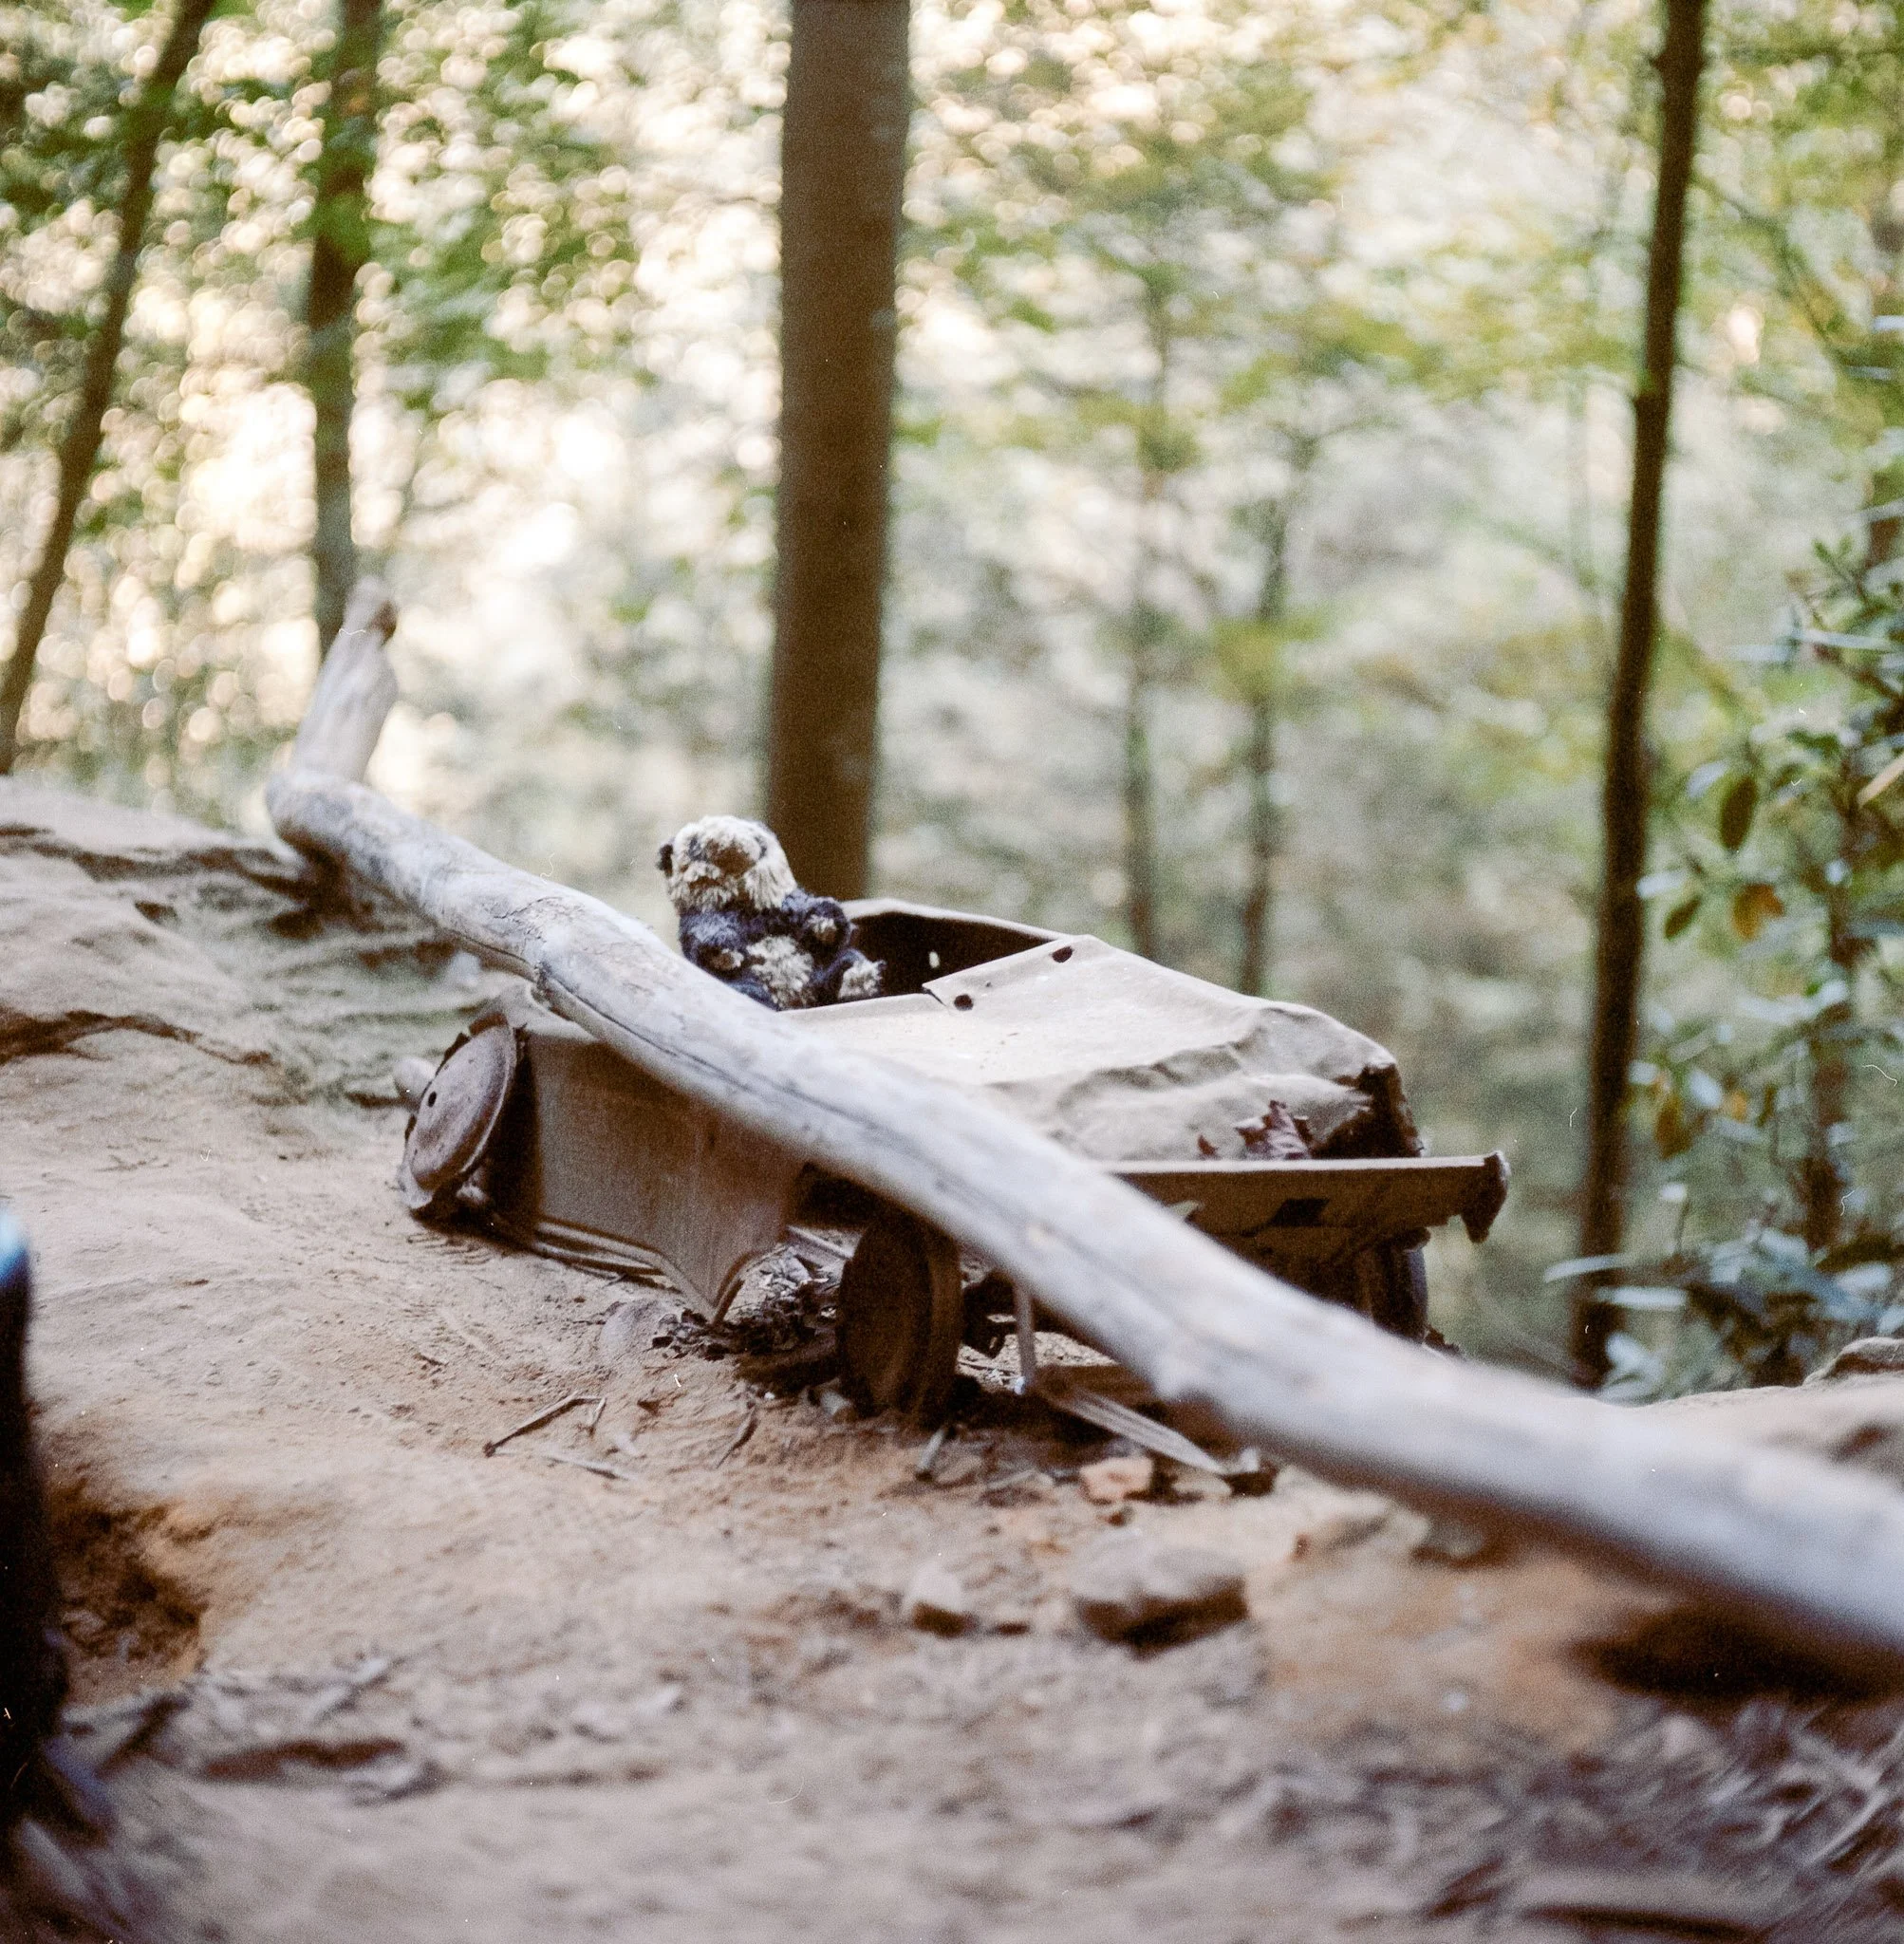
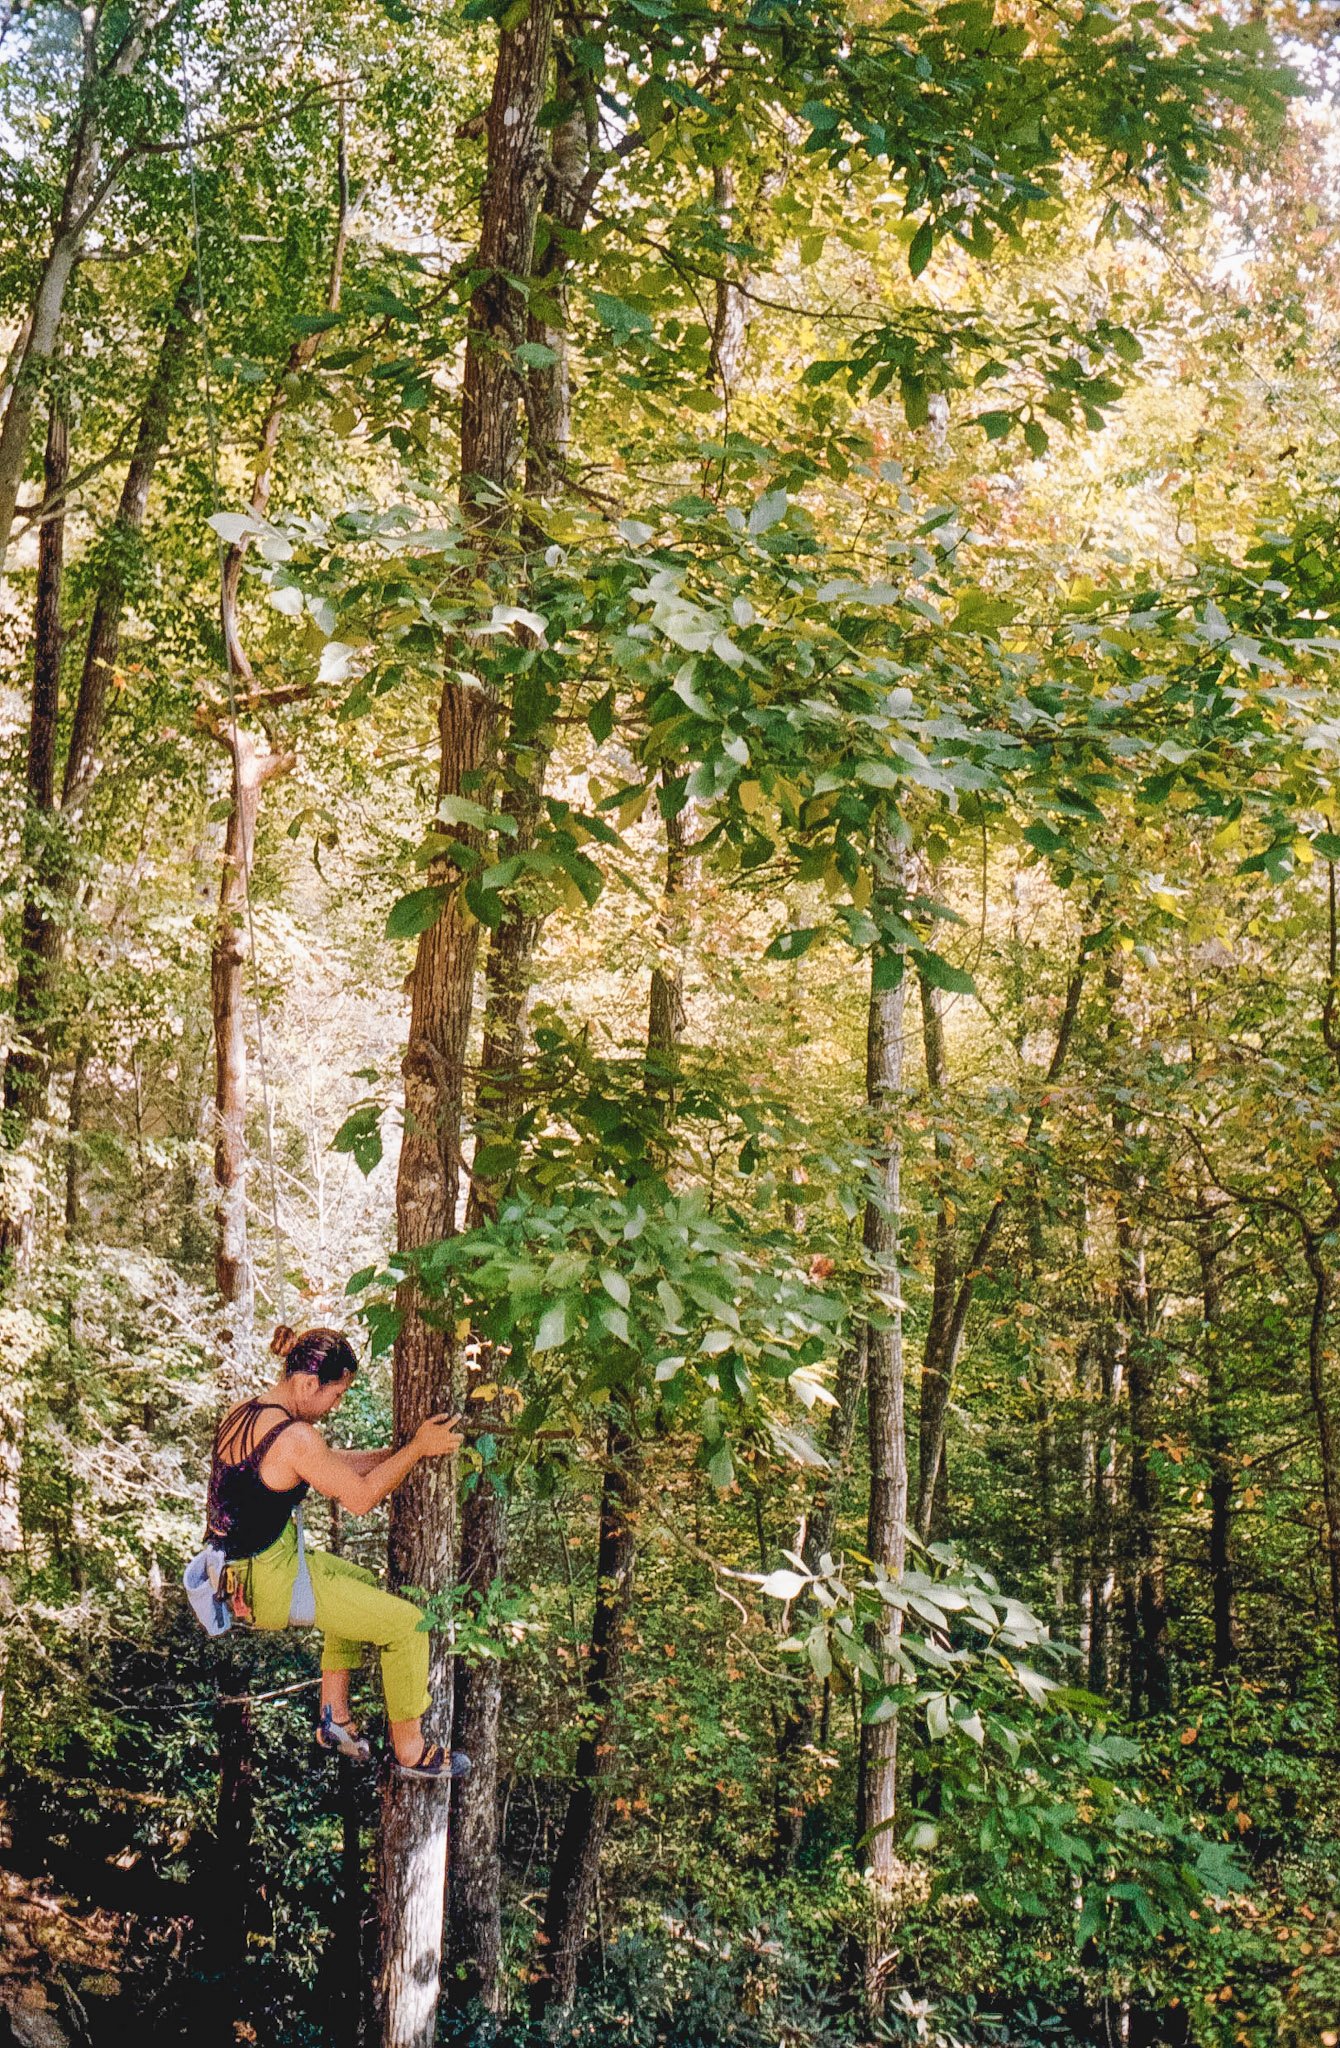
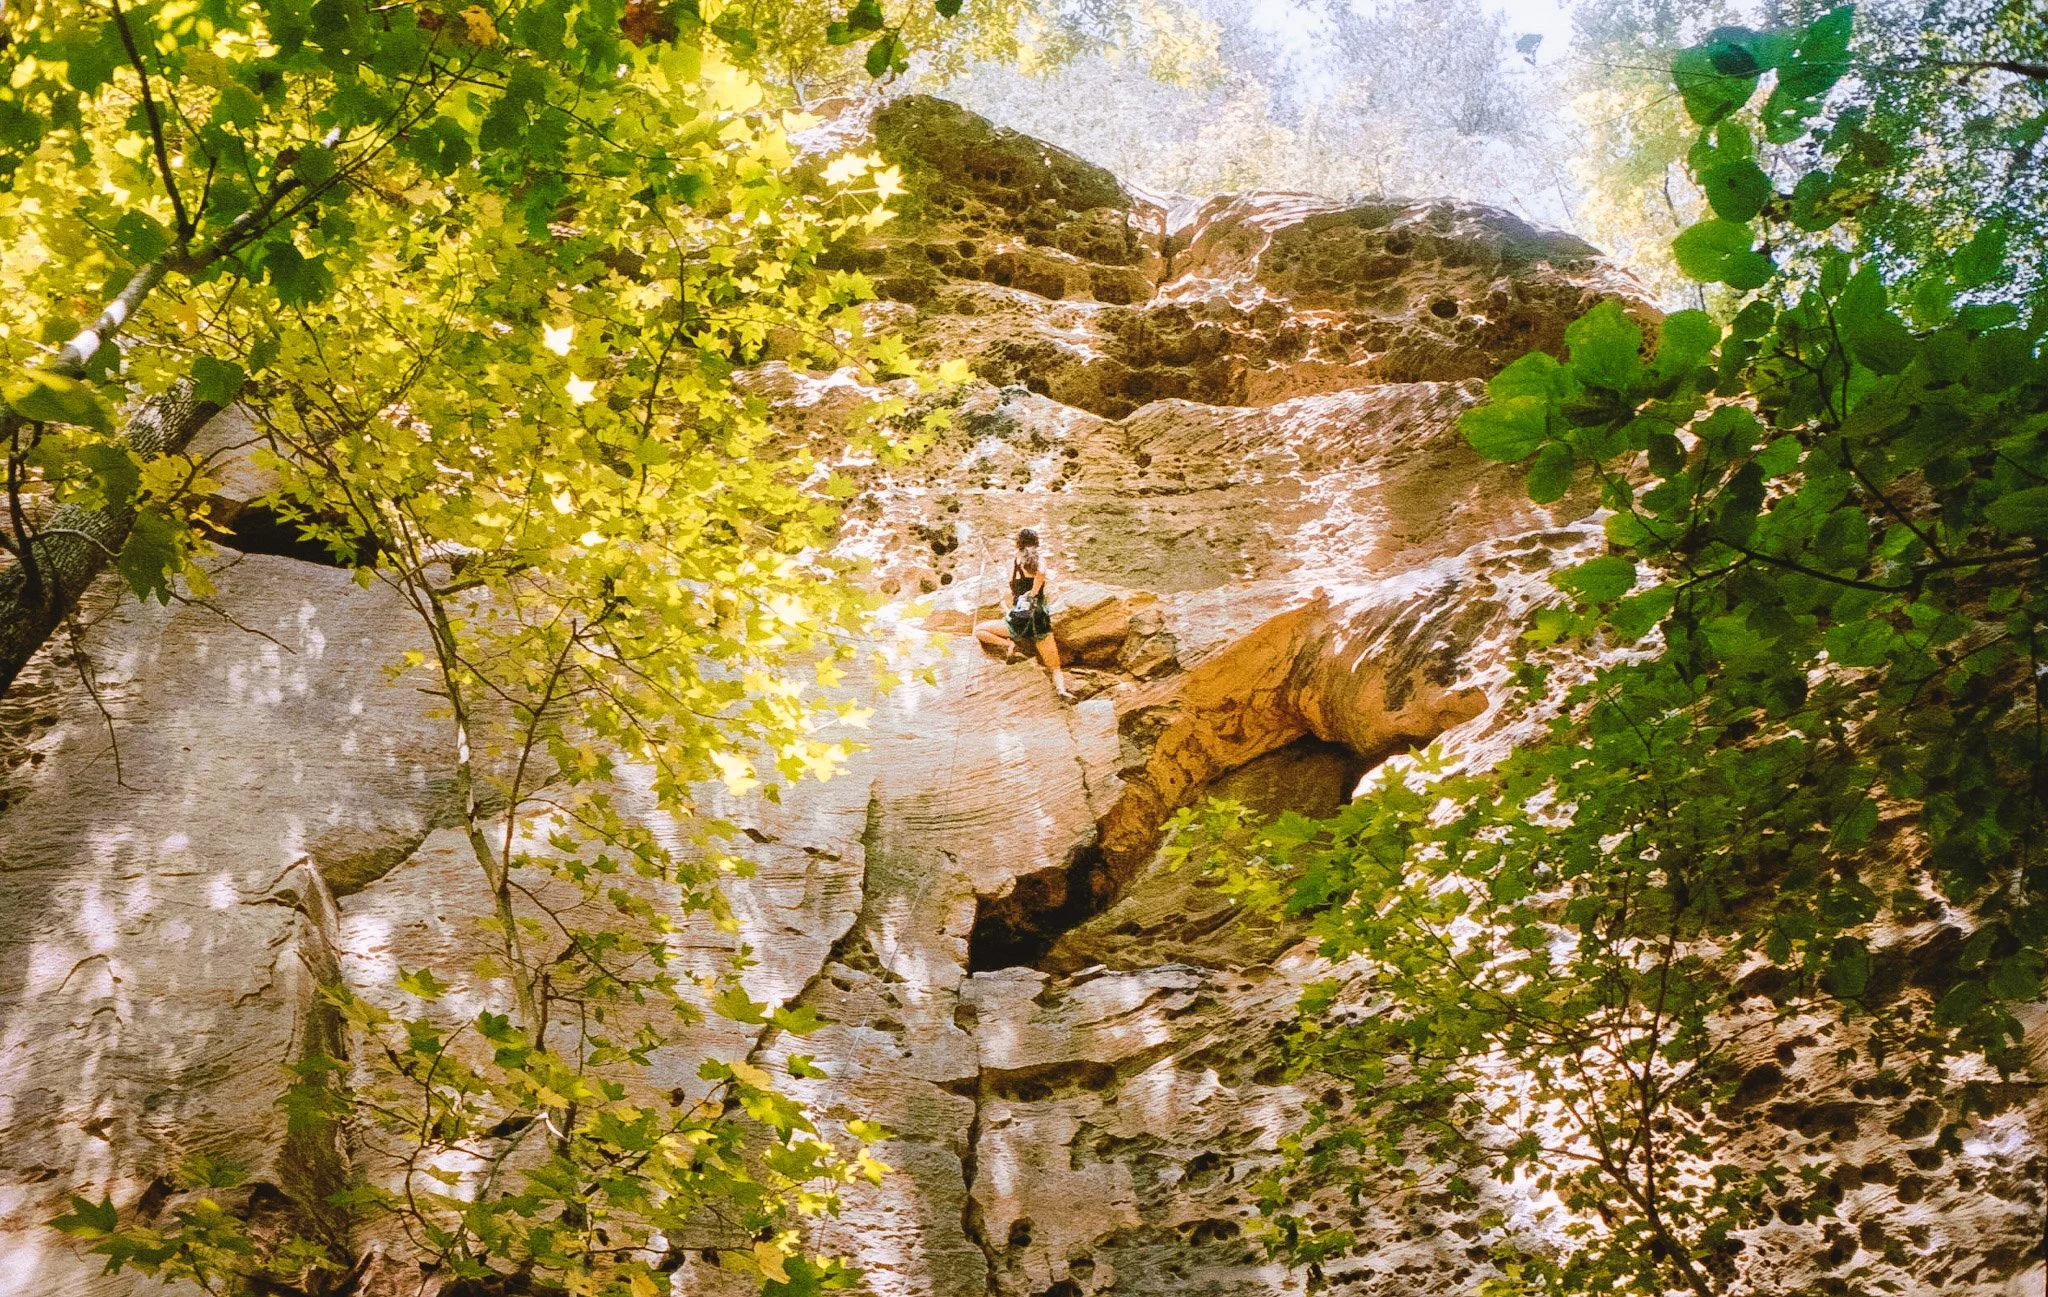
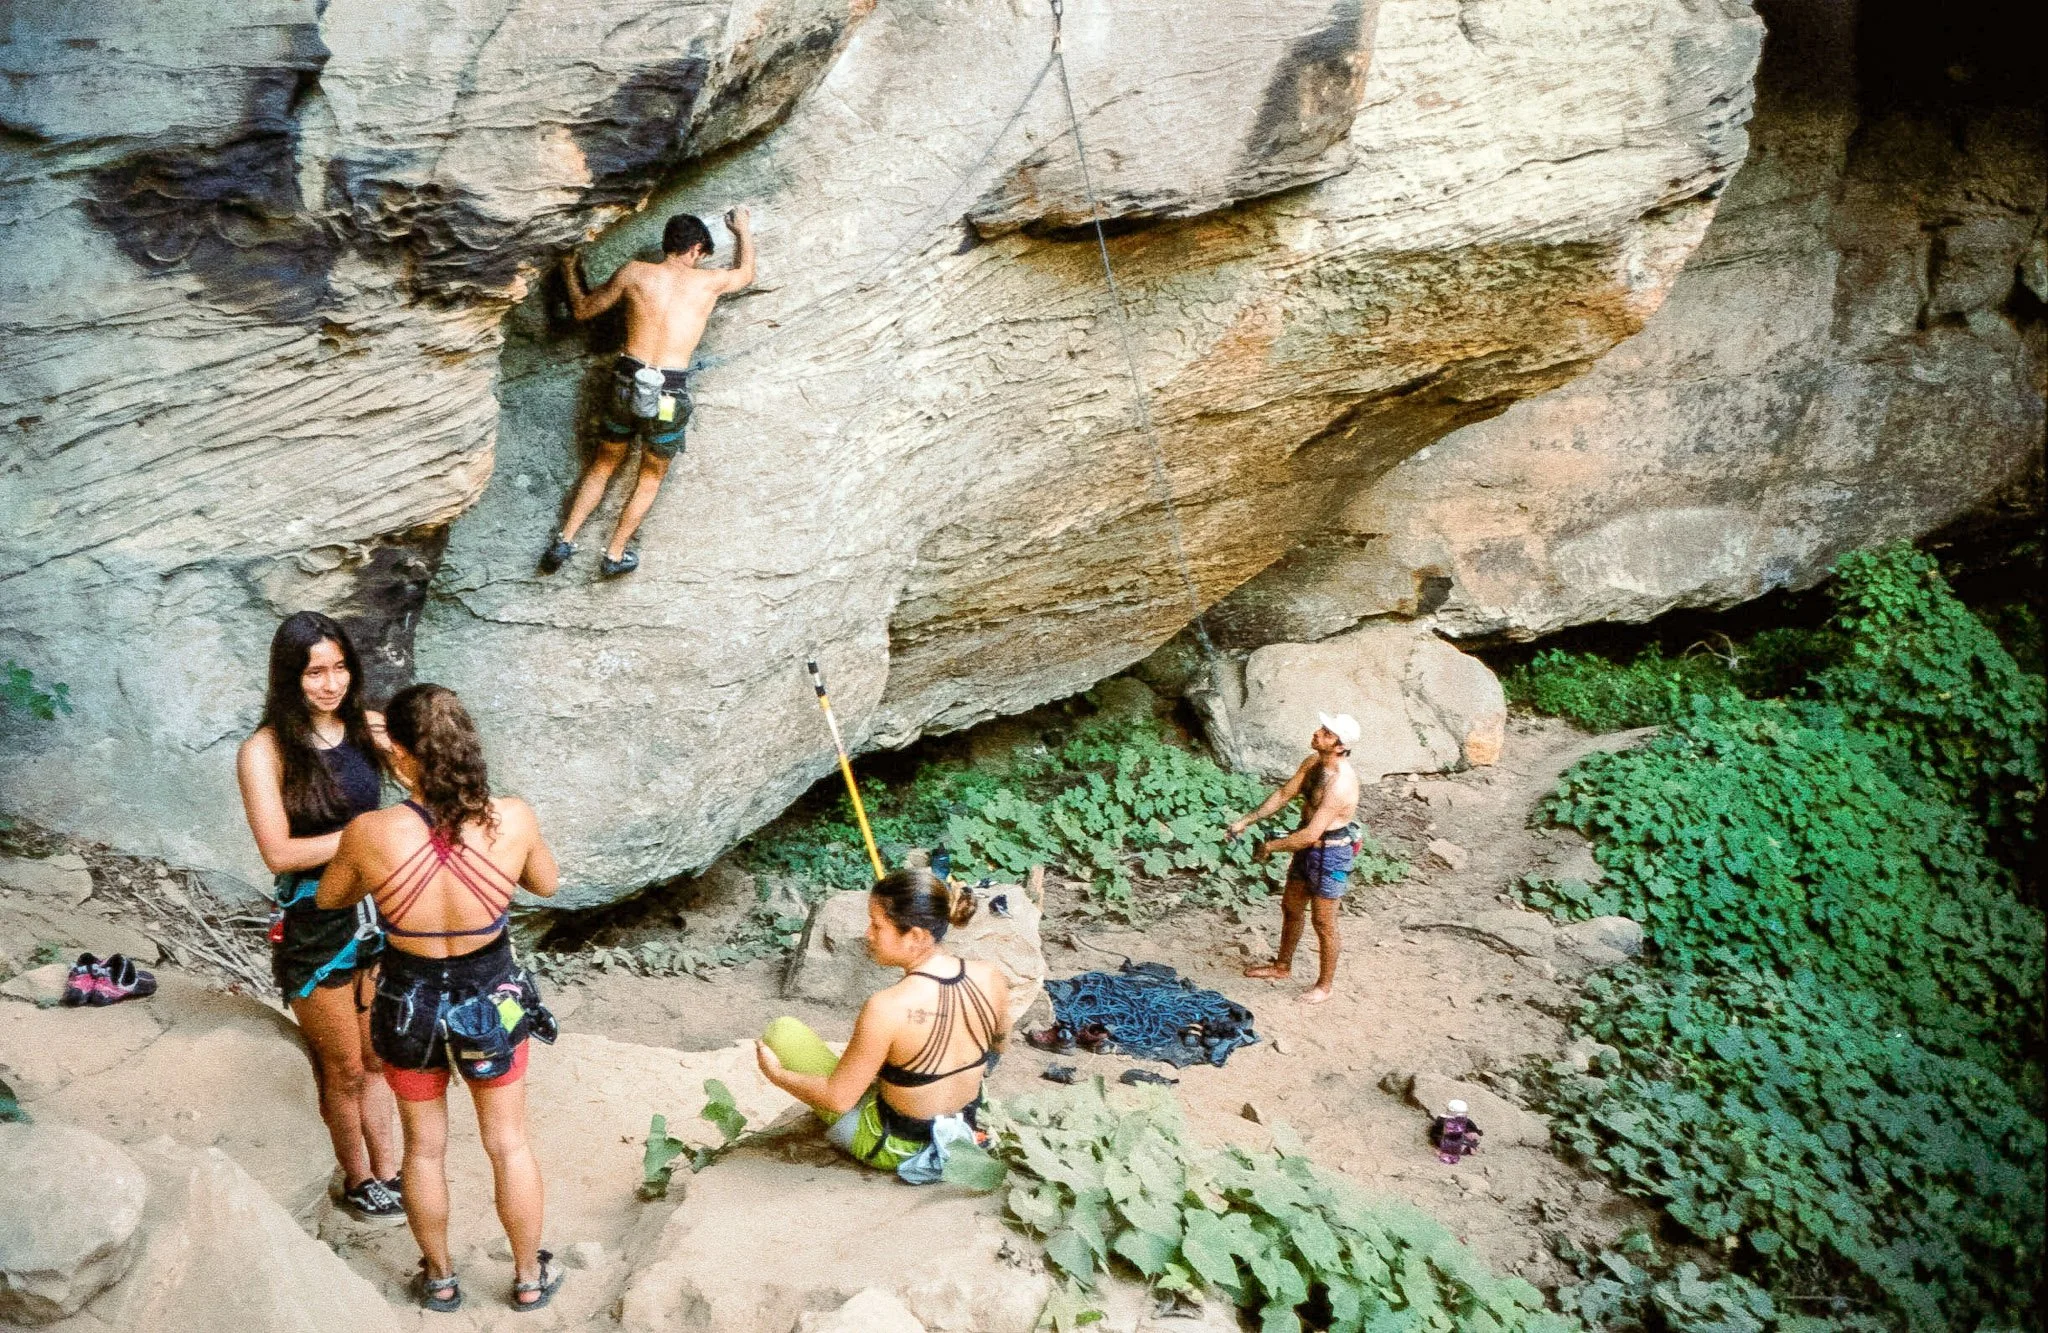
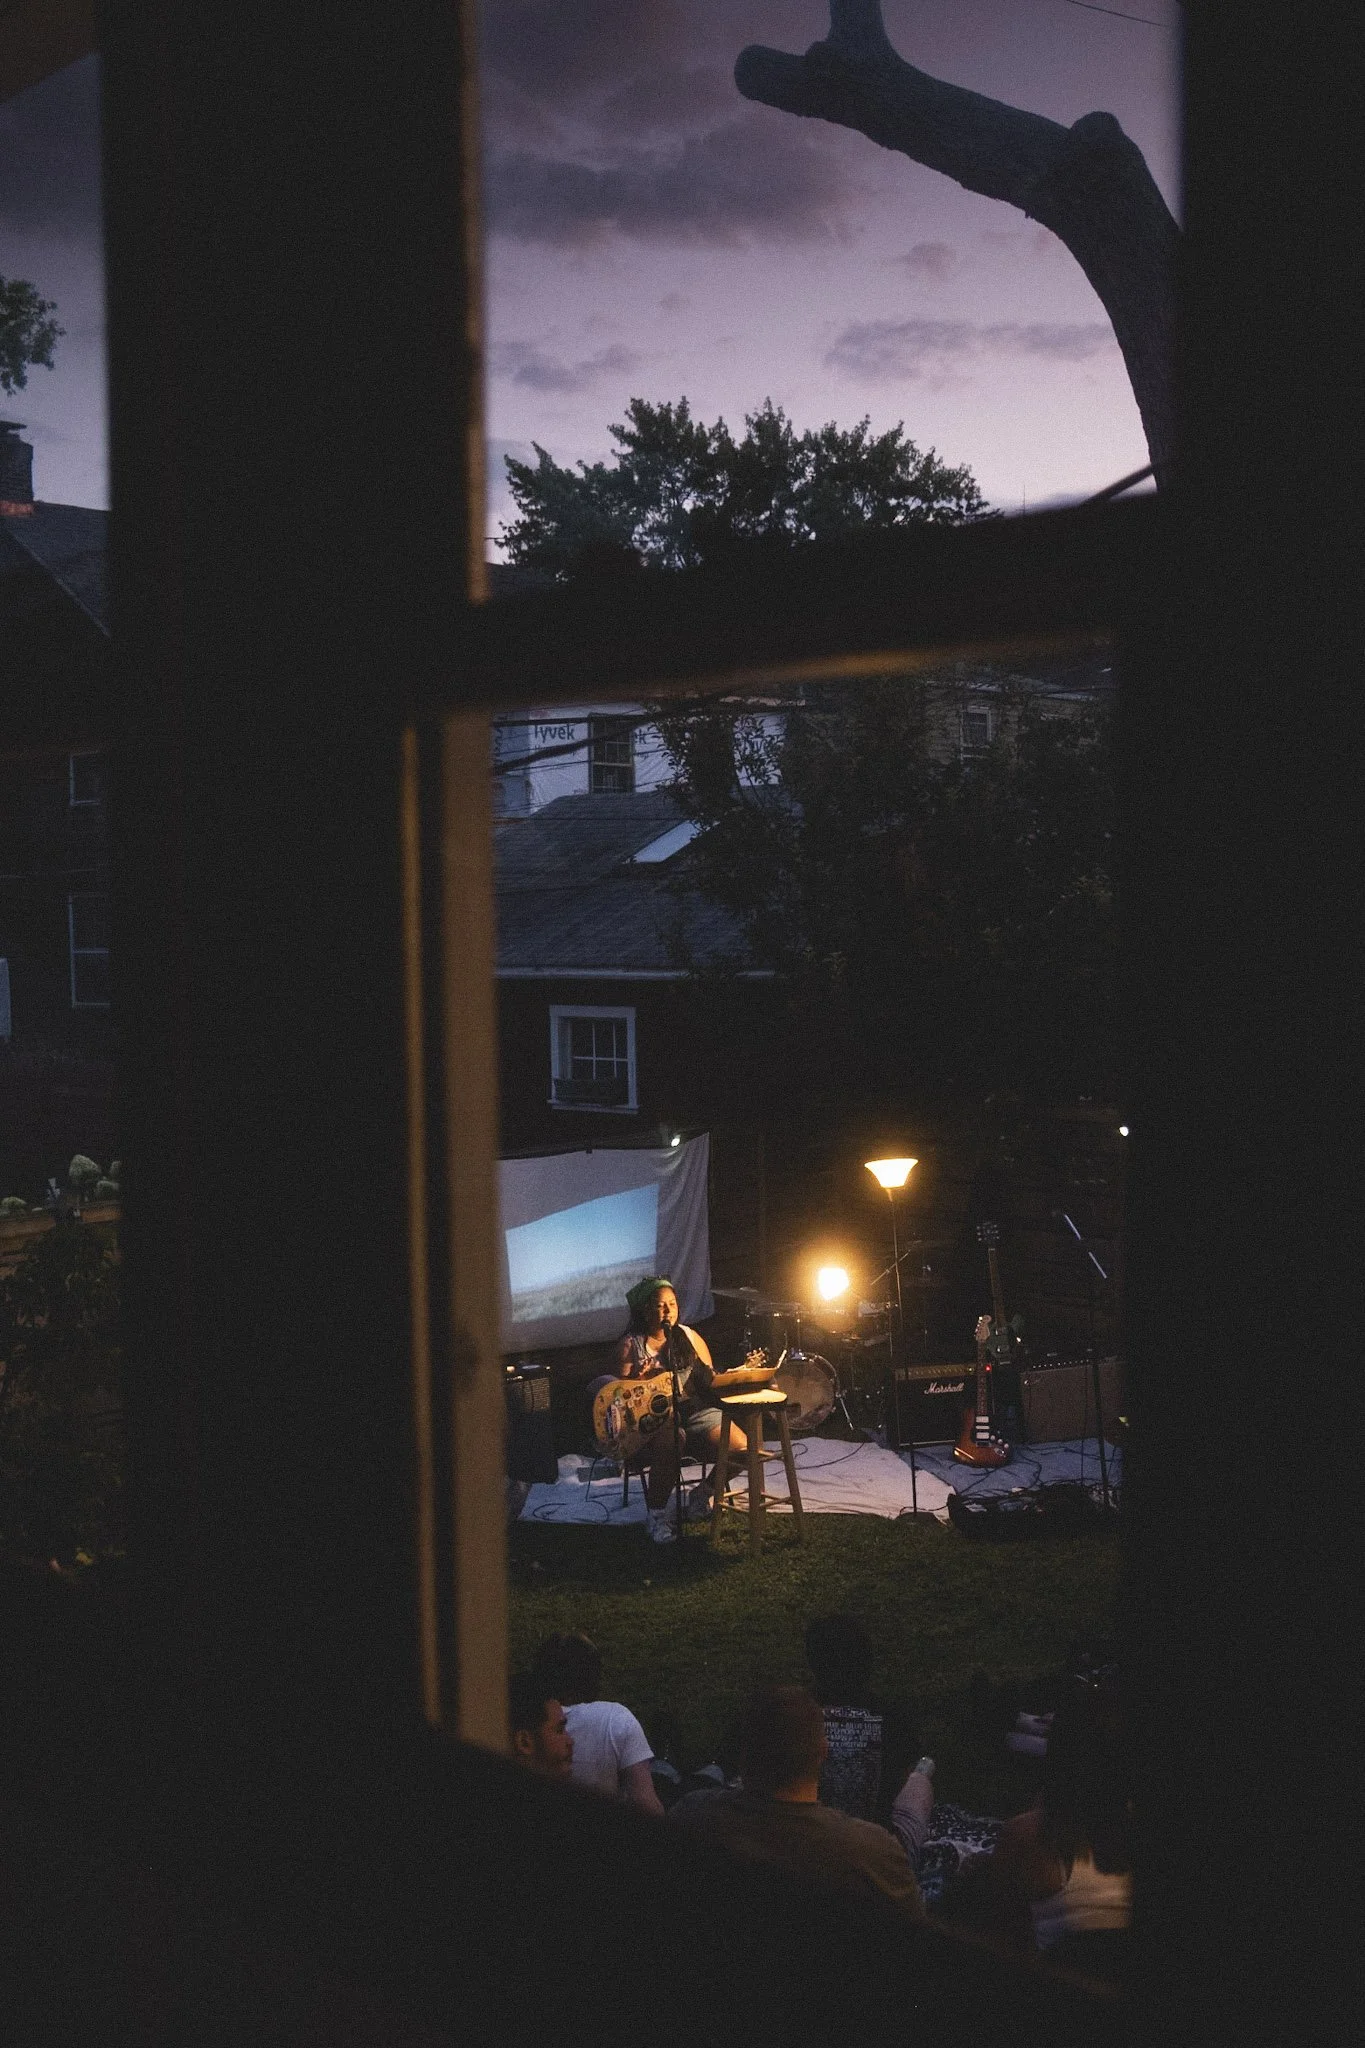
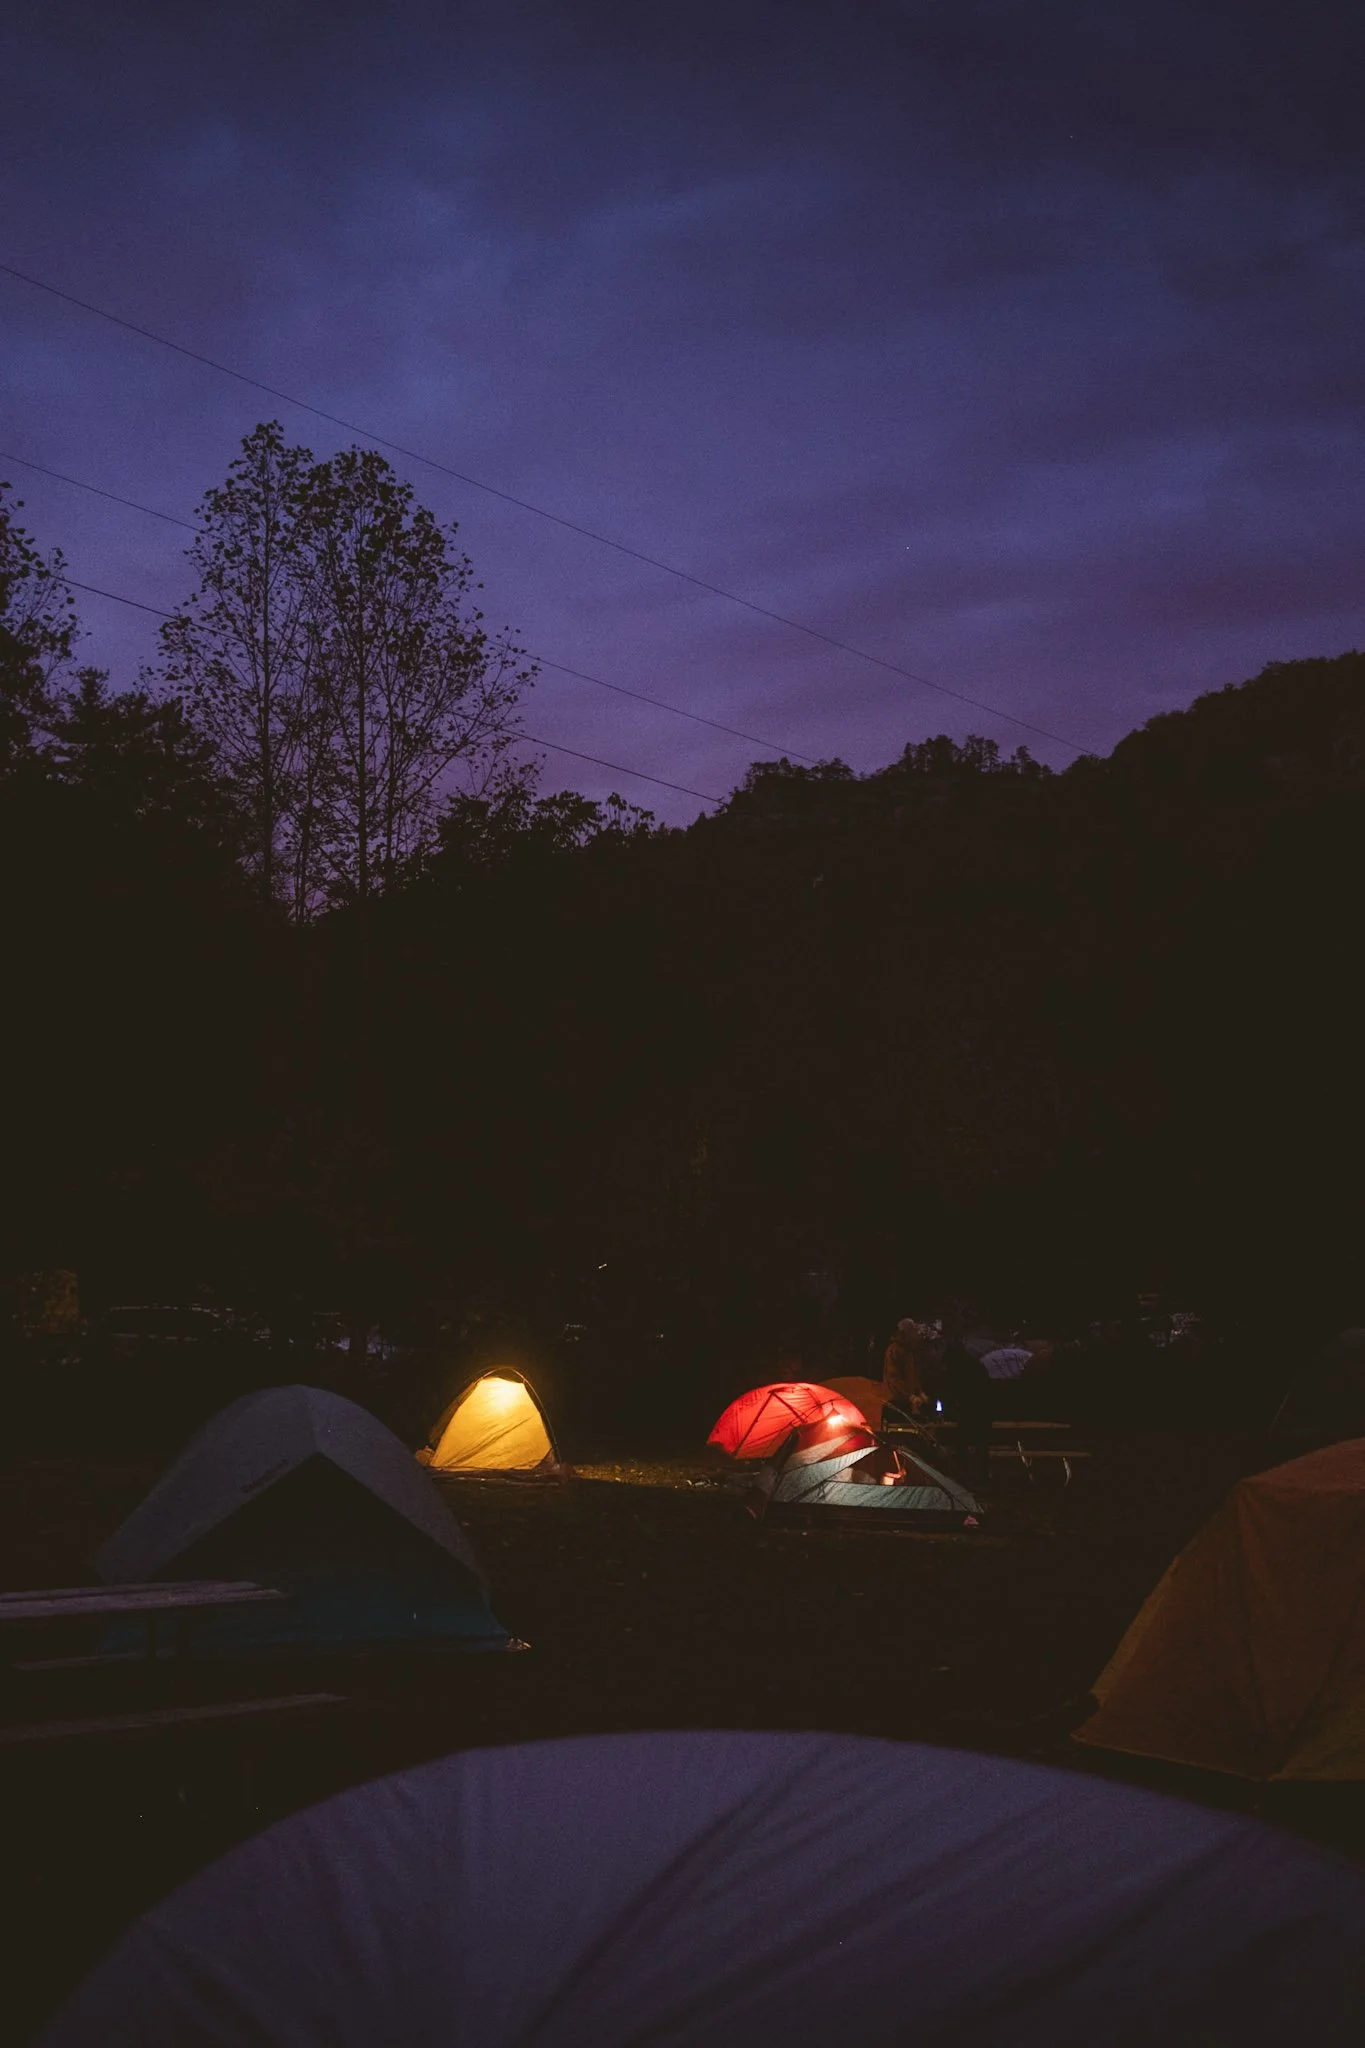
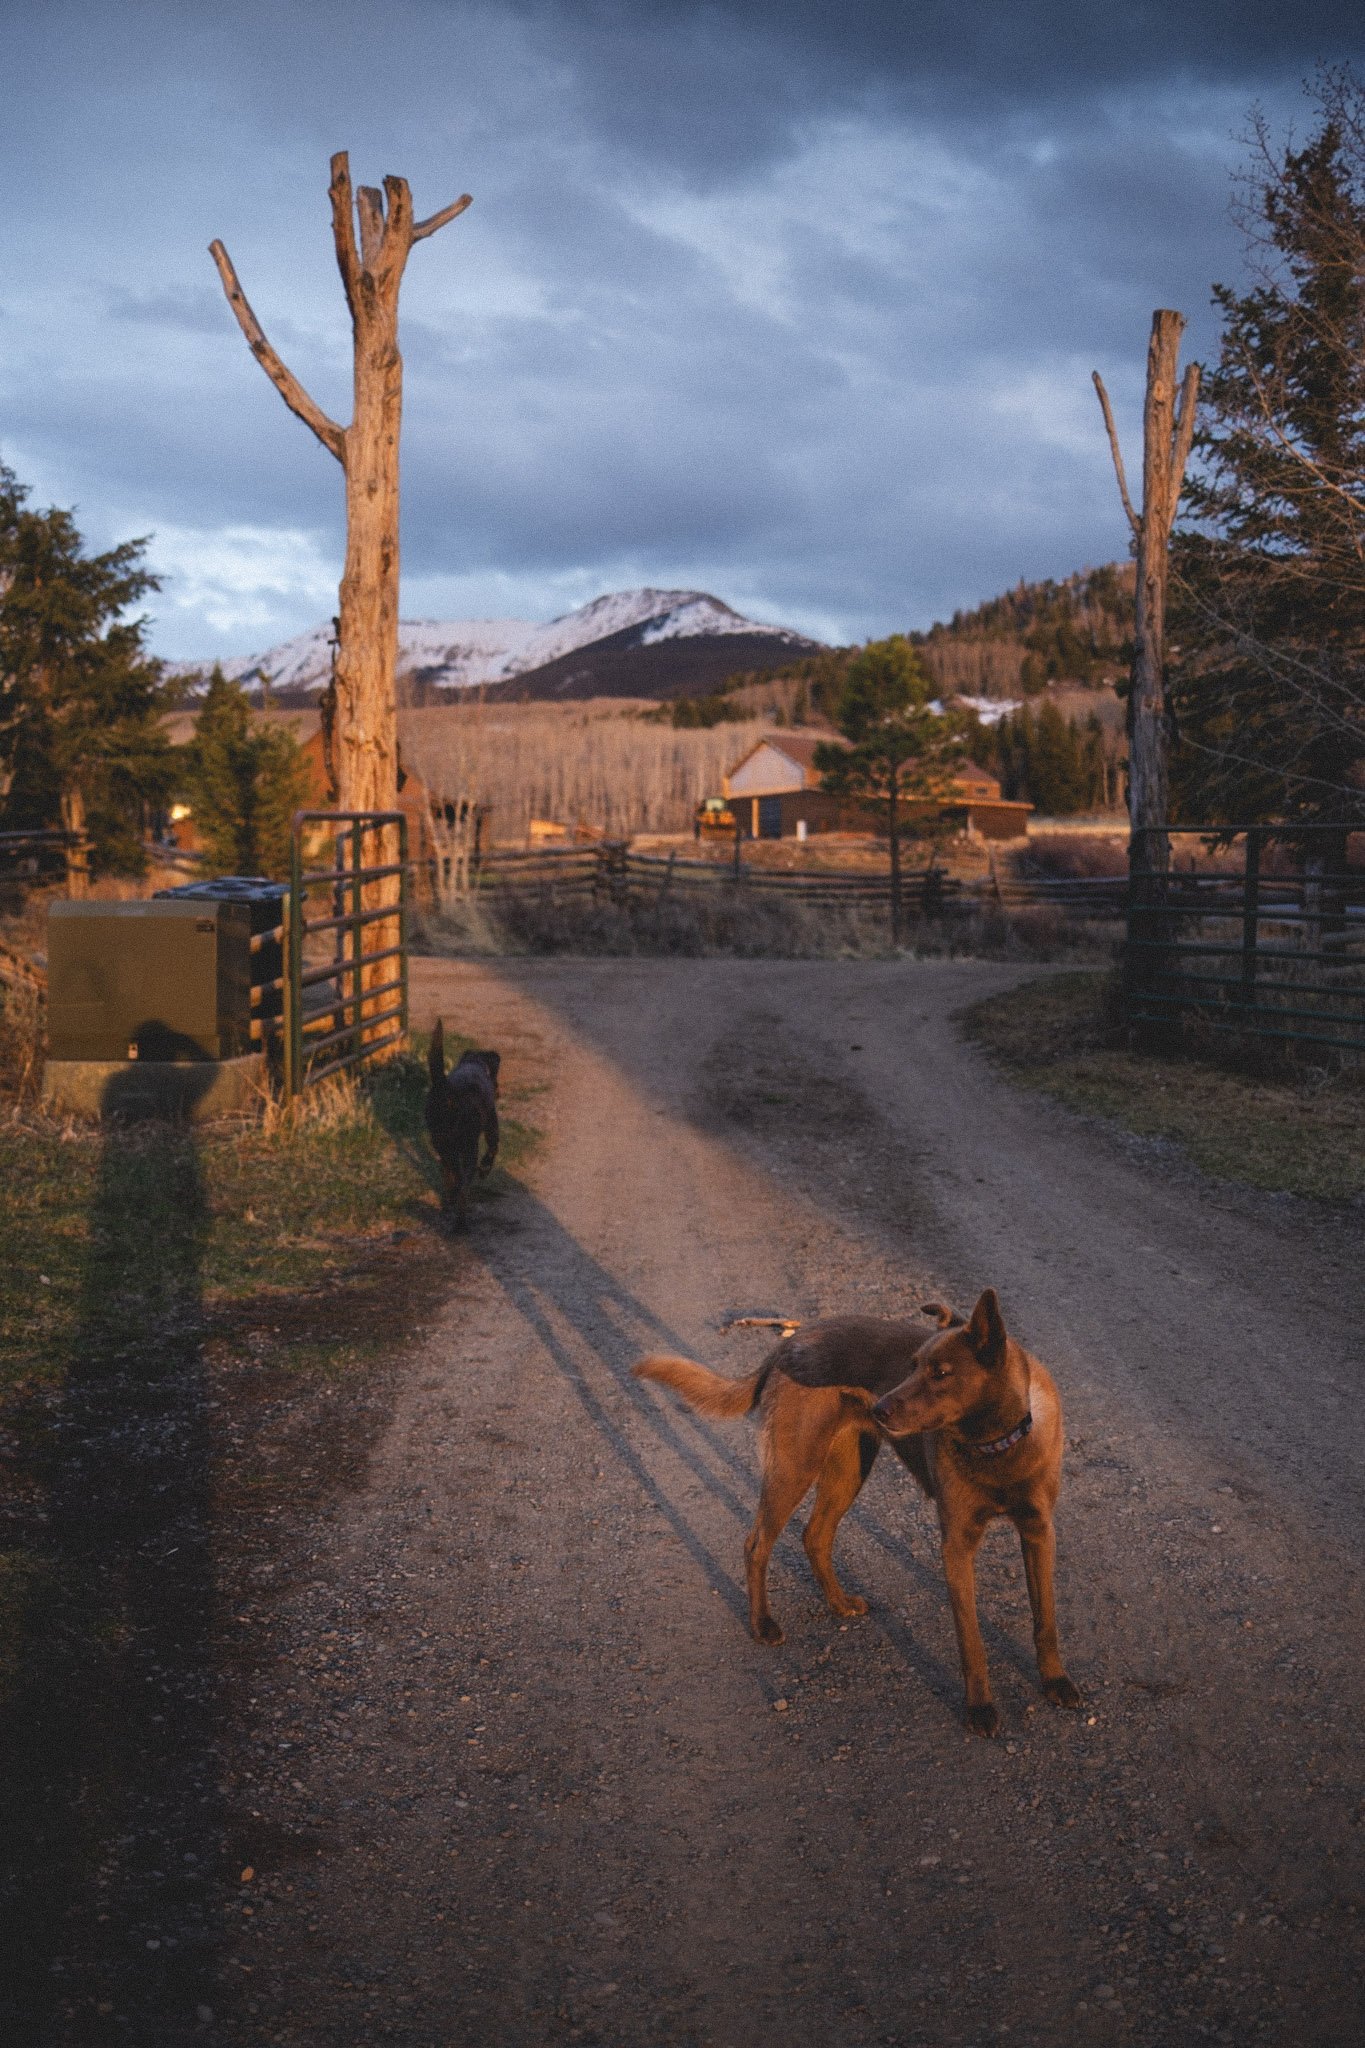
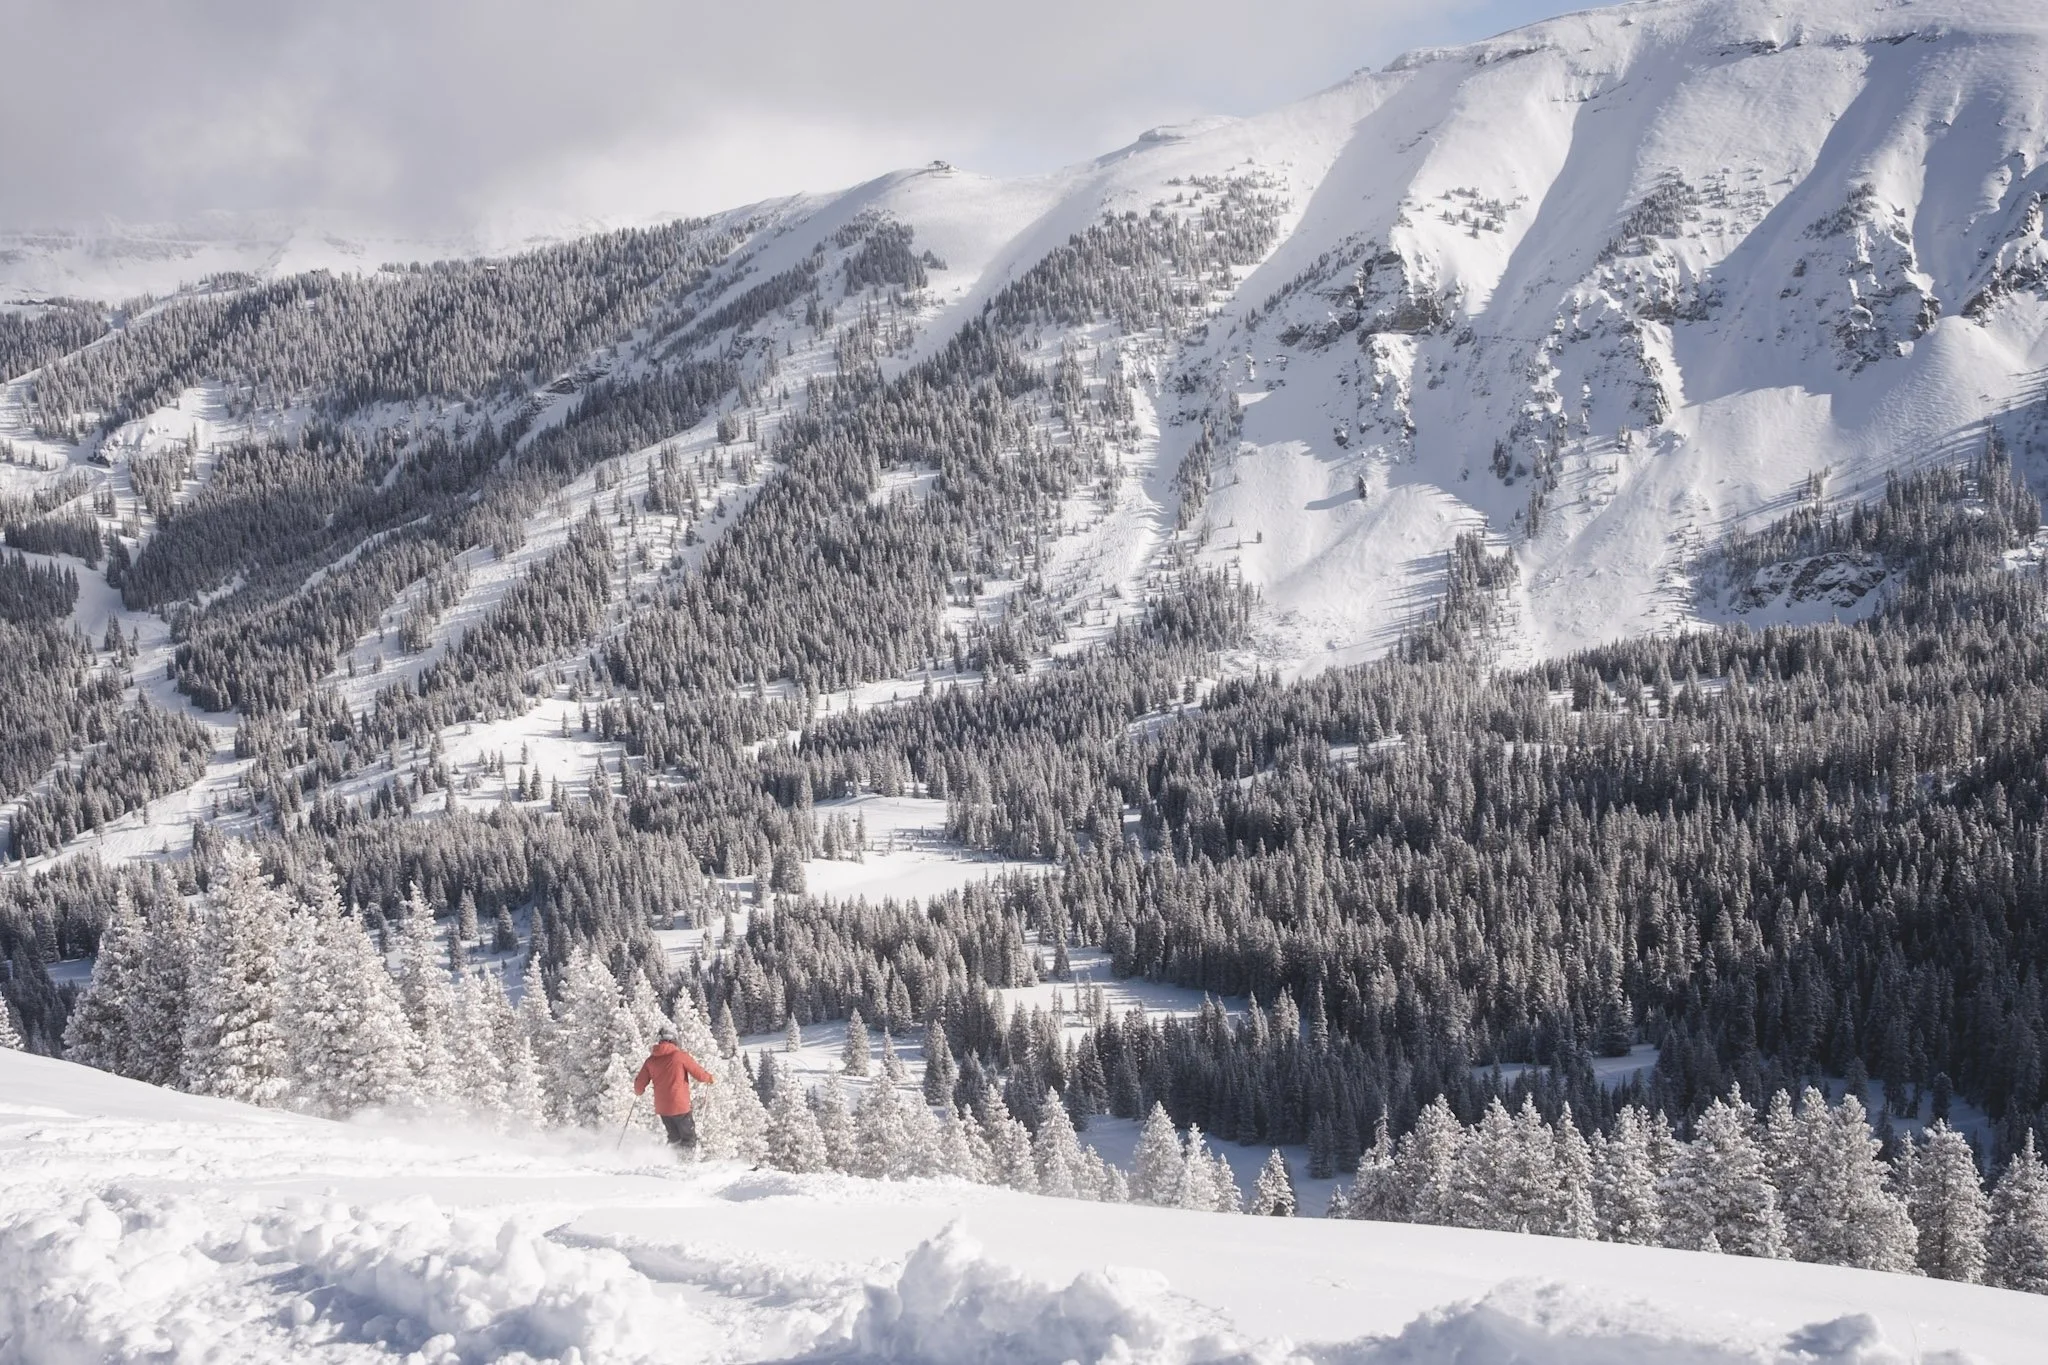
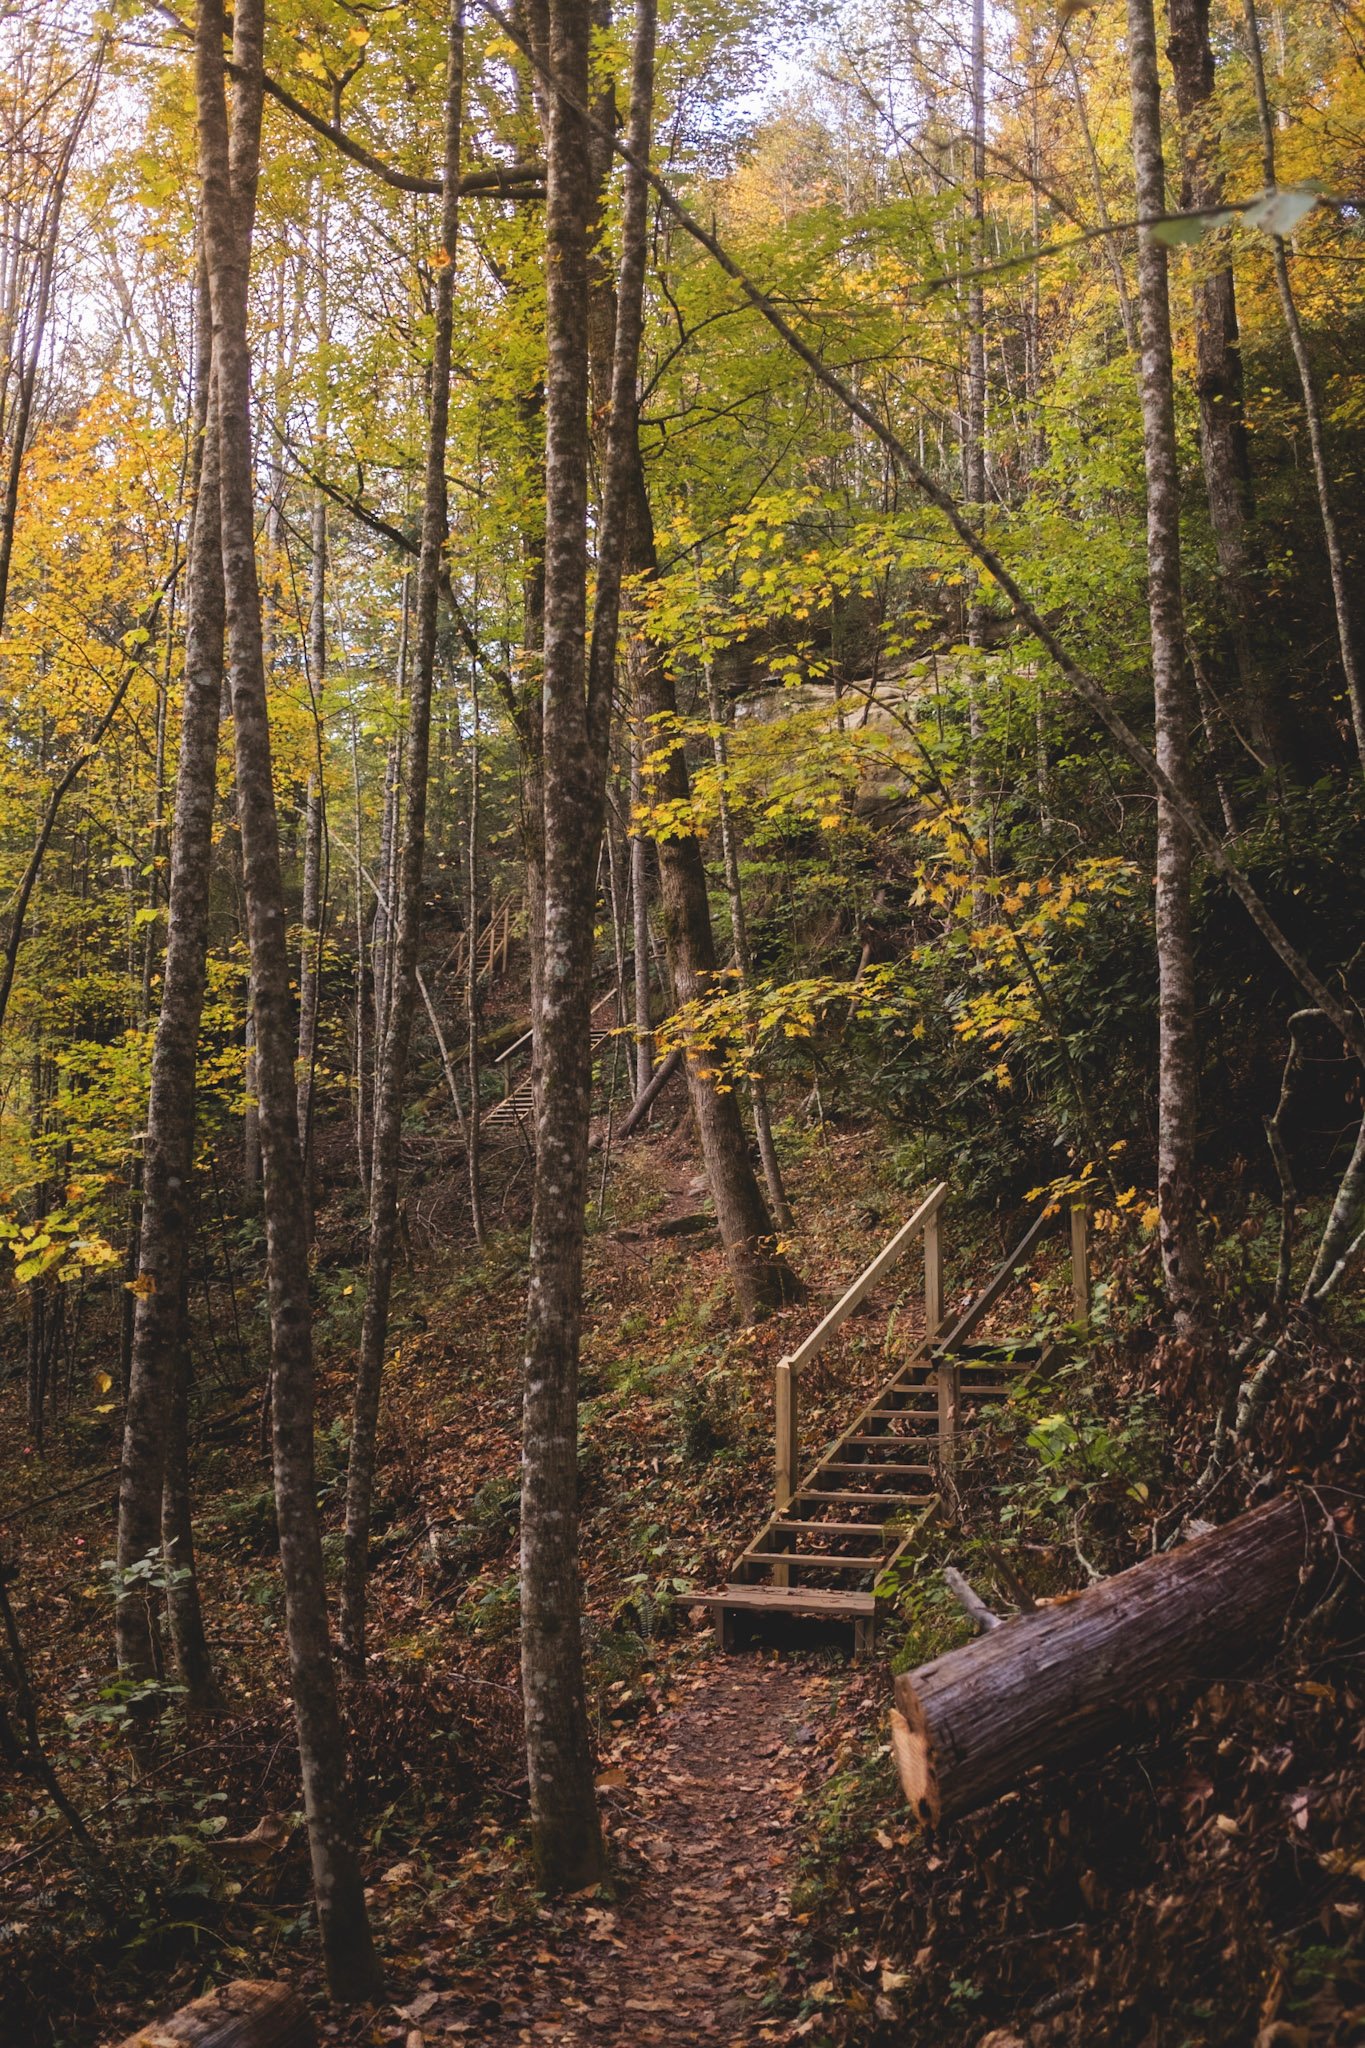
Before I tell you which camera the images from above came from (guess was it from the 2015 Ricoh or the 2024 Fuji?) I will try to communicate why the Ricoh has won me over. It may be cliche to say ‘The best camera is the one you have with you’, but this is entirely true and if you don’t understand this simple concept then this blog may not be for you. Over my years of taking images and even sometimes being paid for it I have learned that half the battle is just getting a camera to the place where you want to shoot. Sometimes that means buying a $400 camera bag so you can lug your camera and three lenses up a skin track in -10F for sunrise. Was it more expensive than the lens you have on your camera, yes, but would you have gotten that picture without it, probably not. Sometimes it means you ditch the DSLR brick for something smaller like I did.

The best camera is the one you have with you.
— Jase Charvis

For me the Ricoh was the perfect camera I heard of but never tired thinking I had already found the holy grail of compact cameras in the X100 series. Why try something else? It doesn’t even look cool… But as I started using the camera there were some not so obvious benefits:

  1. Fit in your pocket small, looks like a thrift store bargain: It might be a little harsh to say it looks like a camera that came from the thrift store or how it resembles your mom’s point and shoot. But while it’s tiny size and generic black styling may not win it any prizes, it signifcantly changes the way your environment interacts with you. The trouble with a big DSLR or a recognizable Fuji X100 is people perceive you as a photographer and often changes the way subject act in front of you in response. When I shoot with the Ricoh I’m not sure people take me seriously and for someone who gets nervous getting up close or being where the action is, this is a huge win. Oh and by the way this camera is tiny compared to the Fuji which is already small, it is actually pocket sized due to the lens retracting into the body unlike other models.

  2. Image quality with a wide perspective: Yes you heard me, I’m saying the 16.2 megapixel image from the Ricoh compares well to the 40 megapixel Fuji X100VI. You can tell me I’m crazy but it is hard to argue if you have ever shot this camera and saw their files. Between the excellent 28mm equivalent lens, no anti-aliasing filter, and traditional Bayer sensor/processing on the Ricoh it really holds up well. Don’y shoot over 400 ISO and it would be hard to tell a difference. For me the big standout is the wider perspective of the lens, this alone makes it worth keeping around. The 28mm focal length compared to the 35mm of the Fuji makes a huge difference.

  3. Slow autofocus, tiny batteries, low-resolution screen, and no cropping: Ok hard take round II, this camera does have terrible 2015 performing contrast only autofocus, a screen that’s just barely usable, tiny batteries that don’t last long - especially in the cold, not so good high ISO performance, and a slower lens. Not a great camera to crop with. But all of these quirks make it a perfect tool for real image making, hear me out. When constraints are applied to any tool it forces you to think differently, plan ahead, and be more purposeful. This for me is really the best thing about the Ricoh is it’s not perfect and thats ok (sometimes preferred even).

If you want to know more about the Fuji X100VI there is plenty of information out there on the web so I won’t spend too much time defending it here because it is of course and exceptional camera. The stand out features for me (especially if compared to my old X100s) is the usb charging, in-body stabilization, and weather sealing. These were the three reasons I decided upgraded to the newest model (and that the old one died on me, RIP guy). Of course it also has really good AF, a much sharper lens, great EFV, with higher resolution and better ISO performance. All of these features were enough for me to buy this camera new, the first new camera I have ever bought. It’s truly an amazing camera, one that I will likely never give up.

At the end of the day I’m not saying that the Ricoh is actually better than the Fuji. Only that it holds up with the rest and that if I got rid of either camera there would be a huge hole in my lineup. Different cameras for different uses but both amazing at what they do and how how I use them.

The reason I actually decided to write this up was that I recently thought about buying the new Ricoh GR IV. It has all the features of the new Fuji but with the same formfactor. Whether or not I go for the new version I thought I’d share why I love the old one so much and why it’s stayed around despite the Fuji being my main camera now.

Hopefully this is interesting to folks out there and if you ever have questions feel free to reach out!

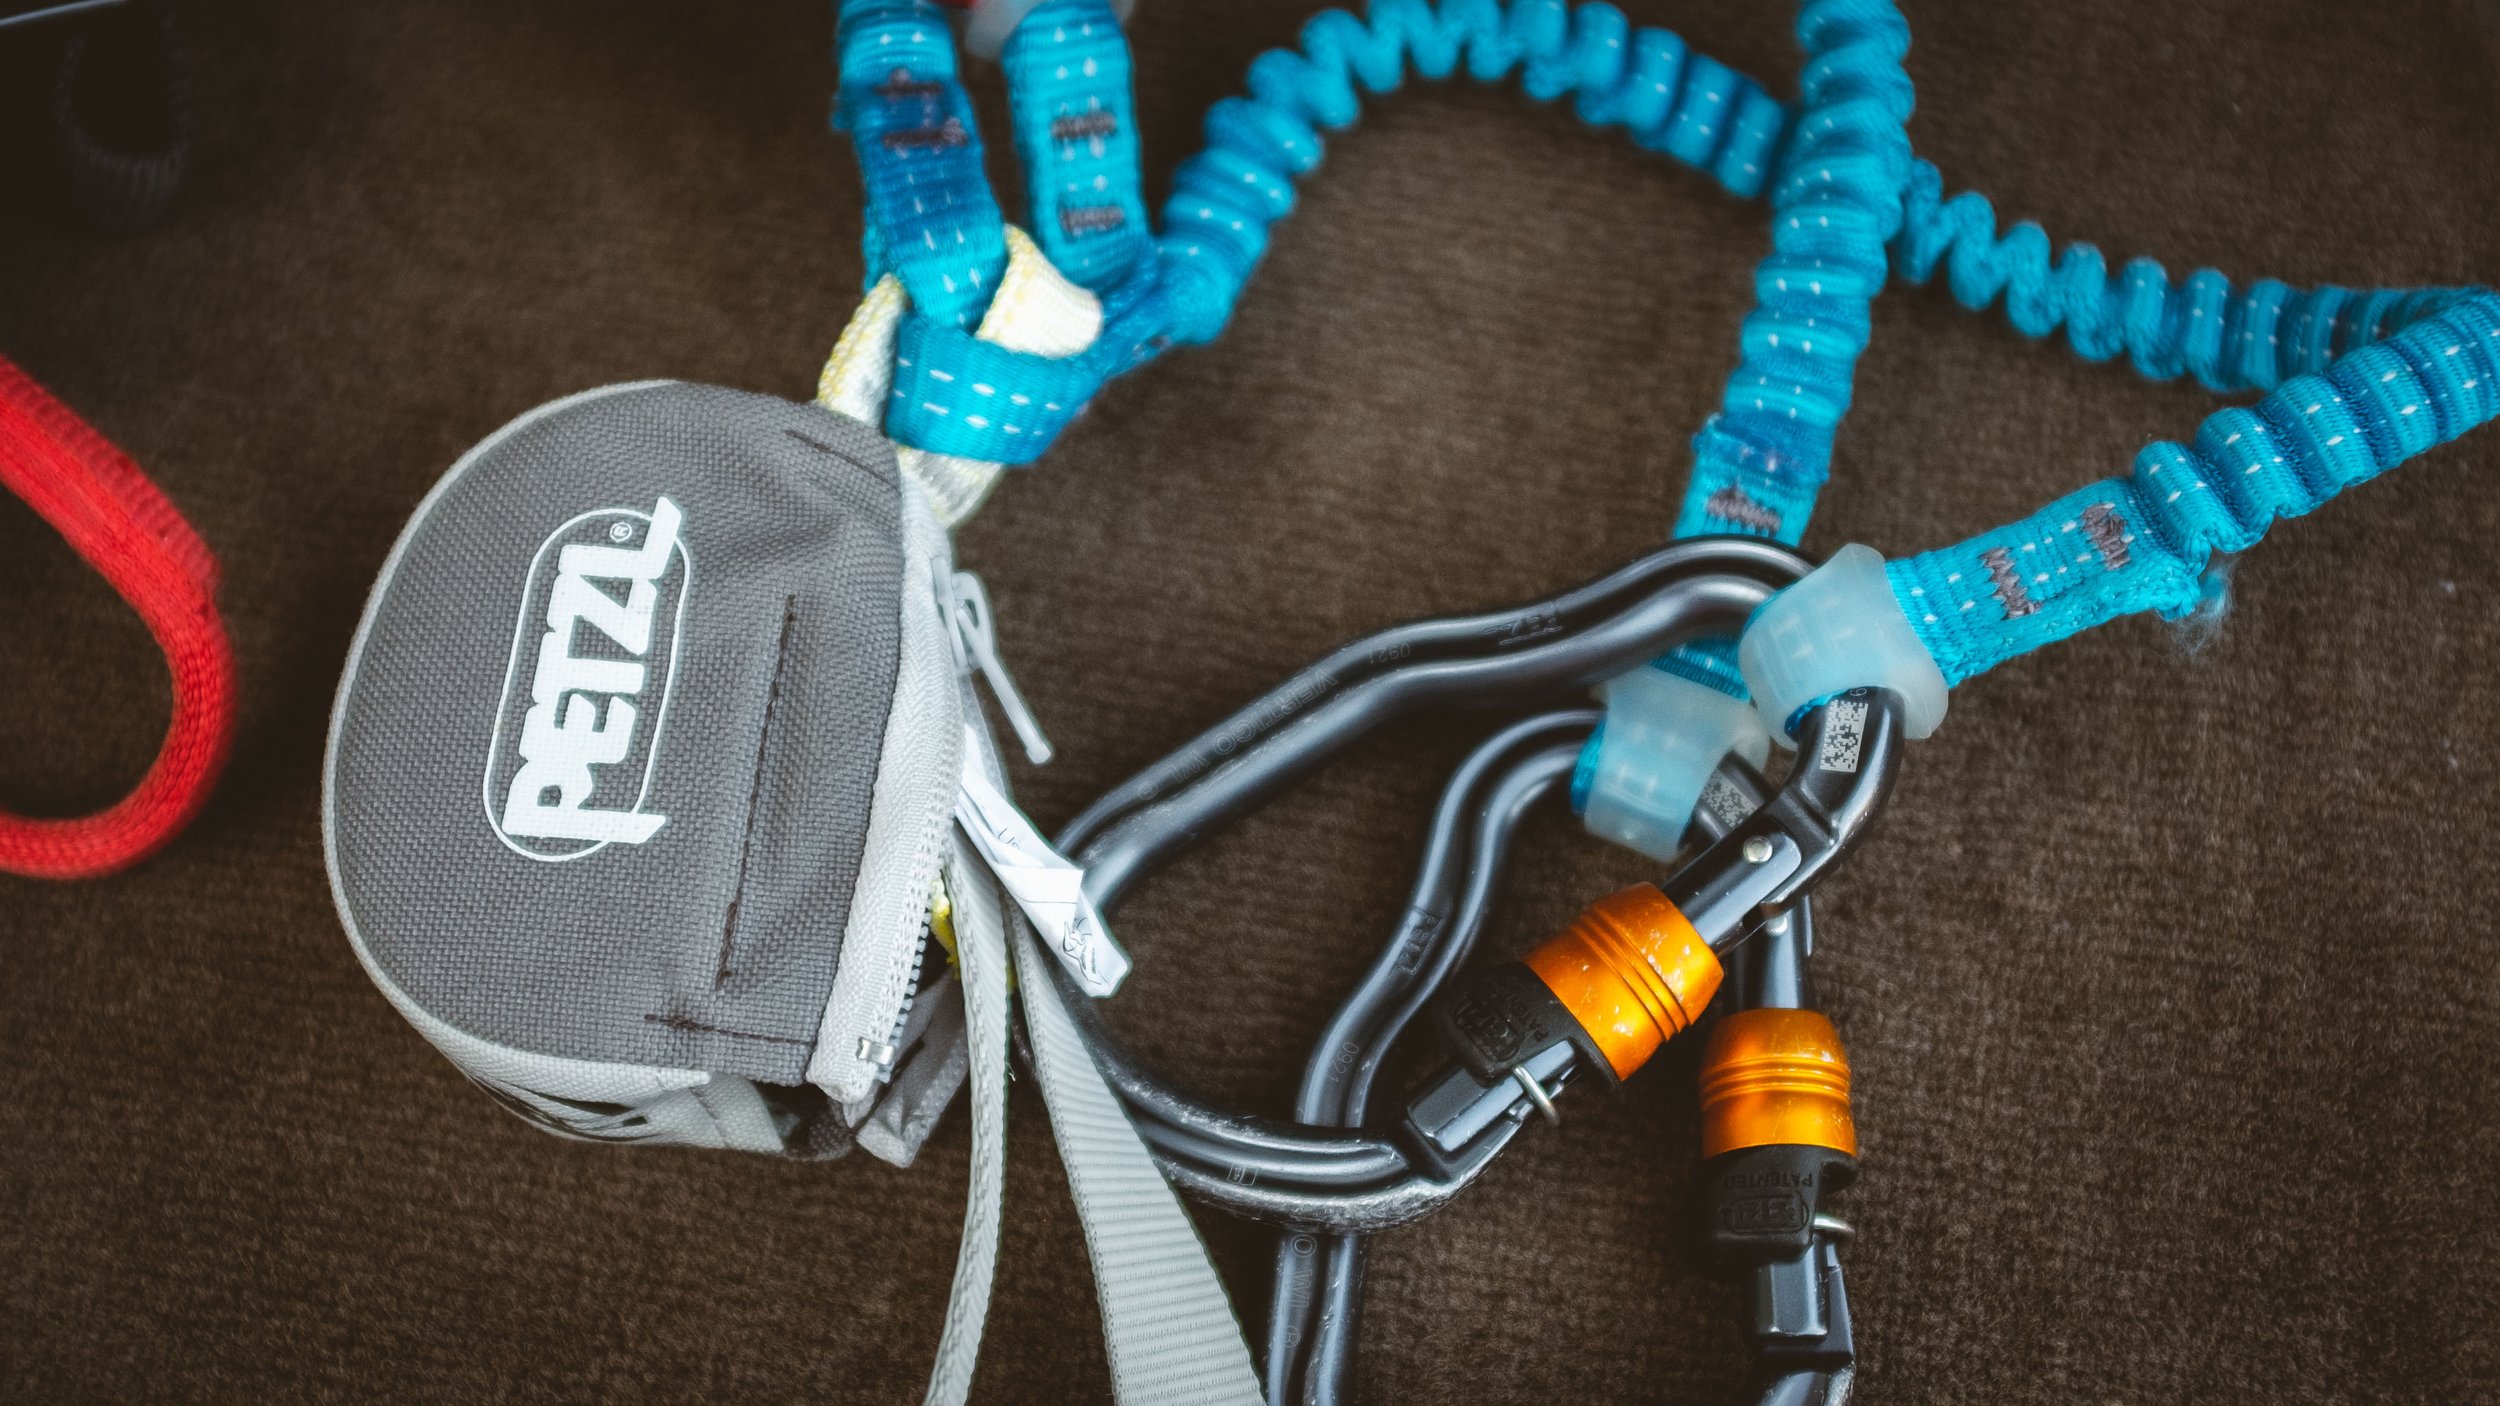
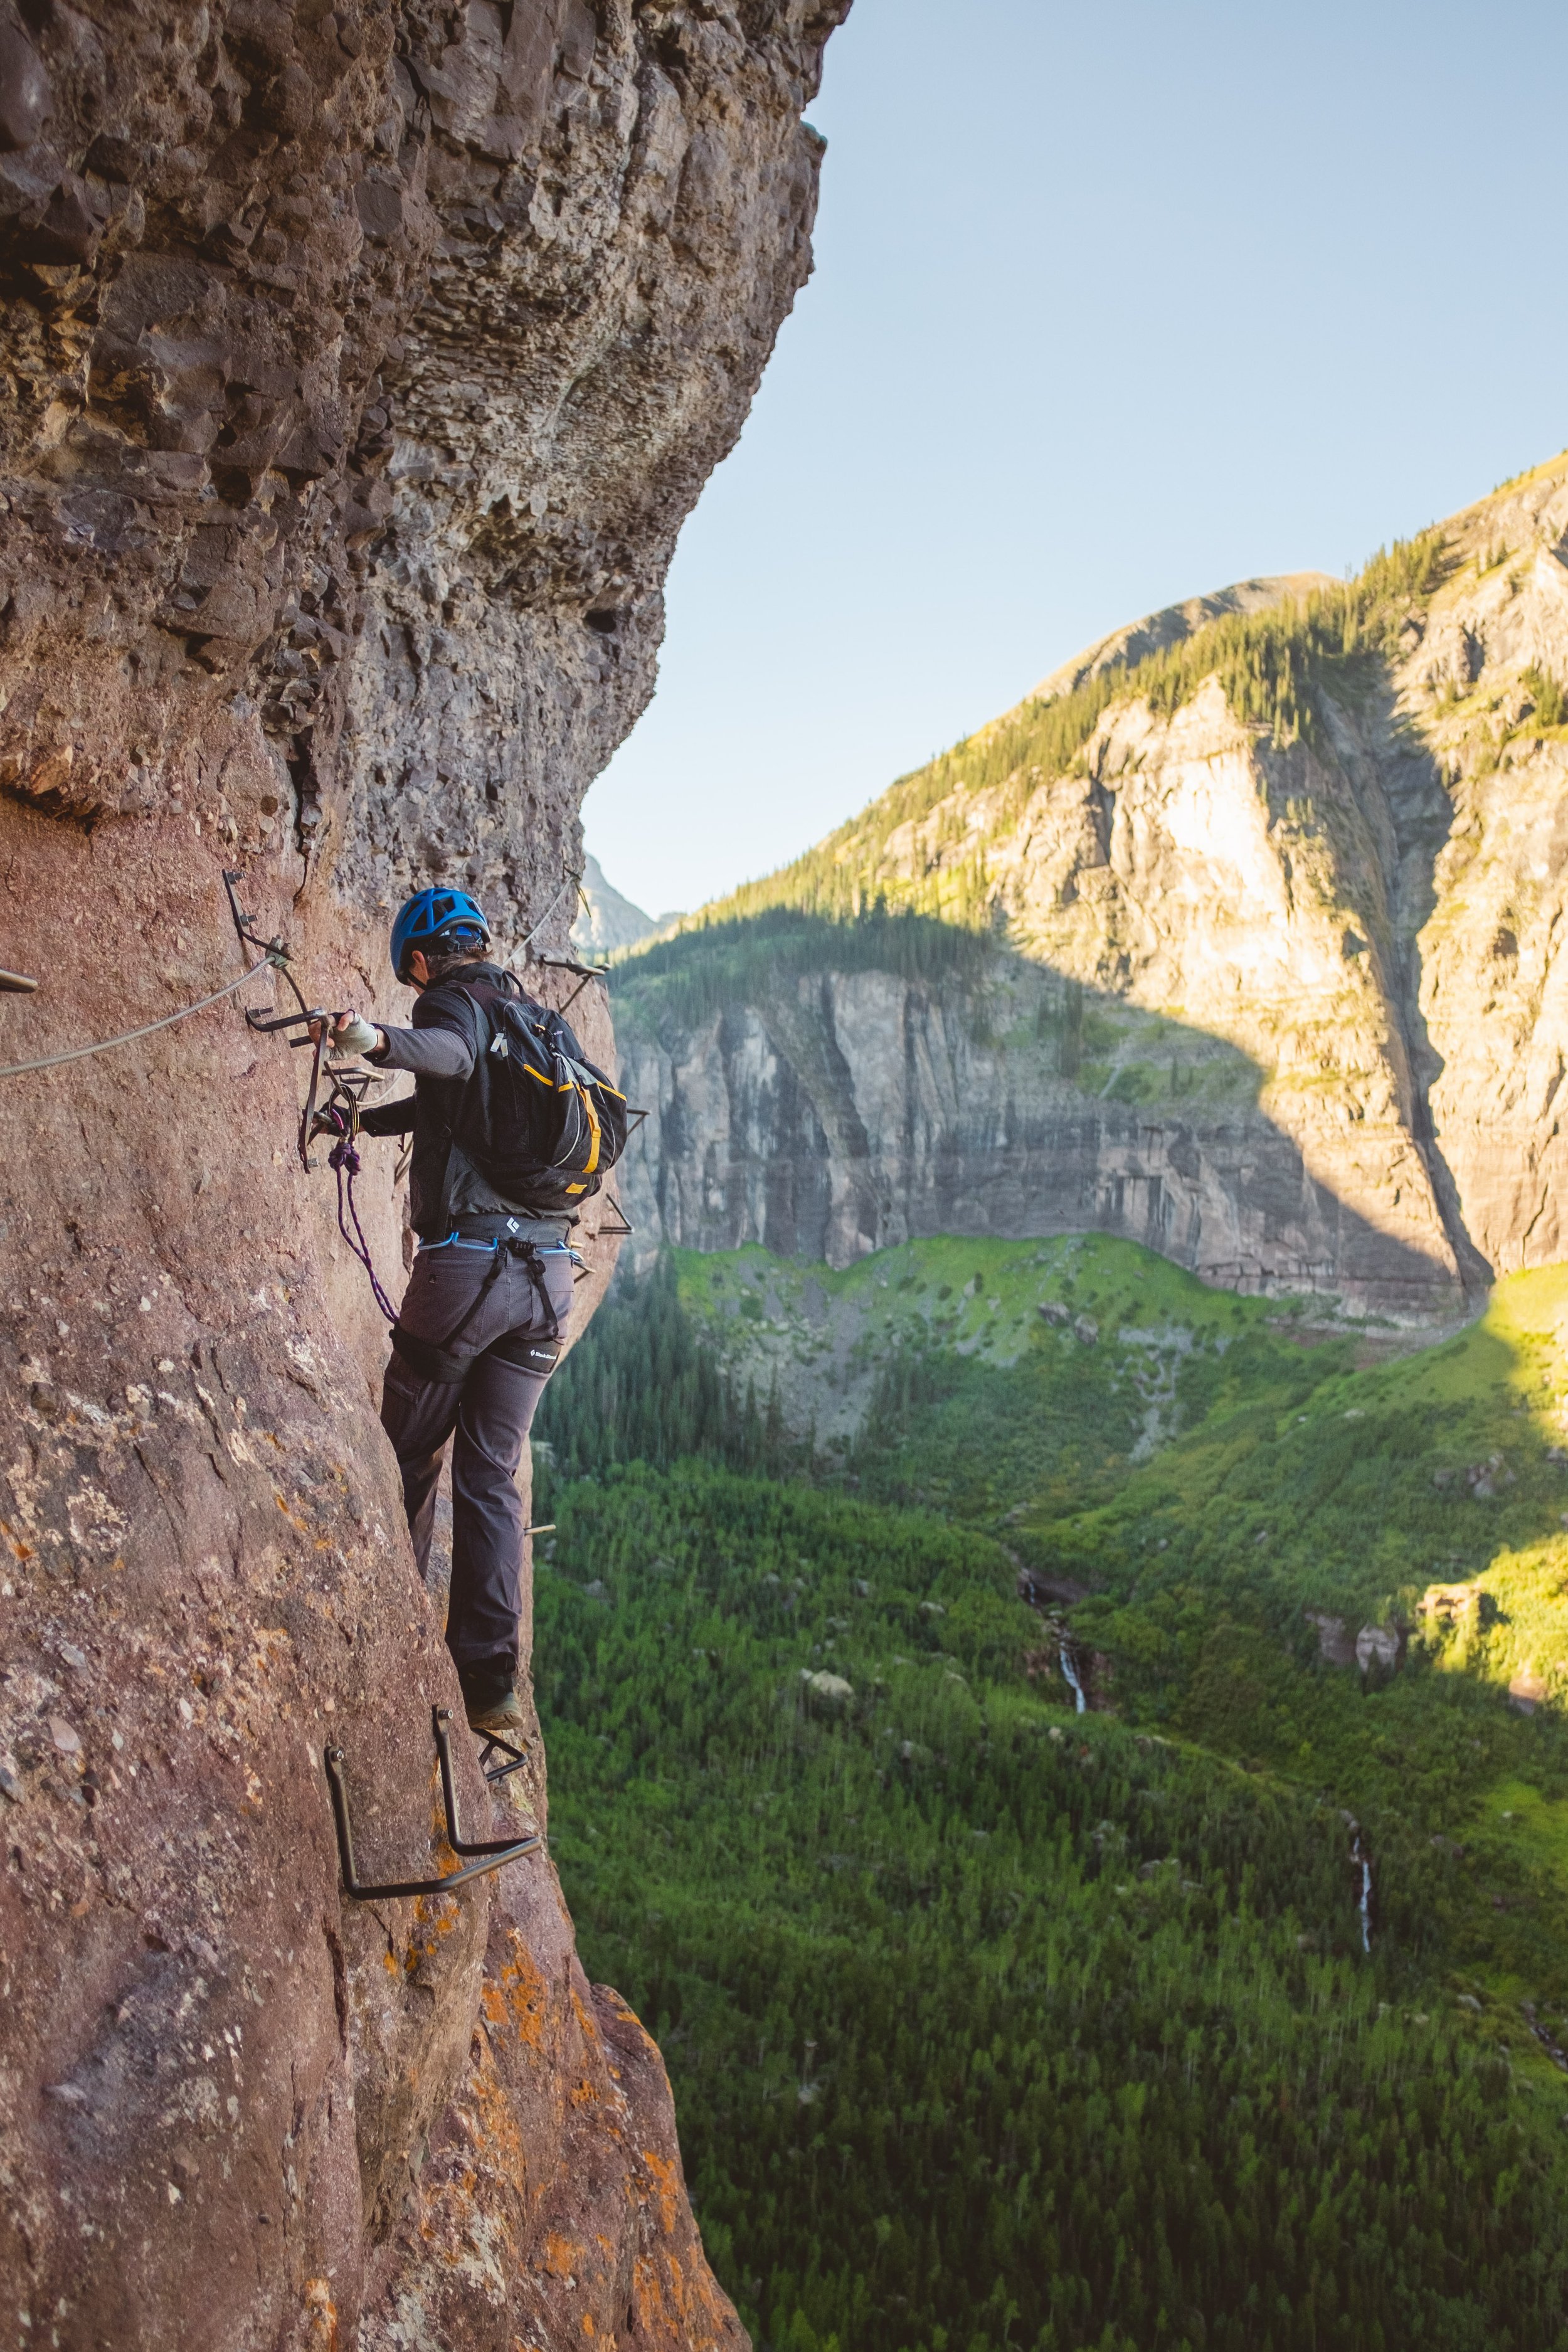
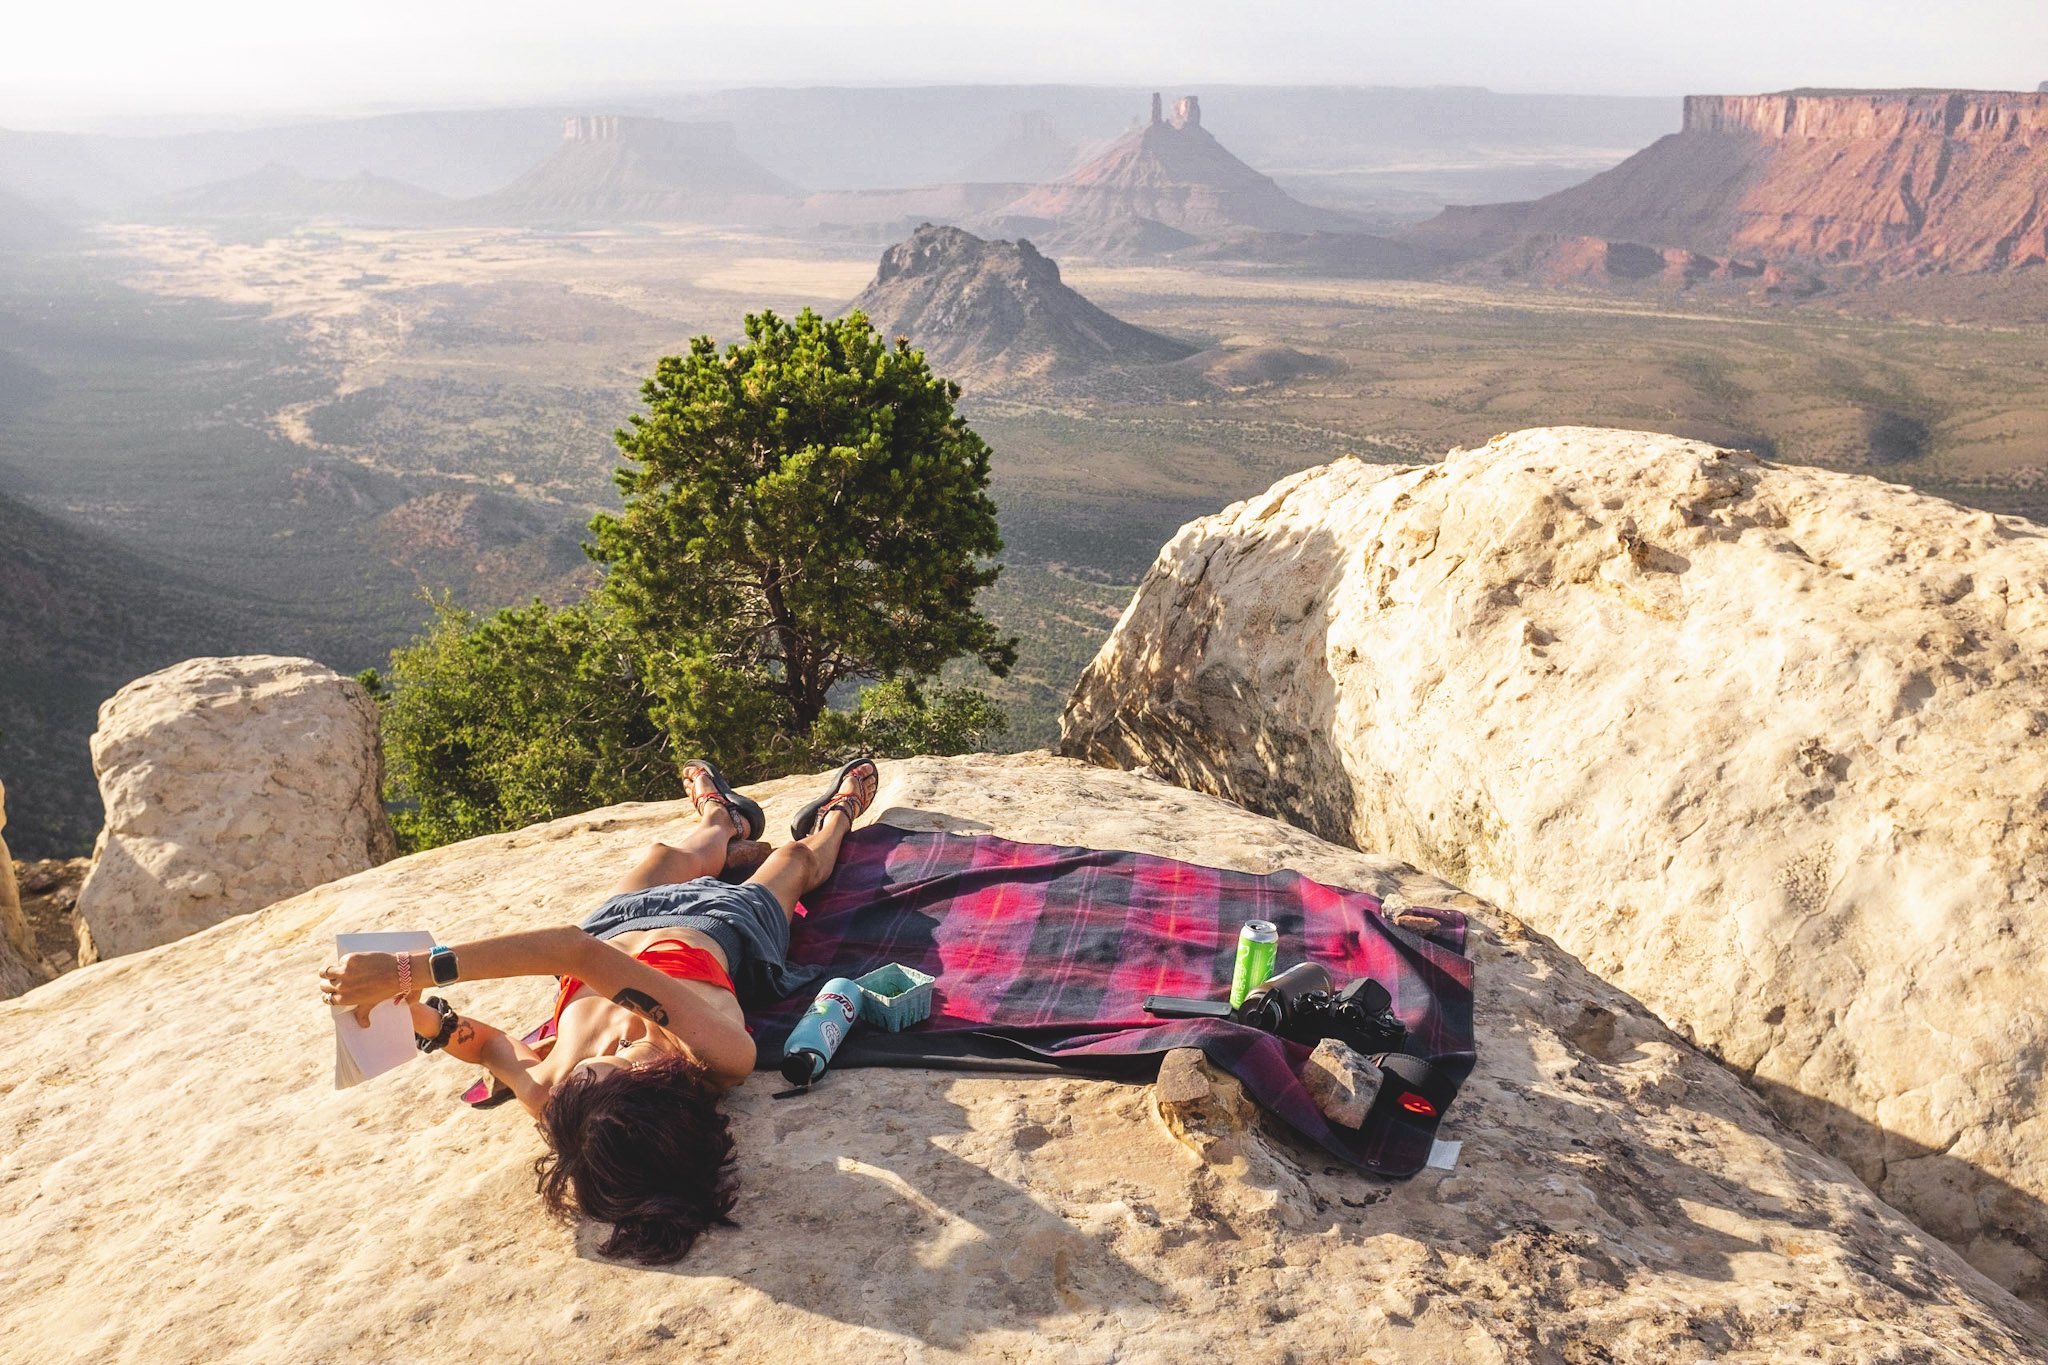
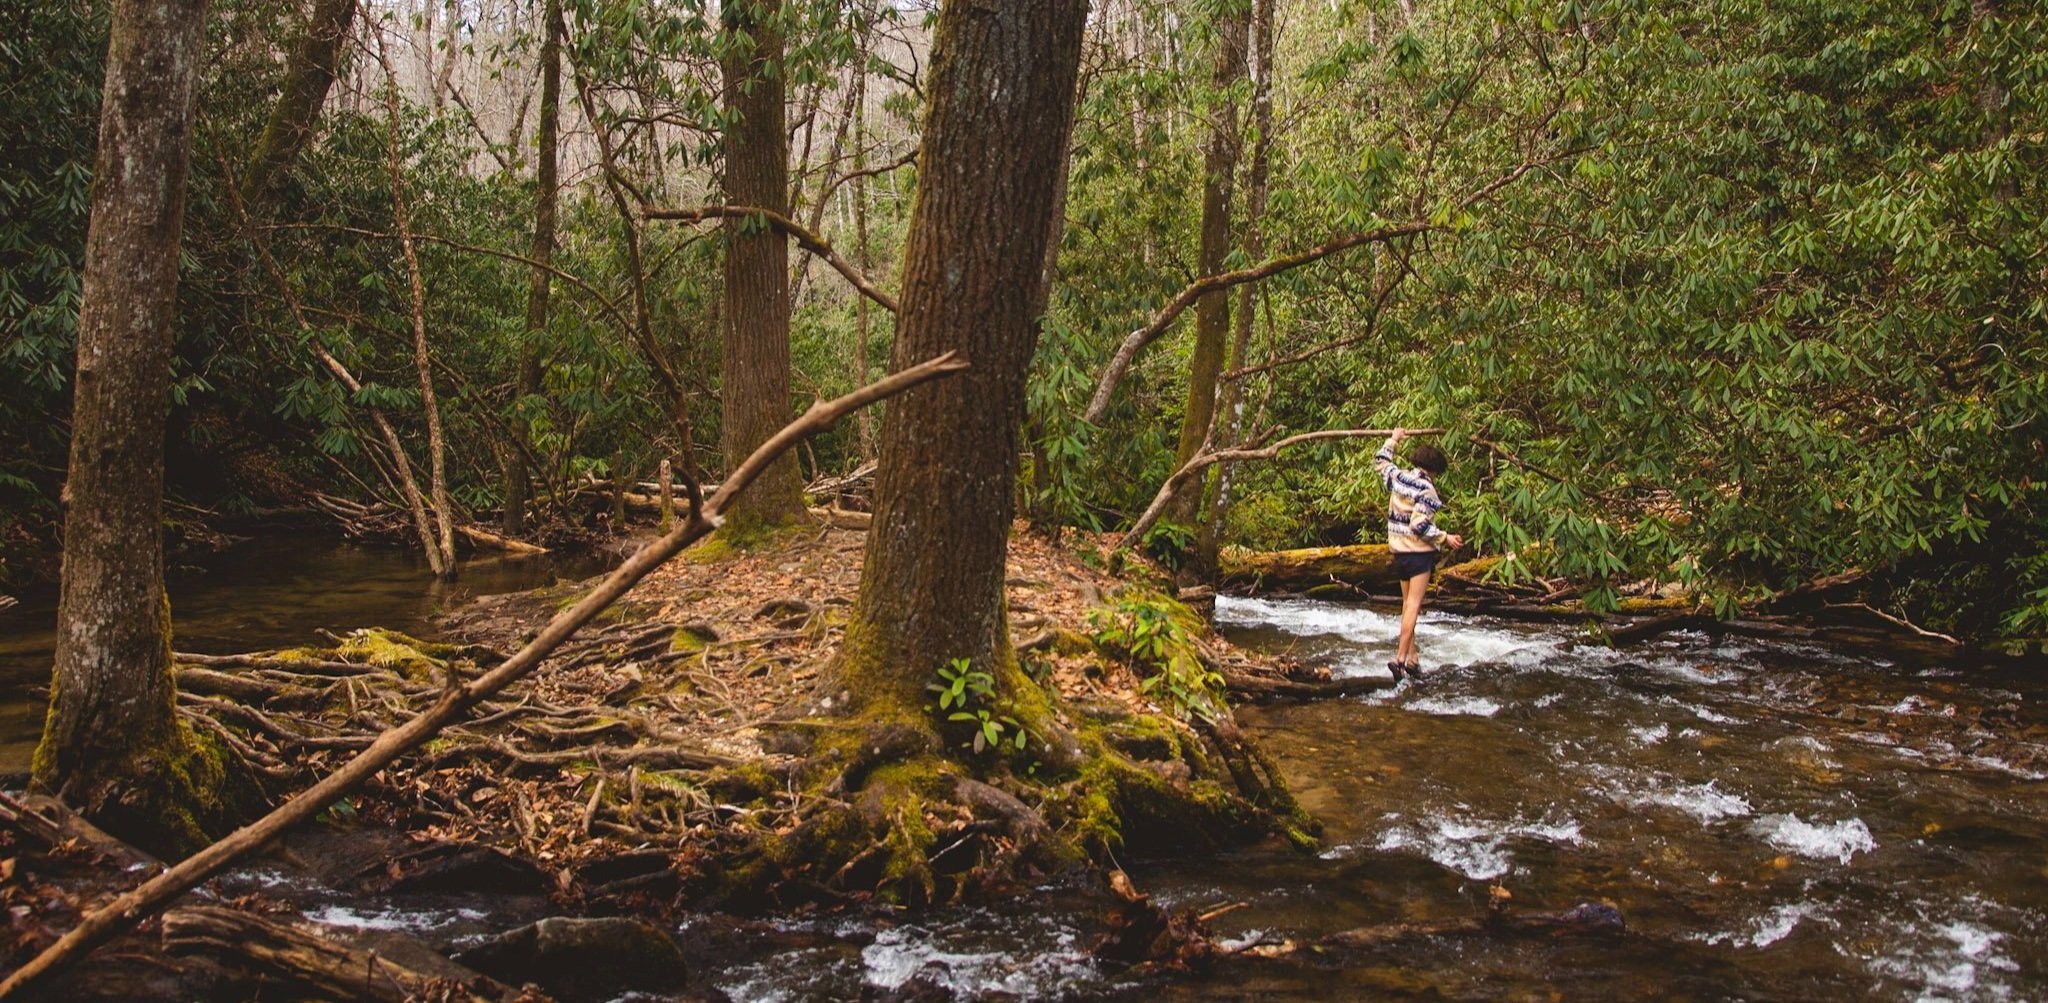
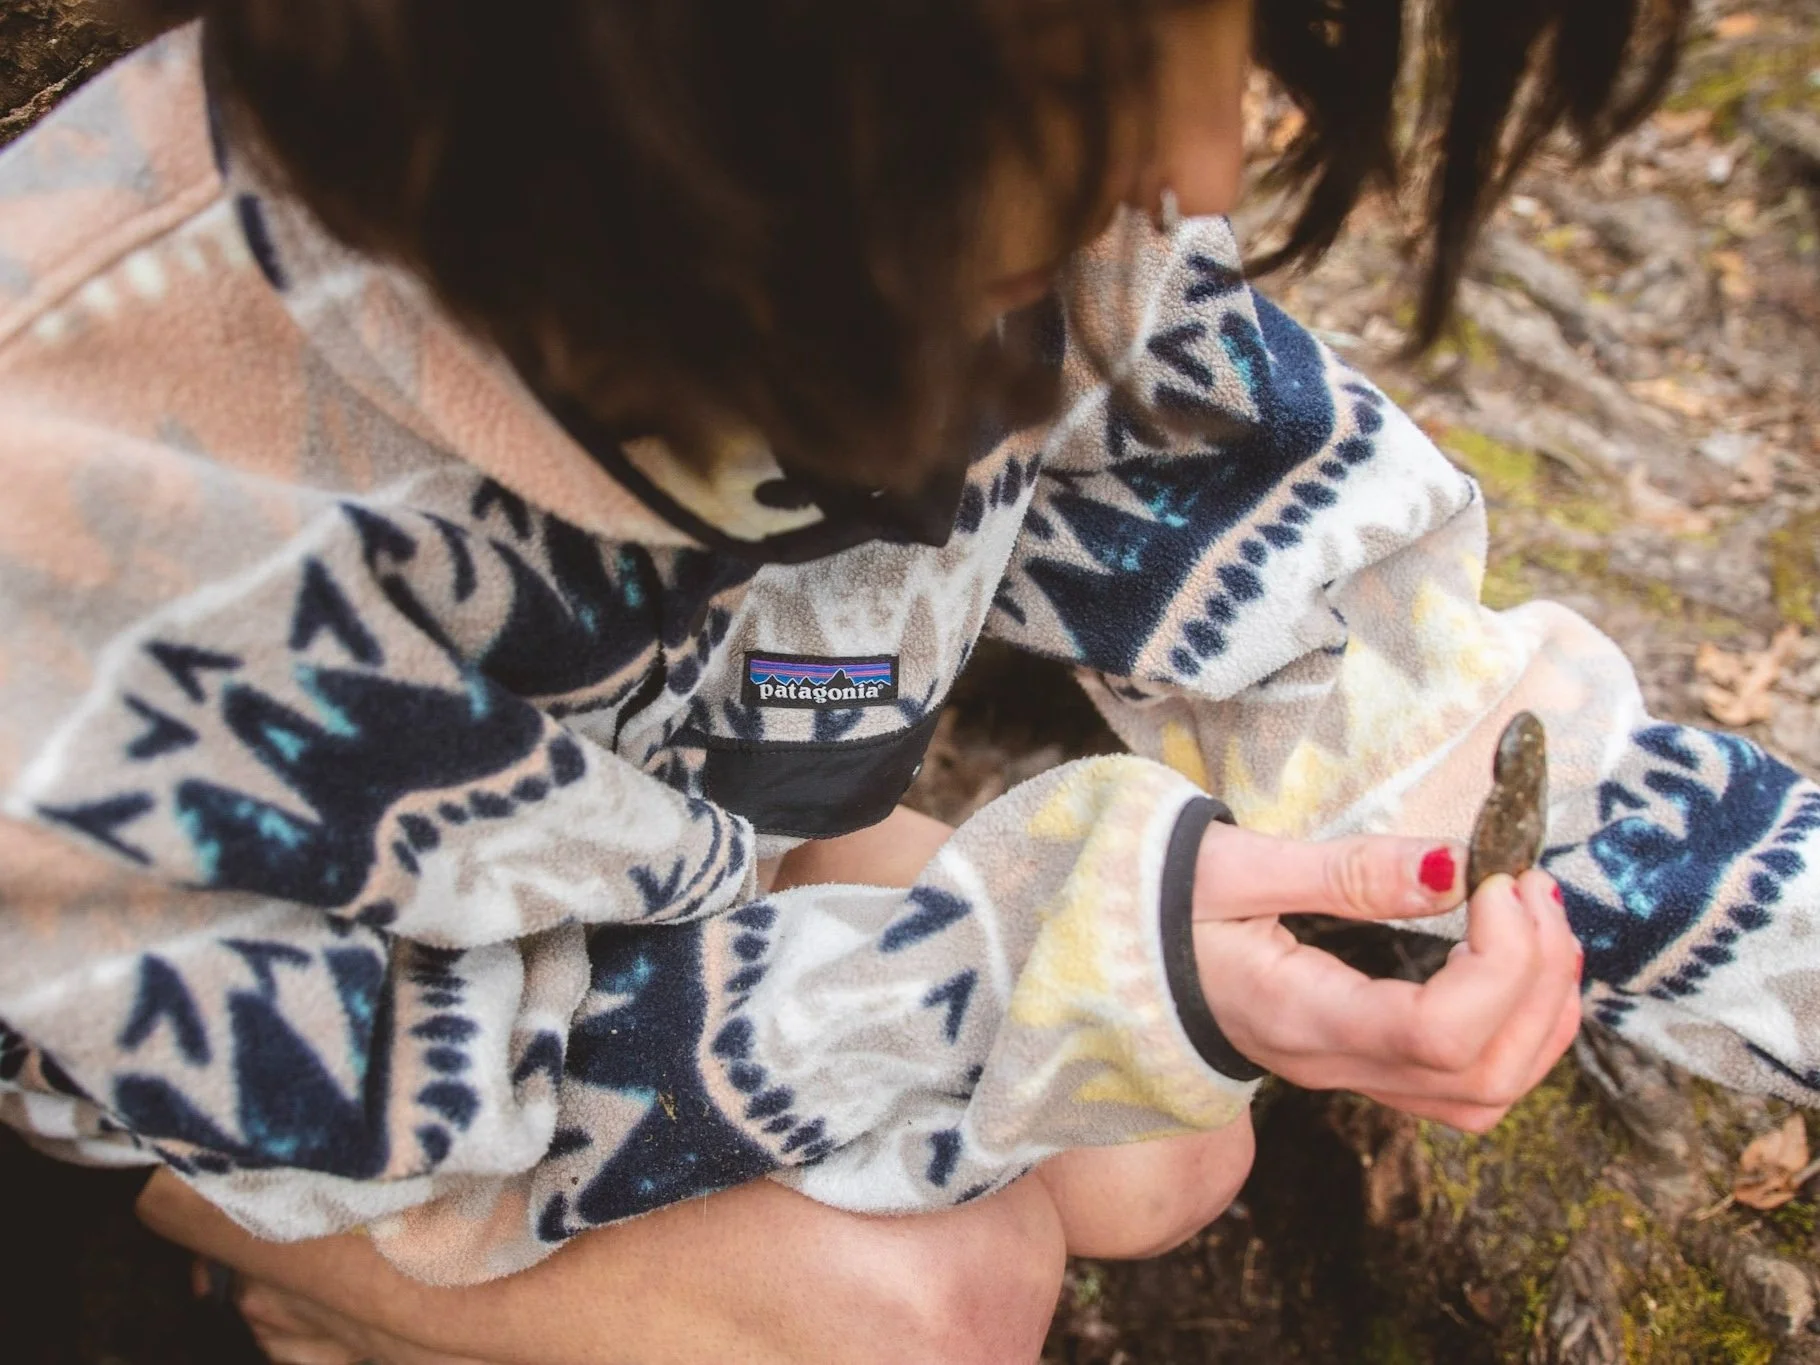
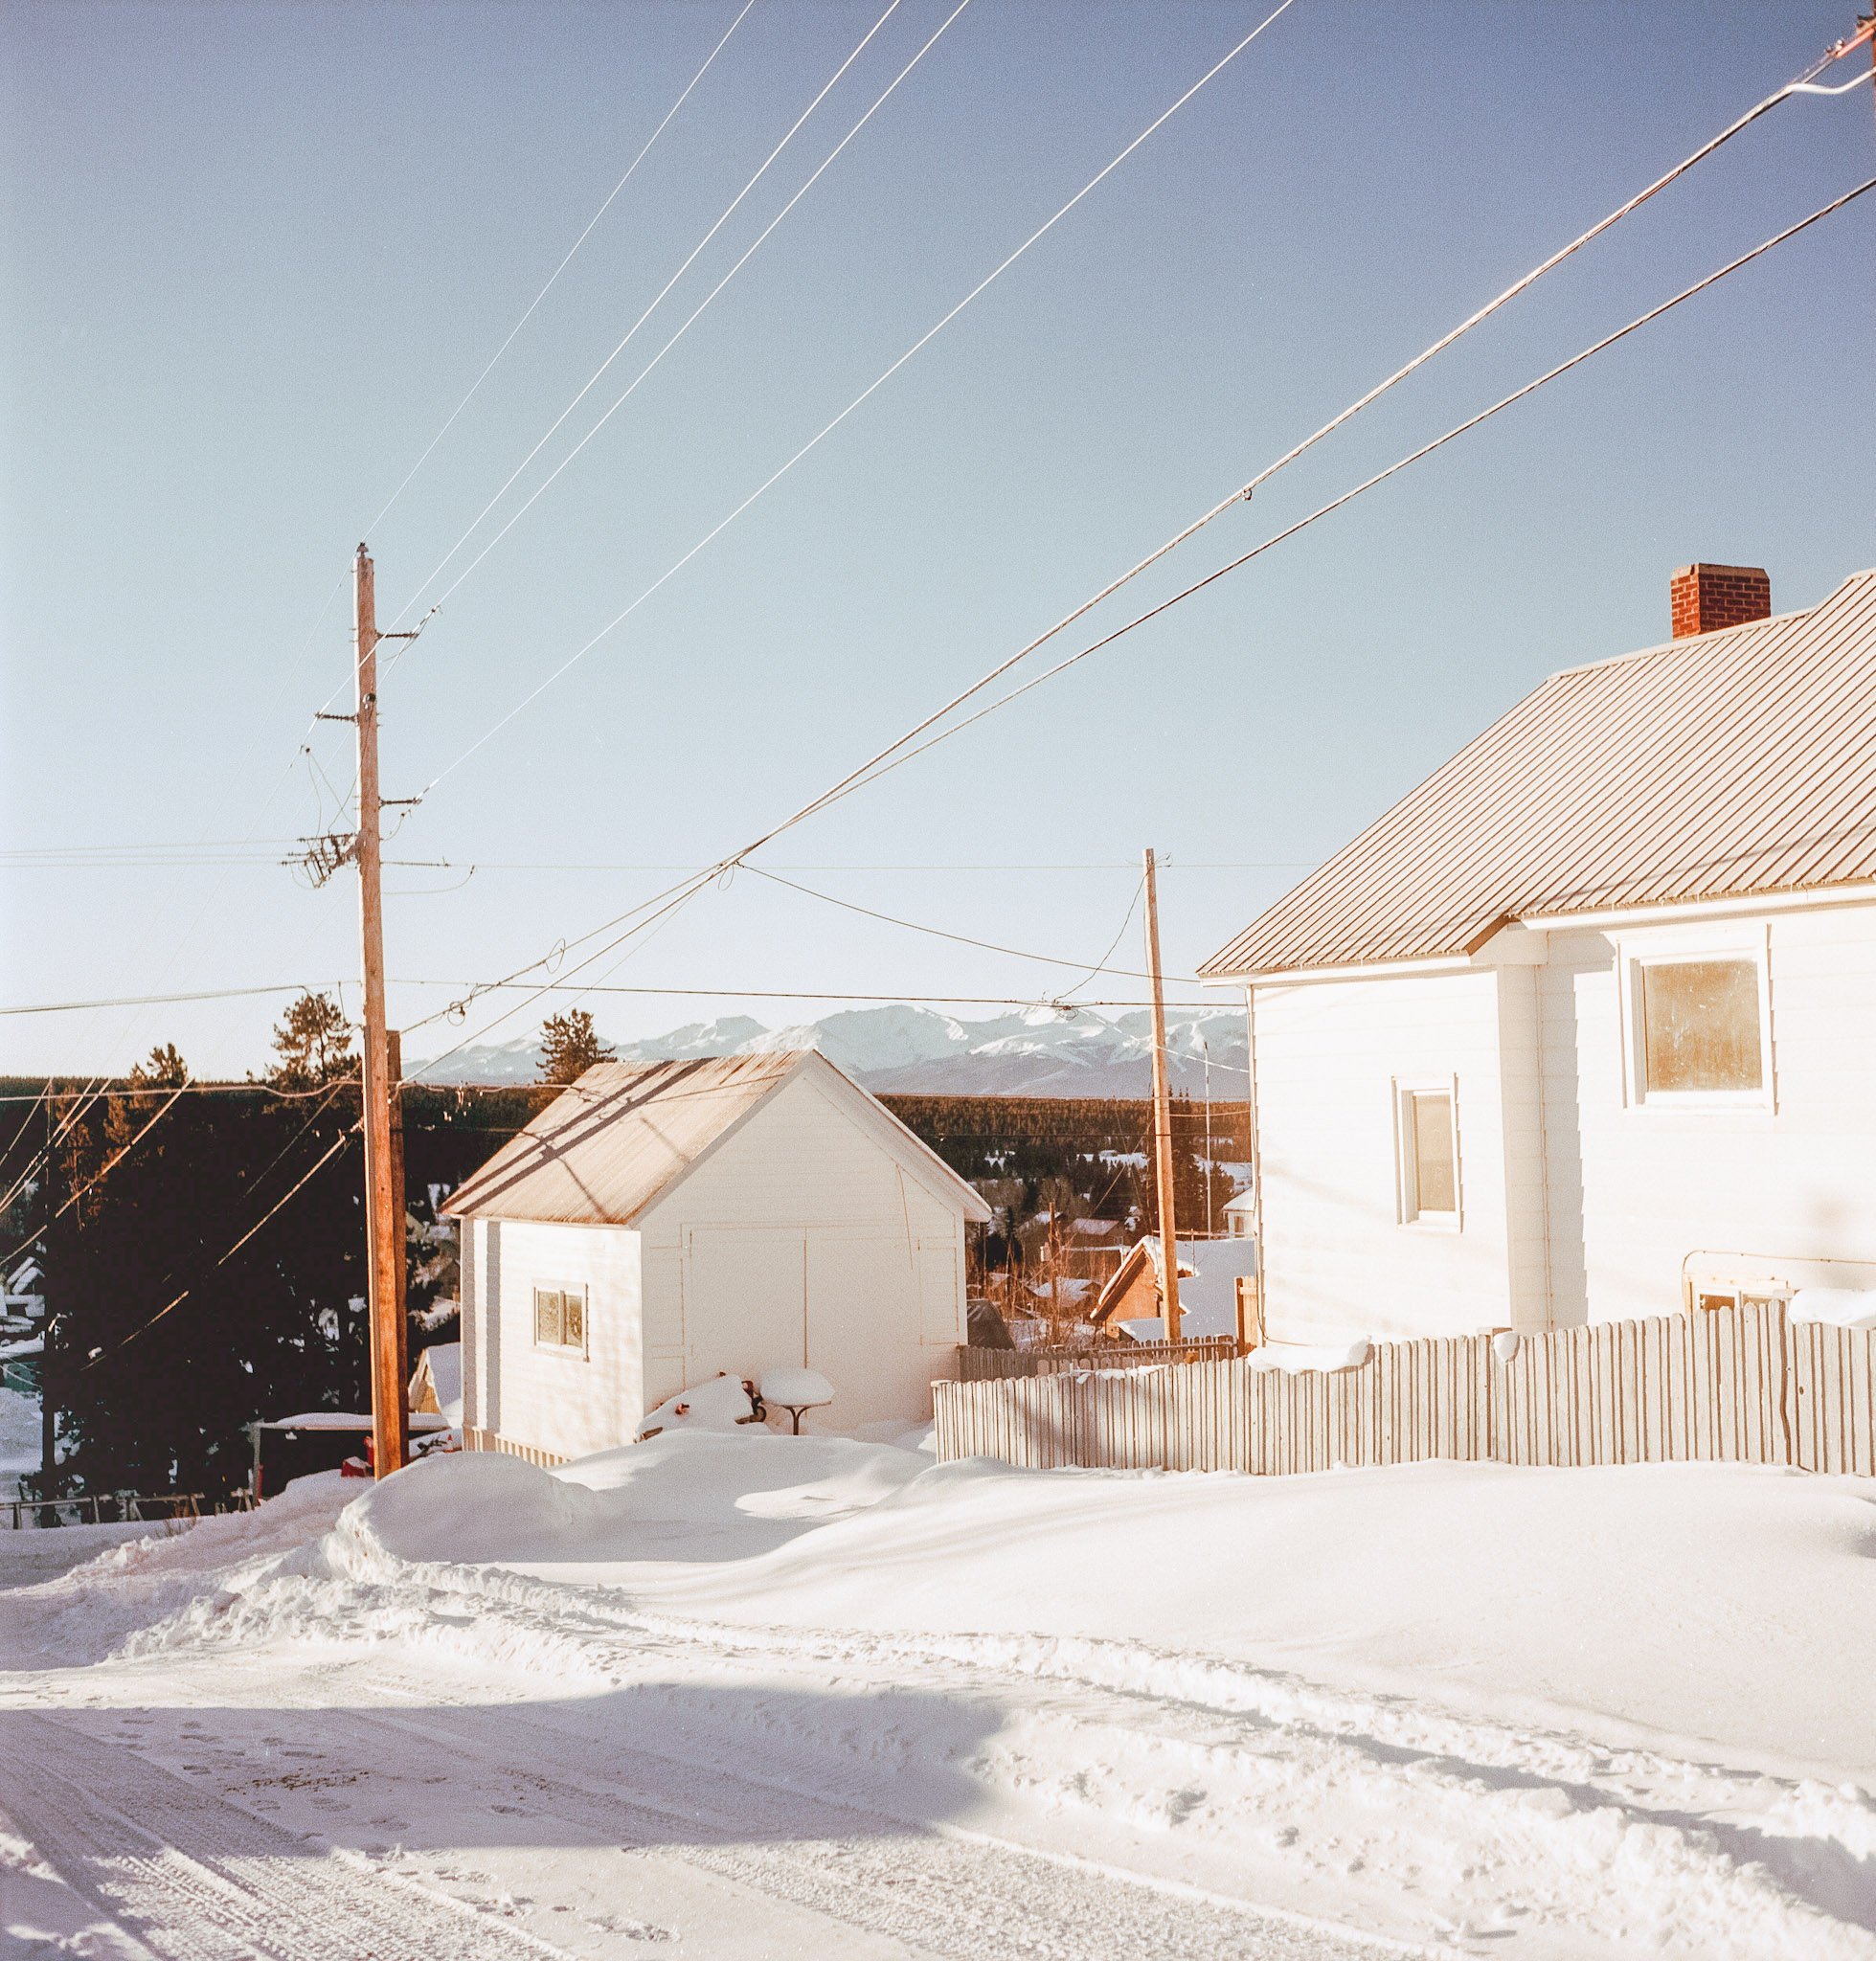
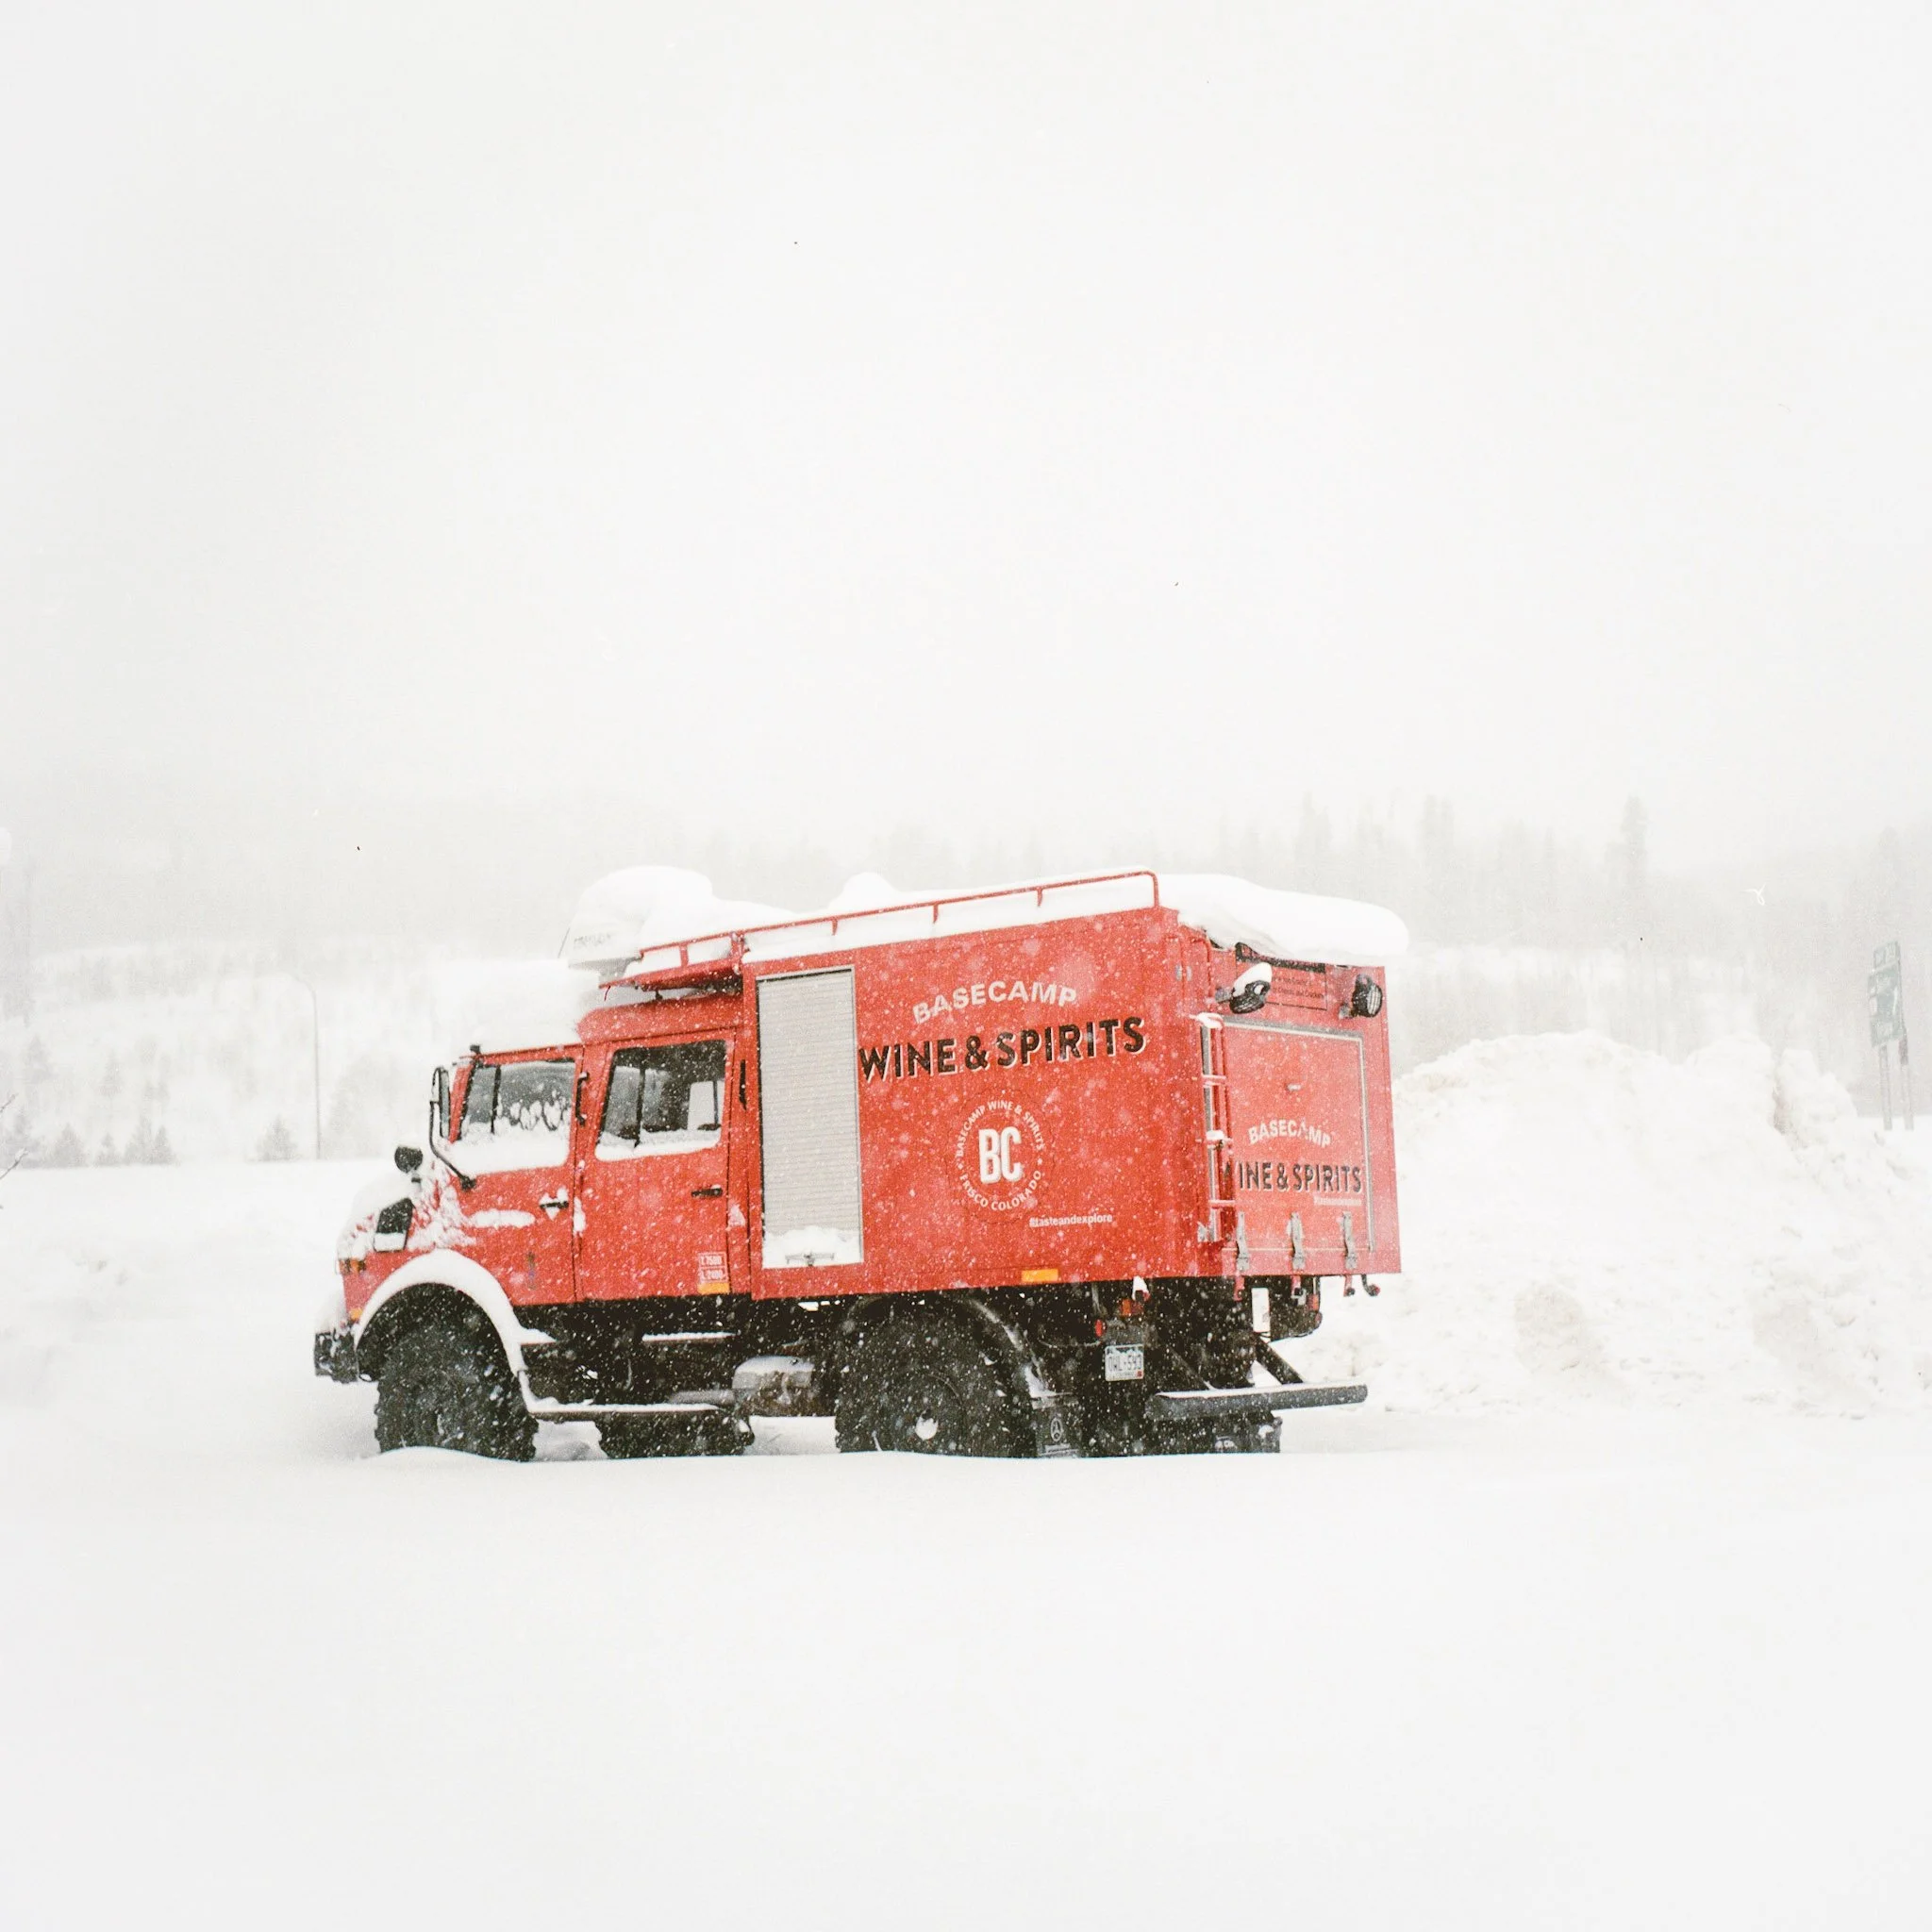
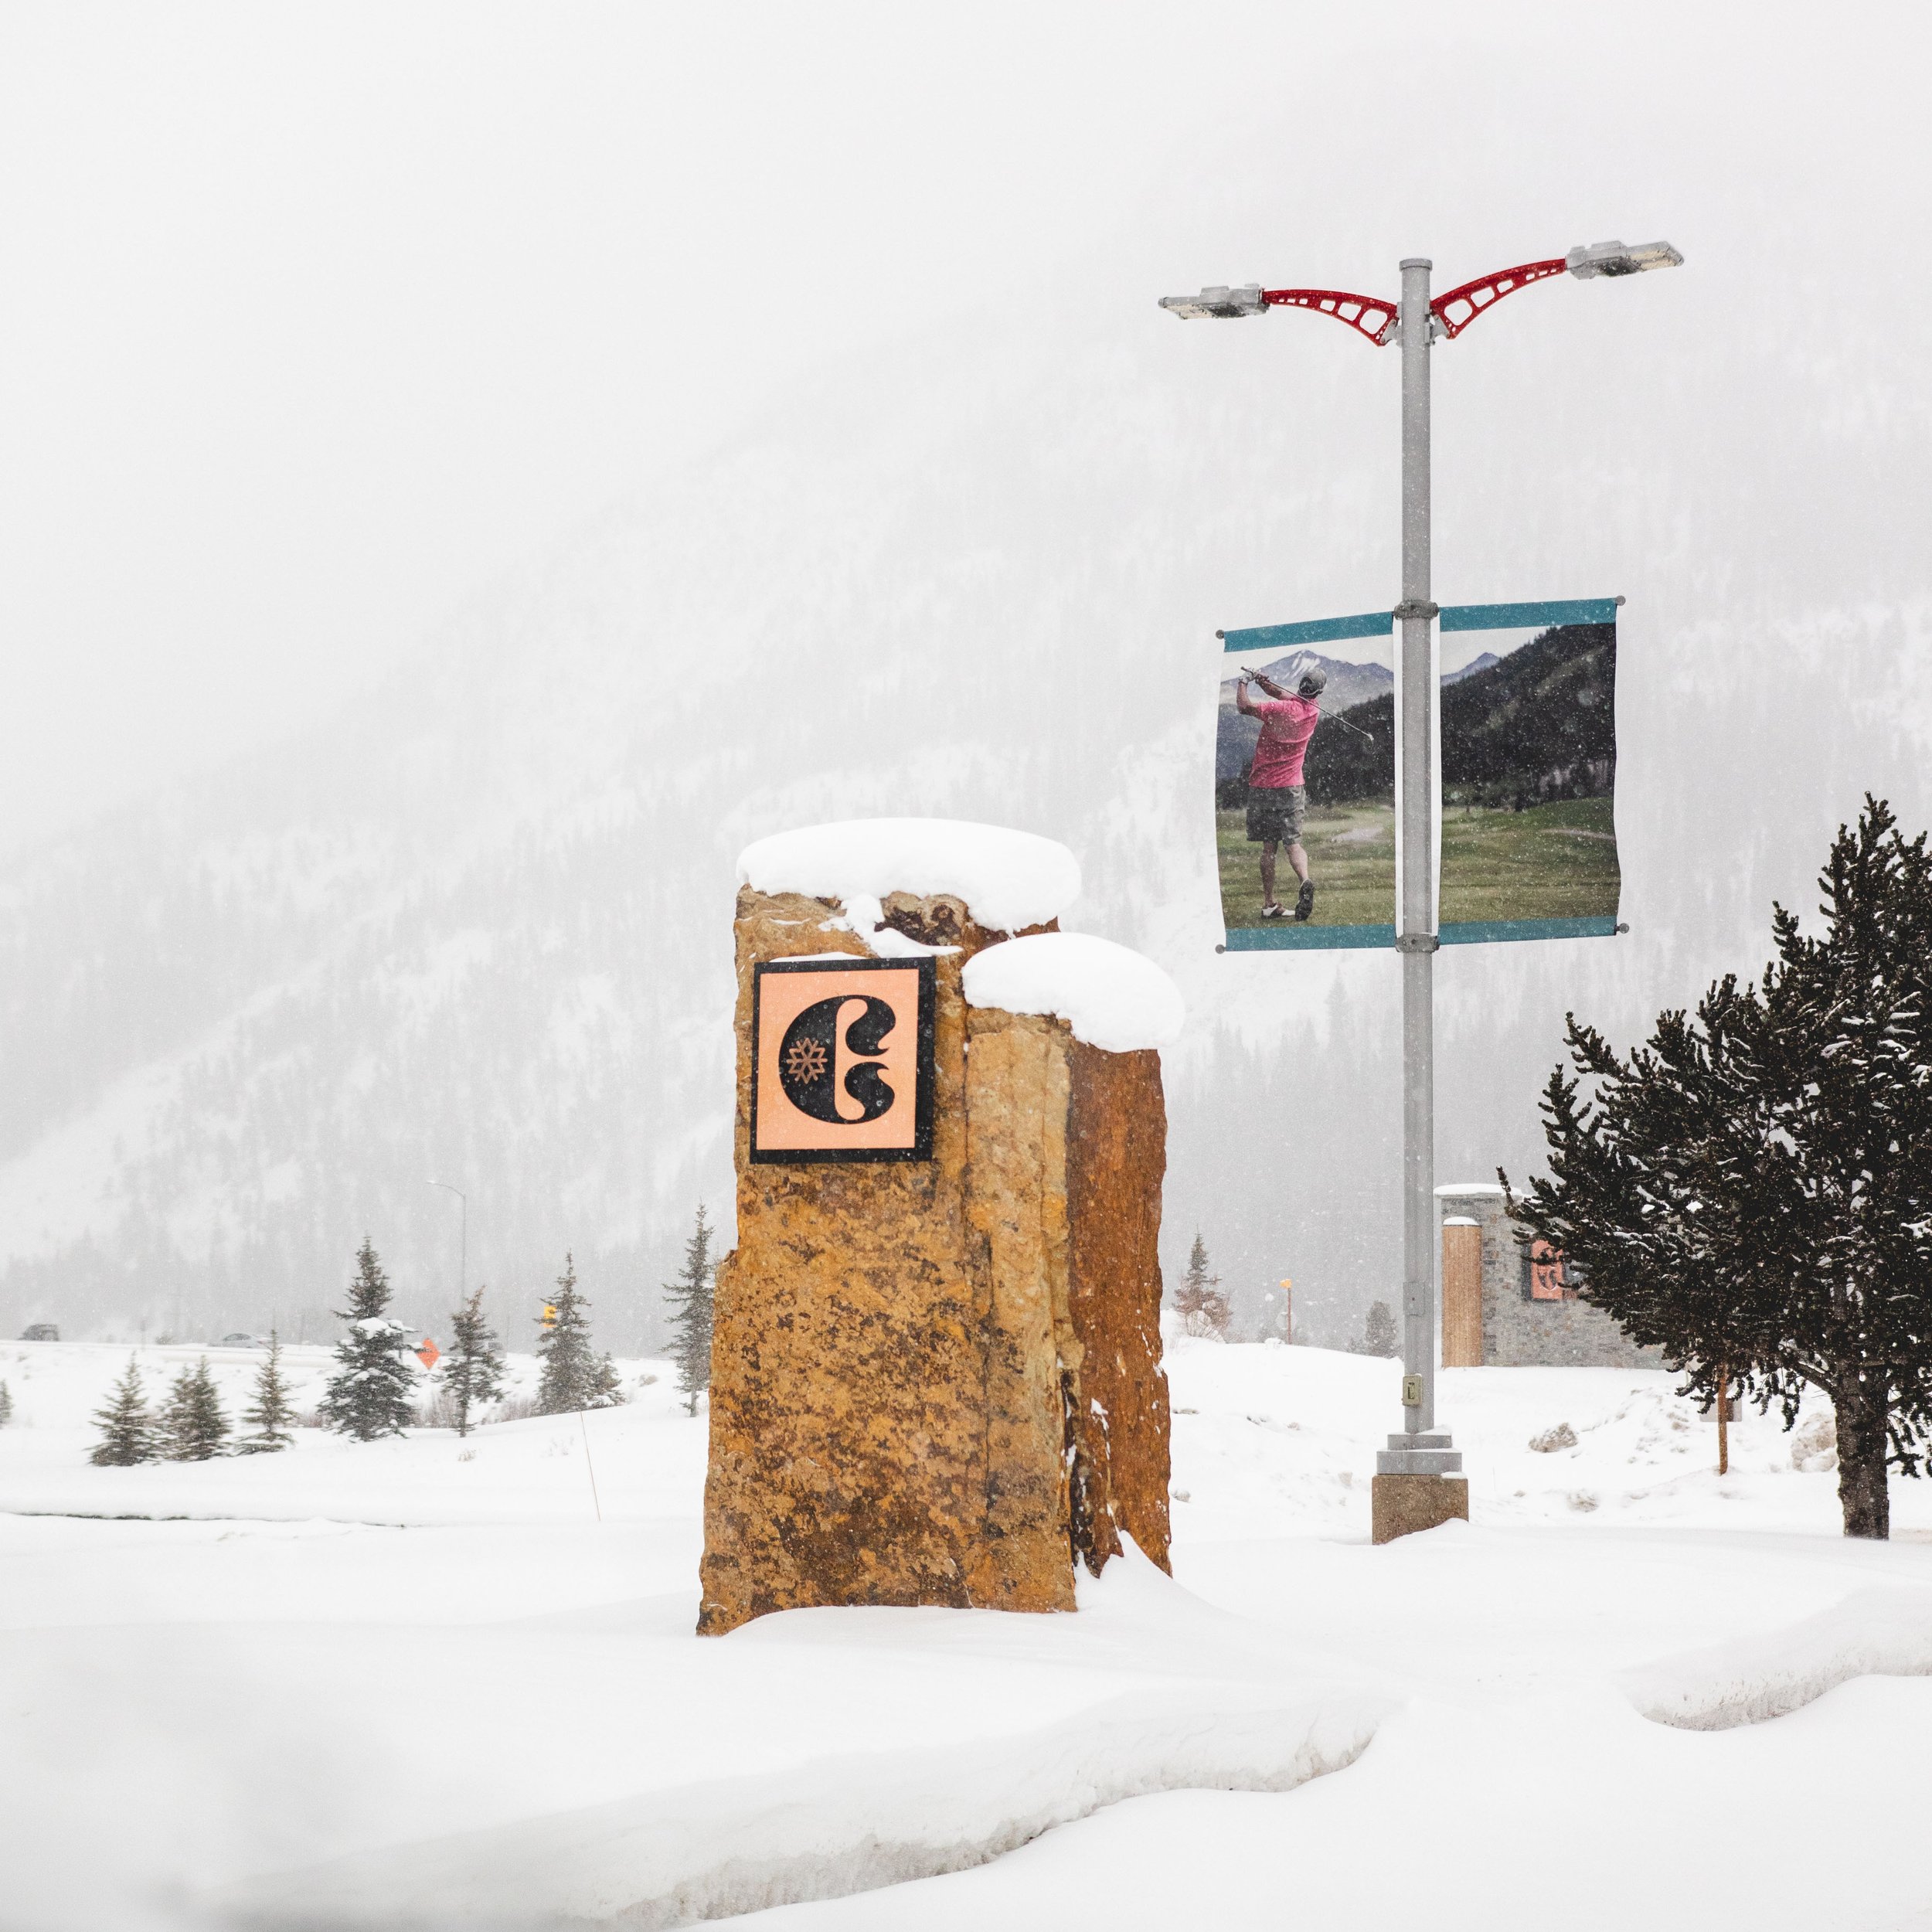
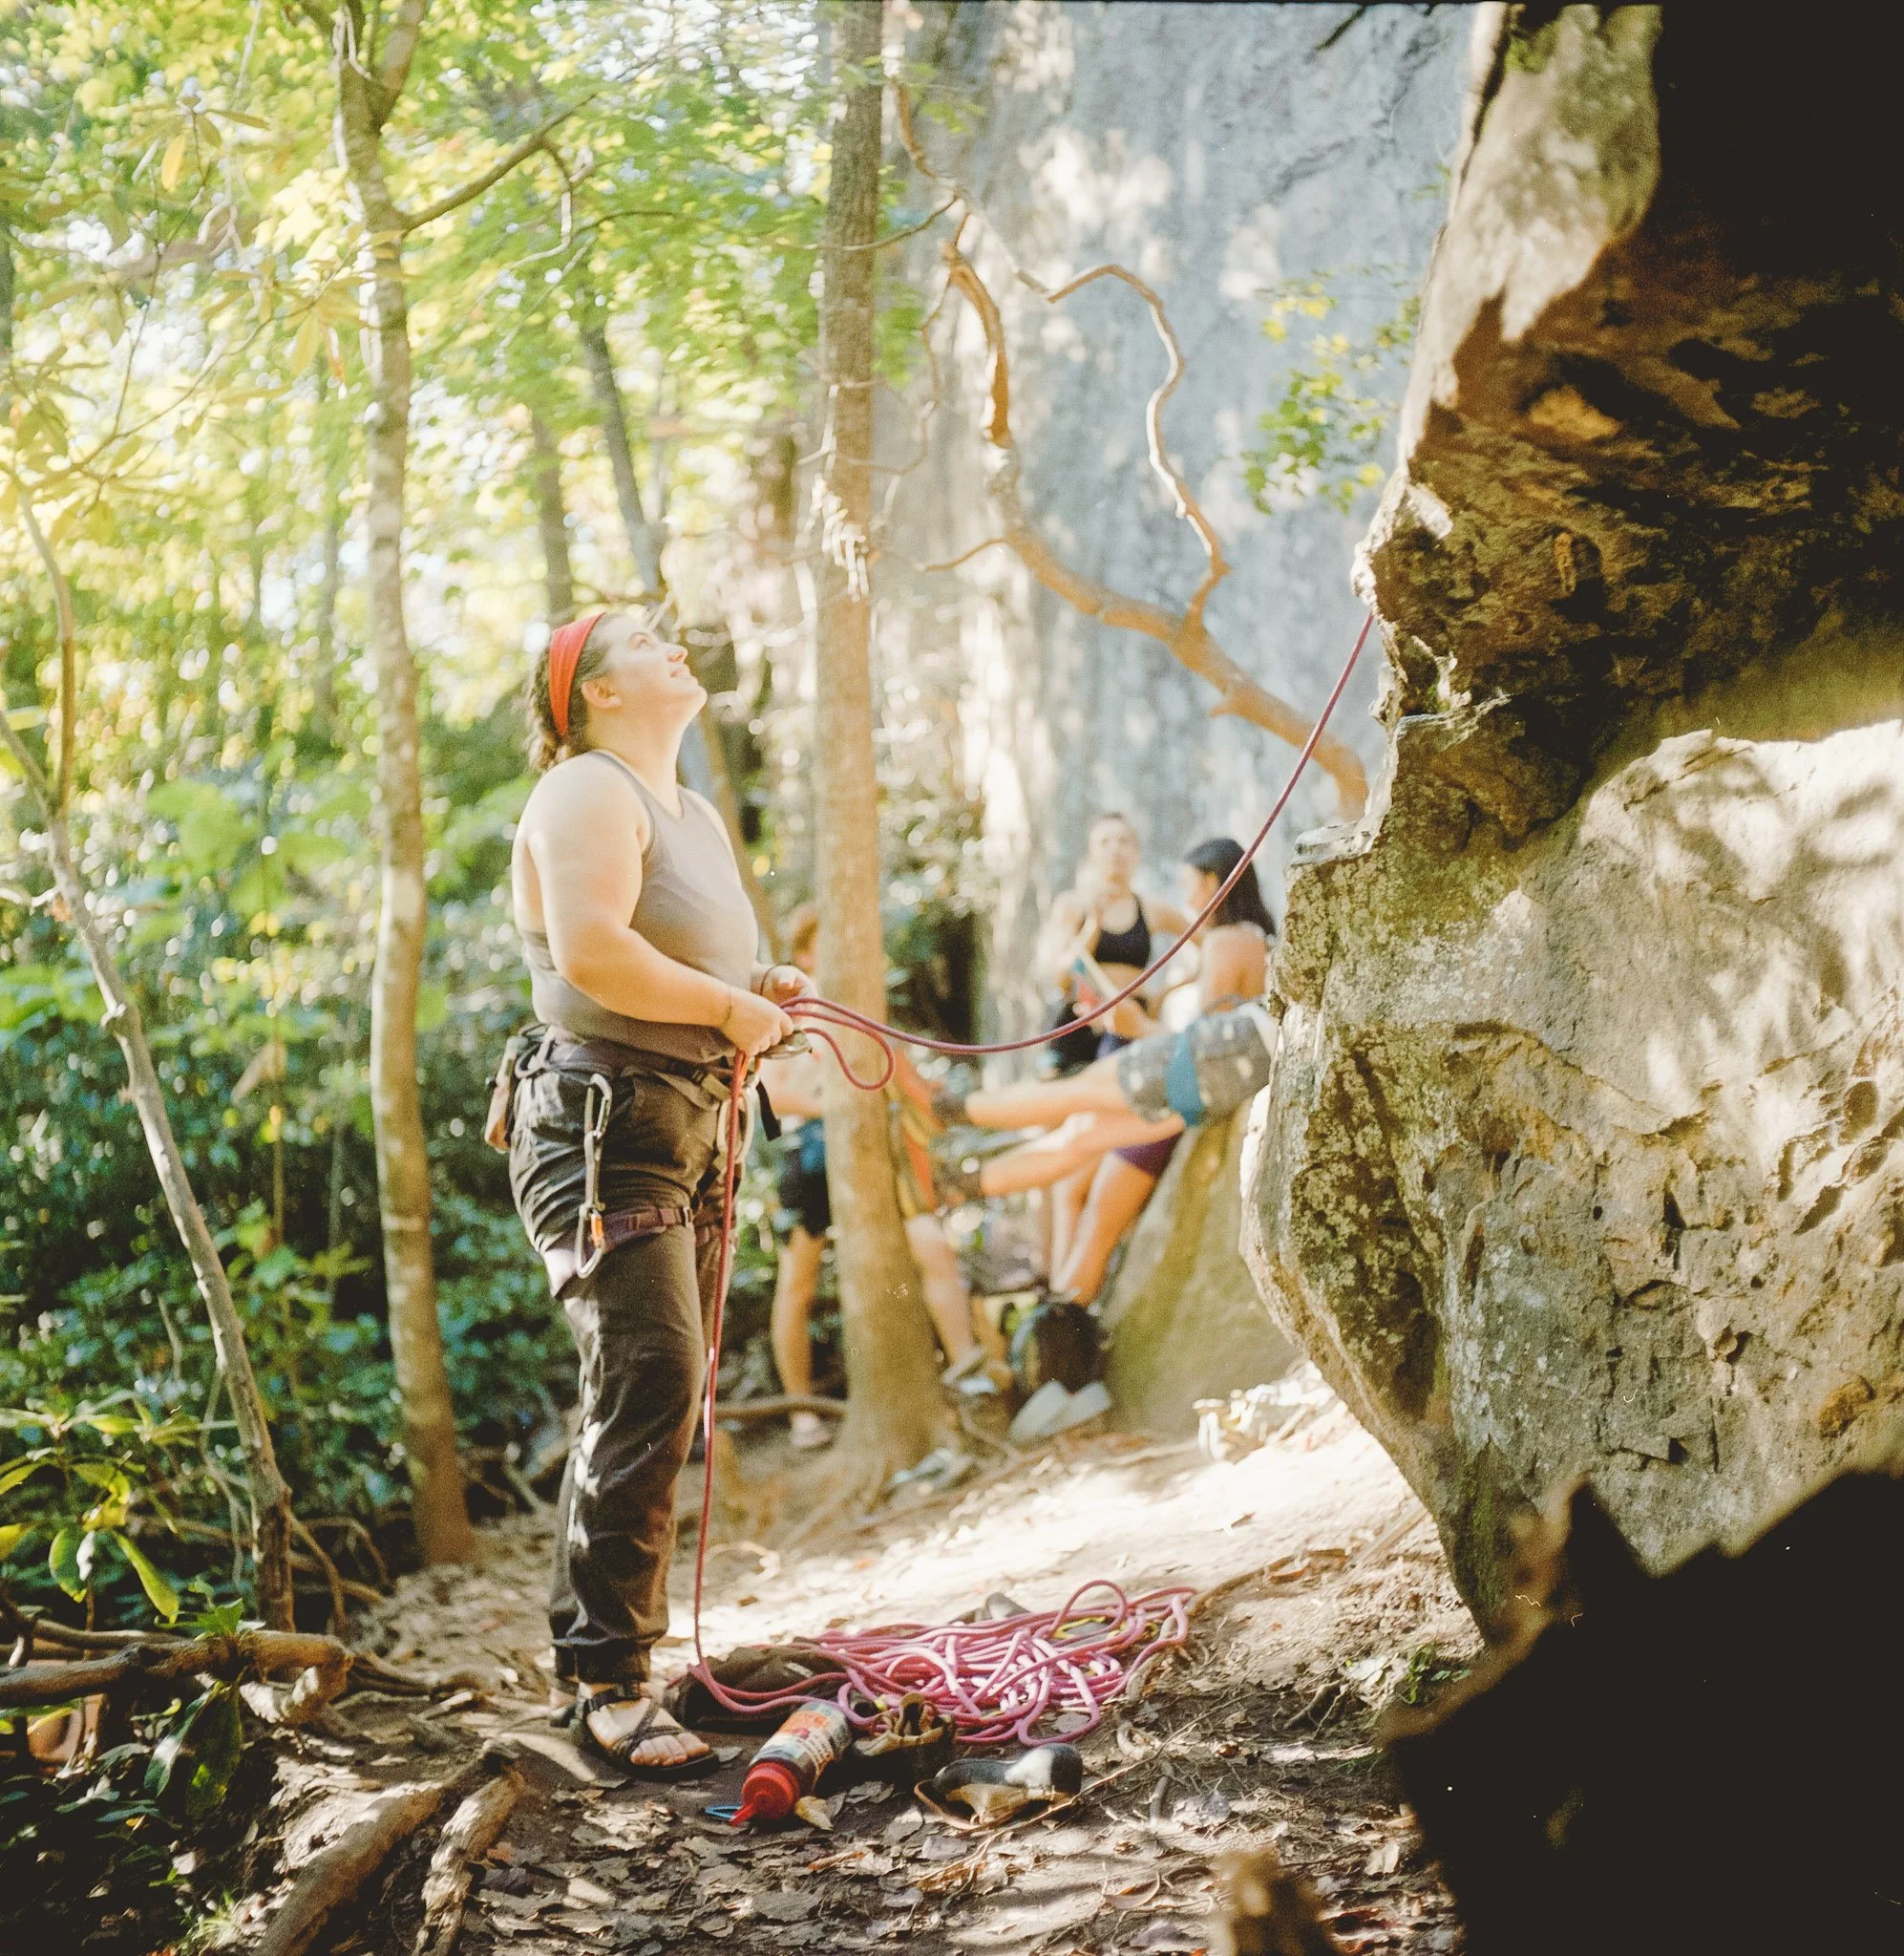
Oh and the first gallery of images is from the Ricoh GR II and the second is the Fujifilm X100VI.

Back in the Red

Some climbers scoping Cell Block Six (5.12c) in the Midnight Surf area of Muir Valley. [Fujifilm X100VI: ISO 200, F2, 1/400th]

It’s been entirely too long since I was last in the Red River Gorge.

A place that I don’t think I had ever heard of before my first trip in college. For those who don’t know it is worth a Google. Think tree filled gorges of weathered sandstone, small trickling creeks, thick humid air, and pockets of warm sun and cool damp shade.

If you’re a climber I would bet that you’ve heard of this place at least in passing. Likely the largest climbing mecca outside of Yosemite - especially for those out East. If you Google the number of routes in this area you’ll get over 3,000 potential routes and as far as I know this number continues to grow.

There’s also climbing establishments like the famous Miguel’s Pizza where you can camp for $7 a night (used to be just $3 dollars when I first looked) with the only rule being you must be a climber. Of course we were there to climb but I would almost drive the distance just for the pizza.

With a long weekend Catherine and I left on a Friday morning with the plan of spending all day Saturday climbing and to head back to STL Sunday. A quick trip when you consider the 6 hour drive both ways, but we were itching for a couple nights in a tent, climbing, and of course some good pizza.

Saturday morning started early with color just touching the sky.

Miguel’s has more than just pizza, opening right at 7:00AM with hot coffee and breakfast sandwiches you only wish you could make yourself (come on you’re not making your own bagels they are). [Fujifilm X100VI: ISO 3200, F2, 1/100th]

View from our tent that moring. Looks like we weren’t the only people starting early. [Fujifilm X100VI: ISO 3200, F2, 1/4th]

With so many places we could have gone I relied on my notes from the first trip taking a ‘we’ll be back’ attitude choosing the famous Muir Valley Area. I remembered it for the steep and narrow stairs that snake down the near vertical cliff down to the main access road. It’s a tremendous area of easy and hard climbing, loaner stick clips for reaching the first bolt, and just enough people around (once the lot is filled it’s filled).

We arrived right behind the person who takes the money for parking - far too early to climb with the sun blocked by clouds and the temperature was just over freezing. Despite the chill in the air (ok the freeze in the air) and with plenty of blind enthusiasm we started down the steps with loaded packs full of layers and gear. While Catherine’s fingers warmed up we took the scenic route to some ‘easier’ climbs visiting just about every area on the map just to do it.

This is the way in and out of the valley. On my first visit I vividly remember hiking up these stairs with camera and climbing gear after climbing for two days, in pitch black night, when it was still +95F and 100% humidity. Brutal to say the least. That morning was the opposite problem of numb fingers and stiff legs - but we made it. [Fujifilm X100VI: ISO 800, F2, 1/320th]

Flaking rope for a fun 5.8 on a little nose. [Ricoh GRII: ISO 800, F2.8, 1/160th]

My hand was still on the brake strand come on… [Fujifilm X100VI: ISO 200, F2, 1/80th]

I said ‘easier’ above because the Muir Valley (and as I understand most of the Red) is what’s called classic rated or in other words prepare to be sandbagged to some extent. While the ratings have been updated climbing a 5.10 there feels like at least a 5.11 - be prepared to work for it. Classic rating are found all over and come from the older climbing areas when 5.9 was the highest rating. Now days the ratings climb much higher and Muir Valley if famous for some brutal 5.12s and 5.13s.

Sometimes it’s easier to just hang your stuff to make sure it doesn’t roll down to the bottom of the gorge… Plus it looks cool I guess. [Fujifilm X100VI: ISO 200, F2, 1/50th]

No caption needed on this one. [Fujifilm X100VI: ISO 200, F2, 1/70th]

Yes I shamelessly bought 3 quickdraws, a new GriGri, and 2 shirts while I was there. Don’t worry about it. [Fujifilm X100VI: ISO 200, F2, 1/70th]

On our way out. First down then back up. [Fujifilm X100VI: ISO 200, F2, 1/80th]

The Brother Proposed

I very much need to start posting more here. Lots has happened, works is busy, and sometime I just want to sit on the couch and annoy the dog. Last week was definitely not a couch situation, much the opposite. Not only did I fly to Denver to hang with my brother, I was wrapped in a vast conspiracy to help him propose. Without typing too many words and to let the pictures do the talking I’ll leave it here.

Ok I’ll share a bit more since I can’t help it as I arrange the photos. First, I’m not sure we could have picked a better place in Telluride. A place I’ve not been to before that evening. One that I will definitely be back to soon for the views of 14ers, town, the airport, the La Sals out in Utah, and well a 360 views of the San Juans. The trailhead was a left turn on Last Dollar road that I’ve driven by before with Catherine, that time shrugging it off for another trip to only forget about it. Luckily Mike had suggested it and as we all crawled up Last Dollar in the Land Cruiser smelling rain and feeling the warm engine draft by I knew we were in for something special.

Congrats you two! It was a pleasure to be there and be a part of your special day.

My Amazing Travel Camera - Graflex 4x5 Camera (Ok Maybe Not)

I am definitely one of those people that is allergic to checking a bag. Too many times have I seen friends without clothes for two week in a foreign country or roommates questioning if they will ever see the other 1/2 of their clothes they packed from over winter break. Because of this I have gotten reasonably good at living extended periods out of just my LowePro Whistler Camera bag and a backpack that fits under my seat - both basically ensure that I will never have to check a bag again. (For those who don’t know when the plane is “full” and they “have to check all carry ons from now on” they only mean wheeled bags, bags with backpack straps will get you past the gate without having to check it) This strategy does mean that I need to be efficient with space and need to really pay attention to the cameras I bring.

Usually this means that I bring just my little Fuji x100s (RIP friend) or more recently my Ricoh GR2 and leave my big heavy film cameras behind. But sometimes you have to make things difficult for yourself and my trip to Quebec City and Rueben’s wedding I thought, “My 4x5 camera would be a cool camera to bring.” So without thinking through anything I decided to pack my 4x5, 2 film holders (4 pictures), and magnifier loupe. Basically taking up my whole underseat bag. Was it worth it? Well… Let’s just say that I’d think about doing it again.

I did end up hiking around my 4x5 camera the second day we were there. Past hurting my back and being an impressively impractical camera to even consider walking around with. I took it with us that moring, no tripod, not clue what to shoot, and only having three sheets of film. Being that all of these shots were made hand held and on a whim, it’s a miracle these turned out. For anyone interested in my actual kit, it was a 1948 Anniversary Speed Graphic with a 127mm F4.5 Graflex Optar Yellow Dot lens with Arista 400 4x5 film loaded and developed in Rodinal. The images seen here were then scanned with an Epson v550 and converted with Negativelabpro.

Overall I am impressed with how they came out and happy I went through the trouble. I also wish you could see how much quality there is in these files too! It’s really quite impressive when you start to zoom in and see everything. I think next tim

Hiking the Peak - Telluride

Everyone knows where to find Mike Price after a day of work. Oak is only a door and a half down from his shop and the bartender pours us beers before we even walk in. It would be a problem if it wasn’t the place where you not only found him but his boss, often co-workers, and truly the rest of the town. Or the people in town you want to be around anyway. I’m telling you all this because it was one Tuesday night at the Oak where we happened to decide to do a Peak mission the very next day. Beers and the realization the mountain will close soon got us motivated to get after it that night and I’m sure glad we did!

The Peak that I am referring to is of course Palmyra Peak the tallest point at the ski area and one of the tallest places you can ski in bounds just about anywhere I suspect. It’s taller then 1310 at Loveland and for sure gets you higher then that silly lift people talk about at Breckenridge. Google informs me that the top is 13,319 ft and I can say after hiking from Chair 12 to the top it sure feels like 13,000 ft and the exposure you feel at the top is no joke either. To make it worse they give you a small snow pack platform to balance on at the top, not usually a problem unless you are sharing it with 3 other people…

I’m not really sure how far the hike is or how many feet we had to climb but all in all it could have been much worse than it was. It took us just about an hour to get up and in all reality the hike was scarier than the ski. It’s always funny to make jokes about falling into Ophir or Alta Lakes from the resort when you are doing the short hike-tos bellow the peak but when you are on a boot pack on top of skree in hard ski boots that possibility seems much more likely. There’s at least two places that got me a little spooked between the steep narrow shoot below and the chawsy wind swept boulder you had to scramble. And really once you pass through the gate the whole hike is a no fall zone, you probably won’t die but you might be wishing you had looked at the map longer.

Once at the top and you concur the last nearly vertical boot pack, you are welcomed by a bright orange toboggan (that some poor soul undoubtedly had to hike up there) and a bamboo rope line to remind you that you are still in the boundary of the ski area. It’s an important reminder given the terrain you are about to ski. It’s no baby hike-to-ski or palma lift to above treeline, it is just what you should expect when you look at the tallest mountain out the window of the Gondola. A variable, windy, and steep 13,000 ft peak that for some reason you are allowed to ski down just like any other run on the mountain. And that’s just what we did. We clipped into our bindings, pointed our tips downhill and went for it. I wish I could say we got a fresh powder line down the couloir but it was chopped, old north facing snow that was just interesting enough to get your heart to pump when your skis did something a little different then you wanted them to. But from there you can drop 4,500ft down to town have another beer at Oak and keep skiing if you wanted to.

For me I headed back down to town and retreated into the library to get at least a half day of work done. I’m sure going to miss the ability to walk out the door, hike up a mountain, ski with good friends and then just pretend it’s another day at the office. This may be a post for another time but being able to experience all of this in the context of what I do (for those who don’t know I spend most my days supporting the Industrial Efficiency and Decarbonization Office at the US Department of Energy) makes everything just work.

On the far left side of the image if you look close there is a zig zag skin track and people hiking up from the uppers and into Ophir (my guess at least).

Leadville Colorado

The last couple years I’ve had trouble finding myself a project, one of those projects worth putting a couple years of image making toward. My lingering dream is still a project focused on Idaho salmon, conservation, history of the sawtooths, blah blah. But last winter, and this last spring, has gotten me interested in Leadville Colorado. Leadville is one of those places most people have heard of but maybe never seen. For me it’s been a new place to explore, streets to wander through, and witness the eclectic aesthetic of a high altitude mountain town.

For this project I definitely want to focus on shooting film to hone in my workflow and discover what I need to do to get the look that I’m going for. The two images above are nearly exactly what I’m looking for in terms of warmth and tones. What I am really hoping for is getting into some DSLR scanning and really trying to pump out as much as I can without the Hasselblad X1. The biggest challenge for this project is that I want to do everything in the process, other than developing C-41 film, and I know this will take some decent trial and error. The final deliverable, I hope is a series of zines or postcards that can be sold in town.