This might be my current favorite image. I’ve always told myself that there is no such thing as a favorite image because the next picture I take better be my favorite. Though, this is not usually the case and making images that I am truly proud of has become harder then ever recently. But, it’s funny because whenever I need inspiration to create this is the image that always comes to mind. A favorite image is quite subjective and I’d say there’s a difference between the best image I’ve ever taken and my favorite photograph. This fits in the favorite category because technically it’s a bit soft on a low resolution sensor, but has everything a good photograph should.
The real reason I’m writing this is that I was going over images and noticed how much this image stood out compared to ones taken slightly before and after. Also, how this image basically just made itself no fancy preparation, previsualization, just a button press. It’s a truly fleeting moment, the gold standard in photography, where minutes before or seconds after wouldn’t yield the same result. A blend of happenstance, luck, and existing to witness a moment, all intersect to create the perfect image.
The story of this image starts, like many others in 2019, with a trip hosted by the College of Idaho Outdoor Program. We spent three days climbing in Smith Rock State Park where I took some of my favorite images of the year. That first day we arrived later in the afternoon just in time to scout some crags and set up camp. As we ate dinner and settled in we could see the clouds darken and felt the cold wind of an incoming storm. I remember sitting around the campfire bundled up and not ready to move away from the warmth, but some feeling to make images as the earth shadow rose was too strong. After setting up the tripod and noticing there was only a half battery in the Canon (I still had two days left there), I grabbed the Fujifilm x100s which had two expendable batteries.
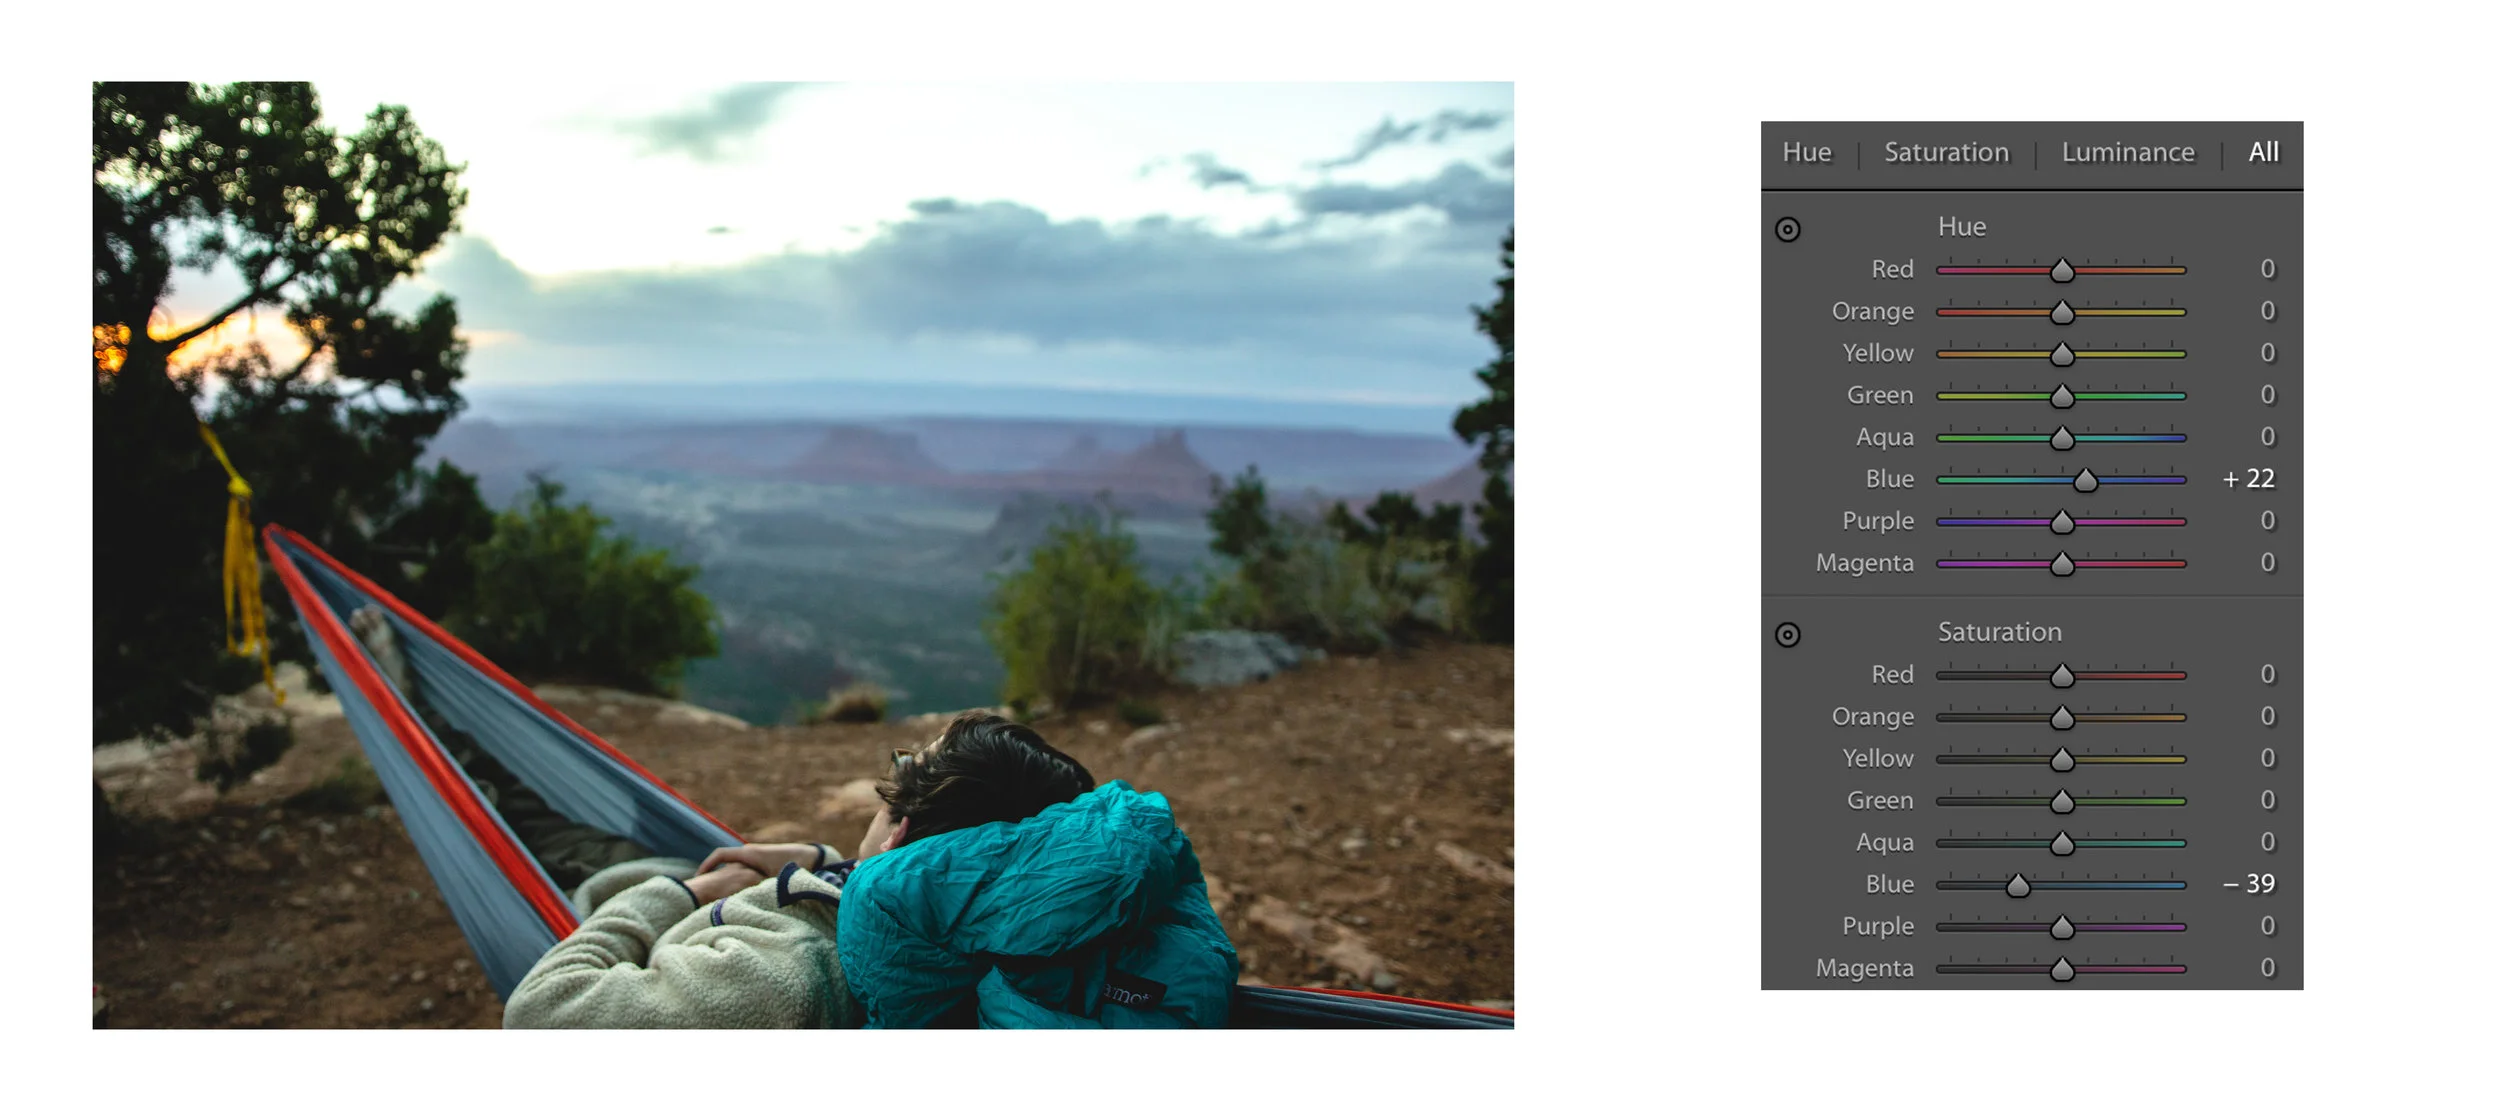
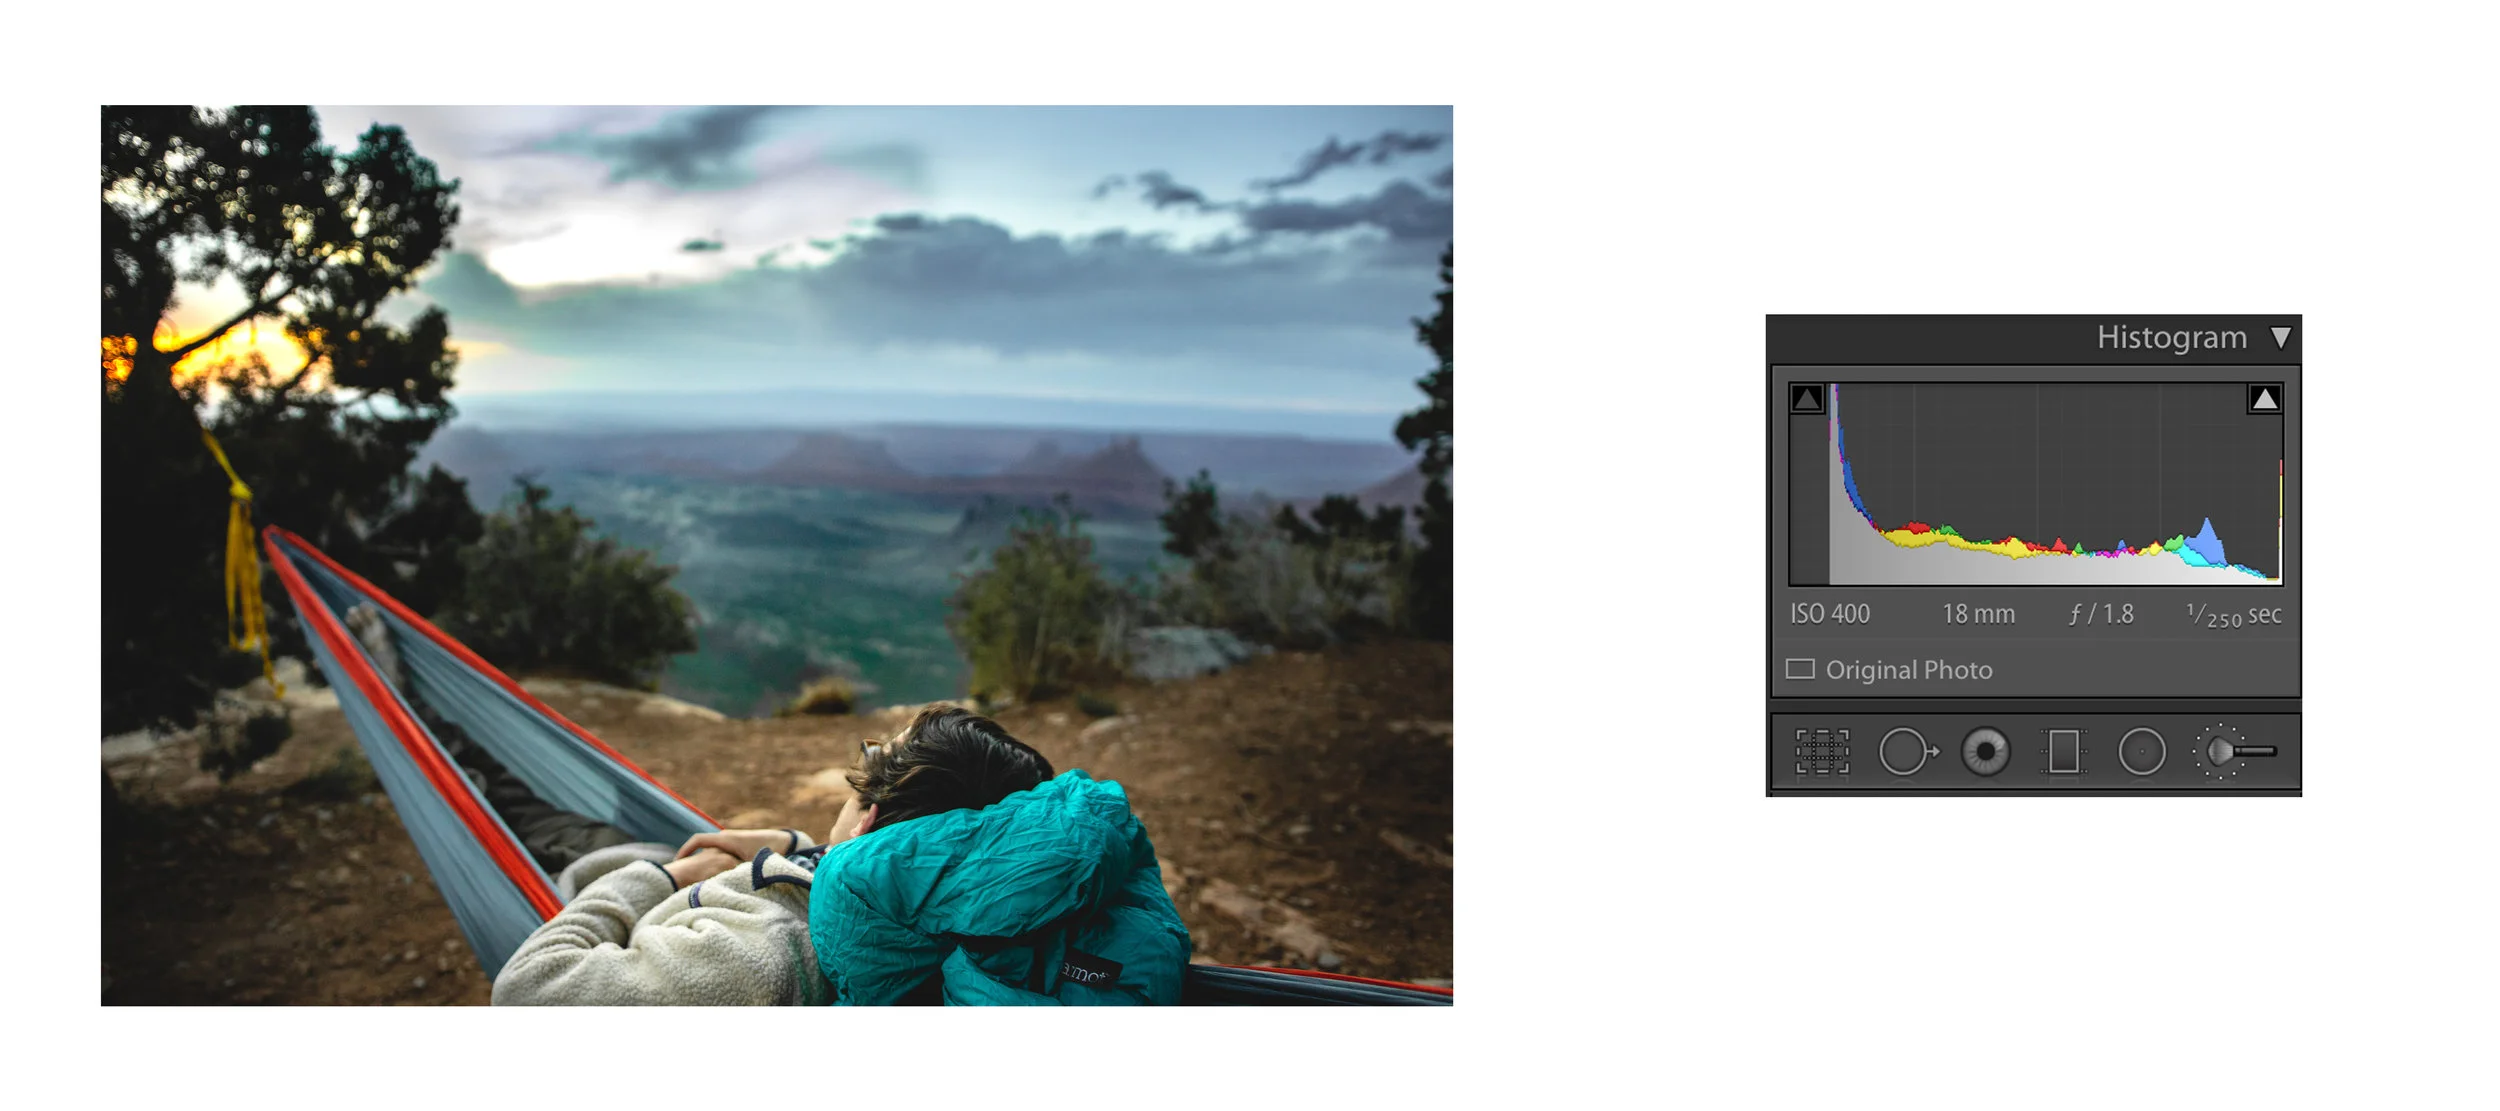
It was dark out and the sky was hard to see with the naked eye but I know from the faint city glow there was something to be had. So I mounted my little camera to the big tripod, stopped down to F/4 for sharpness, set the camera to 200 ISO in order to keep the grain down, and set up a 2 second timer to reduce shake. It took me nearly 15 minutes to focus the camera to infinity before I took a series of shots. It was amazing the subtle tones and color the camera picked up and how quickly the scene was changing between each 30 second exposure.
Somewhere in this series the picture seen above was captured. The churning of the low level clouds and subtle light from dusk peaking through creates drama in the sky. The tent in the foreground was lit up perfectly to match the ambient light and the warm glow projected on the clouds from Bend Oregon, draws the eye to the bottom of the frame giving context to the image. The best part was how a car’s light from some distance away gave the foreground densionality and a matching warm glow that ties the clouds to the ground. A million things came together here all completely out of my control and all making a striking image.
However two minutes later the image changed completely. The images below shows the same location, same shot, on the same day but 1.45 minutes later. Let me know which image you like better but for me it is a pretty obvious choice.
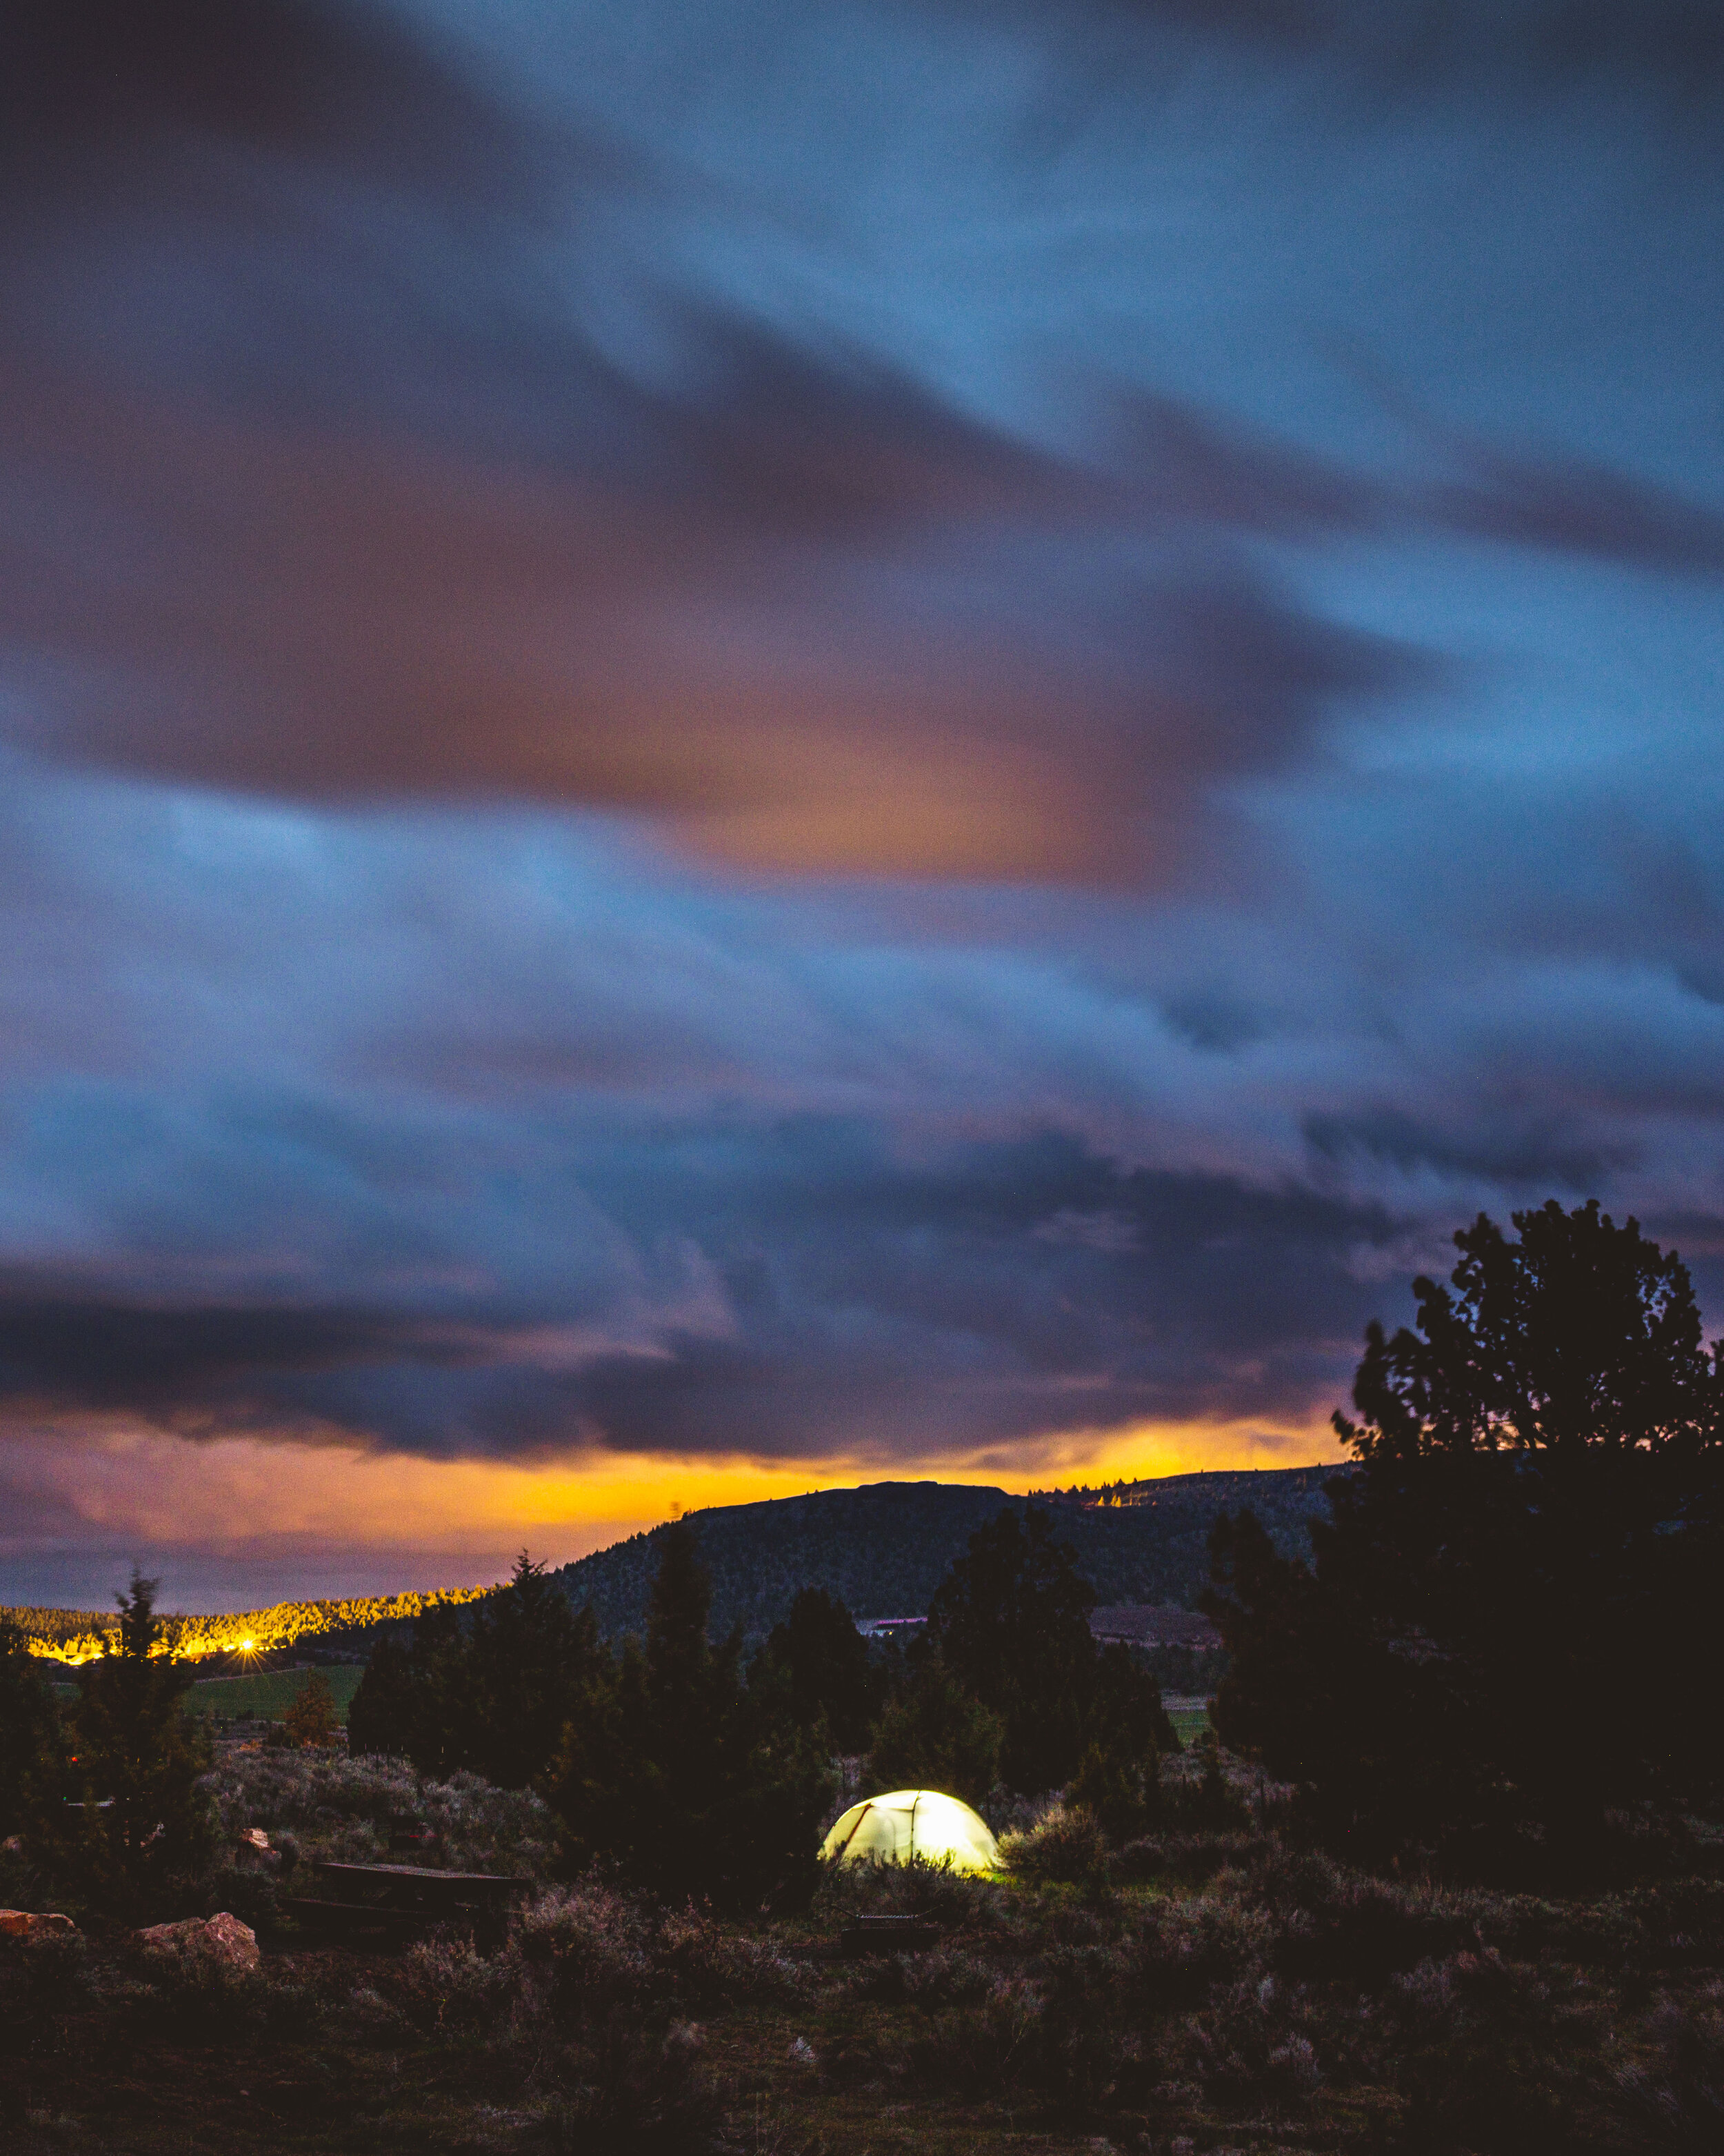
Smith Rock, OR. 2019. Fujifilm x100s on a tripod. Two minutes after the image above.
This is absolutely another striking image and if this was the only shot I got that night I would have been thrilled. But, it wasn’t and the first shot in my opinion is much better for a multitude of reasons. First, the ambient light dropped enough to overexpose the tent in the foreground and the orange glow is now extremely bright compared to the first image. This makes the light feel unbalanced and makes the exposure look to dark and contrasty. Second, a cloud above the tent caught some warm orange light from the setting sun causing it dominate the sky. I usually love to see color like this in the sky but for this image it draws attention away from the main subject (the tent and the idea of camping) and clutters the scene overall. Finally, and most importantly there is no warm tungsten light in the foreground around the tent like in the first image. This renders the main subject in a more 2D way that looks more boring when compared to the first images. Within just about 2 minutes an image went from my favorite to just another blue hour shot. Below I’ve put them side by side so you can make your decisions.

First image.

Same scene but 2 minutes after the picture on the left.
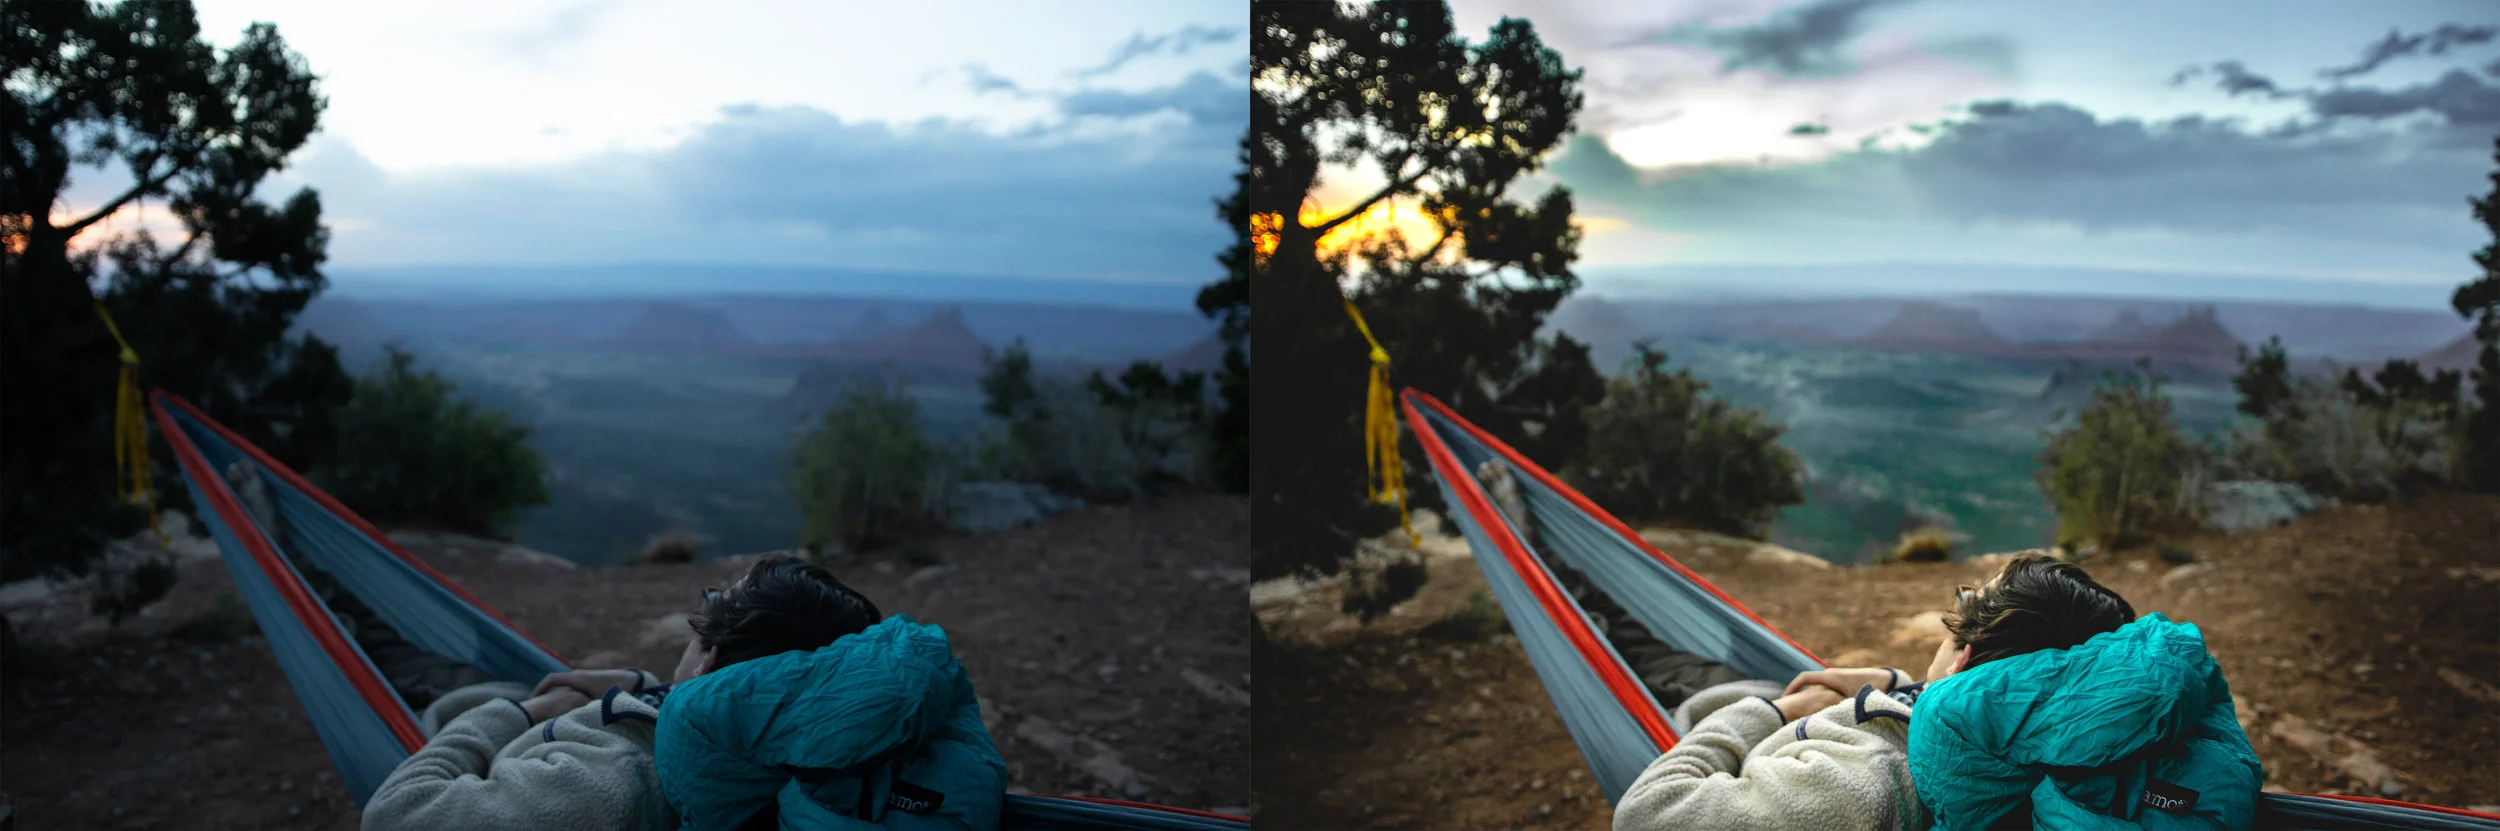
It was also interesting how I couldn’t get the colors to match either when editing. This is probably due to the ambient light falling, although if I spent enough time I could probably get them to match up. I’ll also confess that there is a fair amount of local adjustments in both images to further even out the tonality.
Anyways, what I’m trying to convey with this is the importance of just being present to witness the light changing. Sometimes photography is as easy as that. This picture was taken with an 8 year old camera with no prior preparation or planning, no fancy accessories, and while others were asleep. It’s not the gear, the hours of class or practice you’ve had, or the youtube videos you watched, it just getting out there and pressing the button.