Yes you can develop film in beer and no it’s really not as dumb and crazy as you may think. The results are actually quite stunning and the look is something I really enjoy! Just to be clear alternative film processing is actually a really common practice. Any weak acid that can be made into a buffering solution can technically develop film and there are a lot of expermenters out there. Film can be developed in coffee, wine, beer, green tea, spinach, and even more natural things! With that knowledge and a $3000 grand prize for a picture that was developed film in beer (Thanks Fat Tire Beer and Field Mag for the opportunity) I knew I had to pull out my dusty piece of paper that suggests I know chemistry and start my own experiments!
Luckily I had film to burn (37 rolls of 120 Kodak Tri-X… only developed 3 rolls don’t worry) and an itch for trying something new. So how did I make images from Beer? Well it is easier than you may think and actually really forgiving for those who are diving into alternative processes for the first time. Here’s my recipe and some important notes to take into consideration.
Materials:
Film developing equipment (I have a separate blog explaining this)
Balance: Doesn’t need to be fancy just to be able to measure weight in grams.
500 ml Fat Tire Beer: you’ll need about 1.5 per roll of 120 film (~ 500ml)
12 g Vitamin C Powder (get medical grade or better)
50 g Washing soda (sodium carbonate)
Fixer: I used Kodafix but any sodium thiosulfate or fixing solution should work.
INSTRUCTIONS:
Using a measuring cup, add 500 ml of warm beer (~ 90 F) to a large bowl so the foam doesn’t get everywhere while mixing. To make things dissolve better keep things warm by using a hot water bath.
First add 12 g of Vitamin C to the beer and mix till the crystals dissolve completely. Make sure to add this first otherwise there will be no developing activity!
Now add 50 g of washing soda to the mixture and again mix till dissolved.
At this point the developer is ready to be used. For 400 ISO rated Tri-X I found 15 minutes with continuous agitation worked best. It is a one shot developer and once used the waste should be collected because it may contain traces of silver.
Add a stop bath and then fix based on the fixer you are using. I personally stop bath using water with some vinegar mixed in or just rinsing with tap water.
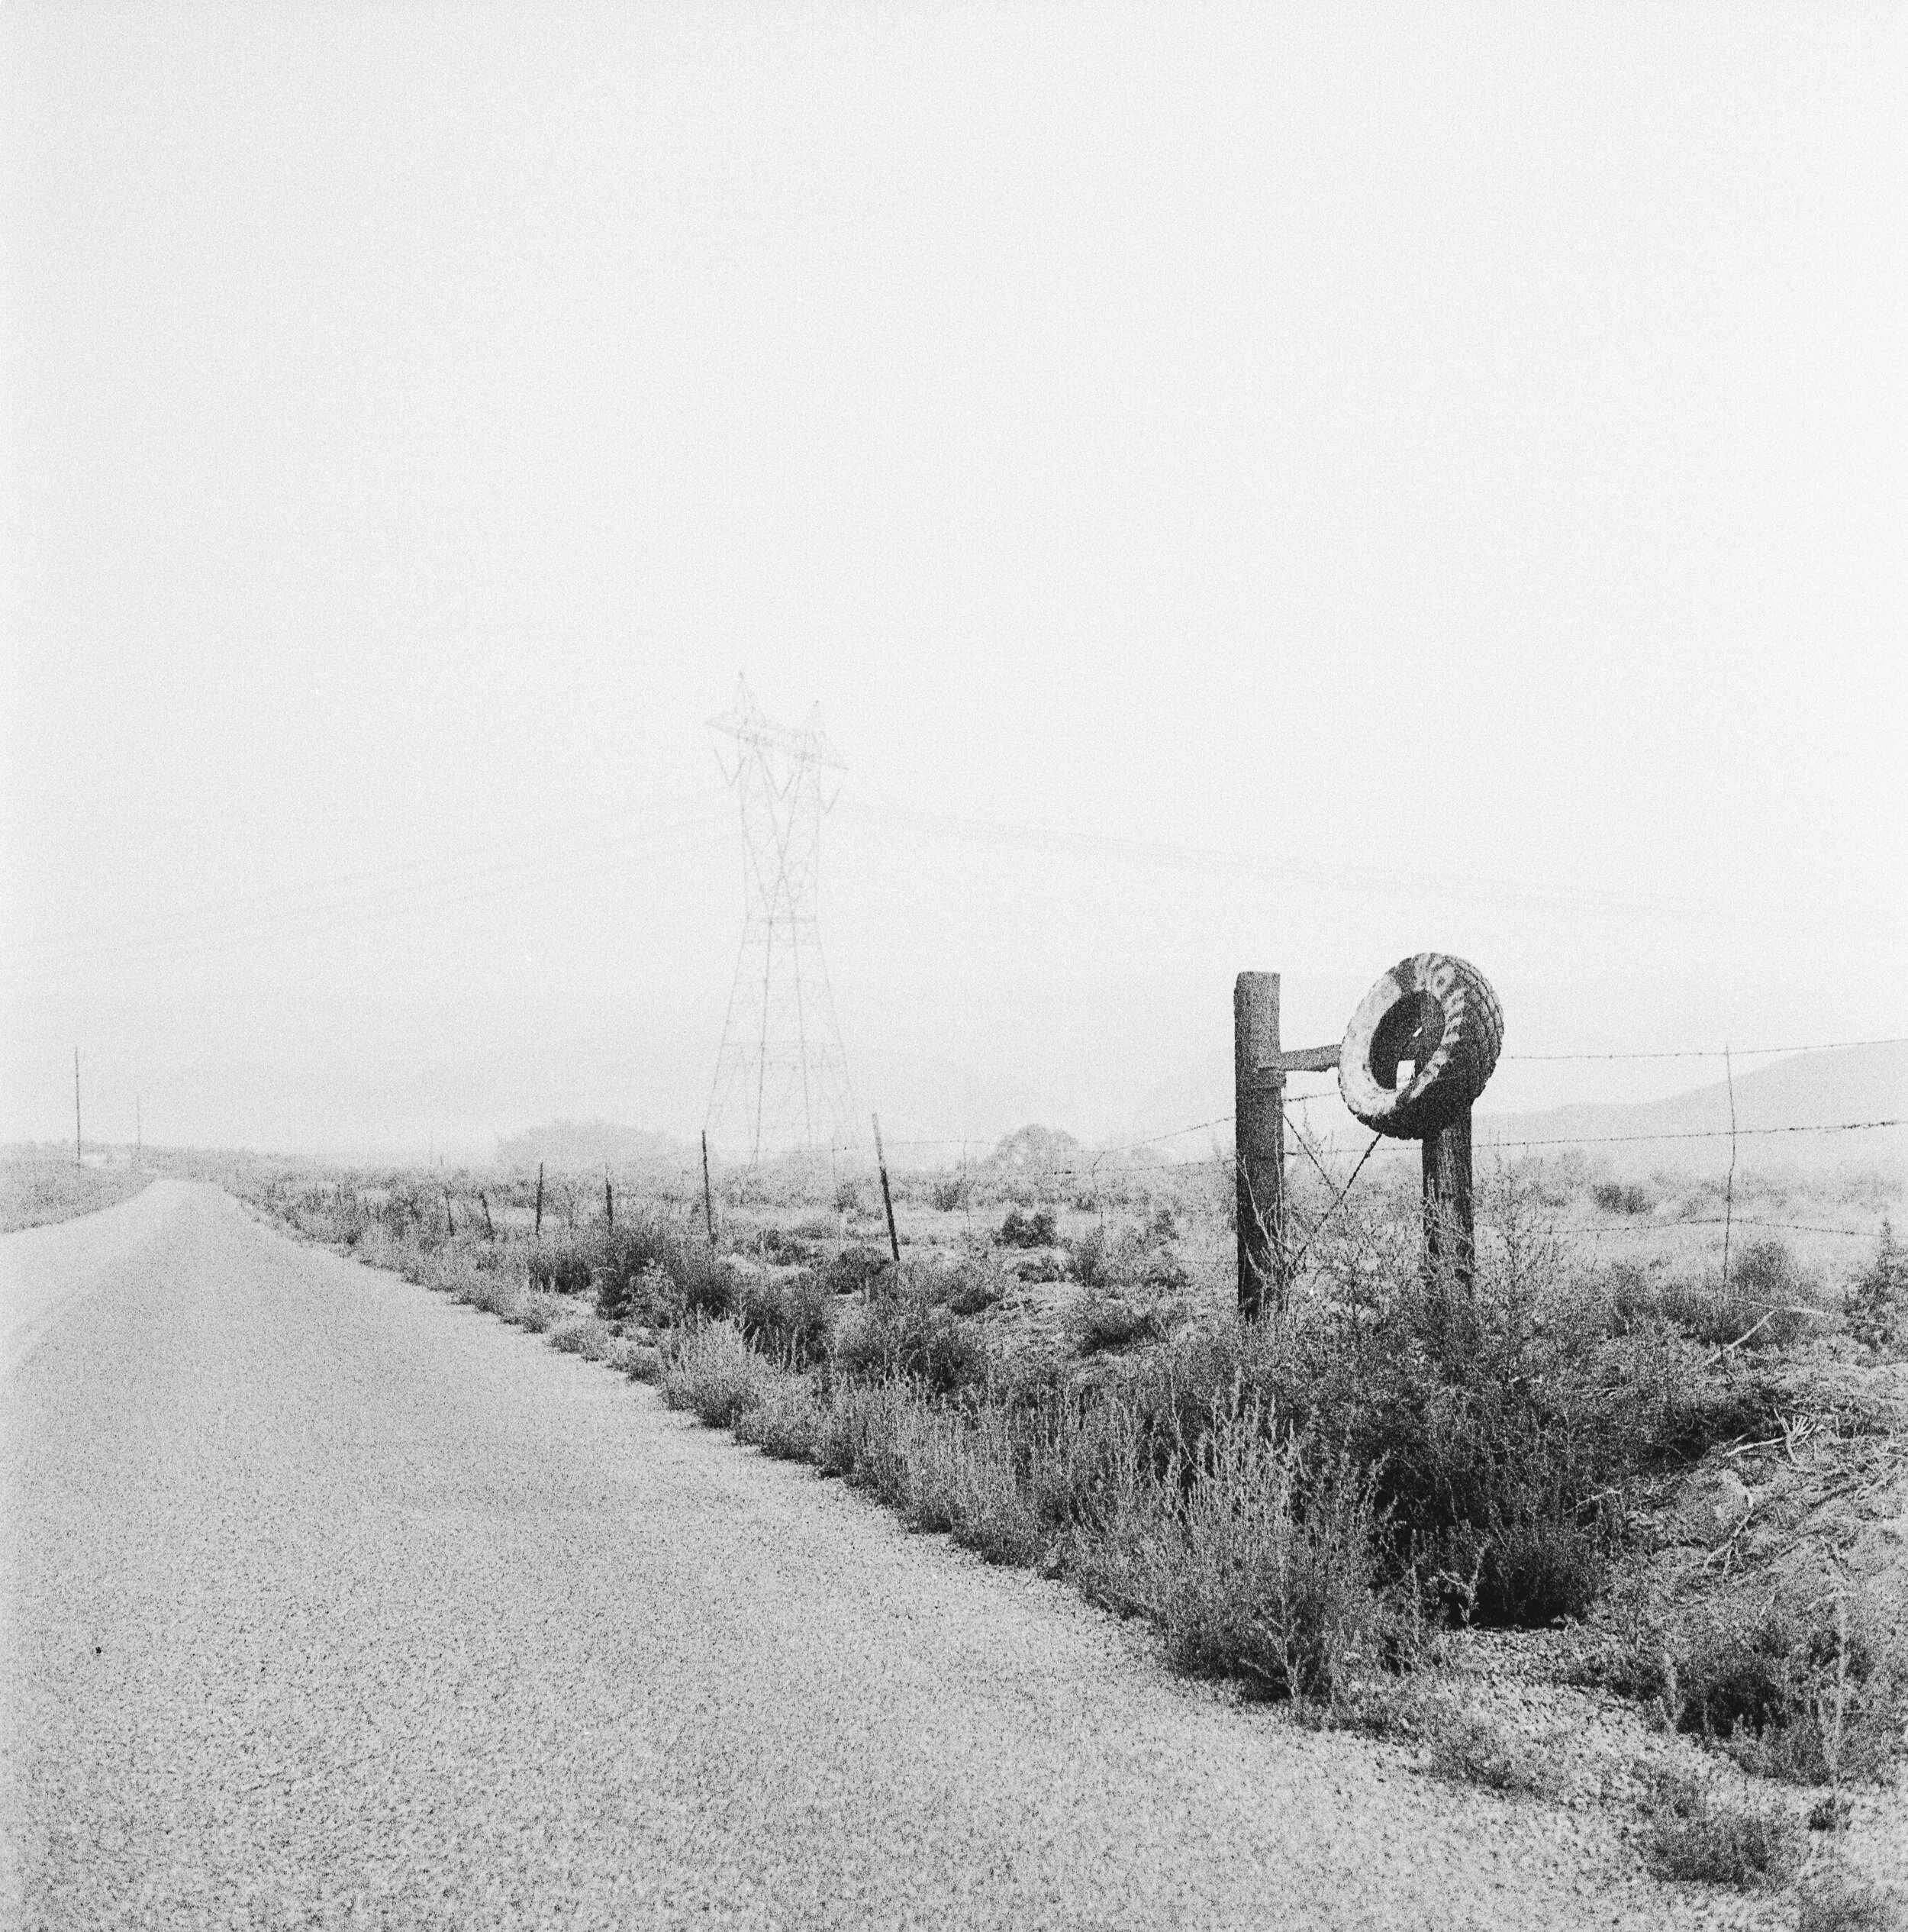
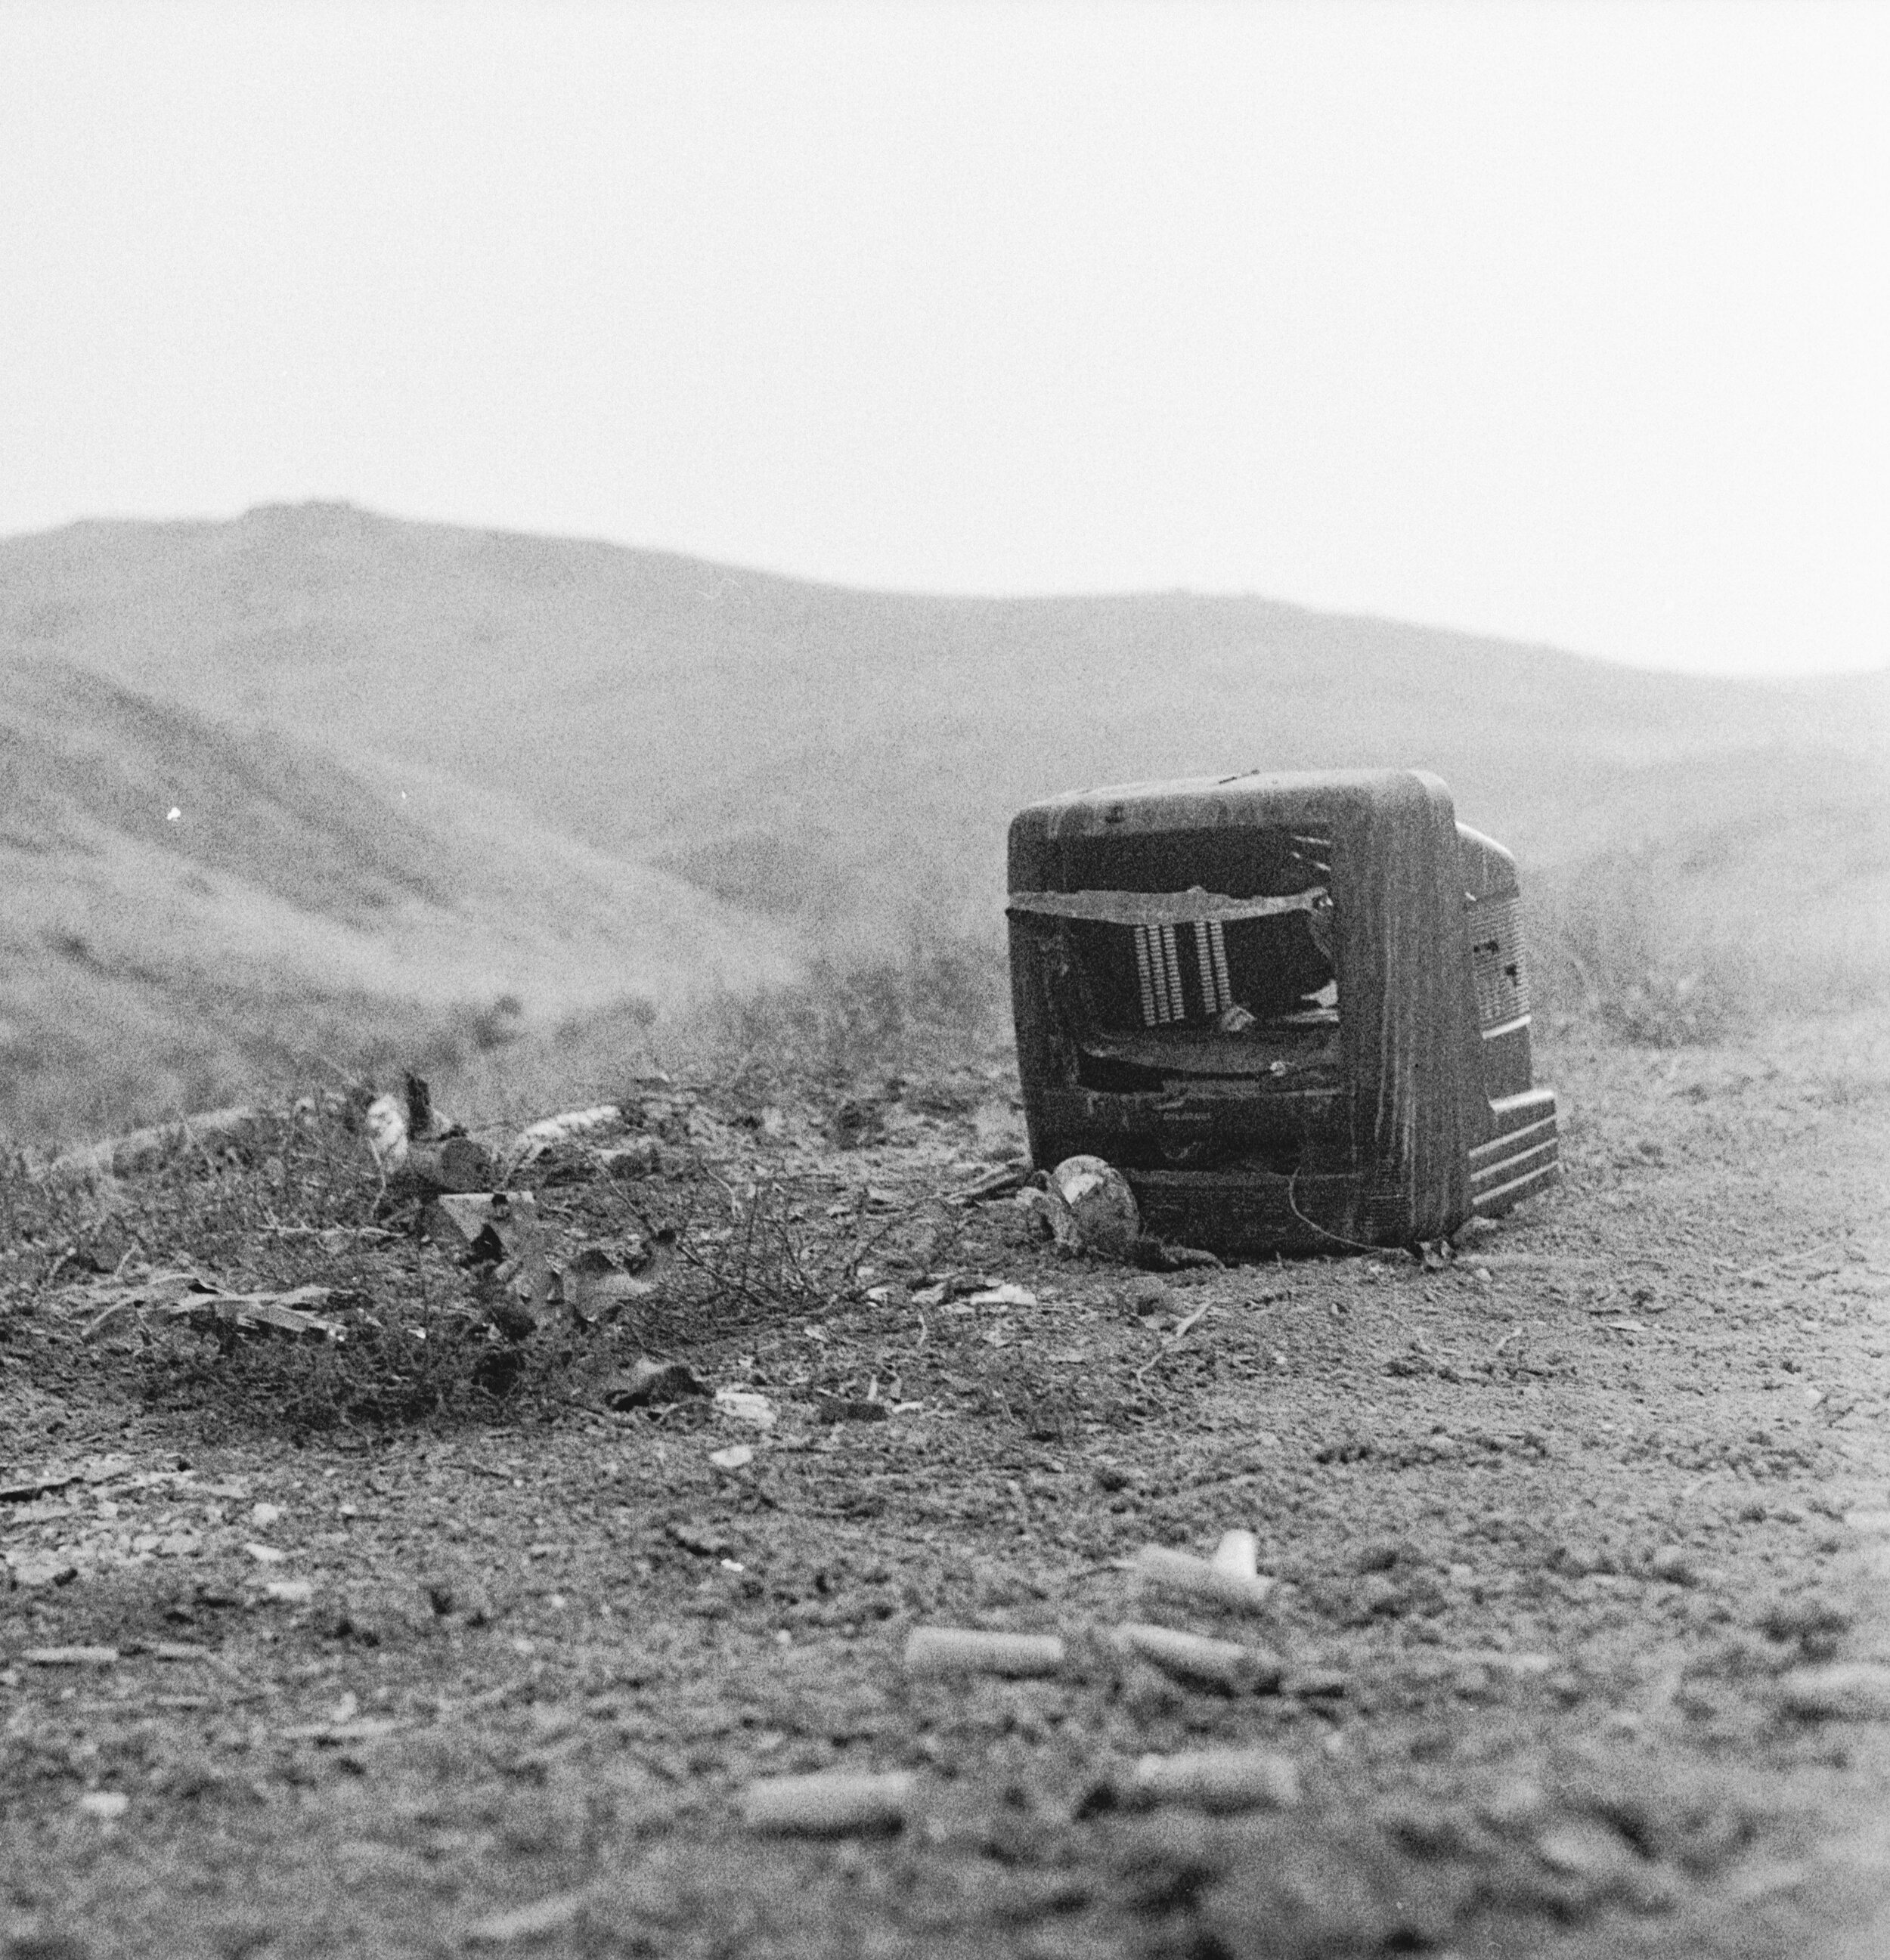
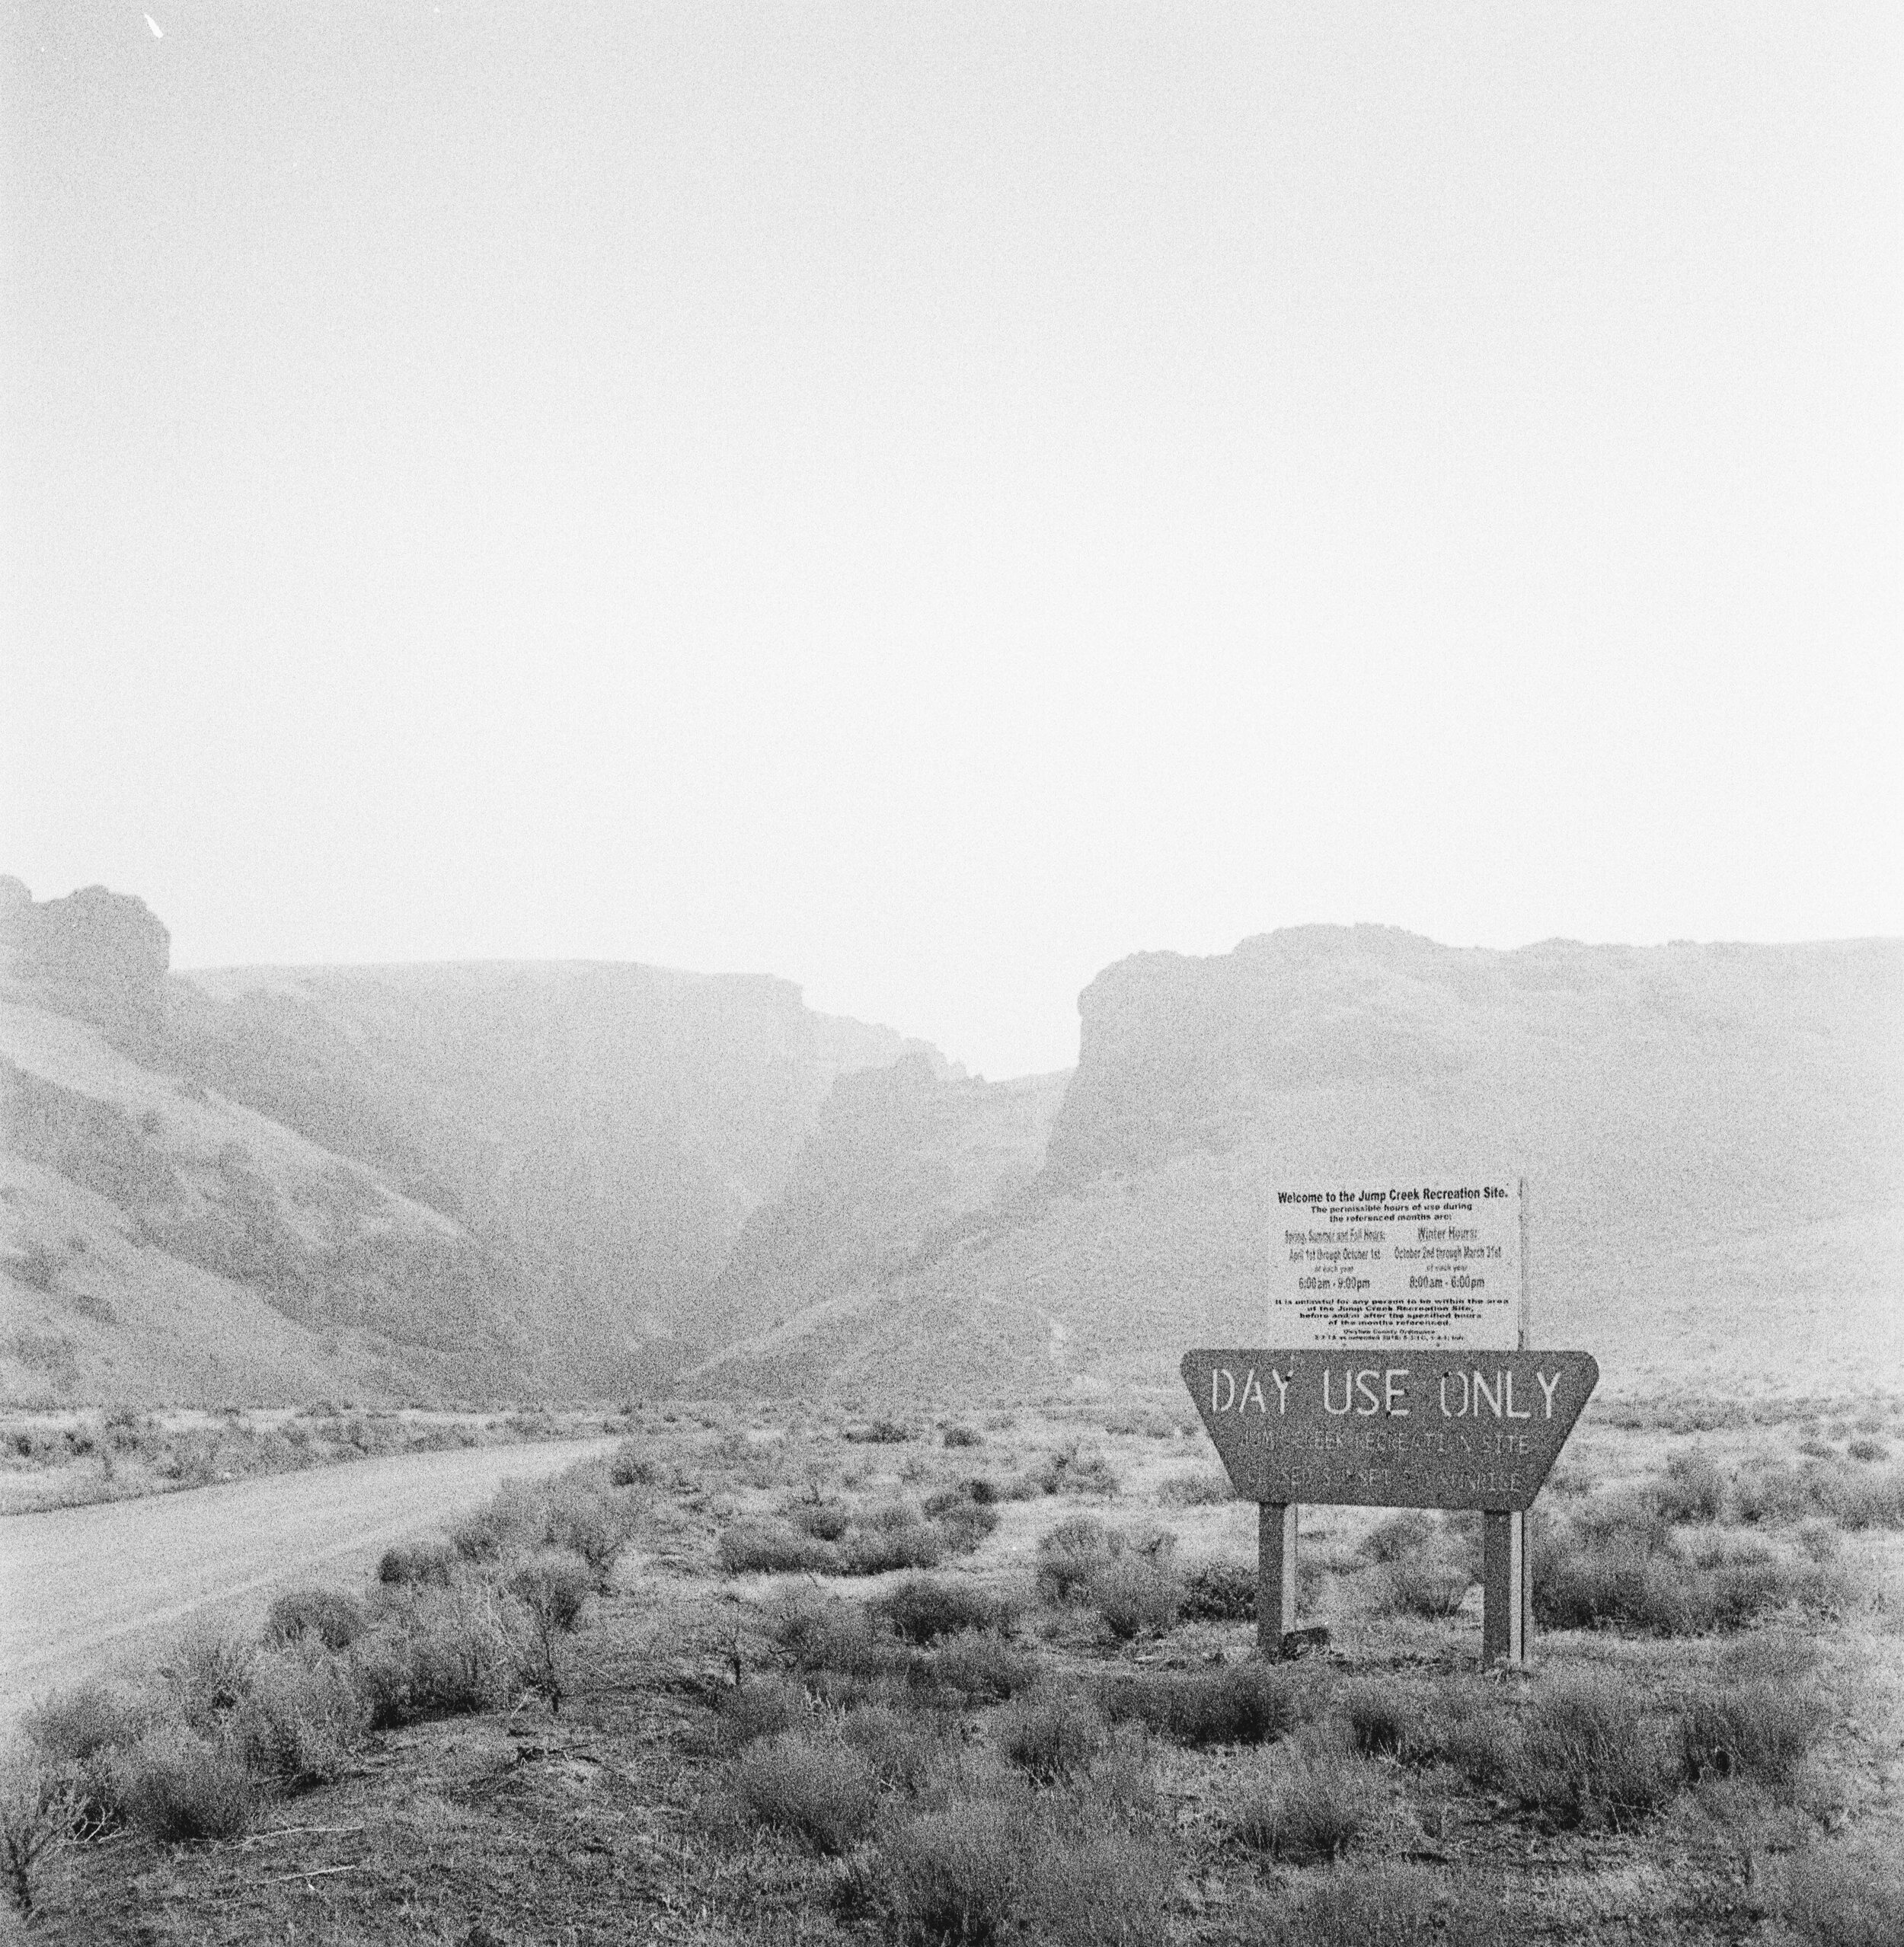
Using this process I got some really fun results as you can see below. For the contest I needed to get the images in fast so these images were shot, developed, and scanned in less than 8 hours! For me this is the fastest turnaround I have ever done which was actually really cool to experience. Not only that but I like the results enough that I will probably do it again. The grain is pronounced but sharp and there is some cool blooming with the highlight as well. Not sure I would like it that much in 35mm since all of those things would be magnified, though I’ll definitely try it out just to see.


