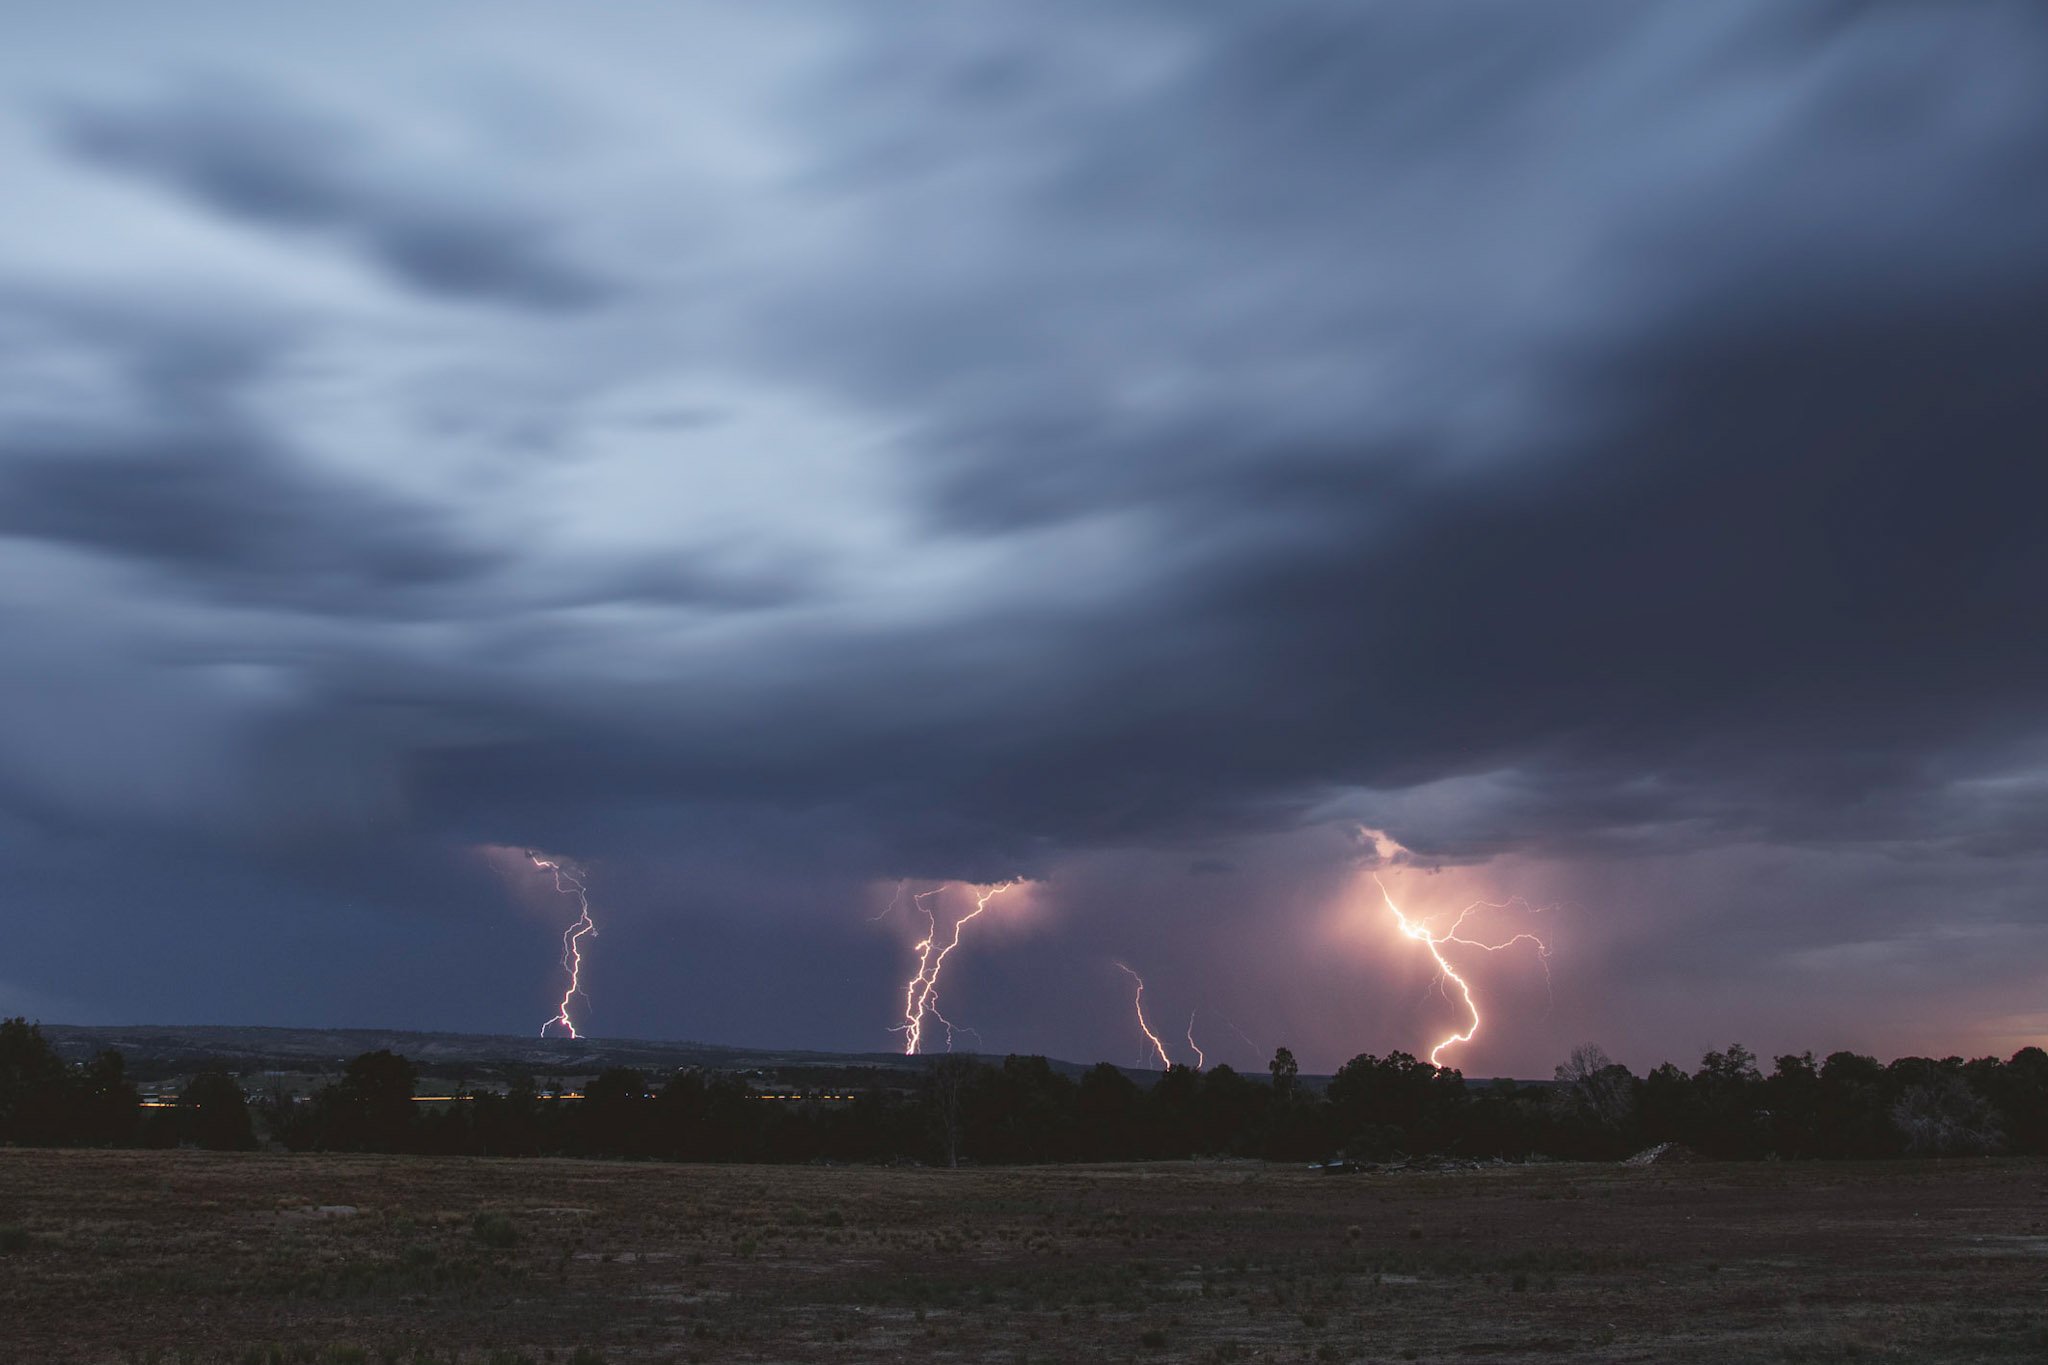
Some of the most striking images a photographer can capture are those that stop moments in time. To me one of the coolest examples of this is being able to “stop” lightning. Lightning maybe one of the fastest natural phenomena we experience and it’s impressively unpredictable, so how is it possible to get images like the one above? Well hopefully with these tips and tricks you will be on your way to creating cool lightning shots, that is if you can find a stormy of enough night…
The image above was taken from the porch of my brother’s place just outside of Norwood, CO. We were just getting back from drinking in town and made it just in time to see stikes every 1 to 2 minutes only a couple miles away. So I set up my camera and shot away. This is a composite of 4 strikes that happened in a matter of 6 minutes as the sky grew darker and the storm inched closer. Since this maybe my most “professional” looking lightning image so far I figured I’d share my experience and what I’ve learned.
What you will need:
Sturdy tripod or way of keeping the camera really steady. I’ve gotten away with propping my camera up with a heavy coat or even sitting it on a fence post or table. But a tripod is definitely the best option if you really want an easy workflow!
A camera of some kind with a manual or aperture priority mode. You can use a film or digital camera for this. Though I’d recommend digital because you will be throwing out a lot of images using this method. But, a film lightning shot would be portfolio worthy…
Intervalometer or shutter cable release. These days most cameras will have a built in intervalometer (or an interval timer, a device that measures short intervals of time for releasing the shutter). This is a really important tool to be safe as you will not need to be by your camera when images are being taken and it reduces motion blur. Again you could get away without it but it just makes life harder and the chances of a successful image slim.
A stormy night or evening with lightning. This is the place where I’m no expert - predicting weather is something I don’t deal with. Personally, when I hear lightning I just run out of the house and see what I can do. That said if there is a forecast or way to know when and where lightning will be please share it with me!
Lots of luck. As I may have subtly alluded to a couple times already, to get a great lightning shot you need to be prepared, find yourself in the right place as well as time, and literally hope something cool happens.
So How is it done?
I think there are many ways to go about making an image like the one above, but I use is what I like to call the “time lapse” method. This is where you set everything up as if you were going to make a timelapse, but your hope is that one of the X amount of photos captures a lightning strike. If you get a couple images you have an image. It’s really quite easy!
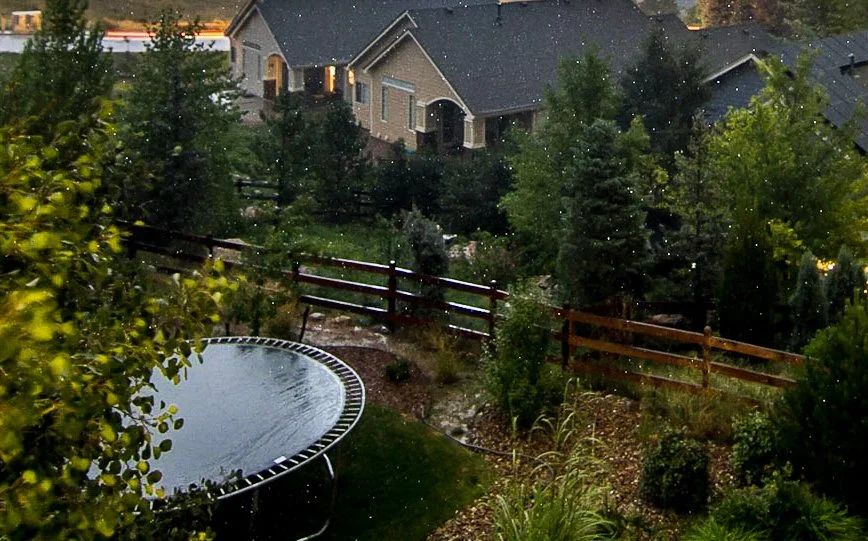
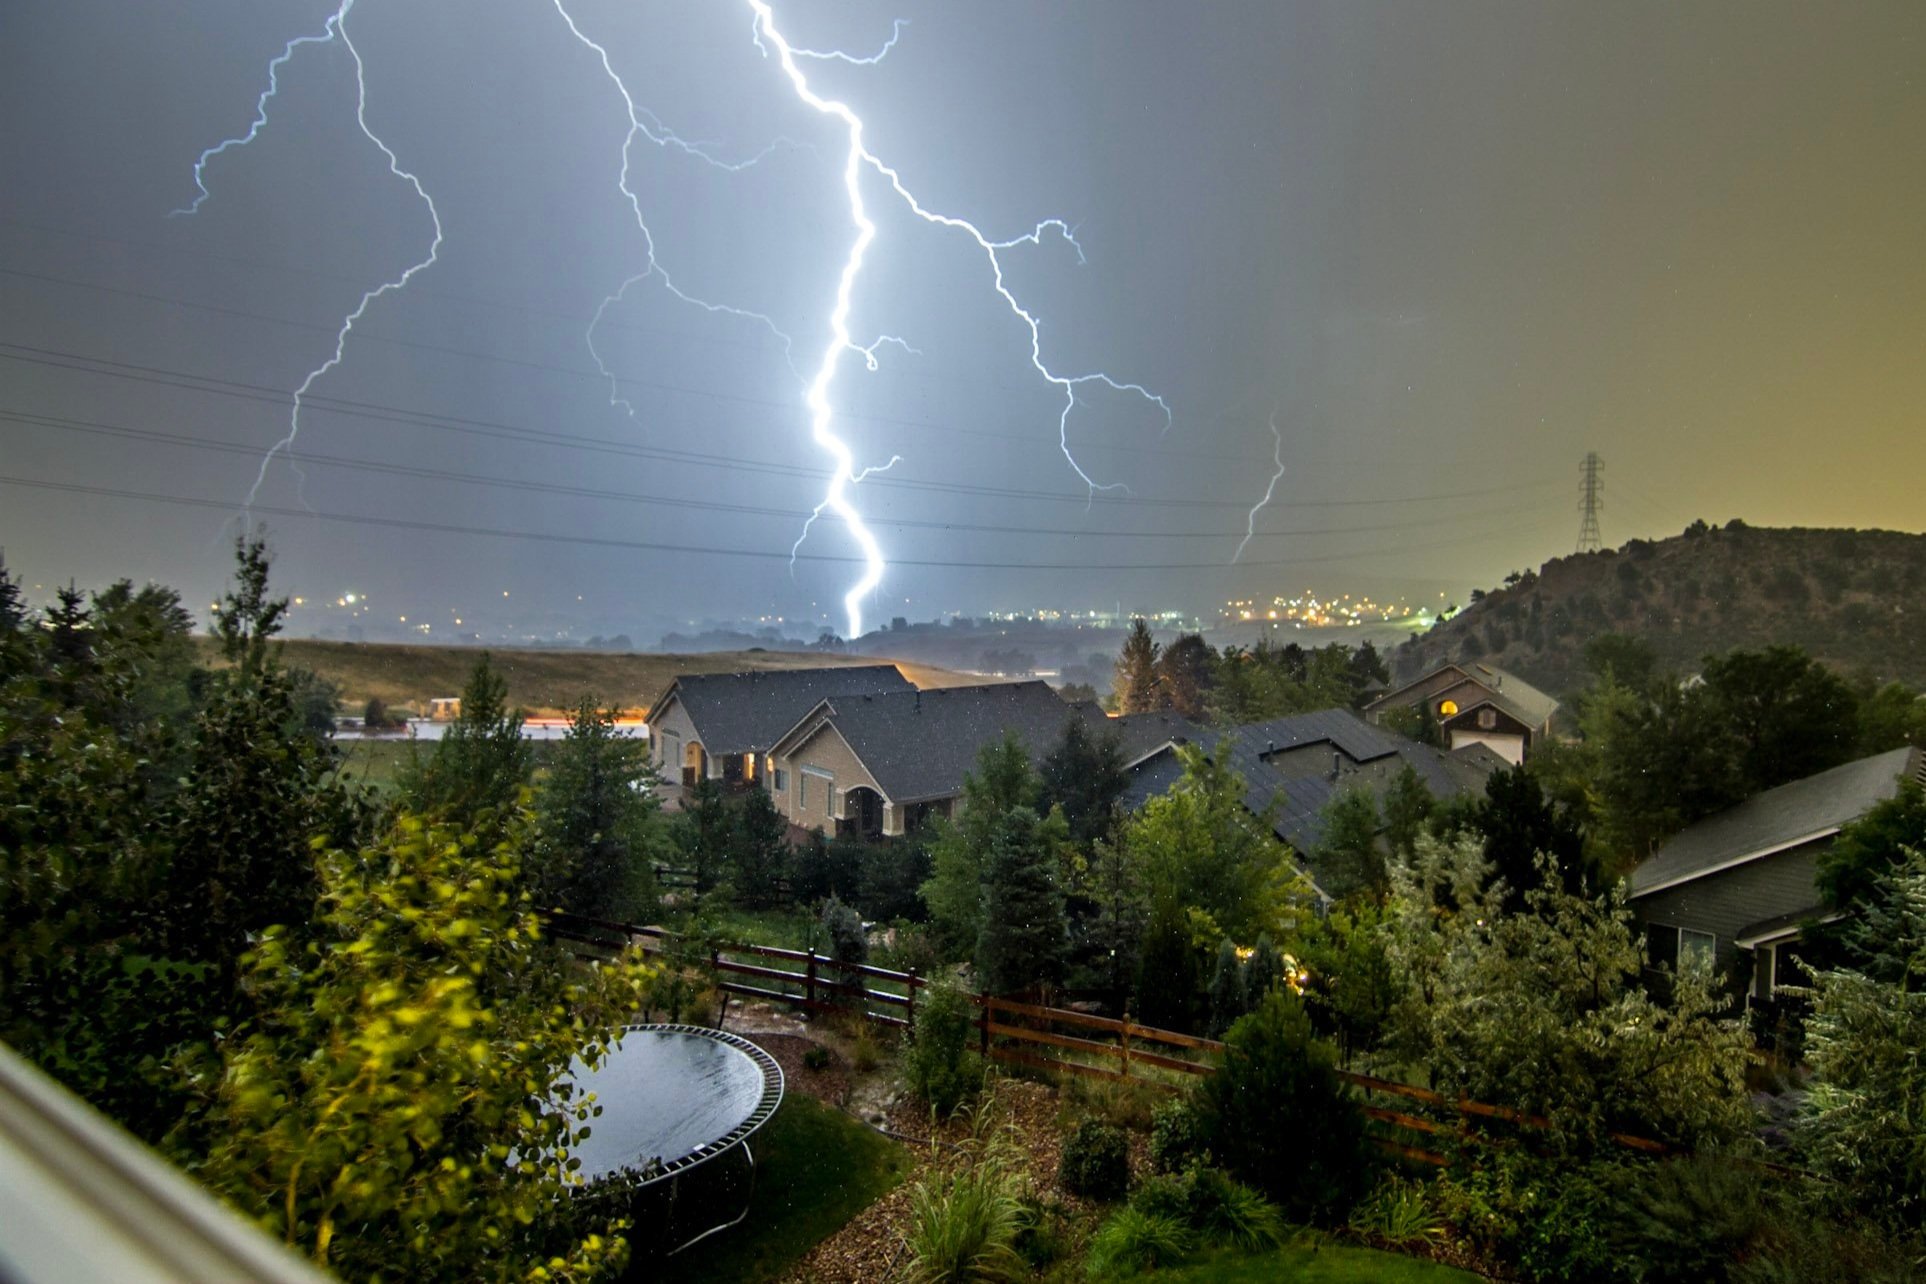
Here are my general guidelines I go through when setting up for lightning. First, find a composition that is in the direction of the most frequent strikes. I like to add a foreground element if I can but if there isn’t anything try adding more sky to the composition! After the composition is locked I will usually set my intervalometer to wait 3 seconds between each shot (enough time to clear the buffer) and use aperture priority mode. The secret sauce to getting lightning pictures is leaving your shutter open long enough for the lightning to strike. In a way you can think of the lightning as a flash going off (it actually functions like one too, left side is the original images and the right side is 100% zoom. Yes those white specks are the rain drops frozen in time, like a flask would), it is only an instant but it is bright enough to light the whole composition on its own!
To achieve this I will set my ISO and aperture so that the shutter stays open for longer than 3 seconds at a time. Your enemy now is overexposing the image as lightning gives off a lot of light. To prevent this I set the exposure compensation to -1 or -2 stops to make sure the lightning doesn’t overexpose the entire image. Also if lightning strikes more frequently then once during the time the shutter is open you can cover the lens (with your hand or a dark card) after the first strike so as to not double expose the frame. This is all trial and error for the most part so review your images every so often to make adjustments as needed. Missing one or two strikes is worth it to not get a memory card full of over exposed or out of focus images!
Once you’re dialed just shoot away. It can sometimes be hard to not change the composition a million times. But just point it in the general direction of the most frequent strikes and just be patient. I’ve lost more images by adjusting the camera then any other way. Another thing to think about is the ambient light. There is definitely a sweet spot between it being too light to see the stikes or too dark that only the strike itself is recorded. Again just trust something will happen and it probably will!
A note about SAFETY
There really is no way to be safe when taking lightning images as it is never advisable to be out in a storm with lightning. If you see lightning or hear thunder and there are no safe structures around find a low area away from trees or metallic objects. Stay there until thunder is 30 minutes apart. To take these images safely you have two options, take them out of a window in a safe structure (can still be a bad idea in general) or be far away from the lightning storm. DO NOT take these images if the storm is near or above you! It is also a good idea to always be with another person, make sure you are separated enough so that in the case of a strike one may help the other.
Tips and Tricks:
Take that strap off your camera! This may sound scary, but given lightning only happens when it’s storming you really don’t want your foreground to be blurry due to the strap cating the wind and shaking the camera. Use the locking function on your tripod head and just be careful!
Have a full battery. It’s not like a storm last long enough to drain all the way through a battery (at least not usually) but the worst thing to have happen is that a battery dies and you have no camera at all. If you only have a partial charge only shoot when the light is good or when the frequency of stikes increases.
Be patient hope for the best. It can be quite defeating when you sit around for hours, take 200 pictures, and non are good. But if you don’t get out and try then you will never get an image worth having!
Have an empty or spare memory card. You will be taking a lot of images when shooting lightning so make sure you have the space. It would be a bummer if you have to chimp pictures and miss the best strikes.
Be safe! Always error on the side of caution. Live to shoot another day!


