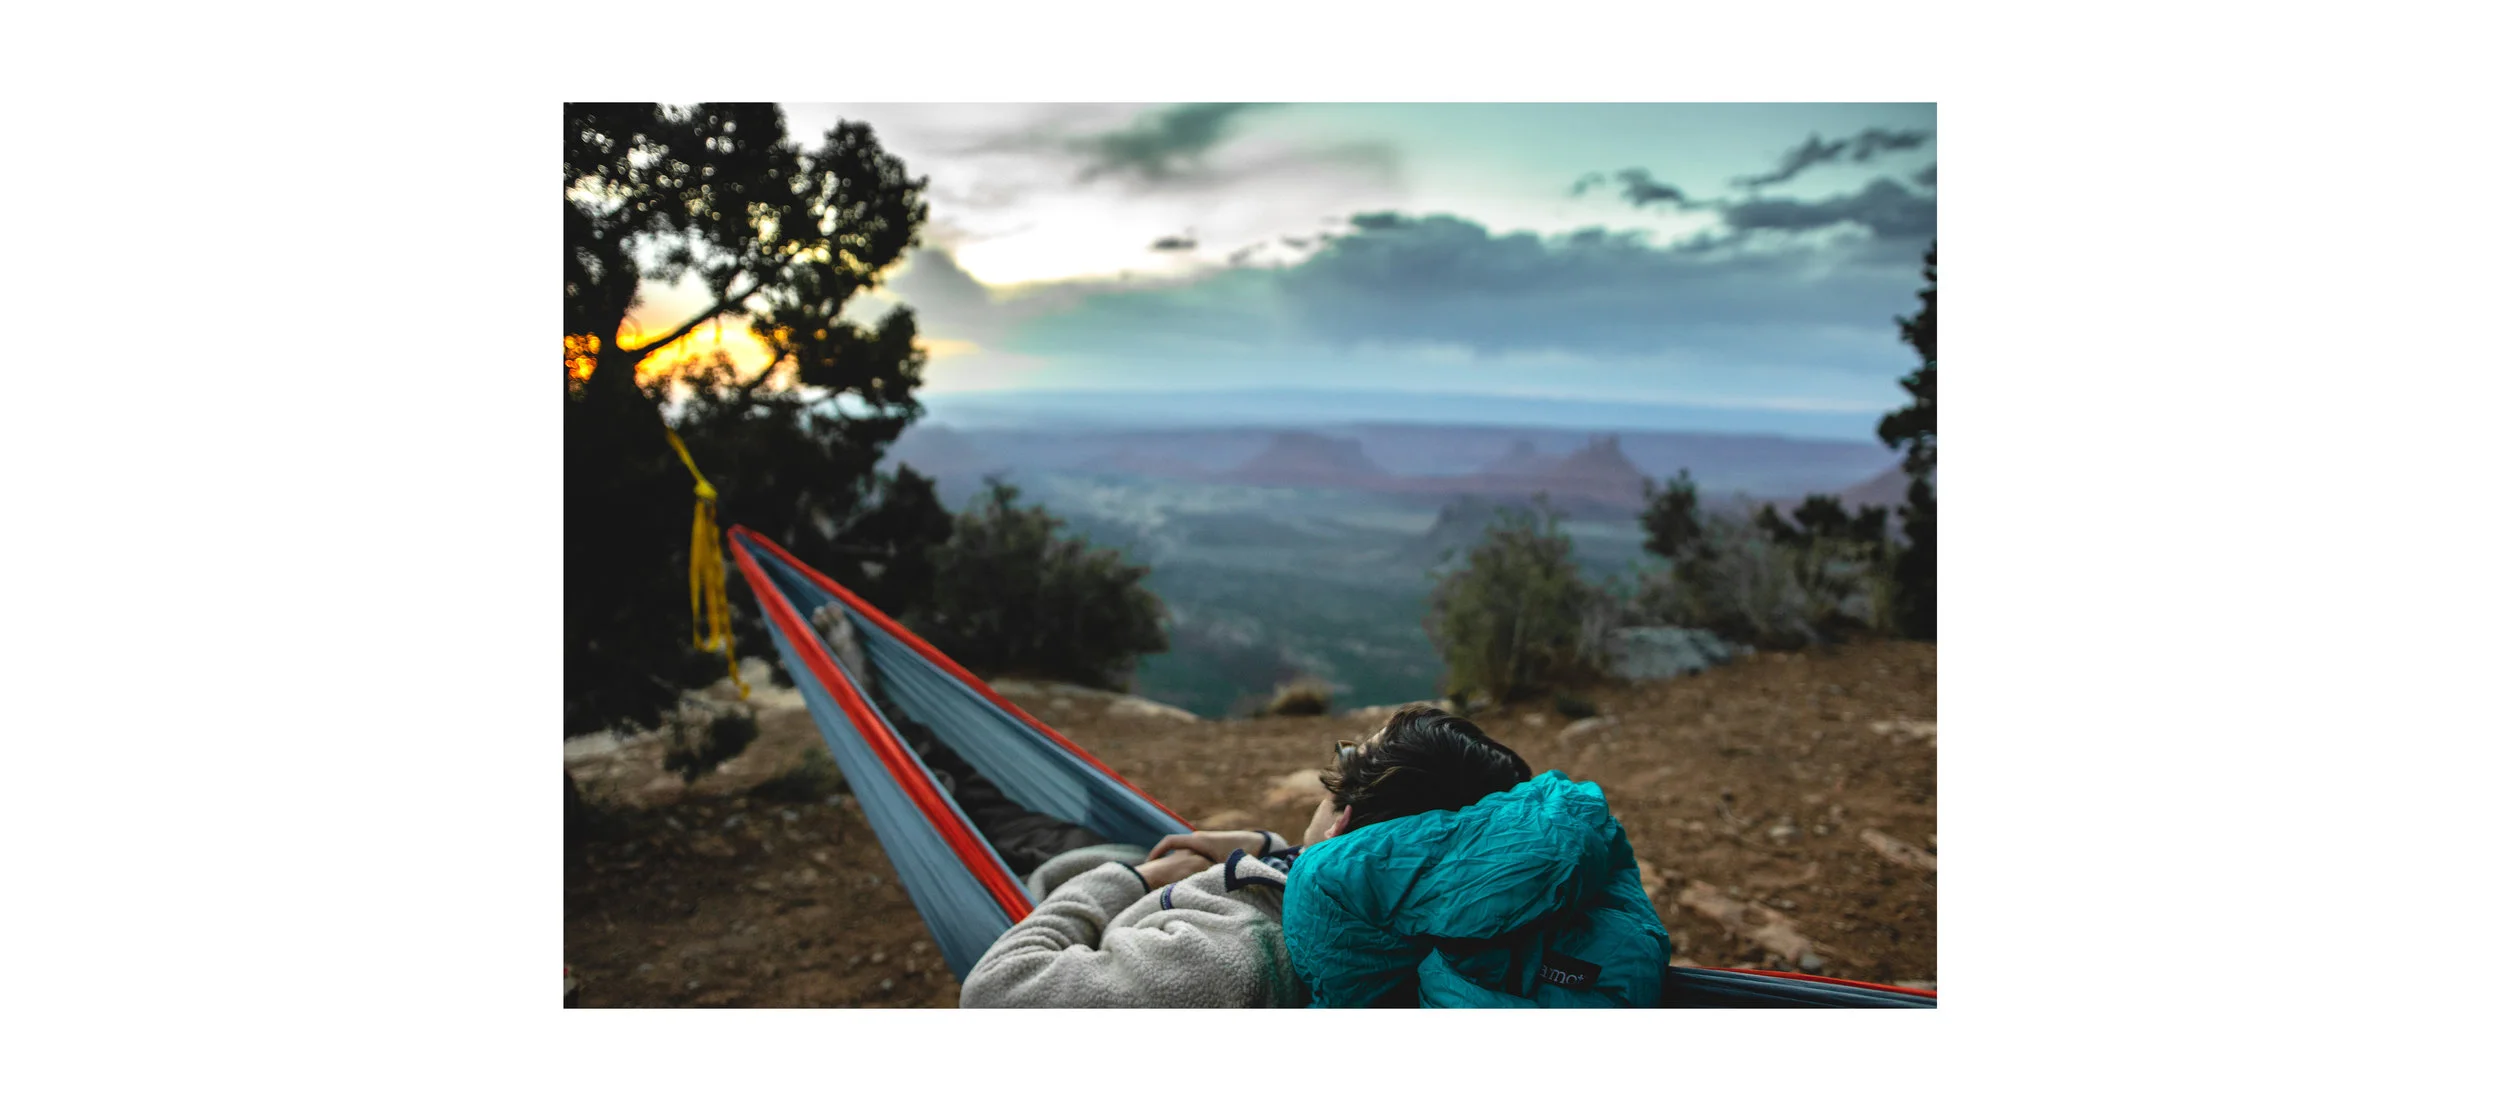
For this blog I'm going to step you through the way I edit all of my images. Just because you follow these directions doesn't mean you will get images like mine but it will get you on the way to creating your own style. I'd like to claim the most important thing to do in photography after learning to shoot in manual is learning how to edit to your own style.
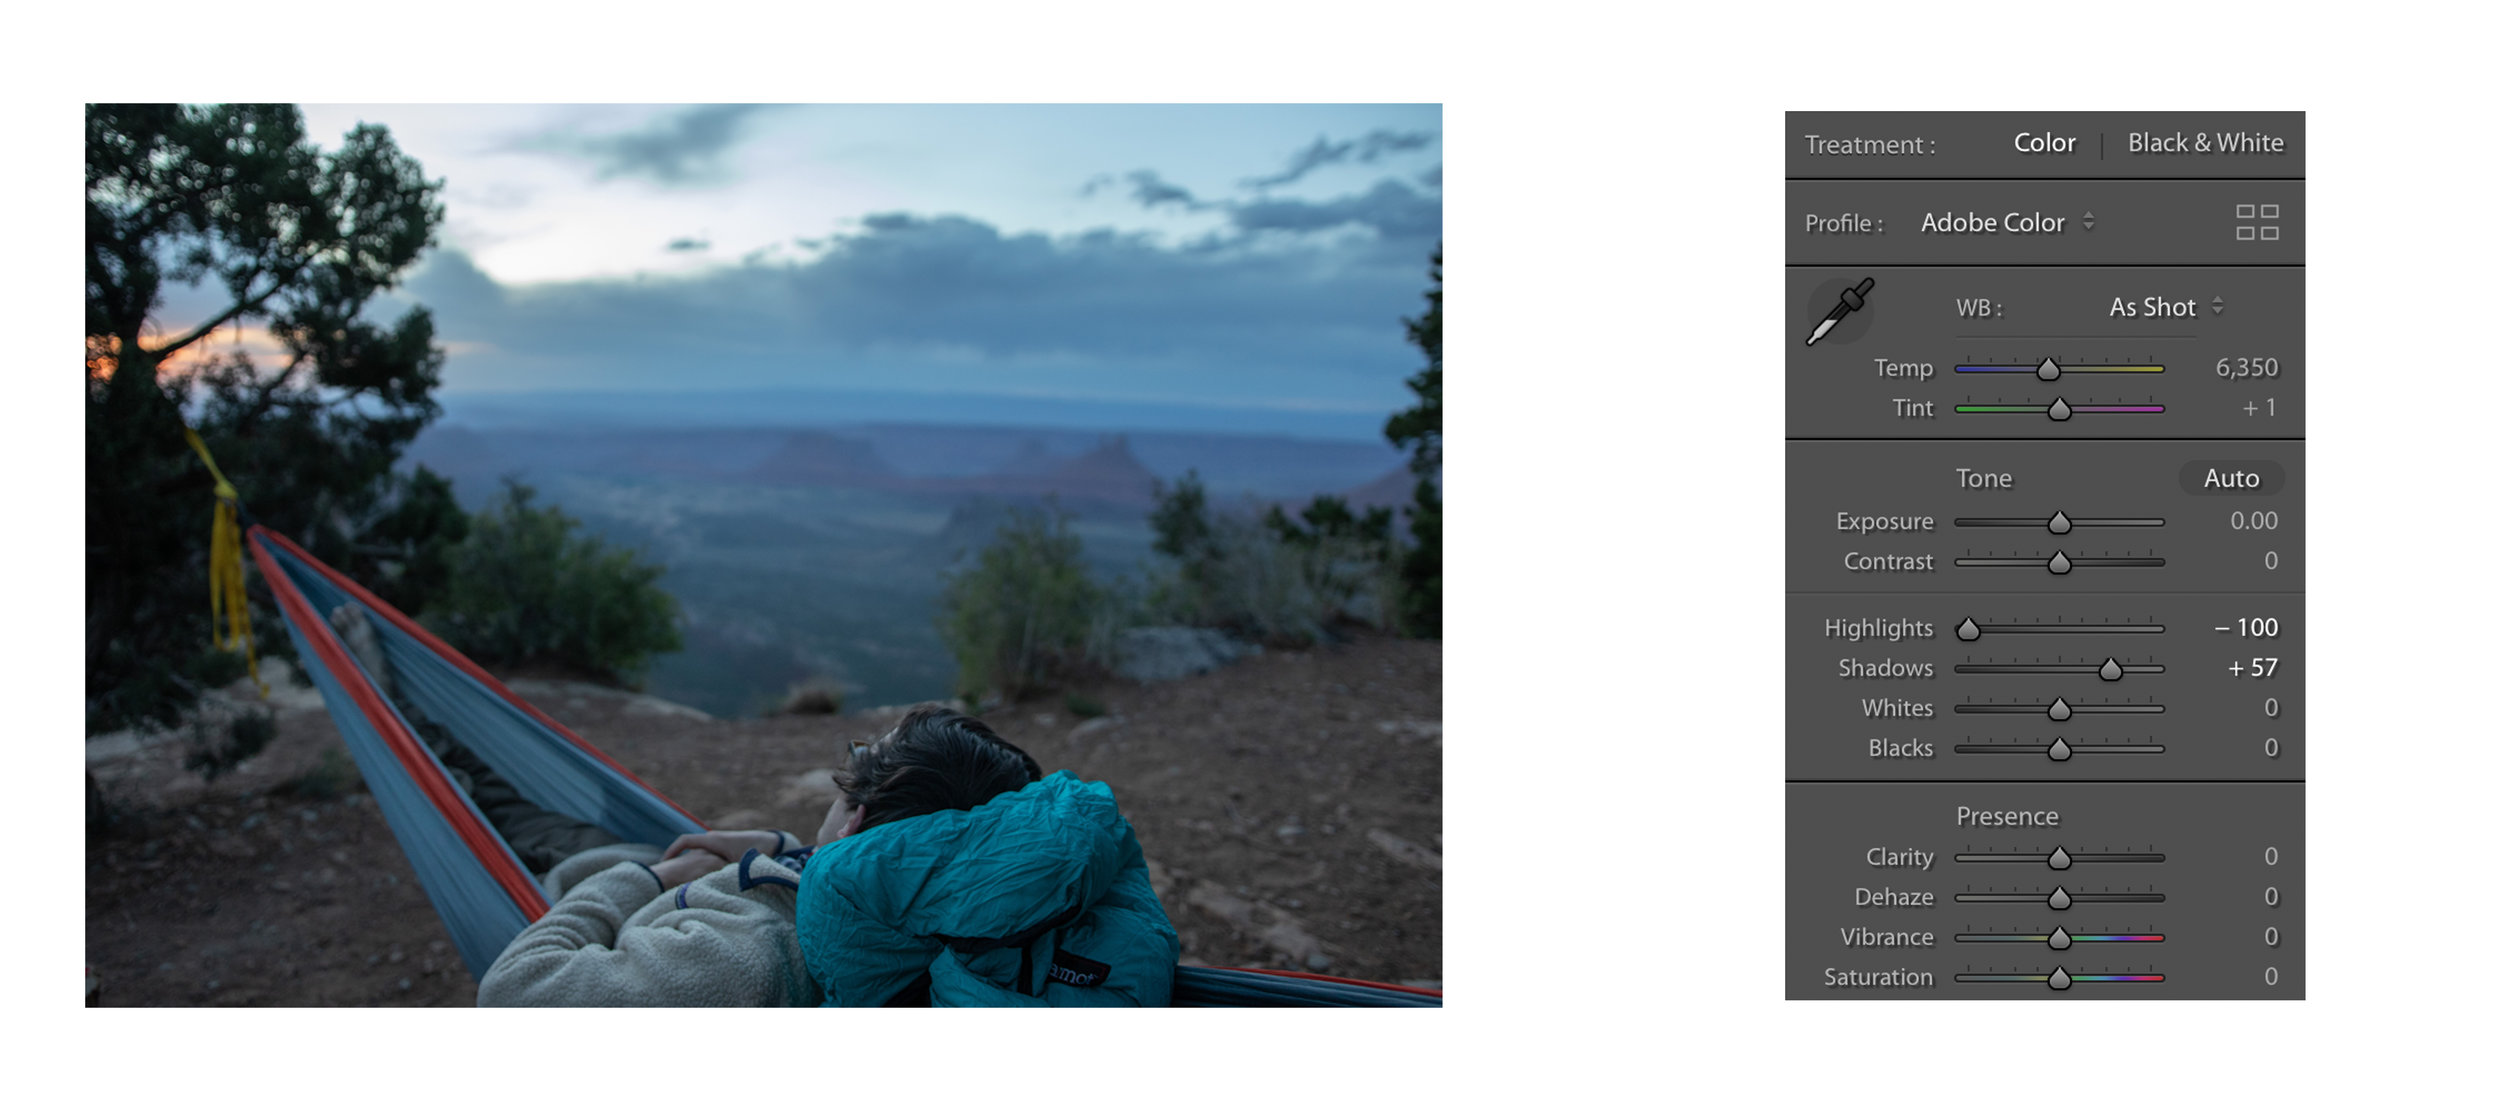
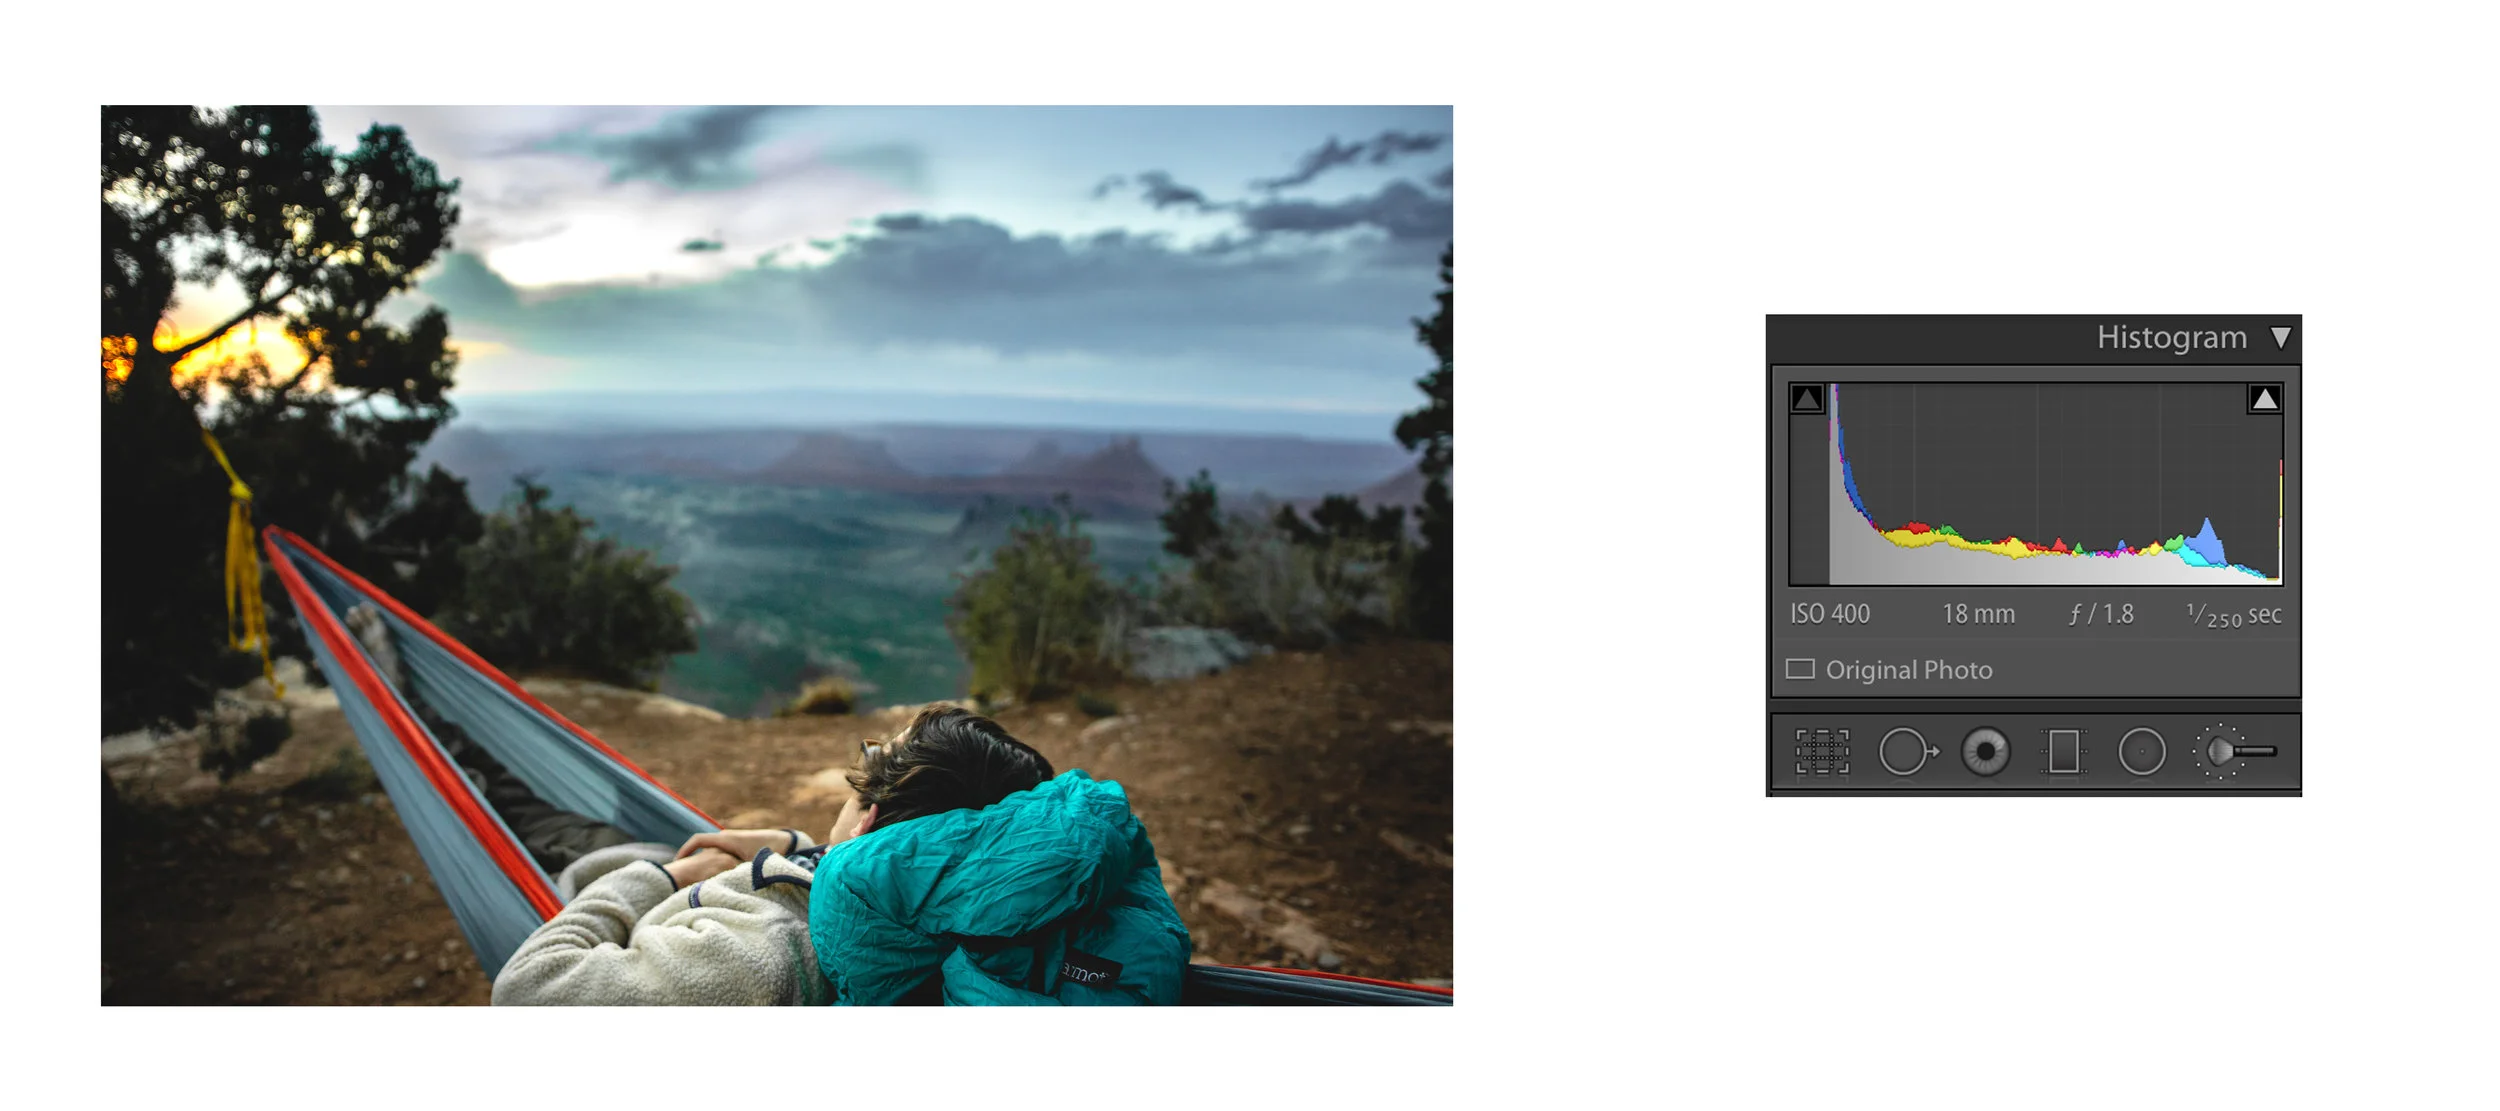
1. Check your histogram: The first thing that I do is check my histogram to see if I need to change the exposure. At this point I also flatten the image by lowering the highlights and bring the shadows up, this gives you the most flexibility when editing but don't over do it.
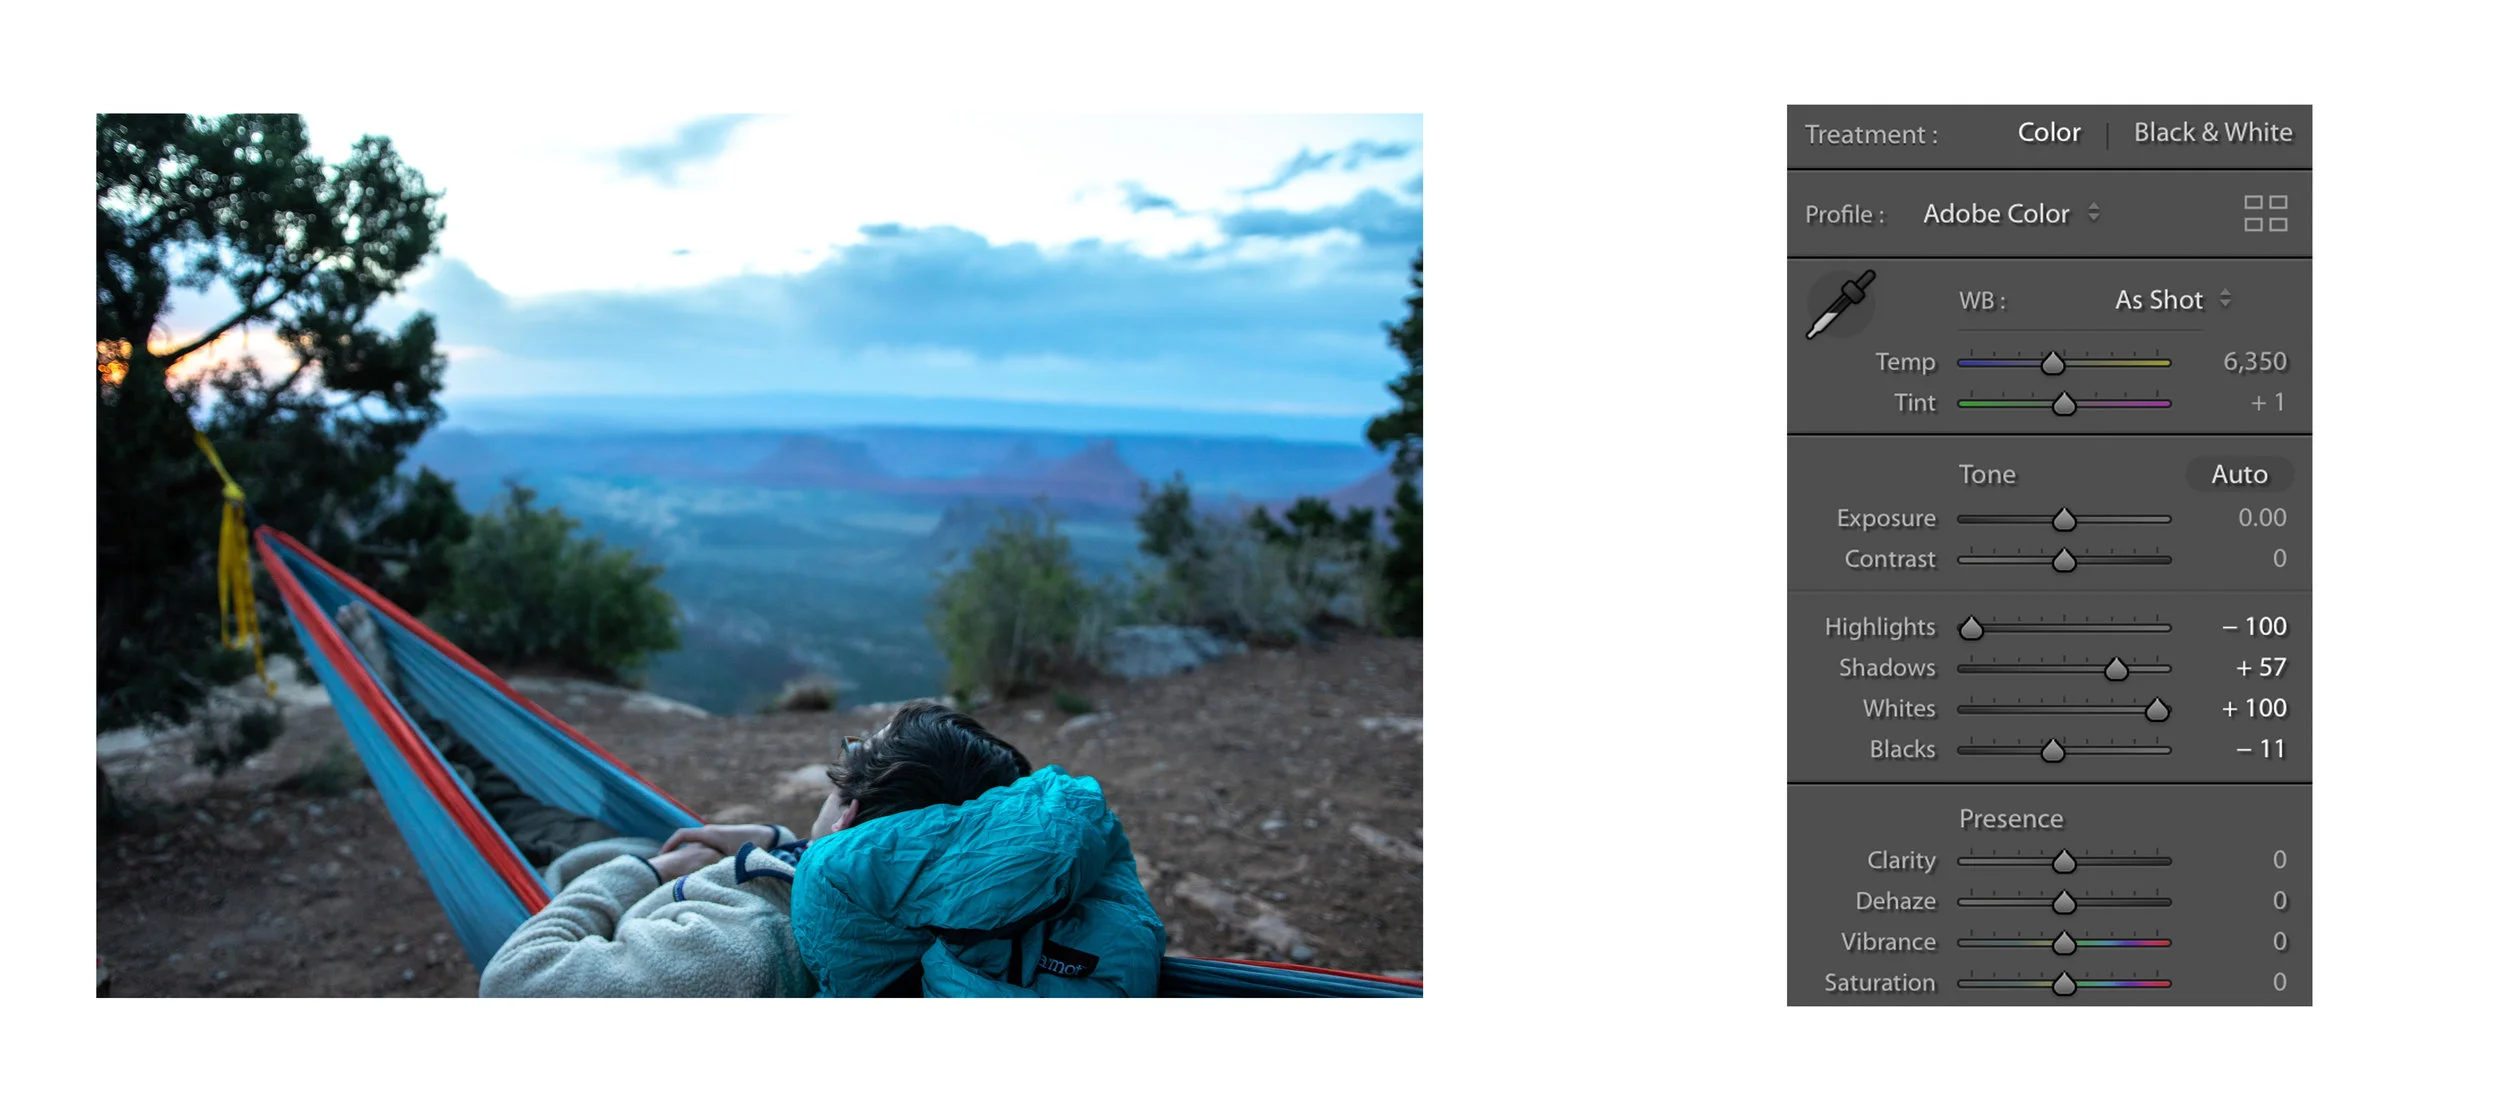
2. Get your true whites and blacks: While holding command or control and moving the white slider your screen will turn white and as you increase the whites black spots will start to appear. These spots tell you where you are clipping the highlights (true white) so I bring the whites up until I just start to see the dots appear. The same thing can be done when lowering the black. I find this is the best way to get natural contrast. This is also the time to add clarity or dehaze if needed, both will slightly alter saturation which is the next step.
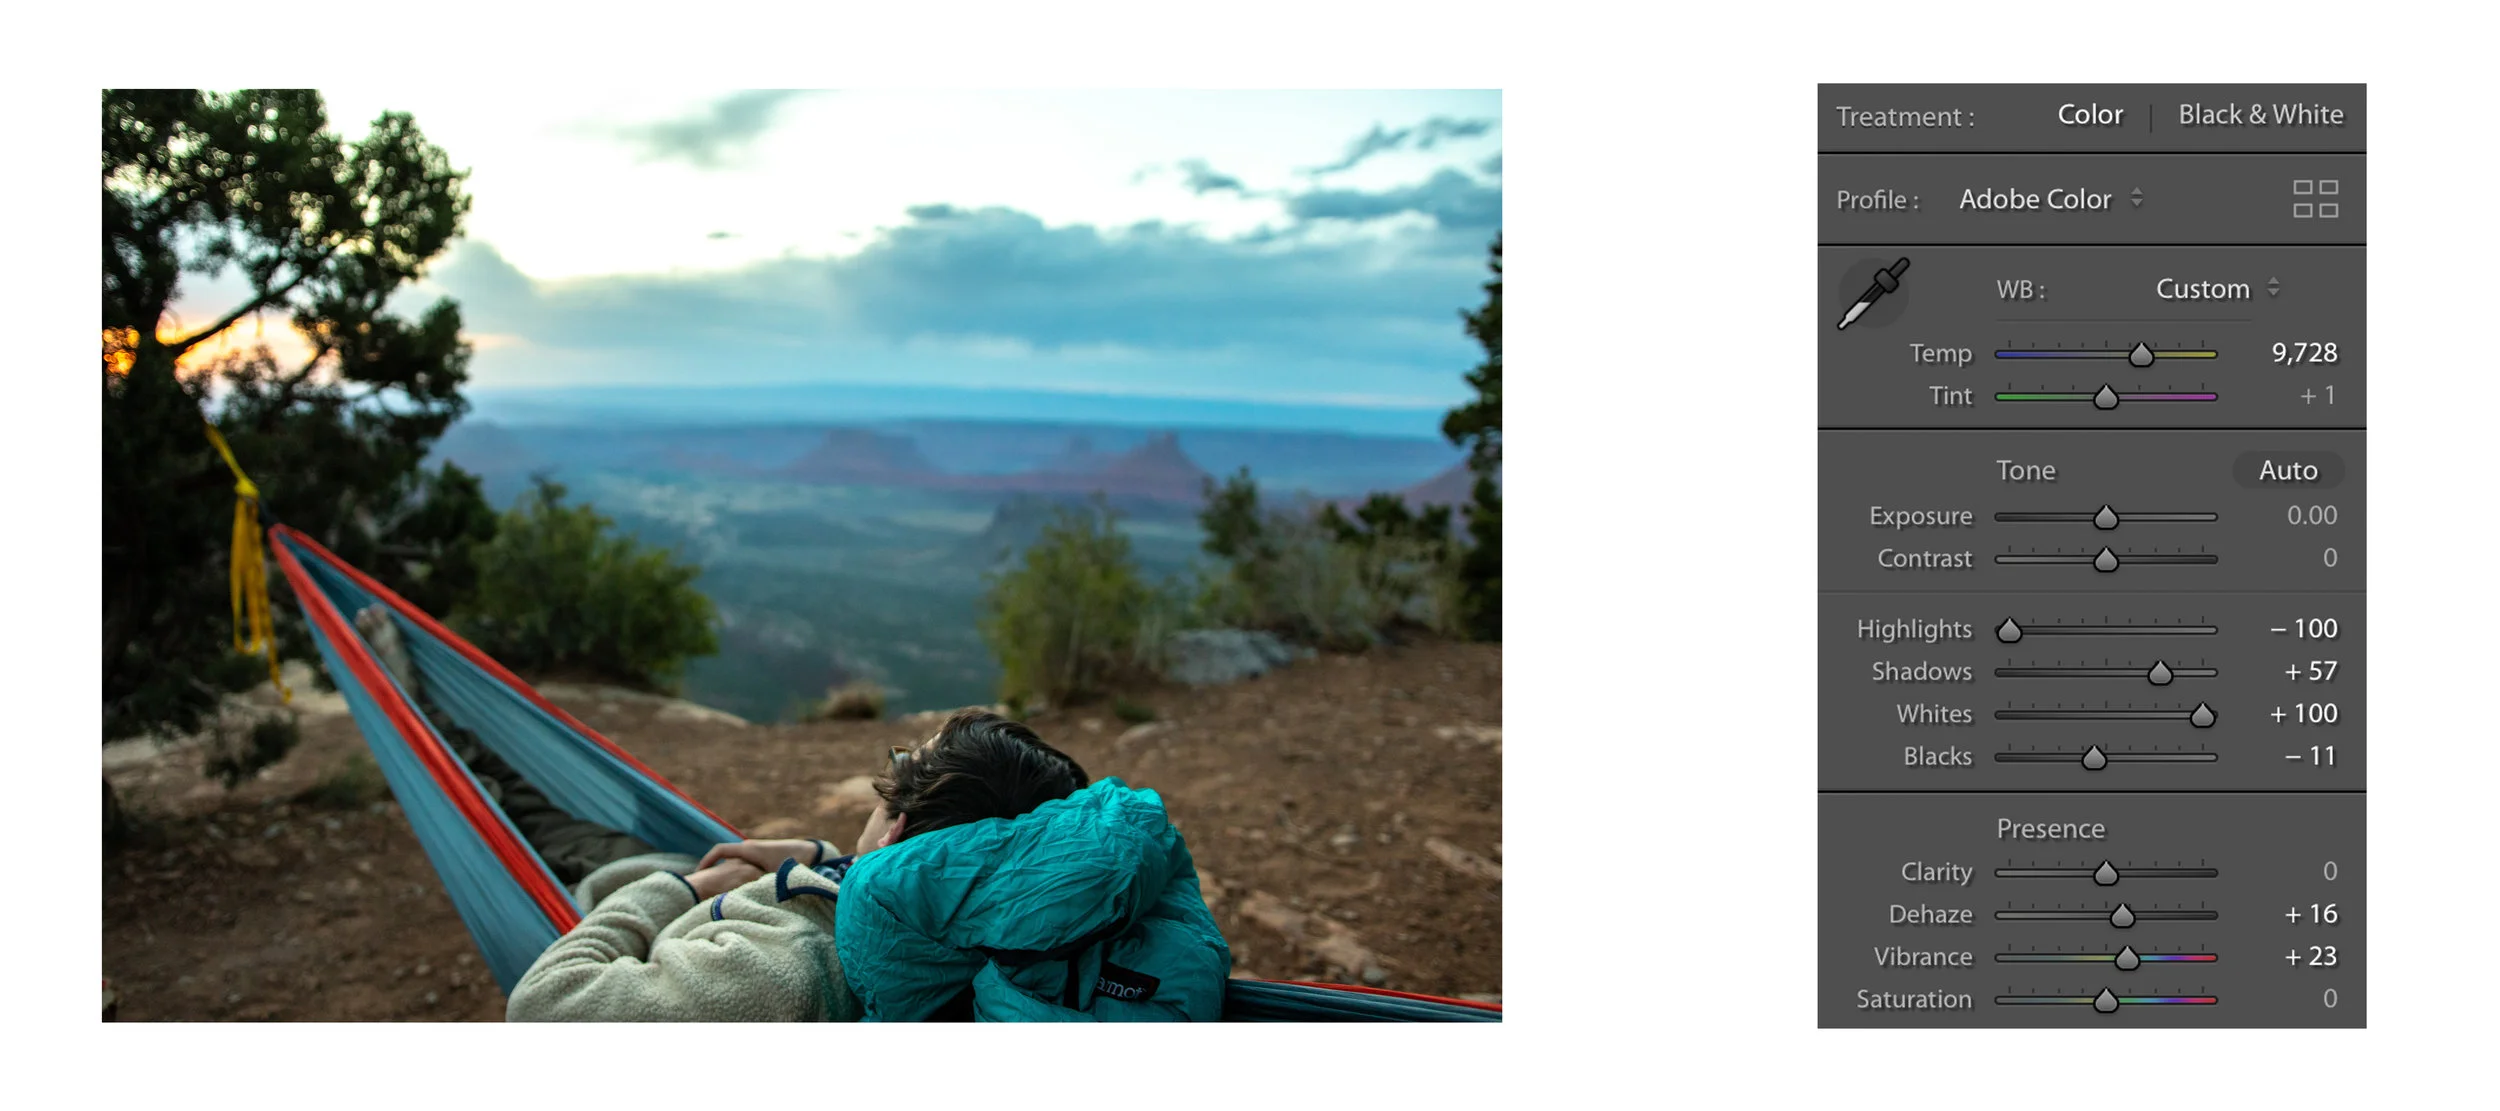
3. Change color saturation and temperature: After the whites and blacks are adjusted you usually get a boost in saturation making color shift more evident. There's no prescription for this I simply just change the color temperature till I like it. If there still isn't enough color you have the choice between saturation (increases all color channels) or vibrance (increases subtle colors, leaving already saturated colors alone), I nearly always use just a little vibrance with my 7D MK II.
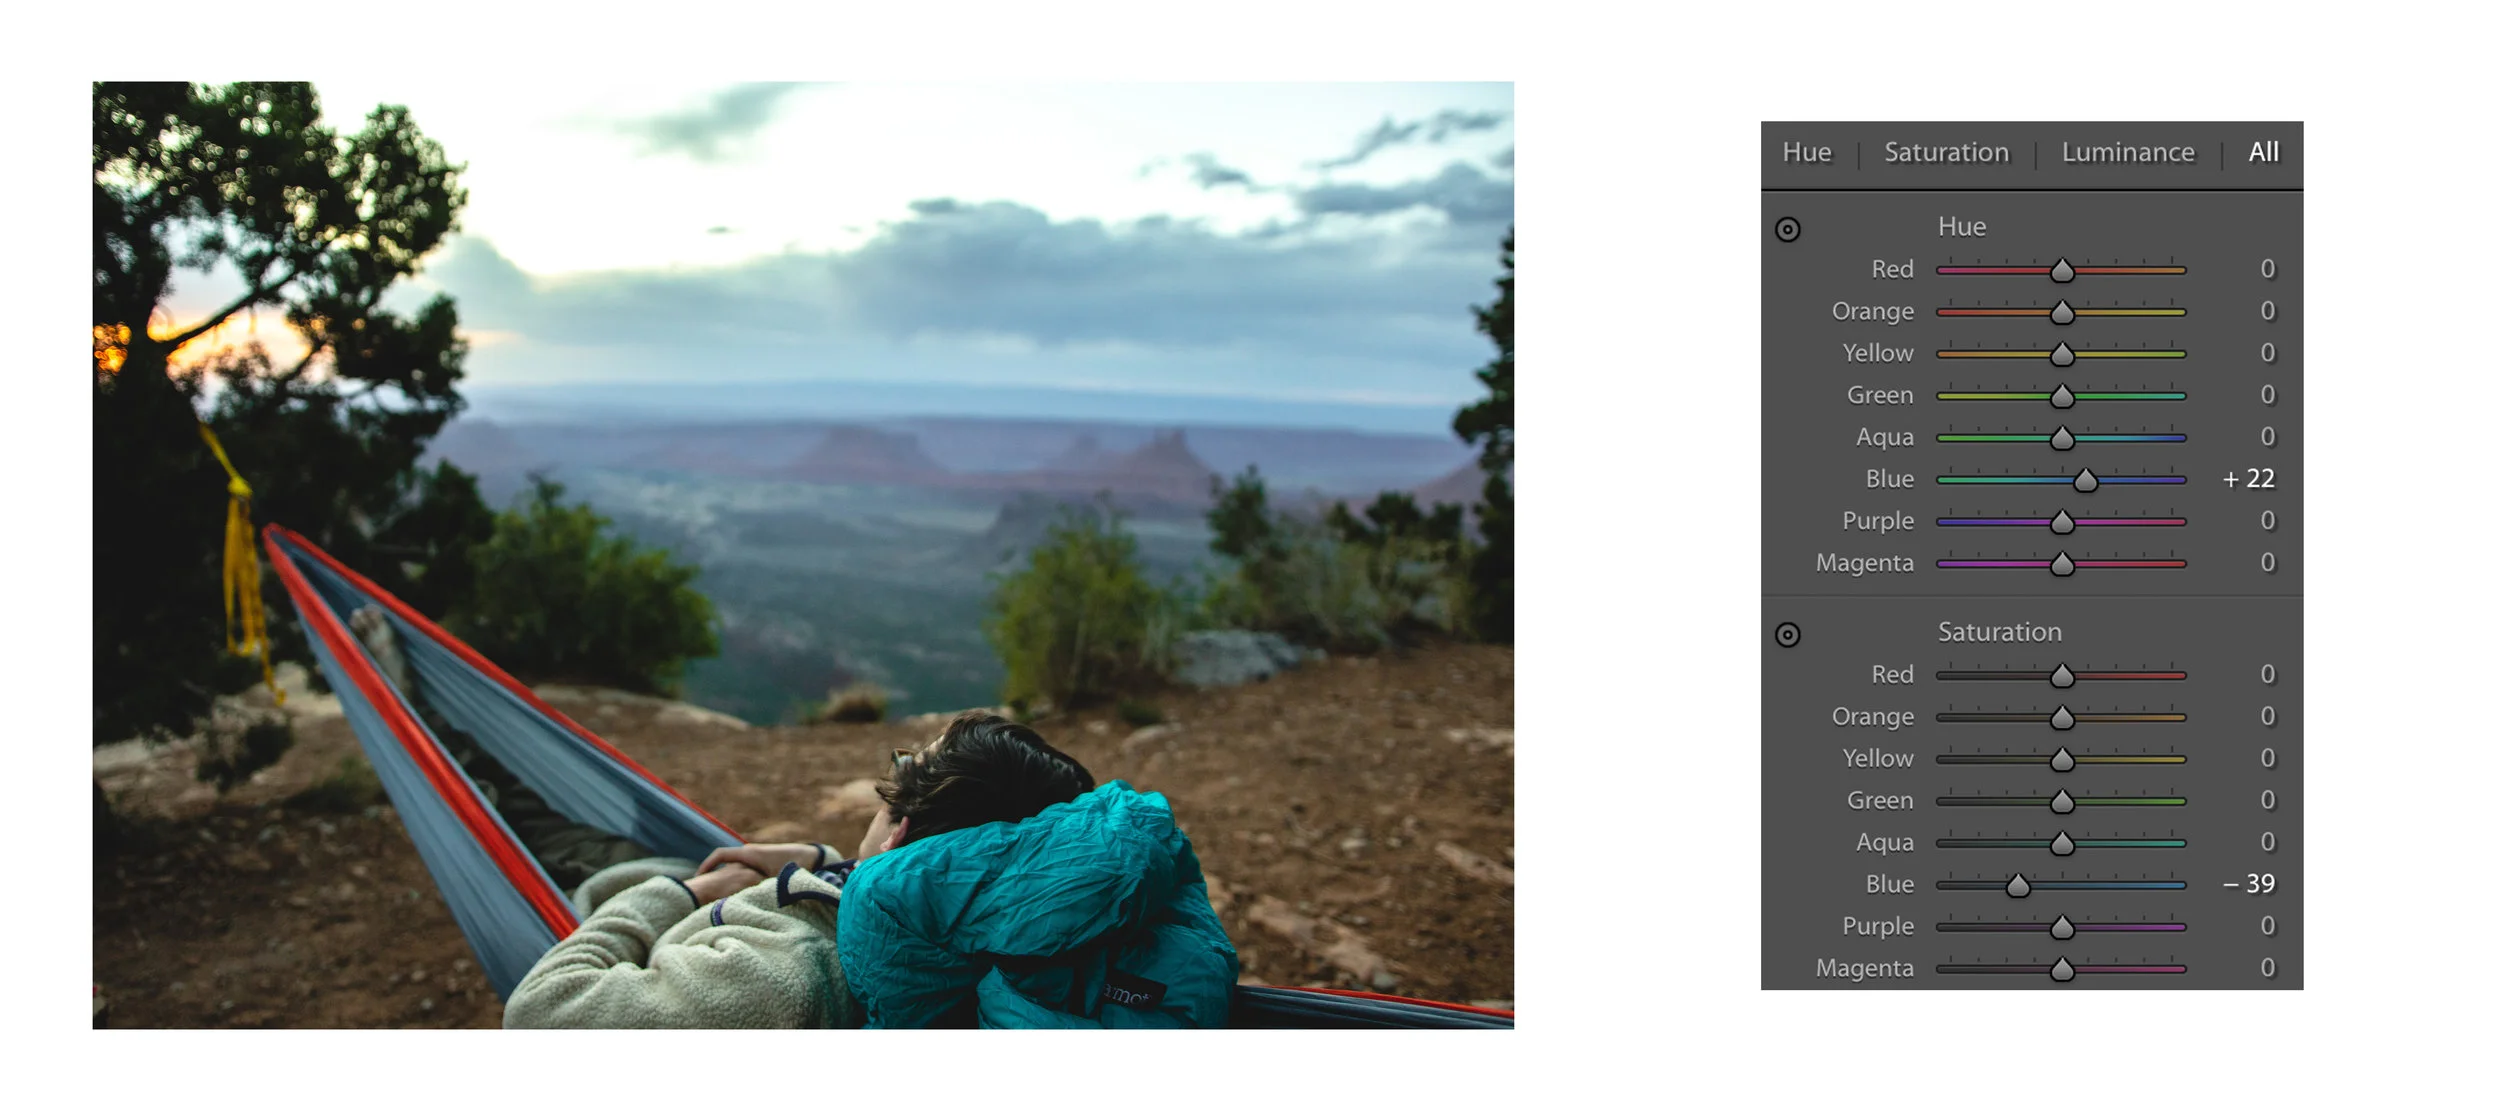
4. Use HSL to correct colors: One of the most important things you can do is use the these sliders to ensure your colors are true to the scene. For me I change the hue of blues and decrease its saturation to achieve the look I like. It can also be helpful for increase the saturation of the oranges in a sunset but leave everything else the same. It is really important that you don't over do this as your photo will start to look fake.
5. Cropping, lens corrections, transformations: At this point I focus on making sure the cropping is what I envisioned as well as the horizon is level. There is nothing worse then a crooked horizon! It is also important to make sure that everything that should be straight and/or vertical appears that way. This is where you need to play with lens corrections and transformations. That's actaully one reason why I hat this photo becasue it looks like the horizin isn't straight. Finally, use the dropper to get rid of any chromatic aberration in the high contrast area.
6. Local corrections: This is where you need to take a brake and move on for a short time. It can help to take a step back before doing local adjustments ensure you don't over do it. With the help of the gradient too and brush tool, emphasize the focus of the composition and minimize the distractions. I like a subtle vignette around the corners and adding light to dense shadow areas. If I'm going to print the image I soften the bokeh with a blur tool and then add sharpening in photoshop.
Here is the final before and after of the image. It is definitely a big difference but it is a repeatable look that reflects the image I saw in my head when I took it. (It is what the scene actually looked like) I used more tools and tricks then I wrote here in order to get the look I like. So lookout for more editing tips in Lightroom and before and after of my images. Finally, non of this is possible if you don't shoot in RAW format so shoot in RAW or get images that lack quality and interest.
