This is something that I think is important if you have the means, time, and perseverance. Ever since I was a kid I liked to use my hands and explore how things worked. When I was little I would literally take anything and everything apart into pieces throw it in a box so I could later us those pieces to build things (I will tell you before my mom does, I never did build anything with my myriad of parts). Now every summer when I have time and access to tools I push myself to either fix or make something that I need/want. I think this is a practice we should all do. More on this later but having this mindset will reduce consumption, reuse what we already have, and it will let you learn new skills.
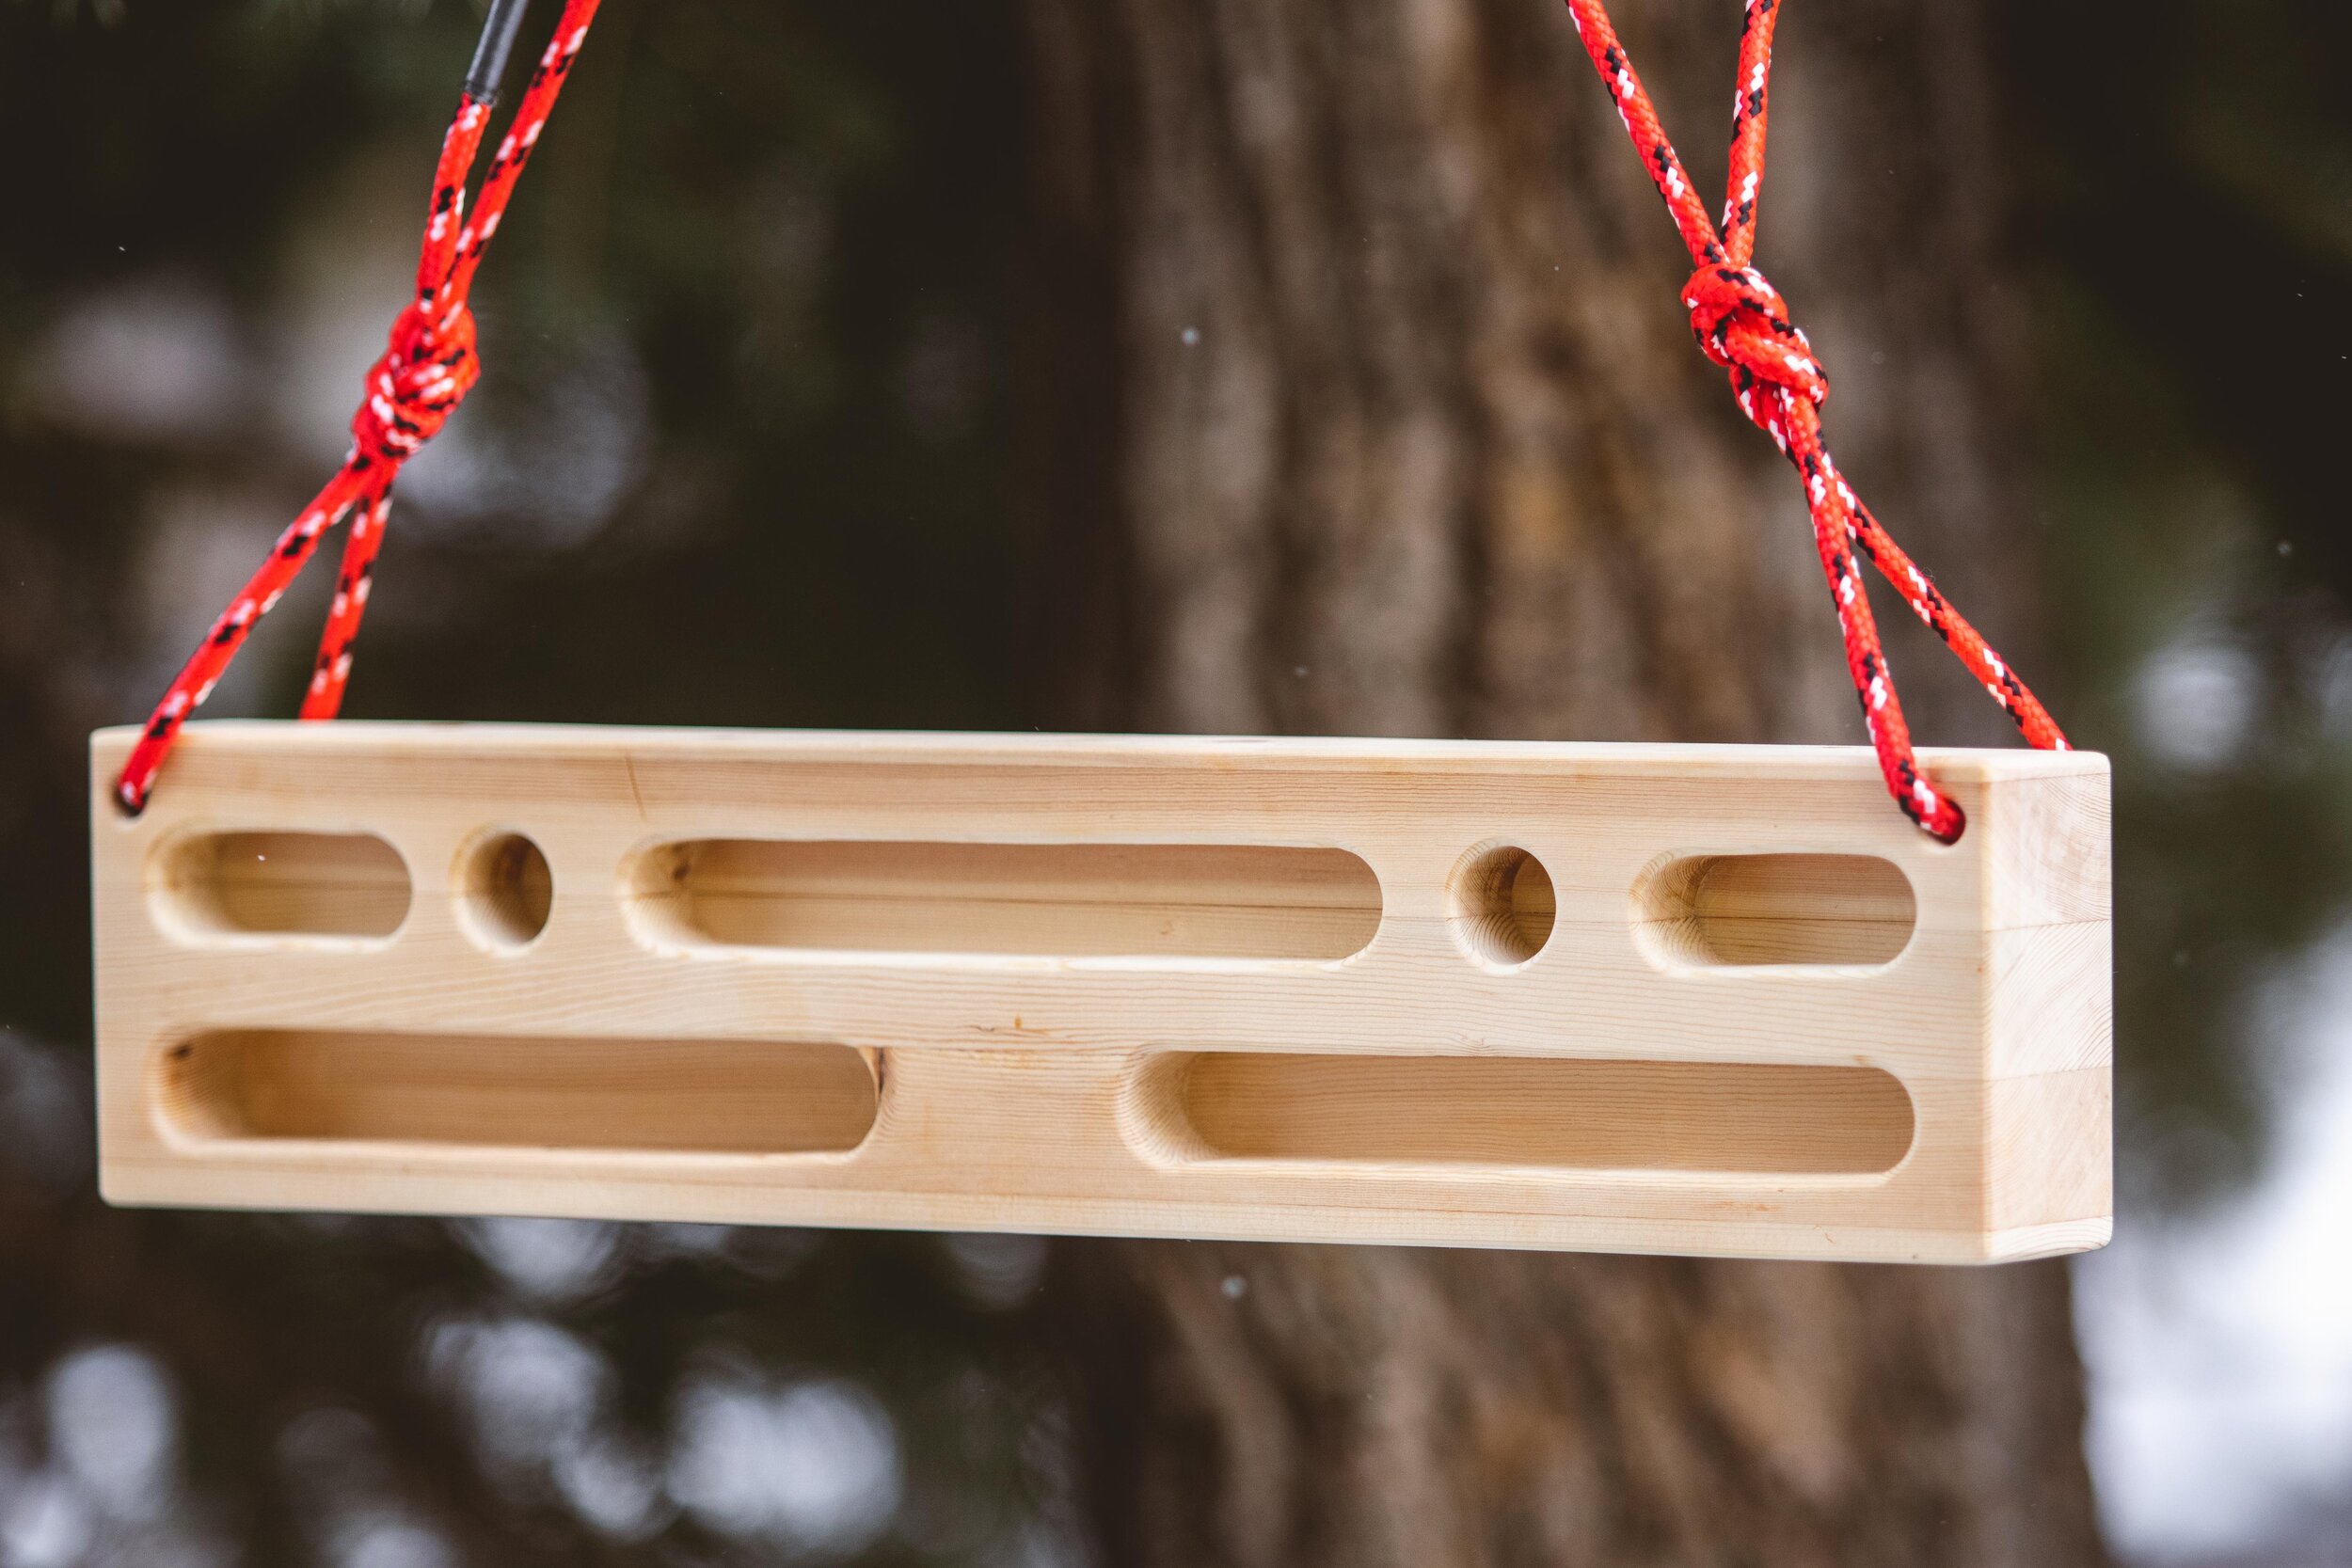
This summer I wanted to make a hangboard and never really got around to it because I didn’t have a router. But, this winter I not only had a router but I also had an old pine desk my parents were going to get rid of. So what better to catalyze a project then having free wood, good tools, and some free time! Now, for those of you who don’t know a hangboard is it is used to strengthen your upper body for climbing, particularly your grip strength. In all honesty I really don’t need a hangboard because I simply don’t climb enough or at a level where it would be advantageous, but they’re pretty cool looking and they’re made of wood.
So how did I make mine? Well instead of doing a step by step guide in detail that will bore you to death and show you how little I know, I’m going to first share with you my thought process and then things that I would change if I were to do it again. We’ll first start with the tools I used, you can make these lots of different ways so if you don’t have what I have don’t fret:
Tools
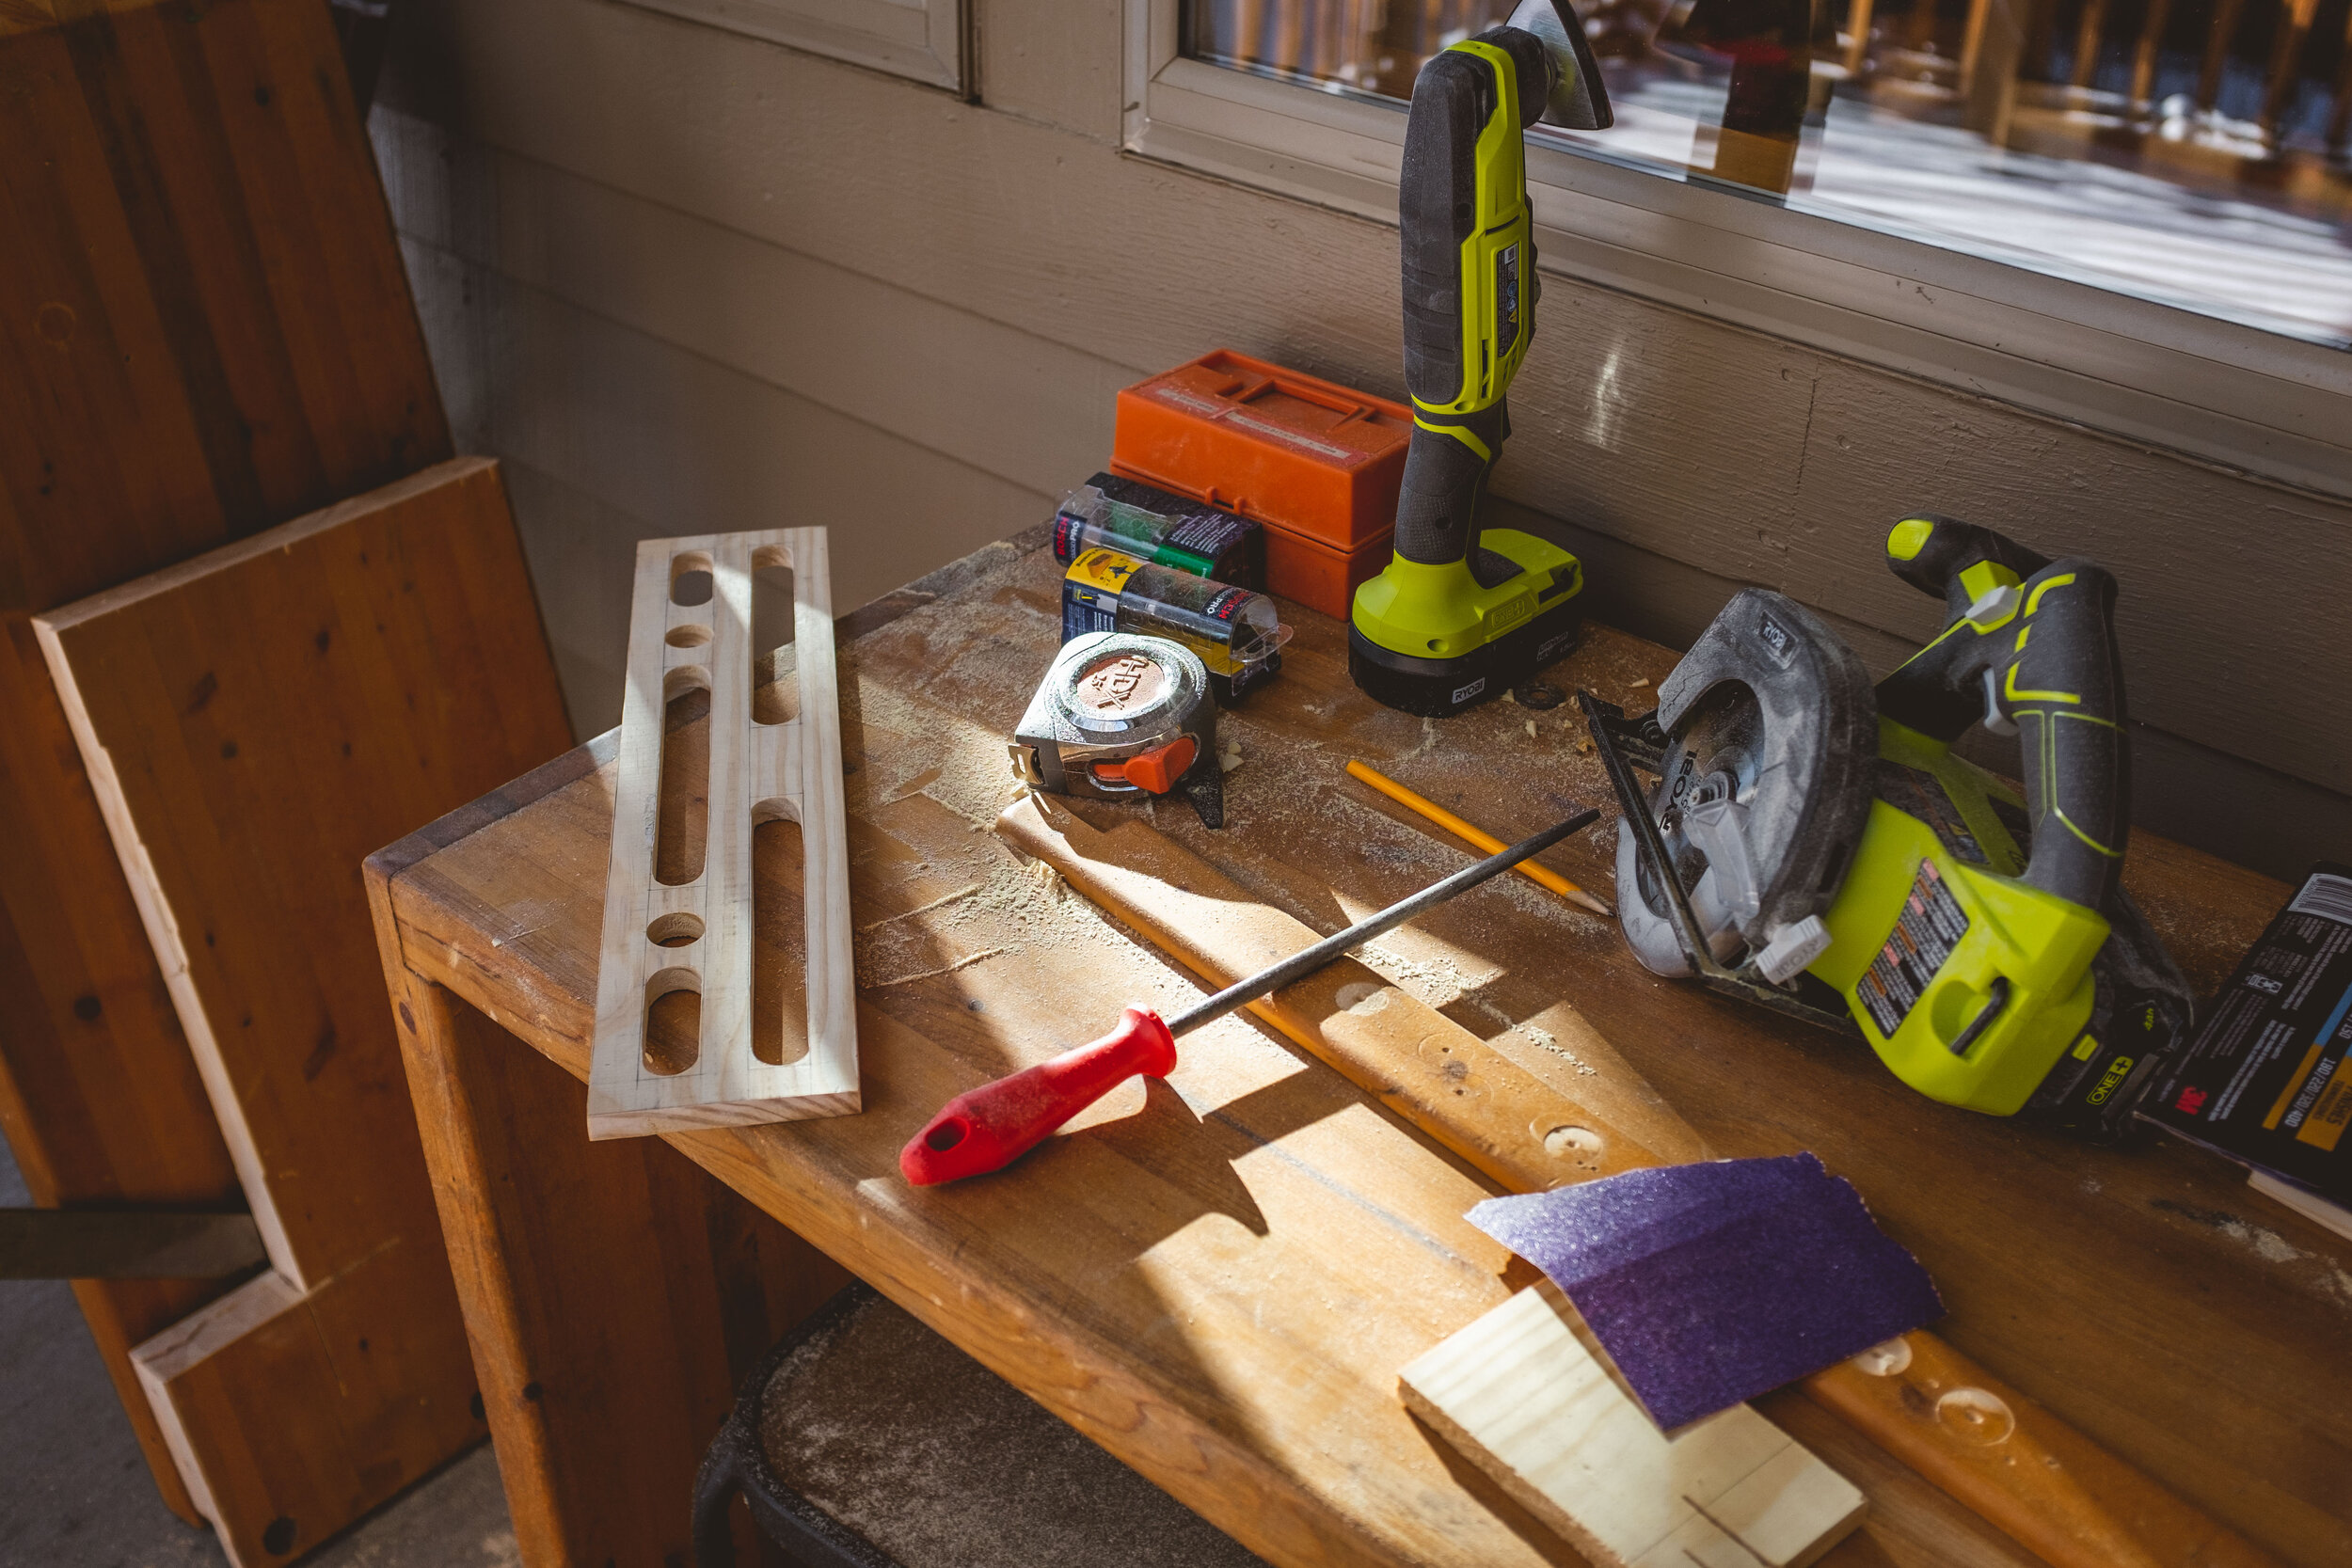
Old Sears router with gate, 1/4” chuck size
3/16” round over router bit with bottom bearing
1/2” straight bit that has a 1” cutting length and a top bearing.
Circular saw
Jigsaw
Electric sander
80. 120, 220 sand paper
A bunch of sturdy clamps
Electric drill with a 1” bore bit
That’s about it, you’ll also want a broom since you will be kicking up a lot of saw dust during this process. The first thing I did was measured everything out using a piece of cardboard, honestly a good place to start for any wood project. This does a couple things, first it makes you measure everything and lets you see and feel the real size. It also create a template of sorts where messing up doesn’t ruin expensive wood (or a small supply of wood from my desk). After the cardboard looked good I went out and bought a nice flat piece of pine I could use as a real templet. I bought one 1/2” thick piece of pine from Lowe’s and then measured and cut the holes in it using the drill and jigsaw. Once I had the template I cut out the right sized piece from the desk, it is a pine desk that is 2” thick butcher block (why I used a router). I then put the template over the 2” thick piece, secured it with clamps and did 1/2” deep passes with the straight bit till I got to the depth I needed (about an inch). After I made the holes I went over every edge with the roundover bit then the classic sanding regiment of 80, 120, then finishing with 220 grit.
The above paragraph makes it sound easy and that the result came out the way I expected, but this wasn’t really the case as about 60% of the time making it was fixing problems. So what would I change? First, I would make the template out of MDF (little to no softness) that is an inch think and I would screw the template to the wood piece instead of just clamping. This would solve the majority of my issues which happened when the template moved or wasn’t high enough to get a 1/4” - 1/2” cutting depth for each pass. The other issues was the roundover bit I used was too tall being at 7/8” so I couldn’t easily get a shallower depth on some of the holes like I originally planned. With these changes though I believe I’d get a much more consistent hangboard.
Well all in all I learned a whole lot and used a router for the first time. I was also able to make something that I didn’t need but really wanted which for me is the most important part. The problem I have with consumption is that people often look at something they don’t really need, order it and then barely use it with it ultimately going to the landfill, a waste of resources. This project came about after I saw all the wood my parents were going to just throw away, being the person I am I decided I could make something from it. Now I understand that not everyone has nice wood for free, an old router, and time to tinker but if you do this will truly change the way you perceive the things you have. The hangboard for example reused something, taught me new skills, and since I made it I won’t just throw it away (Hopefully put it to good use). A true win, win, win.
Anyways, I’m going to make something of this fix it or make it series because I think it is important for people do and I think sharing things like this can make a true difference. On the list for 2021 is making my own 5-panel hat (yikes! literally have one clue how to use a sewing machine) and making a canoe paddle from wood I find on the way to my grandparent’s cabin. Keep an eye out!


