Leadville Colorado

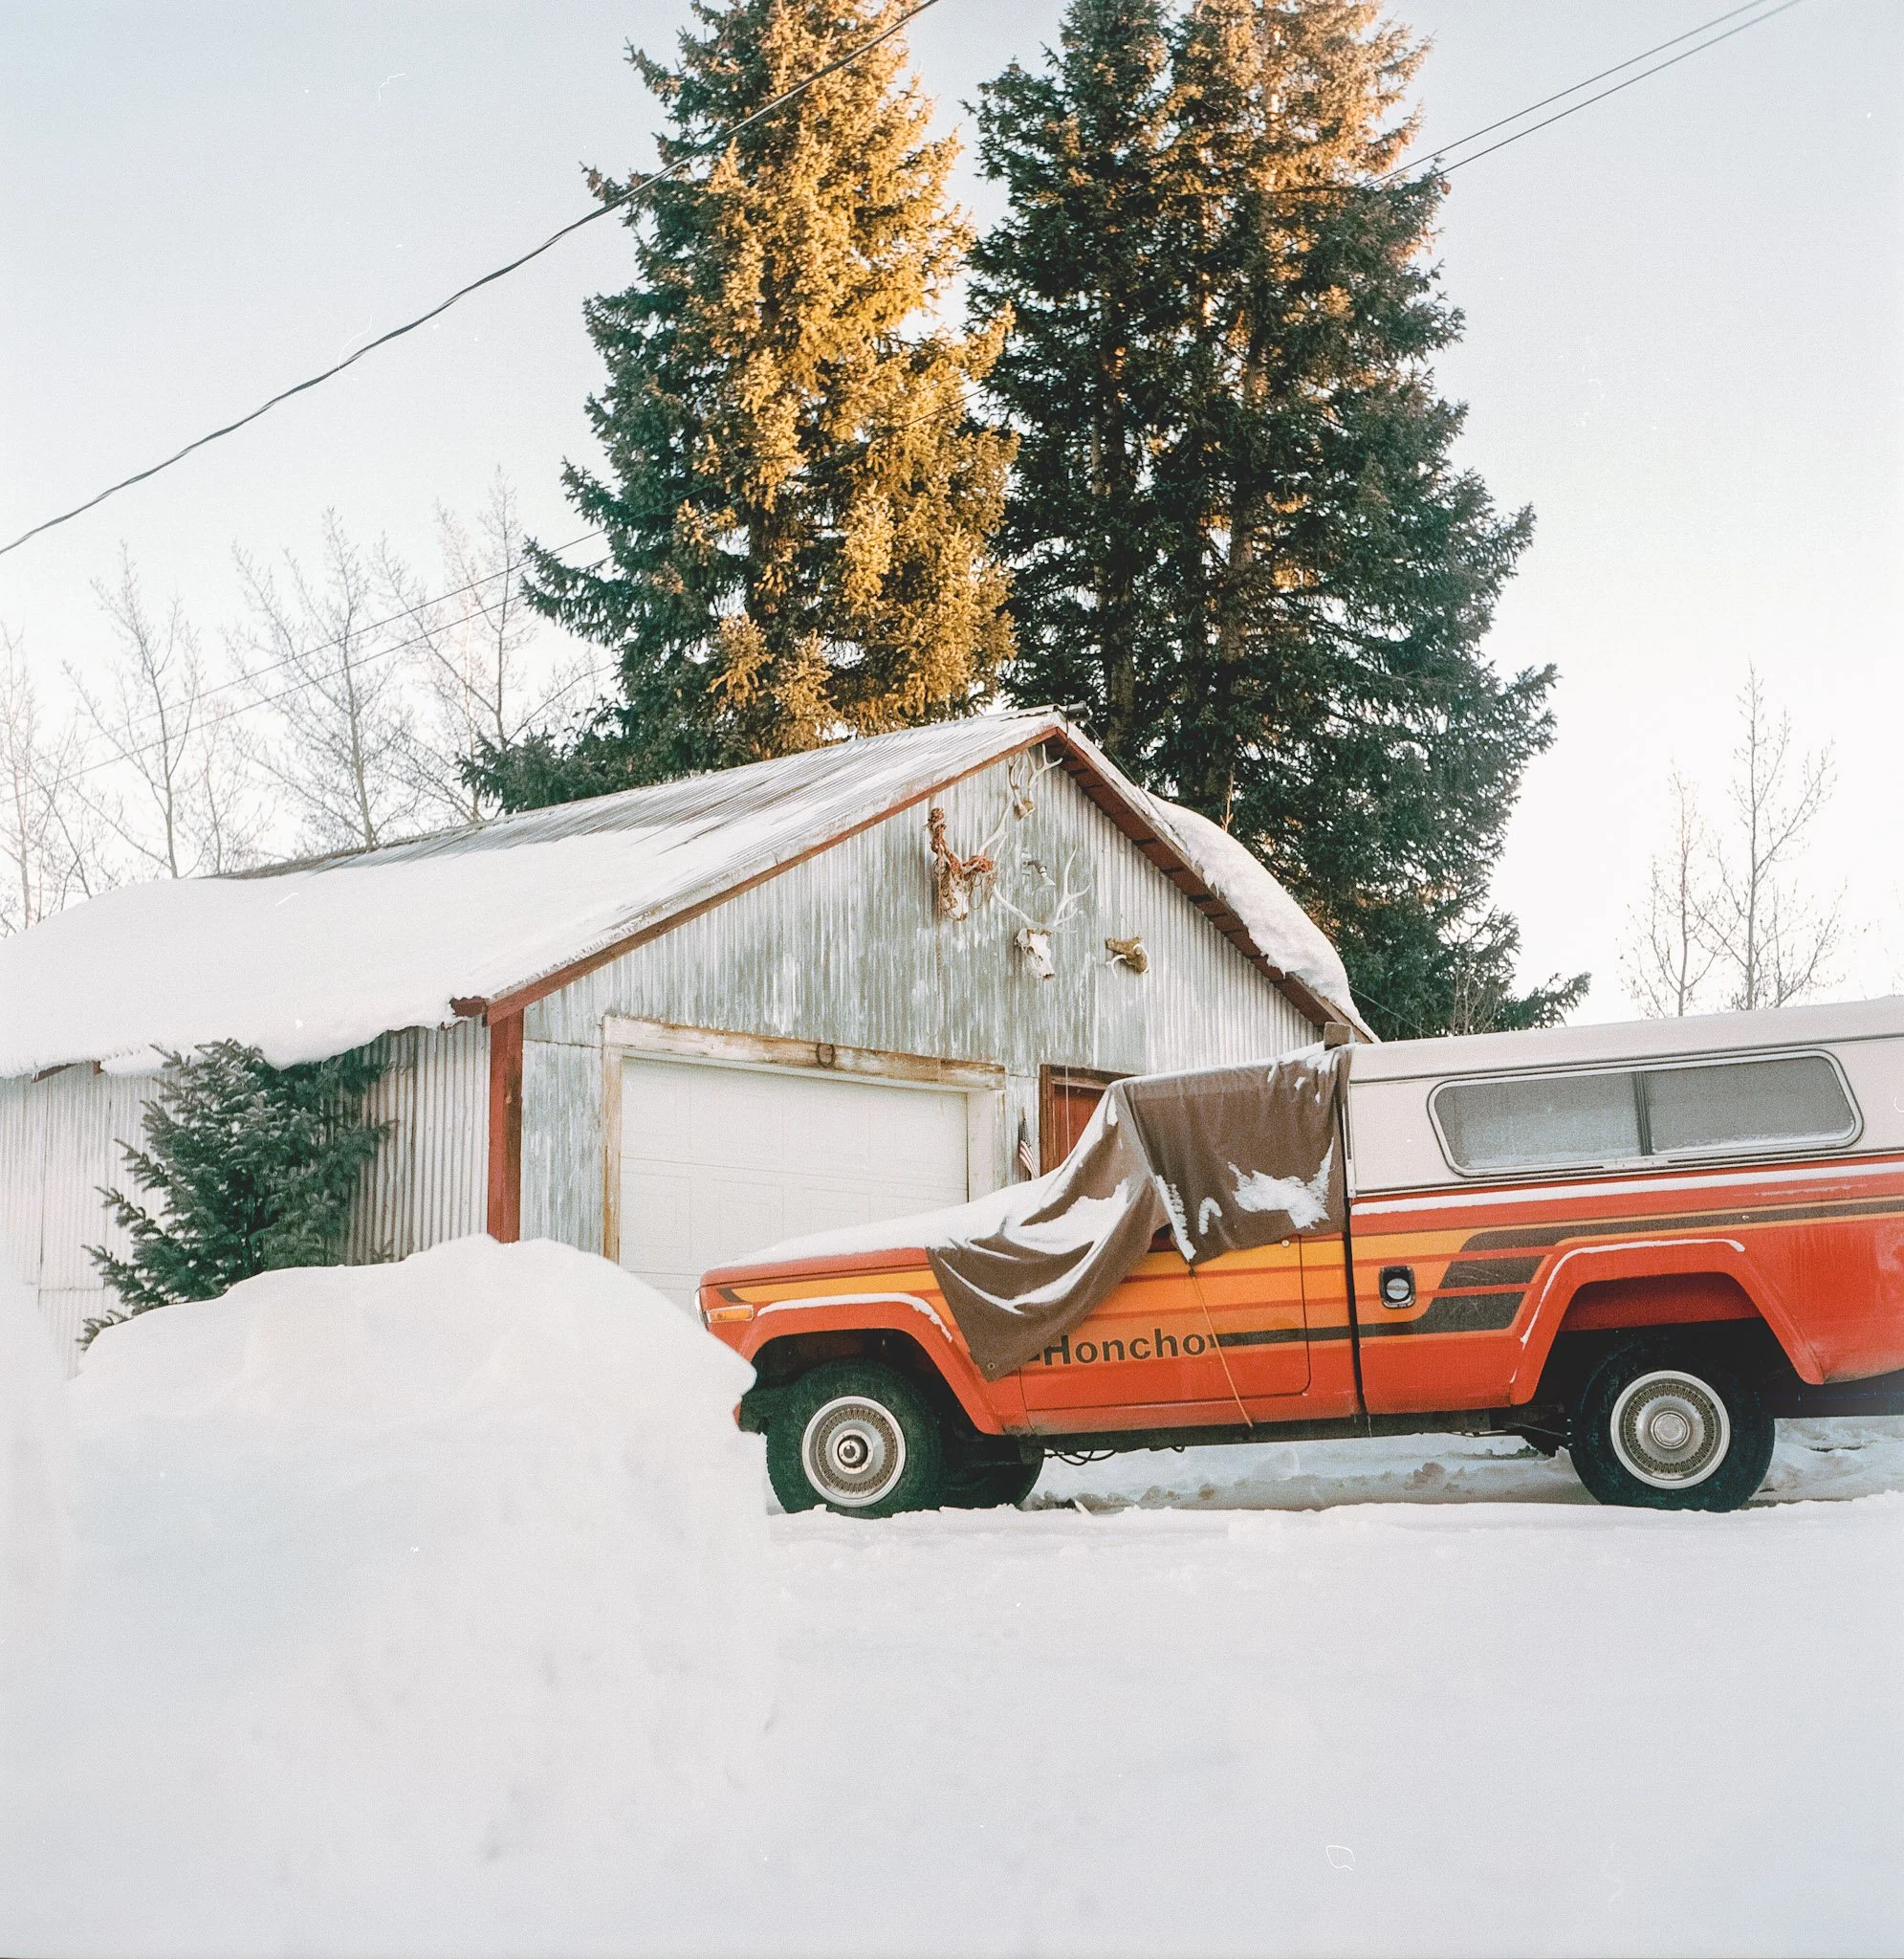
The last couple years I’ve had trouble finding myself a project, one of those projects worth putting a couple years of image making toward. My lingering dream is still a project focused on Idaho salmon, conservation, history of the sawtooths, blah blah. But last winter, and this last spring, has gotten me interested in Leadville Colorado. Leadville is one of those places most people have heard of but maybe never seen. For me it’s been a new place to explore, streets to wander through, and witness the eclectic aesthetic of a high altitude mountain town.

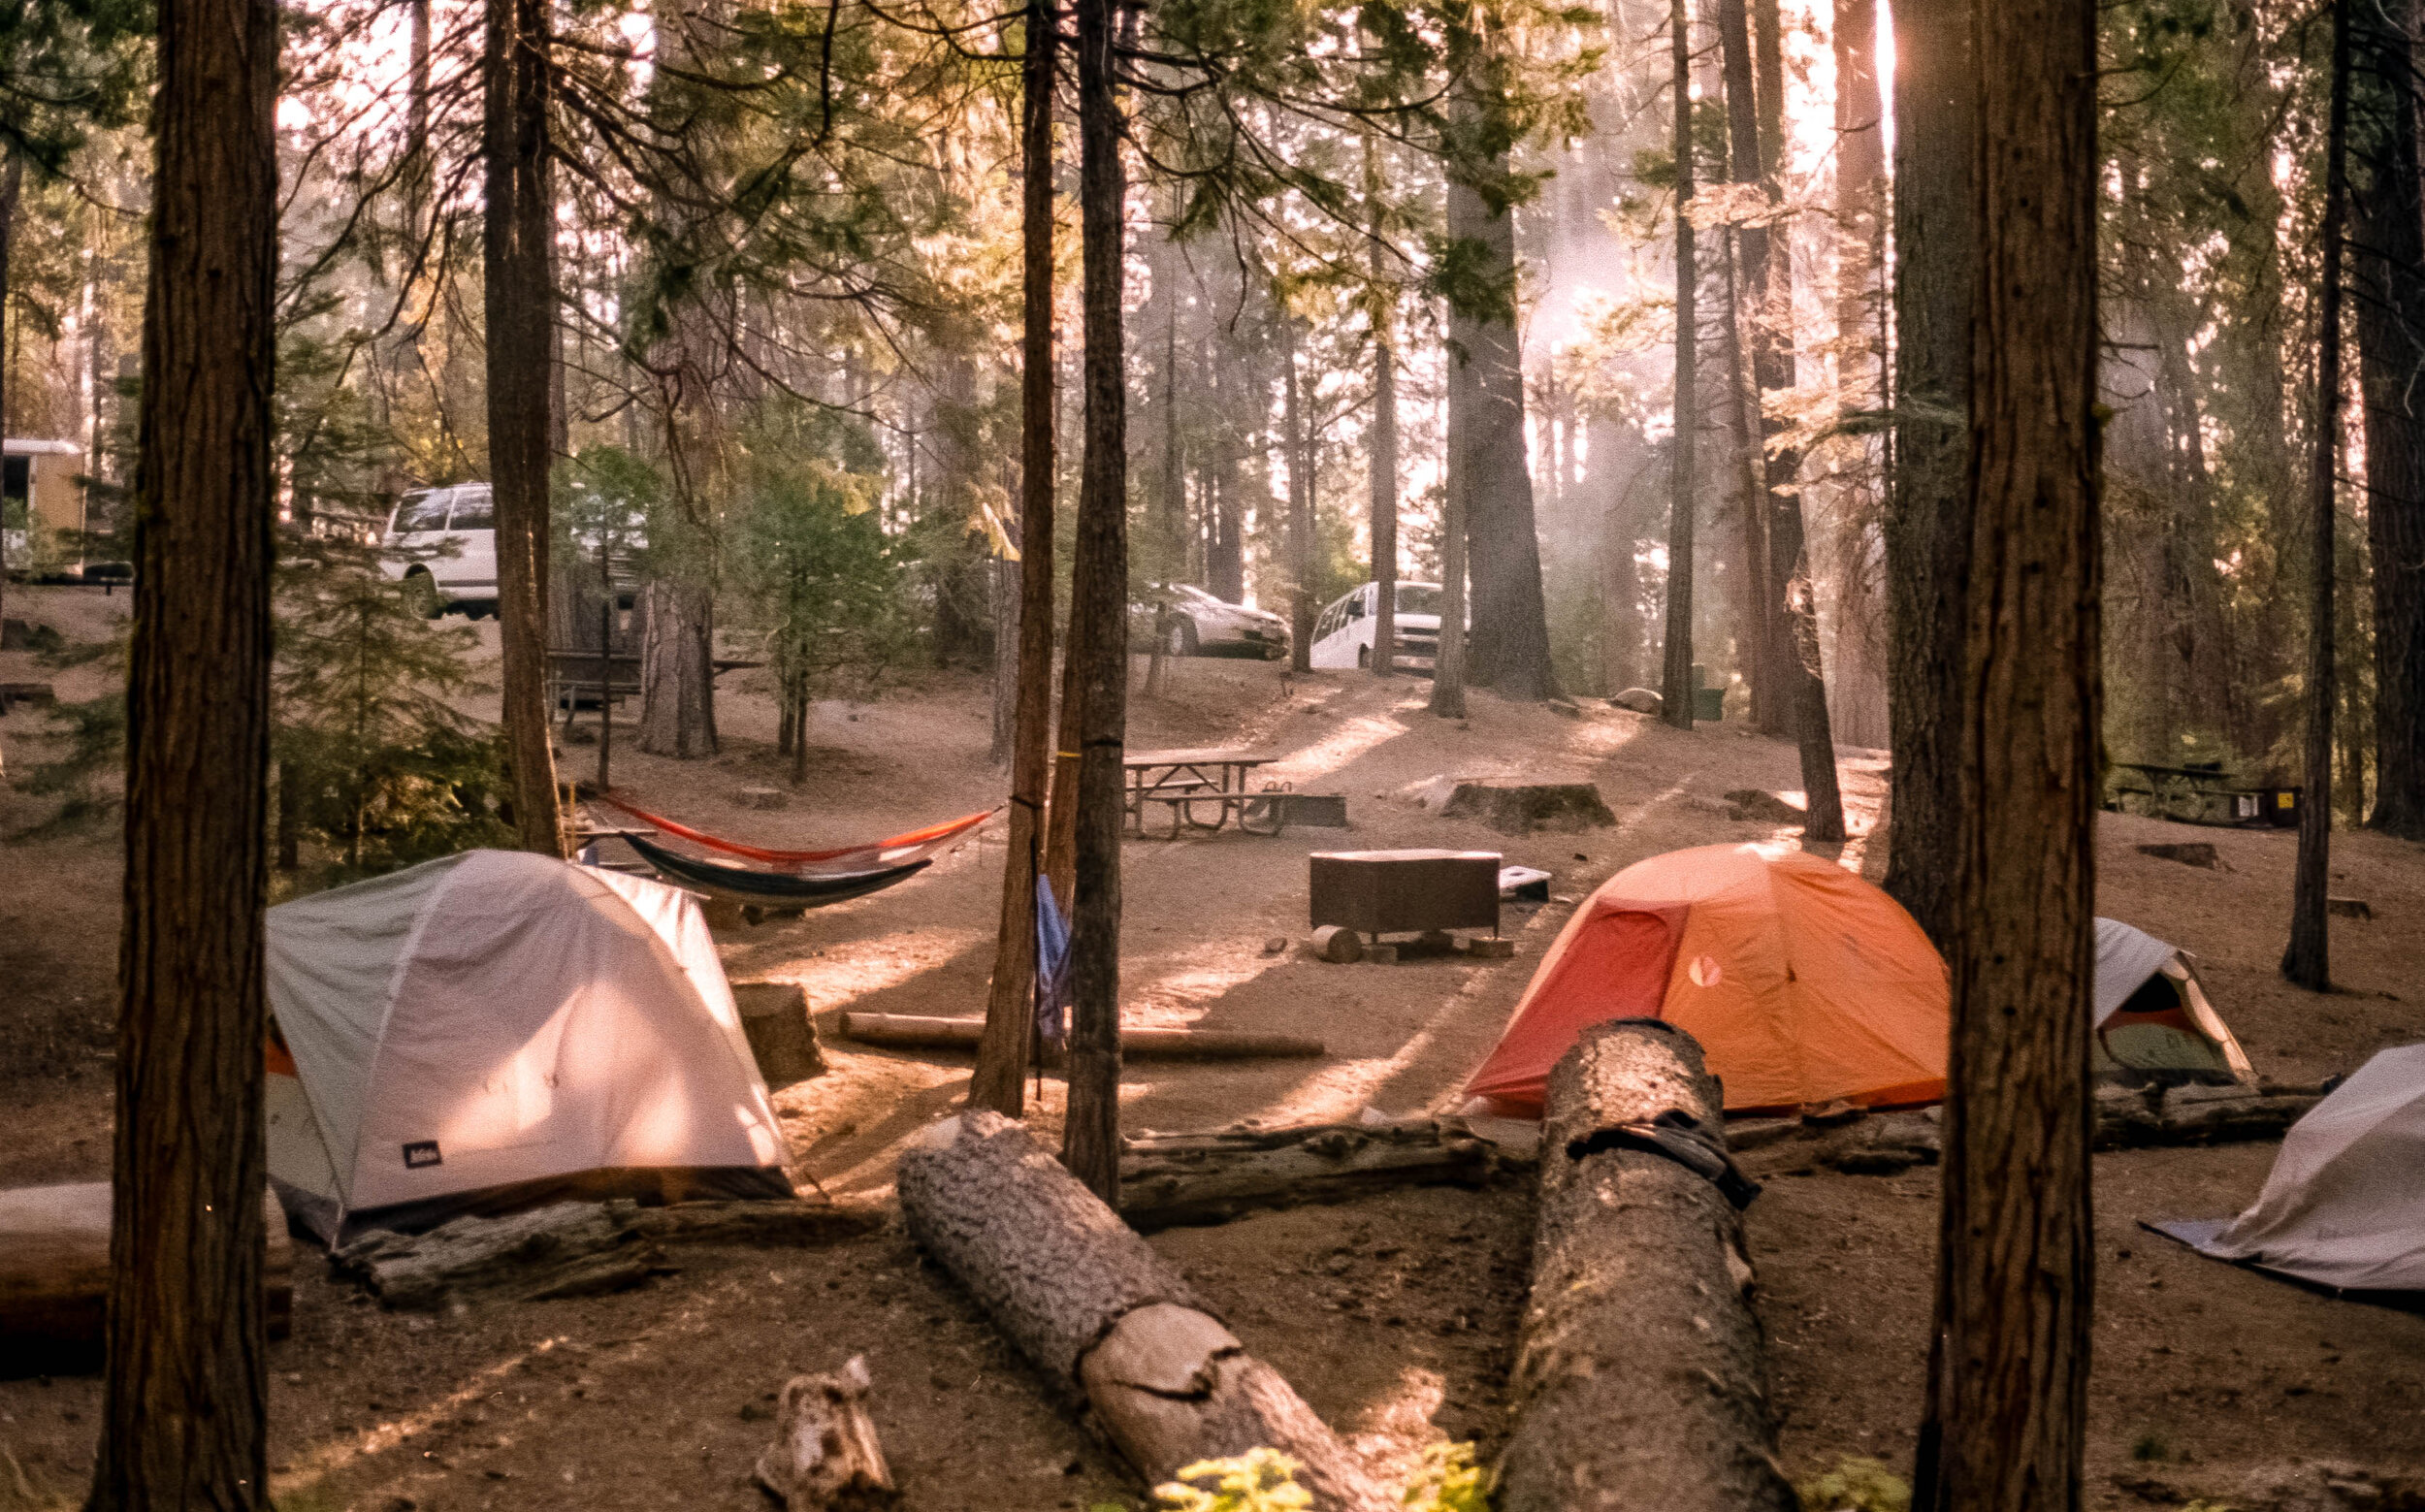
For this project I definitely want to focus on shooting film to hone in my workflow and discover what I need to do to get the look that I’m going for. The two images above are nearly exactly what I’m looking for in terms of warmth and tones. What I am really hoping for is getting into some DSLR scanning and really trying to pump out as much as I can without the Hasselblad X1. The biggest challenge for this project is that I want to do everything in the process, other than developing C-41 film, and I know this will take some decent trial and error. The final deliverable, I hope is a series of zines or postcards that can be sold in town.

Minimalist B&W Film Developing

Introduction

As many people know I started my photography passion in high school when I took my first photography class. It was all analog shooting film through cameras, developing that film, then enlarging and printing the film images. It was a slow process that required true tactile skill and artistic vision. It always felt more like an art form then just pressing a shutter button on a digital camera. Ever since I settled into my digital camera kit a few years back I wanted to get back to this process of film photography. But where to start?

Mamiya C3 Sikor 80mm F2.8: HP5+ 125th @F4

Many people think film is scary, too many moving parts, things to think about, cameras that don’t automatically expose an image, and many other anxieties. For me, those have always been part of the attraction but what always got me was the price of film and more importantly the price of development.

I’ve been sending off my film for developing for some time now (yes plenty of stores still develop film) and in many cases it cost more than the roll of film itself. One way to avoid these costs is to develop the film on your own and that’s just what I started doing.

This post is going to cover my personal minimalist black and white film developing kit that I’m currently using and I’ll make sure to crunch the numbers to see what I’m actually saving! I’ll also suggest things that I wish I had or things that would make your life just a bit easier. Also just to be clear this is all you need to just develop your film in the context of a hybrid process where I scan my film instead of enlarging it onto photo paper.

Before I start with my process there are entire books devoted to just choosing the best film for the best developer and the most archival fixer for the most contrast for the light you have on your subject……. This stuff can get pretty heavy pretty quick so I won’t go into detail there I’ll just explain what I have currently and why.

BO9A4999.jpg

The Bare-Minimum

When I say minimalist I truly mean it so I’m simply going to give you a list of the must have things I use to develop my film:

1. Daylight developing tank: These usually come with a tank, film spools, and are made of plastic or metal made to keep the film safe from light when developing. The only thing that you need worry about is the film sizes the spool can take 35mm, 120, 127, or 4x5. Otherwise just get some that are affordable and work from used websites like Craigslist or Ebay. I personally bought a Paterson Super System 4 Universal Tank because it allows me to develop 2 rolls of 35mm or one roll of 120 film as well as 127 film if I need. It’s even tall enough to be able to develop 4x5 film using the taco style. (more to come on this)

2. Developing Chemicals: There are a lot of choices here and at minimum you need developer and fixer. Some developers are reusable some are single use as well as all have certain characteristics. I avoided all the confusion and went with convenience choosing a monobath which both develops your film and fixes it in one shot. Specifically, I bought Cinestill’s Df96 in powder form to make a liter of chemistry which is good for 16 or so rolls of film.

3. Thermometer: Most film chemistry is very sensitive to temperature so you must keep track of the water temperature and chemistry temperature. I used an old electric meat thermometer because of the fast readout but anything that accurately measures temperature should be fine.

4. Measuring Cup: The best thing to use if you have the money is a graduated cylinder if you want to get the most reproducibility. I however just used a glass measuring cup from the store which works just fine. With the monobath, since it is reusable, I don’t need to worry about volumetric measurements as much as other one shot developers.

5. Small Bottle Opener: These are used to open the 35mm film canisters. If you don’t use one of these then you risk scratching your film and you will waist a great deal of time.

6. Scissors: A good pair of scissors is needed to cut the film of the spool and create a nice flat leader to load up the film spool. Some people like to use safety scissors but I just use normal scissors since cutting yourself is pretty hard.

7. A Dark Room: Obviously all the loading of the film into the daylight tank must be done in complete darkness. Most houses have a place that is truly dark or you could make truly dark. I use a half bathroom in my apartment and a dark sheet to block the stray light from the door.

8. Binder Clips: Binder clips are probably the most effective office supply to own. They are perfect for holding your film strips to dry in a dust free place.

Not Necessary But You’ll Probably Want it.

The list above is the absolute minimum and assumes you have a couple things that some people may not so this is a list of things you may want to get when you have money.

1. Photo Flo: This is a kodak chemical that is used for the final wash before you hang the film to dry. It reduces water spots that can appear on film as well as streaking on the negatives. I do personally use this in my process because the water I use where I live is mostly hard water.

2. Film Changing Bag: Effectively a black cloth bag that is a portable darkroom with enough space to load your film into the light safe tank. These are nice because you can develop film even if there is no real dark room where you live. Watch your scissors though!

3. Dedicated Timer: Yes you can use your phone or timer apps but a dedicated darkroom timer is really nice to have and can help the reproducibility of your development process.

4. Stock Bottles: Any photo supply store will have a selection of stock bottle while a one liter soda bottle works fine if stored in a dark place a good stock bottle can help keep chemistry for much longer if used correctly.

5. A Funnel: Pretty self explanatory but a good funnel can really make things easy. I’m using a makeshift funnel made from a water bottle I cut in half and melted with a liter. It works but isn’t real pretty.

6. Film Sleeves: For protecting your film for years to come it is important to store your negatives in plastic film sleeves. Not only are they great for organizing your film but they also protect the film emulsion from scratches and dust. I just recently bought a couple packs of these for my pile of negatives. Alternatively, just find a box or bin and keep them in a cool, dry, place away from sunlight.

Cost at the end of the day
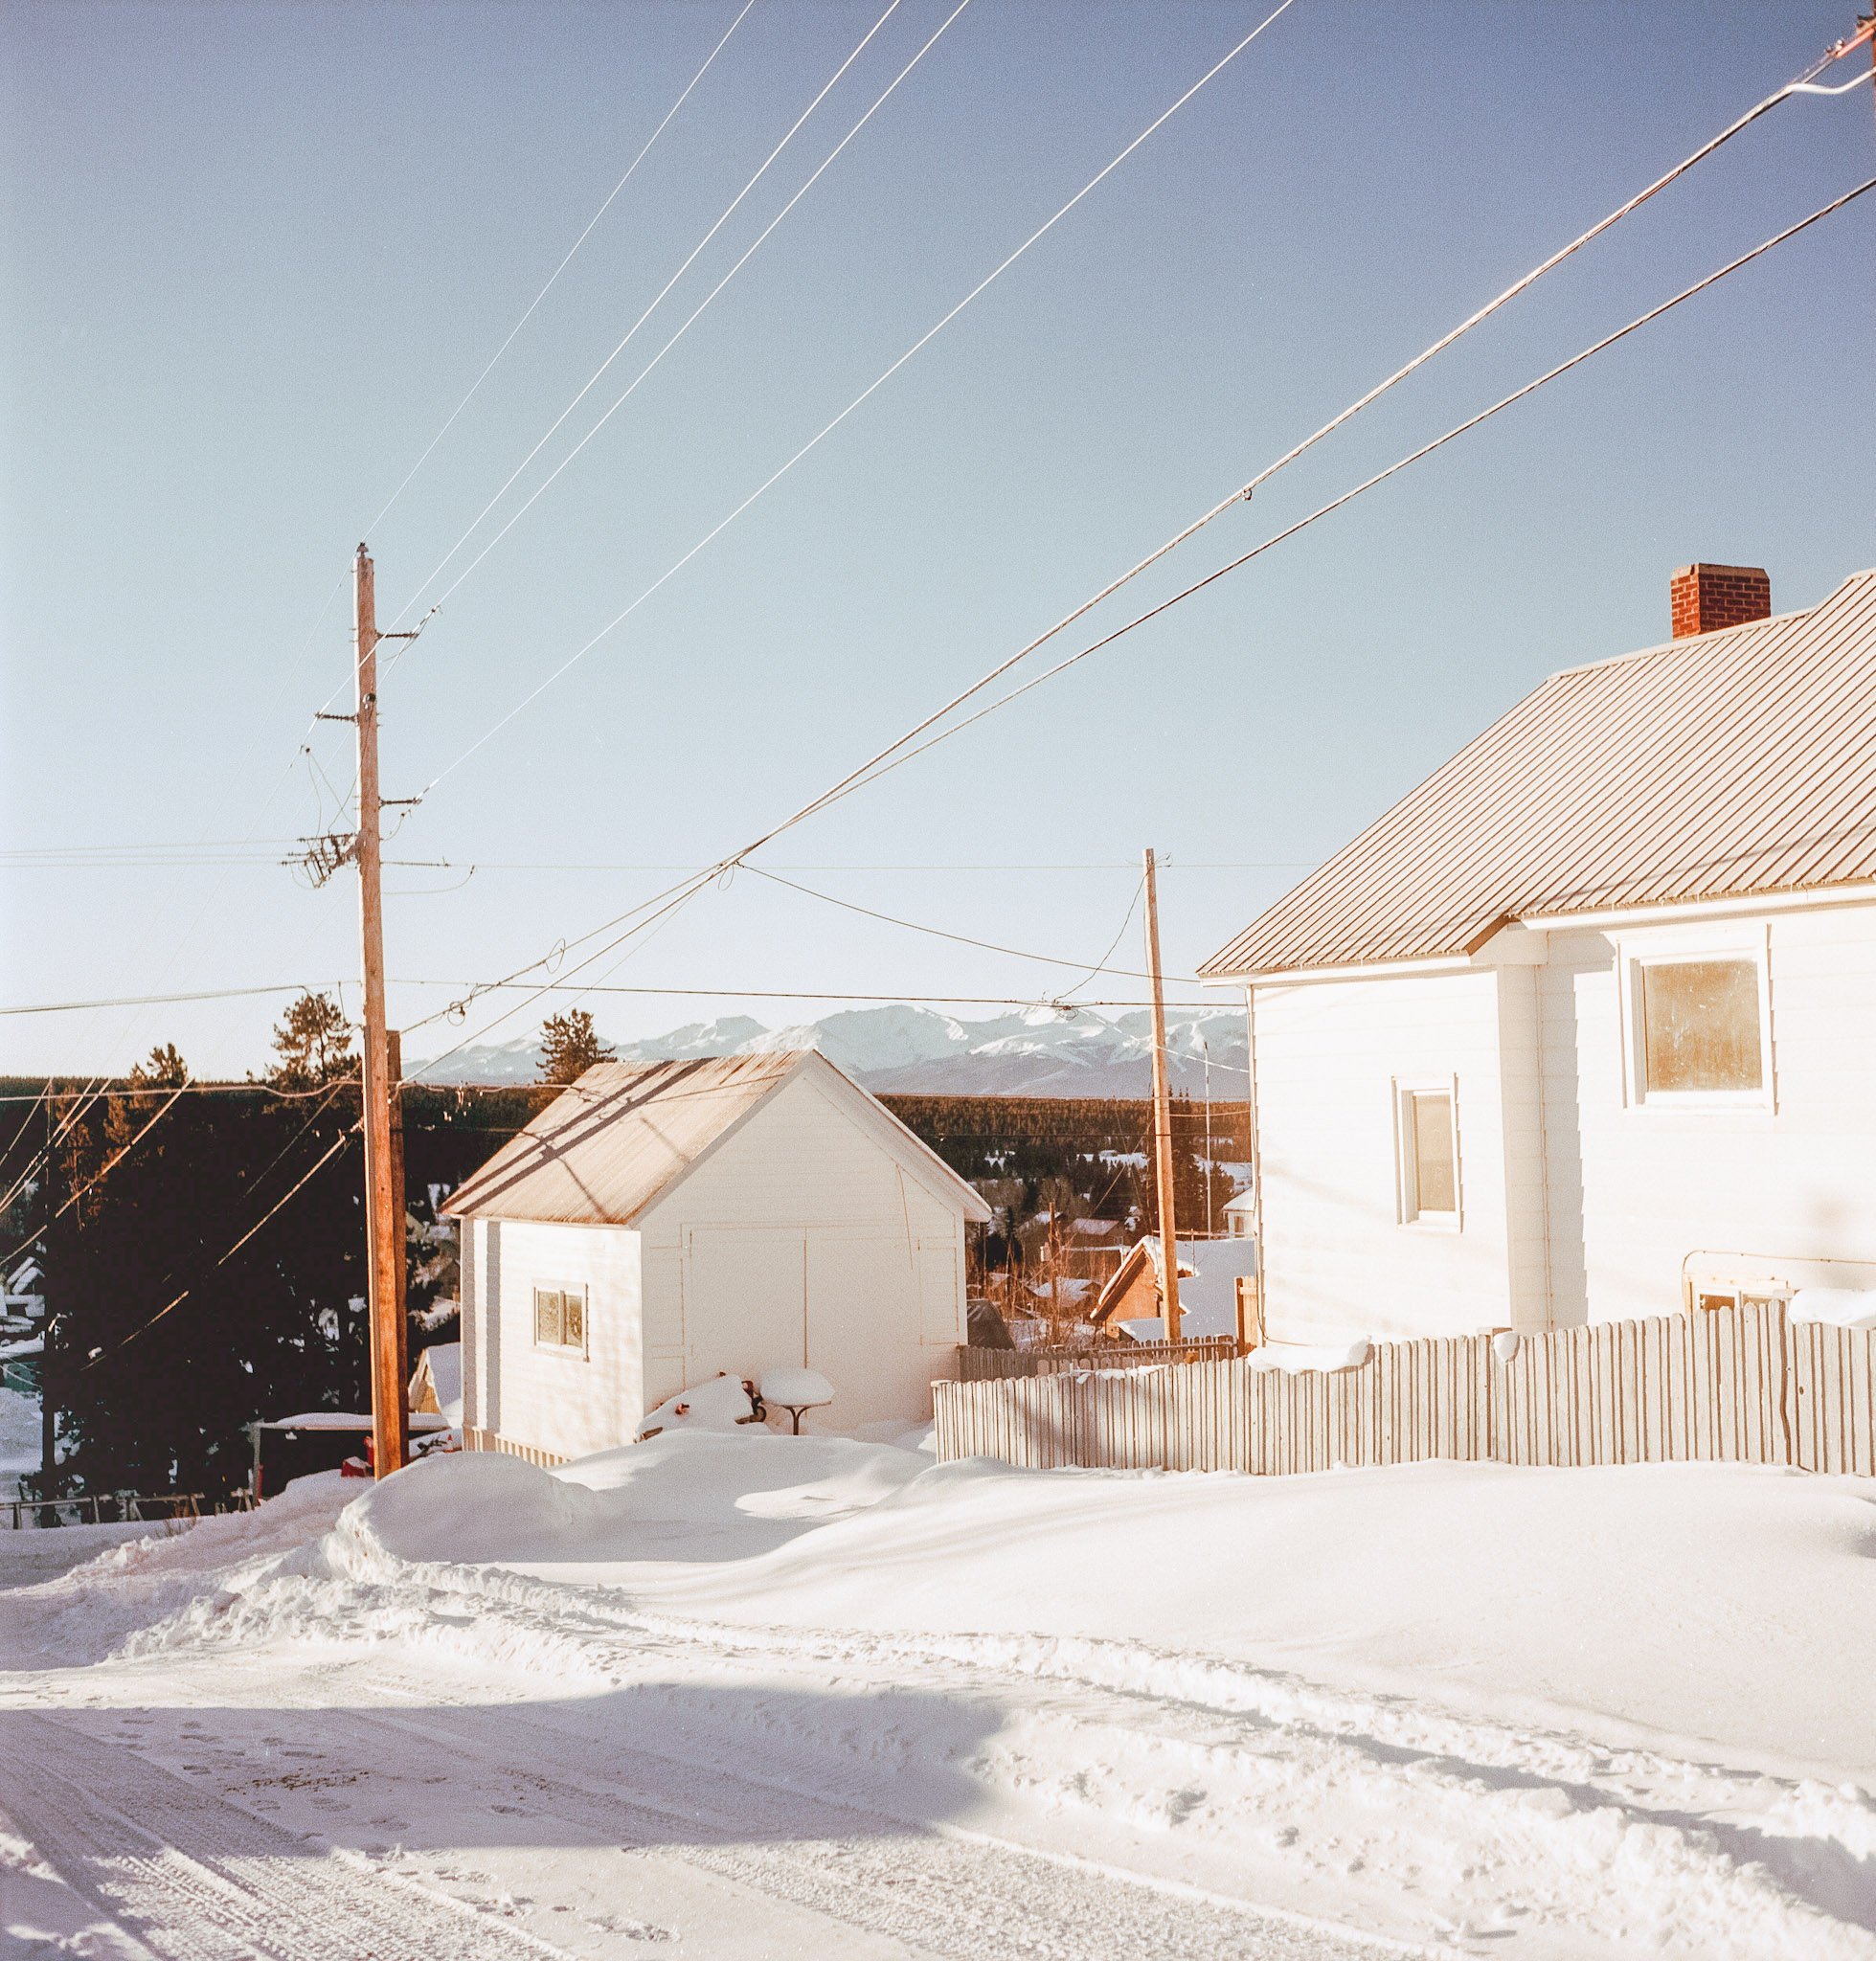
Nikon FM 50mm F1.8 Ai: Arista 400 1/60 @F1.8

That’s it really. The fact that I can just purchase one bottle of chemistry and develop my film is really quite amazing! With shipping the chemistry was $20.74 so if I truly get 16 rolls of film then I’m paying around $1.30 a rolls which is easily affordable and much cheaper then the $5.00 lab fee. Now I think I’m only going to be doing B&W at home because the lab charges about the same as what I can buy C-41 color chemistry at home for (about $4.00 a roll). Slide film is getting close to being cheaper at home with my lab charging $7.26 and at home chemistry coming in at about $5.50 but being that I can just send off all the color film to the same place I don’t find that a couple of dollars is worth it. I also don’t shoot a lot of slide film so there’s that too.

Obviously, there is some initial buyin to get started with film development but even that was surprisingly affordable. My fancy do everything tank was $32.75 and the rest of the supplies I could find around the house. The not necessary list will cost a bit more but you really don’t have to have them as long as you’re willing to sacrifice a little flexibility with your process. So if you’re going to be shooting black and white film at home developing with this “easy” minimal setup is really the way to go!