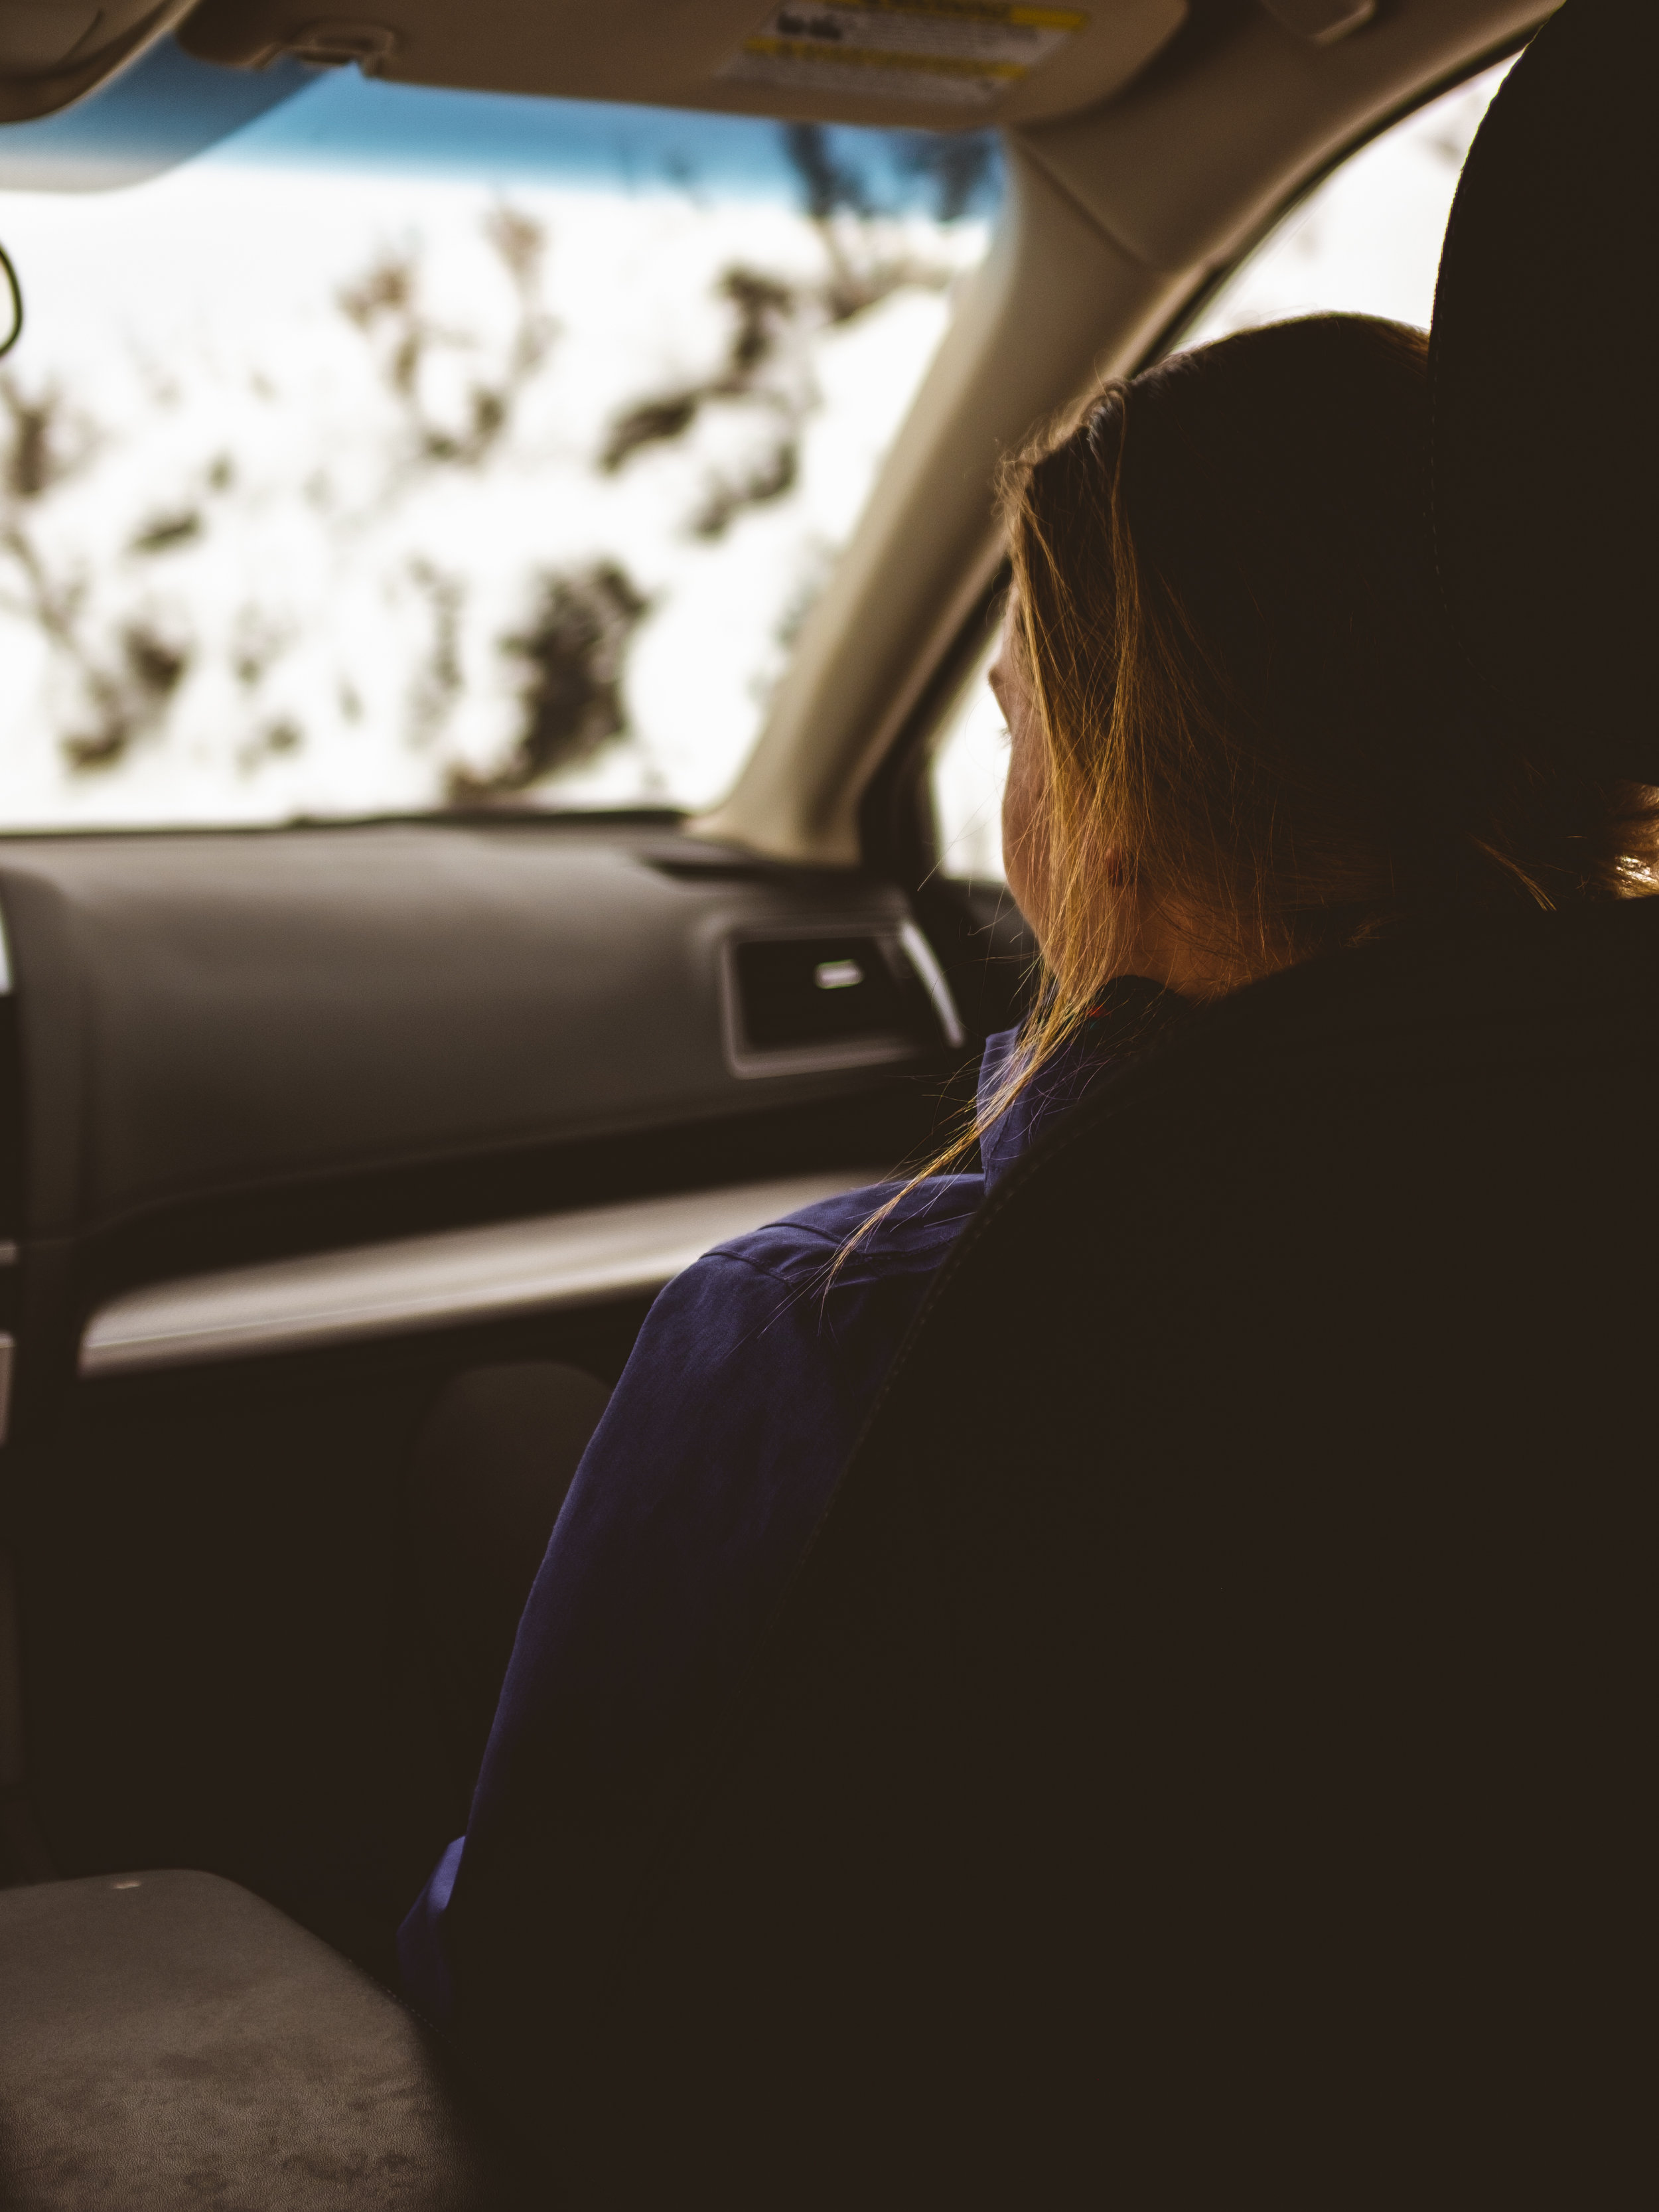
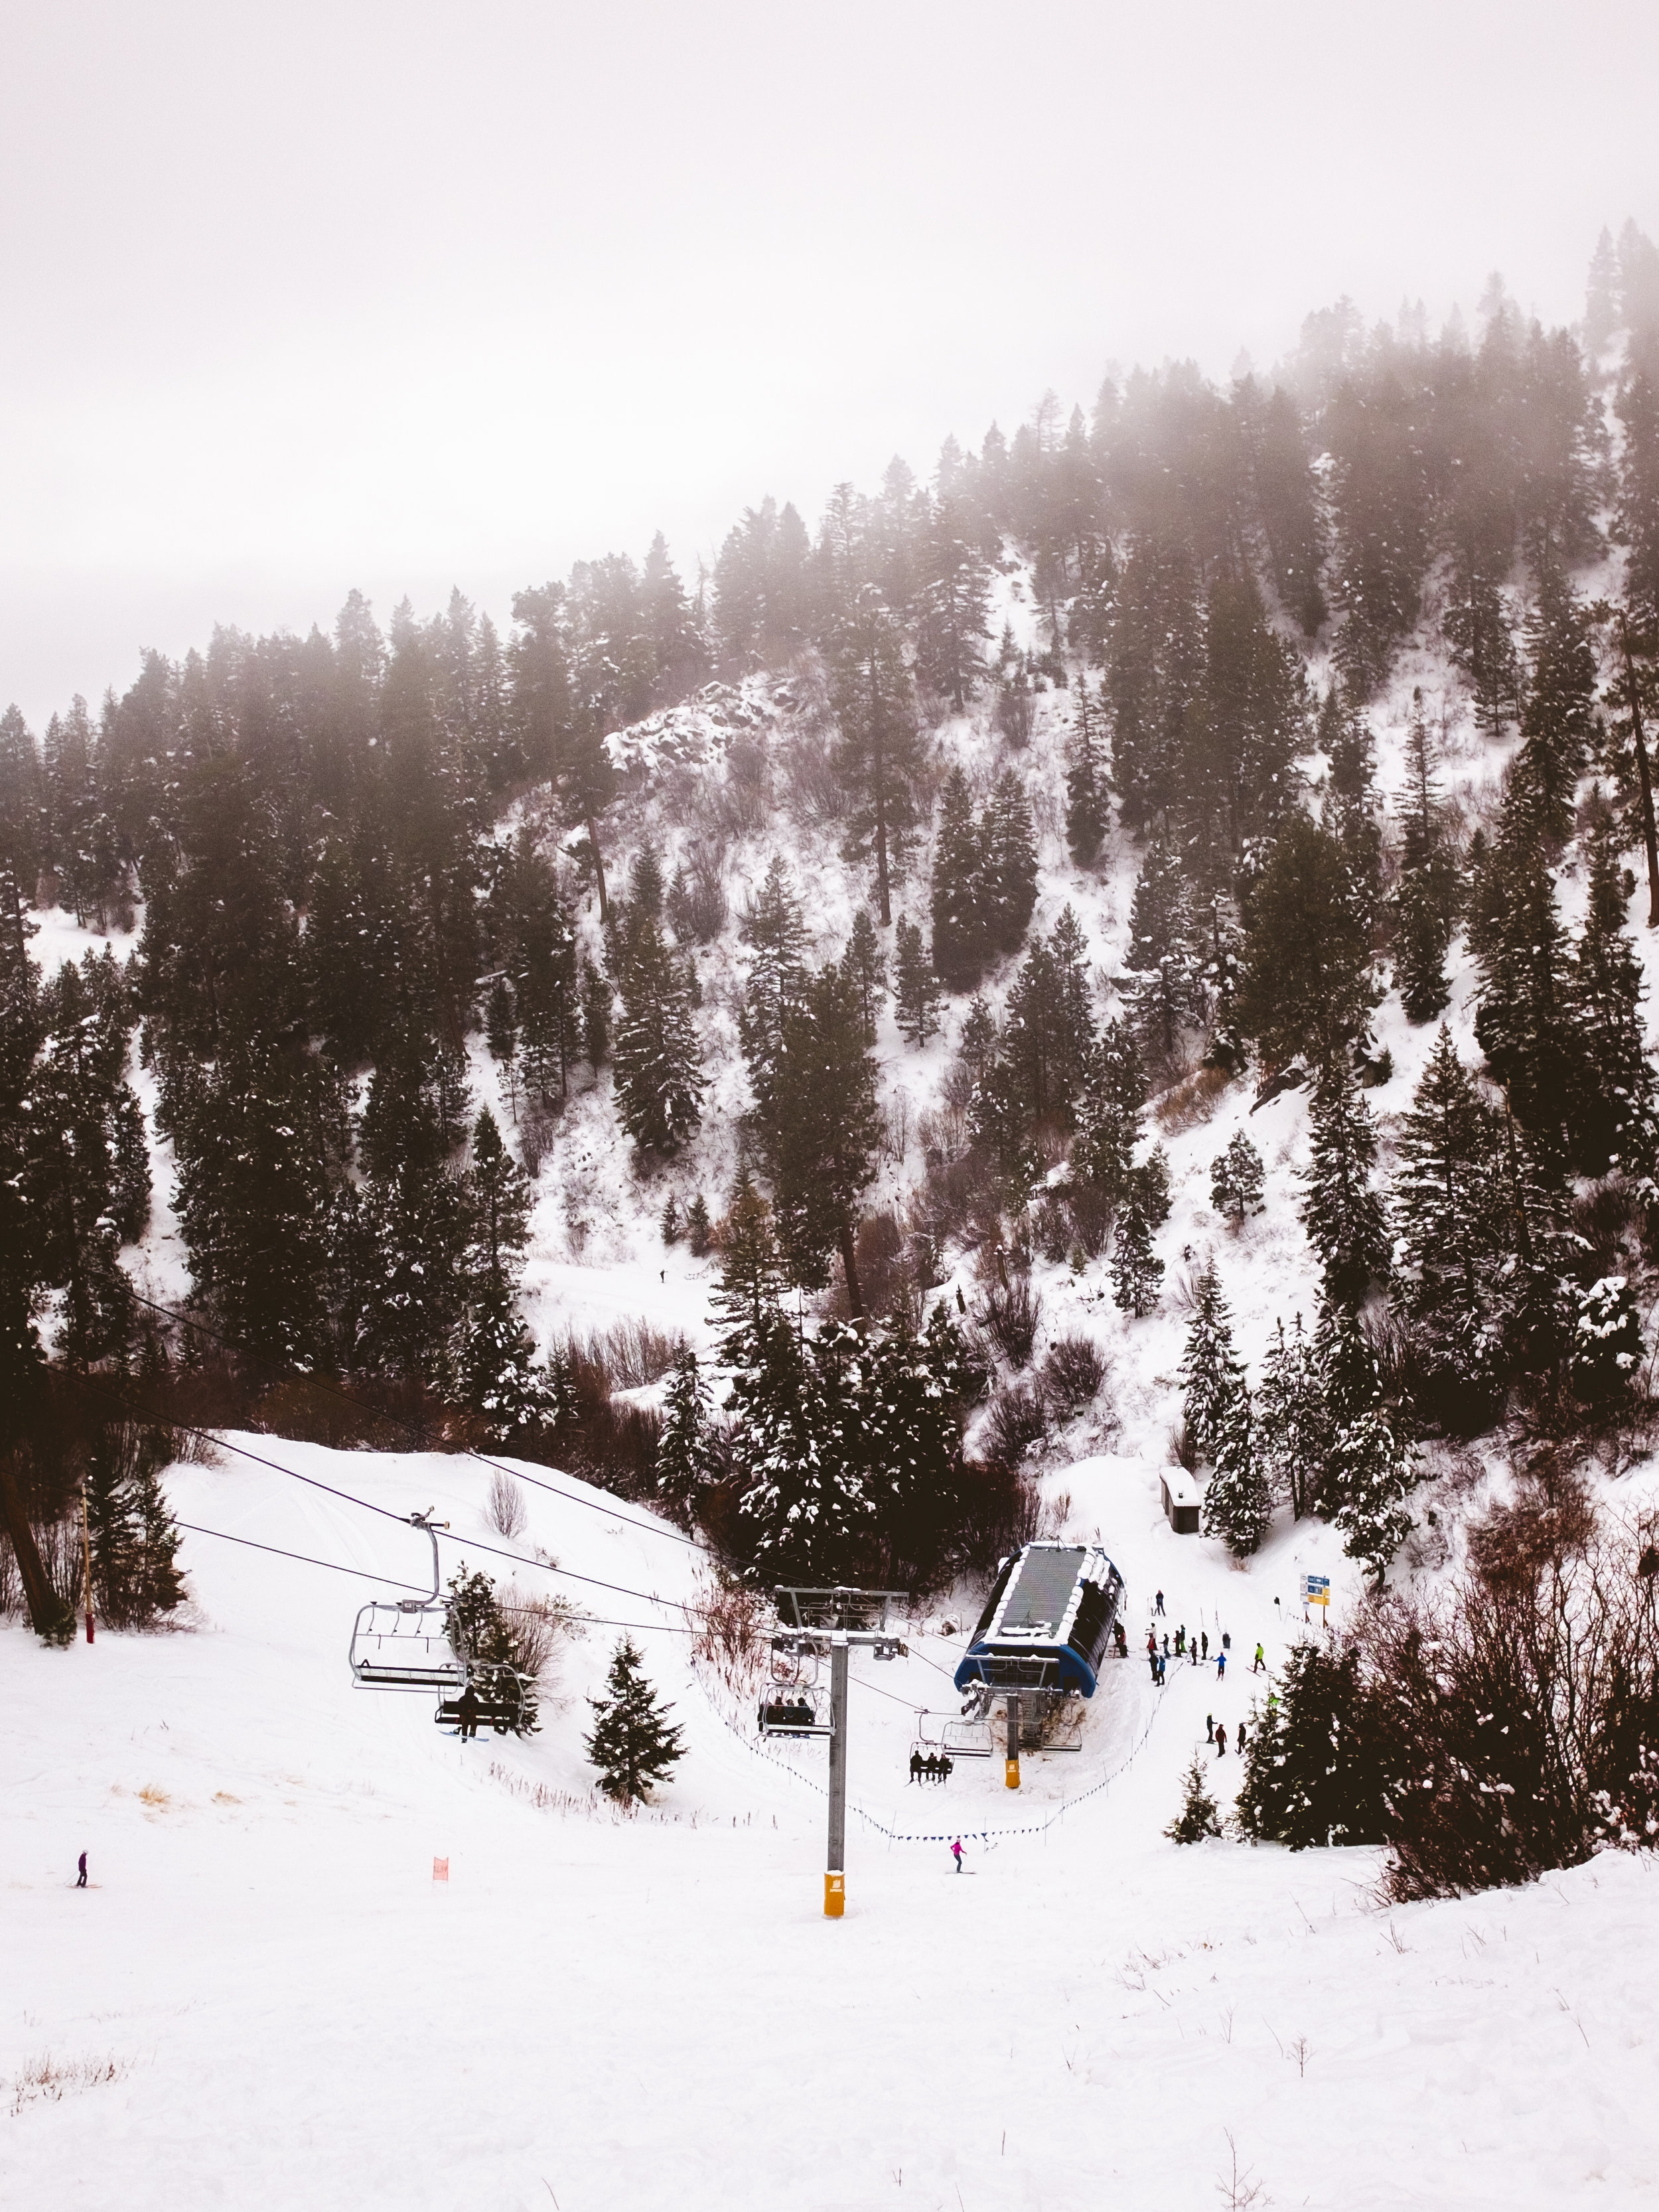
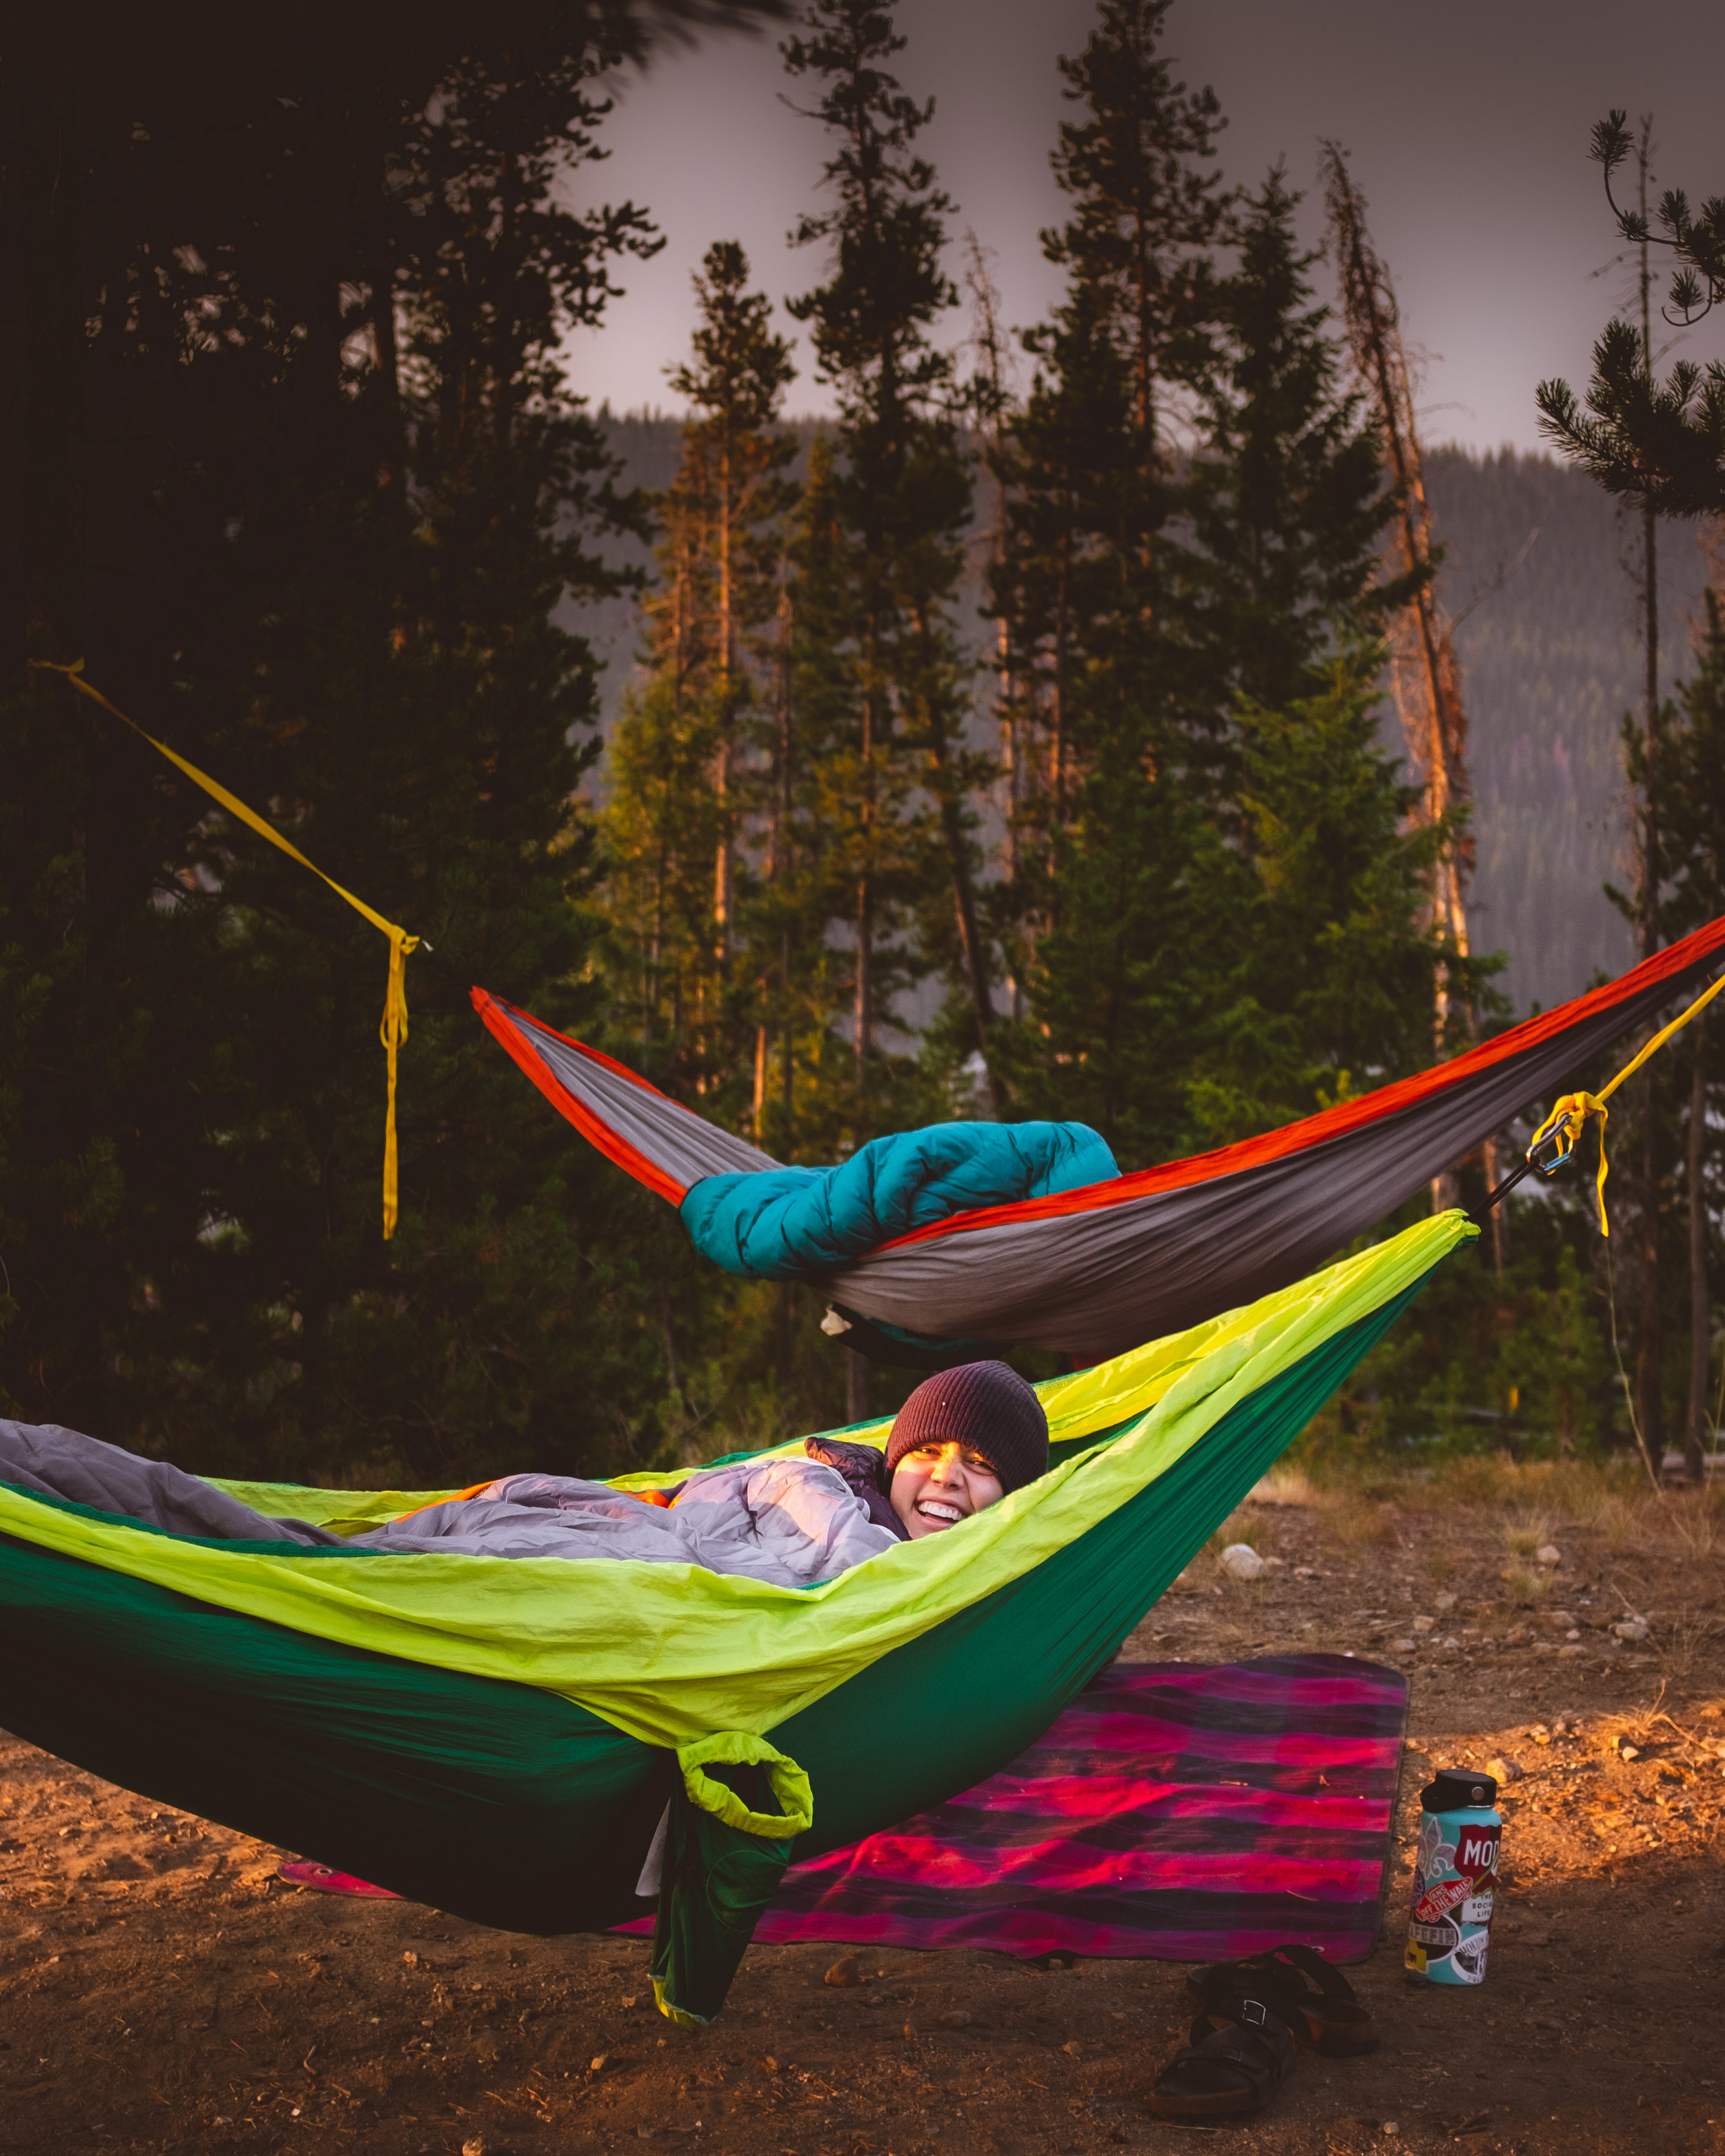
So this year Bogus decided not only to buy snow guns but to make so much snow they were able to open before Brundage! Opening the whole mountain just last saturday I instead of being smart and writing essays I decided to go ski with my friends. There was fog and the snow in the trees was heavy but it was hands down the best first day I’ve had in Idaho. It also helps to have a good group of friends to drag you up durn the last days of finals.
OREGON TRIP DAY 3
Can’t believe how long ago this trip was and how busy I’ve been since. It’s wild to think that I have 18 credits this semester and the amount of things that I need to get done in the next two weeks is crazy. That being said it’s always good to remember the times you could take a brake and simply enjoy what’s going on around you.
This was the last day I stayed and before I drove back that afternoon I made sure I visited downtown Portland with the friends I stayed with. So that morning we headed downtown taking the MAX and walked around. I was blown away at how I could totally see myself in that city. The people kind of sucked but I just loved all the places and things to see.
Finally, a funny photogragraphy related story about this last trip. After shooting all day before and not charging any of my batteries I figured I had just enough juice in my Fuji so I decide to bring it along. Well it turned out that before I could even take a picture it died which meant all the pictures I took were on my phone and edited in Lightroom. It was a bummer the Fuji died but it was fun seeing what I could do using the camera that’s always on me.
Oregon Trip Day 2
The second day of the trip I had two hikes planned in the Washington side of the gordge. After some great pancakes and french green tea we left early that morning to start our day. I was a warm cloudless day with some smoke in the shy to create some great atmosphere. The first destination was Panther Creek Falls and after a short walk it was obvious that the trail down to the falls was closed, which was a bummer. The upper part of the falls was full of light coming in from the trees making the images hard to get. Luckily I found one composition for a long exposure before it too was ruined by light.
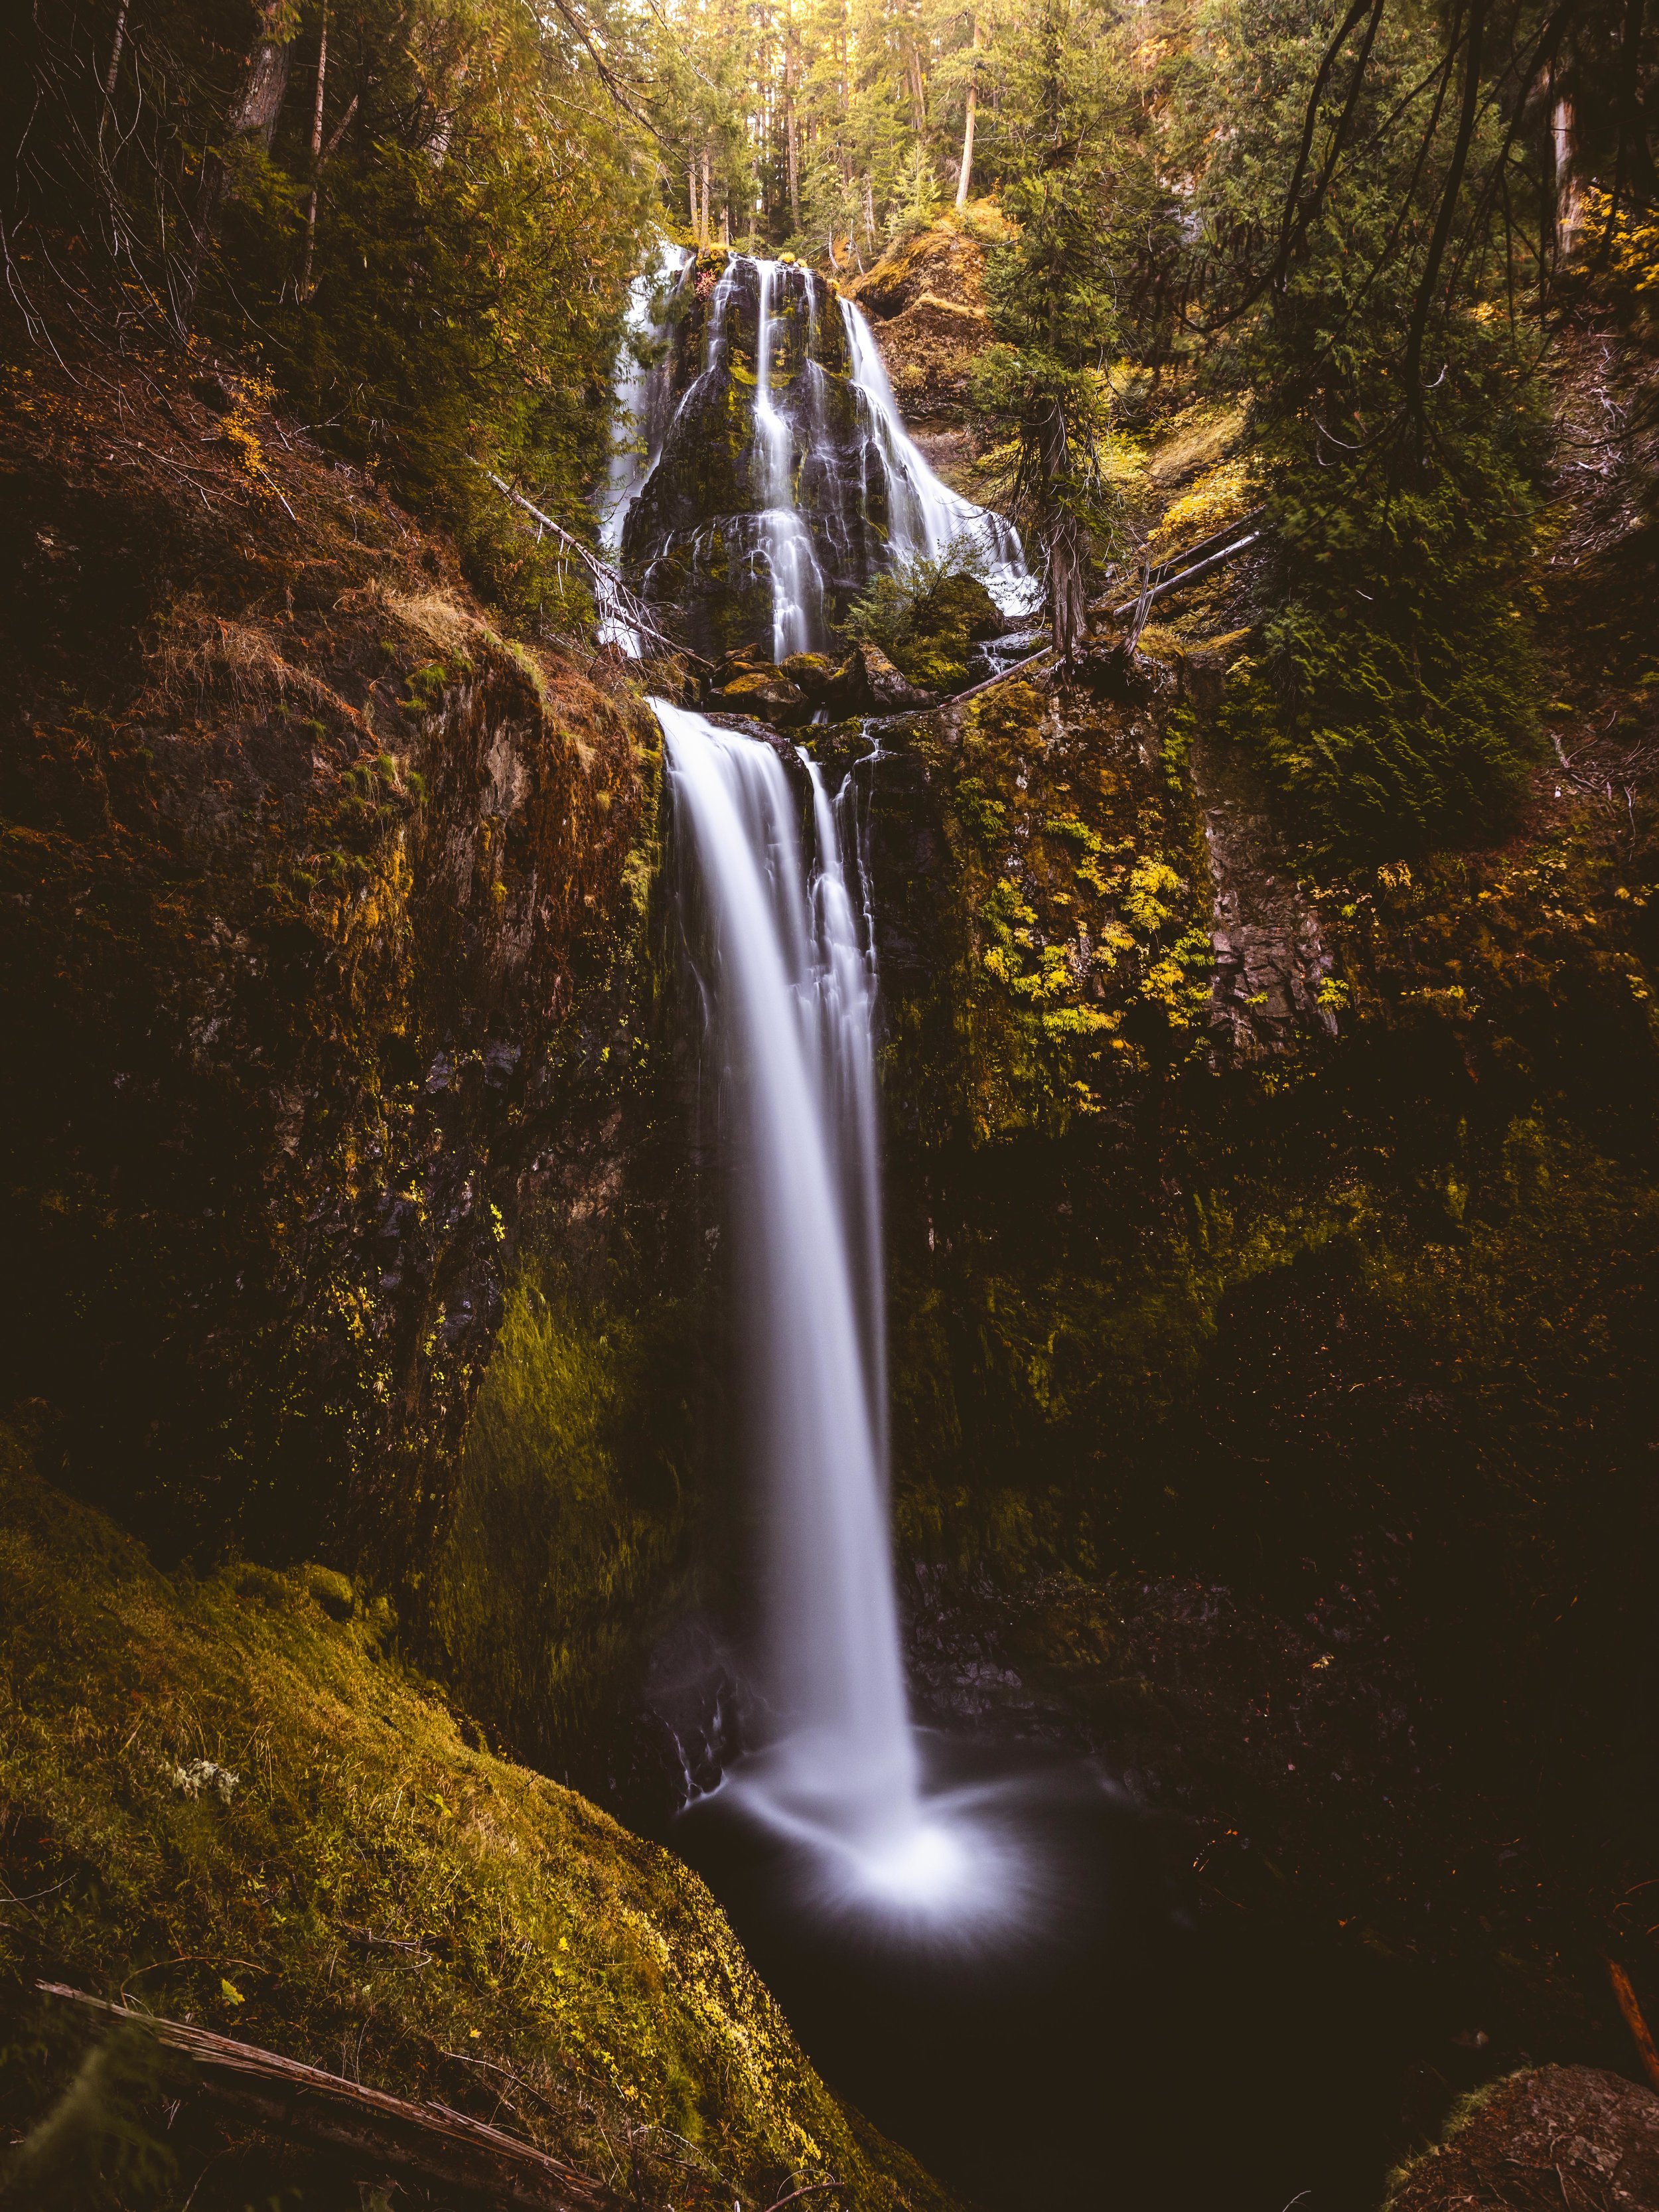
The second destination was Falls Creek, Falls which was a place I had no clue about until the night before. Being that it was a real hike about 2 mile mostly straight up my drive to get to the end was a bit lacking but my goodness was it worth it. These falls are un real. There’s two positions to view the falls from the first is from far away including the lower falls and the second is at the bottom of the upper falls. Absolutely a stunning place.
Oregon Trip Day 1
I usually fit all of a trip into one blog post but I think that this one deserves one fore each day as I feel like I accomplished a lot in only three days in a place I’d never been before. That being said the first day driving to Portland I did what probably everyone and their mom does going that direction, and stopped at Multnomah Falls. That whole part of the highway had been marred by a wildfire but I was surprised how green everything was despite that.
This post will pretty much be all the images that I captured from that location. Something that I find interesting as a person who started an Instagram early on is there are location you see all of the time and this is one of those. The challenge was to get something I enjoyed that others haven’t done and all I can say after being there is there’s not much original you could do. Not to say there was nothing just it was difficult. So much so I ended up dropping off my LowePro bag and going back a second time with only me and my Fuji to see if I could get something interesting.
My Film Setup
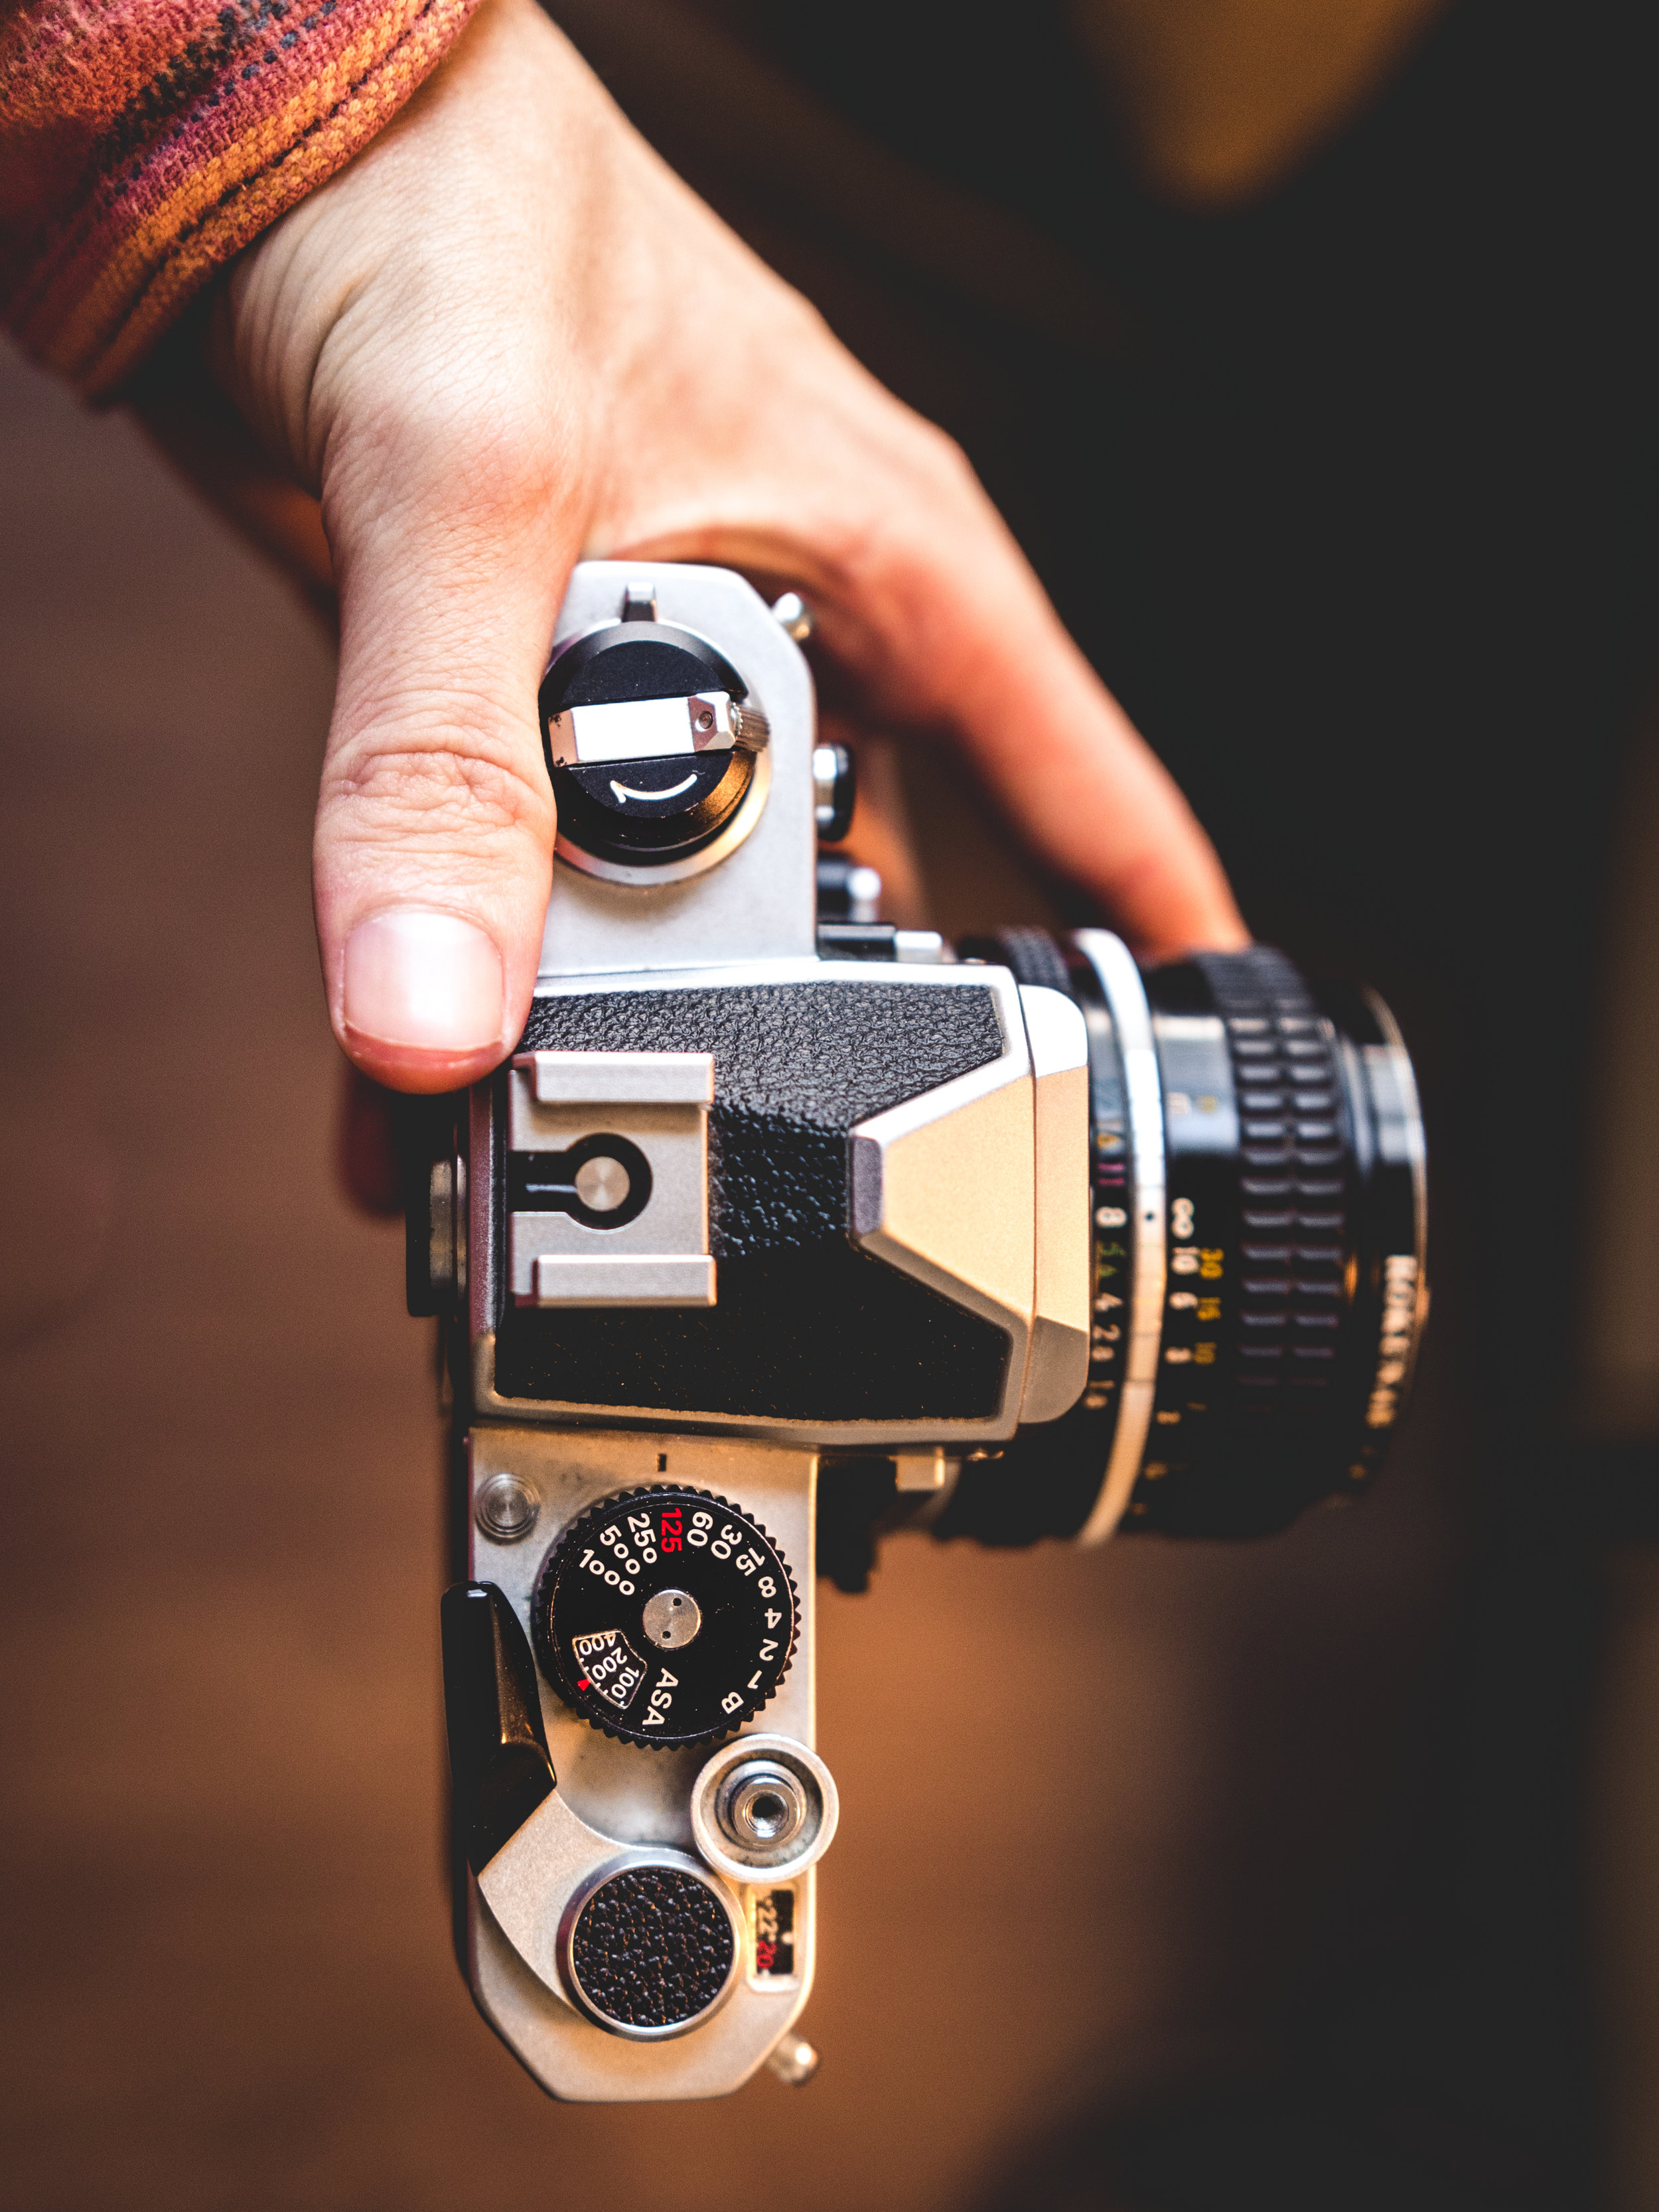
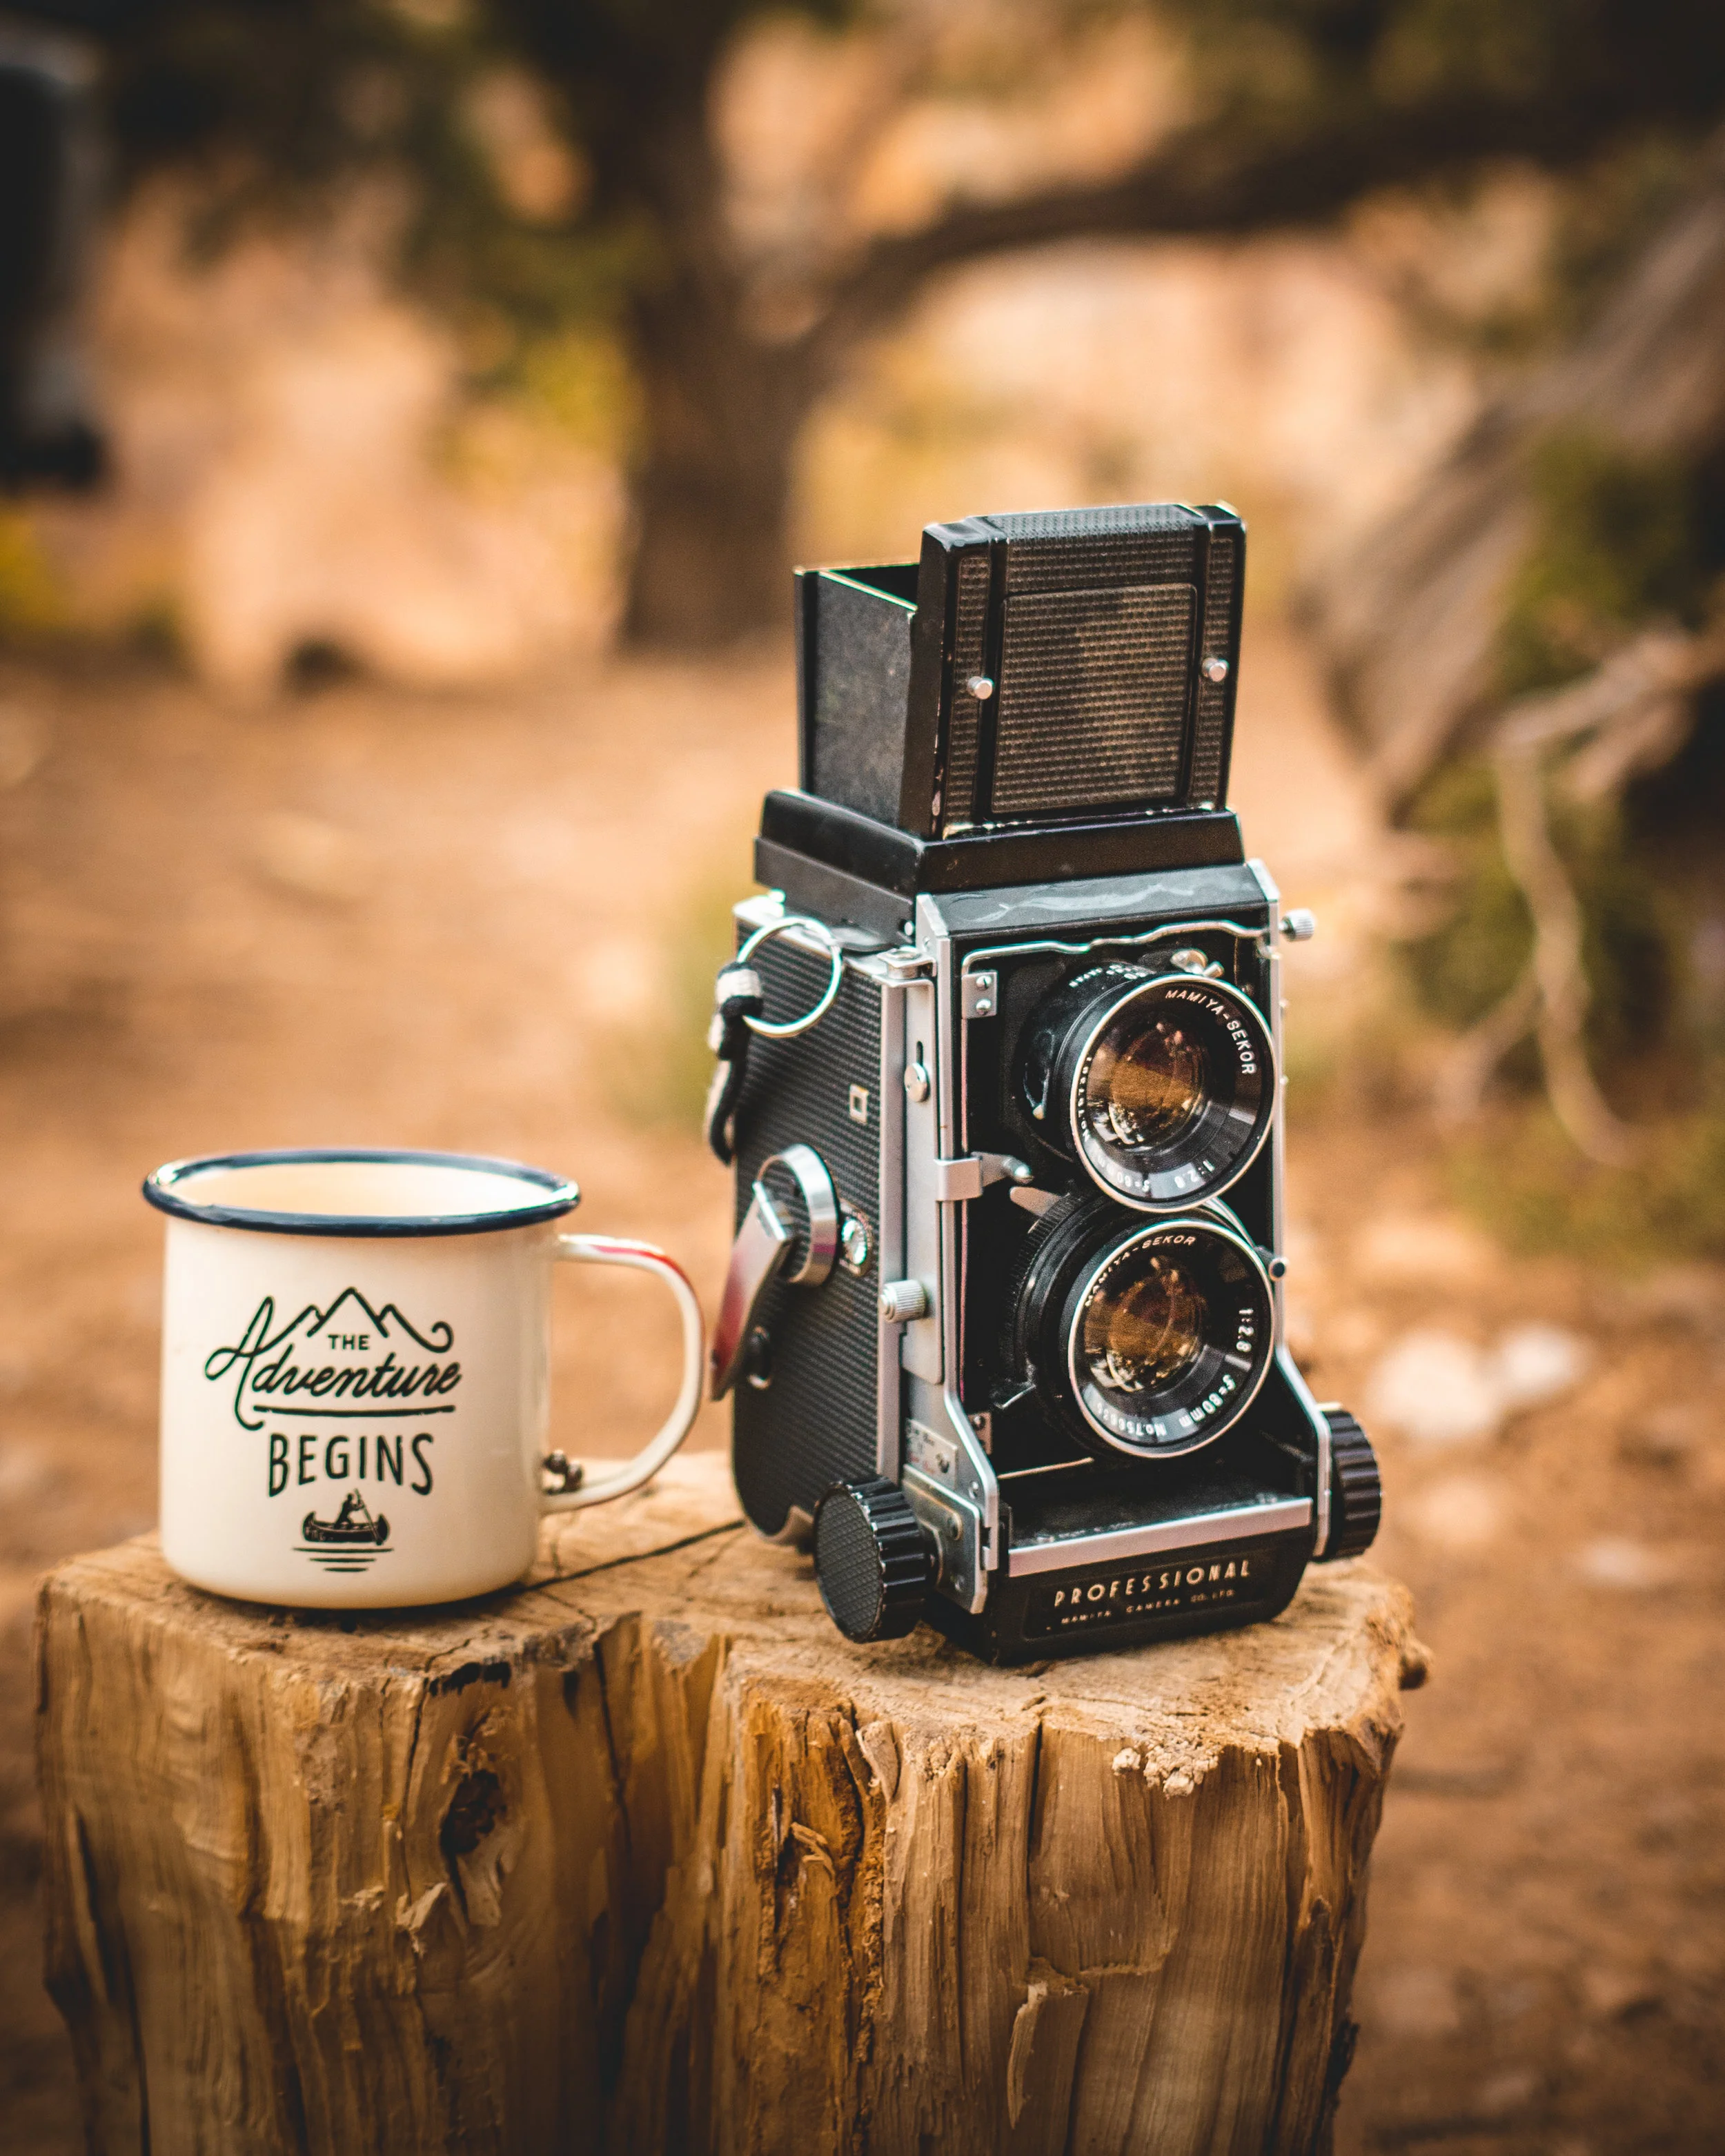
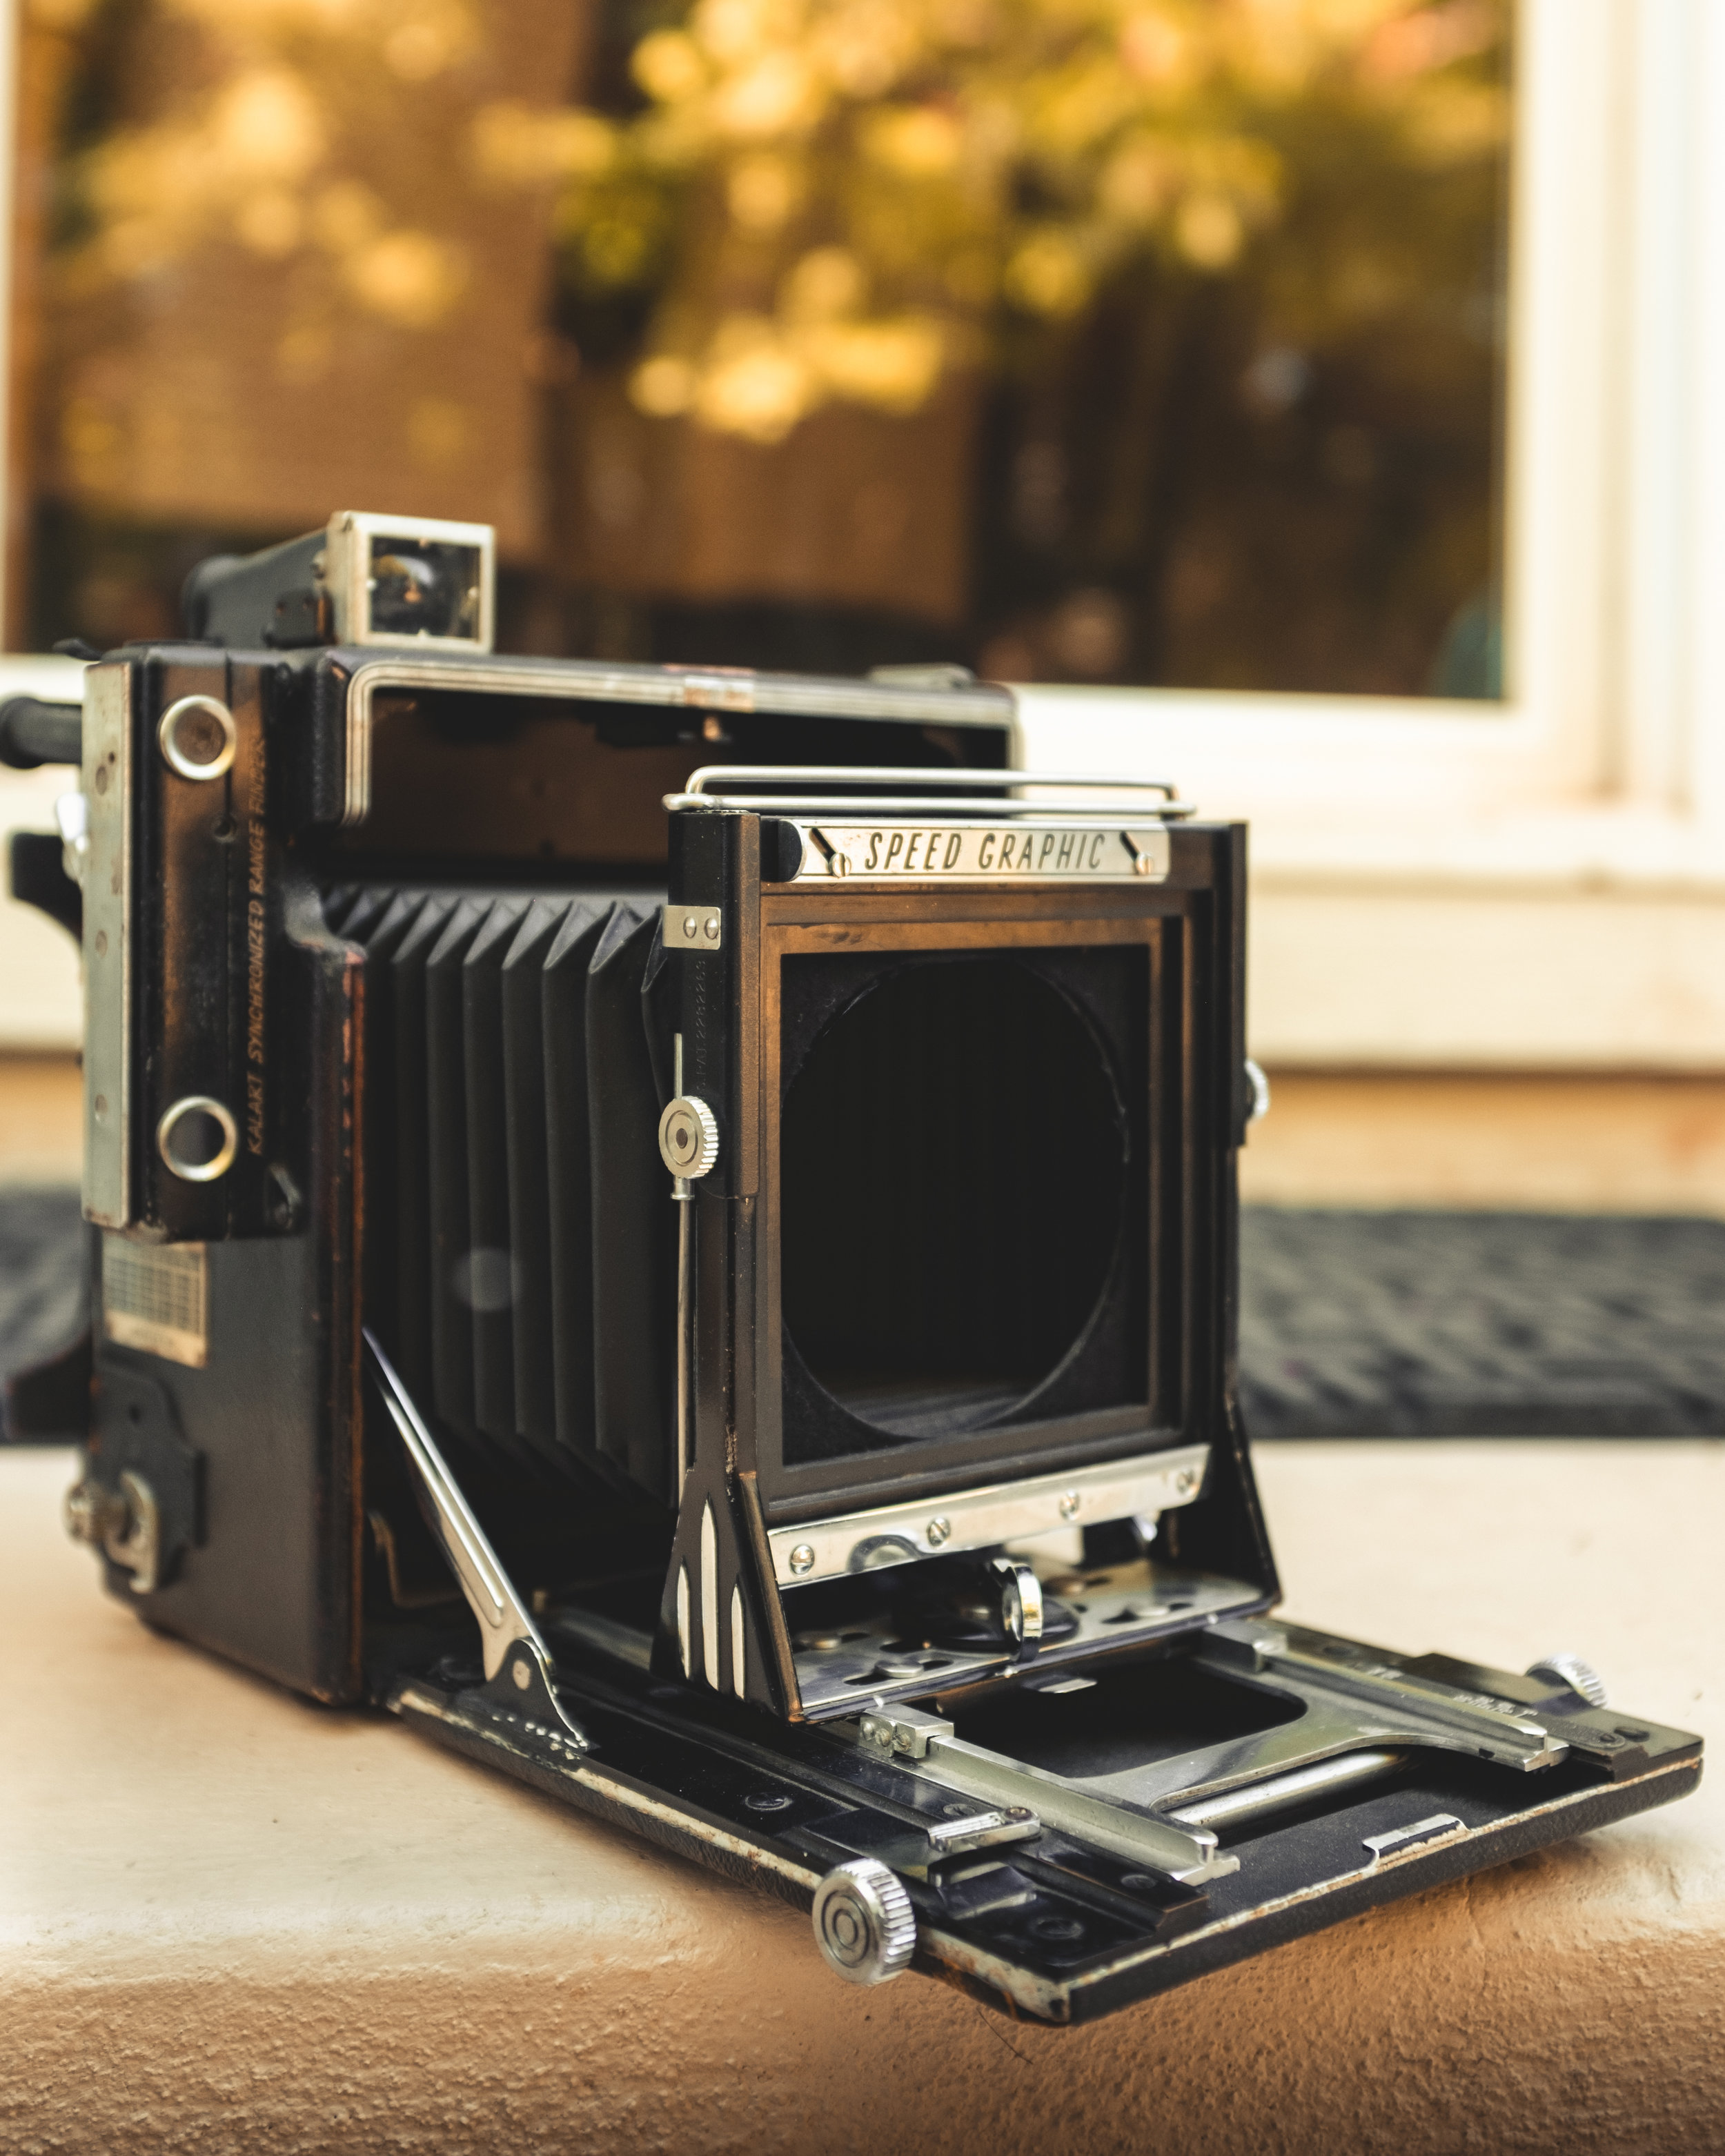
My film setup is much larger then is probably healthy for someone who isn't a working photographer. They are all special camera and I love the character each one has. I have't shot anything from my large format camera but I am super excited about it. For each one of my camera's/gear I'll explain where I got them, why I have them, and what I think about their use.
My first camera is my Nikon FM with a Nikkor 50mm F1.8. It's actually my father's camera that he gave to me to use for my first photography class. He originally bought the camera at the B&H flagship store in New York City while he attended Columbia University. It's my understanding it was easier to take images of figures and papers then it was to pay someone to hand copy these documents. Either way this is still an very popular film camera because of its simplicity and reliability. I love the portability of this camera and the look of the 50mm lens is exceptional. This camera has been and done everything and is still trucking away creating beautiful images.
My next camera is my Mamiya C3 with a Sekor 80mm F2.8 blue dot lens. This camera I bought because I was lusting after the razor thin depth of field medium format cameras create. I knew that going from 35mm to 120 film wasn't much of a jump so I stared looking on Ebay. At the time all I had was $100 to spend so I waited and pulled the trigger on the old Japanese TLR camera. After it had arrived I dropped the camera and broke that lens. So long story short I bought a new lens tested it and was happily surprised with the result. All in all, I spent way too much however I absolutely love the feel of this camera and how it slows you down while shooting.
Finally, my most anticipated purchase the Graflex Speed Graphic with a Wollensak 127mm F4.7 yellow dot lens in a Graflex shutter. I found out that this is actually a 1941 anniversary edition Speed Graphic. Right now I'm having issues mounting the lens on the camera as it is on the board. I haven't shot with this camera yet but I knew that this type of camera is only getting more popular and expensive as it rivals even the best digital cameras. Not only will it provide some of the most detailed images you can create but it takes portraits to a whole other level. The detail and fall off of this format is impossible to simulate. Can't wait to shoot with this camera and create amazing images.
This isn't a camera and I don’t have a picture of it, but it is a very helpful too for my two larger format cameras. It is a Sekonic L-398 Studio Deluxe incident light meter. It is used to find the exposure while in the field and it works quite well. It doesn't require batteries so it will always work and therefore it's an invaluable tool for created film images in the field. I again used eBay for this purchase as I find it's the best place to find used camera equipment, as long as you know what you are looking at.
Box Lake OP Trip
Last weekend I decided to avoid homework and go on a backpacking trip with The College of Idaho Outdoor Program up to Box Lake near McCall, Idaho. It was a pretty easy trip only about six miles or so there and back with a nice camping area right next to the lake. About five or six minutes after we set up the tents the sky opened up and the temperature dropped. It was kind of scary because when the wind picked up you could see your breath being erased by the rain.
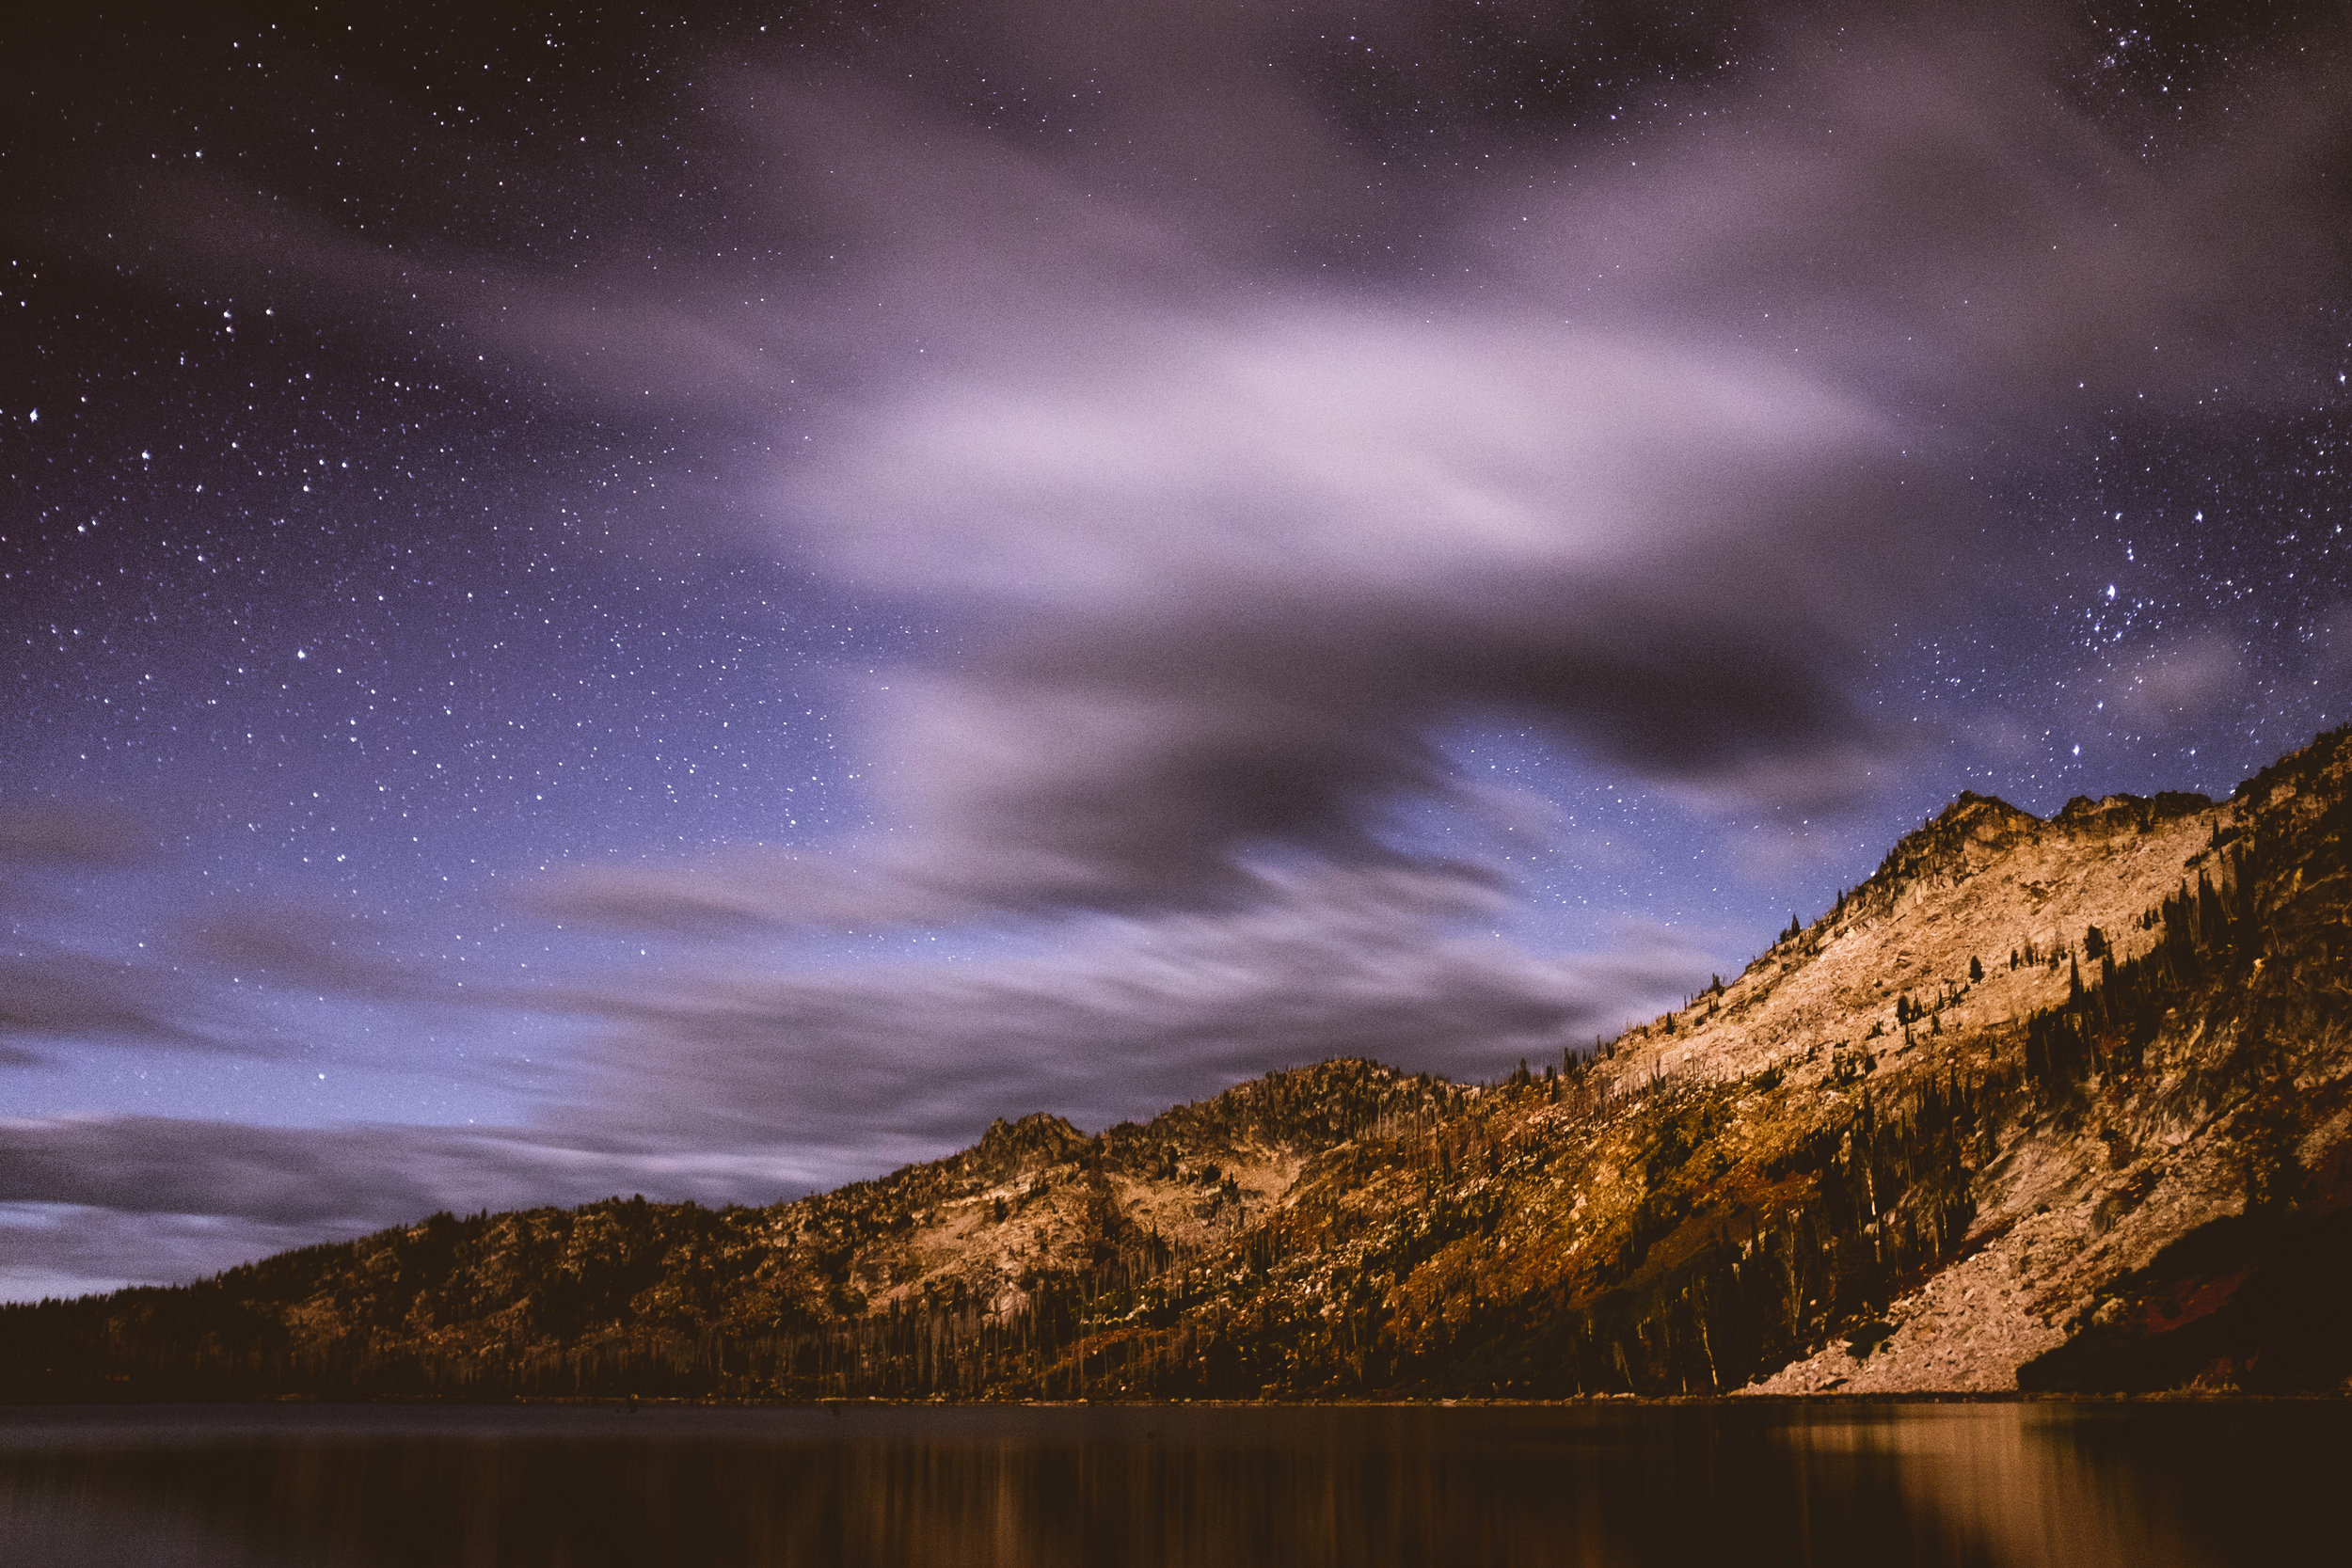
After an hour or so of freezing rain the clouds cleared and the temperature rose. That night with the combination of a bright moon and long exposure. I got some truly interesting images. What made this trip different was that I used only my Fuji x100s. Usually I just take my larger camera kit but this time I tried to keep it simple. All I can say is the Fuji is a really fun camera to have around and it produces some great images, I do still miss my Canon but not enough to lug it up a mountain.
Shoot Landscapes in Wildfire Smoke
While I was up in Stanley Idaho there was lots of smoke coming from two local fires and some from California. Needless to say, shooting beautiful landscapes in these conditions can be really hard. So here's a couple tips on how to get an image without any smoke. As an ethical disclaimer I always believe it is better to show the scene as it was but this can be an important skill if you are on the job or just simple dislike it.
The two biggest tools you have if you are using Lightroom is the dehaze and clarity sliders. Yes it may seem obvious to use these sliders but the trick is making the result look realistic, these tools over saturate, over contrast, and create color shifts which can ruin your image.
- Dehaze - I start with this slider so I can get rid of most of the smoke haze before I flatten my image with the highlights and shadow sliders. I adjust this as much as I can before I see the smoke either go away or till the color shift seems like too much.
- Flatten - Flatten the image with the highlights and shadows. Simply make sure that you aren't introducing more grain or making your highlights go gray.
- Contrast - Add whites and black using the alt or option key to fine tune the contrast you are adding. Make sure you aren't blowing you information.
- Color Temperature/Saturation - This is the most important part. Make the image the temperature you want and then use this simple trick to get your colors back. Decrease the saturation to an unrealistic amount and then use the vibrance slider to bring it back to something better. By decreasing the global color and then increase the less saturated colors you even out the overall look of the image.
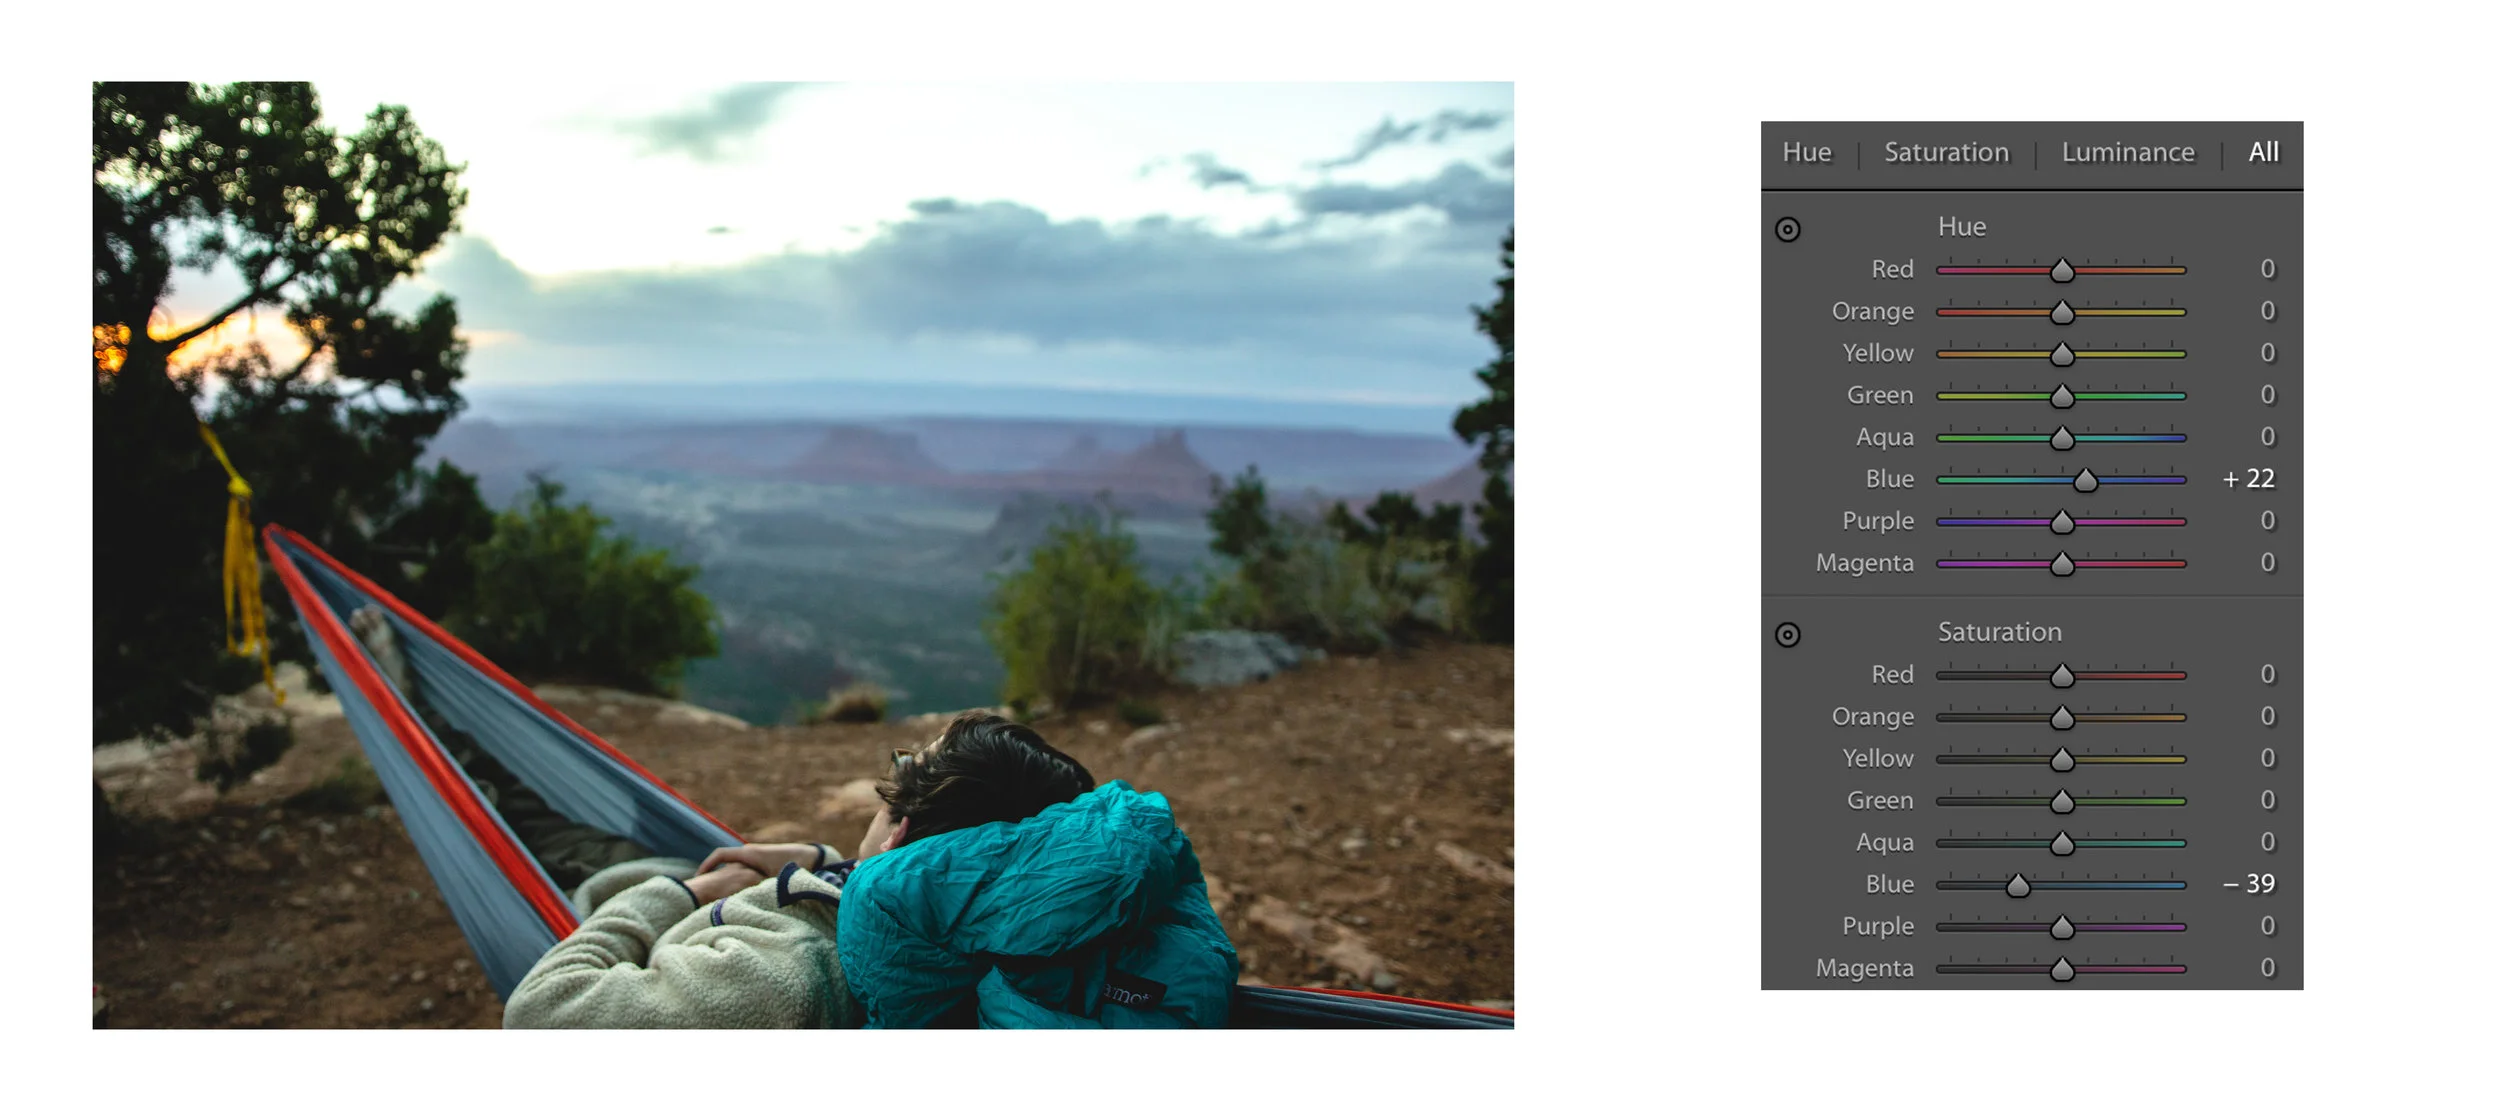
- HSL Sliders - I use the hue slider to get the colors back to where they should be. Also, if you are still having saturation problems this is where you can do even more to get it back.
- Local Adjustments - This final step will bring your image to life, draw the eye where it needs to go and open up the shadow areas locally to create a more dramatic dynamic of light. Also add more clarity and contrast in the areas that are still effected by smoke, this should make these parts blend in with the rest of the image better.
Finally, if you think this is a really sharp image that's really editable then I'd agree. This is one of the first portfolio shots from my Fuji x100s and it's honestly blowing me away. Having shot through my Canon battery from a timelapse I was initially bummed I had to shoot these images on the Fuji as it's not quite as good as the 7D MK II. However after seeing the sharpness of this RAW file I couldn't be happier. I ended up using this camera from a least half the images I published on here and am super pleases with how it pairs with my main camera.
Editing Tips: My Lightroom Workflow
For this blog I'm going to step you through the way I edit all of my images. Just because you follow these directions doesn't mean you will get images like mine but it will get you on the way to creating your own style. I'd like to claim the most important thing to do in photography after learning to shoot in manual is learning how to edit to your own style.
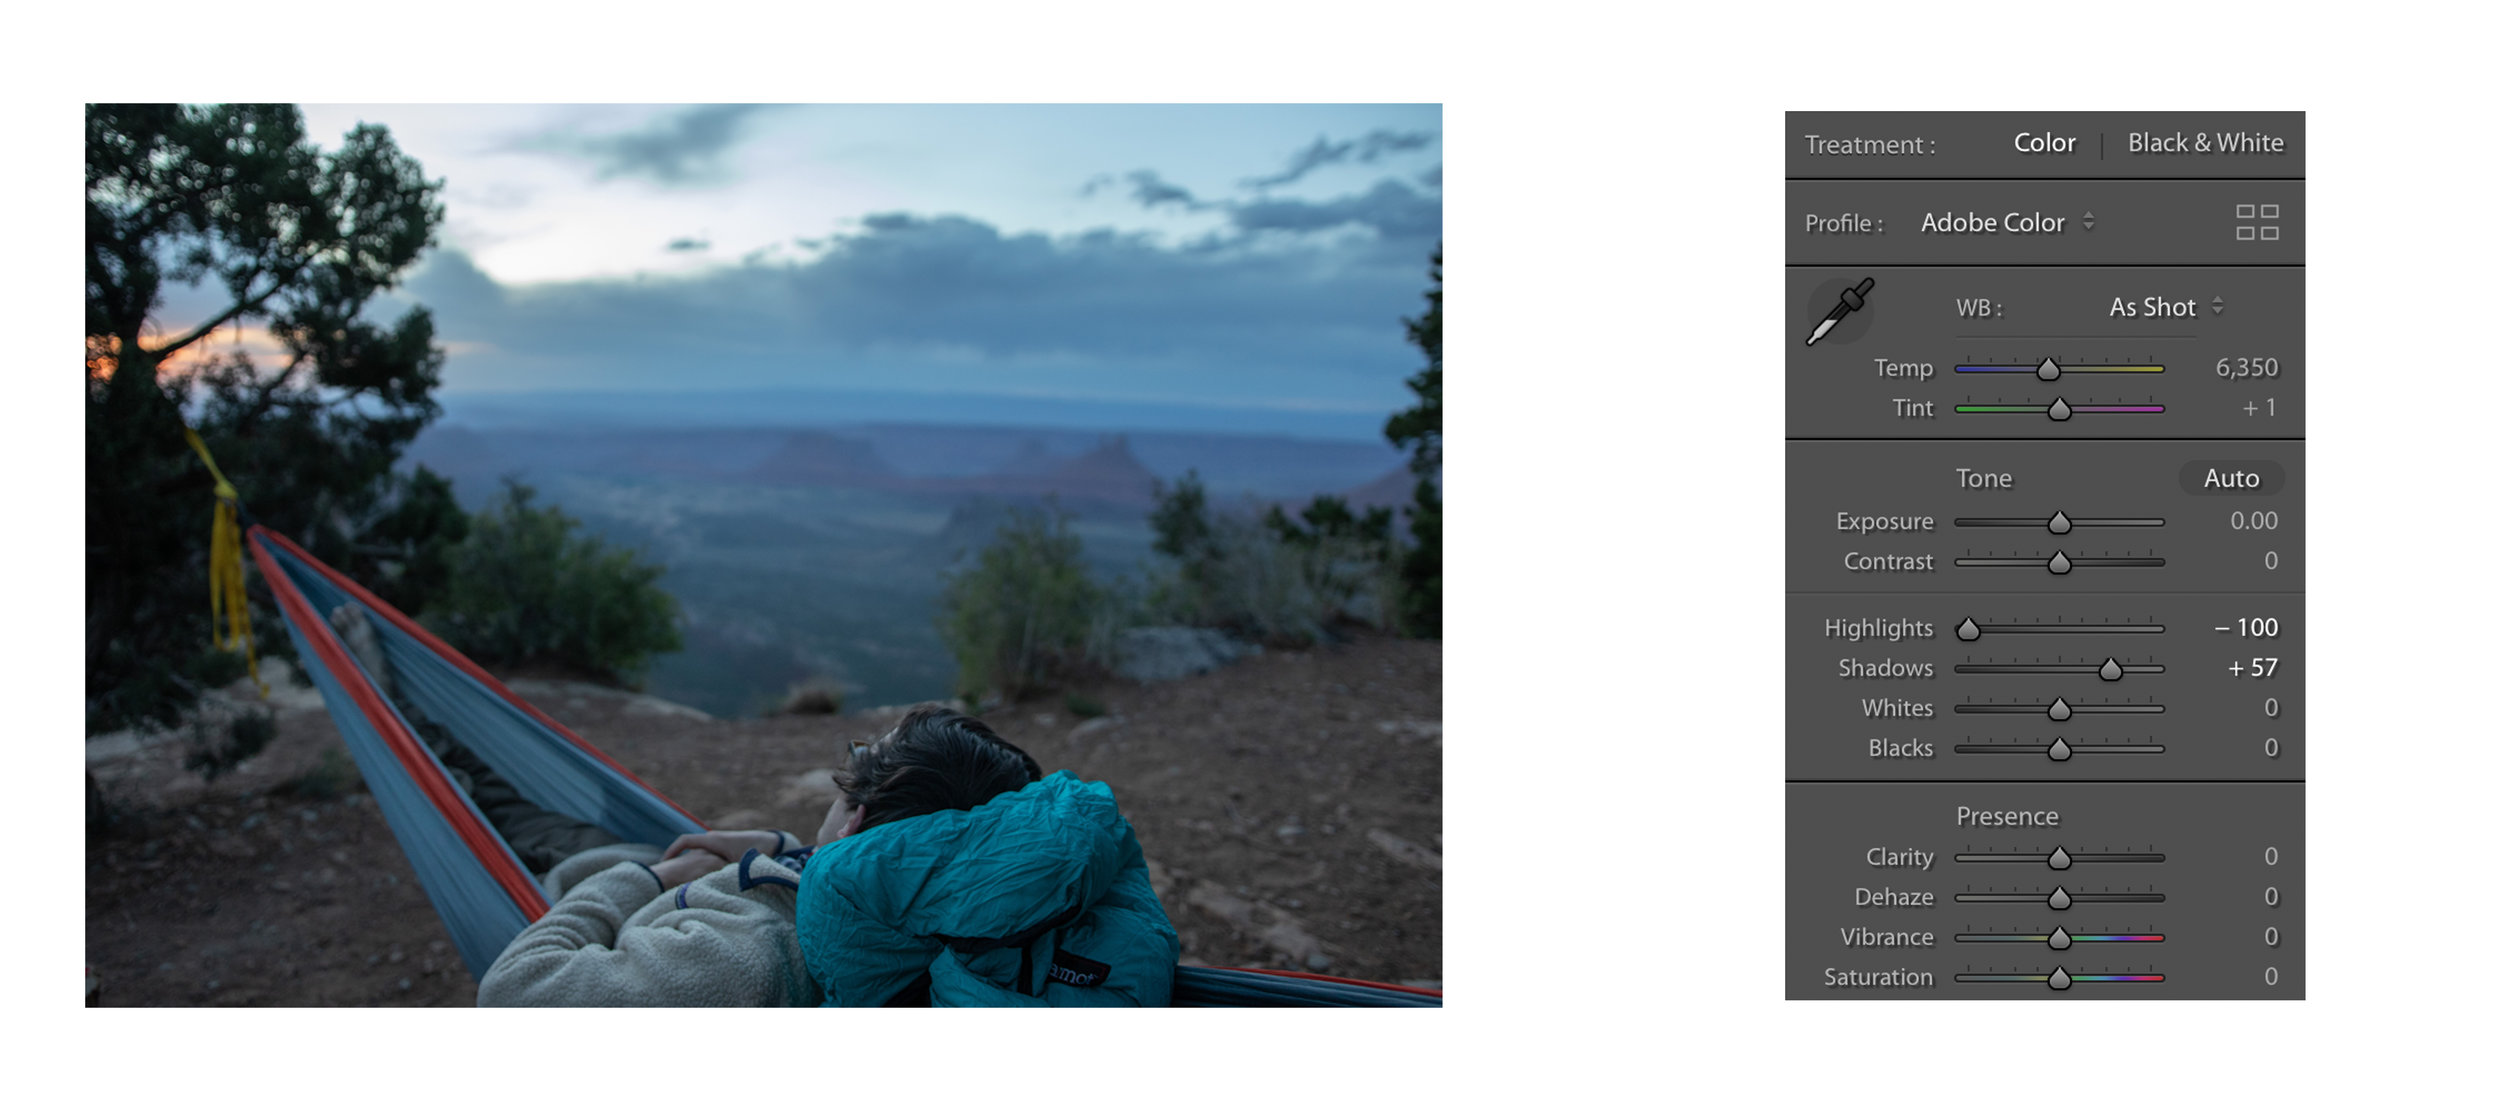
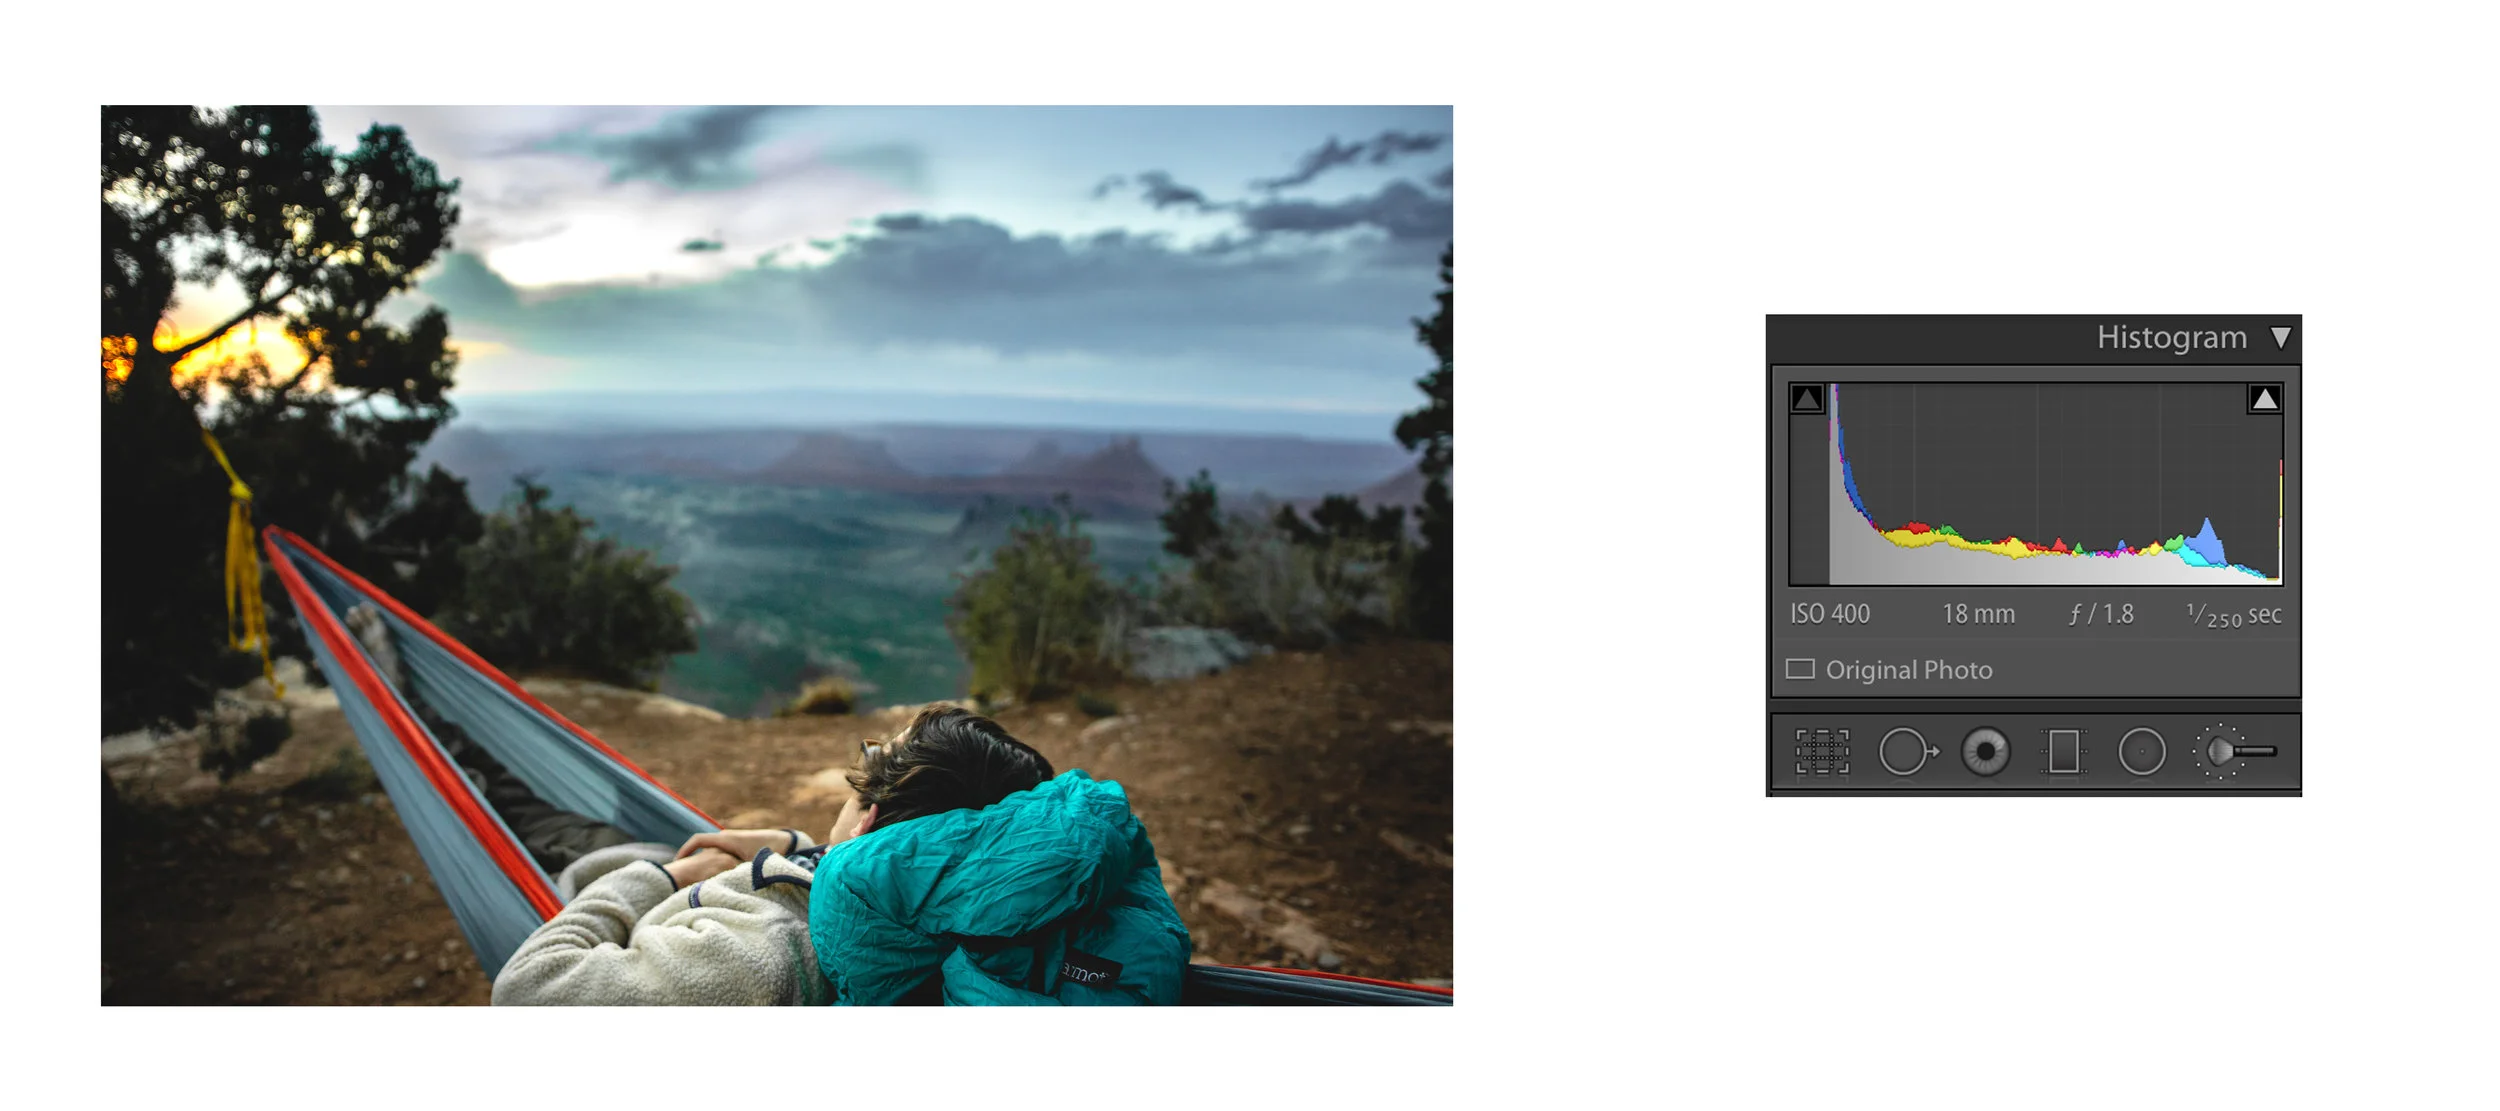
1. Check your histogram: The first thing that I do is check my histogram to see if I need to change the exposure. At this point I also flatten the image by lowering the highlights and bring the shadows up, this gives you the most flexibility when editing but don't over do it.
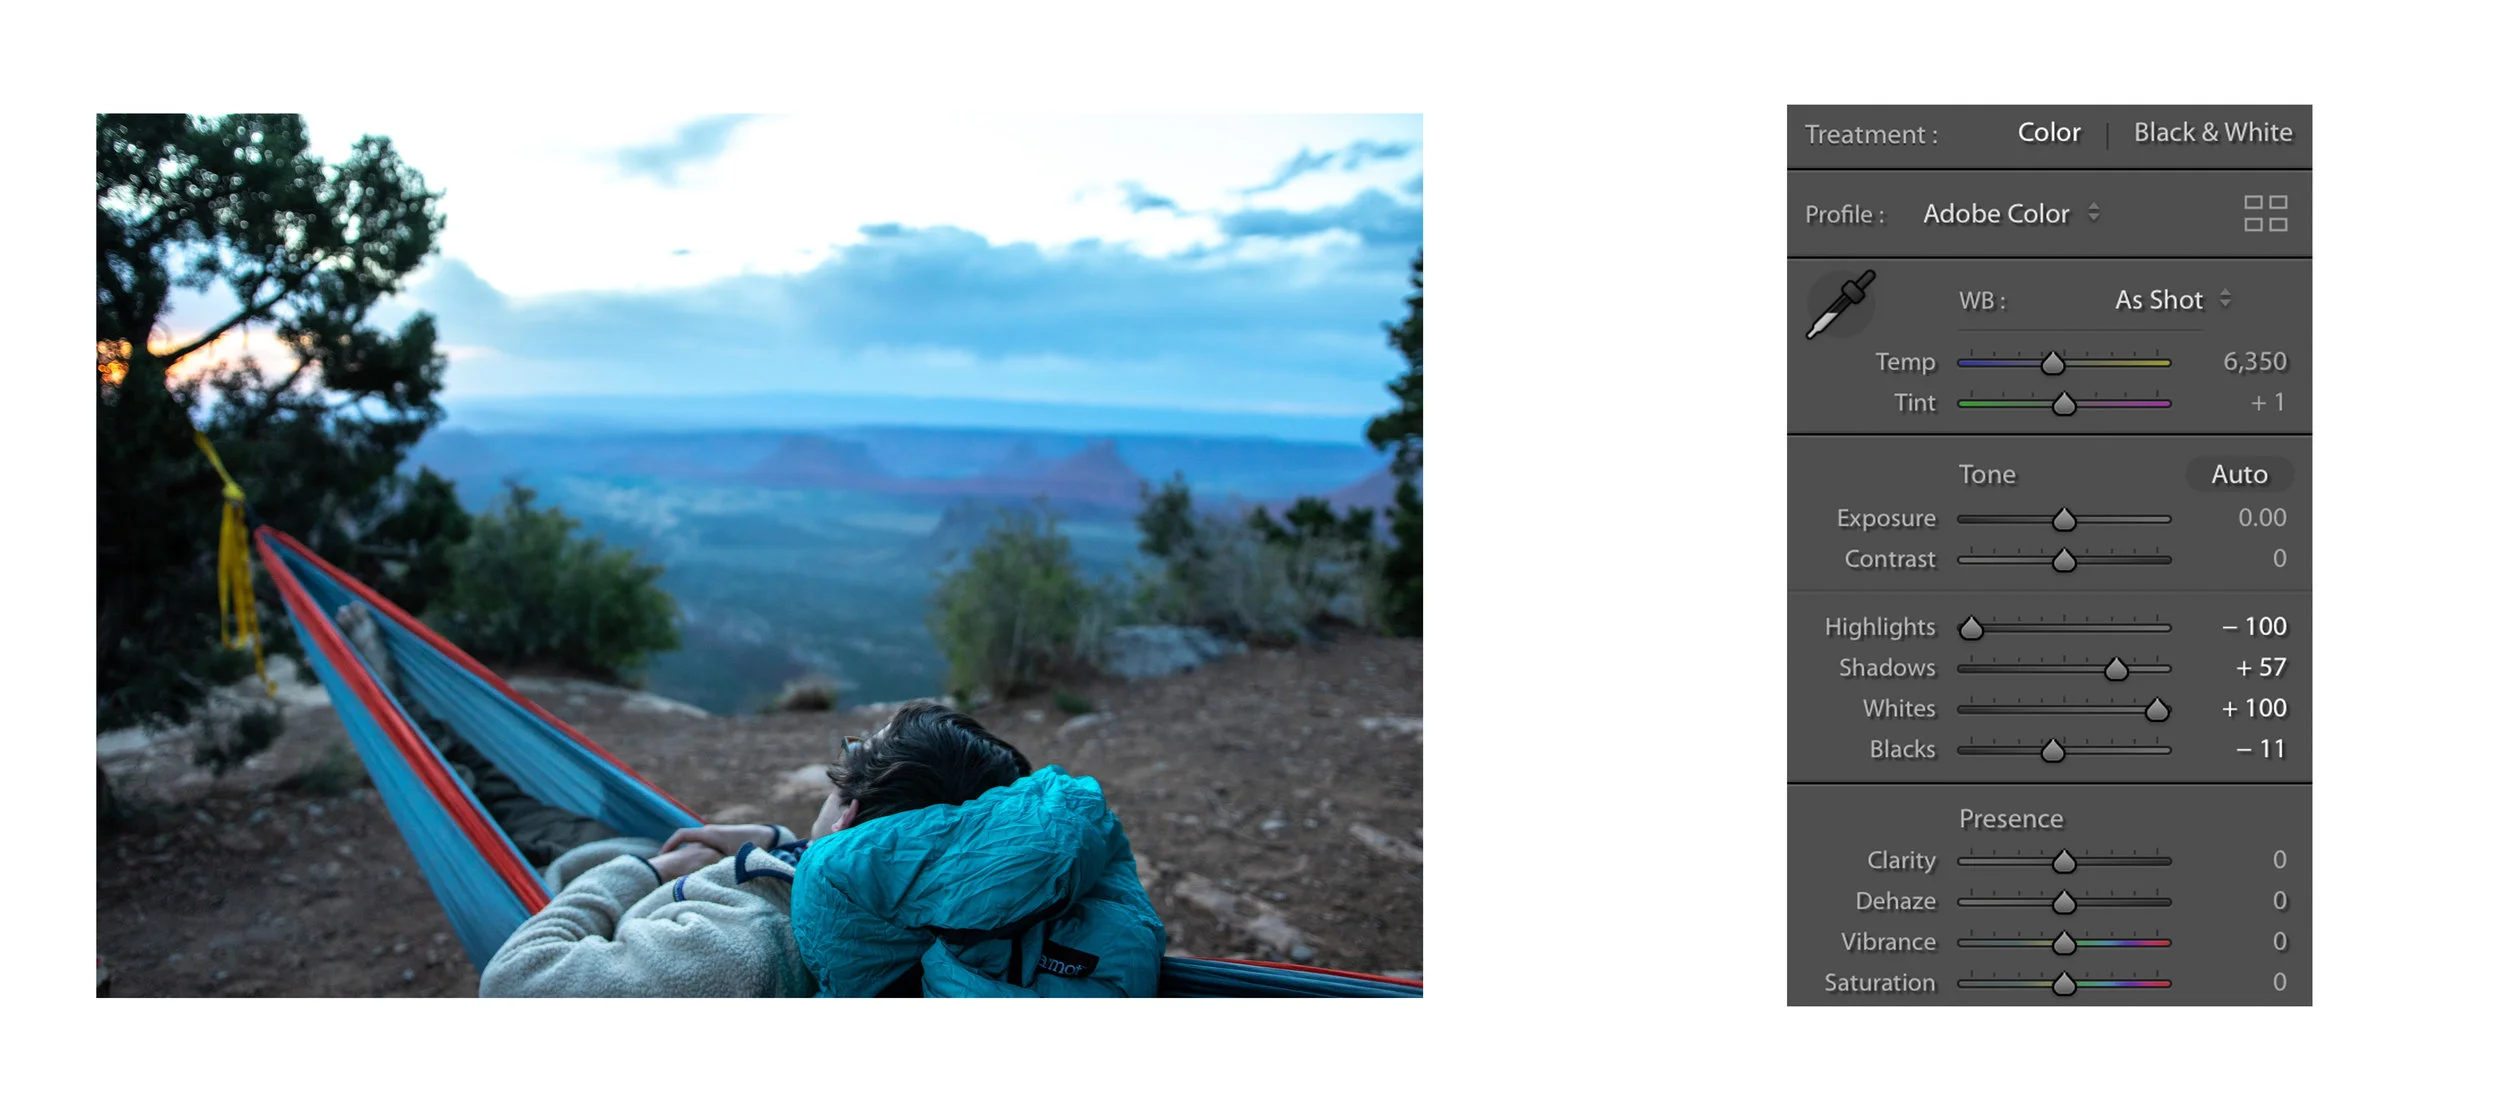
2. Get your true whites and blacks: While holding command or control and moving the white slider your screen will turn white and as you increase the whites black spots will start to appear. These spots tell you where you are clipping the highlights (true white) so I bring the whites up until I just start to see the dots appear. The same thing can be done when lowering the black. I find this is the best way to get natural contrast. This is also the time to add clarity or dehaze if needed, both will slightly alter saturation which is the next step.
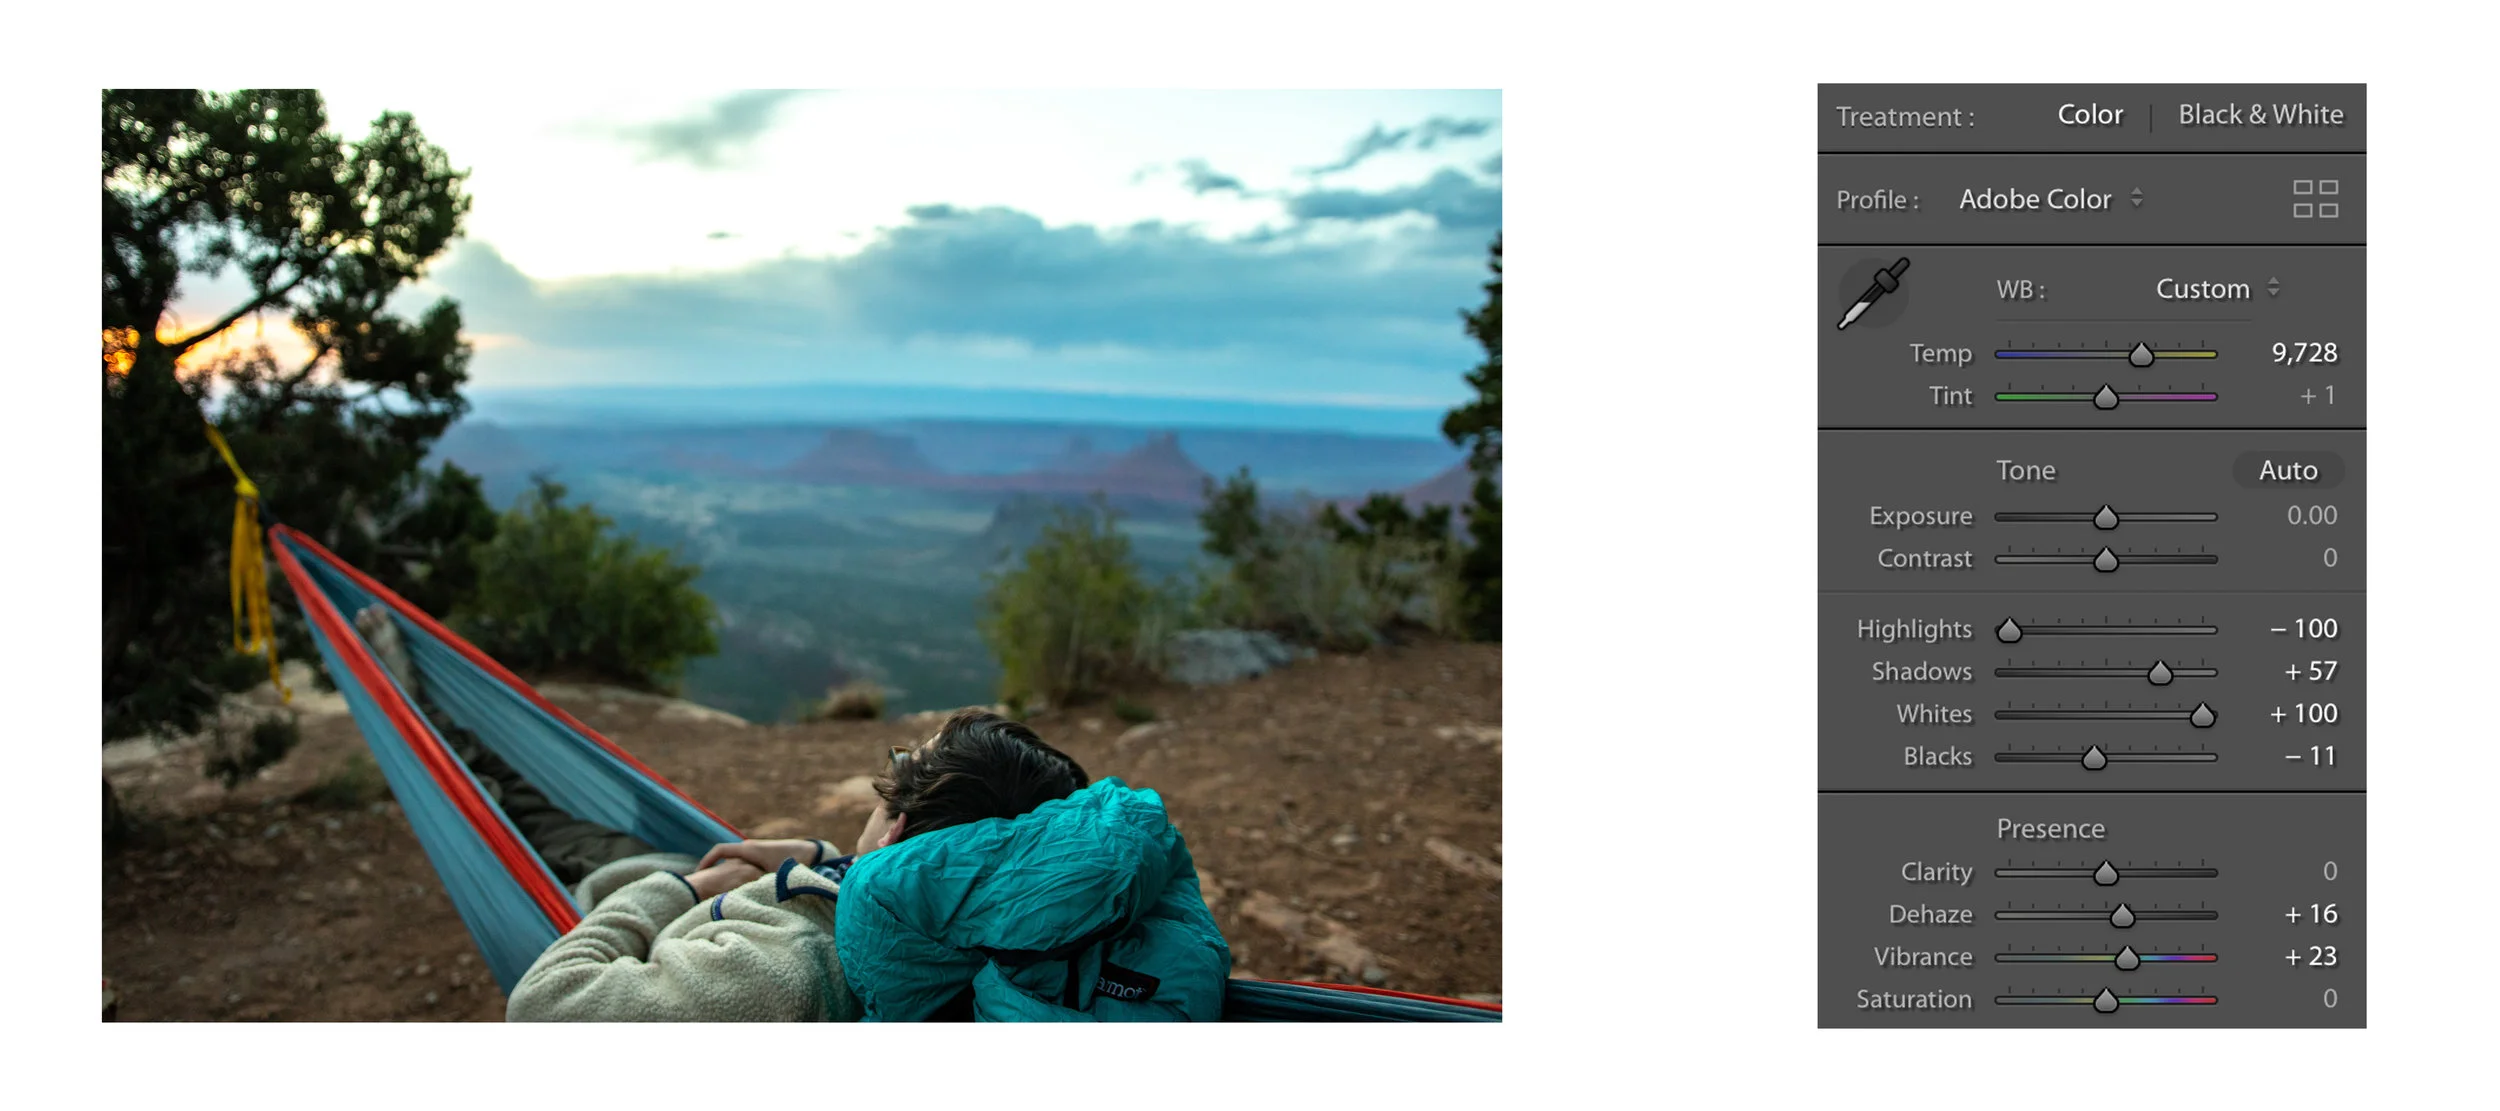
3. Change color saturation and temperature: After the whites and blacks are adjusted you usually get a boost in saturation making color shift more evident. There's no prescription for this I simply just change the color temperature till I like it. If there still isn't enough color you have the choice between saturation (increases all color channels) or vibrance (increases subtle colors, leaving already saturated colors alone), I nearly always use just a little vibrance with my 7D MK II.
4. Use HSL to correct colors: One of the most important things you can do is use the these sliders to ensure your colors are true to the scene. For me I change the hue of blues and decrease its saturation to achieve the look I like. It can also be helpful for increase the saturation of the oranges in a sunset but leave everything else the same. It is really important that you don't over do this as your photo will start to look fake.
5. Cropping, lens corrections, transformations: At this point I focus on making sure the cropping is what I envisioned as well as the horizon is level. There is nothing worse then a crooked horizon! It is also important to make sure that everything that should be straight and/or vertical appears that way. This is where you need to play with lens corrections and transformations. That's actaully one reason why I hat this photo becasue it looks like the horizin isn't straight. Finally, use the dropper to get rid of any chromatic aberration in the high contrast area.
6. Local corrections: This is where you need to take a brake and move on for a short time. It can help to take a step back before doing local adjustments ensure you don't over do it. With the help of the gradient too and brush tool, emphasize the focus of the composition and minimize the distractions. I like a subtle vignette around the corners and adding light to dense shadow areas. If I'm going to print the image I soften the bokeh with a blur tool and then add sharpening in photoshop.
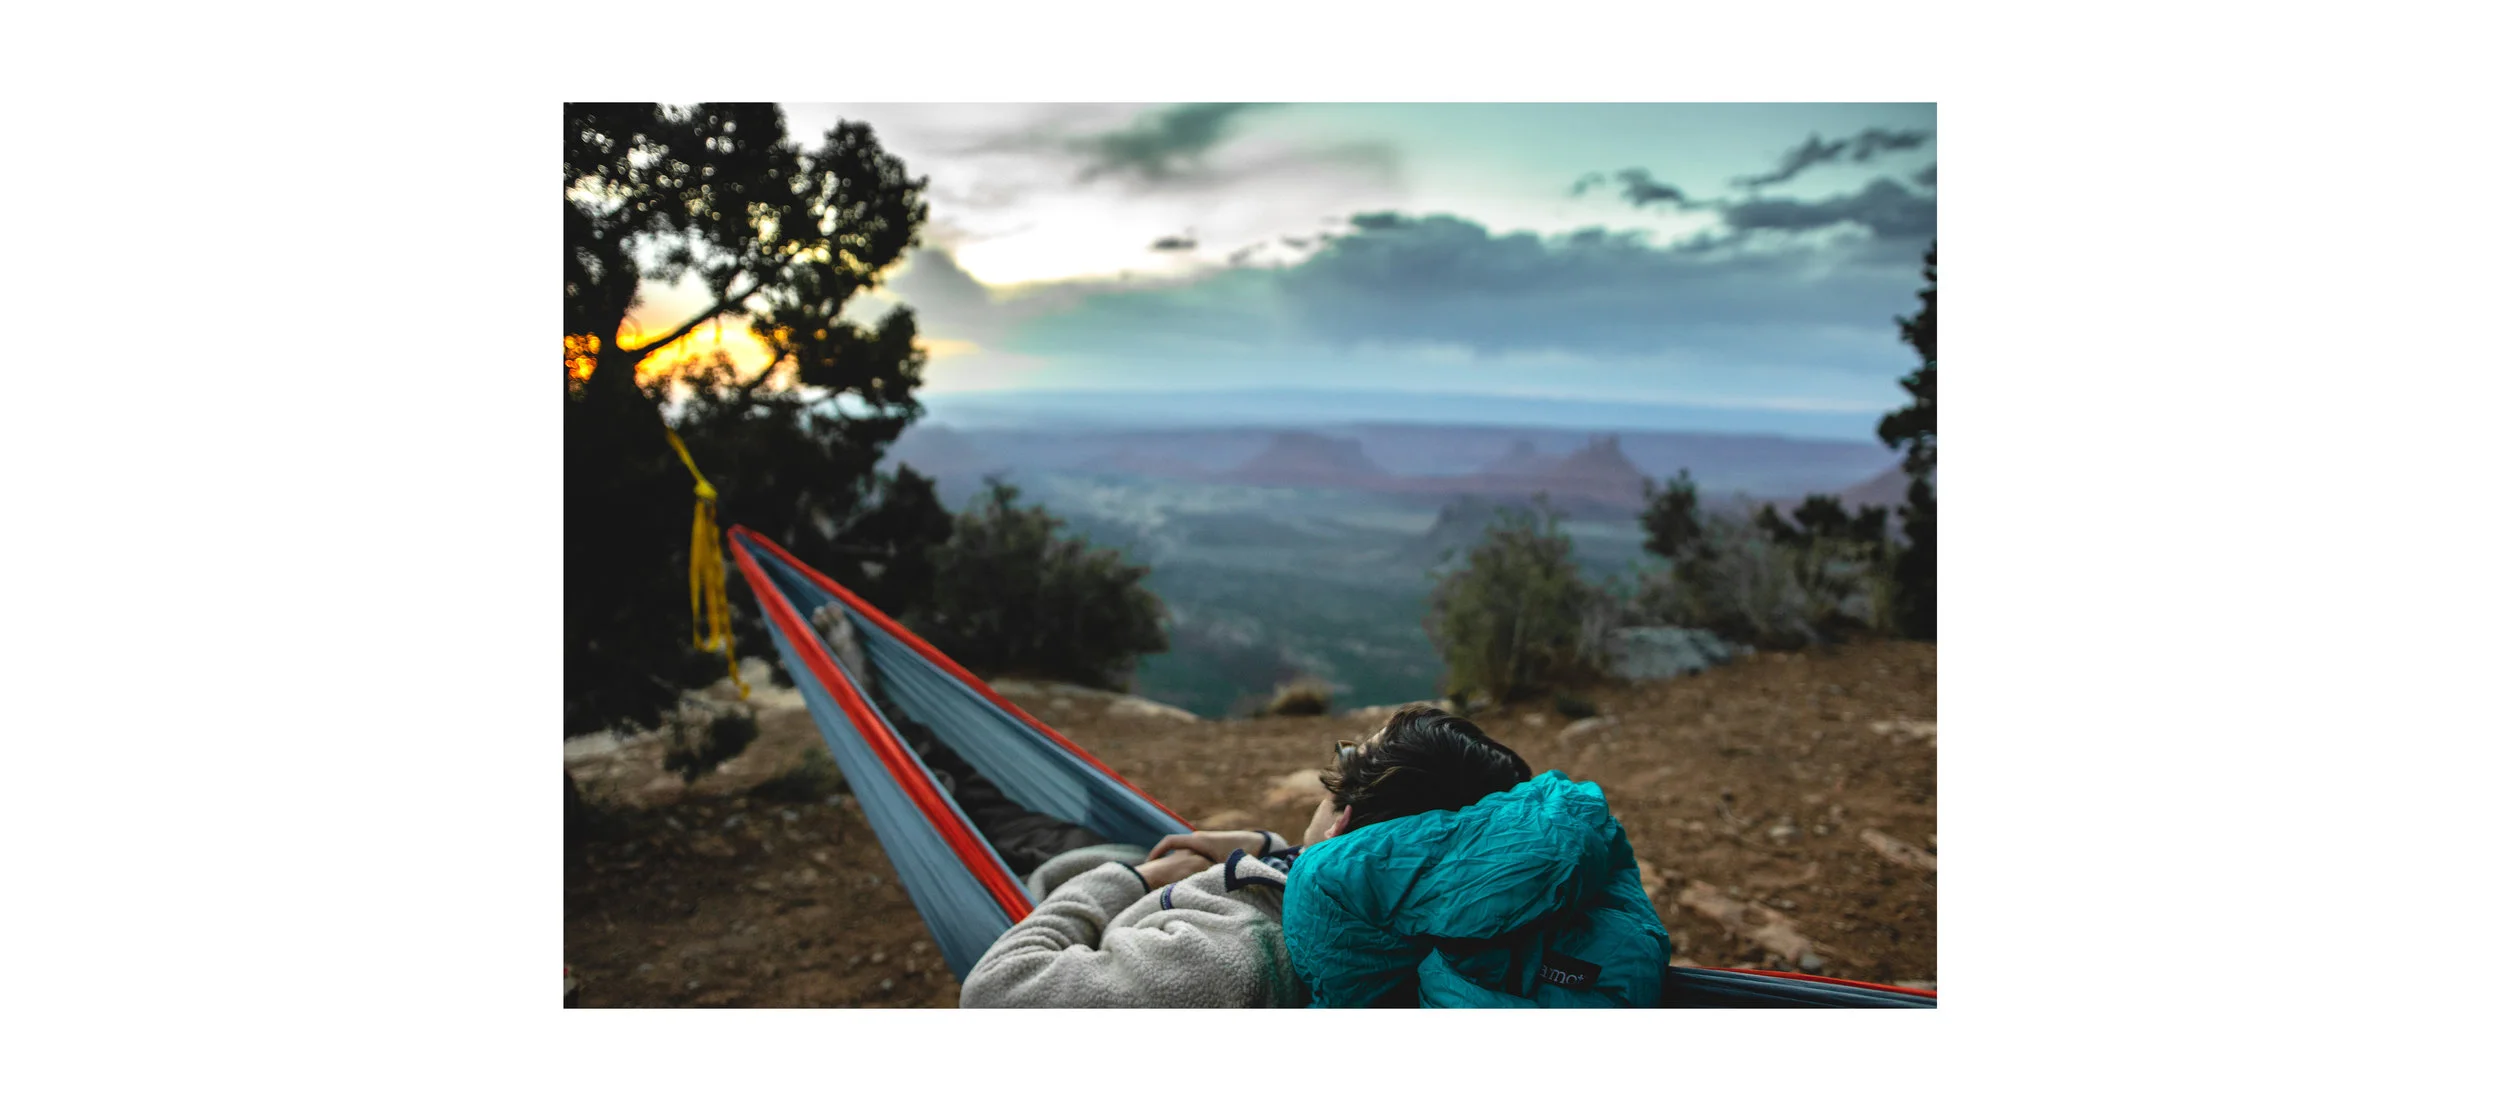
Here is the final before and after of the image. It is definitely a big difference but it is a repeatable look that reflects the image I saw in my head when I took it. (It is what the scene actually looked like) I used more tools and tricks then I wrote here in order to get the look I like. So lookout for more editing tips in Lightroom and before and after of my images. Finally, non of this is possible if you don't shoot in RAW format so shoot in RAW or get images that lack quality and interest.
Moab Summer 2018
When I go home for the summer I nearly always spilt the dive in half by taking a detour to Moab, Utah. This year was no different and as always I found a couple new places that are absolutely amazing. I spent three days camping and exploring the area with the ultimate goal of shooting the milky way behind Delicate Arch.
Well all I can say is that goal was annihilated by the uncharacteristic weather gifted to me those three night. Not only did I make the hike before sunset and waited 6 hours only to see a heavy blanket clouds, but I nearly got lost that night. After such a failure and like 4 hours of sleep I decided to find a campsite. I had read about a site that was up an off road trail right on the highest point of Porcupine Rim Trial promising a view of the Colorado River and shrouded the La Sal mountains.
That morning after a cup of coffee I not only found this BLM campsite but I was the only one there during my whole stay. It was comfortable, offered some of the best views in Moab, and best of all it was free. Most likely the best campsite in Moab.
Stanley Idaho
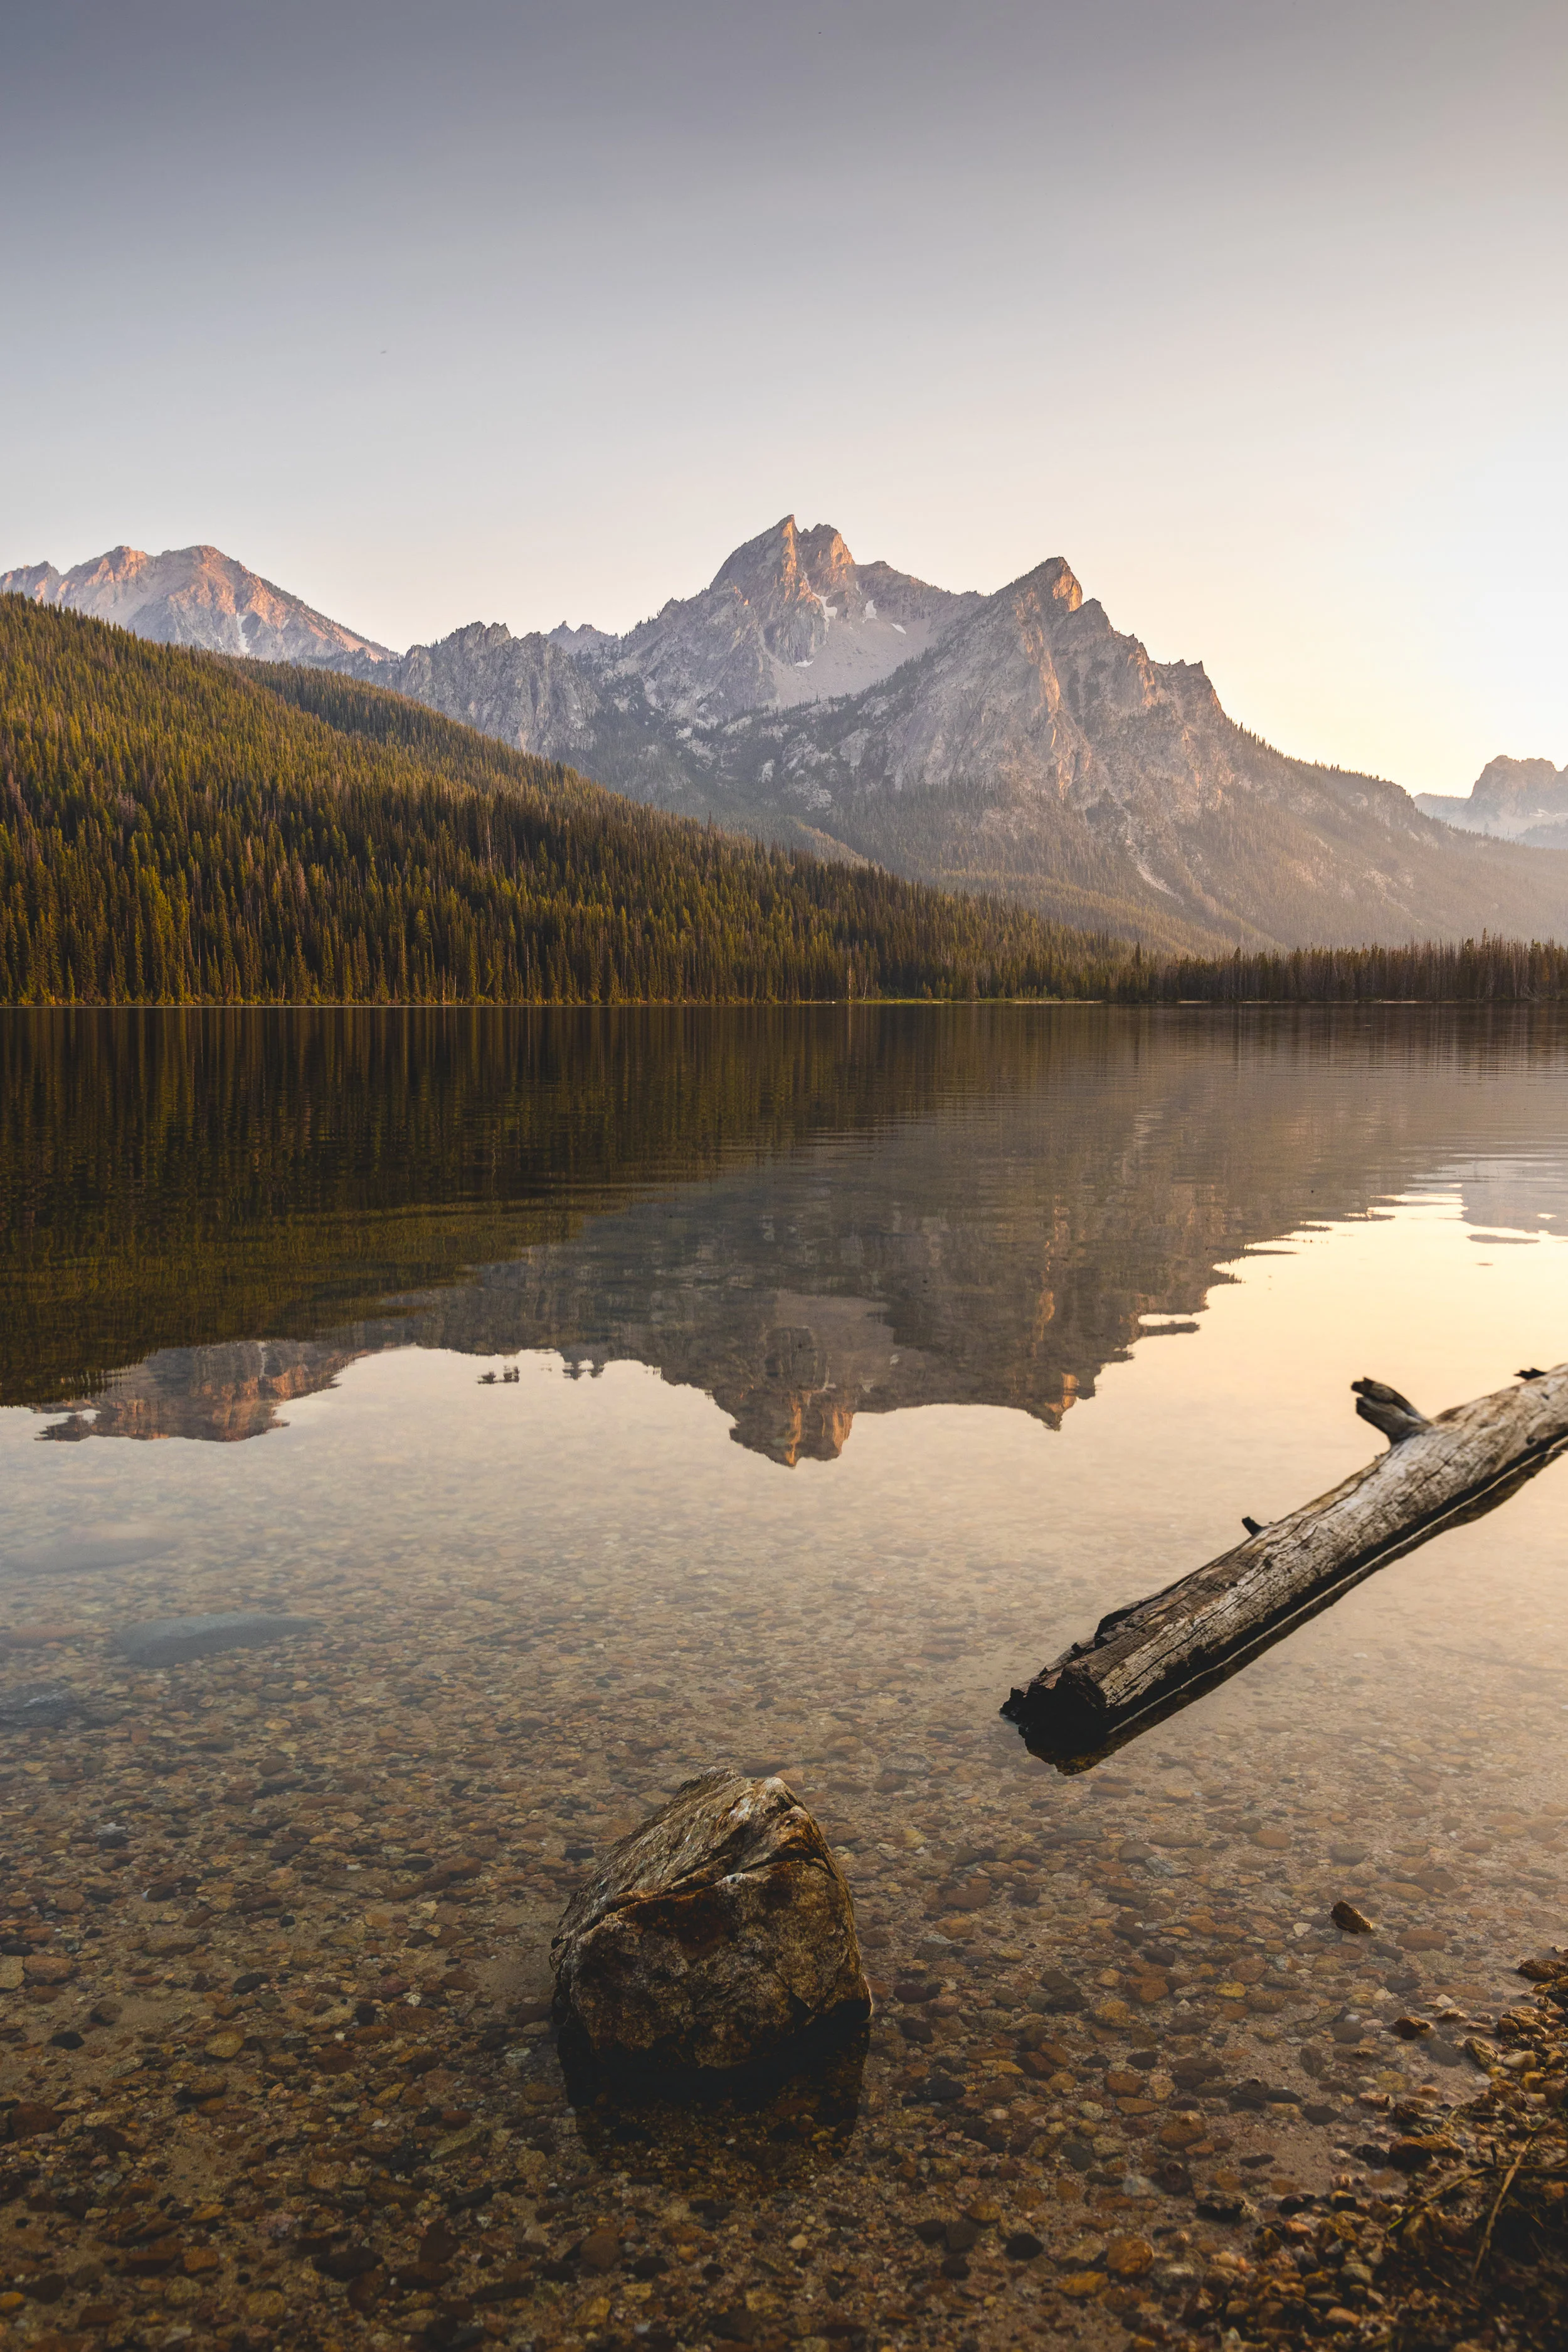
After three years in Idaho and many before that traveling with my family I finally made it up to Stanley, ID. I spent three days and two night with my friend Anabel roughing it out in this majestic place. We were lucky enough to grab a stop at Lake View Campground right next to Stanley Lake. I think we got pretty lucky cause not only were our neighbors great (let us barrow their kayaks), but a spot never opened up in our site the whole time we were their.
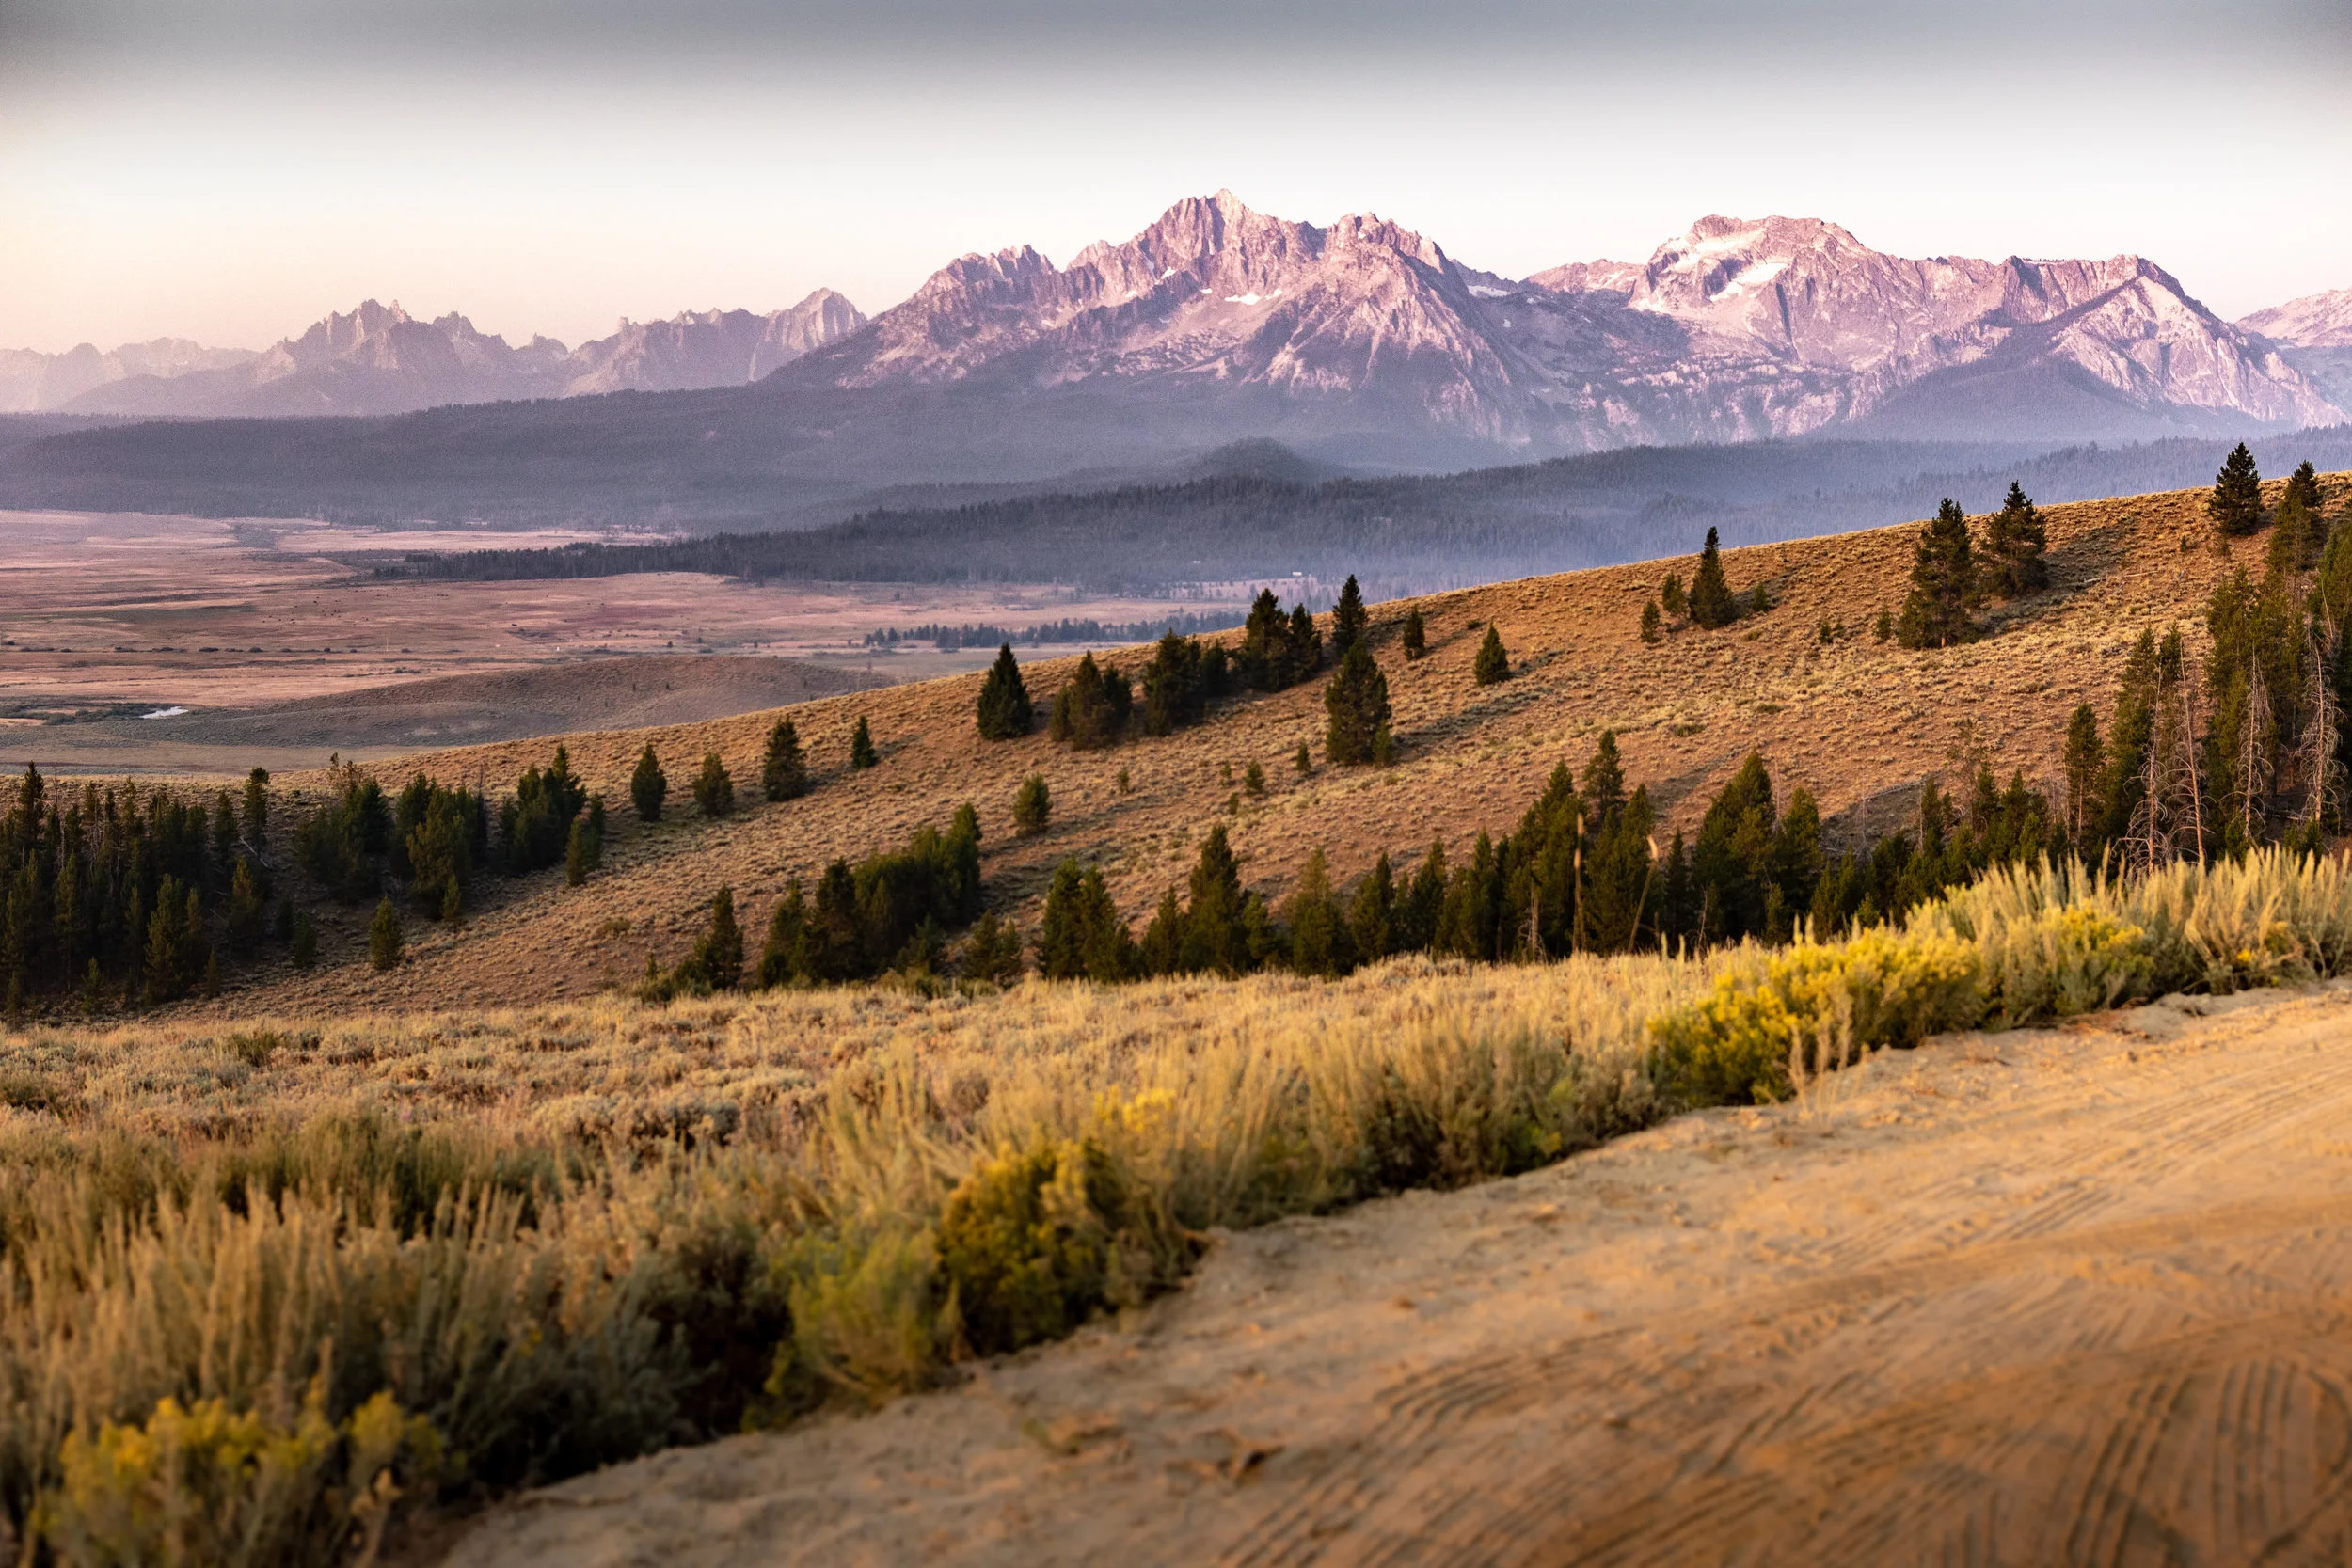
The first day we visited Red Fish Lake and after a toasty nap we found a road that takes you up and over the hills adjacent to the Sawtooth that offered probably some of the best views in the valley. As the sun went down we saw Mars pop out and the milky way go vertical over the mountains as meteors streaked the sky.
After a late start (wanted to sleep more when it was still cool) we decided that a hike to one of the many lake in the area. After very little planning we settled on the beginner rated hike to Sawtooth lake. It turned out it was much hotter and longer then we both wanted but the cool lake at the top made it well worth it. After getting down and grabbing cold drinks and ice for the cooler we retreated to the side of the lake and recuperated. We went to bed early to catch the sun rise from the mountain overlooked we found previously and quickly packed up camp to end the trip in a hot springs. Definitely a trip to remember.
Planning and Shooting the Milkyway
This is going to be a long one because I'm covering one of my favorite things, shooting the stars. I feel as though people are often intimidated by getting out there and creating these kinds images. In reality astrophotography is really quite easy if you plan ahead and understand some basic concepts. First, have a plan before you go. This includes the place, time, gear, and weather if you skip on any of these you will have a rough time making an image worth keeping.
Where I usually start is finding a location that offers a special landscape or composition before the sun goes down. This allows you to possibly get some nice golden hour pictures but more importantly it offers you an opportunity to find a composition while there is still light. Don't expect good images if it's already dark out, I find it's nearly impossible to find a composition worth shooting after sunset. Then by using an app like PlanIt! to see where the milkyway will be in the night sky and how it will tie into your composition. Often this is at an hour like 2:30am so expect to sleep in the car or wait under the stars. The pictures below are an example of what I look for, the first images is how I planed the shot I took that's to the right.
Once you have a location and a time to get where you need to go, focus on what you are going to bring. The most important thing is to have a camera that has a manual mode that can shoot RAW and a sturdy tripod. To get any stars you must use a long exposure to collect enough light to create an image. You must also use a high ISO setting so that the stars don't start to trail. The place I start for an exposure of the night sky for my 18mm lens is 25 seconds F1.8 at ISO1600, I usually need to adjust it to the specific location but it's usually really close.
Some tips for the highest quality images. Use the 500 rule to make sure you have no star trials. For example, I shoot at 18mm on a crop sensor so if you divide 500 by 28 you will get around 18 seconds so if I shoot under that value there will be no trailing. Also the wider and brighter you lens is the better images you will get, an 18mm F1.8 lens is much better then a 24mm F4 however just shoot as wide and at the largest aperture as your lens will let you. Also use a timer on your camera or a shutter release cable to reduce camera shake.
Finally software is your friend, always shoot multiples when shooting stars so you have the most freedom when you get home. Apps like Stary Landscape Stacker can really work magic in reducing noise. Also know where you will be displaying your images, the larger the final product the more lens sharpness, noise, and motion blur will affect your images.
Finally just don't stress, have a plan, and have fun. Remember the biggest reason to do this is to get to places that you otherwise wouldn't experience at night.
